I’m going to show you how to use Nano Banana Pro with Higgsfield AI. The first thing you want to do once you’re on the website is hover over Image at the top. Go to Models, click Nano Banana Pro, and it will open right away.
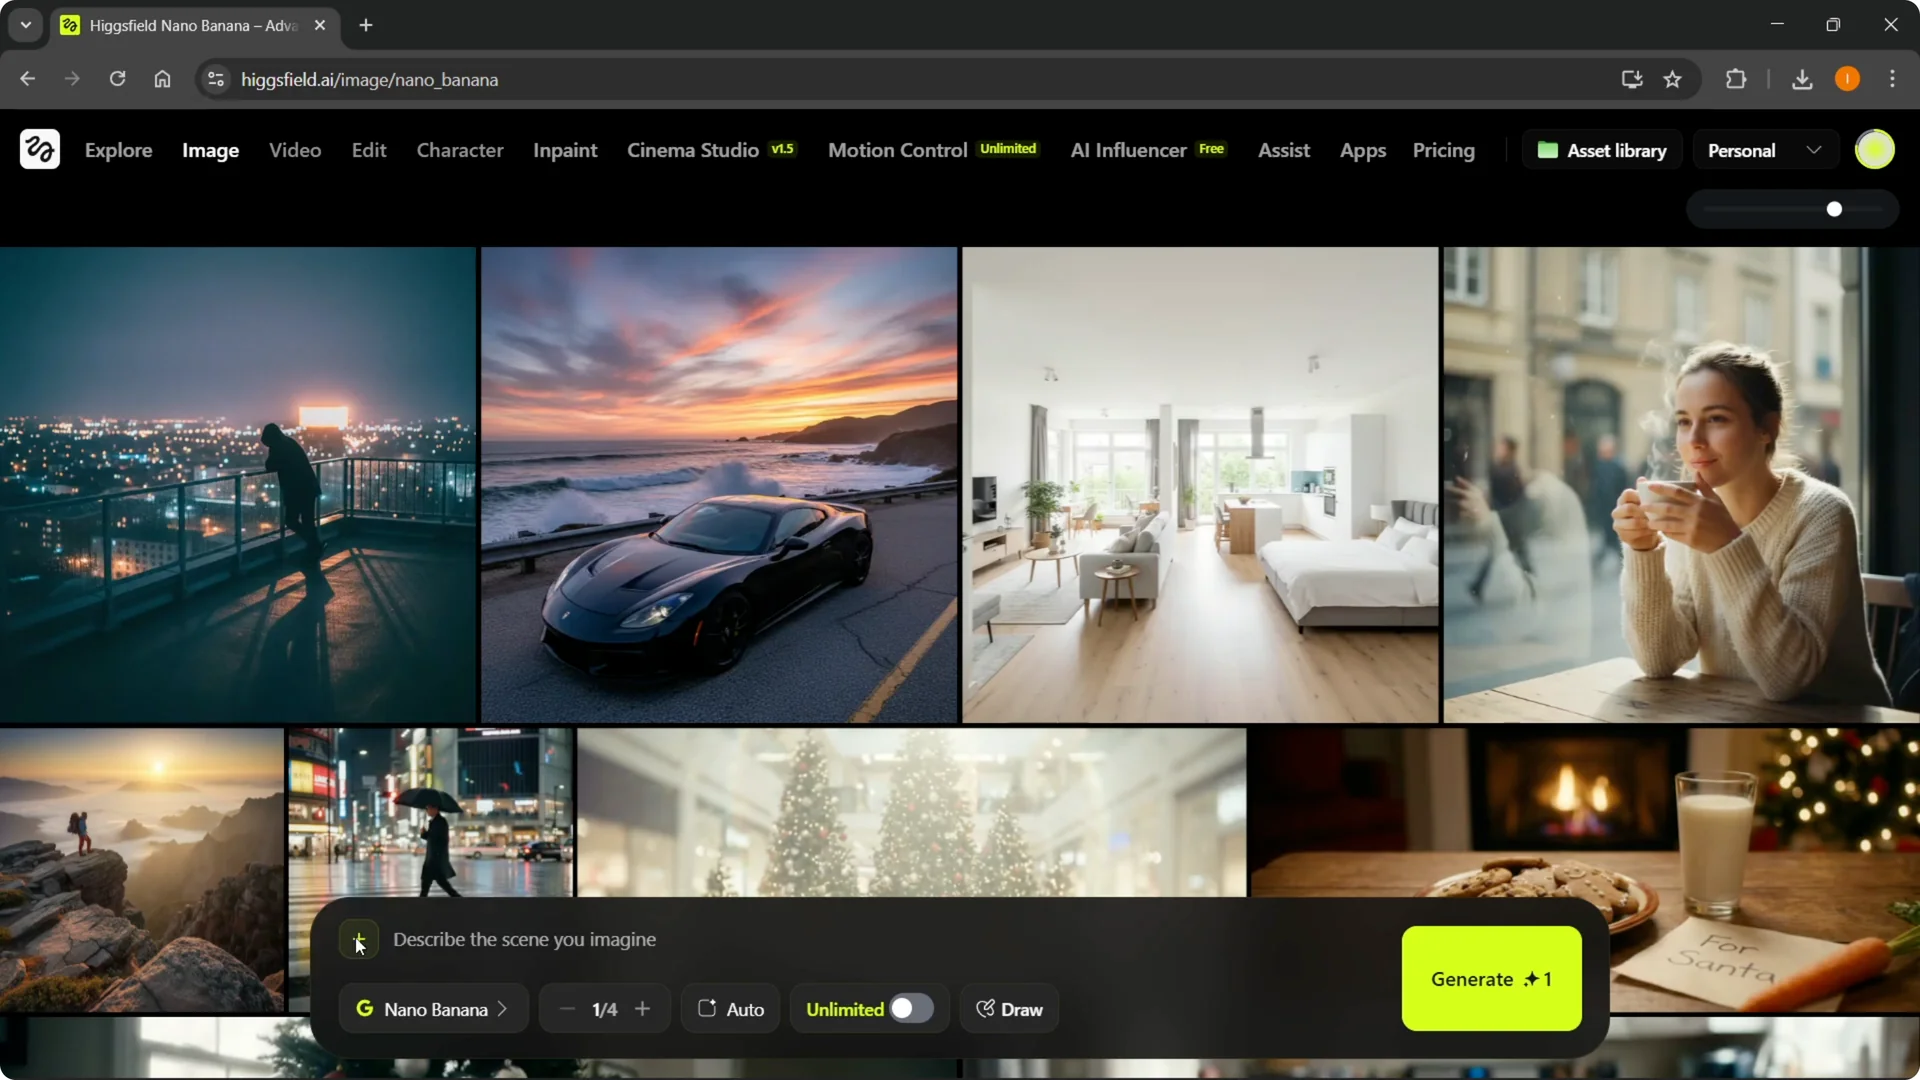
You can start creating the way I’m going to show you, or start from scratch. For example, you can just describe the scene you want to imagine. I have some prompts ready, so I’ll paste in a prompt that says a sleek black sports car parked on a coastal highway at sunset.

Higgsfield Nano Banana Pro Tutorial: Getting Started
Step 1: Hover over Image at the top of Higgsfield.
Step 2: Open Models and select Nano Banana Pro.
Step 3: Start creating from scratch or follow the setup below.
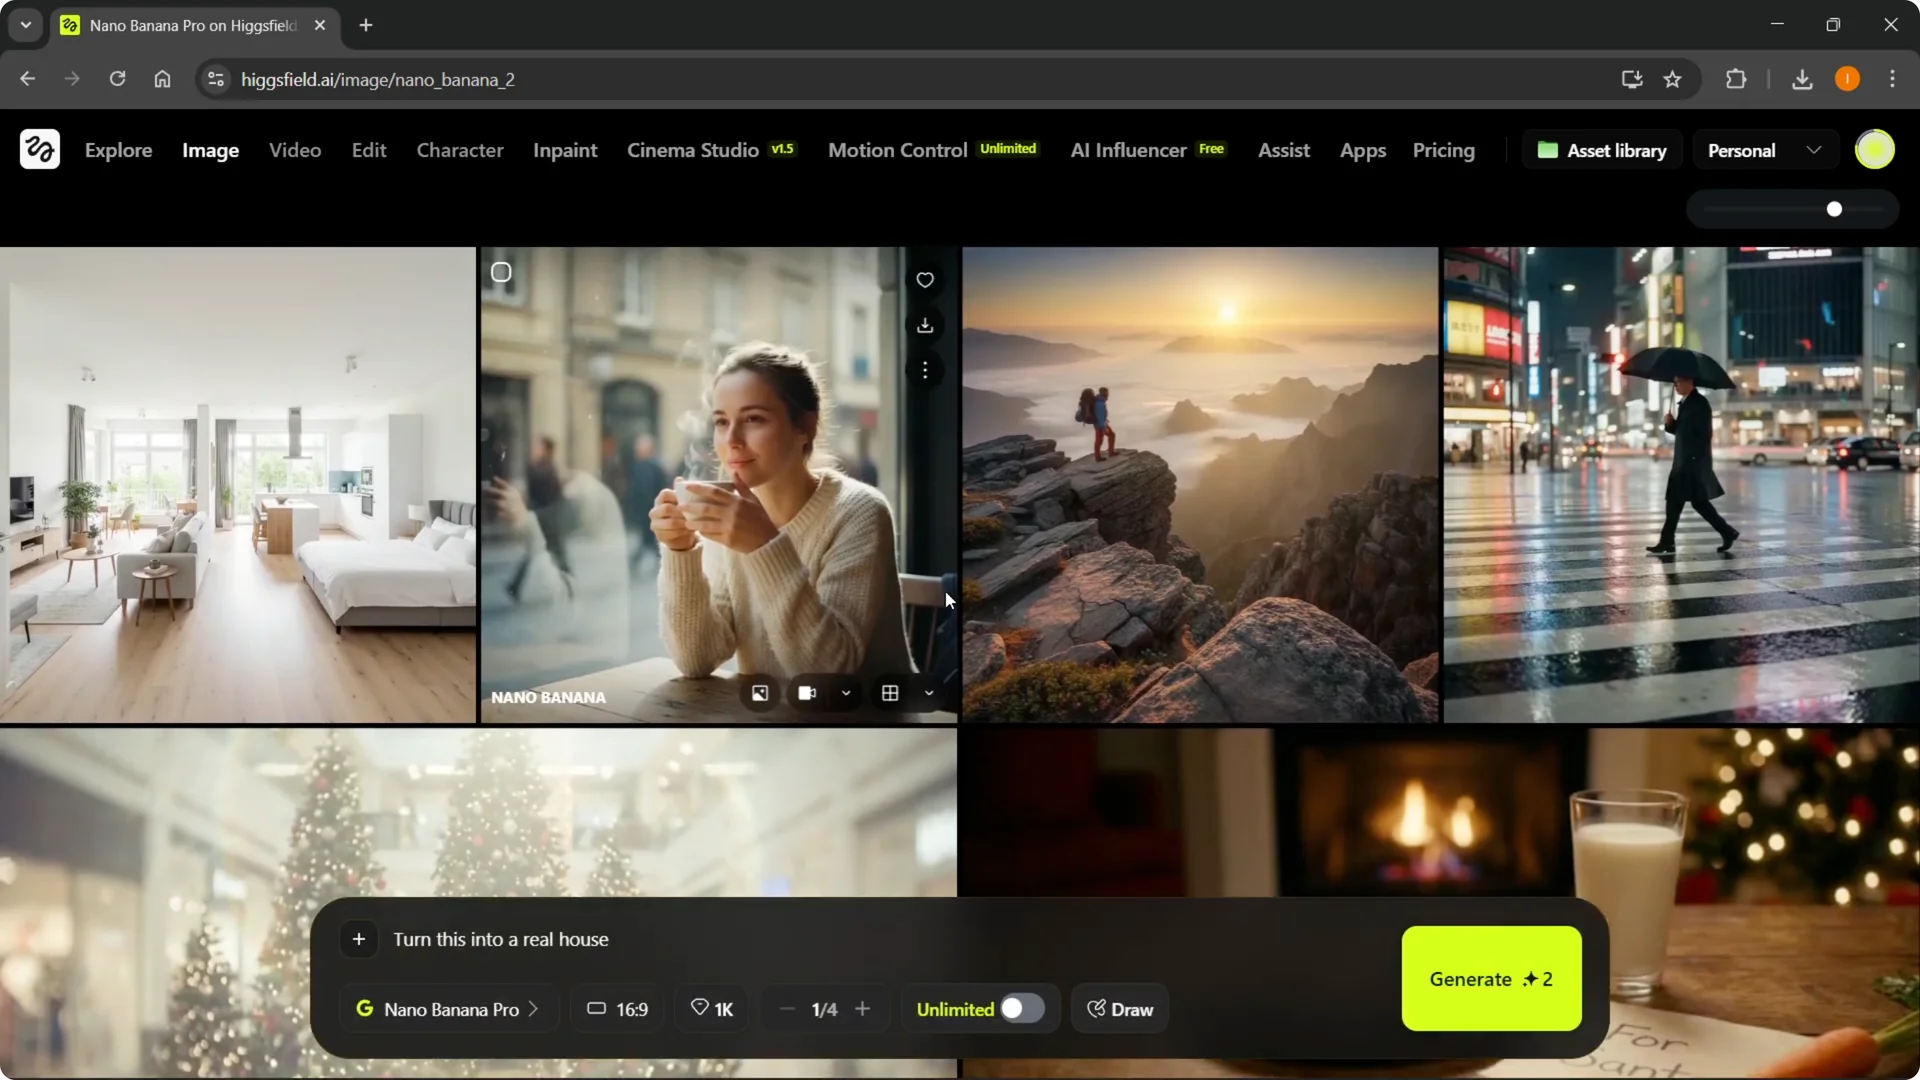
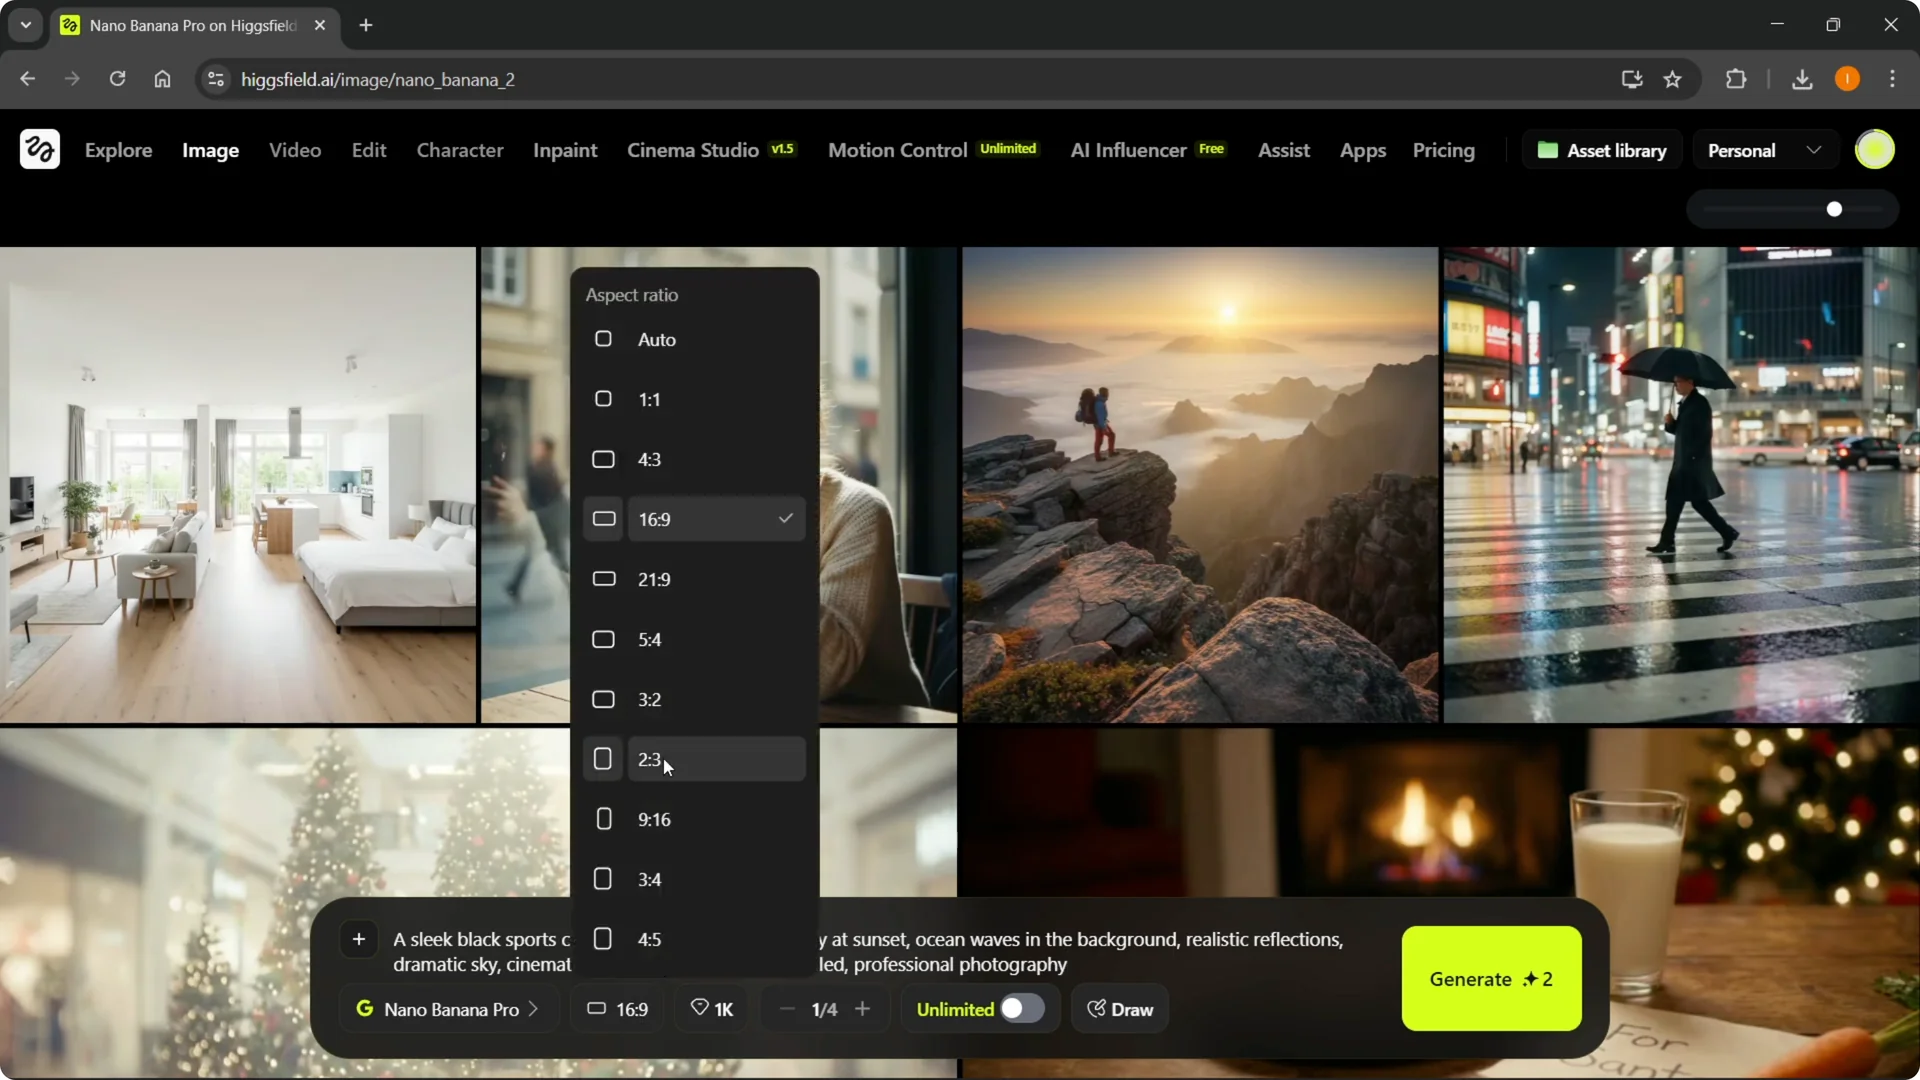
Here you can select your aspect ratio. I’m using 16×9, but you can pick any you want. Make sure Nano Banana Pro is selected.
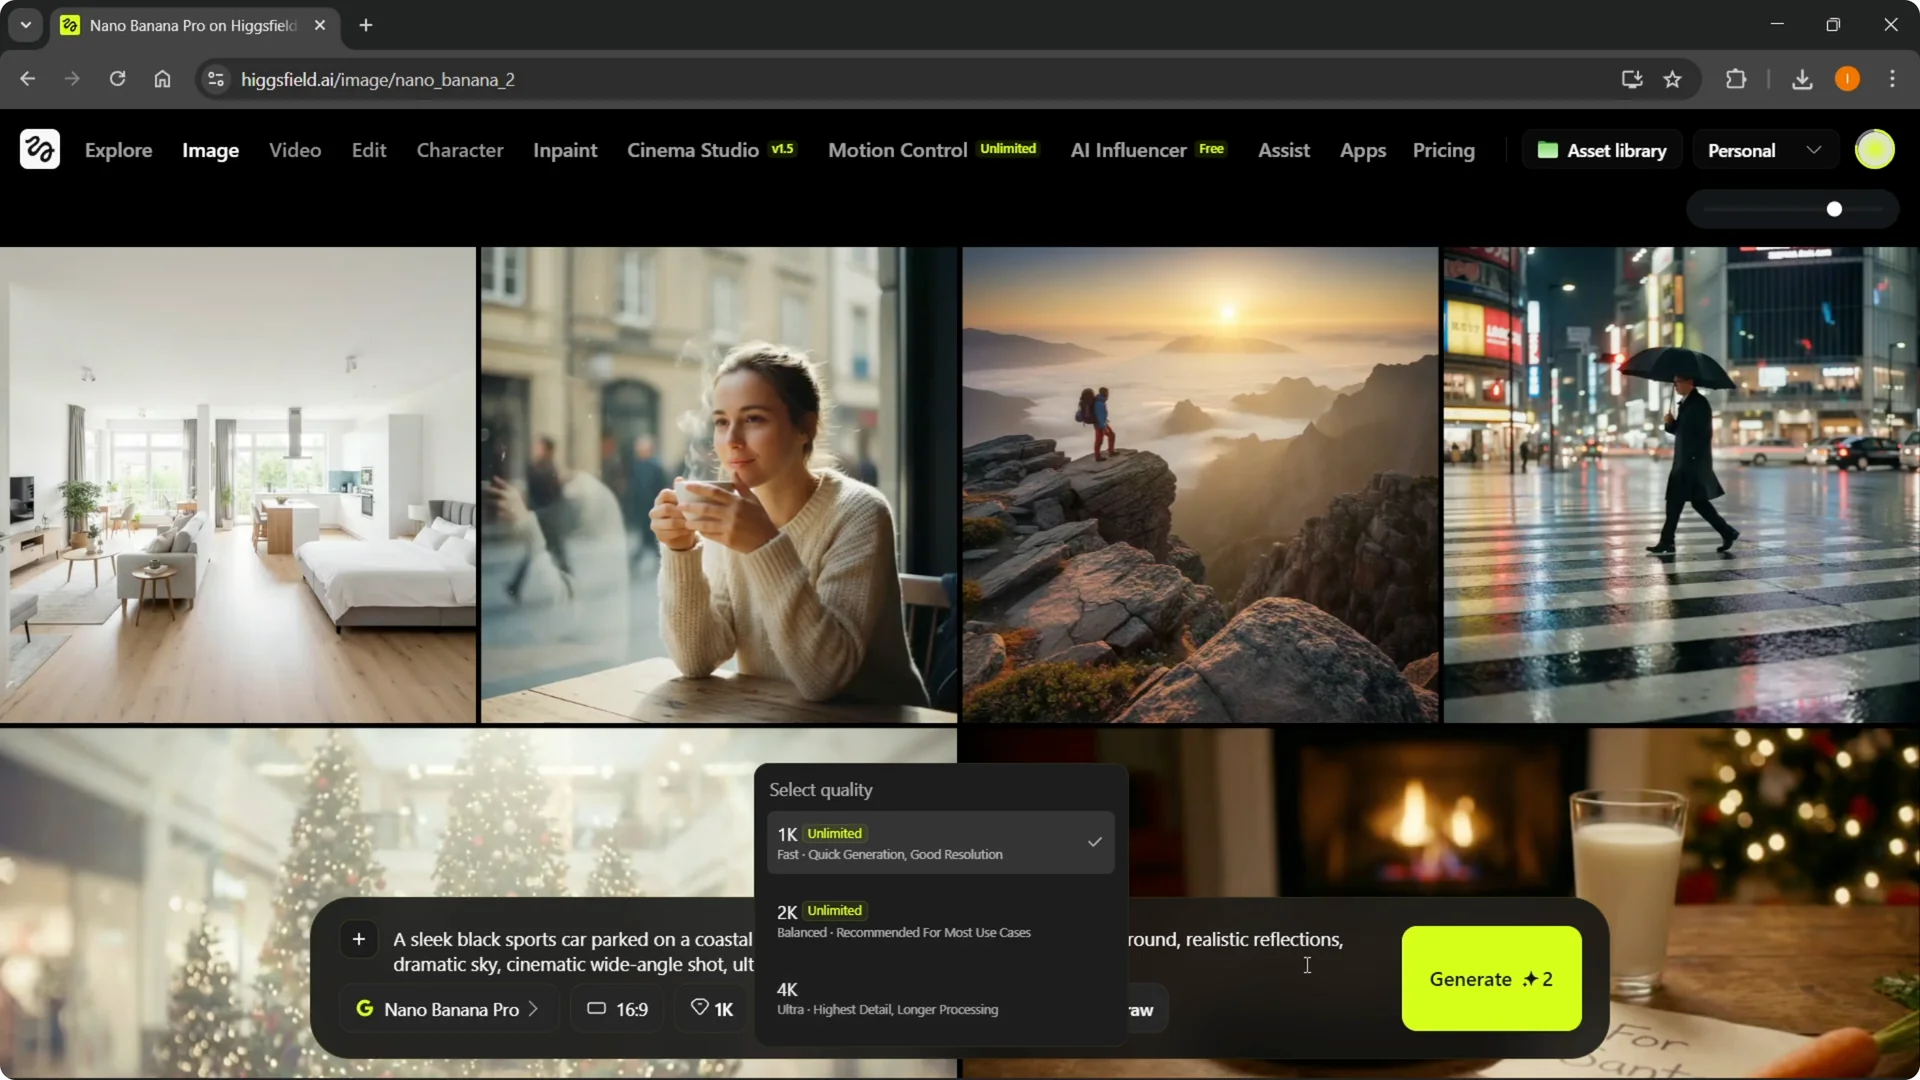
Here you can select your quality. You can choose 1K, 2K, or 4K, but higher resolutions take longer to generate. I’m leaving it at 1K for now.
You can also select how many images you want with batch size. This could be 1, 2, 3, or 4. Pick what you need.
There is an unlimited option that says unlimited runs with the standard queue. Switch off unlimited for faster priority results. If you use unlimited, you basically do not use any credits, which is great if you have time, but I’m going to use credits right now.

If you need to keep an eye on usage, you can check your credits so you do not run out mid-session. If you want to save on costs, see these promo code tips.
You also have a Draw option that lets you do draw to edit. You can create blank drawings and then create images from them, or even do draw to video. If you want a deeper walkthrough of that, here is a helpful guide to Draw Video.

Higgsfield Nano Banana Pro Tutorial: Prompting From Scratch
Step 1: Paste your prompt into the text box.
Step 2: Confirm Nano Banana Pro, aspect ratio, quality, and batch size.
Step 3: Click Generate.
Using 1K resolution is very quick. It will start generating and you should see progress within a few seconds. It should be done shortly.
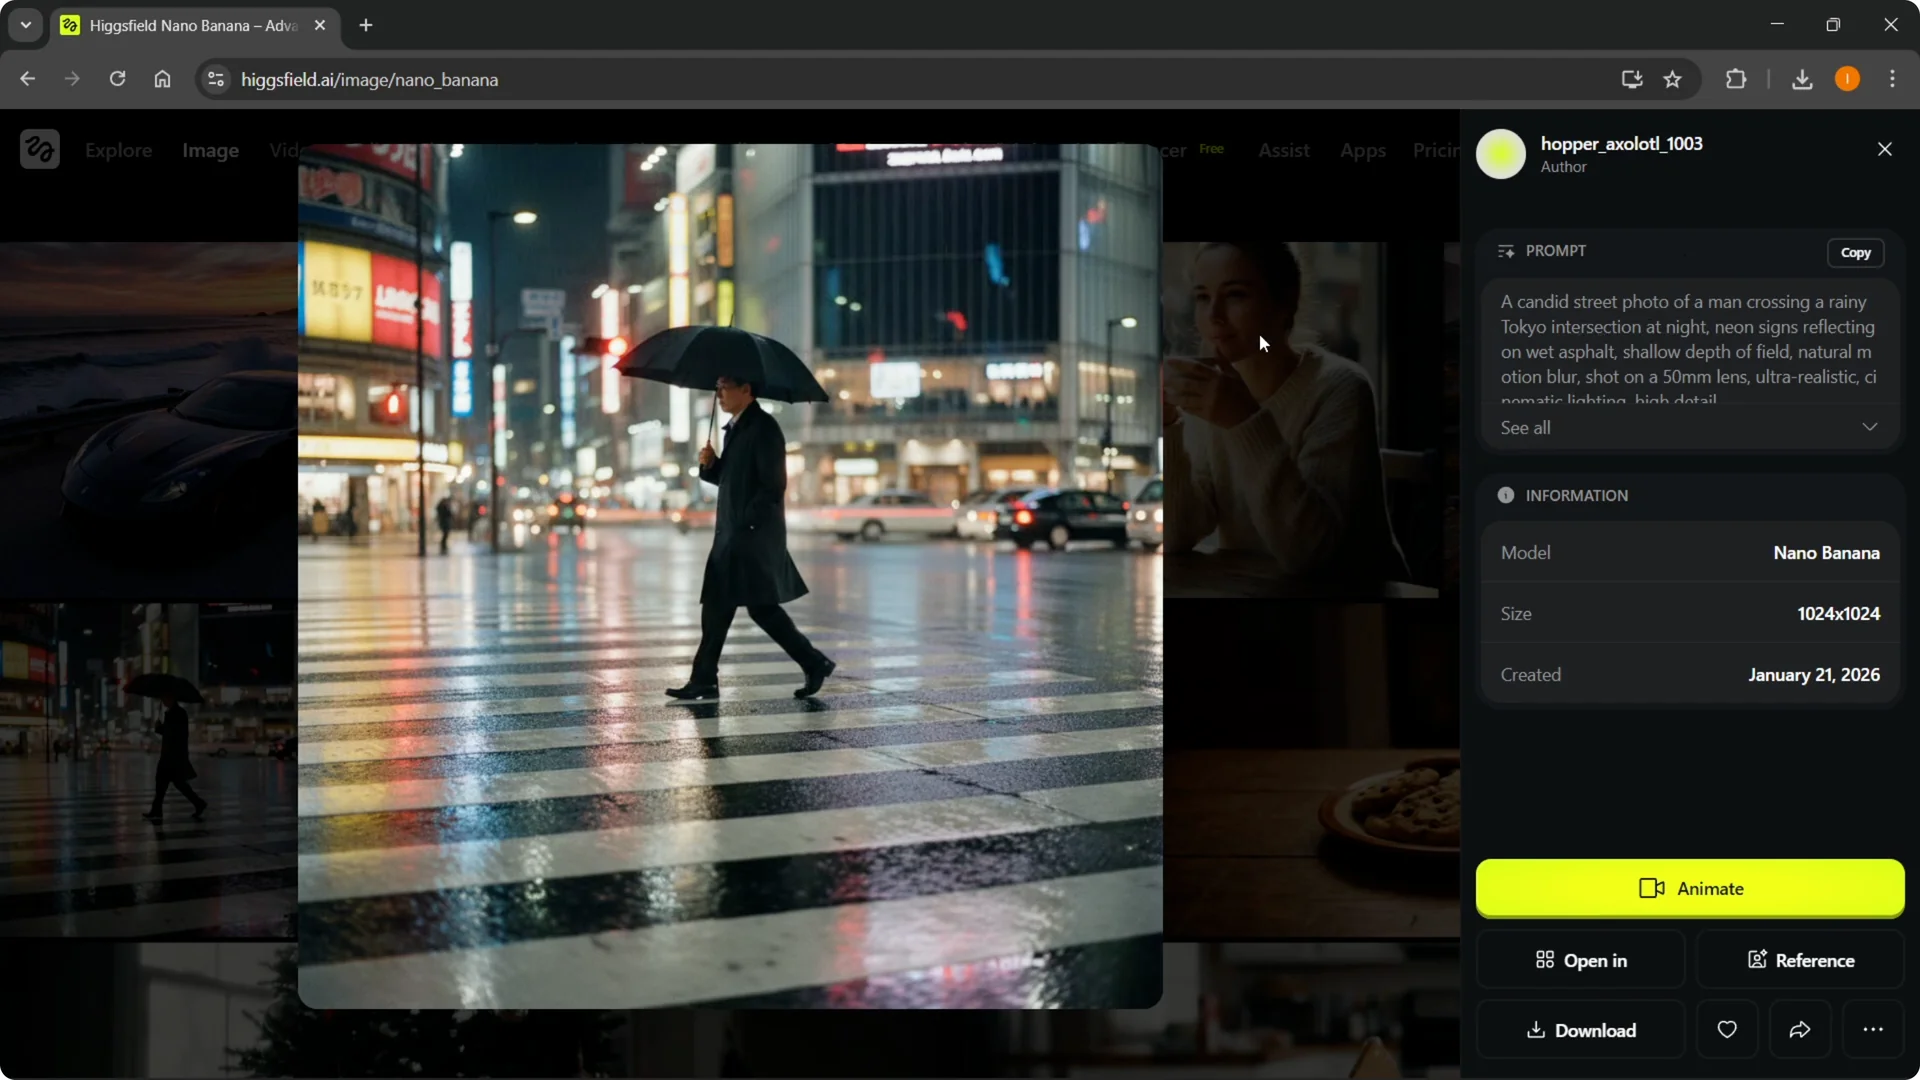
Here are examples I just generated. A realistic street photo of a man crossing a rainy Tokyo intersection at night looked great. A lone hiker with a great view and a lady sitting in a bar also came out well.
The new generated photo matched the sports car description accurately. I’m going to generate a few more while we explore other options. The process is the same each time.
Higgsfield Nano Banana Pro Tutorial: Use an Image as a Source
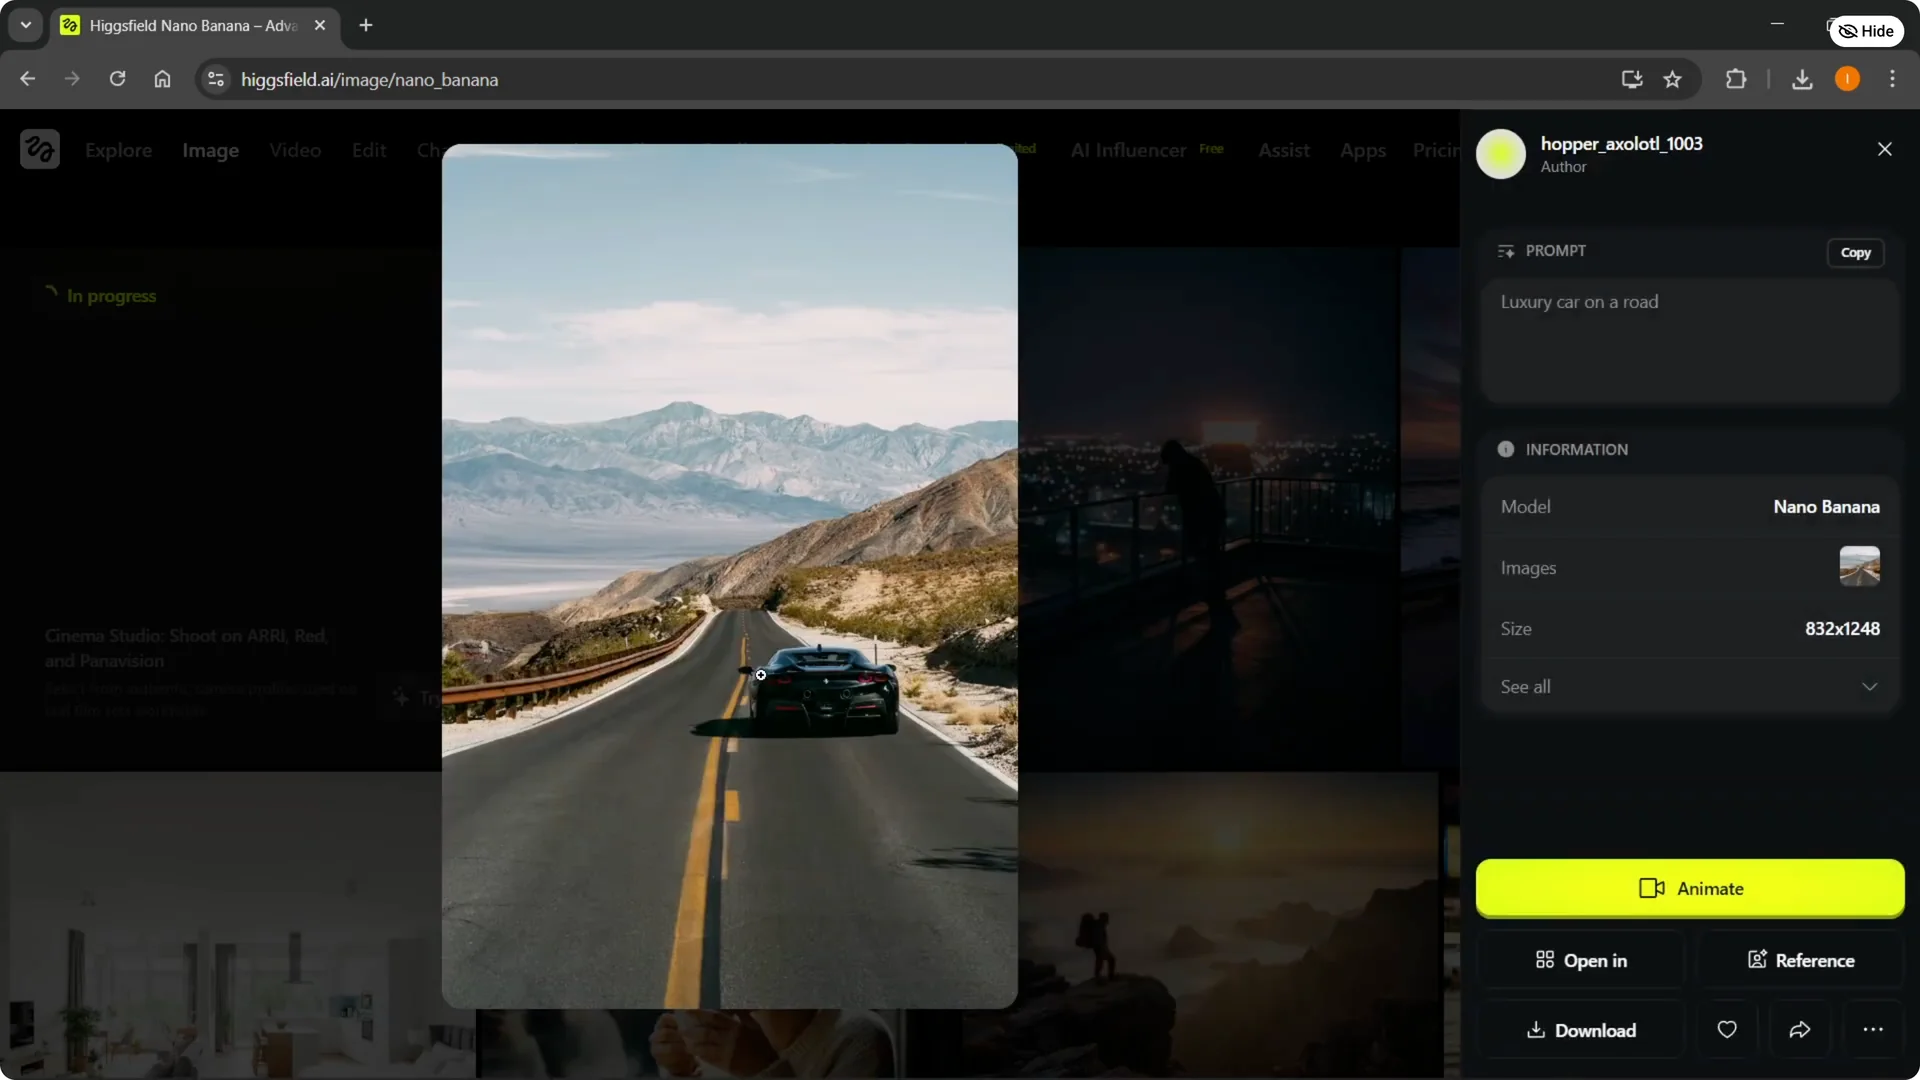
I added an image as a source to guide the result. I used a layout of a house and told it to create that specific house in real life. It did exactly that, and the previous image was also very close.
Step 1: Delete the current prompt if needed, then click the plus button.
Step 2: Upload up to eight images as sources.
Step 3: Add a short prompt and click Generate.
I selected a road image and typed luxury car on a road. I clicked Generate. This puts a luxury car on that specific road in the uploaded image.
You can play with this as much as you want. The more detailed your prompts are, the more accurate the results are going to be. It is completely up to you how you want to make them.
Here, it did exactly what I asked. It created a luxury car on that specific road. That is how to use Nano Banana Pro on Higgsfield.
Final Thoughts
Nano Banana Pro is straightforward to start with. Pick your model, set aspect ratio and quality, write a clear prompt, and generate. If you need more control, upload source images or try the Draw tools to guide edits and video.