
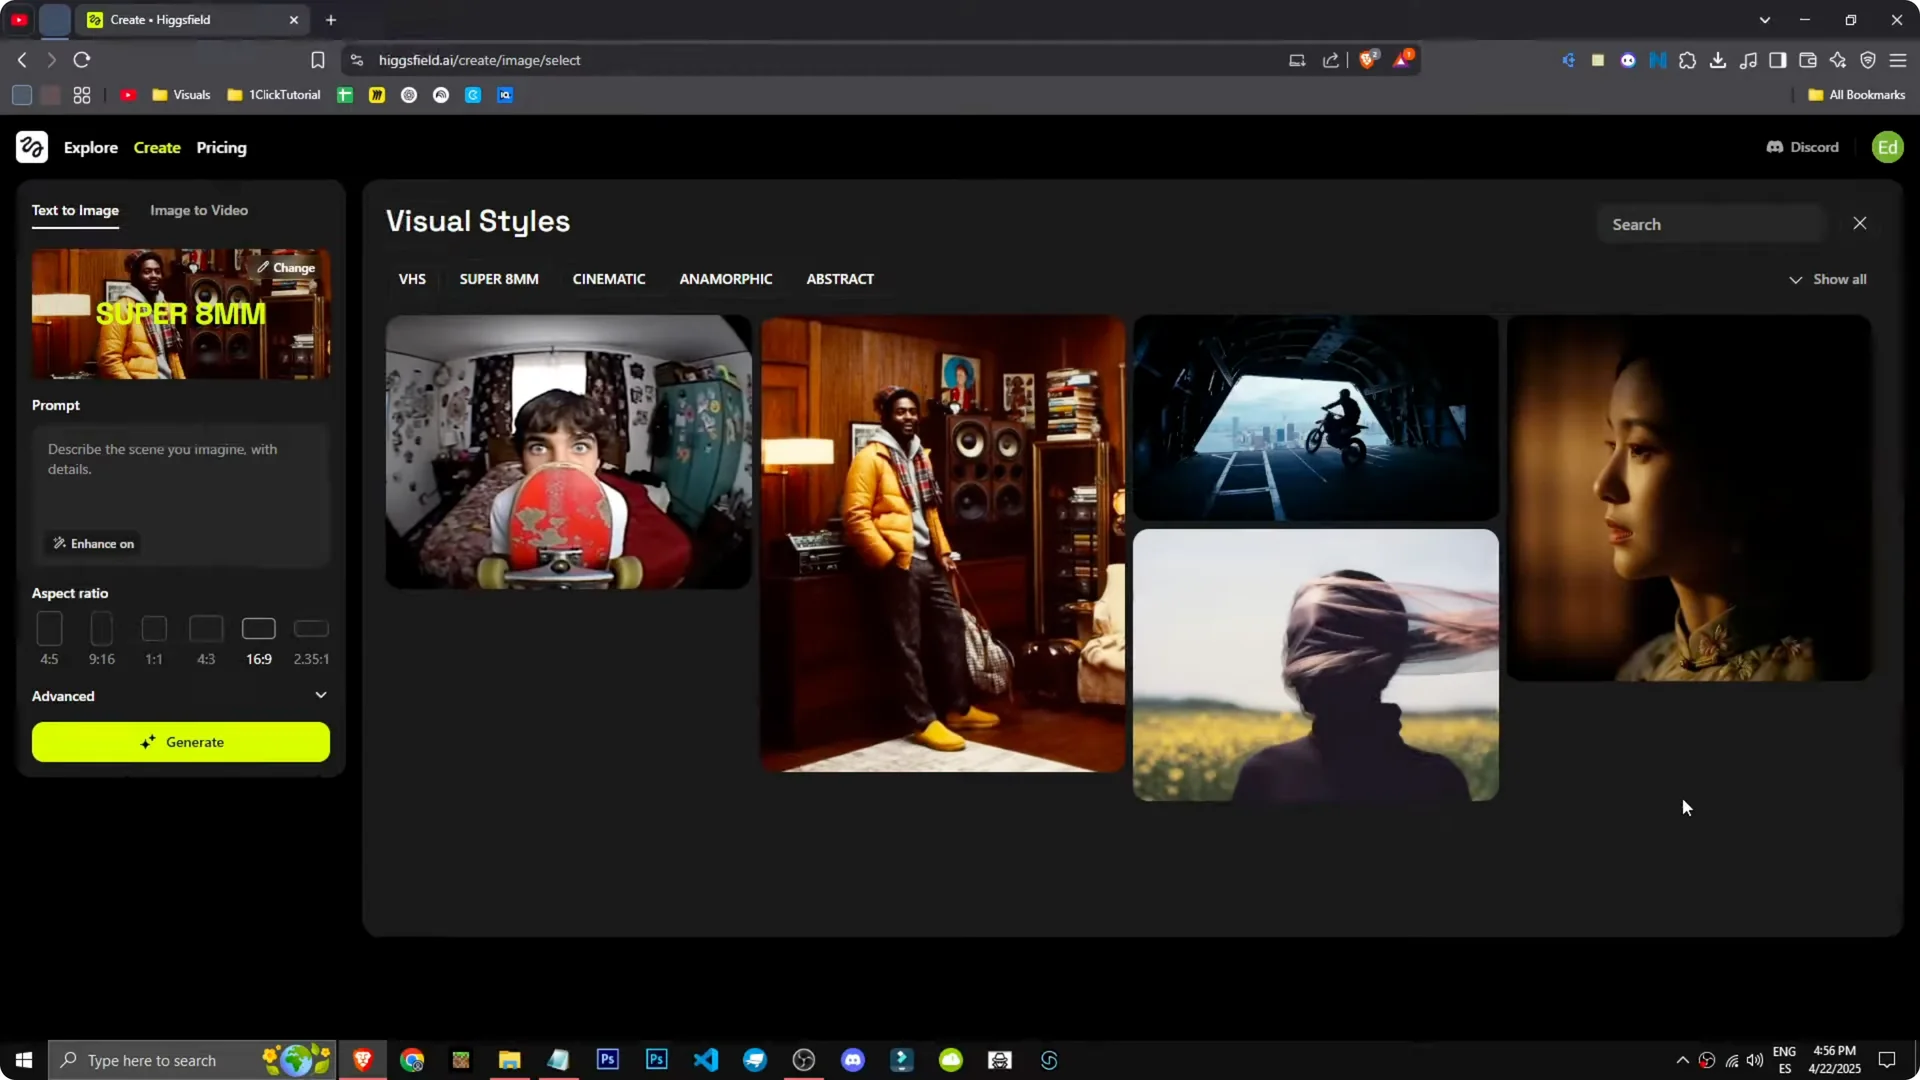
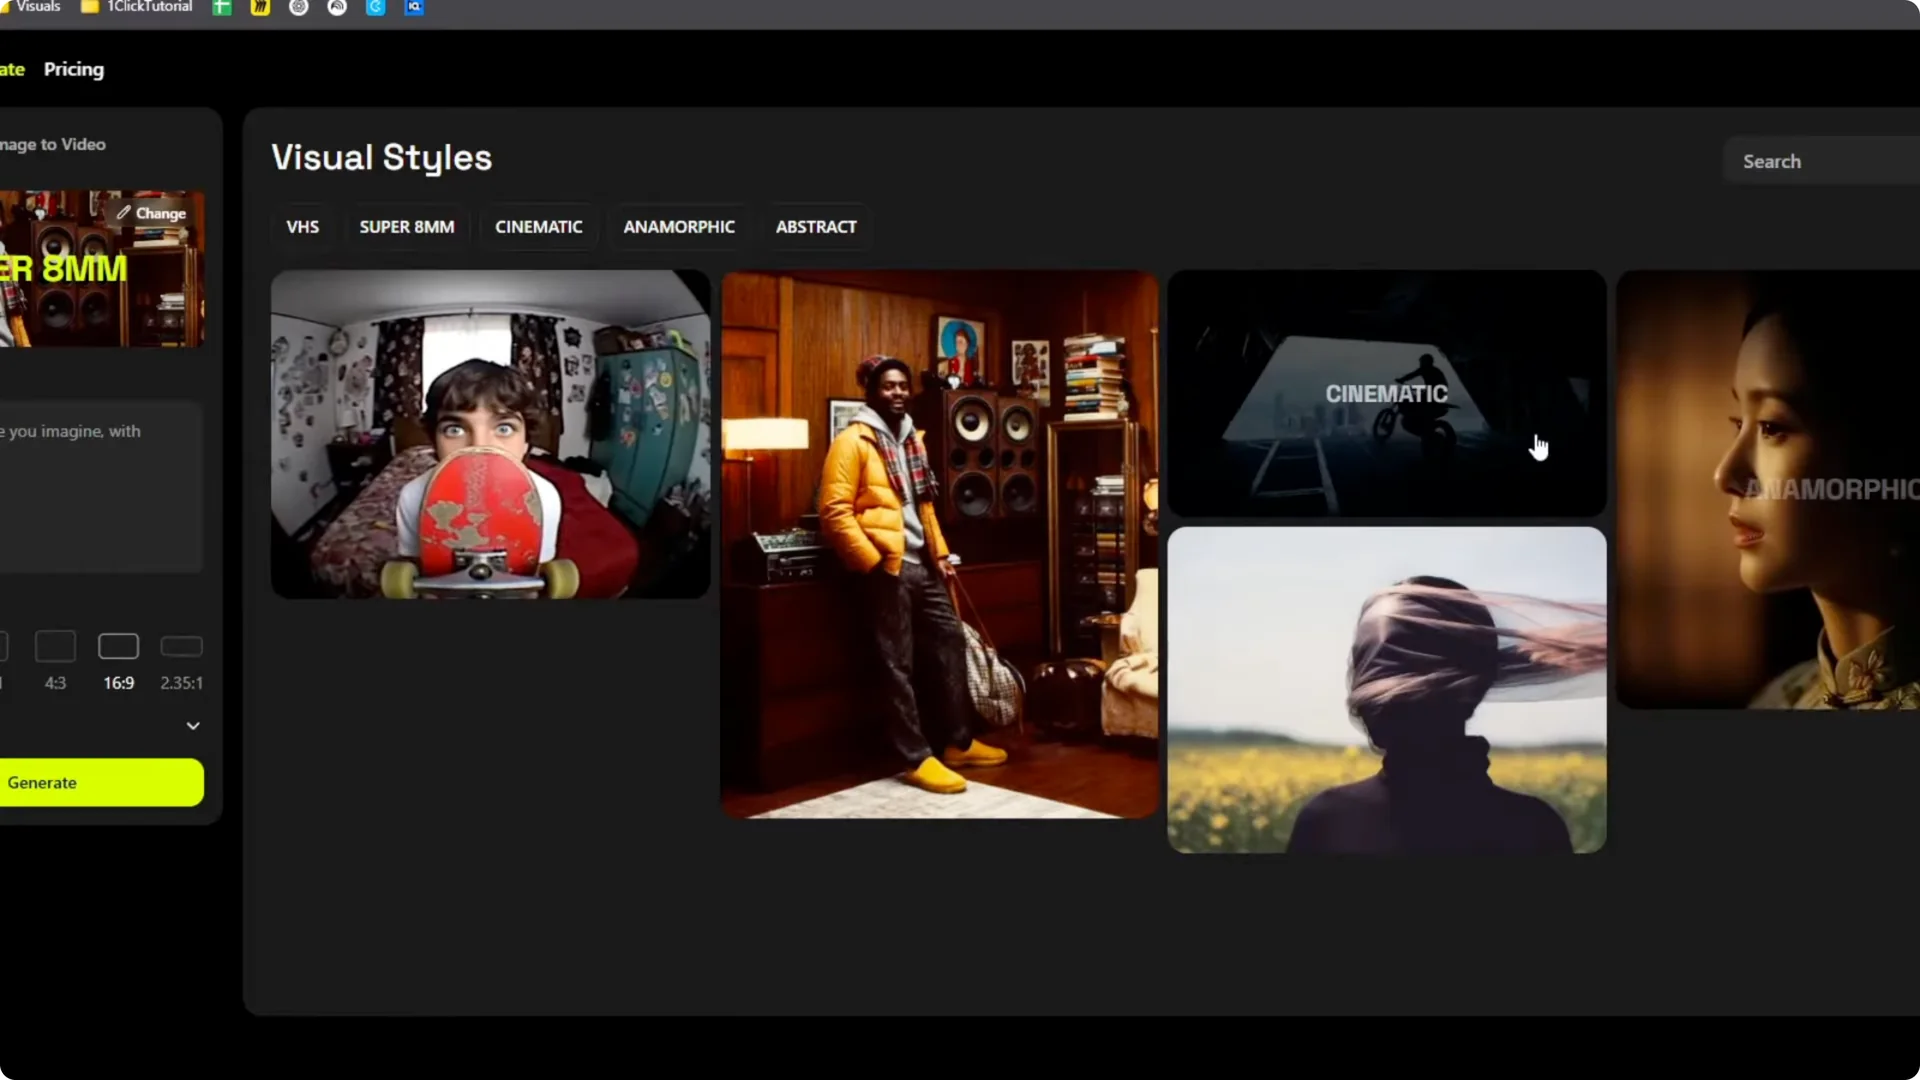
How can we generate images with Hicksfield? First we have the change section where we can choose the style. Hicksfield has unique styles like VHS, Super 8 mm, cinematic, abstract, and anamorphic.
I pick cinematic and describe the scene I want. For example, I like this scene of a motorcycle jumping out of a plane. We have the prompt there, and we can improve it.
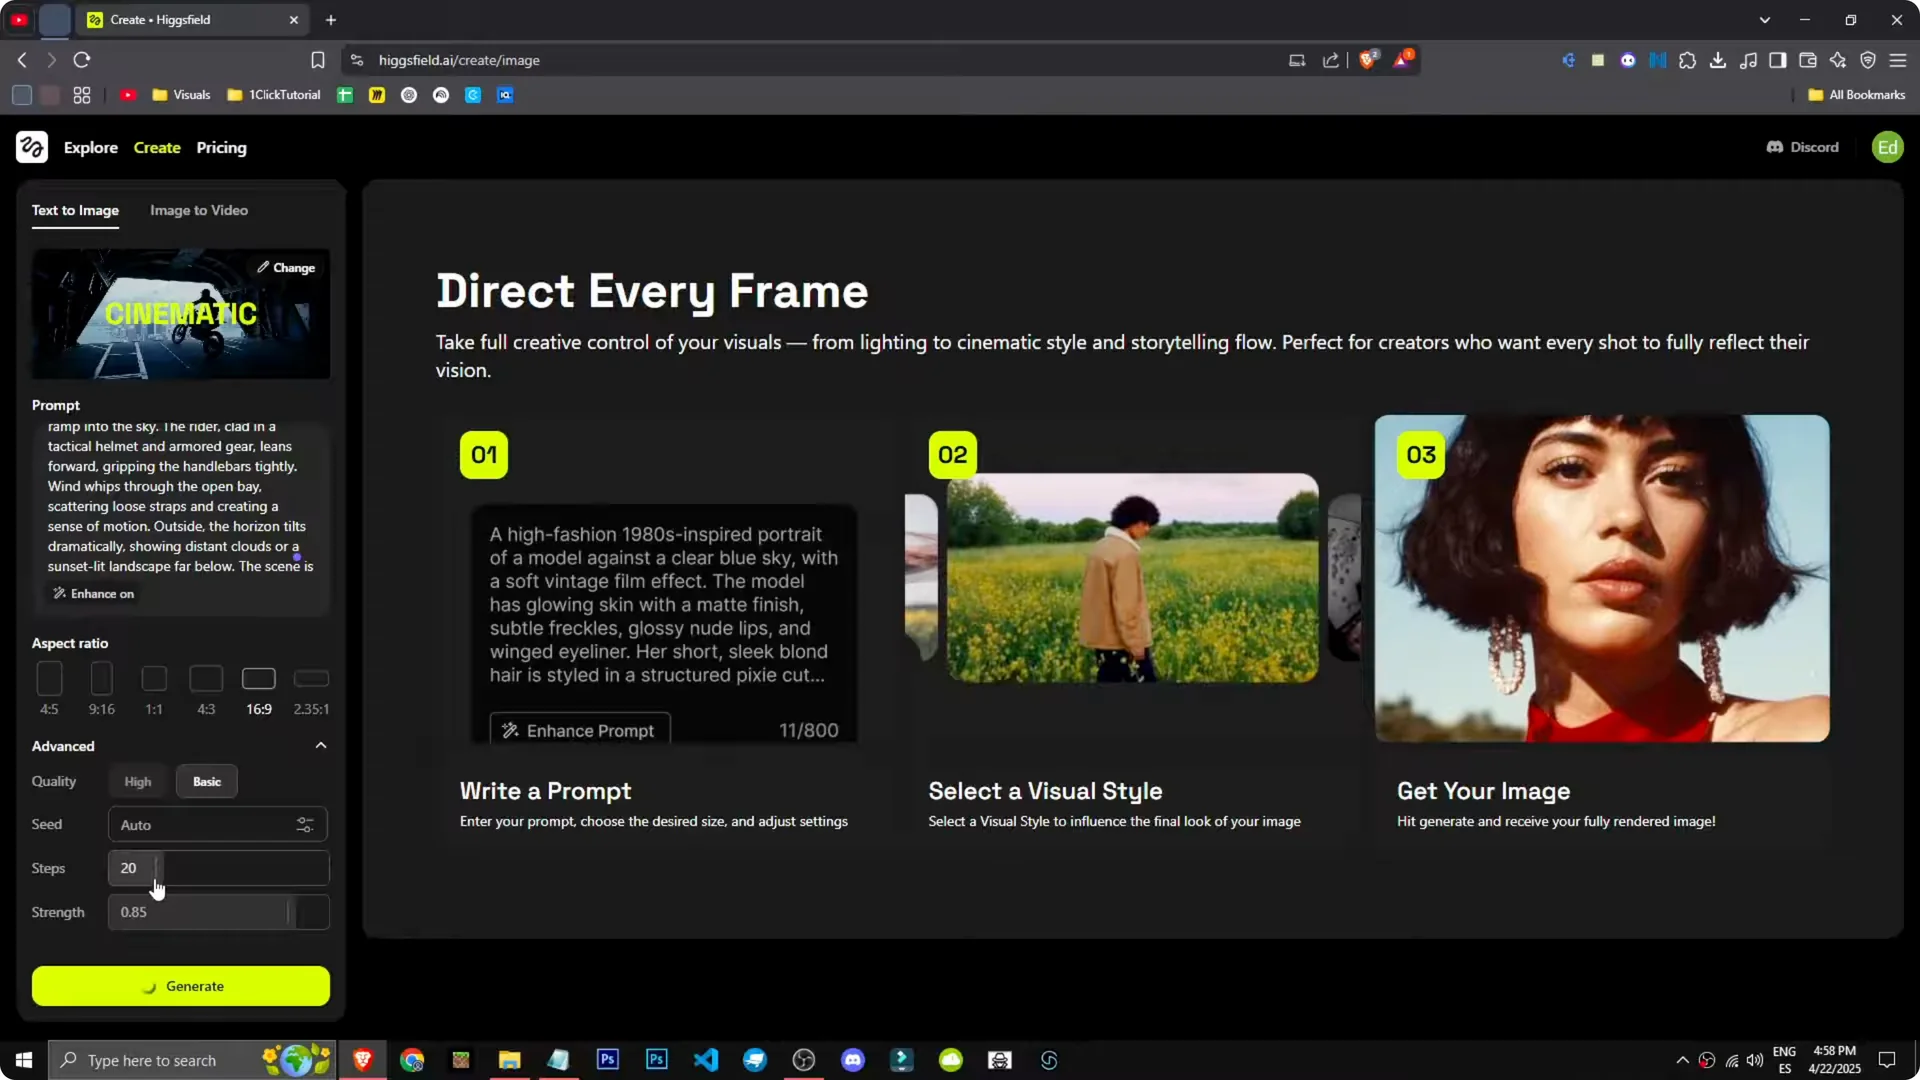
With Enhance on, I describe a cargo plane, these military planes with an open ramp, and an enduro bike, a dirt bike jumping out of there. We have more settings in Advanced where we can adjust quality steps and so on. The cinematographic style might take a while.

All right, there we have the images. You can tell the top is a cargo plane or at least a plane, but it has not quite nailed the exit. It looks like it is on the ground, and I did not specify it should be in the air either.
This is the image I managed to generate with this tool. If you want to refine motion planning ideas before animating, check out camera motion control tips in Pika Labs. It can help you think through camera paths you want Hicksfield to suggest later.
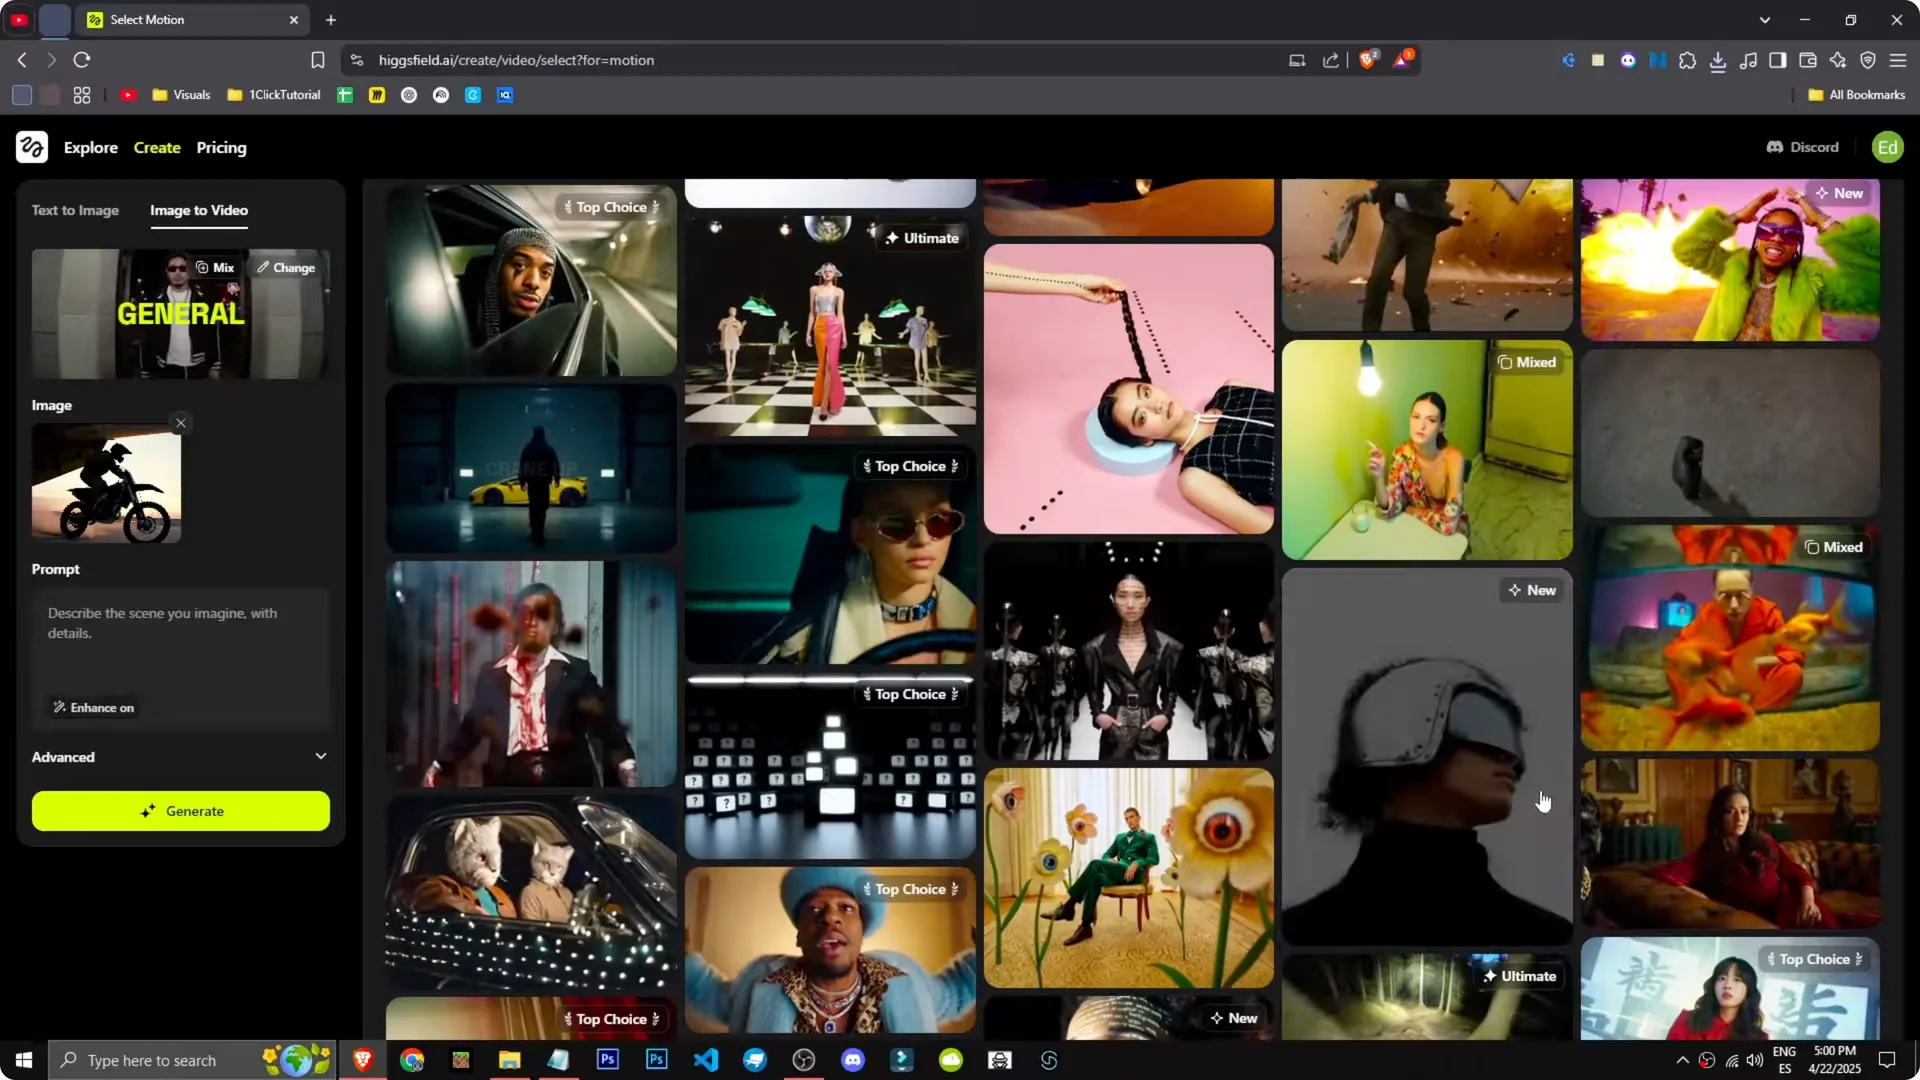
Photo to Video Animation in Hicksfield
How can we generate videos with Hicksfield? I go to Image to Video and upload an image I made with the tool of a motorcycle coming down an airplane ramp. I want to set up one of the effects.
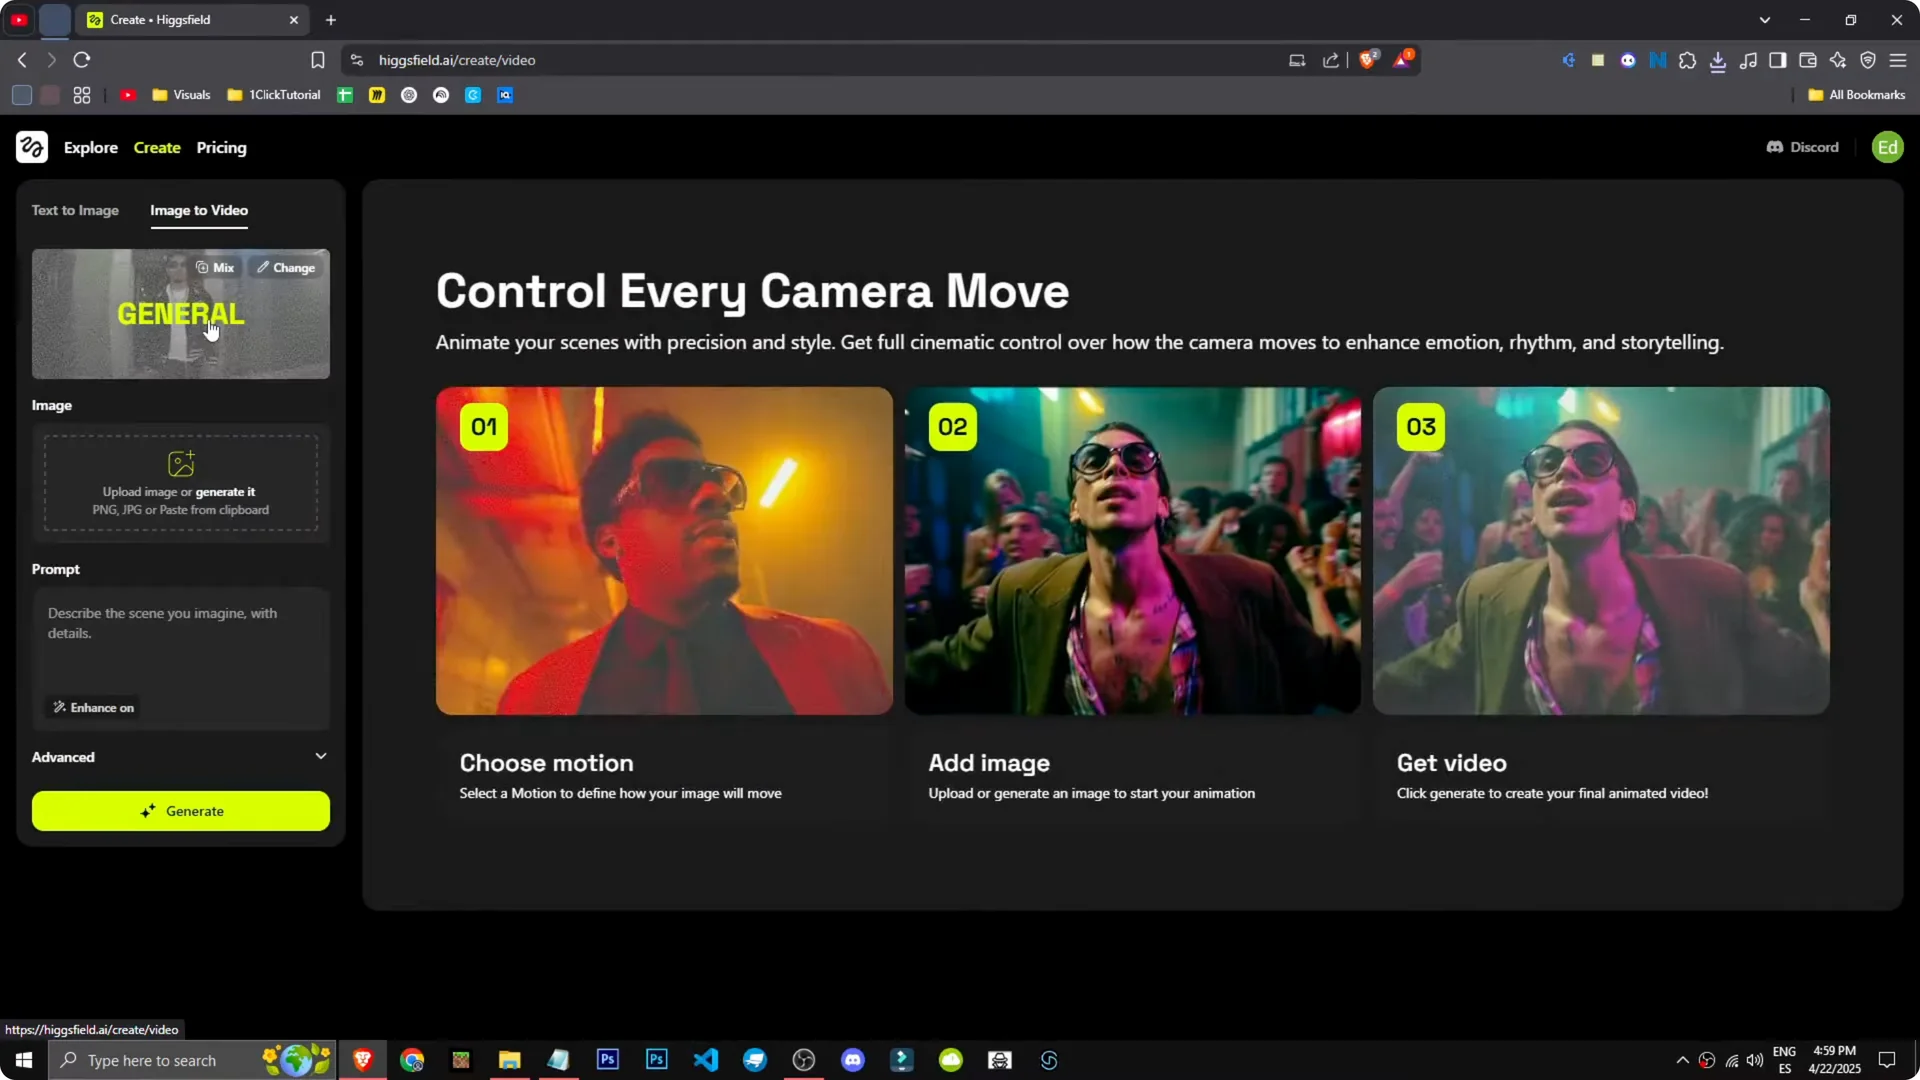
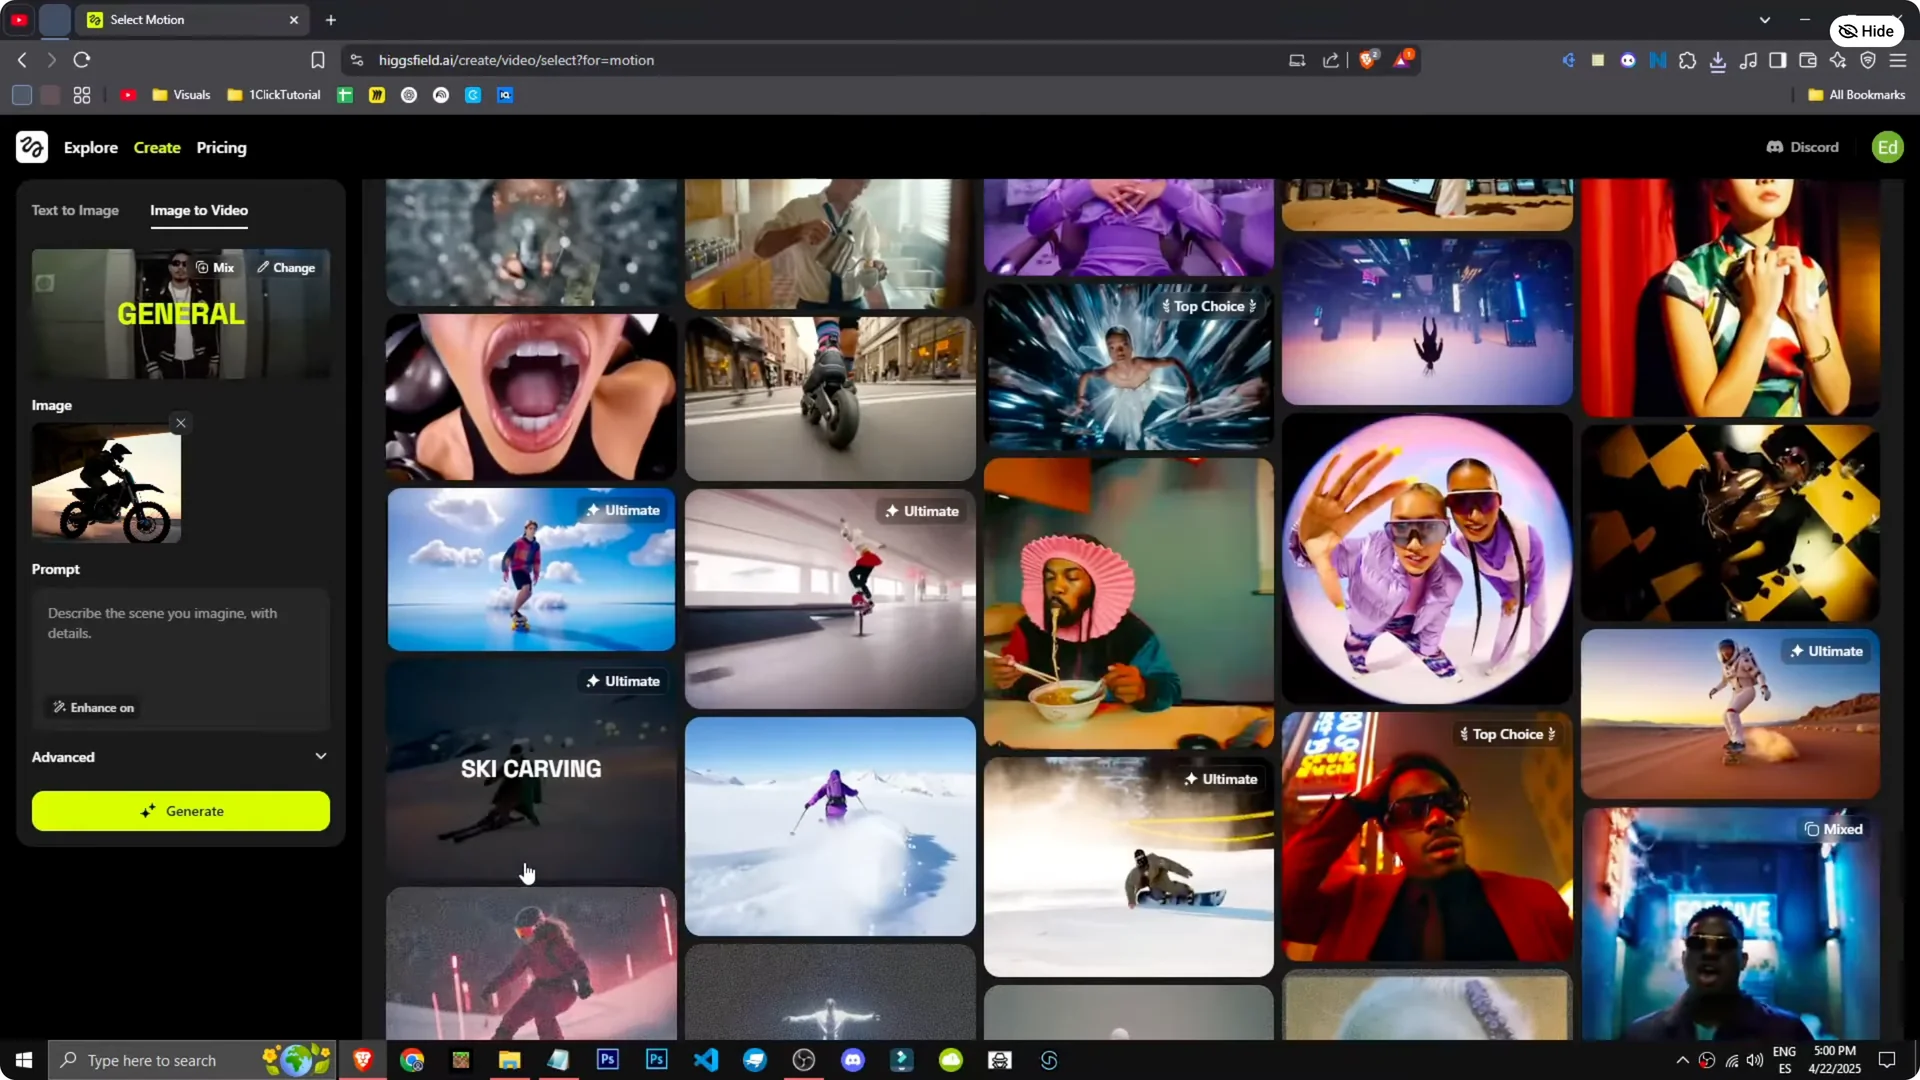
I choose the FPV drone to see what it does. I select it, choose this image, and think about what I want to happen. Honestly, I have no idea.
Generate and see what it does. Simple, direct, no prompt, just pure creativity. I am in the queue now, and to speed up generation I would need a paid version.
This is the result. There is the motorcycle coming out of the plane, even skidding. It looks incredible.
The effect is mind-blowing. This AI is not just good, it is phenomenal. For planning motion more precisely in other apps, see a guide to motion control in Kling AI.
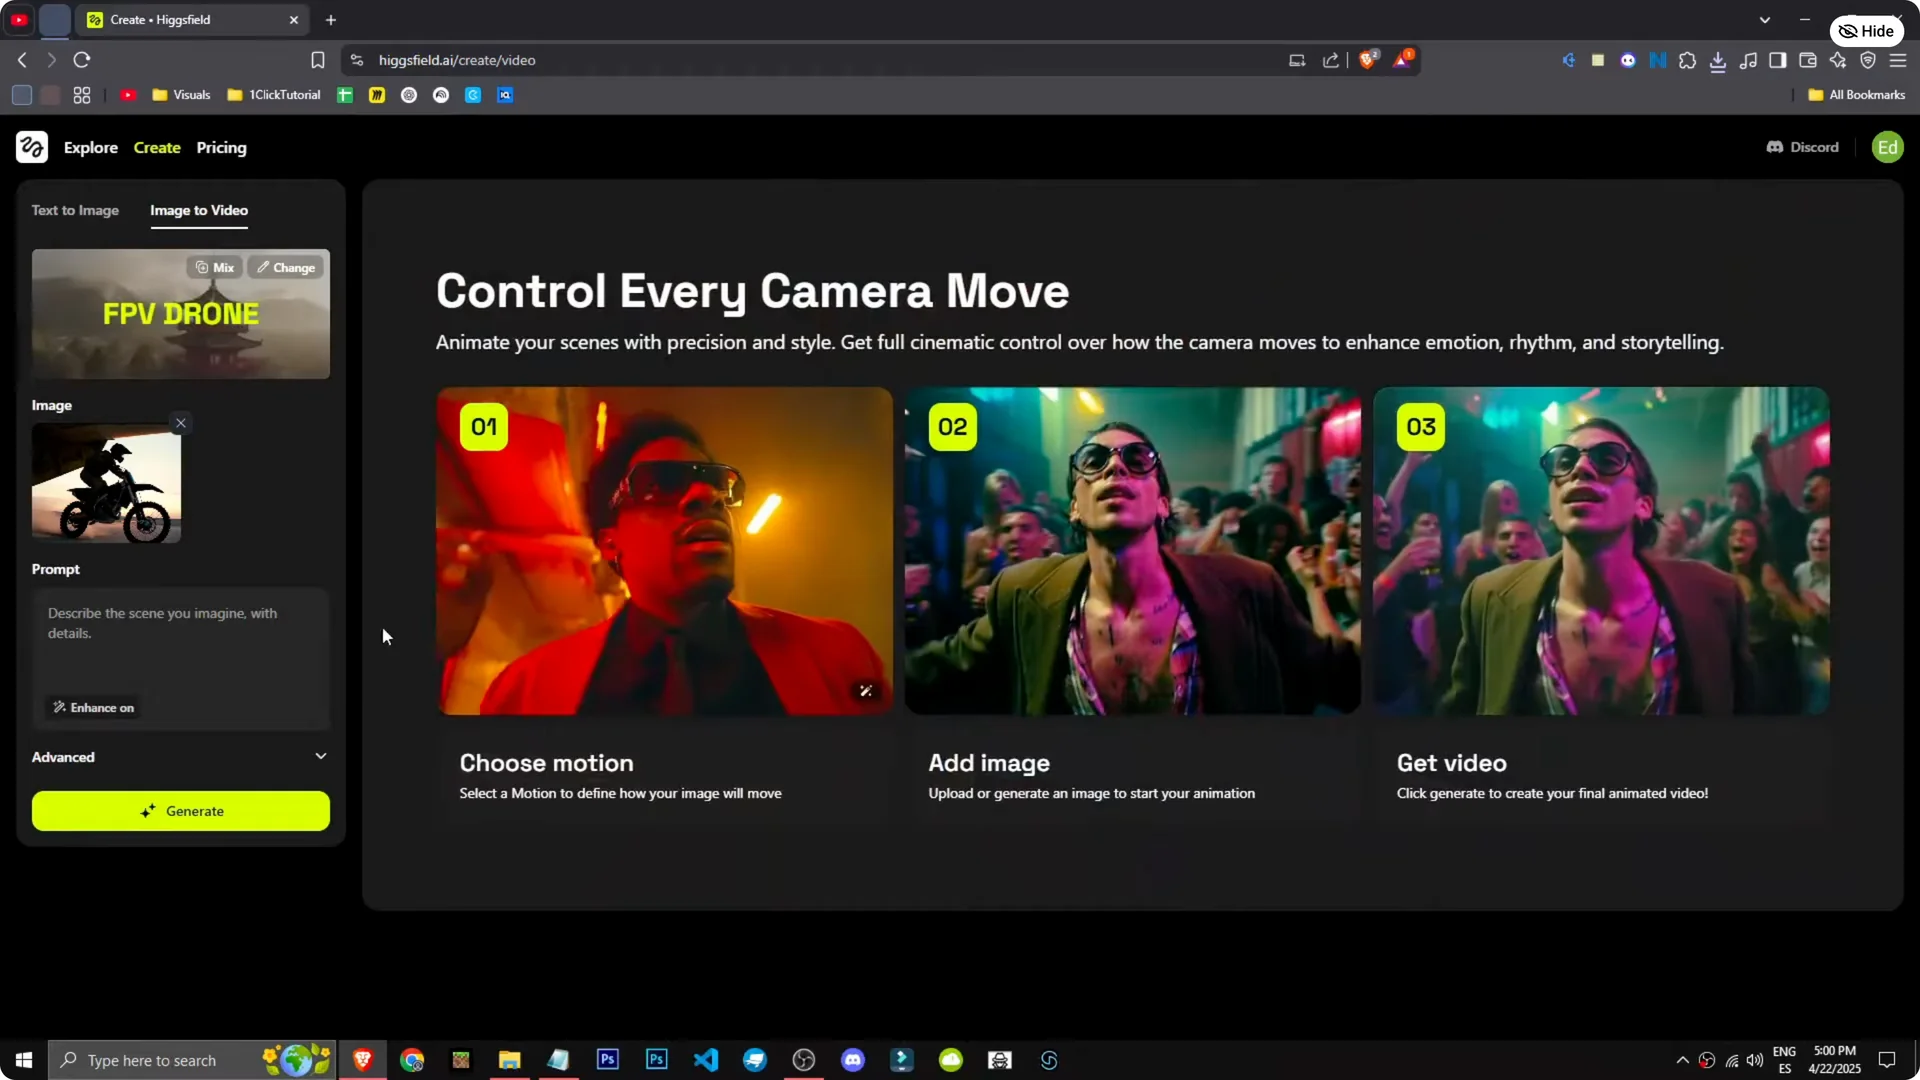
Step-by-Step: Photo to Video Animation
1 – Go to Image to Video. Upload an image you created, like the motorcycle on the ramp. Confirm the source image is the one you want to animate.
2 – Pick an effect. Choose FPV drone for a dynamic pass that follows the subject. Other effects can shift the camera feel or subject emphasis.
3 – Adjust options if needed. Set the effect parameters and confirm the selection. Keep it simple if you want to see pure interpretation.
4 – Generate the clip. Enter the queue and wait for processing. Review the output and note what worked and what needs refining.
5 – Iterate on the prompt or image. If the exit or motion is not what you expected, clarify the action in your image prompt next time. For example, specify that the motorcycle is mid-air outside the plane.
Fine-Tuning Results
You can tell when an image suggests the right subject but misses the action. If it looks grounded, make the airborne state explicit. Mention altitude, camera angle, or motion cues like dust trails or tire rotation.
For videos, start with a clear hero action and a short effect. Small changes can shift the motion path a lot. If you need smoother temporal feel later, try slow motion with Filmora AI to extend moments and study motion.
Final Thoughts
Hicksfield makes it simple to sketch a cinematic idea and push it into motion. With a clear prompt, a focused effect like FPV drone, and a willingness to iterate, you can get striking results. The motorcycle launching from a plane, skidding on the ramp, and selling the moment shows how far you can take a single image with Photo to Video Animation.