If you’ve ever wanted to create a visual effect transition inside a software, here’s how to melt an image and turn it into another using Higgsfield. Higgsfield is an AI powered tool where you can create videos and images using prompts and a bunch of different tools. I’m using one of the paid plans.
If you want a broader overview of creating videos and images with prompts, check out this guide to Higgsfield video and image creation. It will help you get up to speed on how this software works and what it offers.
Exploring Higgsfield VFX Transitions
Higgsfield has a visual effects tool in its library with a lot of different transitions. These are on the homepage, and they are the first ones you can see. You can check previews of each effect before generating.
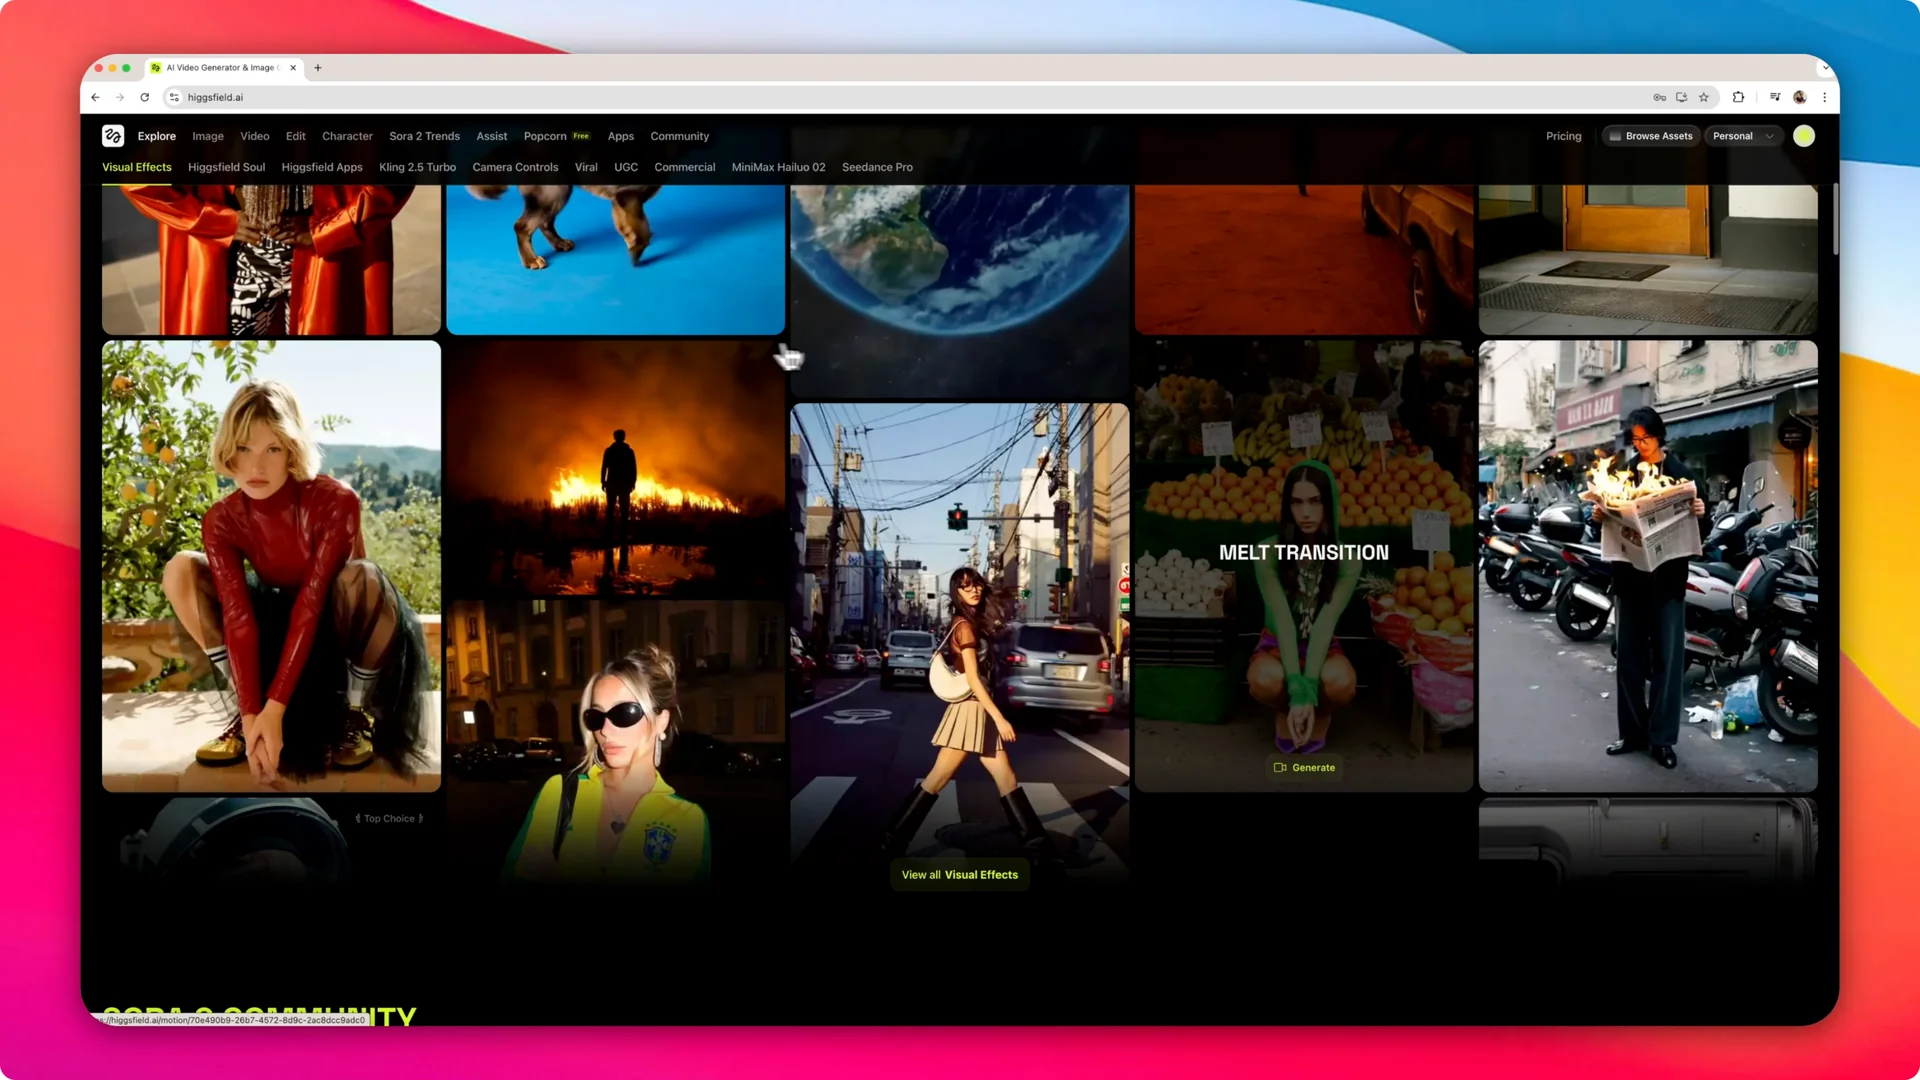
Clicking View all visual effects opens a dropdown where you can see all the transitions. If you hover over them, you can see the name and what the transition will be. For example, piece of fall, flame on, or earth zoom out.
Melt transition in Higgsfield VFX Transitions
The melt transition takes one image, melts it, and turns it into another image. It then creates a video that does that animation. Here is the exact process I used.
Step 1: Click Generate to open the project screen. You will see different projects you have worked on in the past.
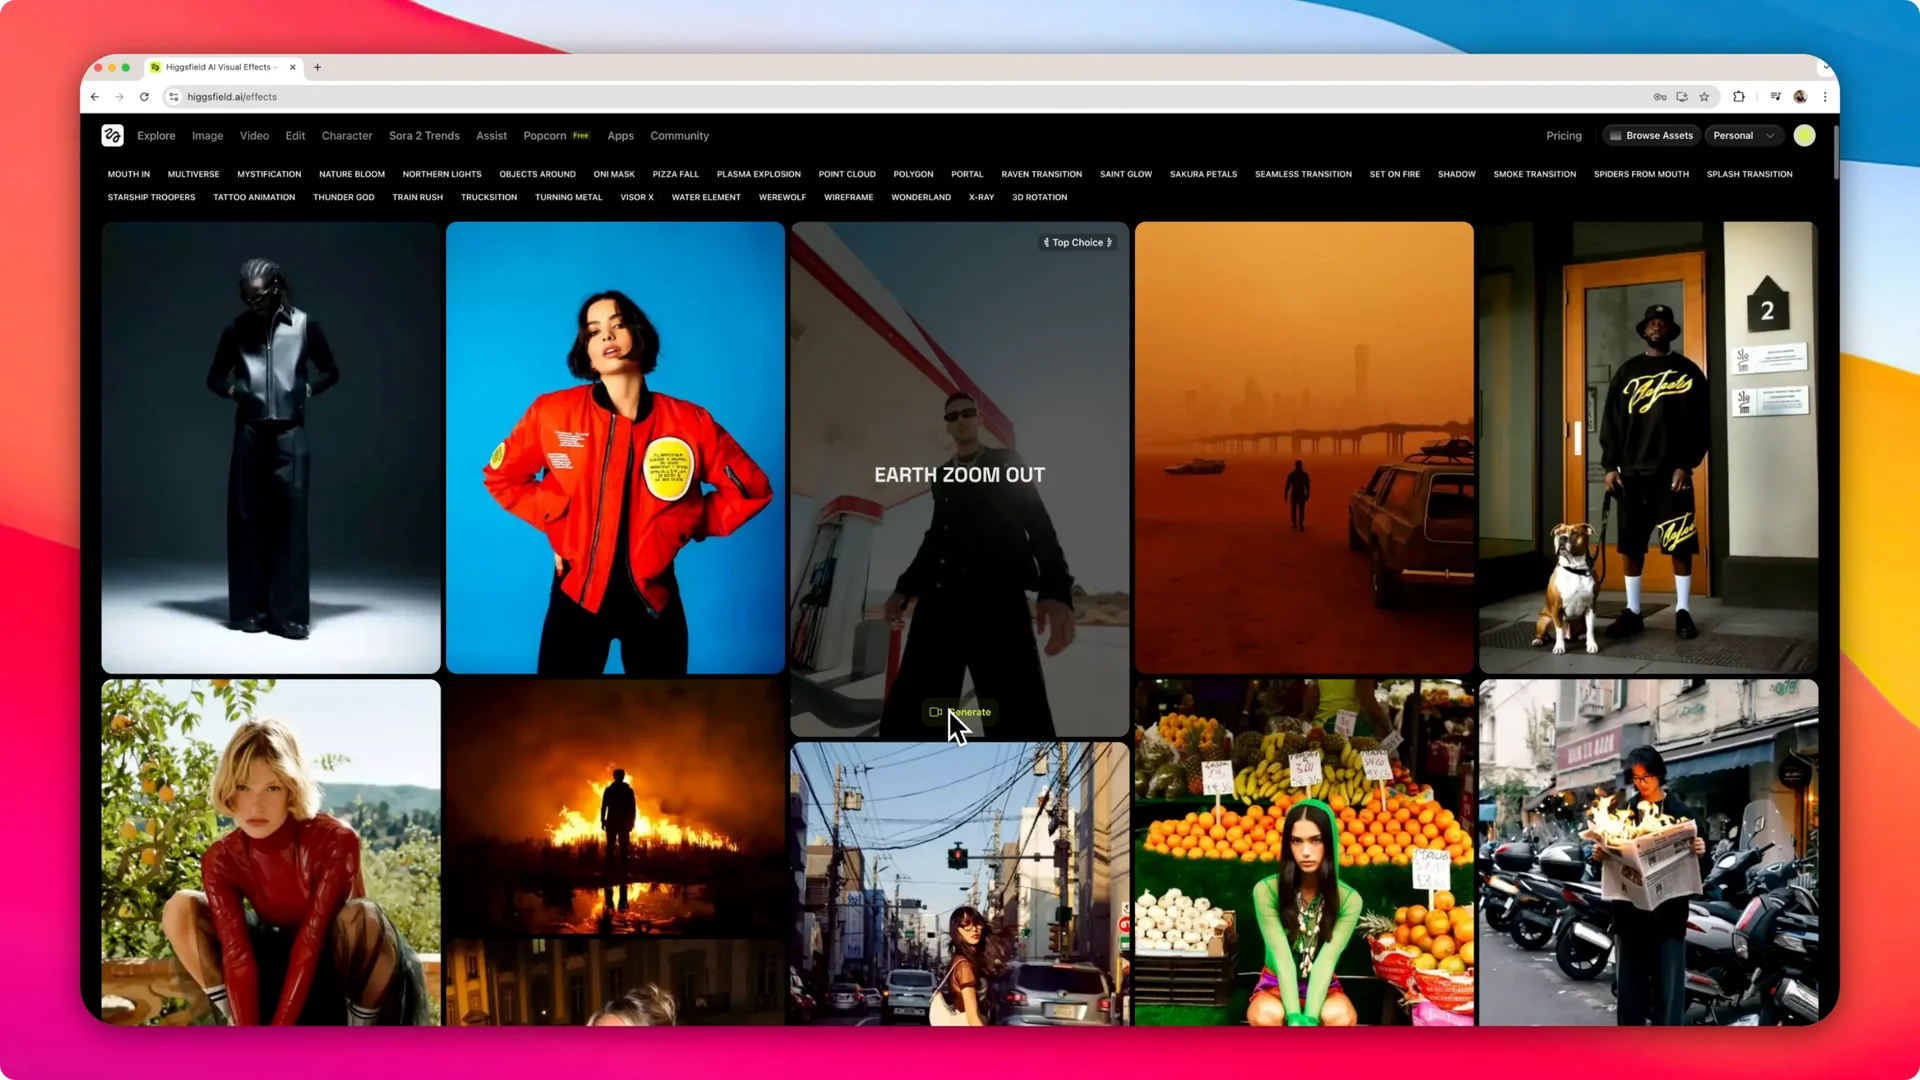
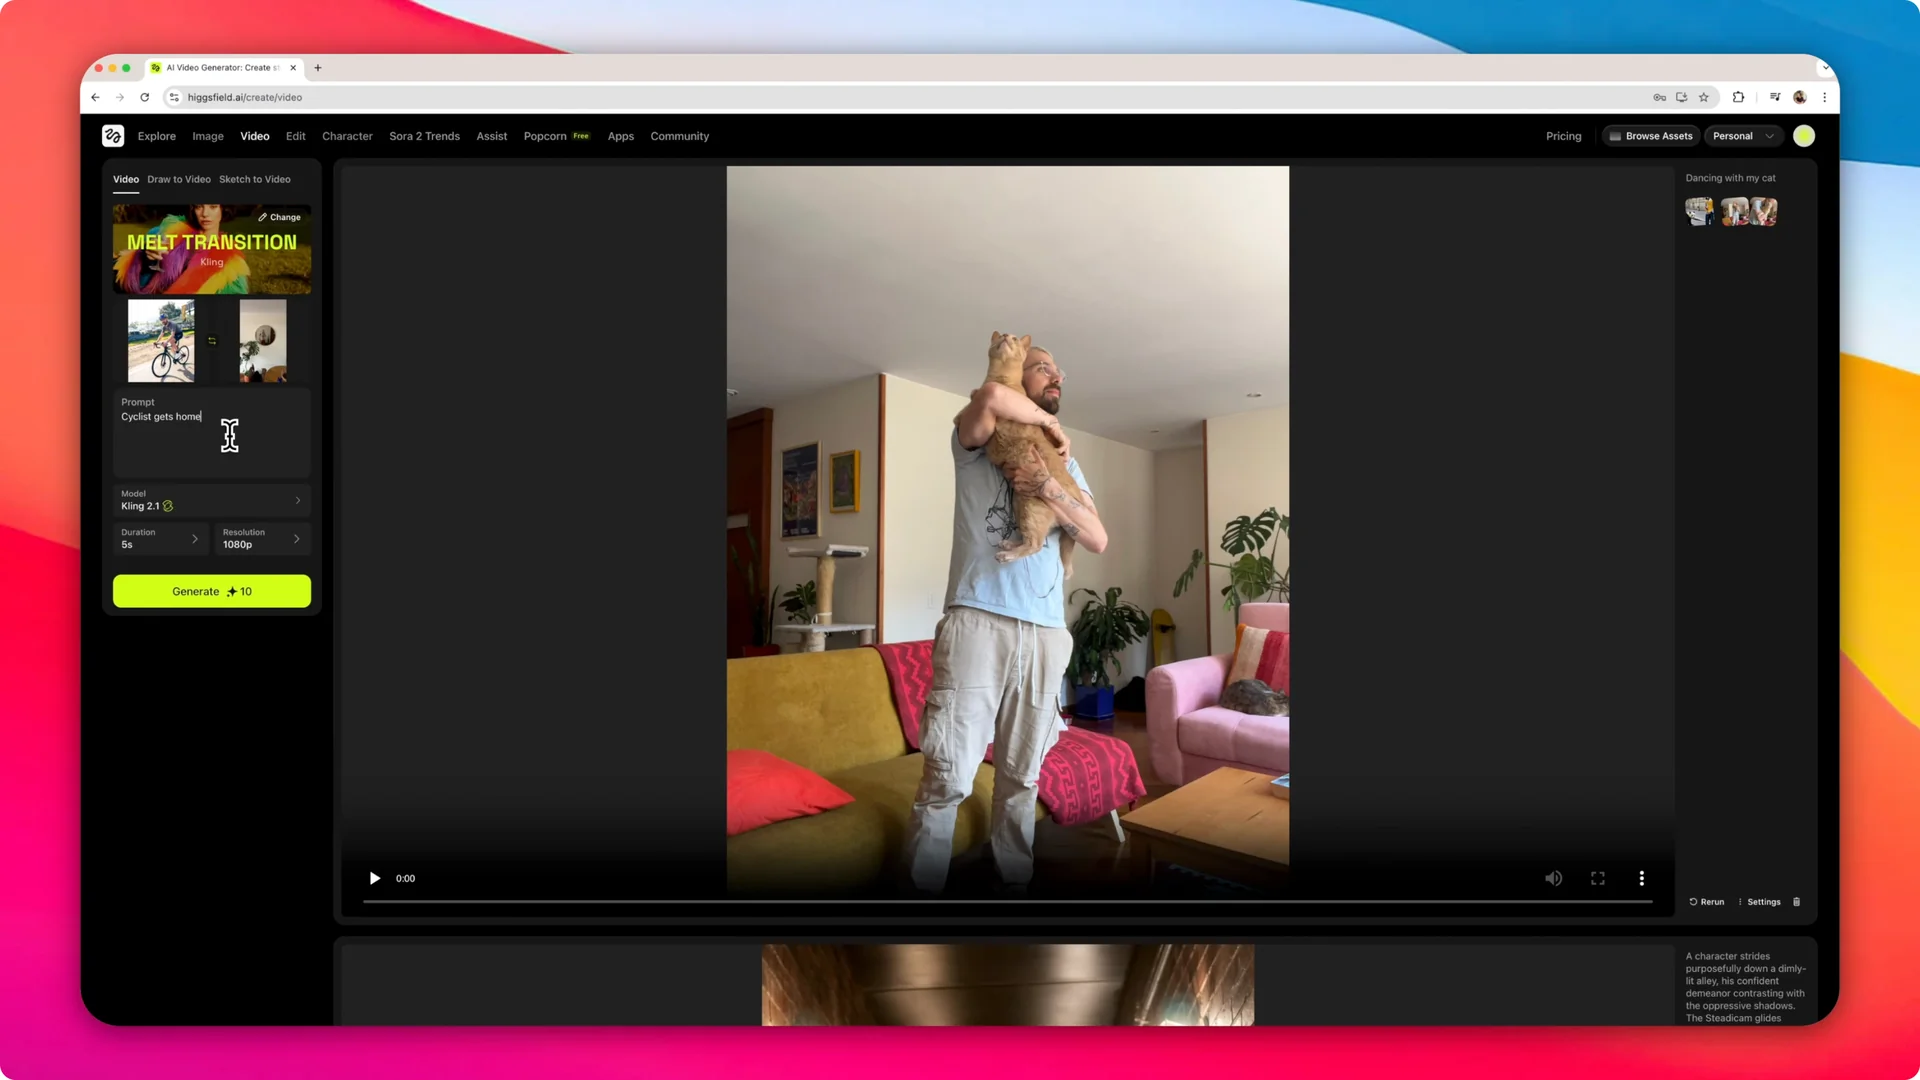
Step 2: Select a start frame and an end frame. I picked an image of myself riding my bicycle as the start, and a selfie in a mirror wearing bicycle attire as the end.
Step 3: Write a short prompt describing the scene and confirming the transition you selected. I used: Cyclist gets home.
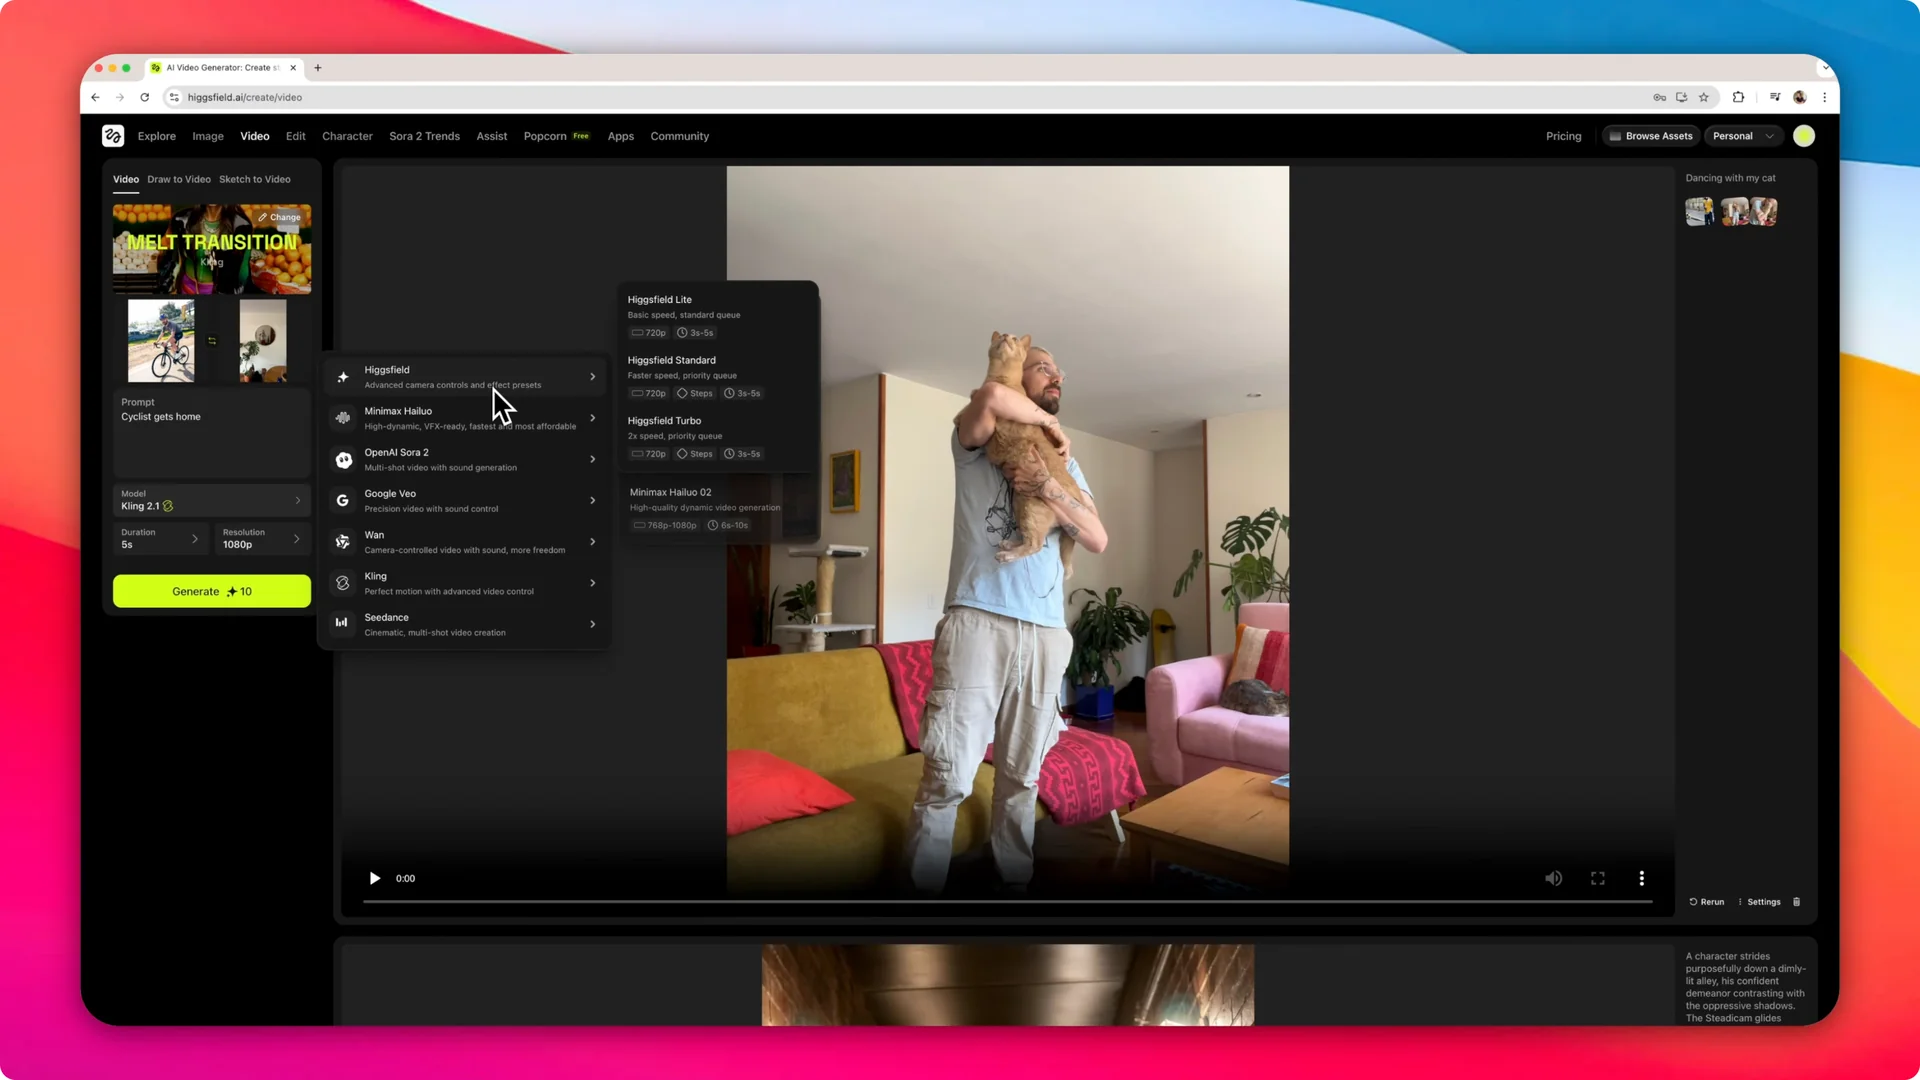
Step 4: Choose the model for the transition. It defaulted to Kling 2.1, and you can also pick from a Higgsfield model, Sora, or a Google model.
Step 5: Set the duration. I set it to 10 seconds.
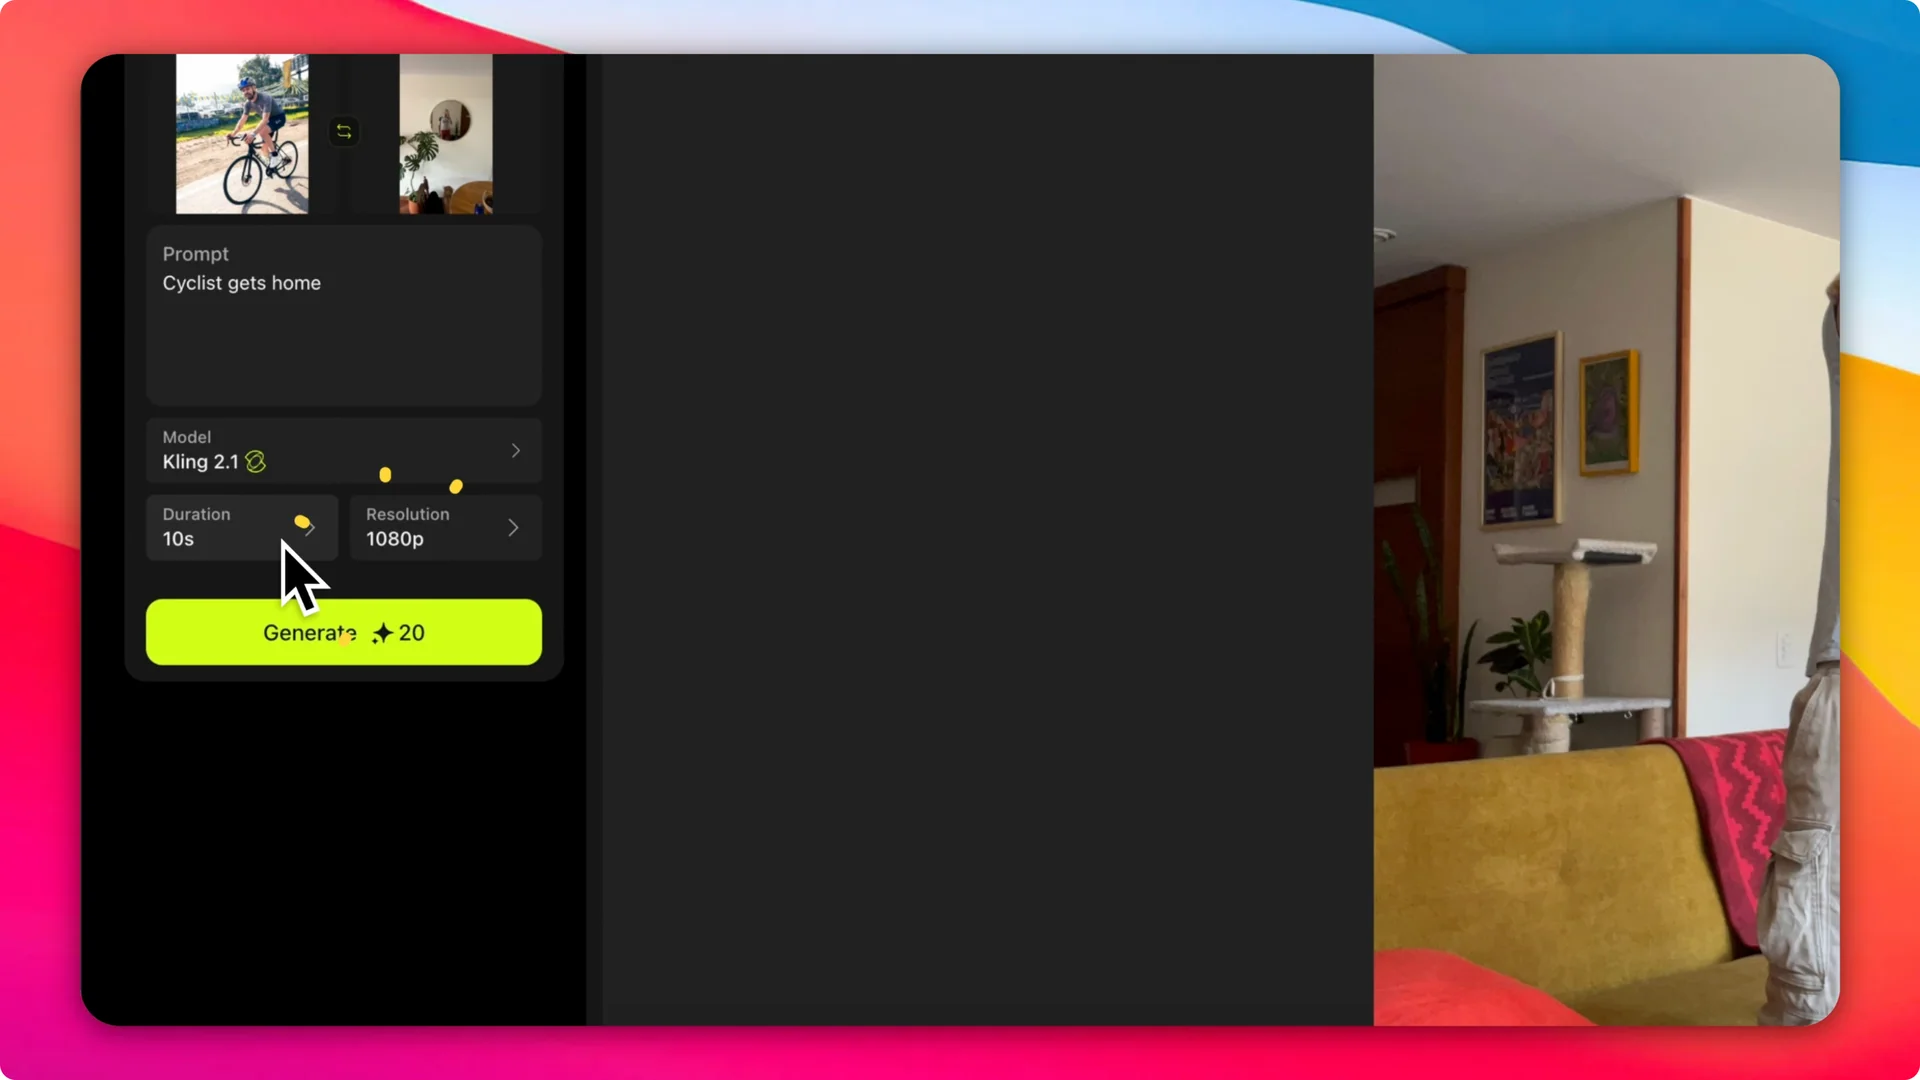
Step 6: Choose the resolution. You can pick 720p or 1080p, and I always select 1080p because it creates a result you can use in a bunch of different scenarios.
Step 7: Click Generate and wait a few seconds for the software to create the scene. The system will assemble the transition and render the clip.
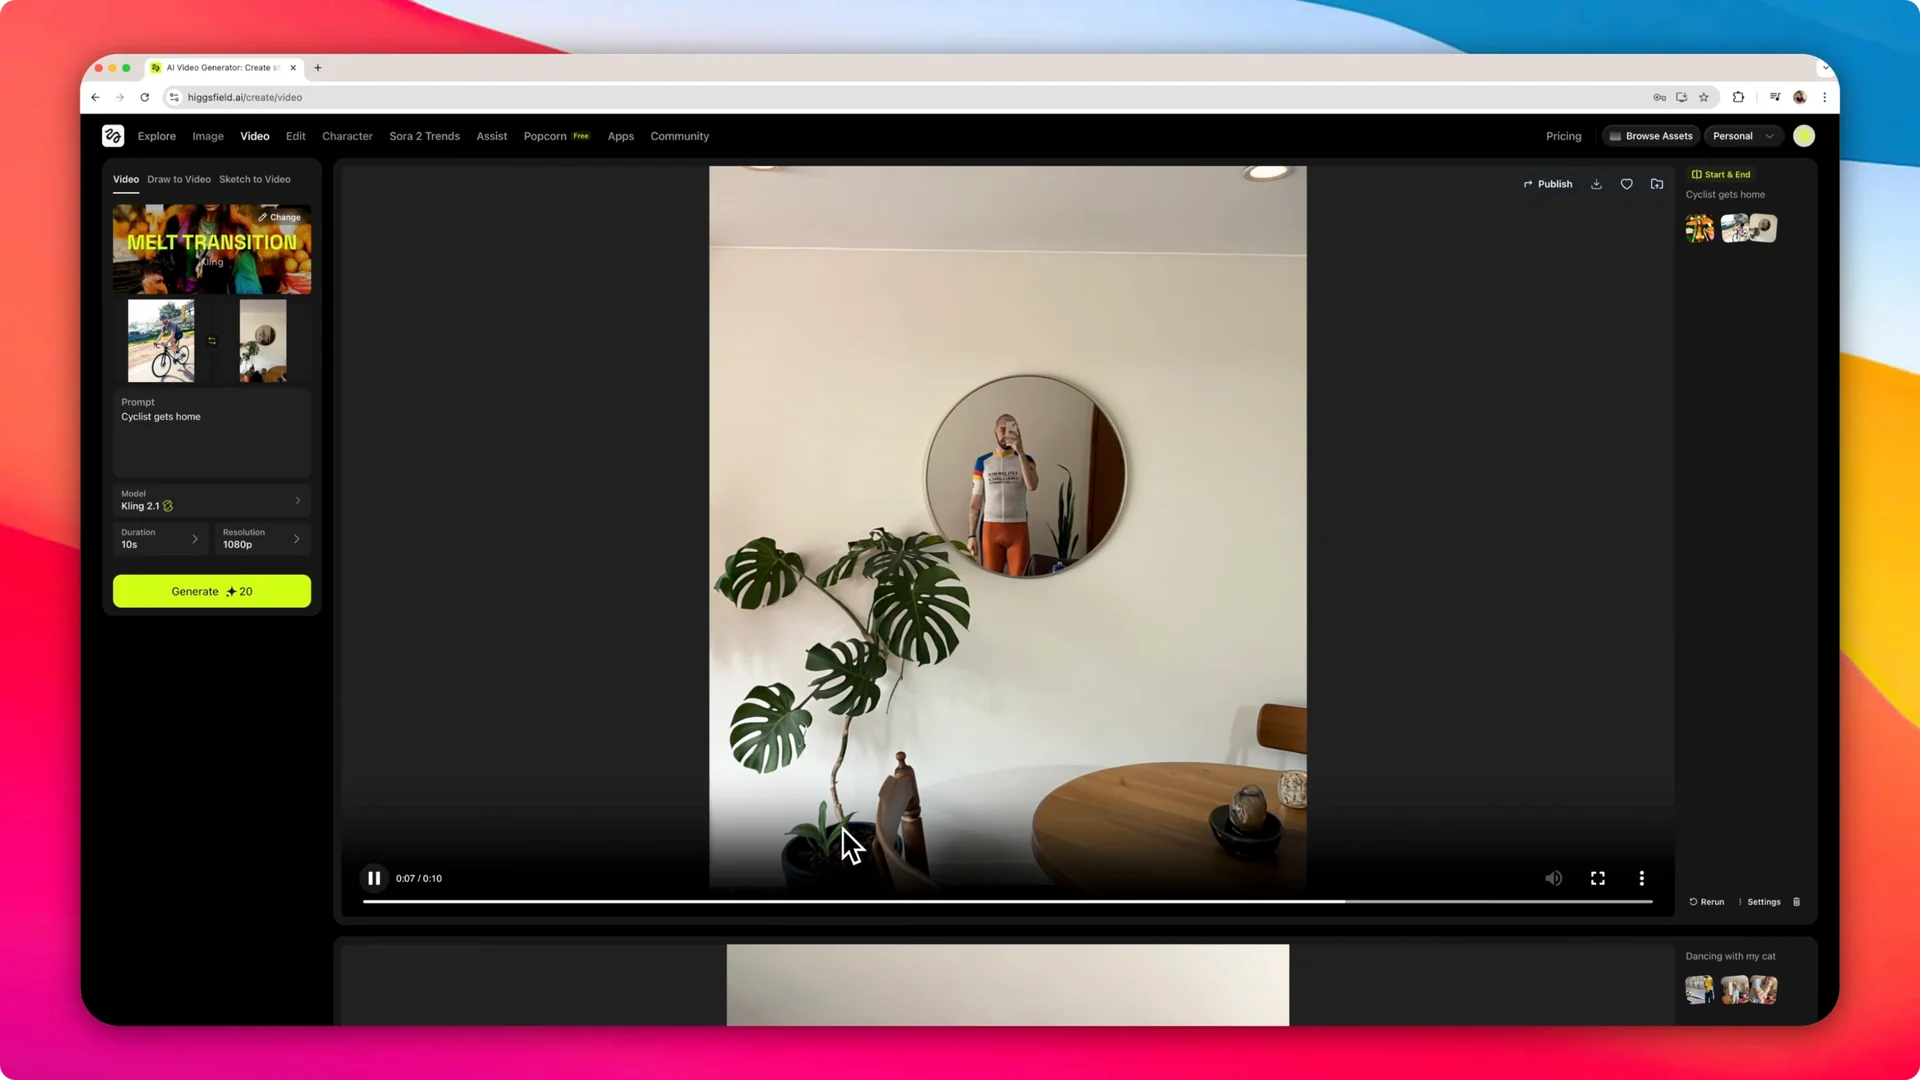
The result added the exact transition I wanted. It showed me riding my bicycle and even added a little animation of the bicycle in motion. It melted away to my place.
It added a bunch of different assets that are not in the original images. You can see the bicycle moving, and on the picture of my house it expands on the plant and on the table. It expands on a lot of different elements so the scene makes more sense while it melts.
All in all, it does a really cool job at creating that transition using the VFX I chose. For building out full scenes beyond a single transition, see this walkthrough on cinematic scene creation in Higgsfield.
Testing other Higgsfield VFX Transitions
Aerial pullback with and without an end frame
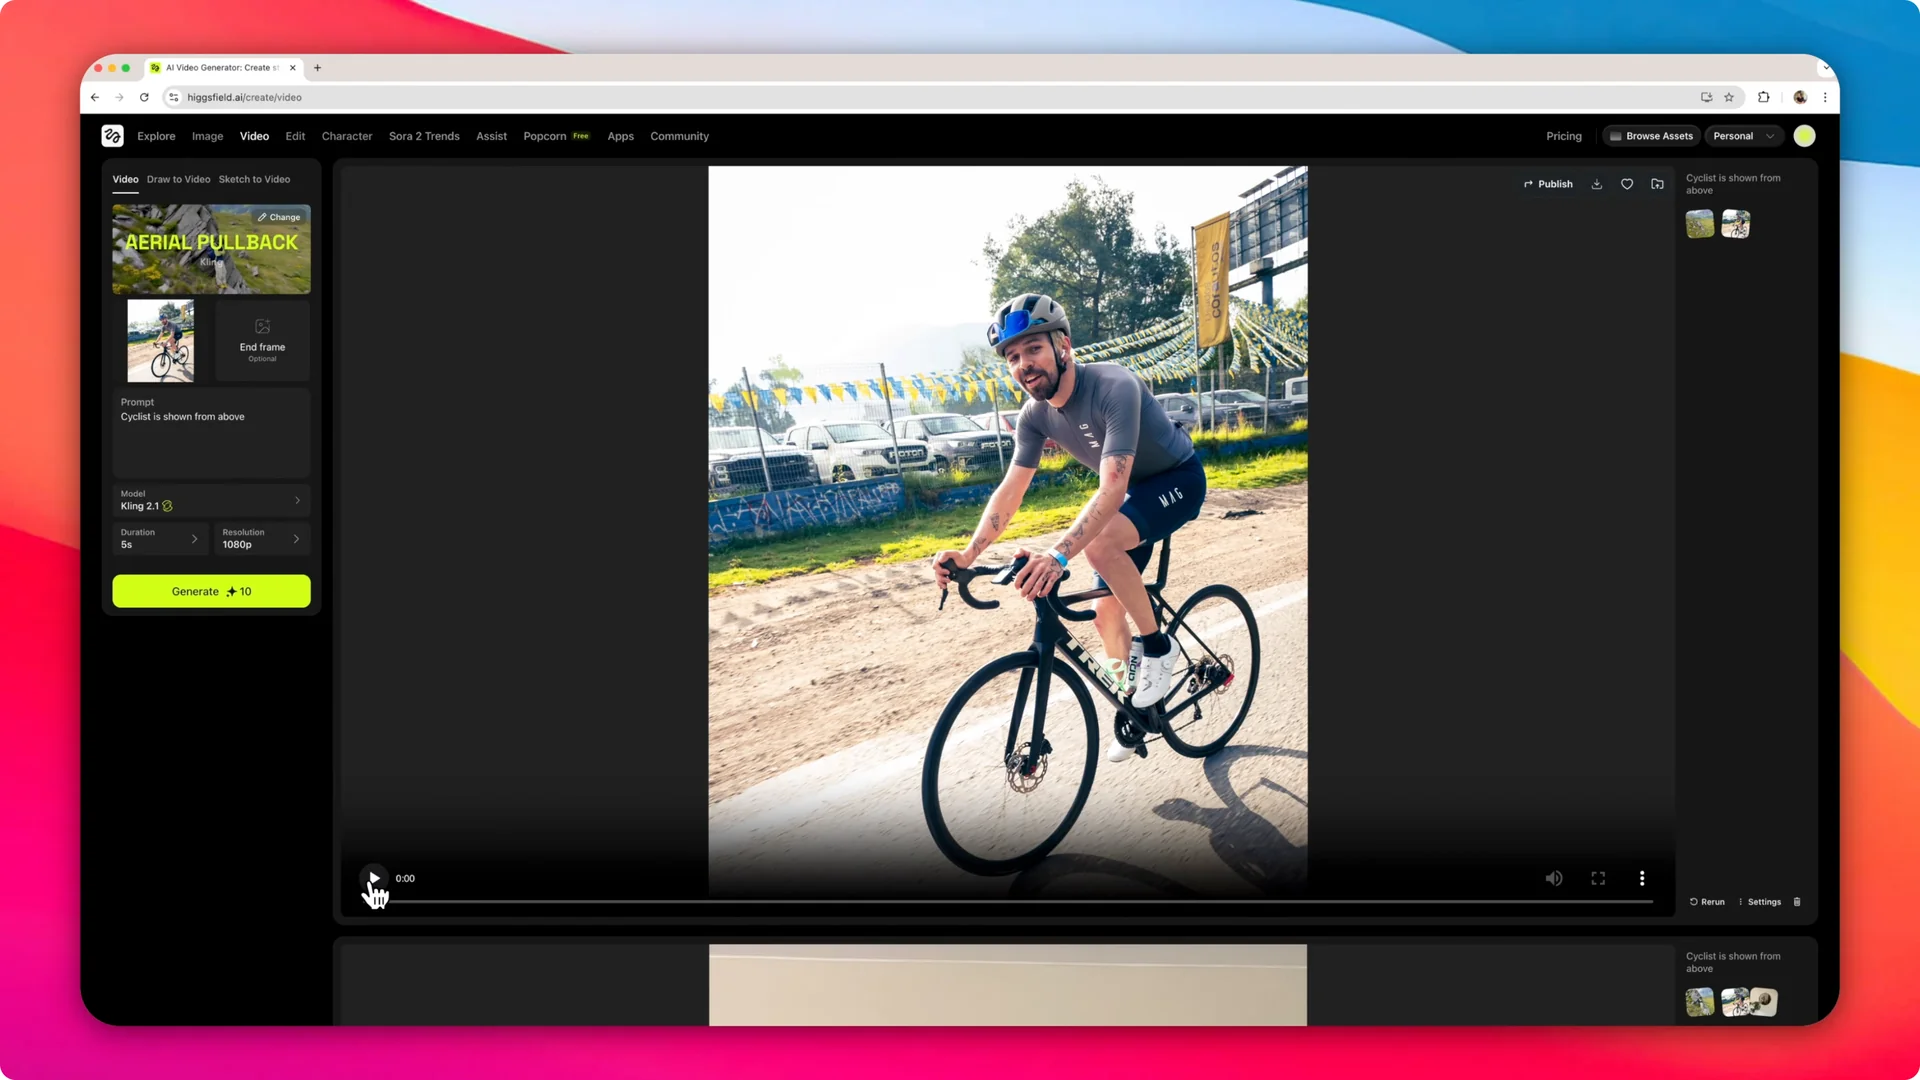
I switched the visual effect to Aerial pullback. I changed the prompt to: Cyclist is shown from above.
I kept 1080p but set the duration to 5 seconds so it generates quicker. The software added a different transition using the aerial pullback.
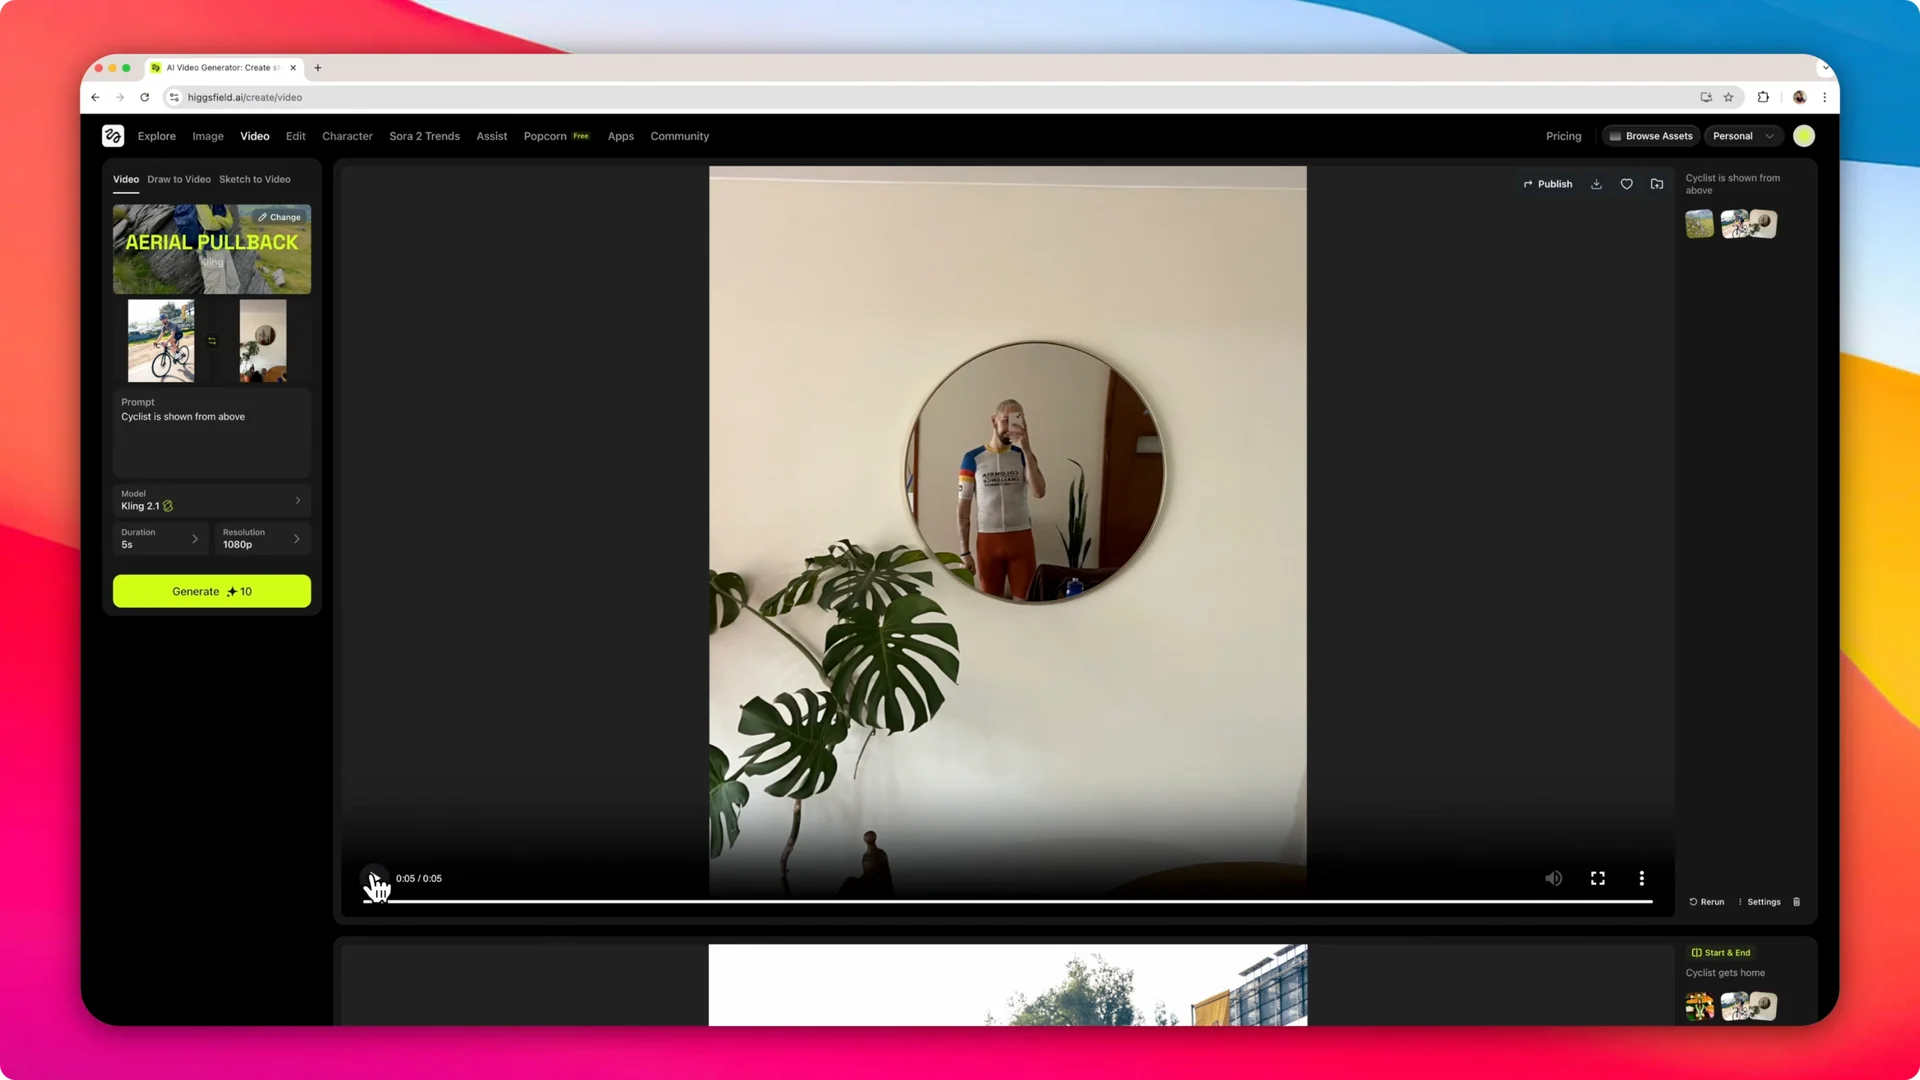
If you remove the end frame and click Generate, the software has more freedom. It does not have to go to that final image. The aerial pullback without an end frame is a bit more usable because it does not transform into another specific image, and you can play around with it a bunch more.
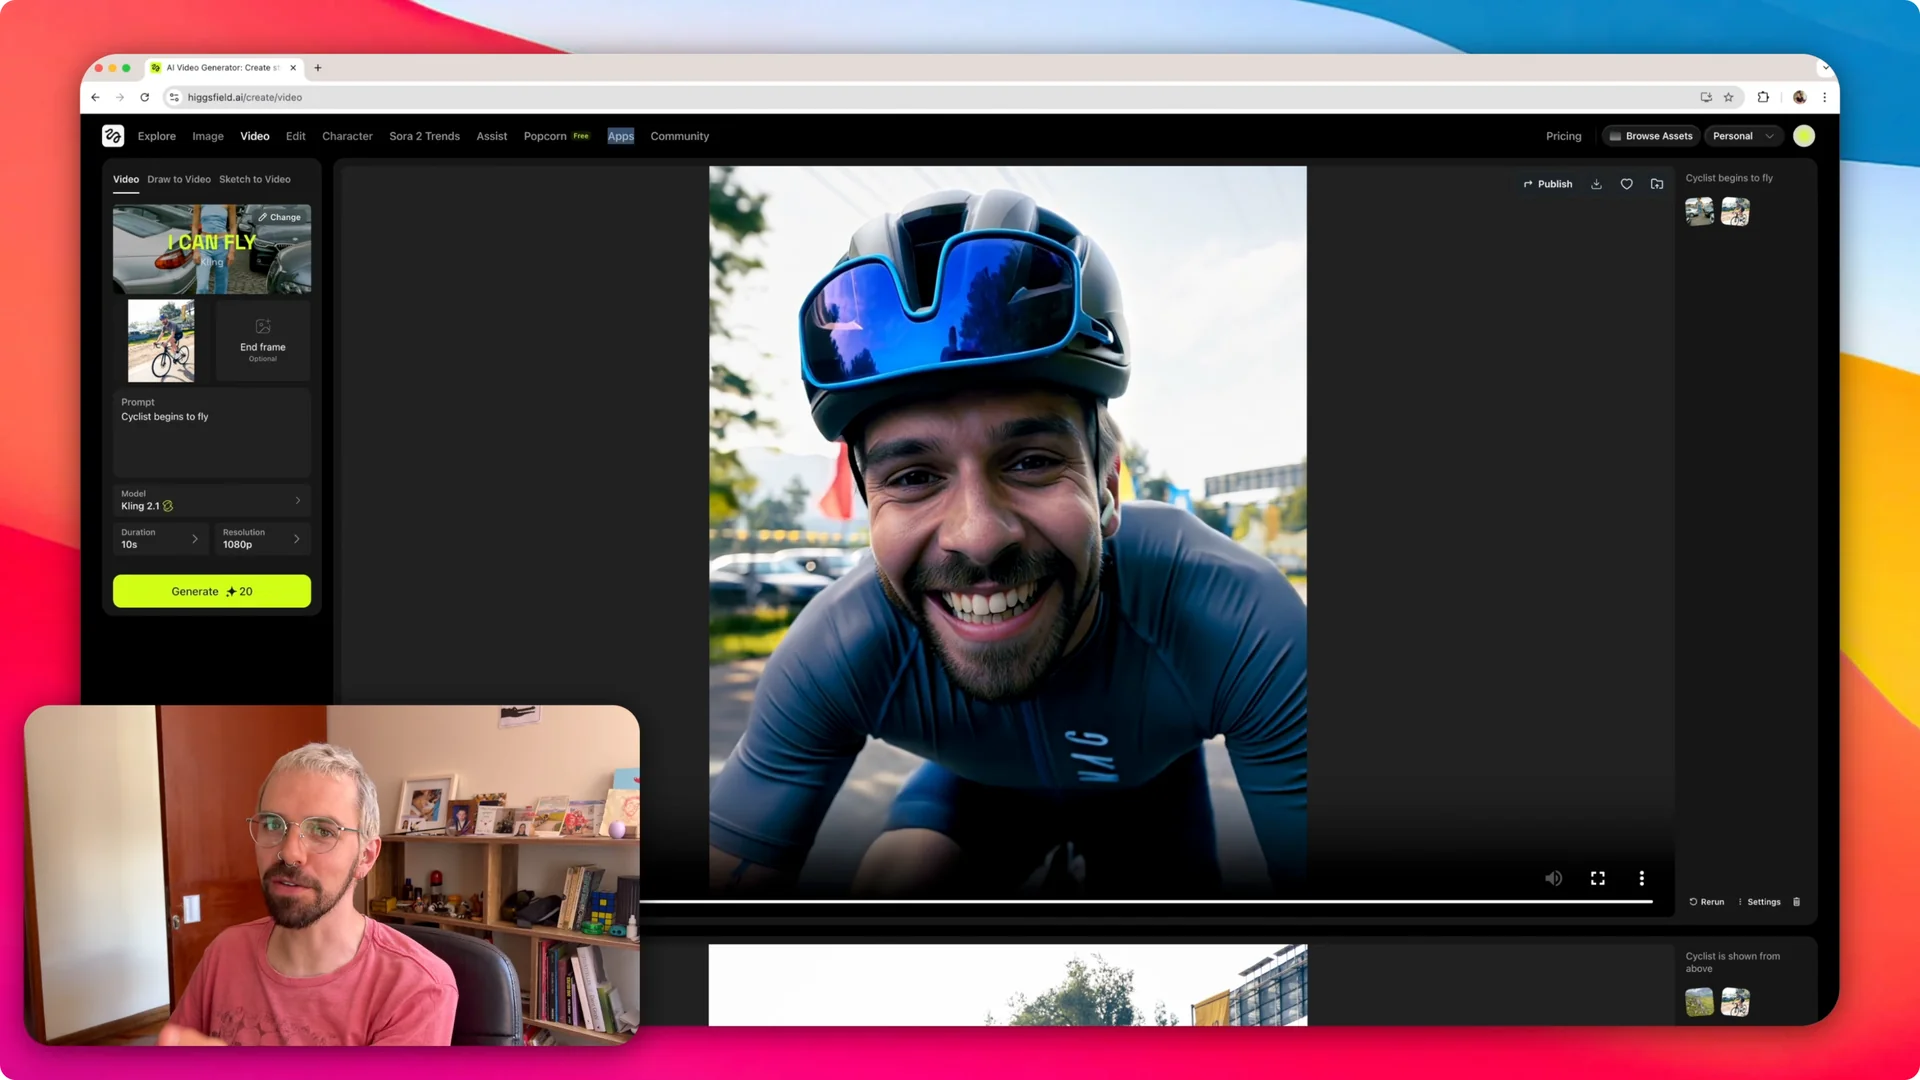
I can fly effect
I changed the visual effect again and picked I can fly. My prompt was: This cyclist begins to fly.
I set the duration to 10 seconds and generated the clip. The final effect is just myself trying to fly, with no gravity whatsoever in the video.
Tips for Higgsfield VFX Transitions
You can play around with all the different models that the software has. We looked at three, but there are a bunch of different ones to pick from. If you have a start frame and an end frame, the visual effect behaves differently because it keeps melting or transforming toward the end frame.
If you leave it open with just a starting frame, you can play around more with what the software does. You can test prompts, durations, and models to see how each one affects motion and added elements. For more inspiration on arranging shots, check these ideas for cinematic sequences with Higgsfield Cinema.
Final thoughts
That is how I use visual effects in Higgsfield to create transitions like a melt, an aerial pullback, and an I can fly effect. Pick a start frame, decide if you need an end frame, write a short prompt, choose your model, set duration and resolution, and generate. The tool adds motion and extra elements that help the transition make sense and look cool.