This tool allows us to enhance both our image and video creation. You can upload an image, convert text to image, or image to video. You will find examples with effects like explosions, cars, rhythms, zoom outs, and zoom ins.
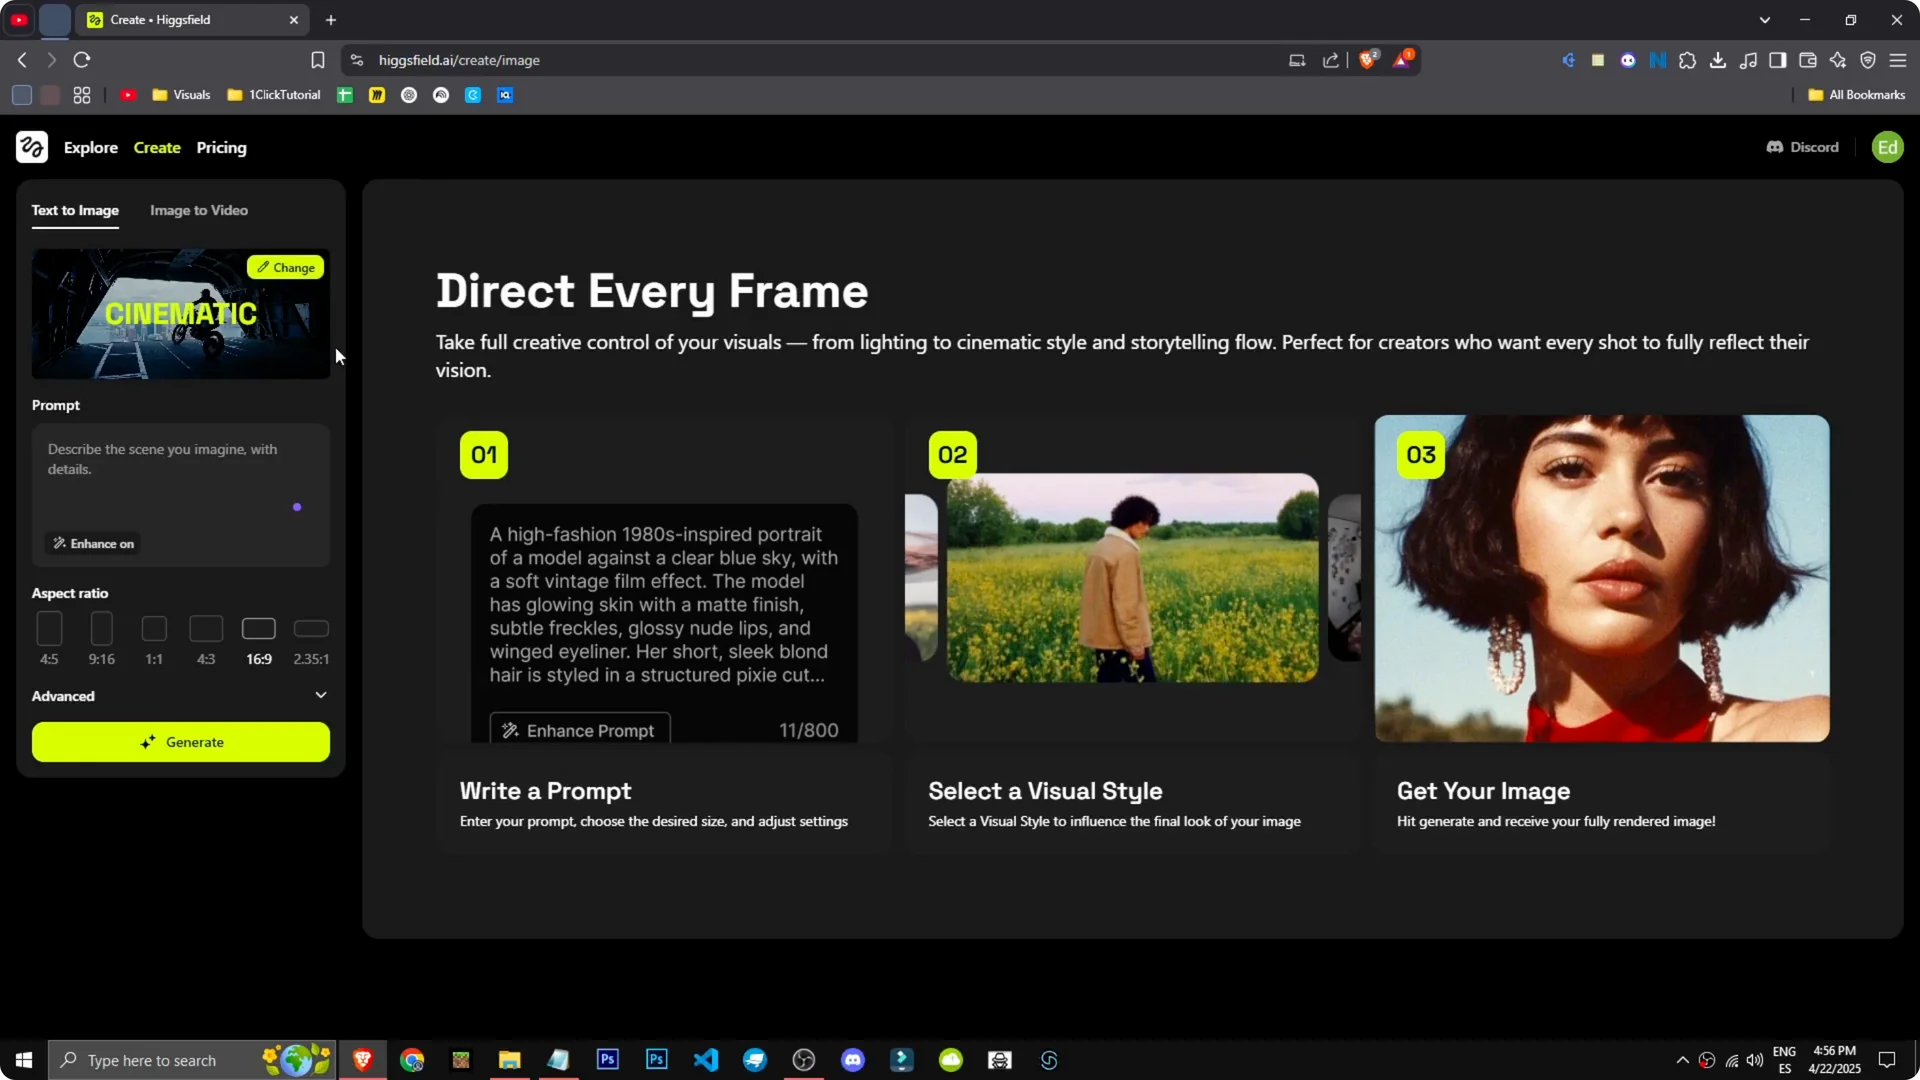
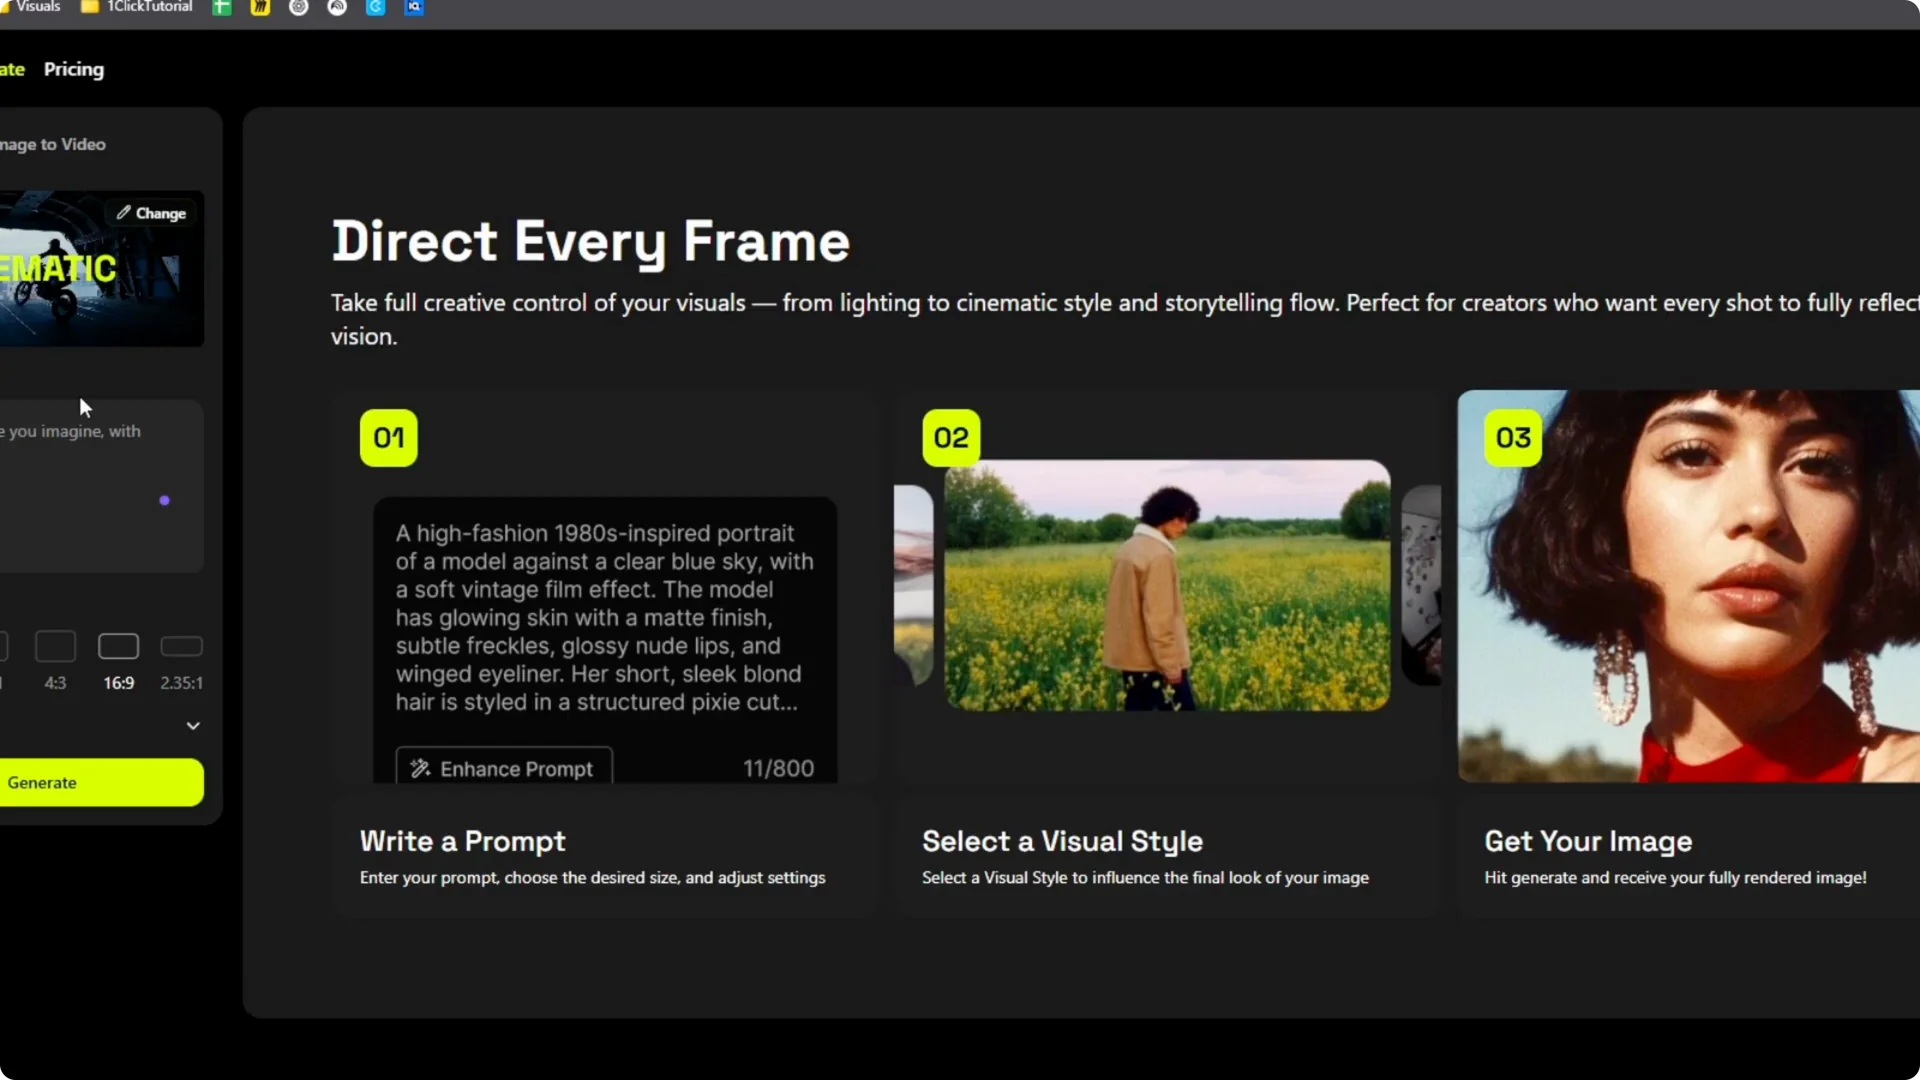
To start creating, go to Create. You can begin with text to image or jump into image to video. The flow is straightforward once you are in.
Quick start with Higgsfield Text-to-Image
Step 1 – Sign up and open Create. Use your preferred sign-in method, then go straight to the Create page. That is where all generation options live.
Step 2 – Choose your mode. Pick Upload image, Text to image, or Image to video. For this walkthrough, use Text to image.
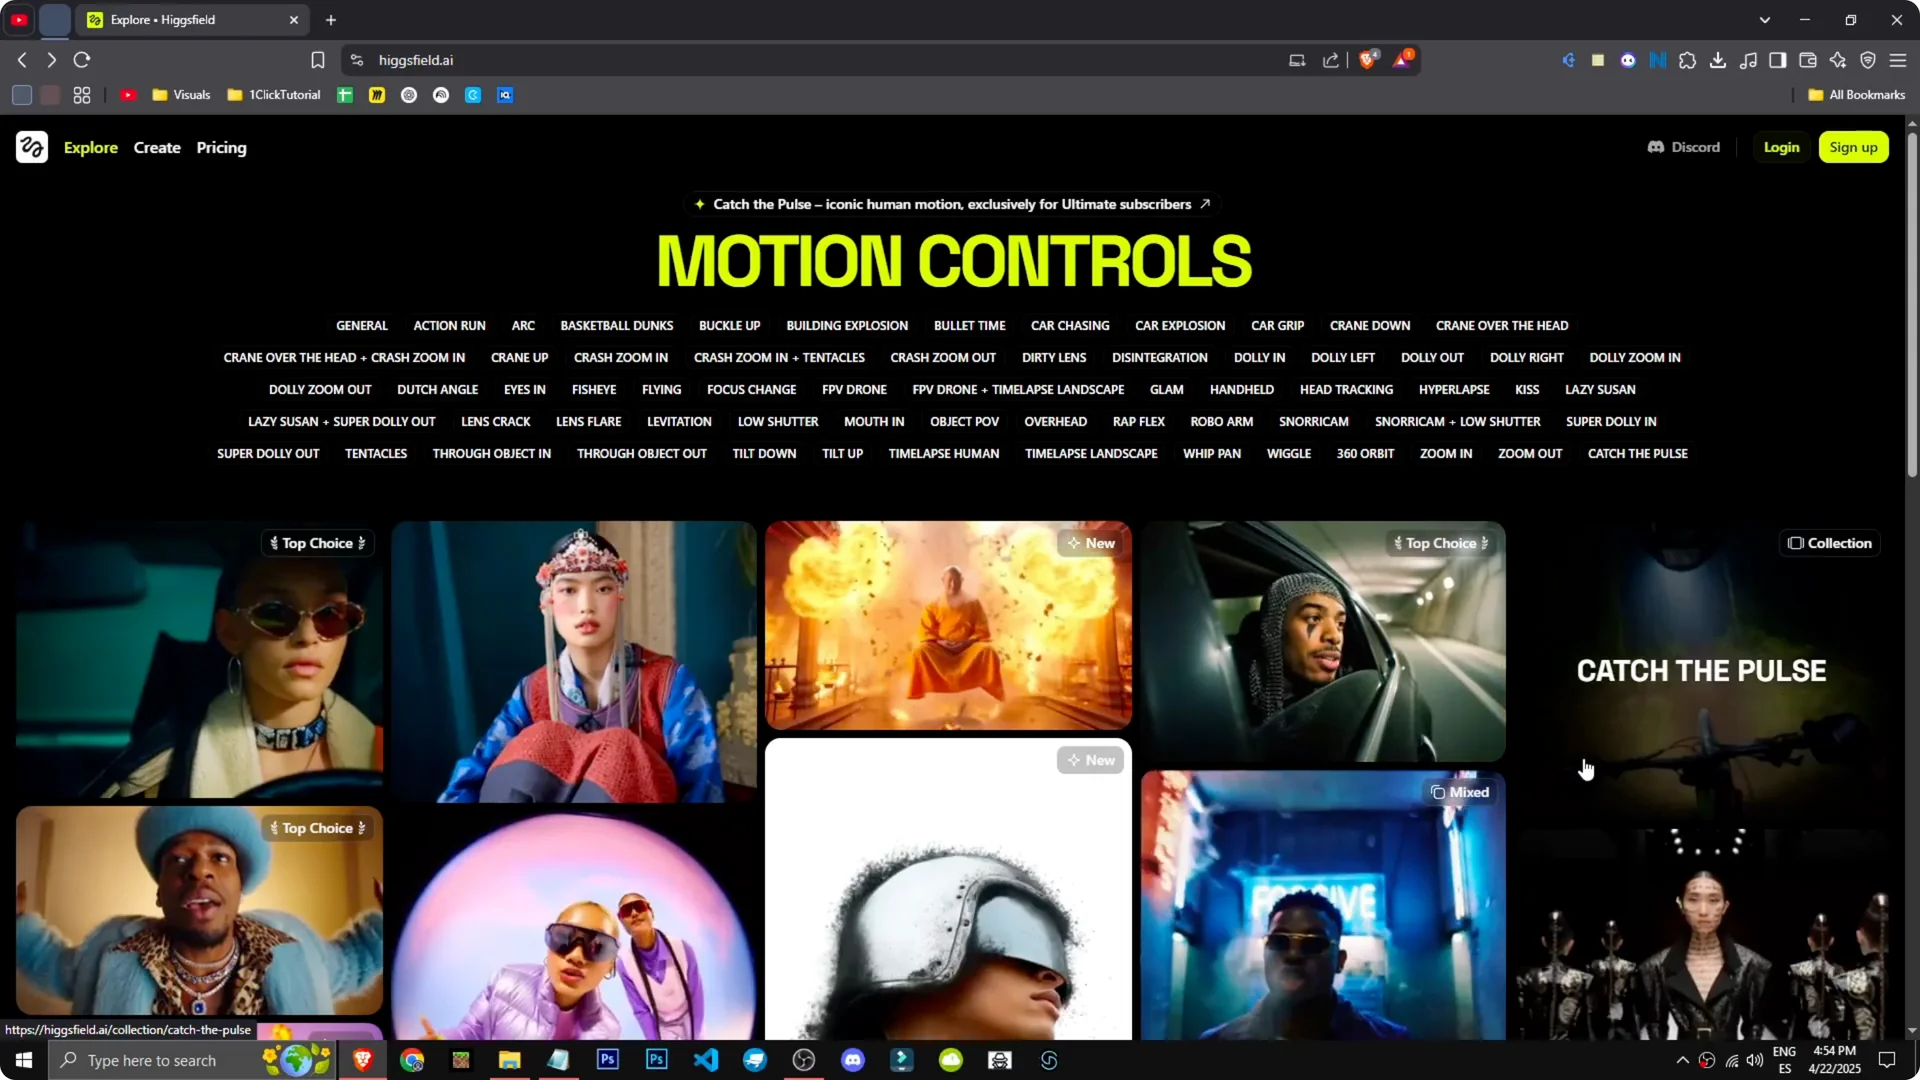
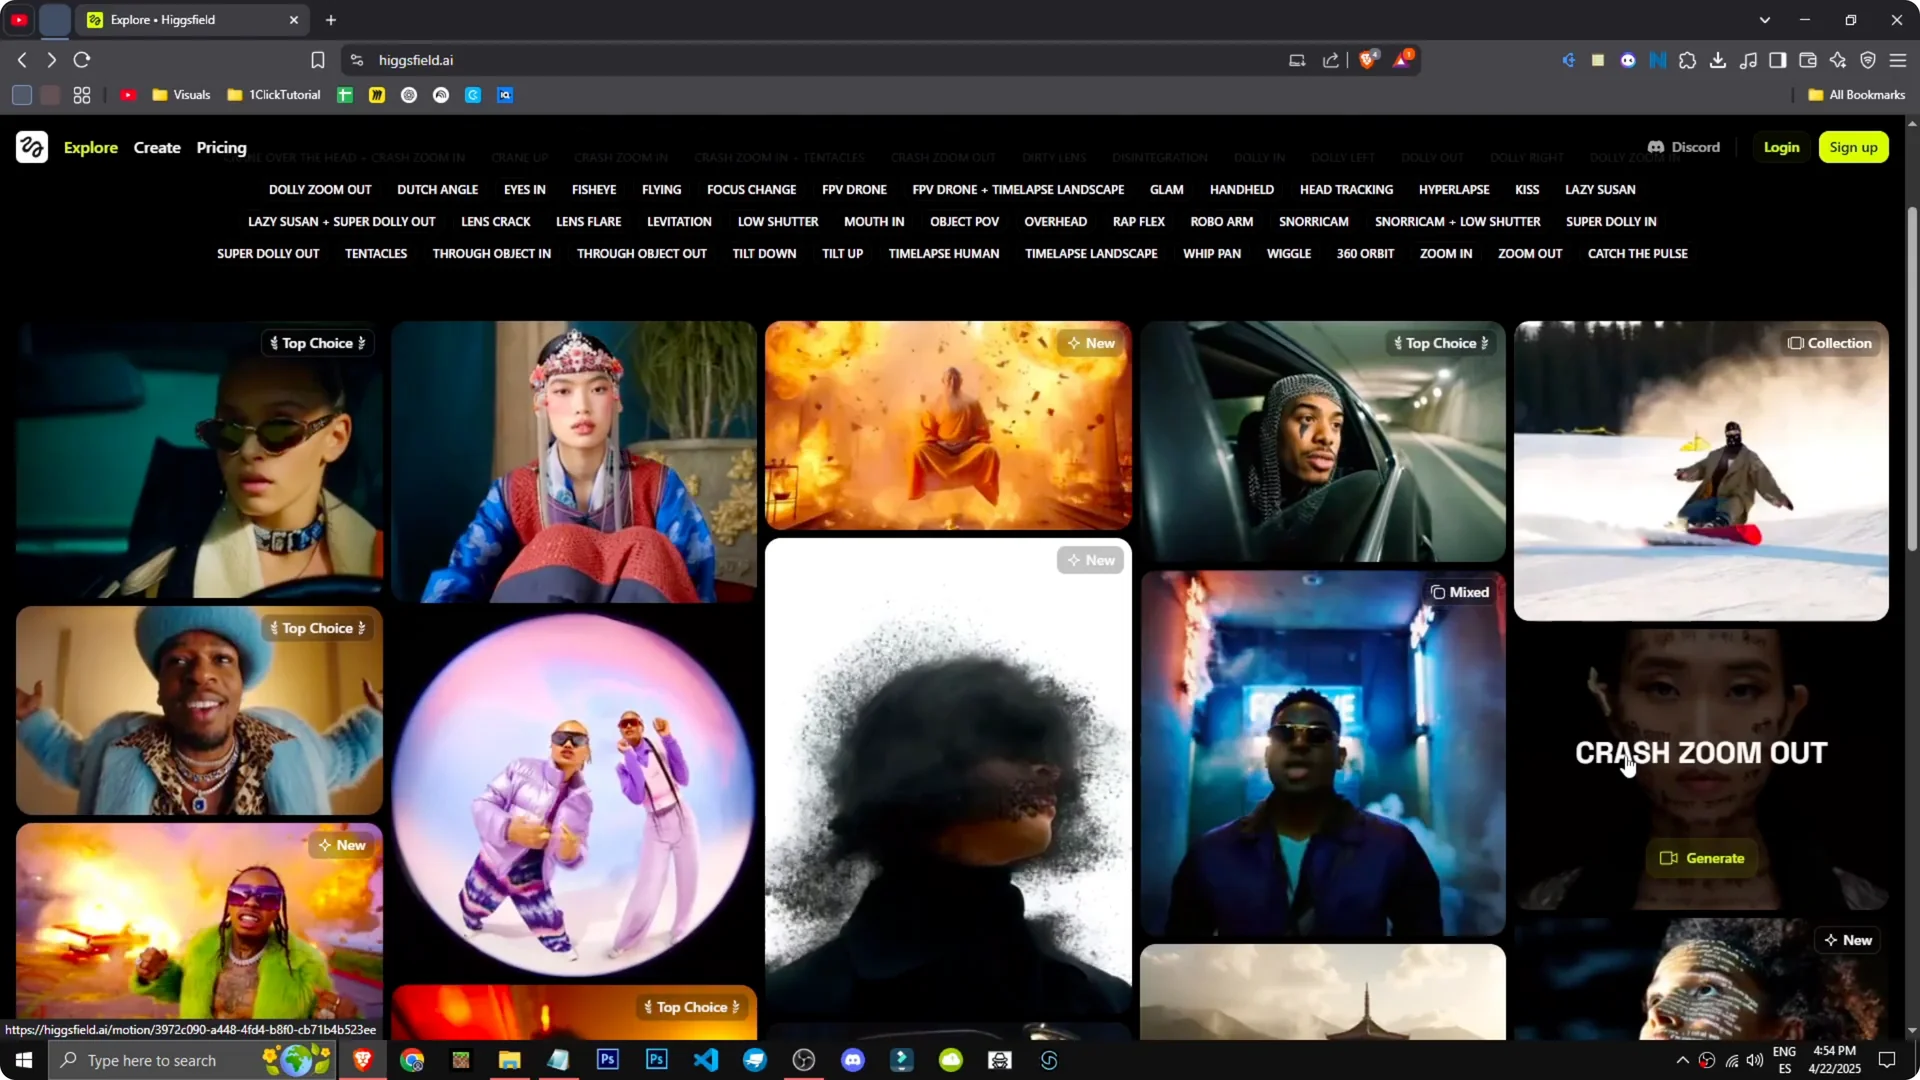
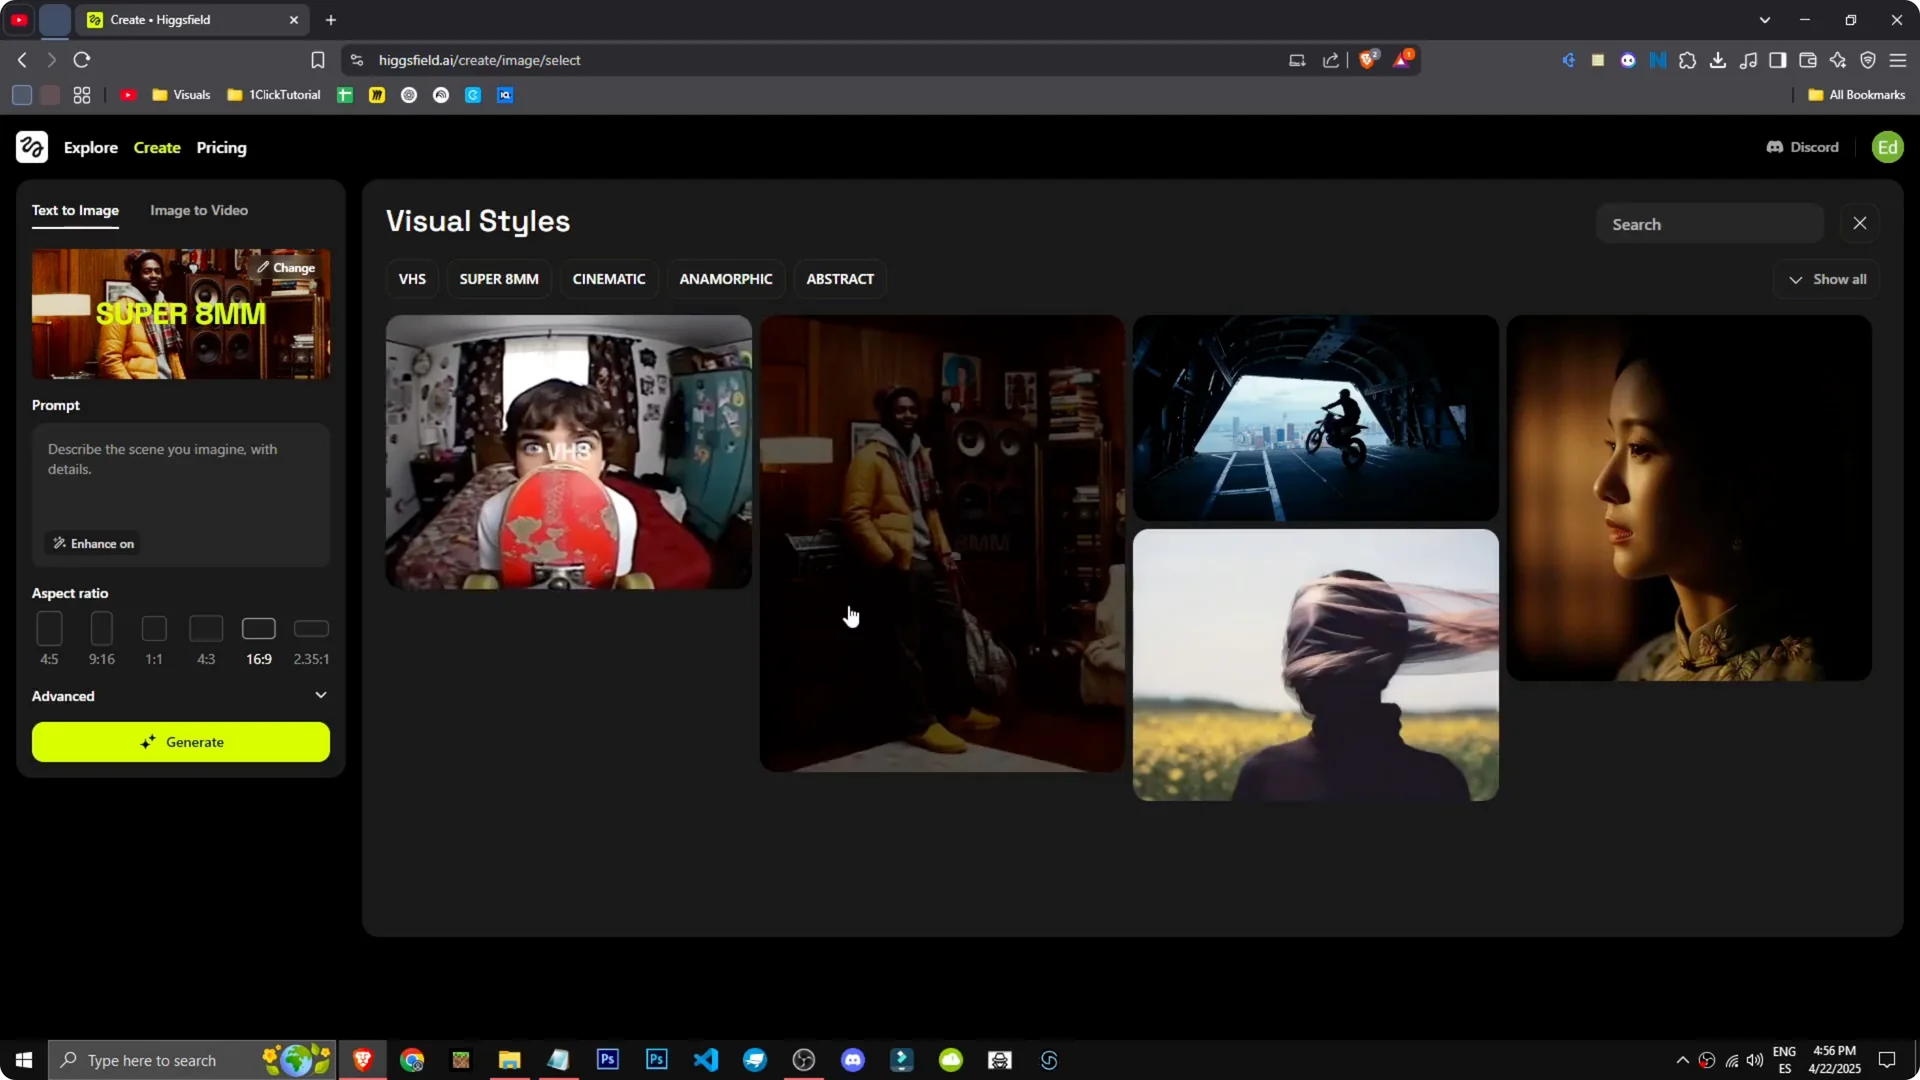
Step 3 – Open the Change section. Choose a style that matches your idea. Higgsfield includes VHS, Super 8, MM, cinematic, abstract, and anamorphic.
If you plan to enlarge your final outputs, check this guide to upscaling images in Higgsfield. It pairs well with the Text-to-Image workflow. You can generate at a workable size and upscale later.
Style options in Higgsfield Text-to-Image
The Change section is where style strongly shapes results. VHS and Super 8 bring retro texture, while cinematic and anamorphic push toward film looks. Abstract can loosen detail if you want shapes and mood.
I like starting with cinematic for action scenes. It gives motion and tone that sell the idea without needing heavy tweaks. You can switch styles between runs to compare how each one treats the same prompt.
For broader creative planning across projects, see these strategy tips for visual creators using Higgsfield. They help you pick styles and prompts that stay consistent. It is useful when you want a cohesive set.
Prompt example in Higgsfield Text-to-Image
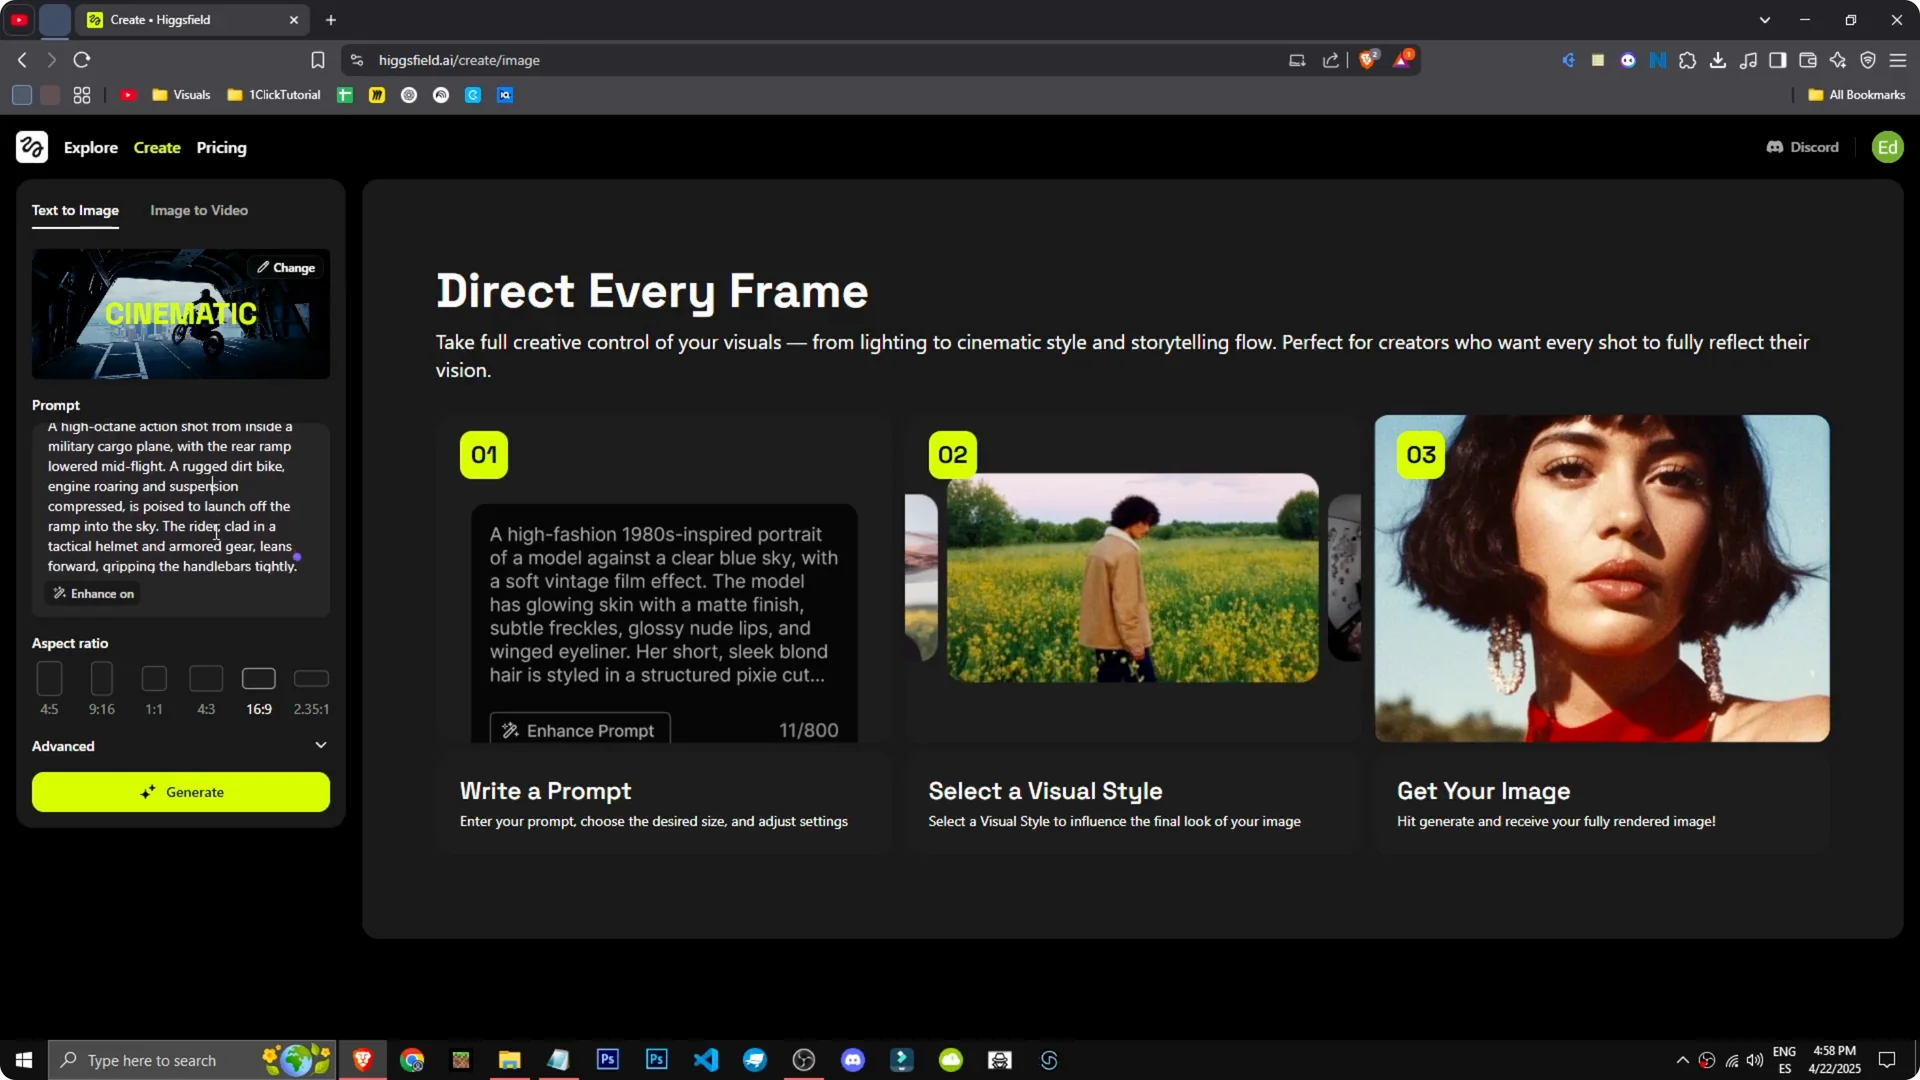
Step 4 – Describe the scene. I like this scene of a motorcycle jumping out of a plane. Let’s pick cinematic and write the prompt.
Step 5 – Refine with Enhance if needed. I want a cargo plane, one of those military planes with an open ramp, and an enduro dirt bike jumping out. Use Enhance to expand the phrasing if you need clearer detail. Keep the core idea simple and direct.
Step 6 – Generate. Click Generate to render images. Results will appear after processing.
Advanced settings
There are more settings in Advanced where you can adjust quality steps and similar controls. If a scene needs more detail or stability, raise steps and test again. Keep changes small so you can see what helps.
If you are comparing creative model mixes and workflows, this breakdown is helpful: Seedream 4.0 vs Nano Banana for Higgsfield workflows. It gives useful context when pairing prompt style with output goals. Use it to plan tests before you burn time on long runs.
Evaluate and iterate
Step 7 – Review the output. You can tell the top is a cargo plane or at least a plane, but it has not quite nailed the exit. It looks like it is on the ground.
Step 8 – Tighten the prompt. I did not specify it should be in the air. Add clarity like at high altitude with the rear ramp open and the dirt bike mid-jump to guide composition and motion.
Run a new generation with those details. Small, concrete adjustments usually fix placement and action. Keep an eye on background cues that signal altitude, such as clouds or horizon lines, to support the scene.
Final thoughts
Text to image in Higgsfield is straightforward once you set style and write a focused prompt. The cinematic and anamorphic options work well for action, and Enhance can help expand phrasing without losing intent. When results miss a detail, add it plainly to the prompt and iterate in short steps.