I’m going to show you how to create an AI influencer in Higgsfield AI. You’ll start in the AI Influencer Studio, set up your character, write a prompt, and generate the result. If you don’t like the first version, you can make a new one and try again.
Higgsfield AI Influencer Creation studio
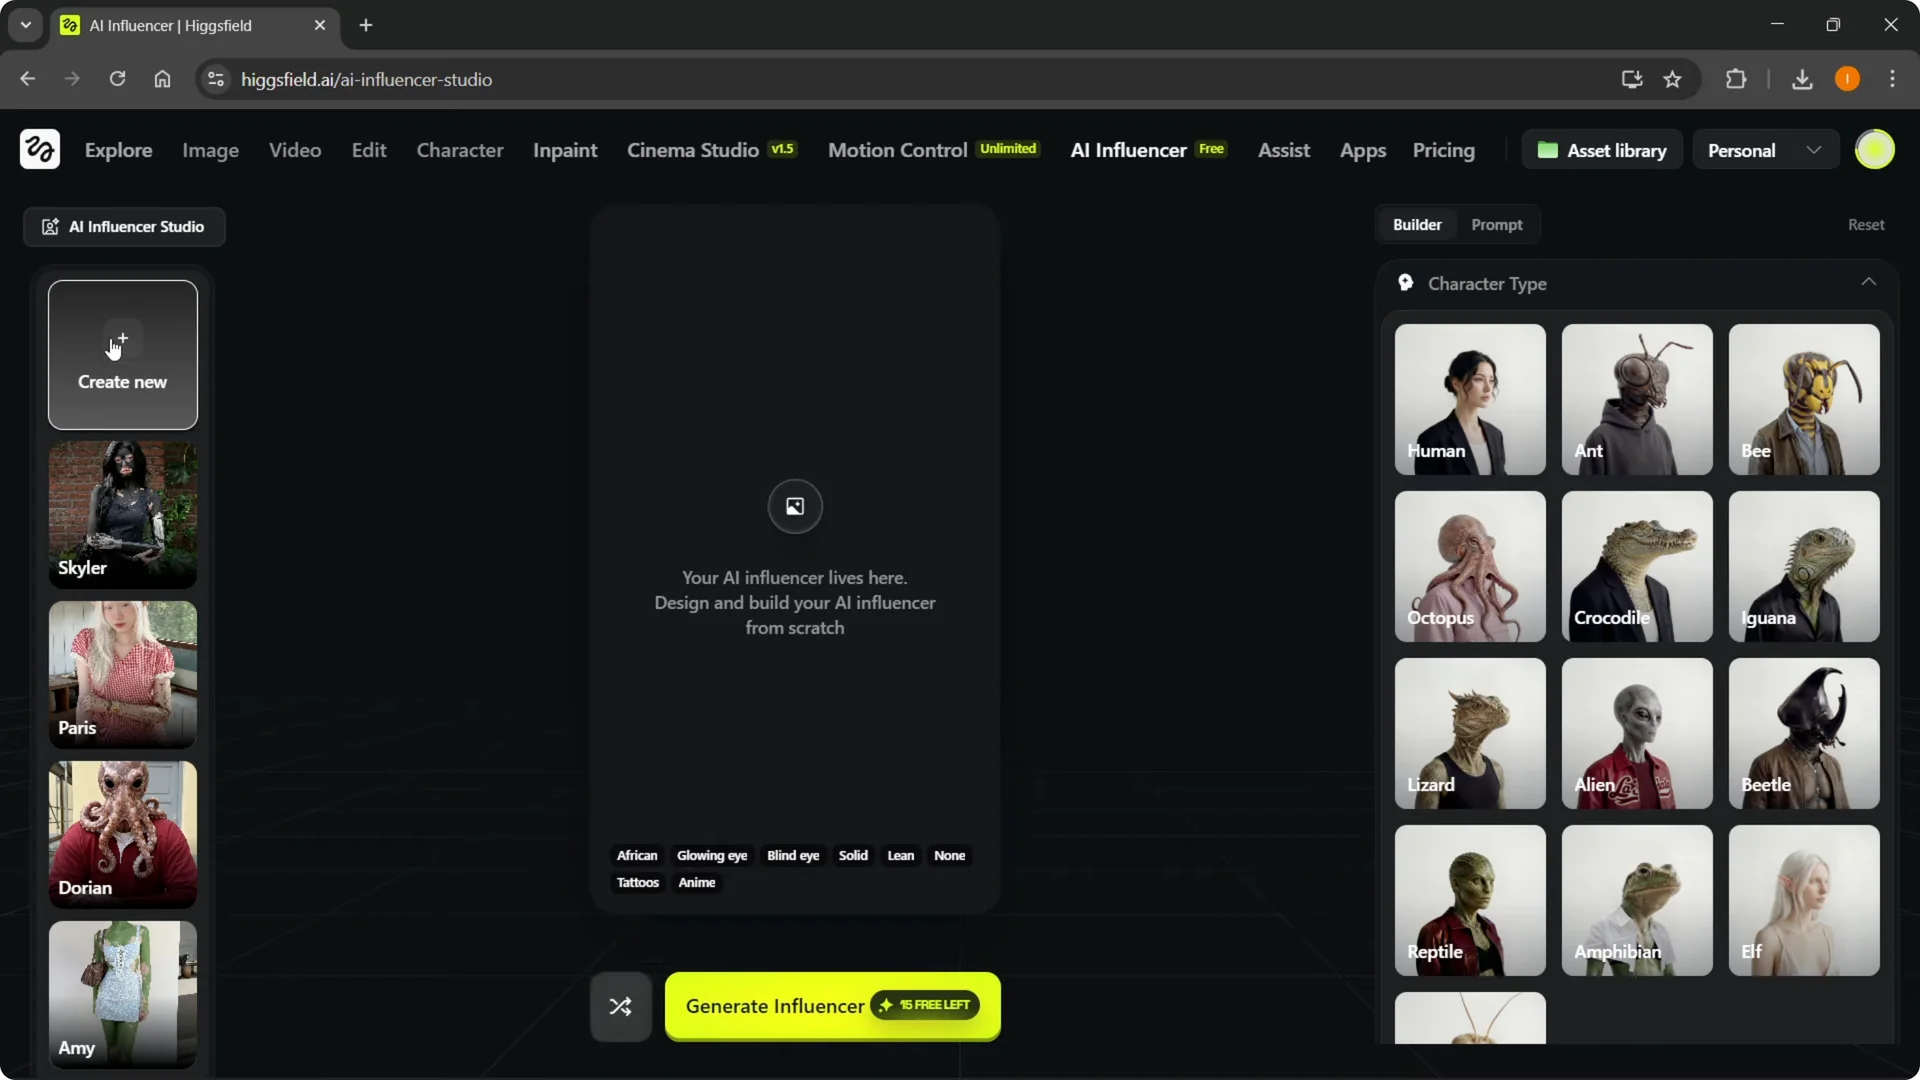
Step 1: Go to AI Influencer at the top of the platform to open the studio. You’ll see an empty frame that says your AI influencer lives here, with design controls and suggestions on the side.
There is also a Surprise Me button that creates a random influencer if you want a quick start.

Step 2: Click Create New to begin from scratch. You can work from the Builder first, then move to the Prompt.
This flow makes it easy to define the character before you describe it.
If you are exploring more Higgsfield features, see the zoom out feature for creative control on other projects.
Builder setup in Higgsfield AI Influencer Creation
Step 3: In Builder, choose a character type. For this example, I’ll do Human. Pick the gender, then select ethnicity.

Step 4: Set the skin color. Choose the eye color you want, like a deep brown. Add skin conditions if needed, such as freckles.
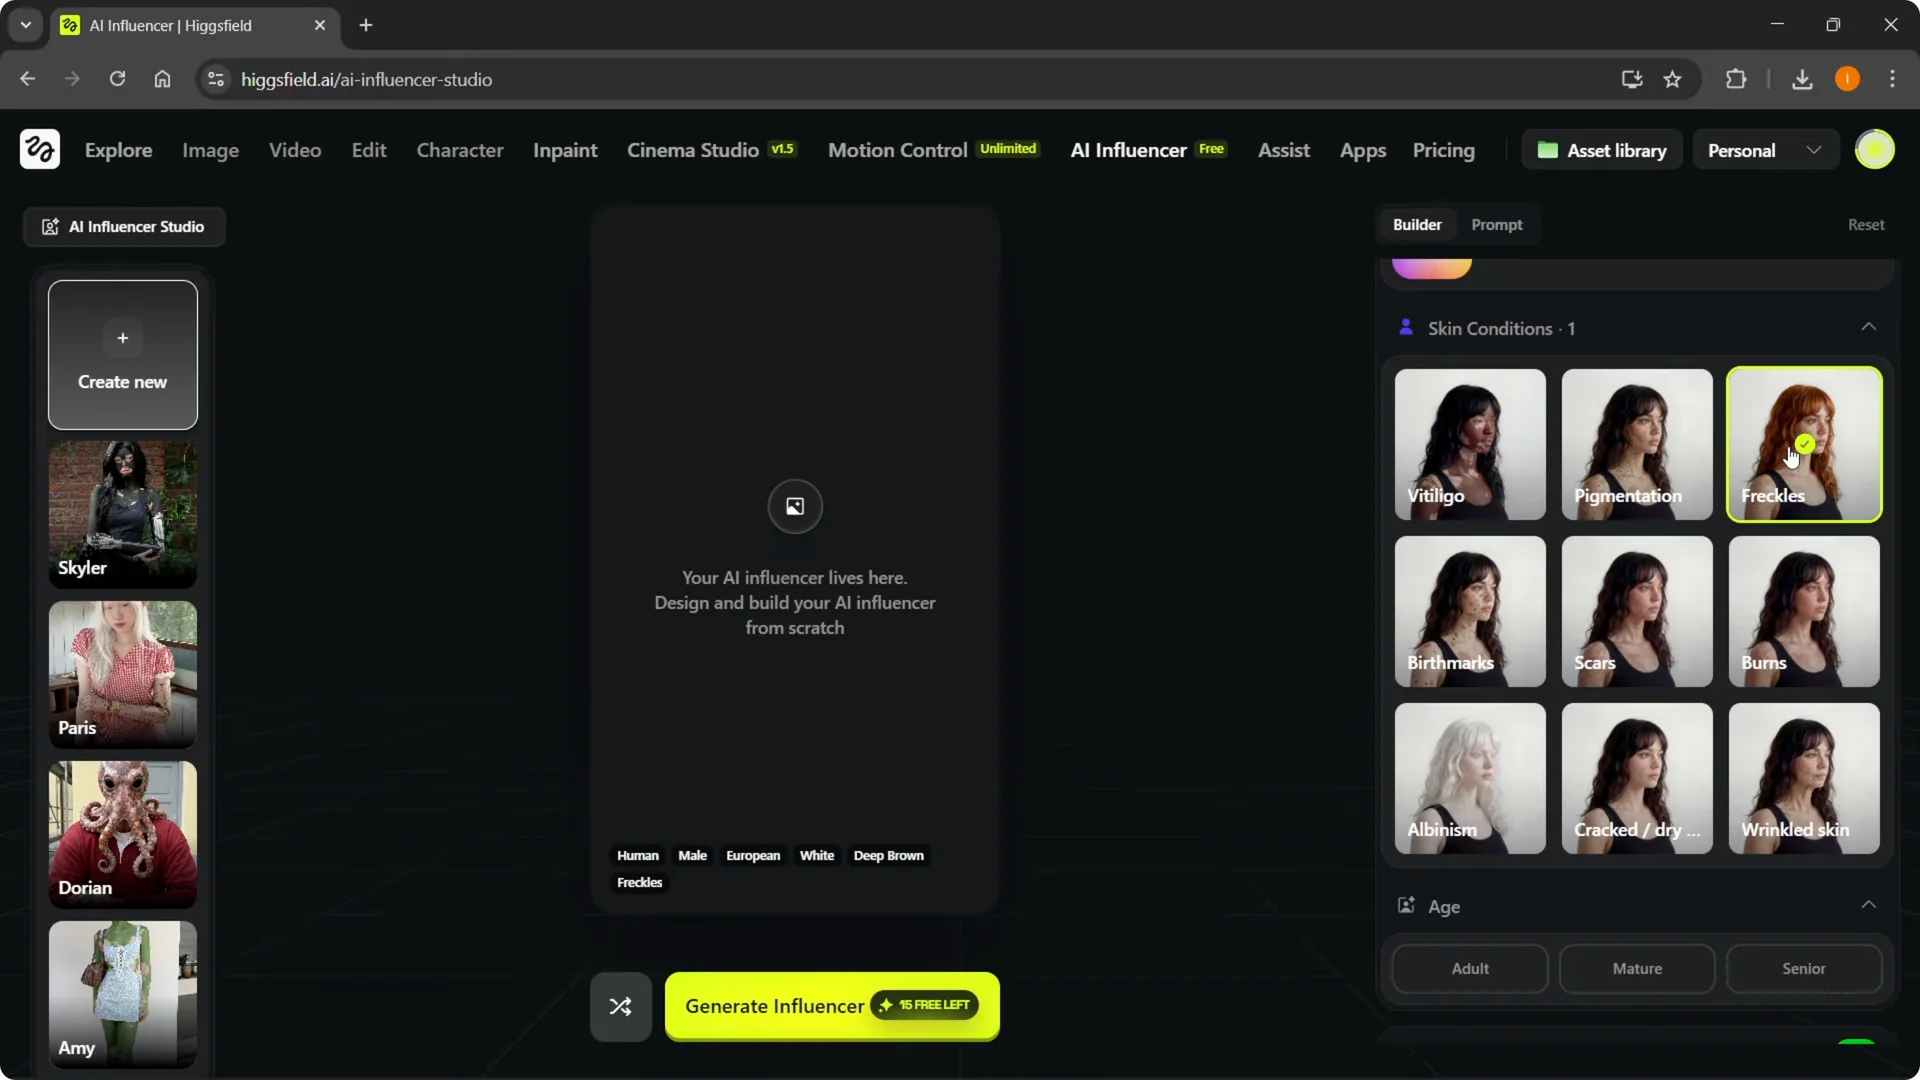
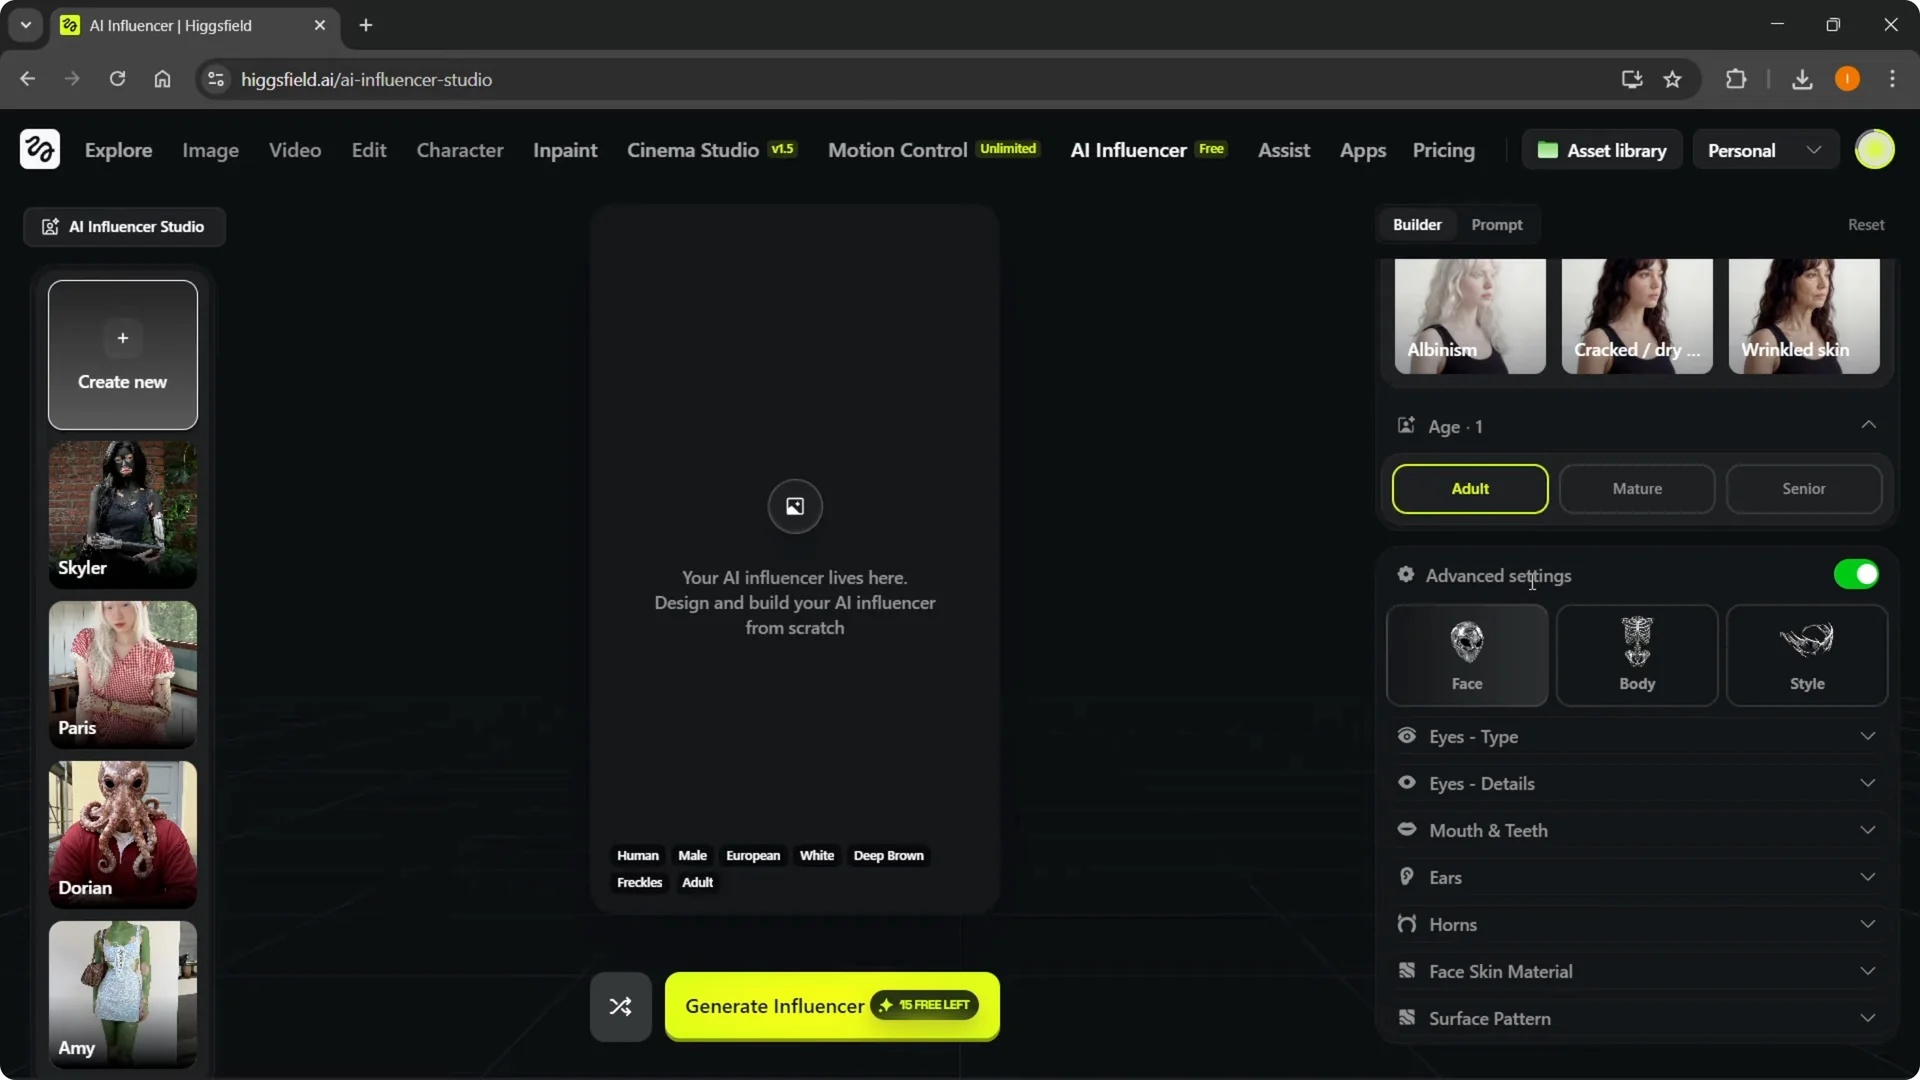
Step 5: Pick the age, like Adult or Senior. Then open Advanced Settings to adjust face, body, and style. This is where you refine the look before you generate anything.
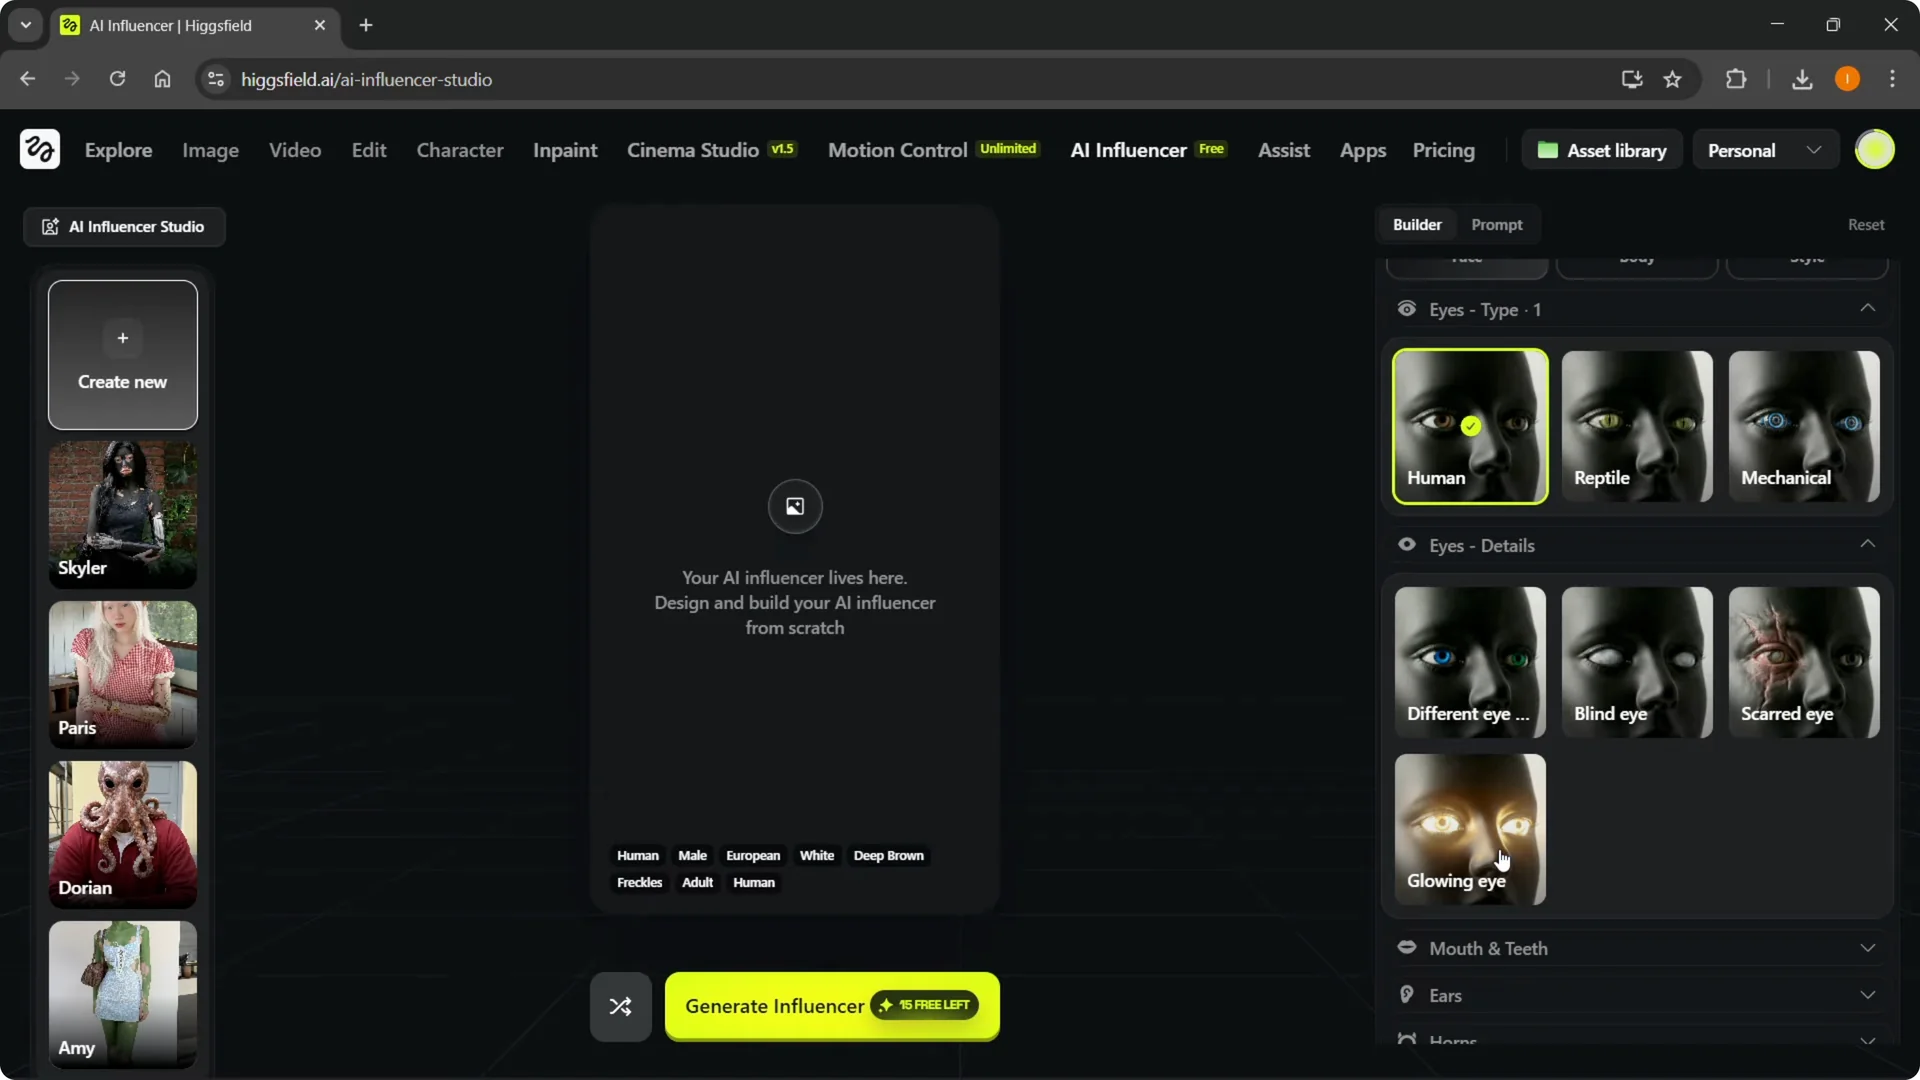
Face, body, and style options
Step 6: In Face, select the eye type, like human eyes, and add eye details, such as glowing eye.
You can also set mouth and teeth options. Work through Body and Style the same way.
Step 7: Click through the options and take your time. Try to envision what you want to create before you move on. Aim to match the controls here with what you plan to write in the prompt.
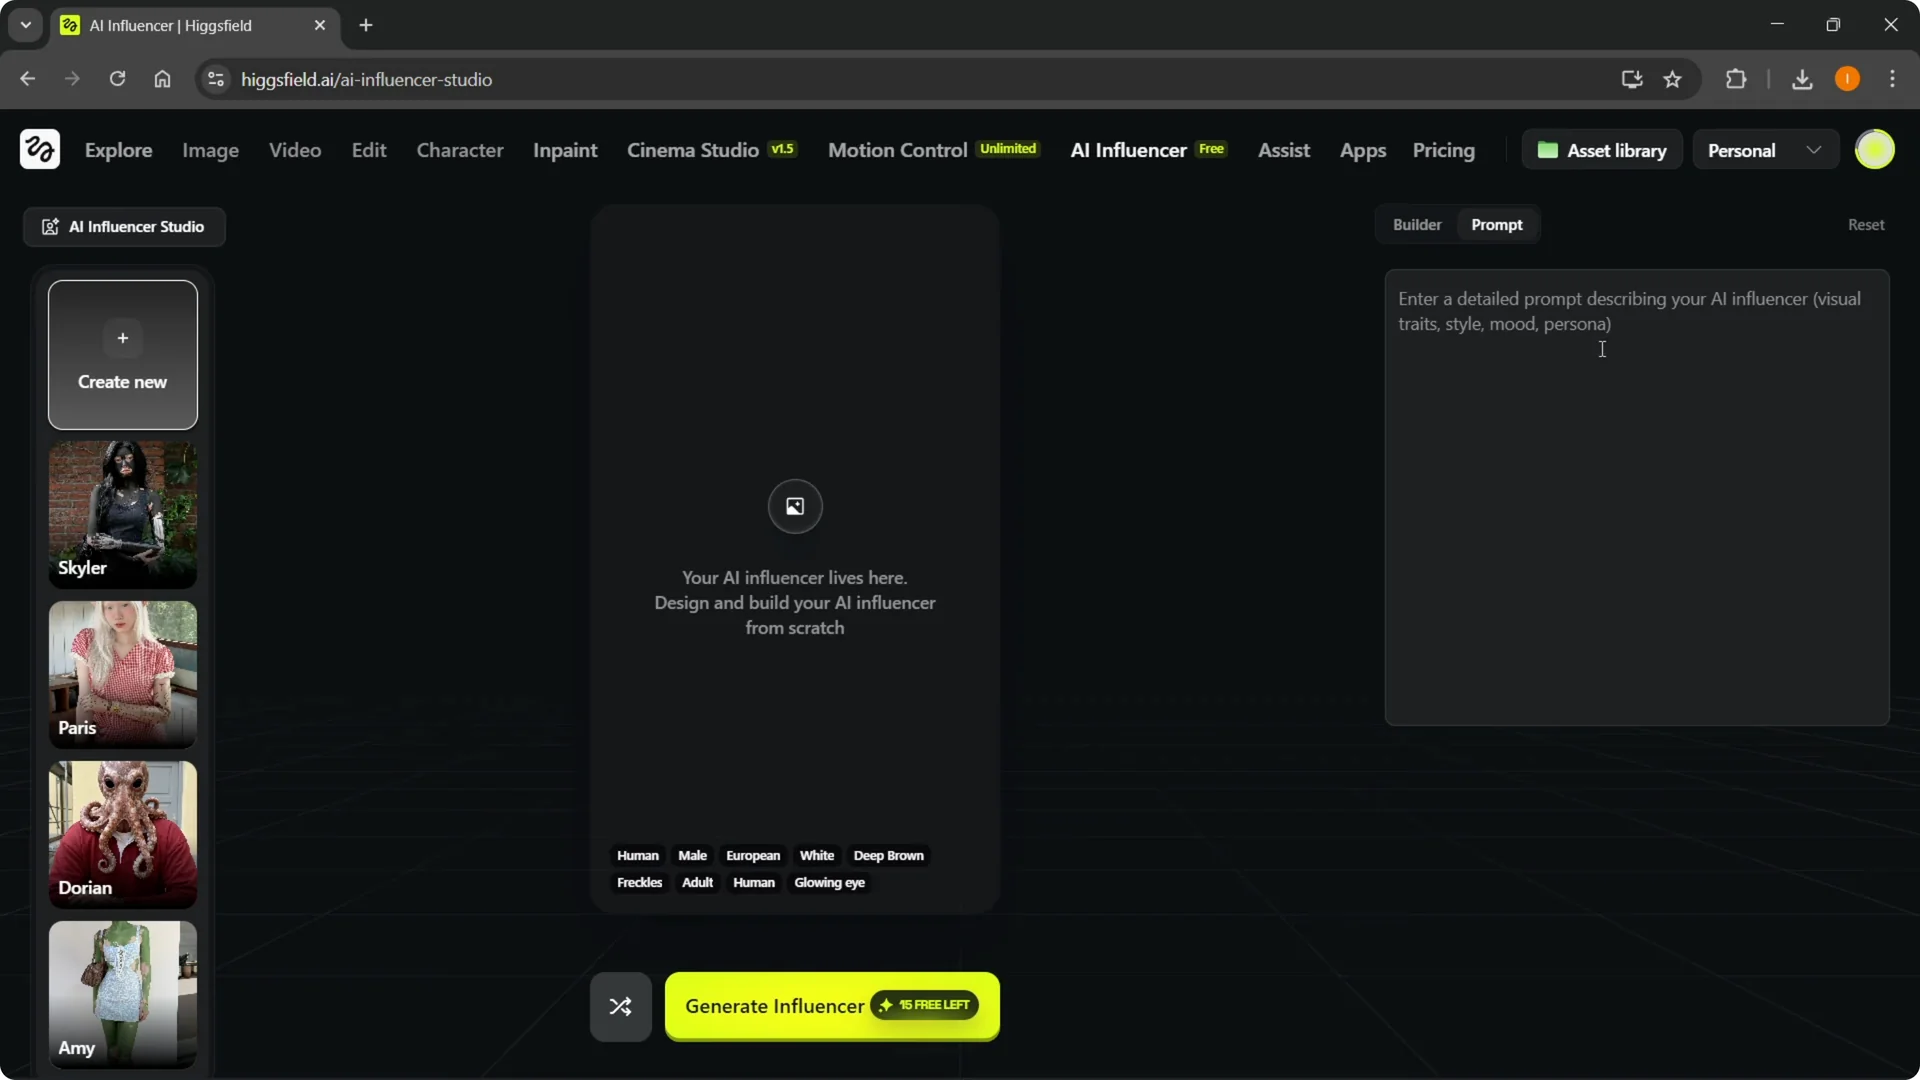
Prompt for Higgsfield AI Influencer Creation
Step 8: Open Prompt and write a detailed description of your AI influencer. Include visual traits, style, mood, and persona. Describe exactly how you want them to look.
Step 9: If it helps, sketch the idea on paper and then describe it here. You can also use a tool like ChatGPT to refine the wording. Keep the prompt aligned with the choices you made in Builder.
If you are experimenting with creative AI effects for your projects, check out this guide on creating an upside down city effect in Filmora with AI.
Generate and review
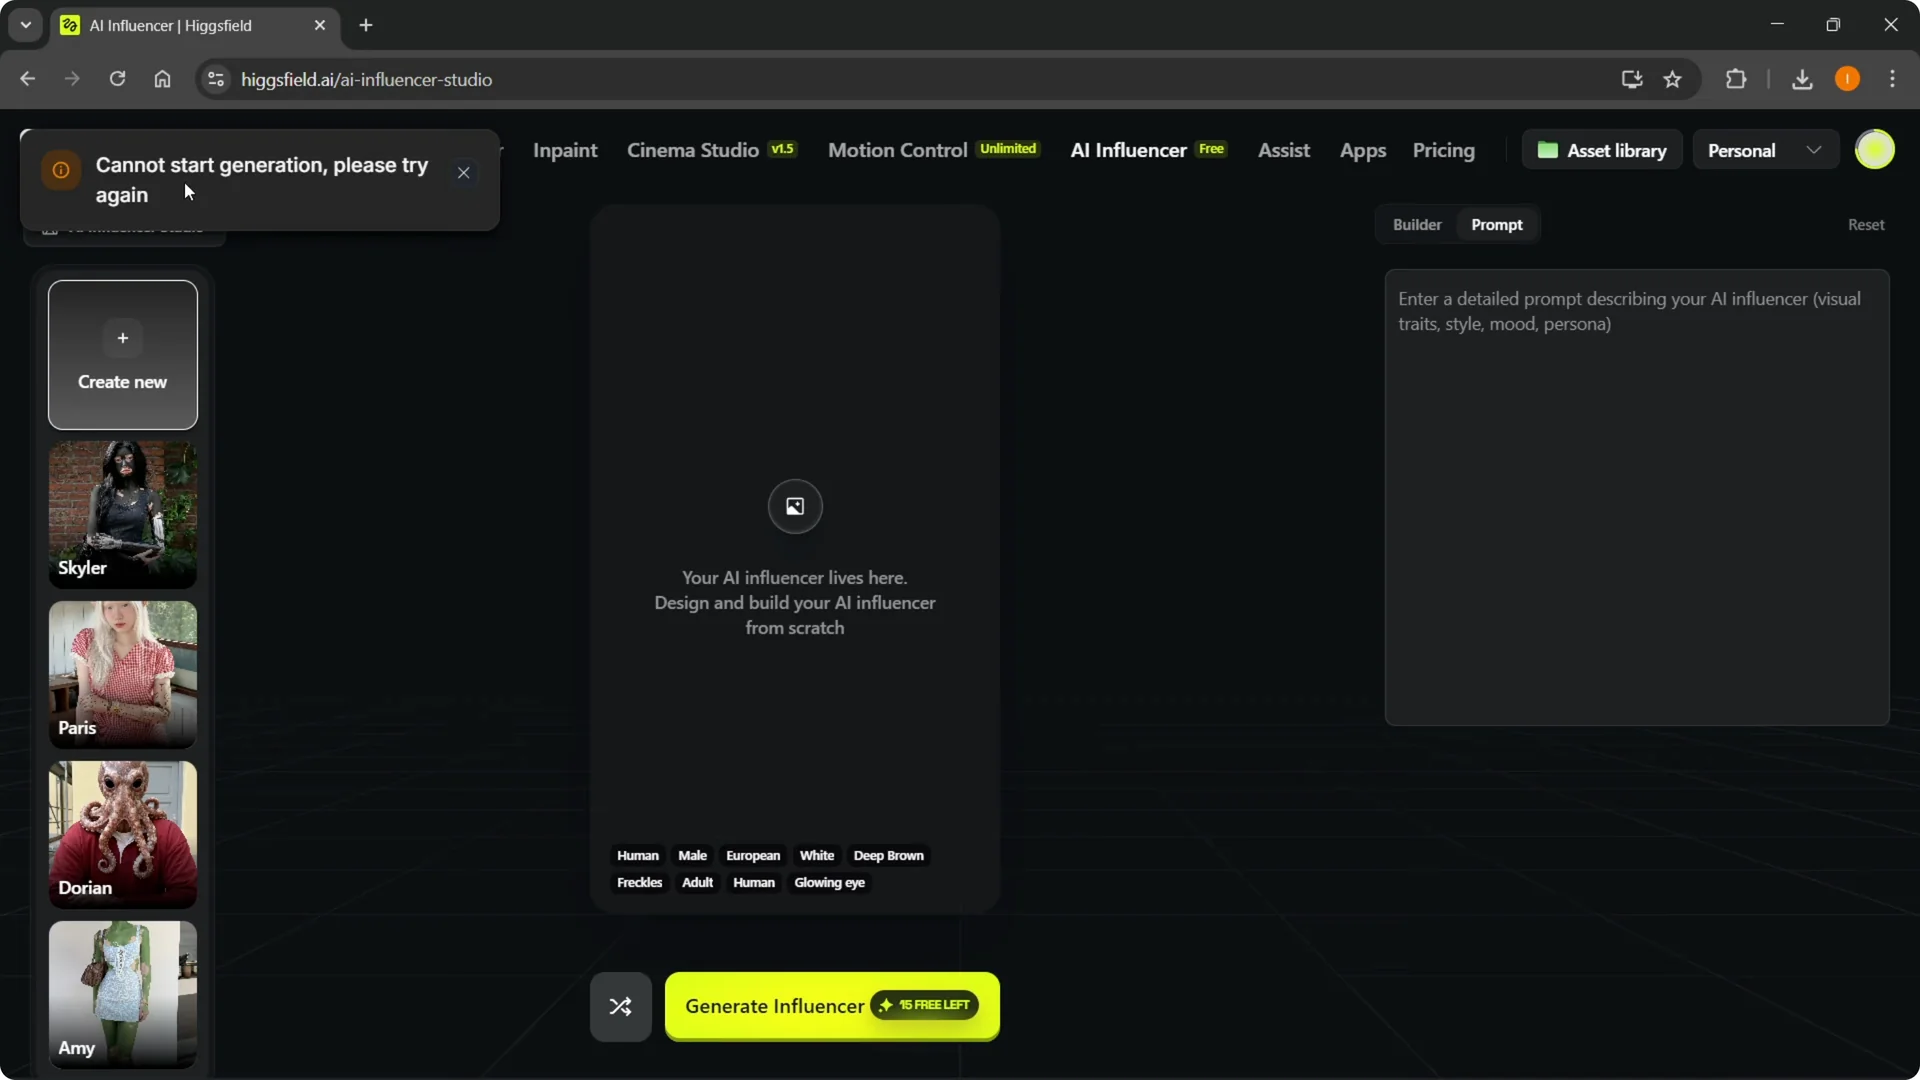
Step 10: Click Generate Influencer at the bottom. You must type something into the prompt box or generation cannot start. Make the prompt relevant to the Builder settings for best results.
Step 11: The job will go into a queue. Depending on current load, it can take a few seconds to a few minutes. When it finishes, you’ll see your new AI influencer.
Step 12: If you like it, you’re set. If you don’t, click Create New and repeat the process with tweaks in Builder and Prompt. For platform issues or account questions, reach out to the Higgsfield AI support team.
Final thoughts
The studio lets you design your AI influencer with clear controls and a prompt to describe the final look. Define the character in Builder, write a matching prompt, and generate. If the result isn’t right, adjust and try again until it matches your vision.