
If you have ever wanted to create visual effects like these, here are my top 10 inside Heistfield, how to use them, and what I find amazing about each. I use a single base image I made in the same software: a cat riding a dragon. For some effects you need both a starting frame and an end frame, and I note those requirements for each one.
If you want a quick primer on building images and clips before testing effects, check this Higgsfield AI video image creation guide. It will help you get up to speed on image prompts and basic generation. Then you can follow along with each effect here.
Top 10 Heistfield Visual Effects
Earth Zoom Out – Heistfield Visual Effects
This effect pulls the view out to show your subject from space. It works great with a short descriptive prompt.
Step 1: Select Earth Zoom Out and click Generate. Step 2: Choose your base image and add a short prompt like a scene from space. Step 3: Wait a few seconds for the render.
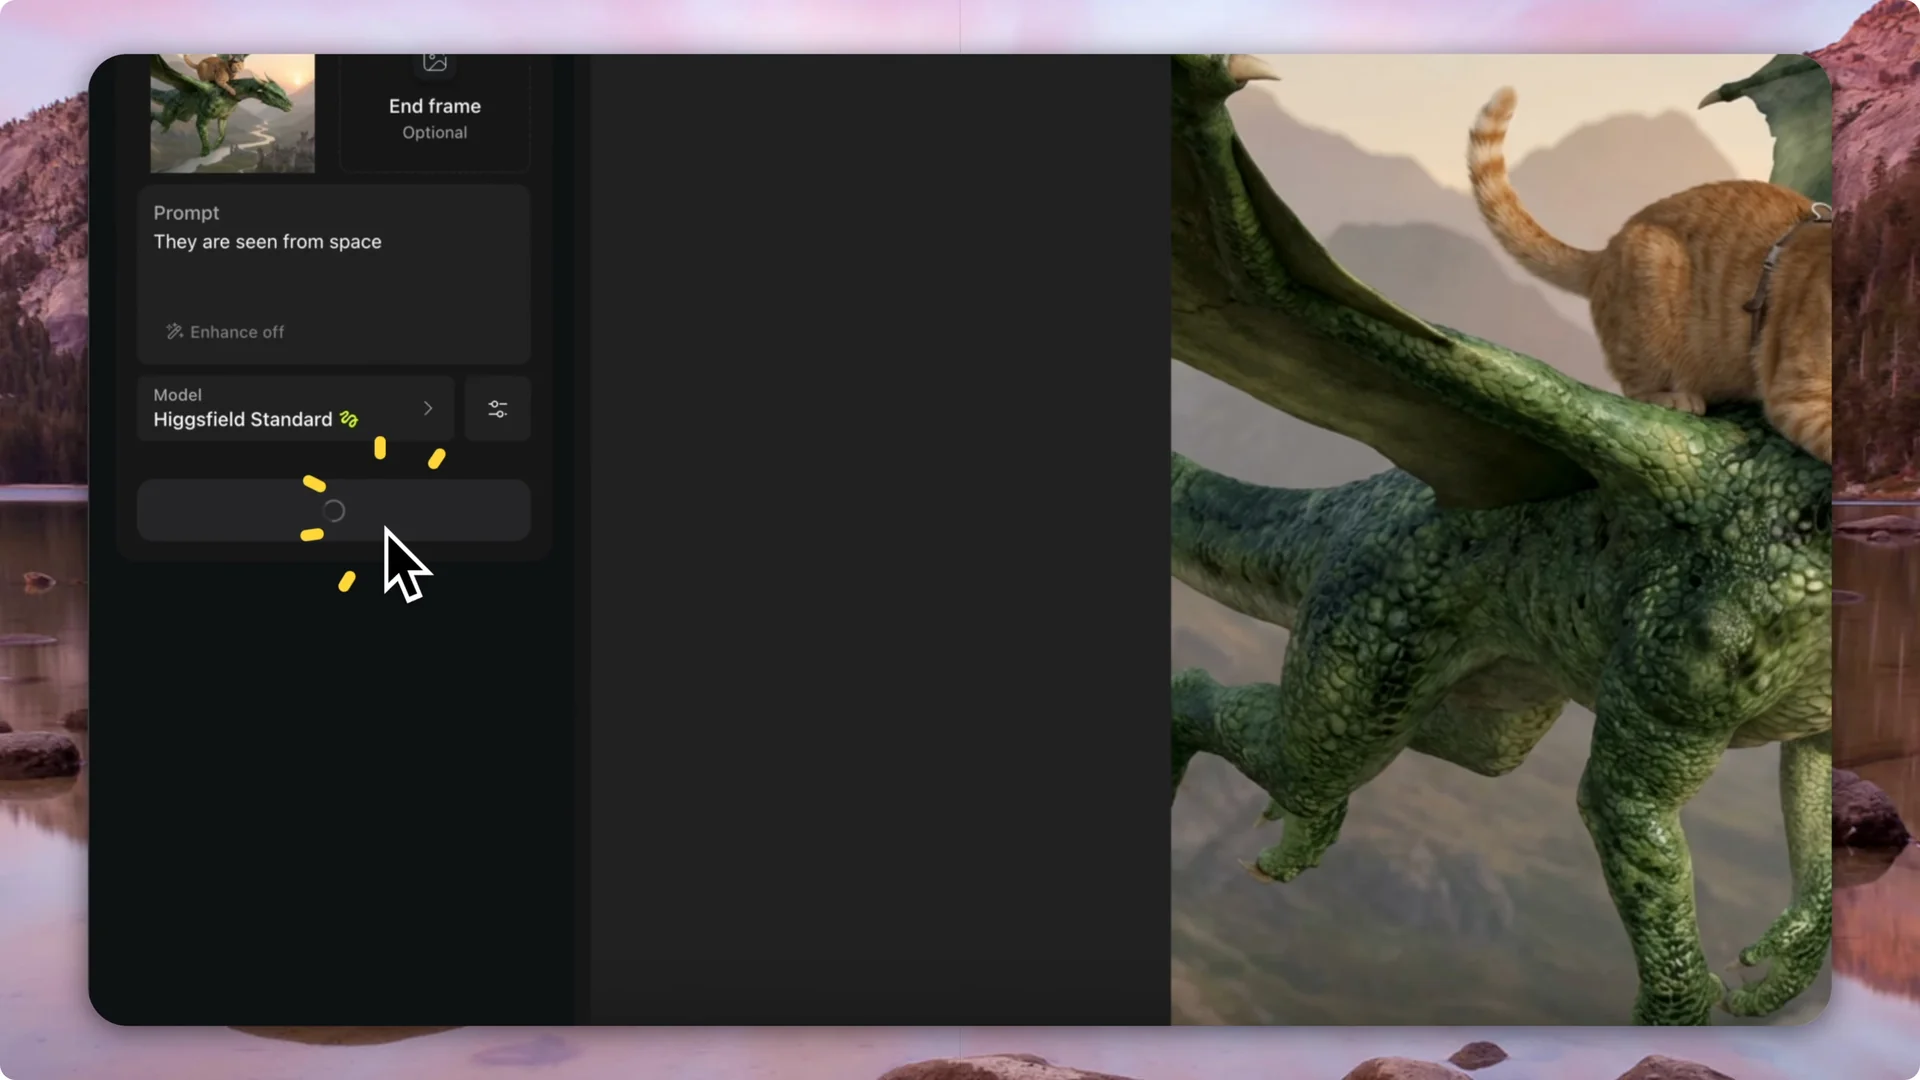
I like how cleanly it frames the character from a far vantage point. It feels cinematic and sets the tone for the rest of the effects.
Airbending – Heistfield Visual Effects
This is number two, and it needs an end frame to work. I use a similar image from a different angle as the final frame for a consistent comparison.
Step 1: Pick Airbending. Step 2: Set your starting frame to the base image and your end frame to a similar angle. Step 3: Click Generate and let it build the transformation.
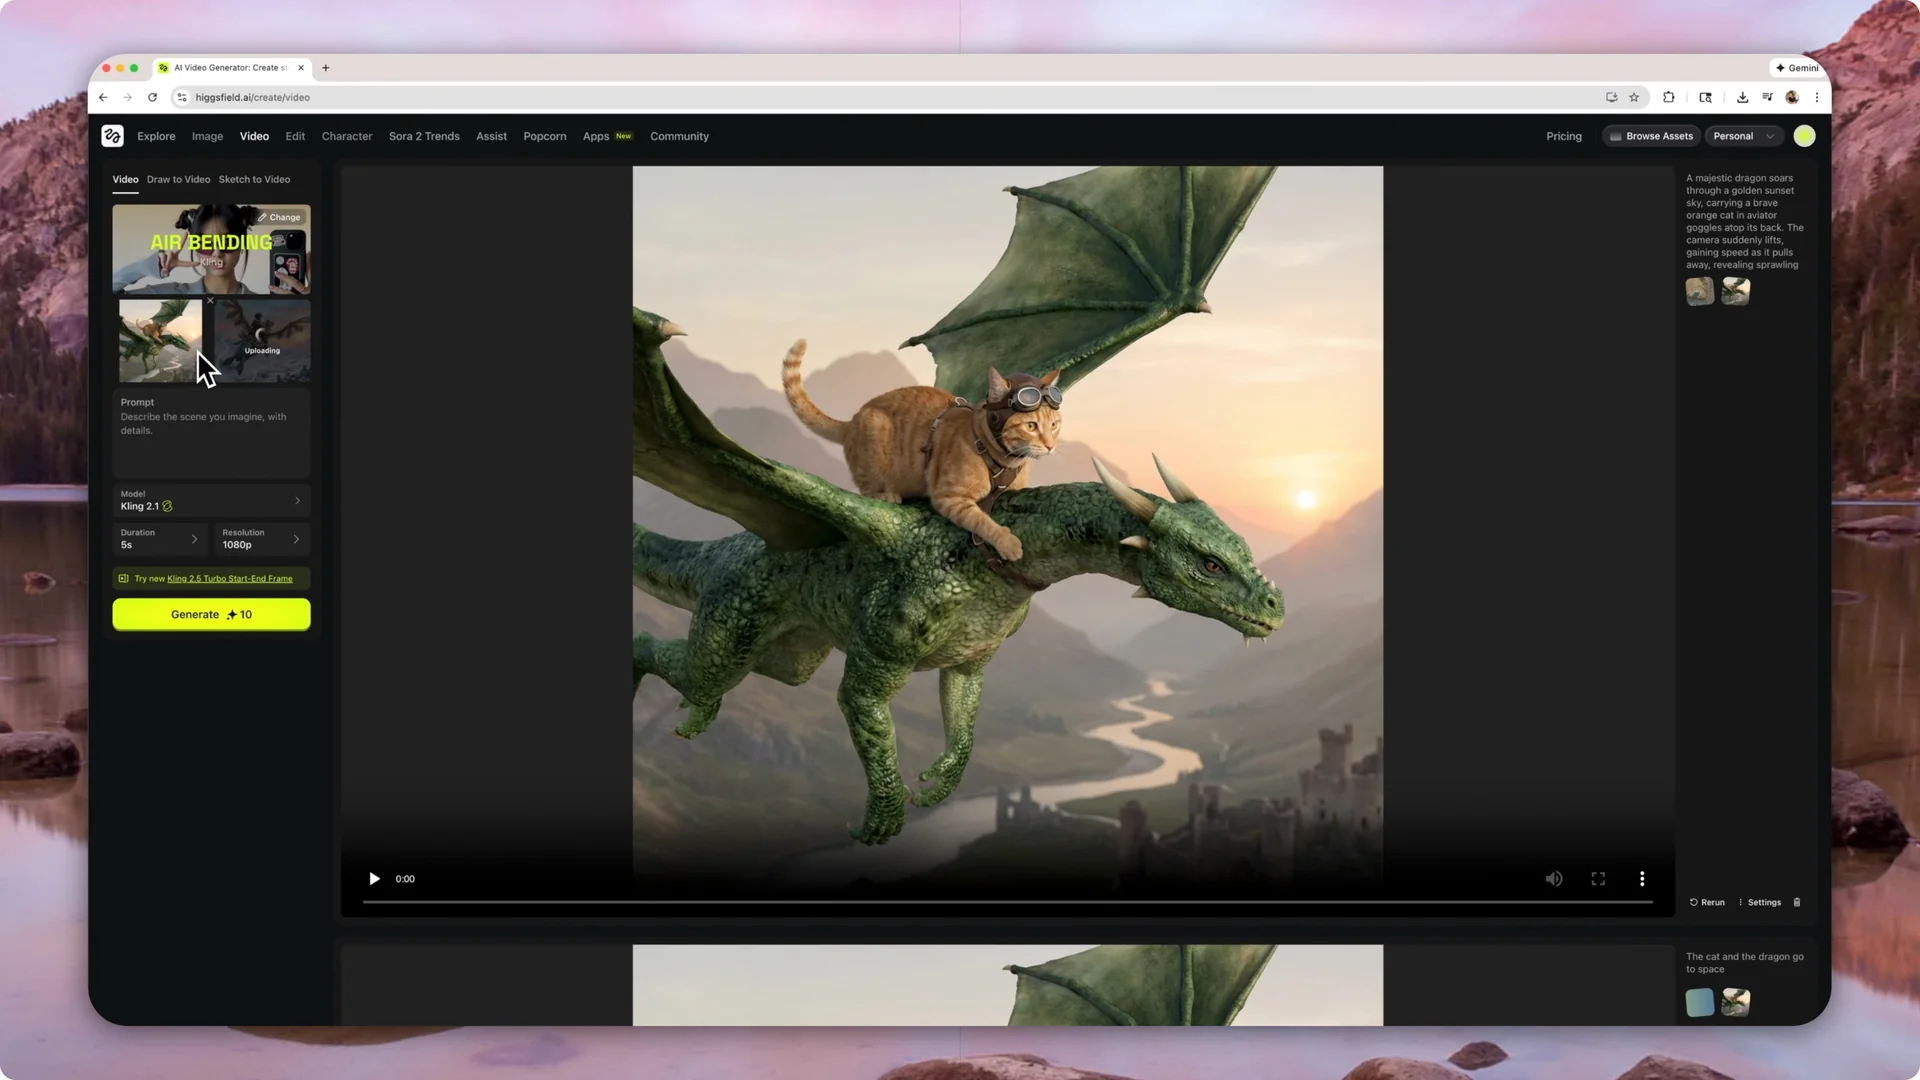
The transformation the software creates here is really cool. This is one of my most favorite ones.
Fast Sprint – Heistfield Visual Effects
Fast Sprint also needs both a starting frame and an end frame. I keep using the same pair so results are easy to compare.
Step 1: Choose Fast Sprint. Step 2: Assign the same start and end frames. Step 3: Generate and preview the transition.
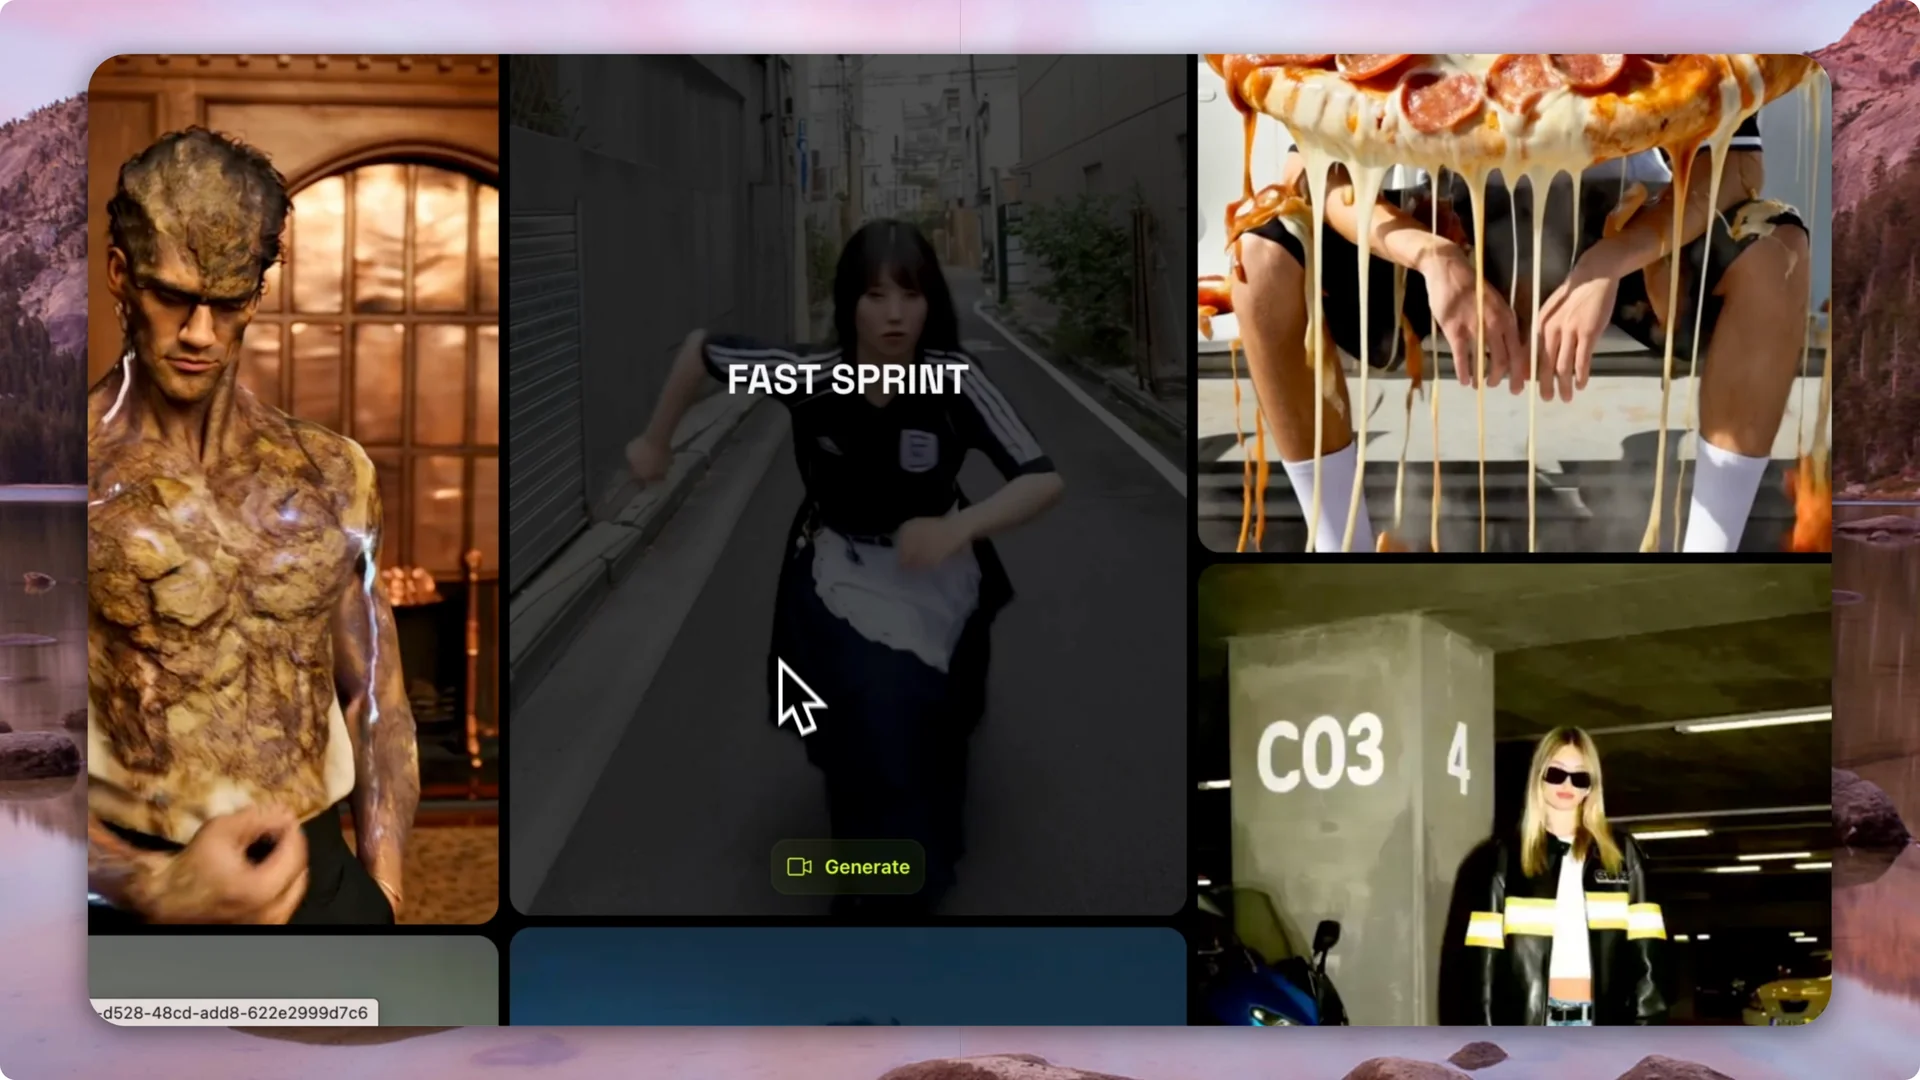
It almost disintegrates into a new image. The speed and breakup of details sell the motion nicely.
Fire Lava – Heistfield Visual Effects
This one adds fiery energy to the scene. The result builds heat and texture around the subject.
Step 1: Select Fire Lava. Step 2: Use the base image. Step 3: Click Generate and let the effect process.

I like how it leaves the impression that smoke is coming out of the characters. It gives the shot a dramatic, molten feel.
For more ideas and sample outputs across both images and videos, see this overview of Higgsfield AI images and videos. It is a handy reference when you want inspiration for prompts and styles. Pair it with the steps here to get consistent results.
Animalization – Heistfield Visual Effects
Animalization blends traits between subjects. On my test, it nudges the cat to look a bit more like the dragon.
Step 1: Pick Animalization. Step 2: Load the same base image. Step 3: Generate and watch how features shift.

I find that effect really cool as well. It is subtle but effective.
Earthwave – Heistfield Visual Effects
Earthwave needs an end frame. The transformation is textured and organic.
Step 1: Choose Earthwave. Step 2: Set your starting frame to the base image and your end frame to a matching angle. Step 3: Generate and review the motion.
I like the way the dragon turns into dirt and then the dirt turns into the final image. It feels elemental and tactile.
Melting Transition – Heistfield Visual Effects
This one also needs both a starting frame and an end frame. It is a direct morph with a liquid feel.
Step 1: Select Melting Transition. Step 2: Use the same start and end frames as before. Step 3: Click Generate to create the melt.
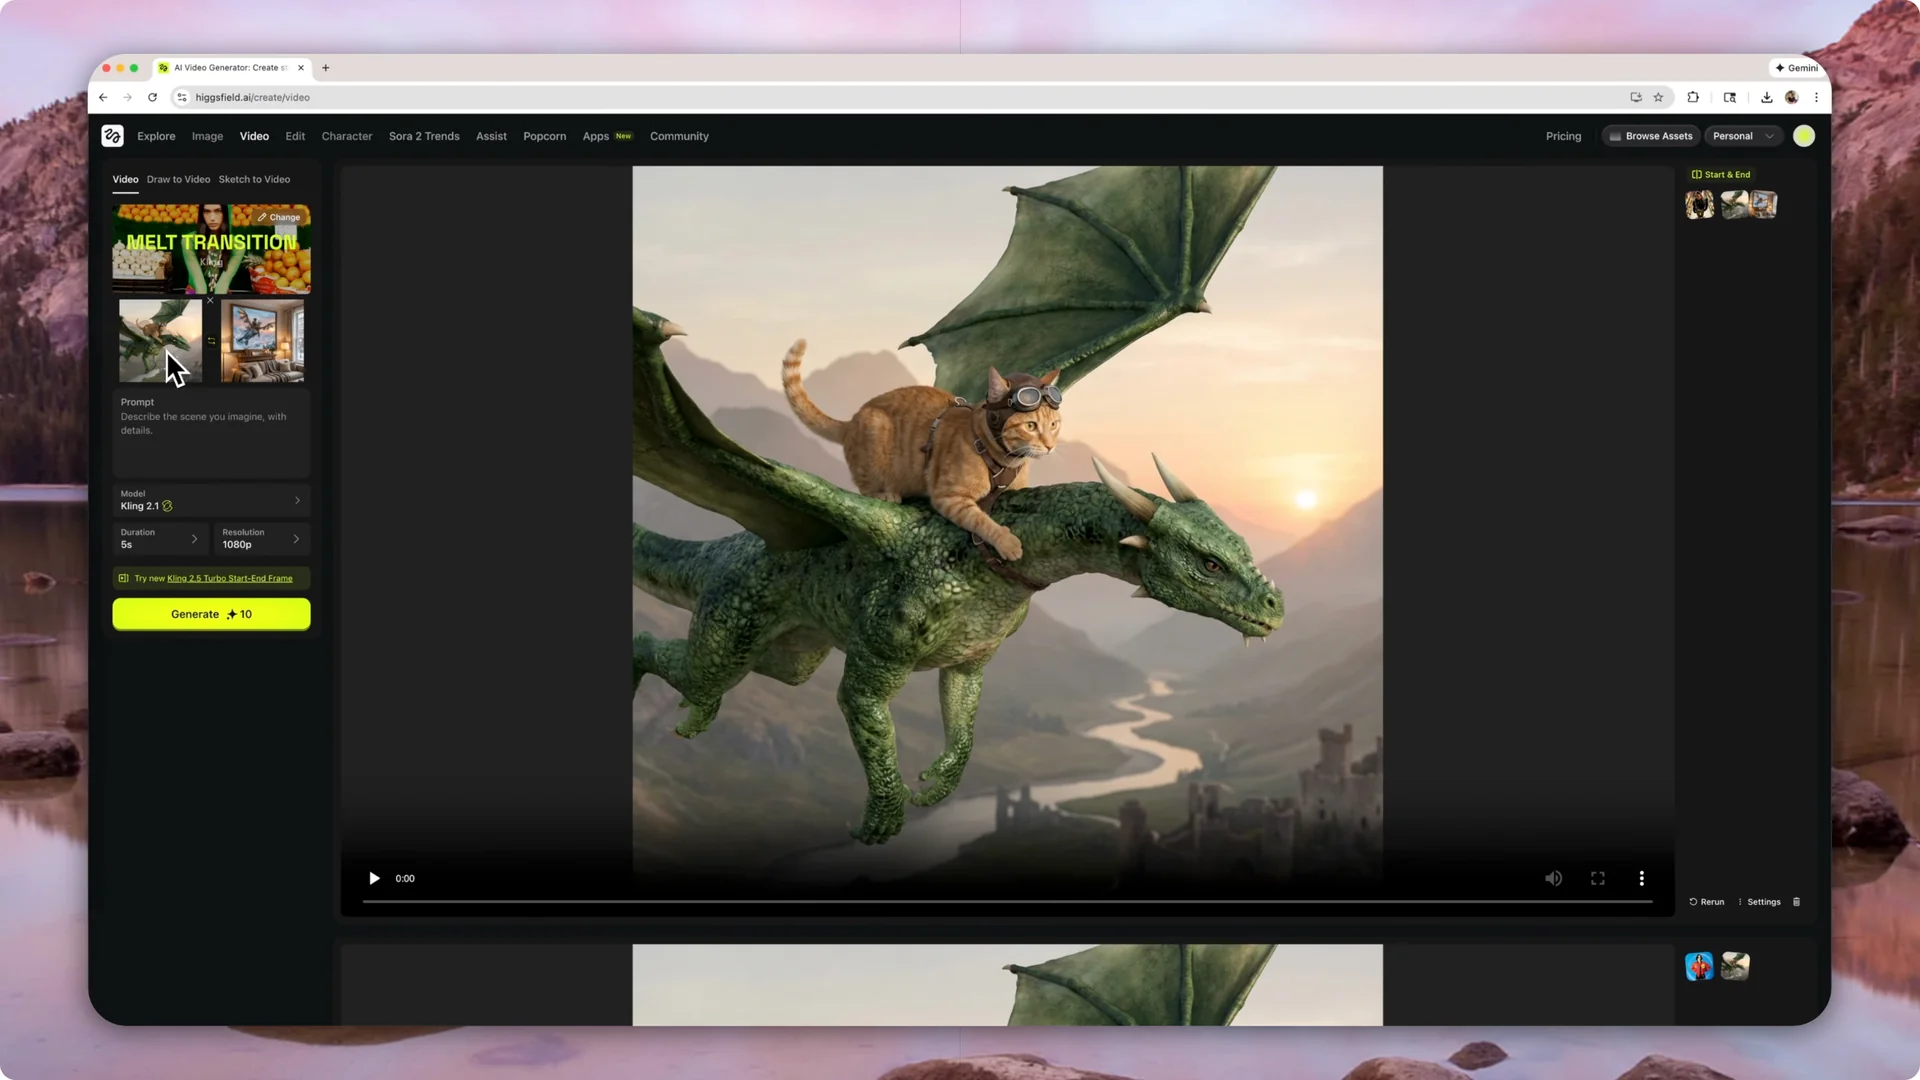
It is a melting transition from one image to the other. Simple and satisfying.
Transition – Heistfield Visual Effects
This is effect number eight, labeled Transition. It is a straightforward change from one image to another.
Step 1: Choose Transition. Step 2: Assign your start and end frames. Step 3: Generate and review the timing.
I like using this one as a clean, reliable swap. It works well in sequences where you need a direct cut with motion.
If you plan to share your tests or tutorials as short clips, you can convert long videos into viral clips with Filmora AI. It is a fast way to present before-and-after shots. It also helps you highlight your top transitions.
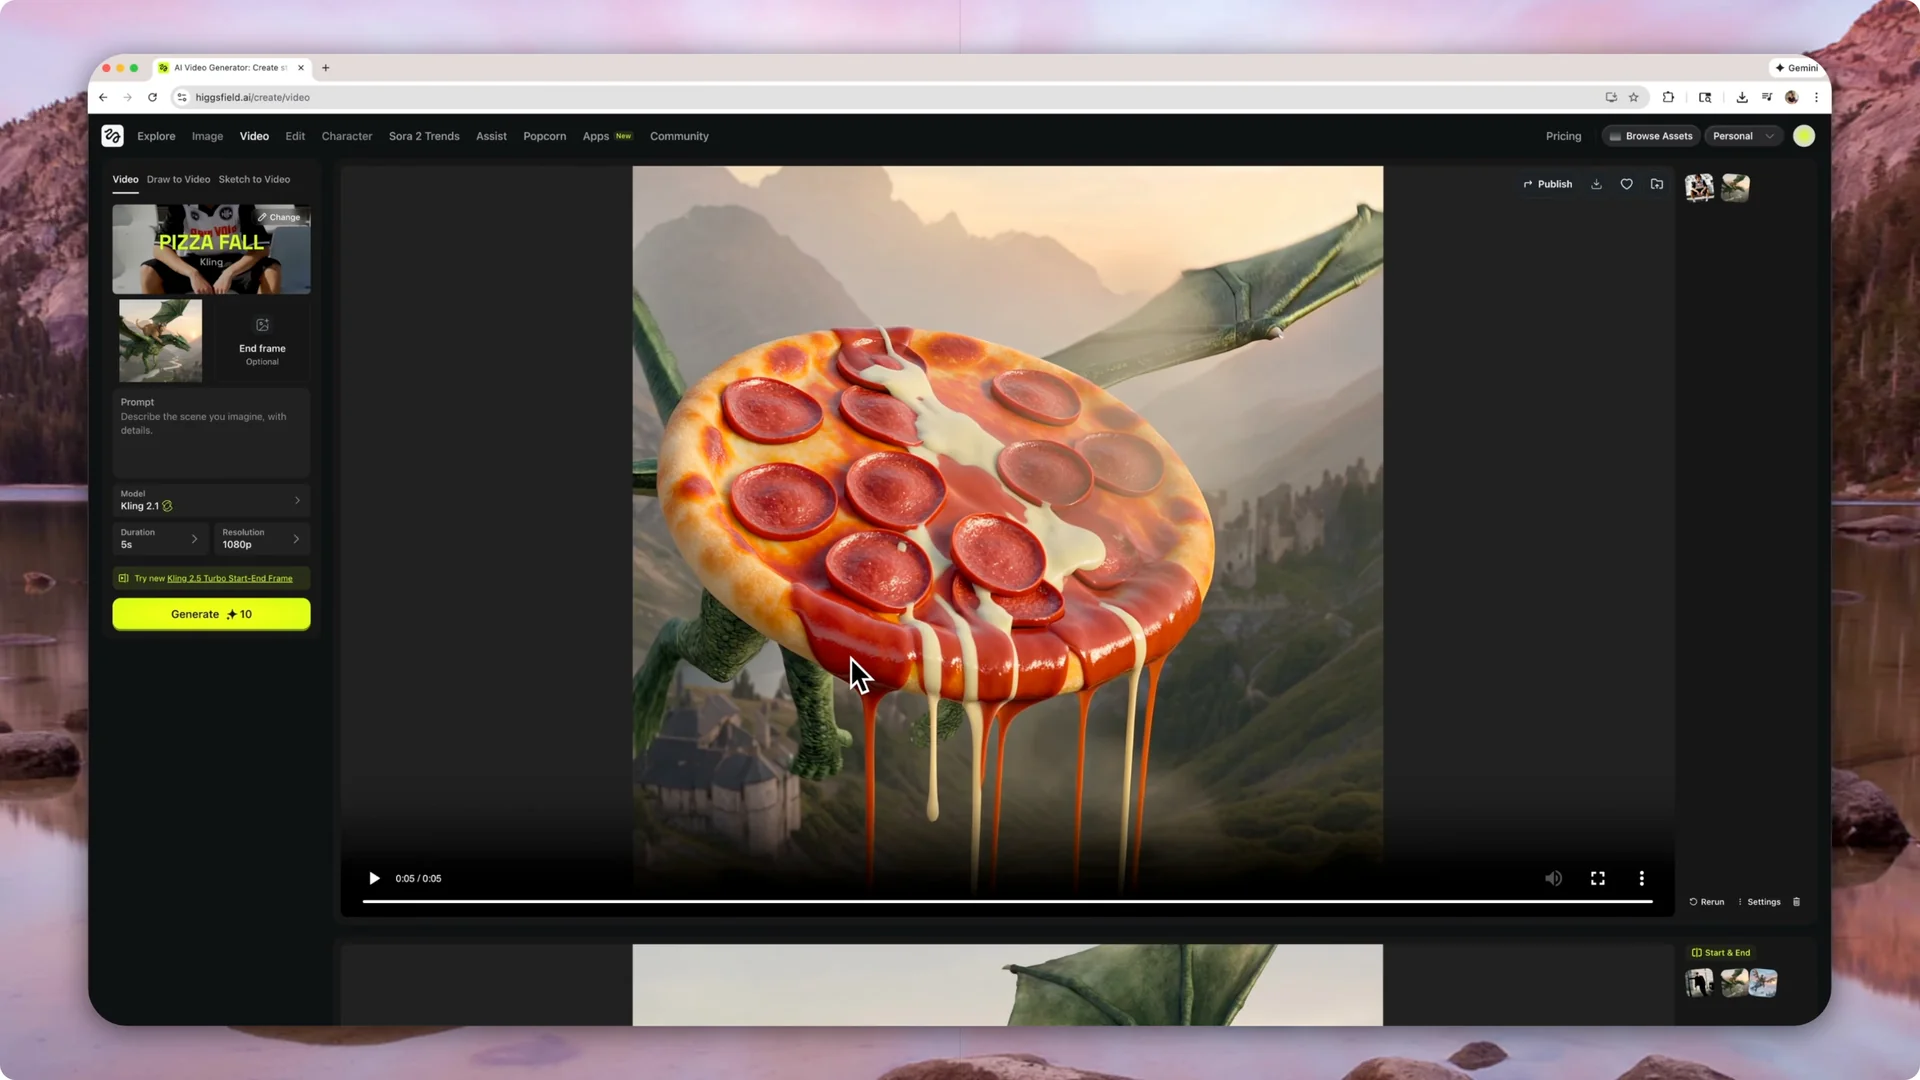
Pizza Fall – Heistfield Visual Effects
This is number nine and it does not need an end frame. The fall action influences how your subject moves.
Step 1: Pick Pizza Fall. Step 2: Load the base image. Step 3: Generate and watch how the animation affects the flight.
I find it really cool that the way the dragon flies responds to the effect. When the pizza falls, the dragon adjusts its motion.
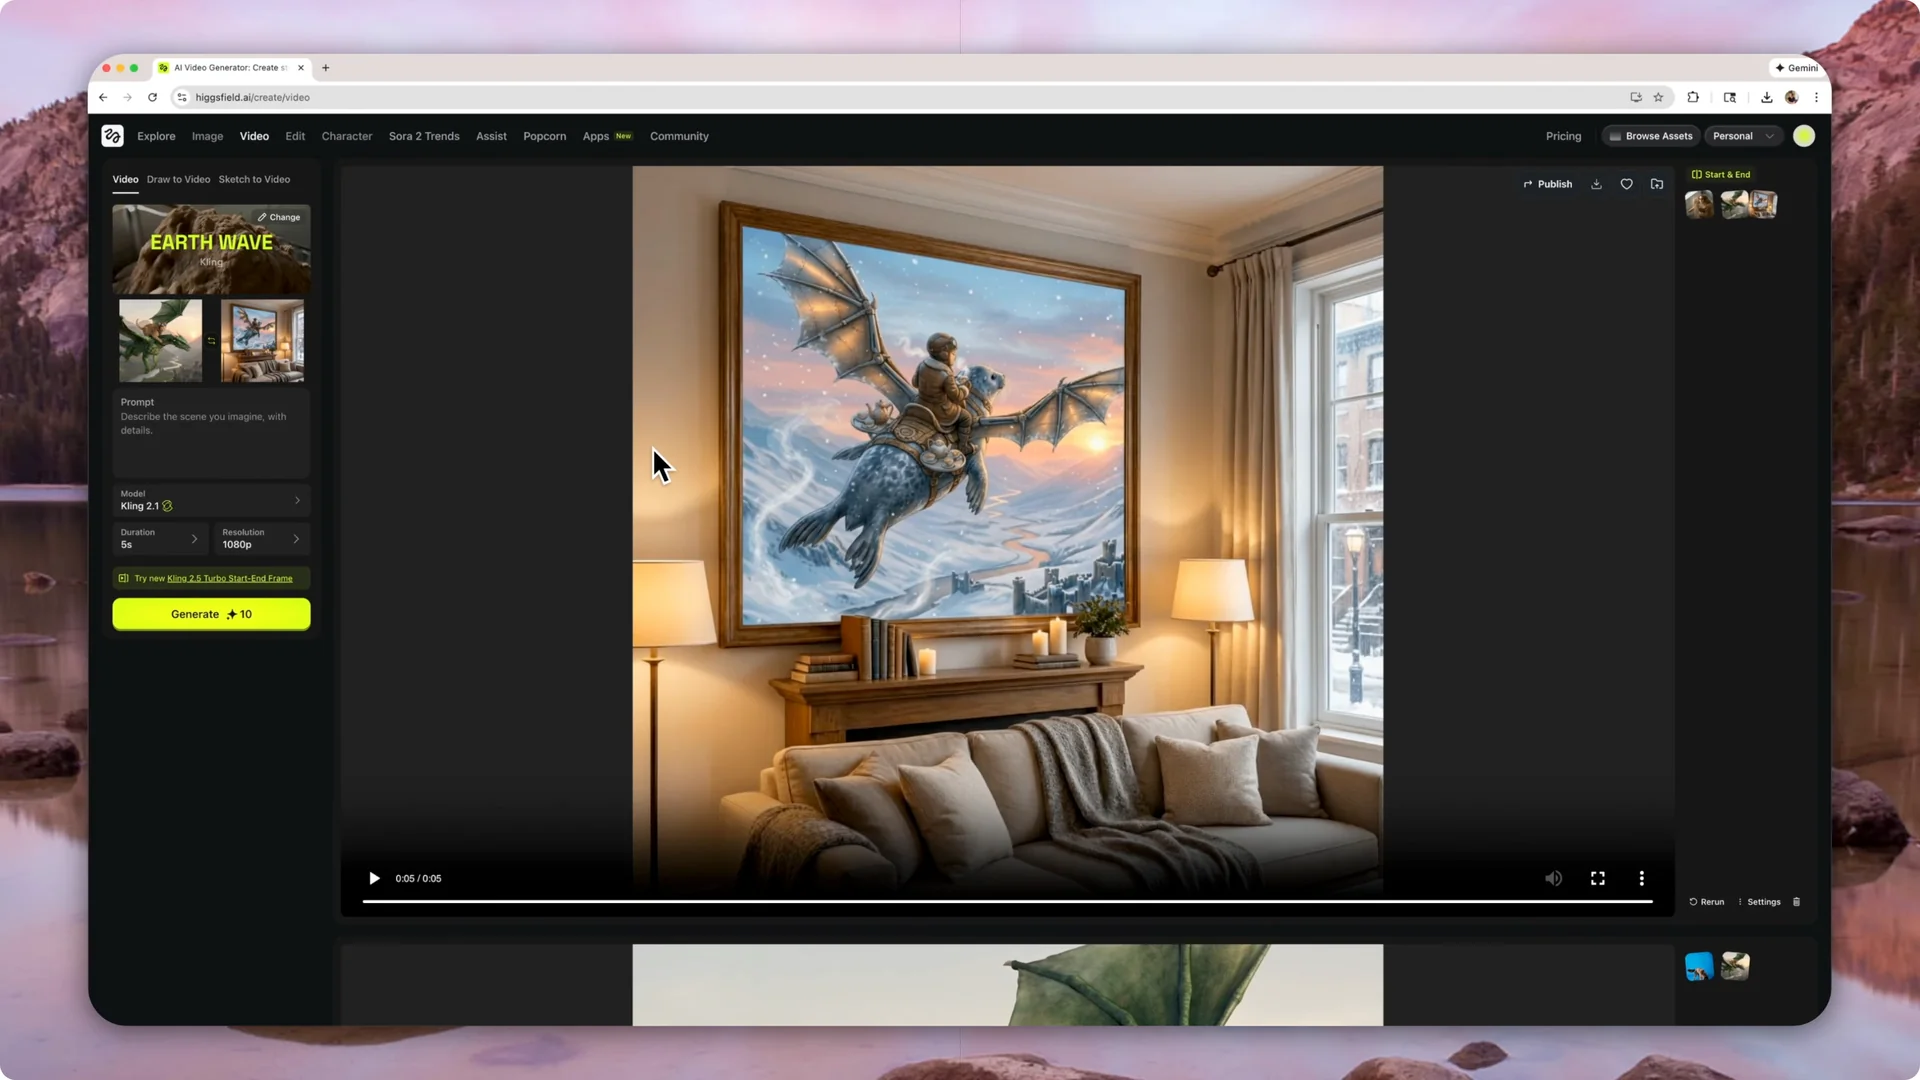
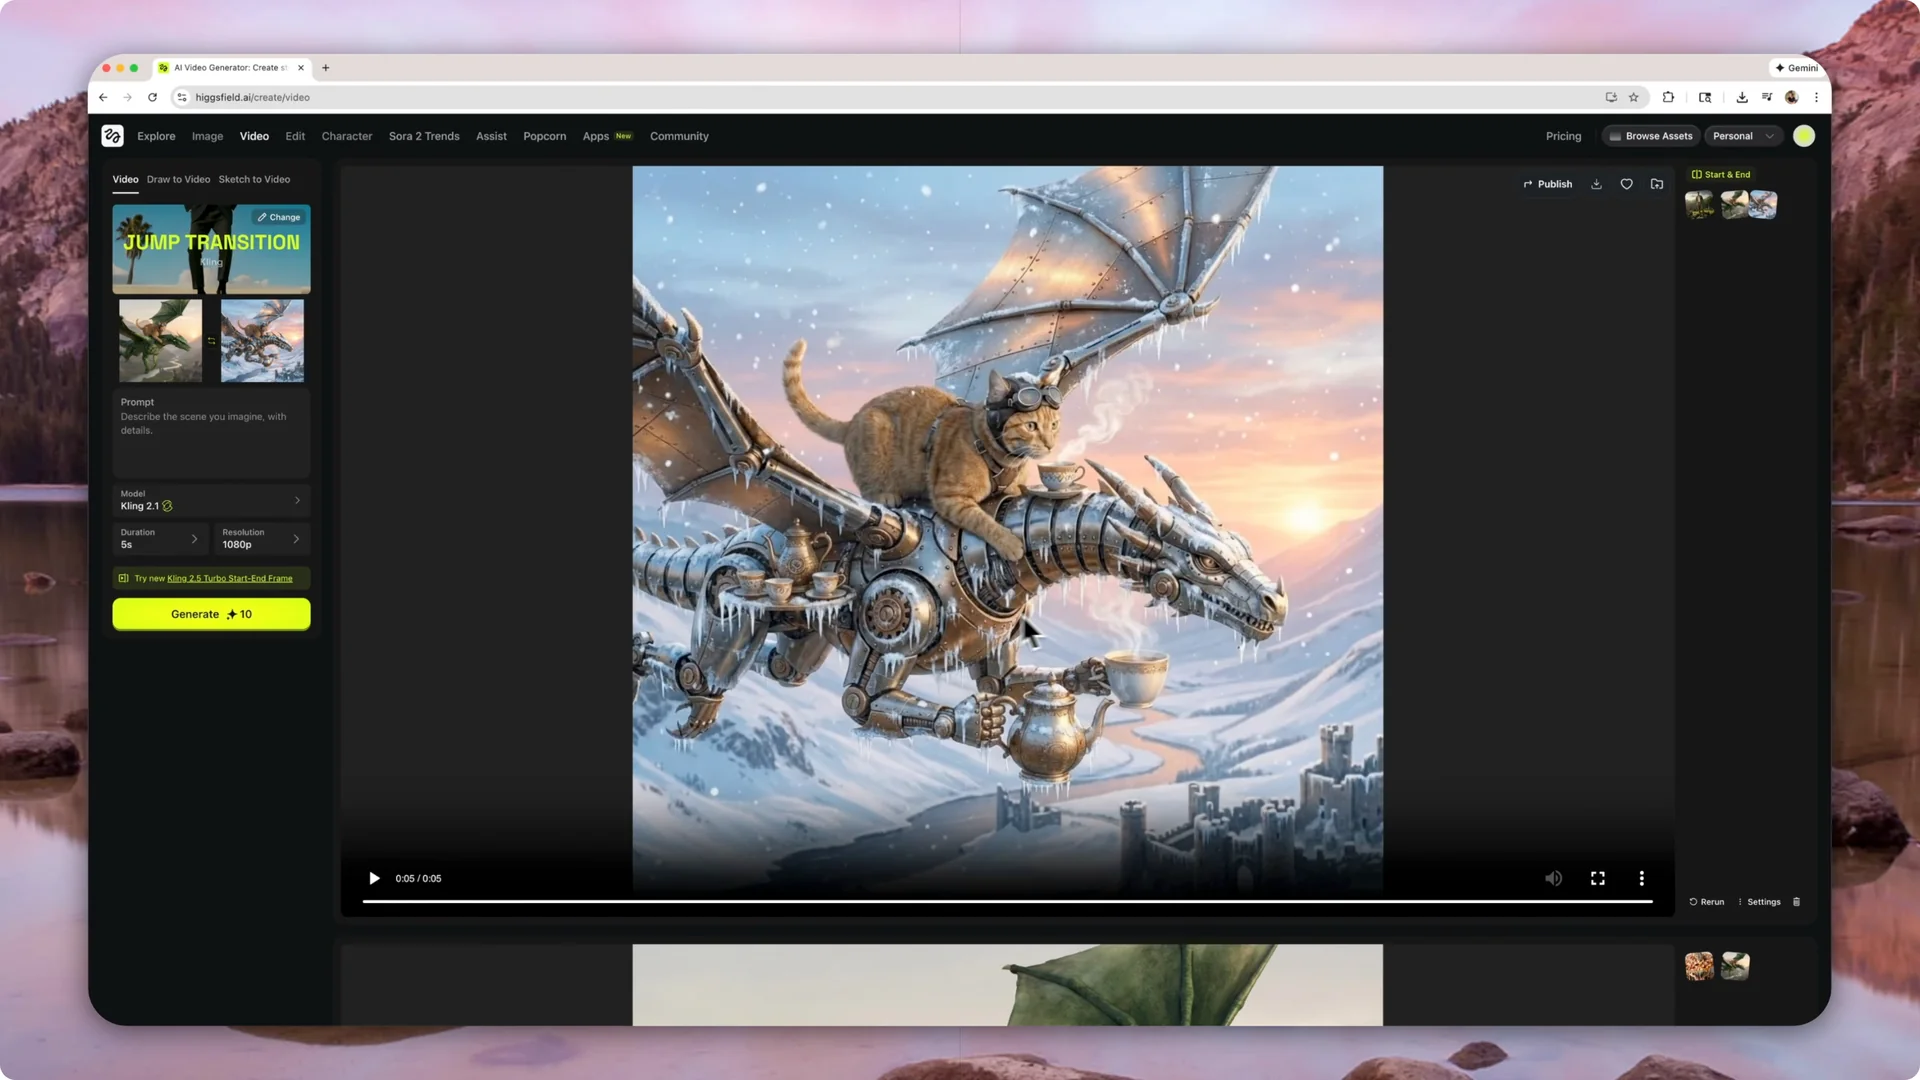
Jump Transition – Heistfield Visual Effects
This is my most favorite visual effect inside Heistfield. It needs an end frame, and I like choosing a strong contrast such as a metal dragon in a winter scene for the final frame.
Step 1: Select Jump Transition. Step 2: Set the starting frame to the base image and the end frame to your chosen final image. Step 3: Generate to see how it bridges the two.
I find it really amazing how the software makes a transition between the first image and the last image. It is the one I return to most often.
Final Thoughts
These are my top 10 Heistfield visual effects, tested on the same base image for a fair comparison. Some require an end frame and some do not, but all produce strong results with short prompts and clear framing. My number one pick is Jump Transition, with Airbending and Pizza Fall close behind.