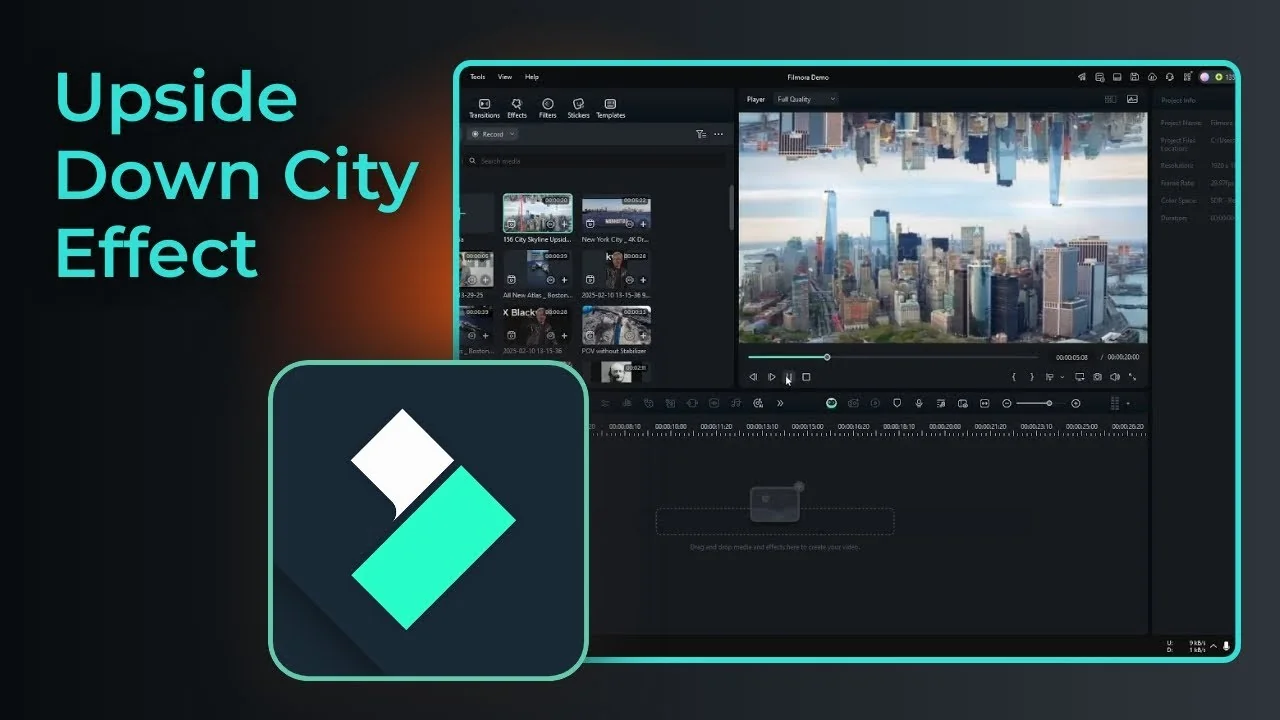
I call it the Upside Down City effect, and I think it looks really cool. You have probably seen this kind of footage in movies like Doctor Strange or Inception.
It is a drone shot of a city, but instead of one city there are two identical cities, one at the bottom and another at the top, hanging there. I am going to recreate this effect using Filmora, and the principle is very simple.
What the Upside Down City Effect Looks Like?
It is basically a regular skyline drone shot mirrored vertically so the buildings appear both below and above the horizon. The key is picking the right footage and blending the seam so the two layers look like one scene.
Choosing the Right Footage for the Upside Down City Effect
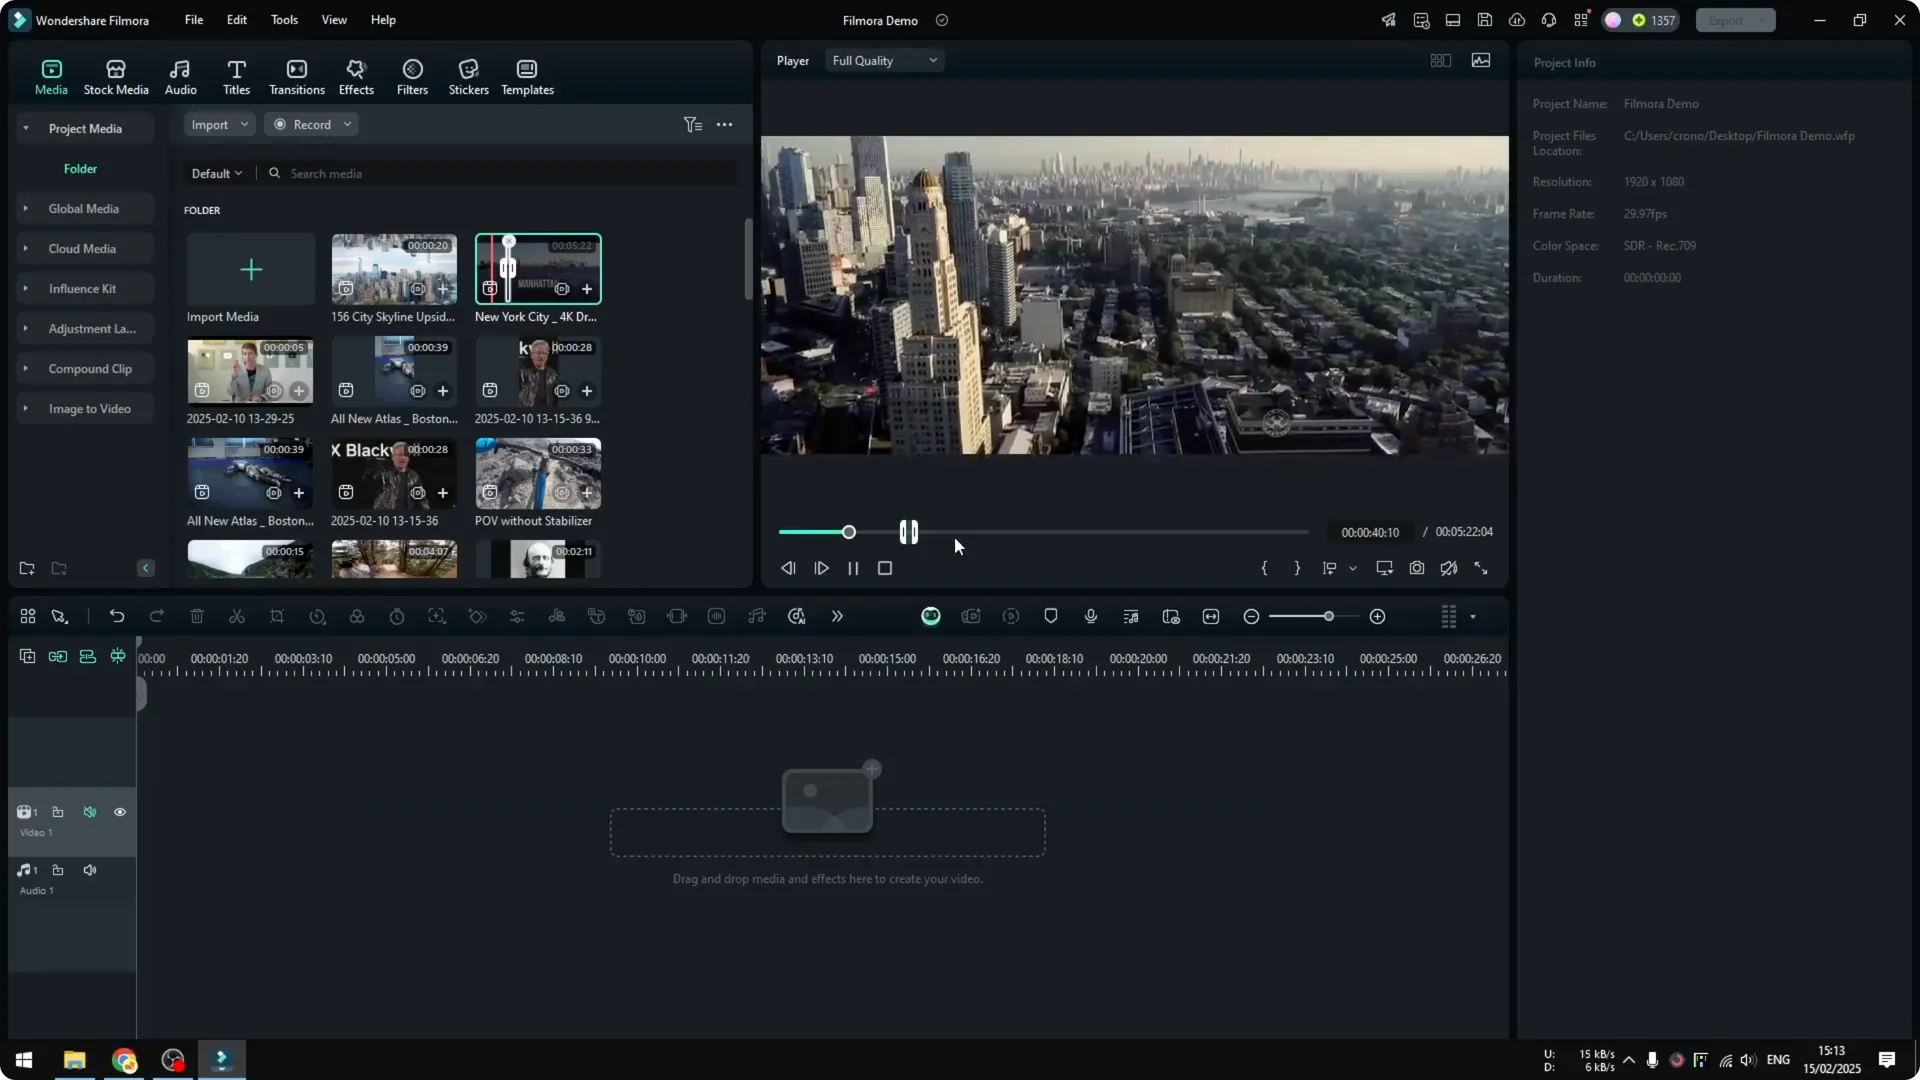
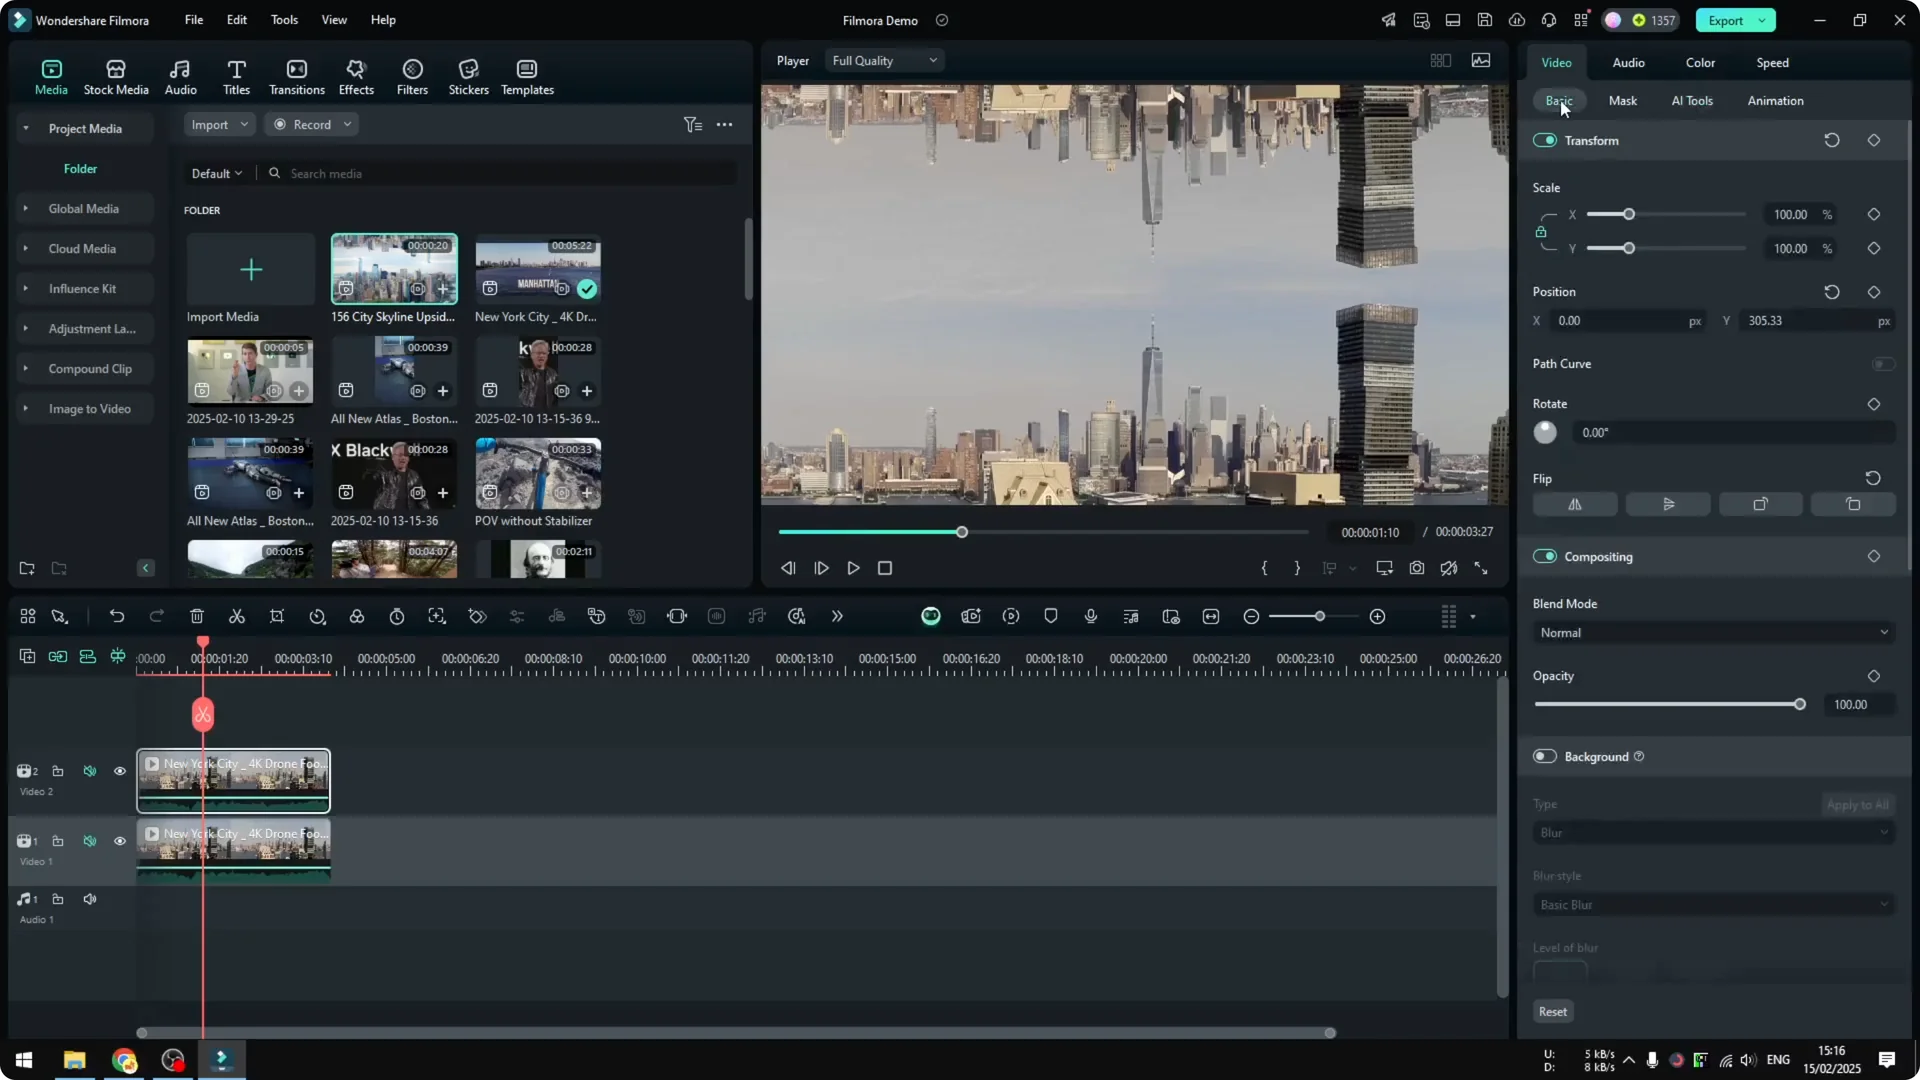
I got a drone clip from YouTube shot in Manhattan, New York. It is a great place to get skyline drone footage. I am using a specific section of that video as the base.
Footage tips:
- Make sure all the buildings are within the frame. Do not pick a clip where a building is cut off by the frame edge.
- Avoid shots where any spire or tall element gets blocked at the top of the frame.
- Look for a clean skyline where nothing important is truncated by the boundary of the frame.
I picked an area of the clip that fits these criteria for the demonstration.
Upside Down City Effect in Filmora: Step-by-Step
Prepare the project and base clip
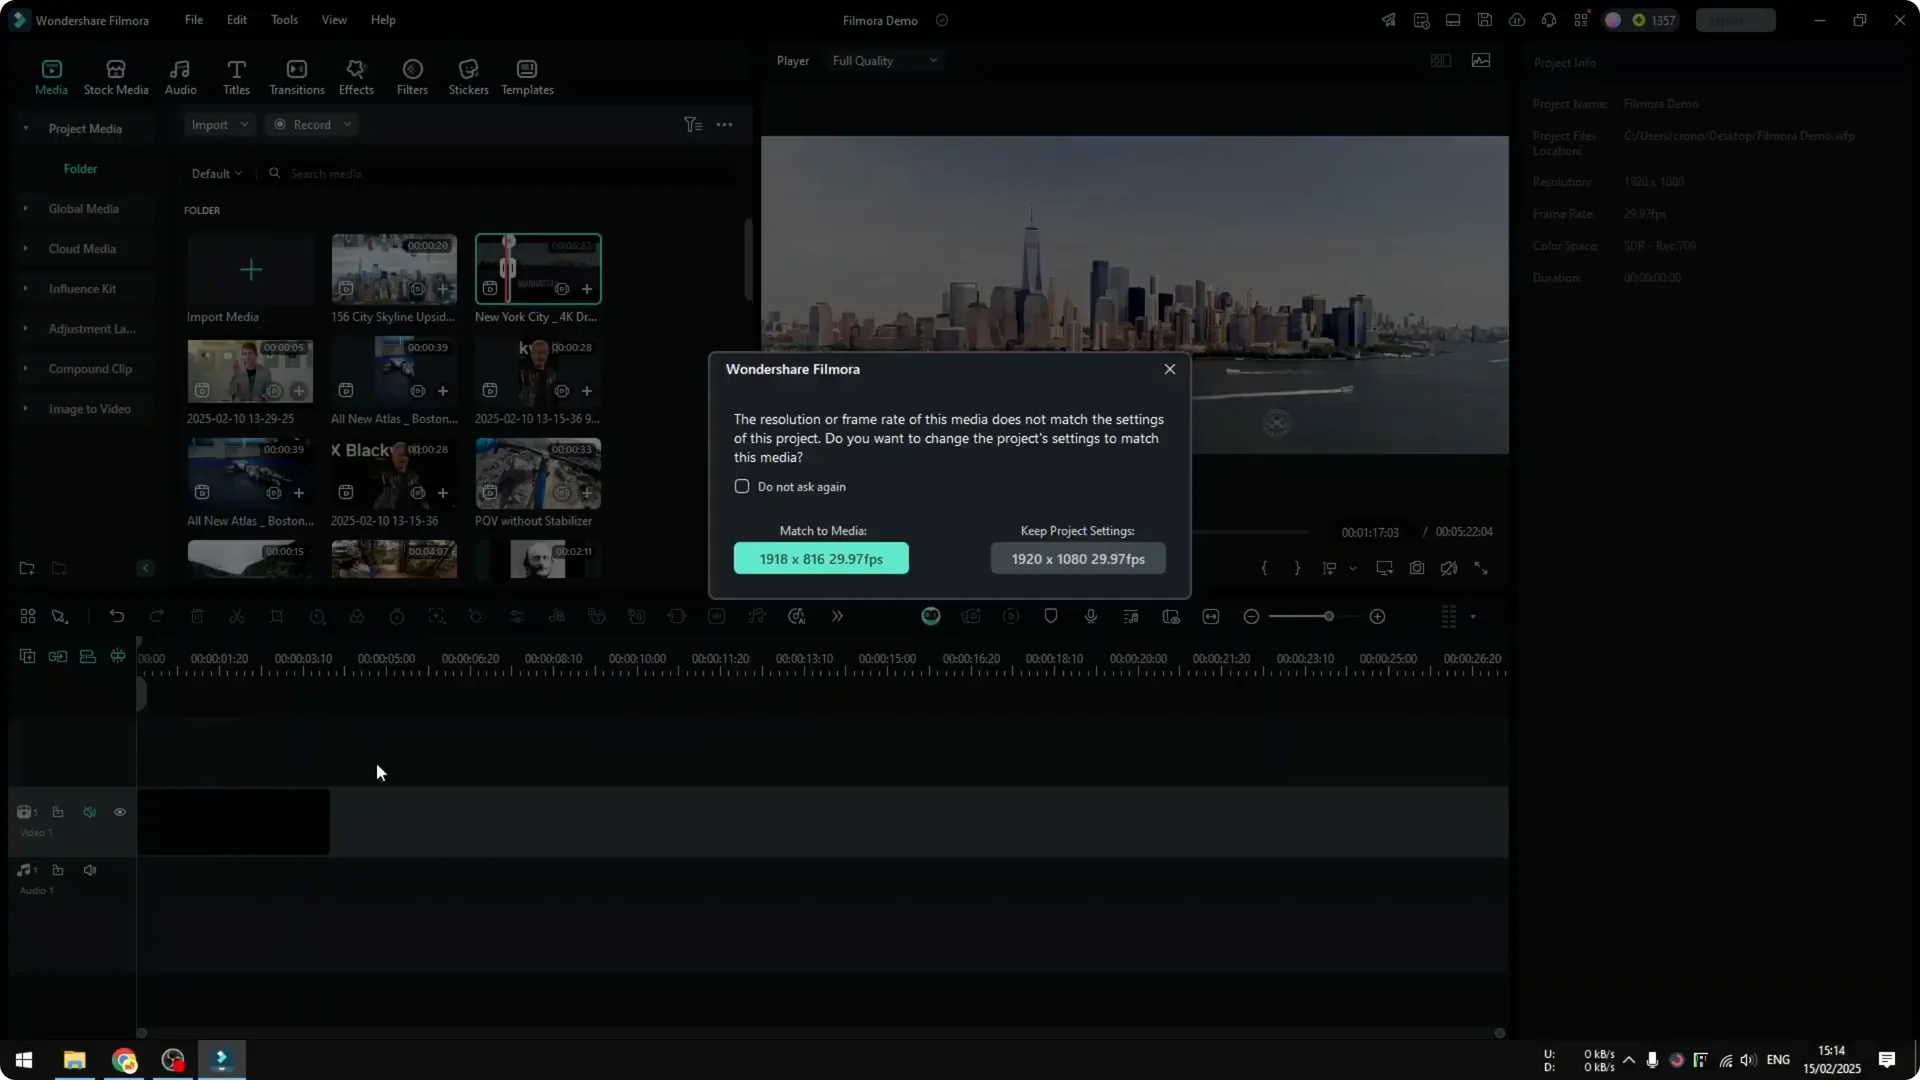
1. Put your drone footage on the timeline and match to the media if prompted.
2. Change the project aspect ratio to give yourself more vertical space:
– Go to Change Project Aspect Ratio.
– Switch to 1920 by 1080P and click OK.
3. Position the base clip at the bottom of the frame.

You should see a simple drone pan, for example right to left.
Duplicate and flip the city
1. Duplicate the clip:
– Right click the clip and choose Copy.
– Right click in the timeline and choose Paste.
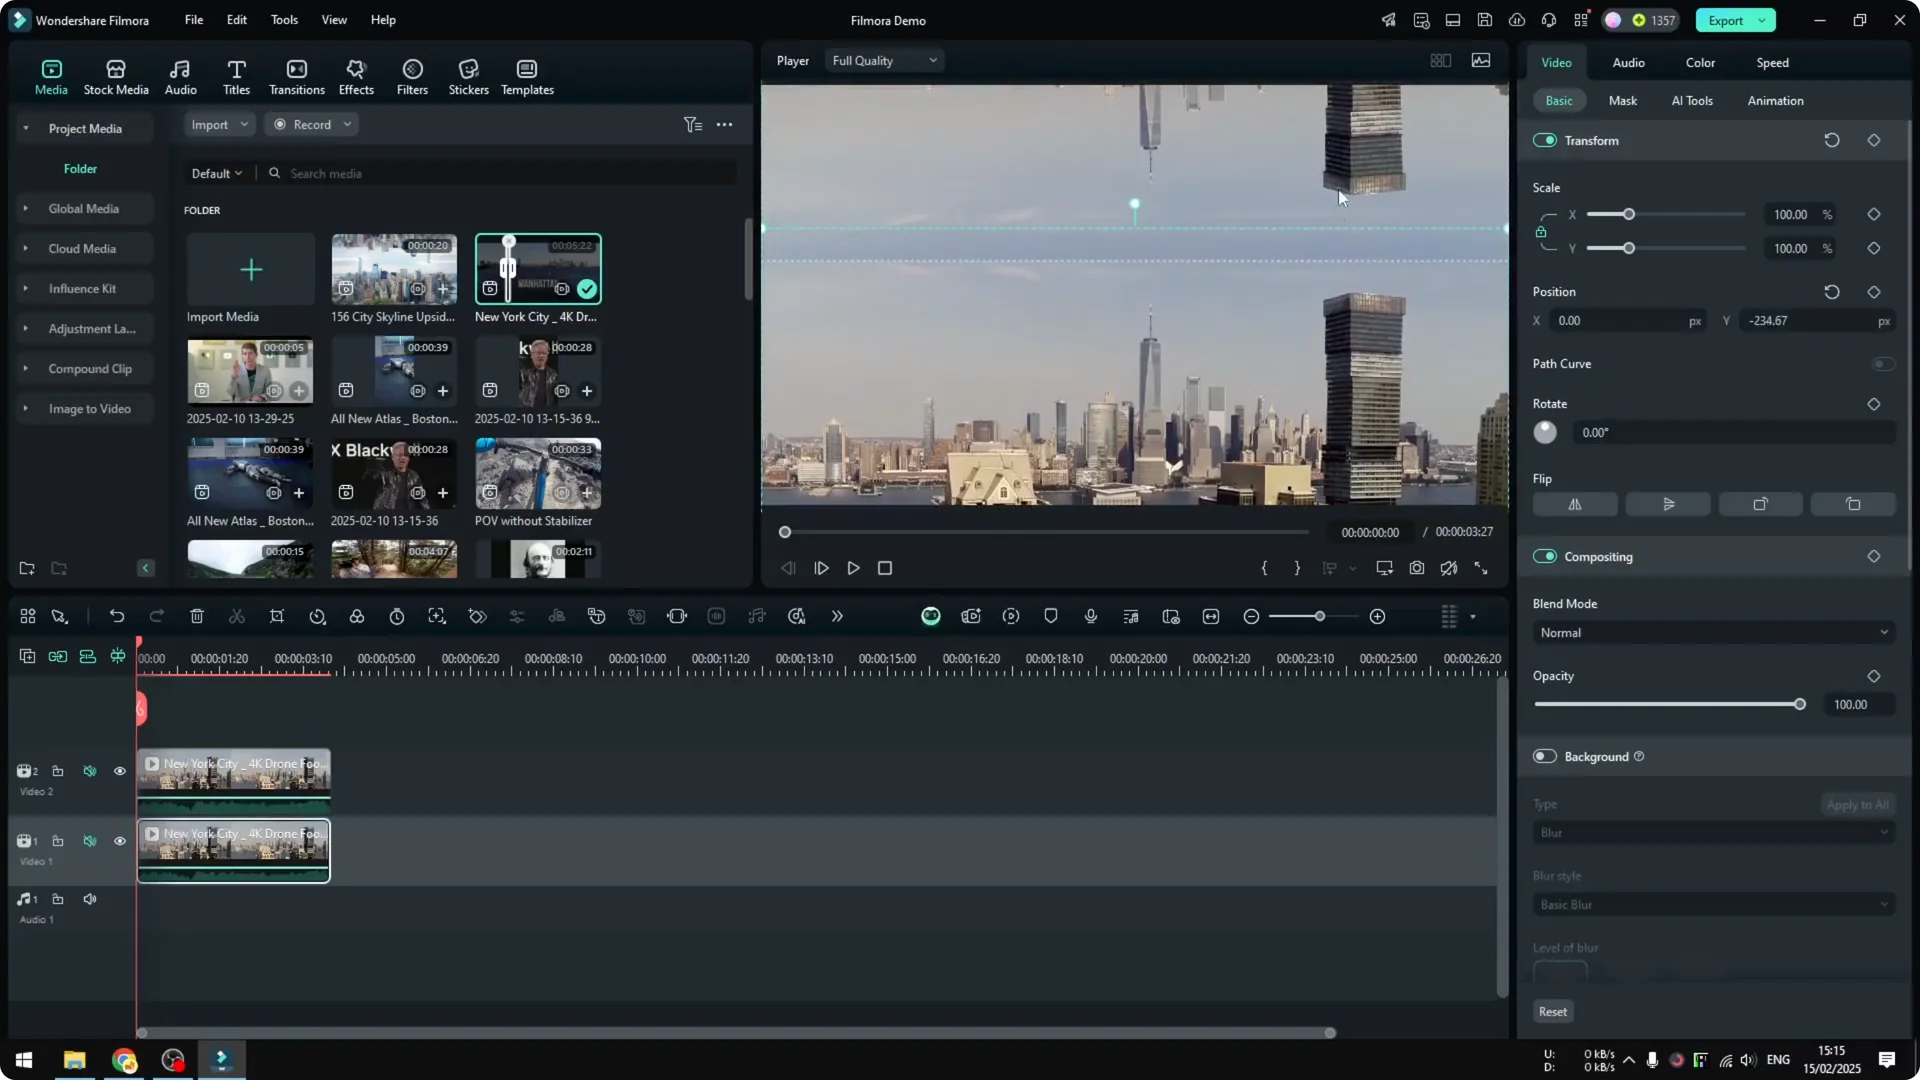
2. Move the duplicated clip to the top track and position it above the base clip.
3. Flip the duplicate vertically:
– Select the top clip.
– Go to Video – Basic.
– Click the flip icon so the city is upside down.
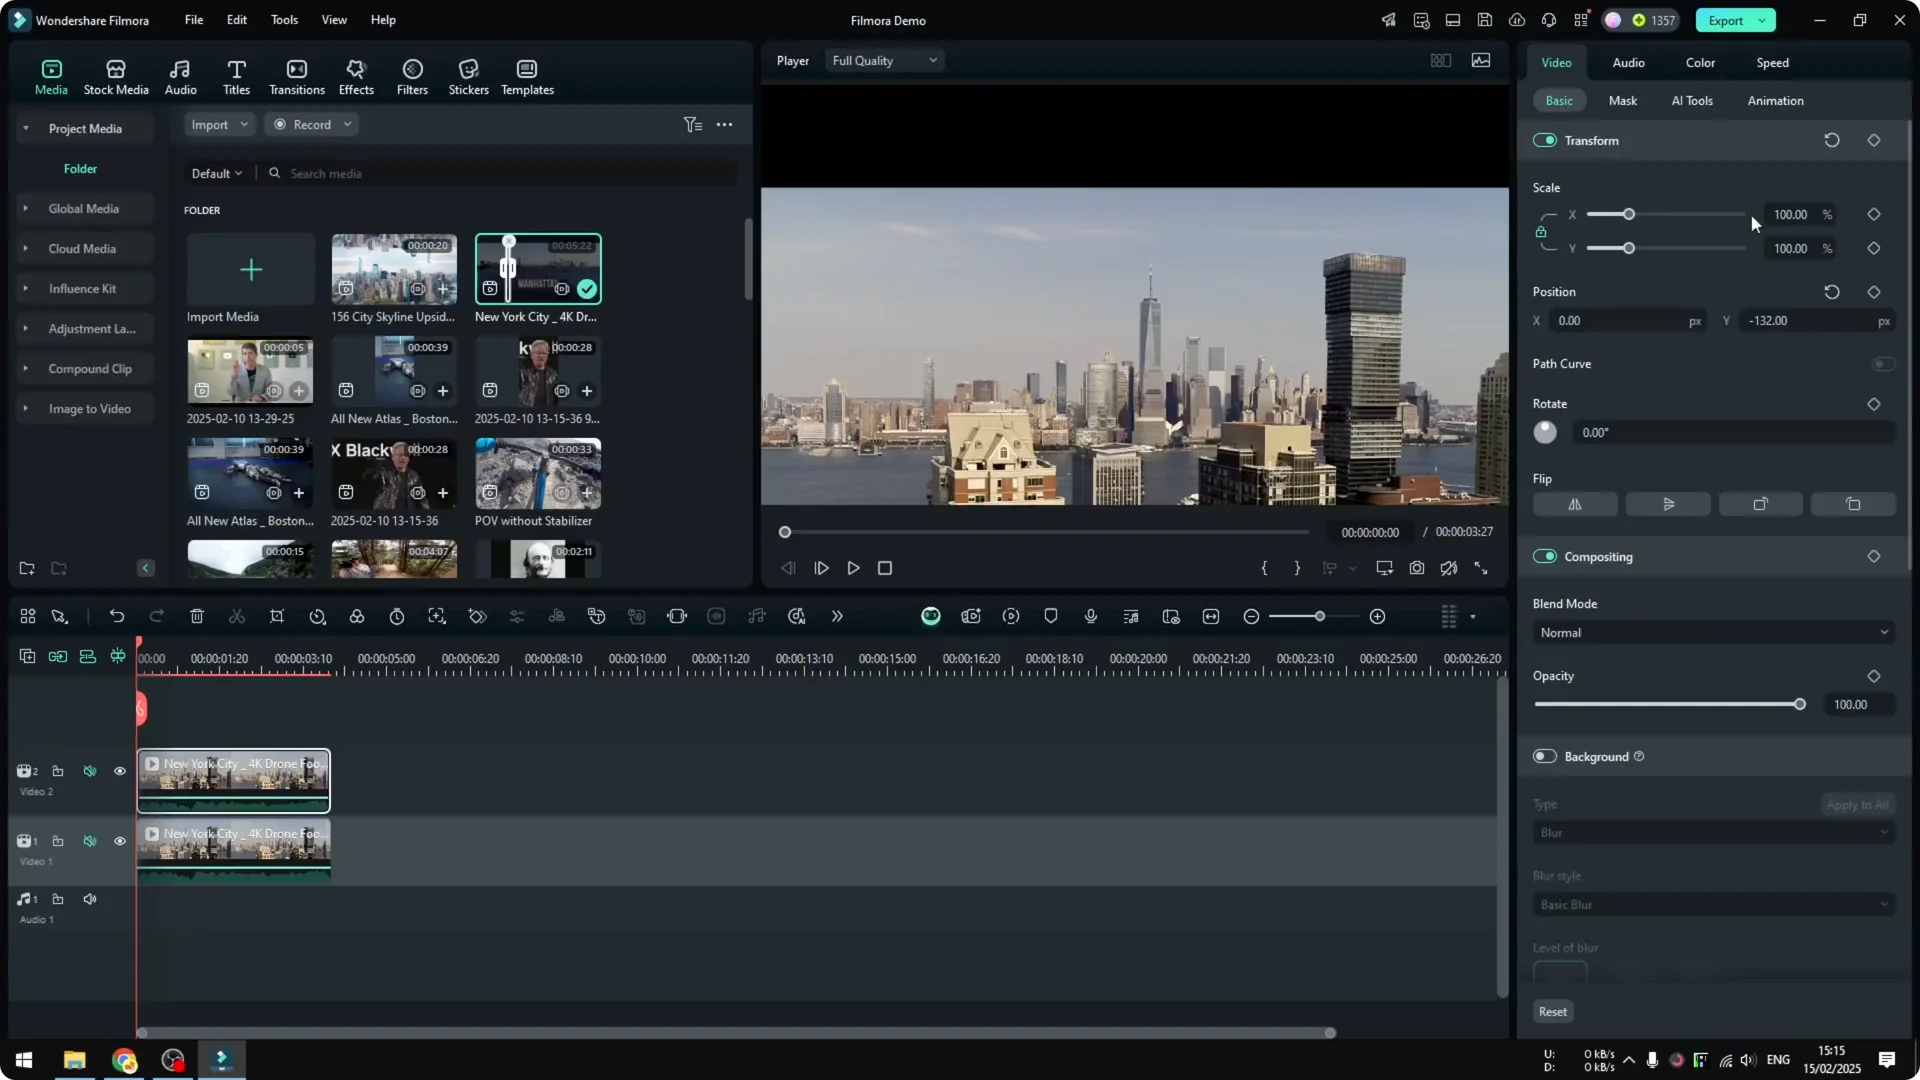
Adjust the position so the upside down city is not touching the buildings of the bottom city. Balance everything out until it looks right.
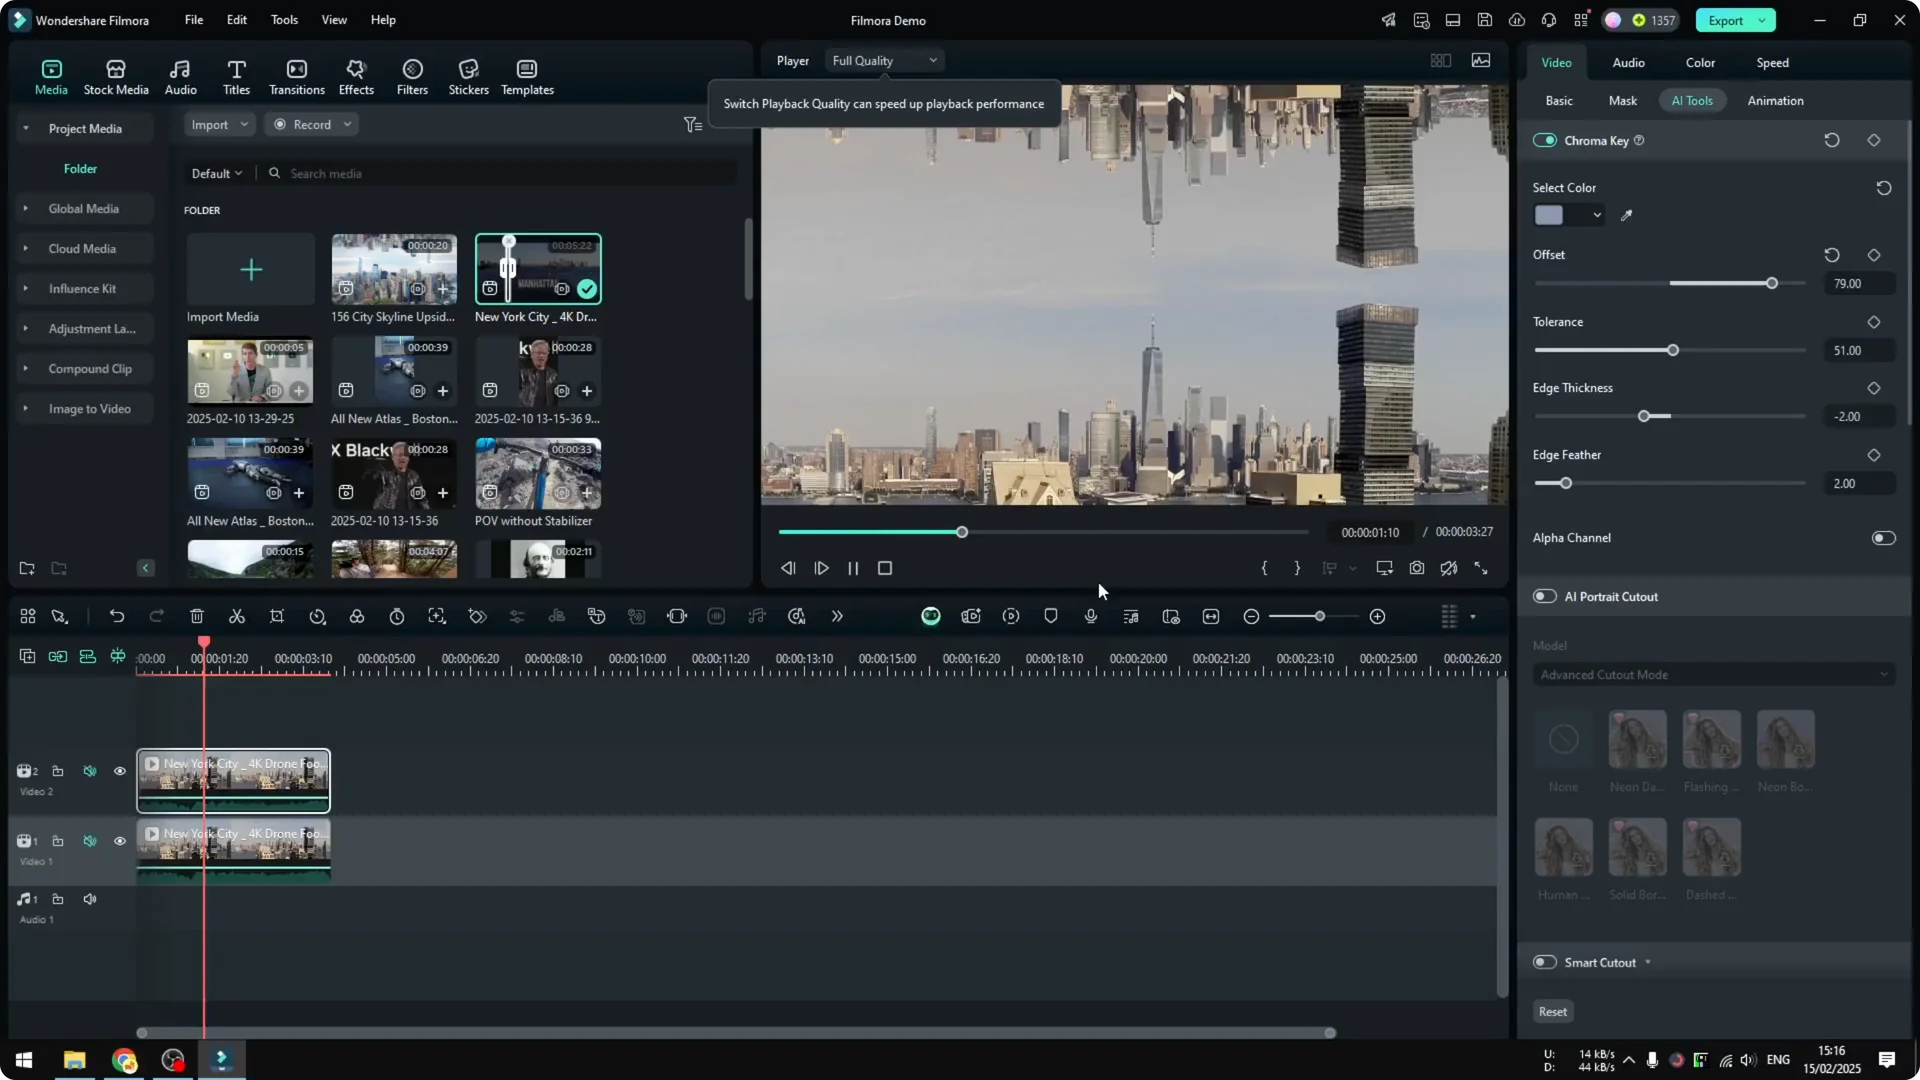
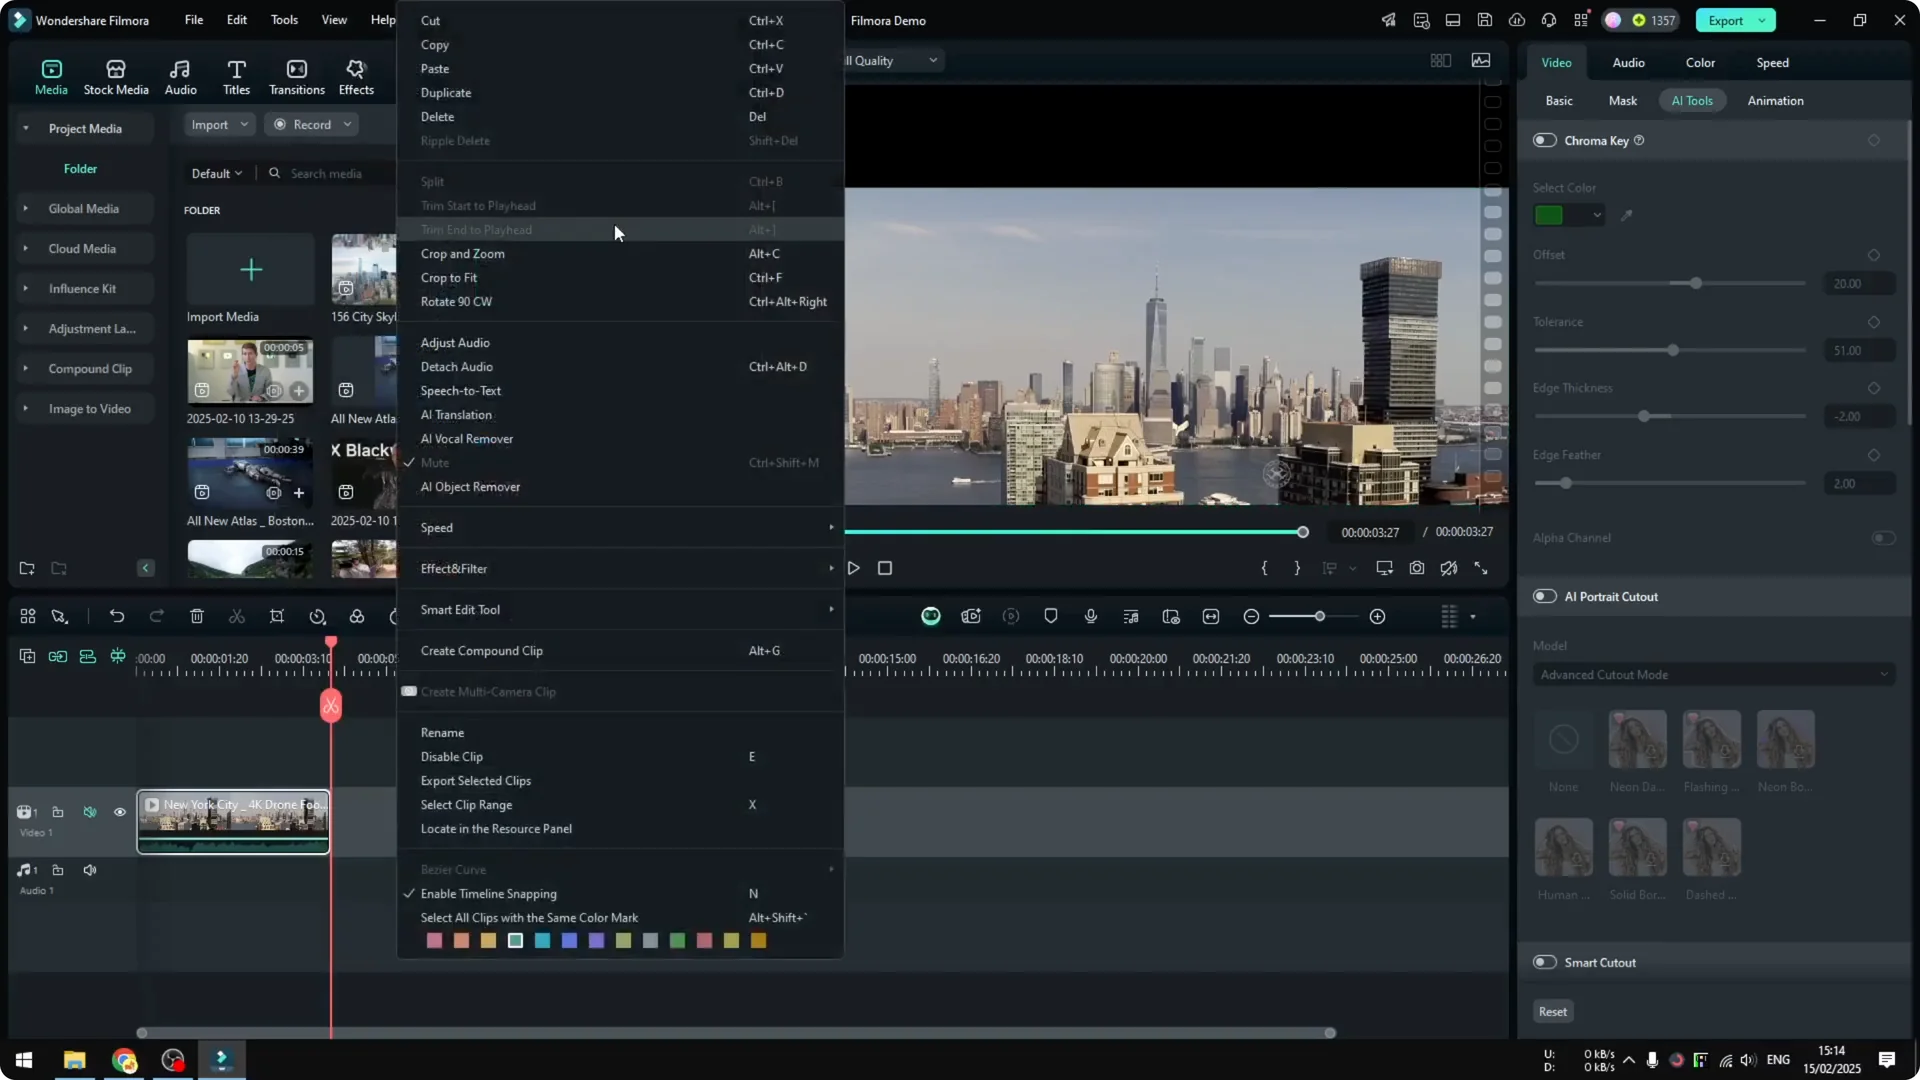
Clean the seam with Chroma Key
You will see a separation line between the two clips. Clean it up on the top clip:
1. Select the top clip.
2. Go to Video – AI Tools and enable Chroma Key.
3. Use the Color Picker and click on the blue area close to the edge.
4. Adjust the settings to make the key more aggressive if needed.

You can also try other AI Tools in Filmora, like Smart Cutout or AI Object Remover, if they help for your specific clip. At minimum, Chroma Key is the one you are going to use here.
At this point, it already looks really good. If I play it, I think it looks amazing.
Optional: Flip for the opposite side build
In some examples, the city appears to build on the opposite side. You can match that:
1. Select the clip again.
2. Go to the Basic menu and flip the video.
This gets you very close to the kind of sample footage you might see from stock sites. It is not perfect, but it is very close.
Final Thoughts
The Upside Down City effect is simple to recreate in Filmora. The most important part is choosing a clean skyline where no building is cut off, then duplicating, flipping, and blending the seam with Chroma Key. Position the two layers so they do not touch, adjust the key to taste, and optionally flip the final look if you want the build on the opposite side. I think it looks really cool.