Before opening Kling AI, here is why the new start and end frame function is so useful. Before, we could only use a single image and the video started with that image, then the AI decided based on the prompt in what direction to move the camera. With the option to add the last frame, the AI is guided to the end frame, we can control the output better, and tell a better story. Plus, we can make longer videos.
By using a first and end frame, I got a video that started with a simple scene and then introduced the character into the scene. It was the character I wanted when I added the last frame.
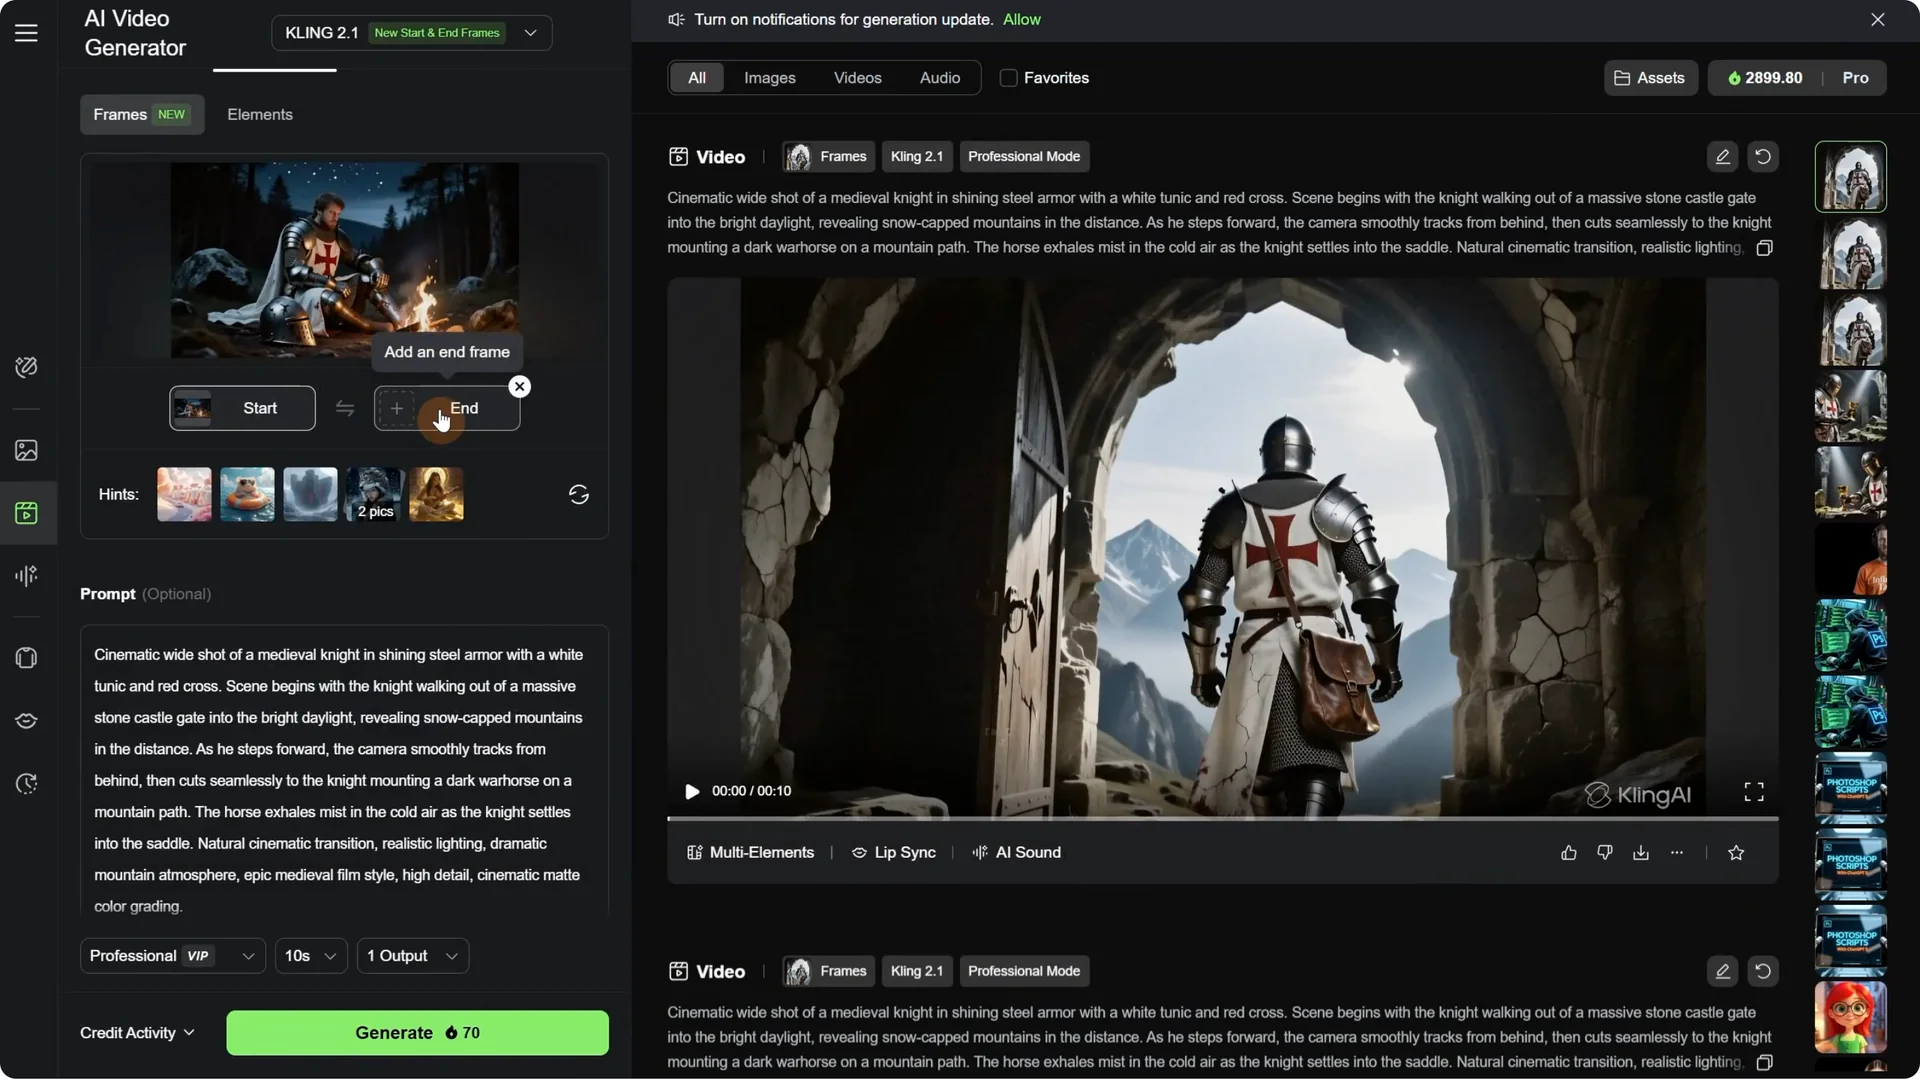
Kling AI Start-End Frames: Getting Started
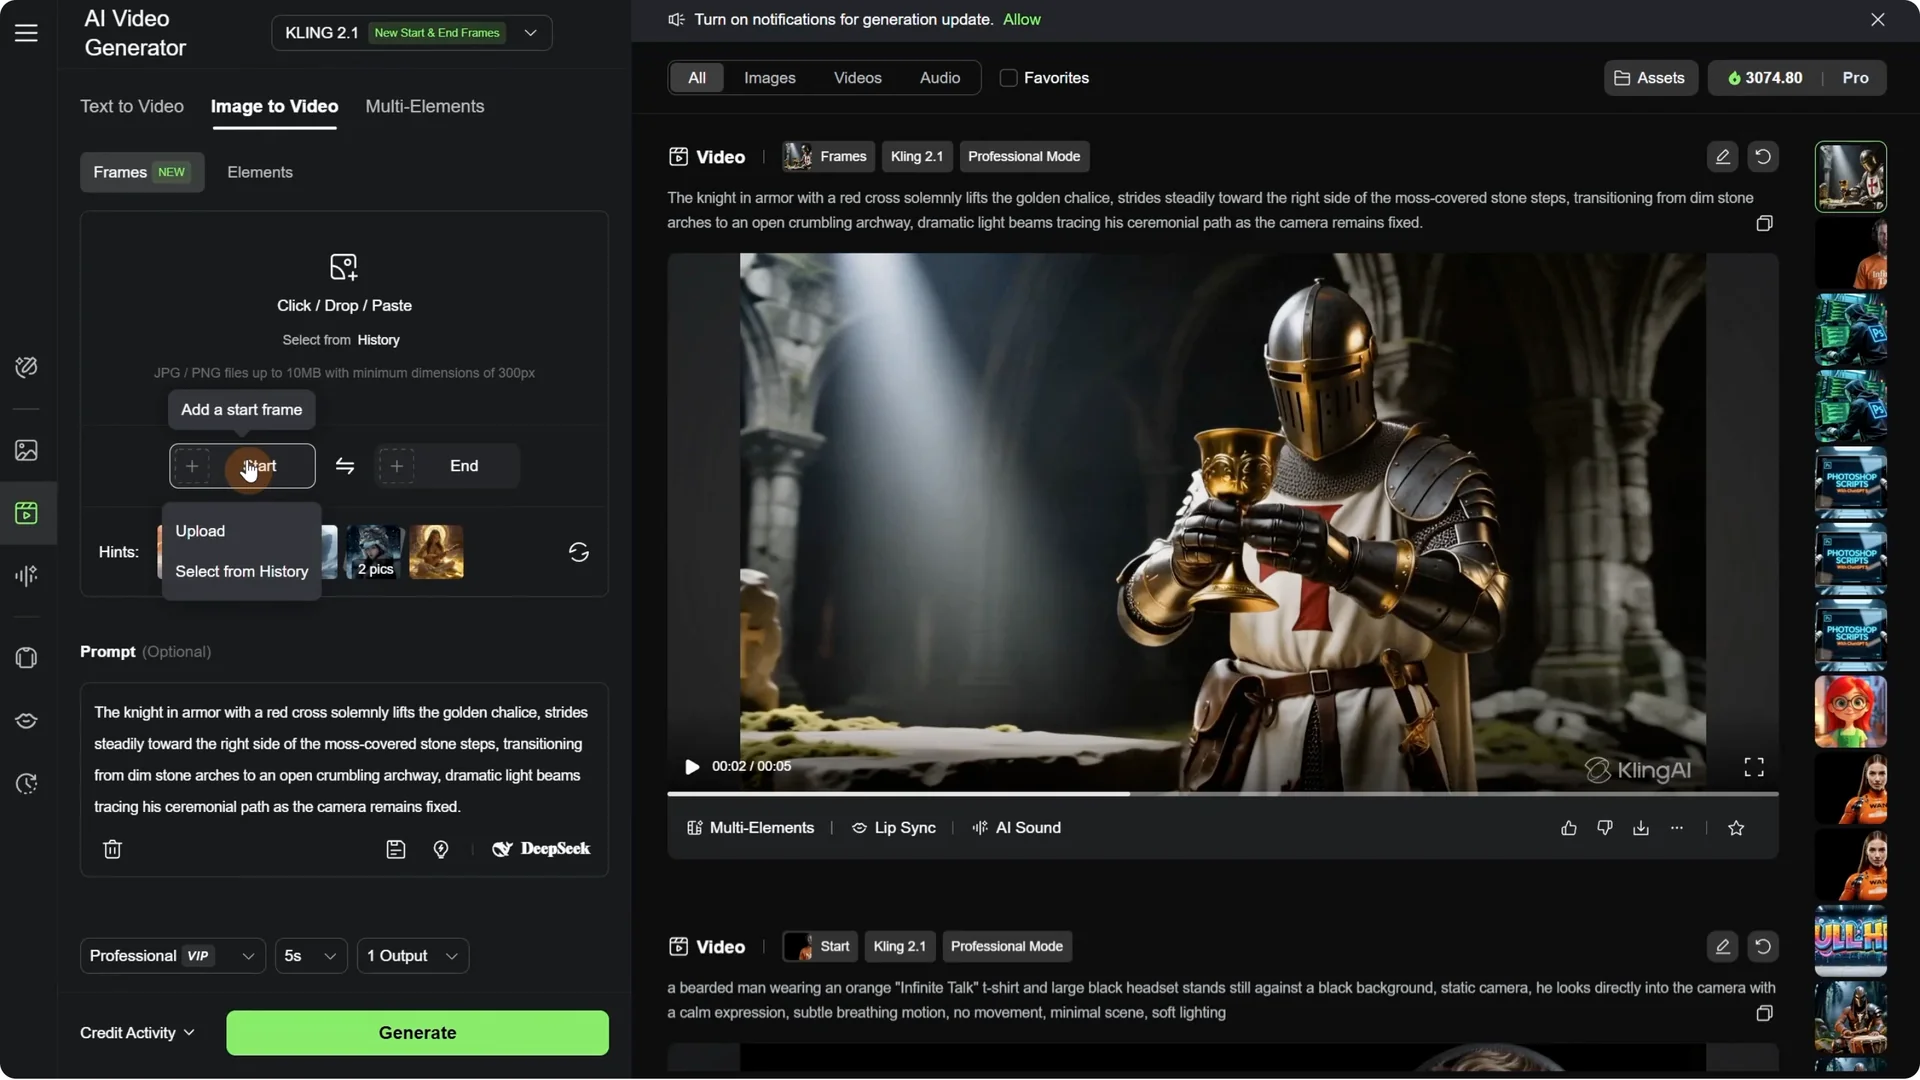
You can set both a start frame and an end frame on the Video tab. On the latest model, start and end frames appear in green as a new function, which means Model 2.1 supports this. Previously it switched to 1.6 and it was not supported.

Step-by-step:
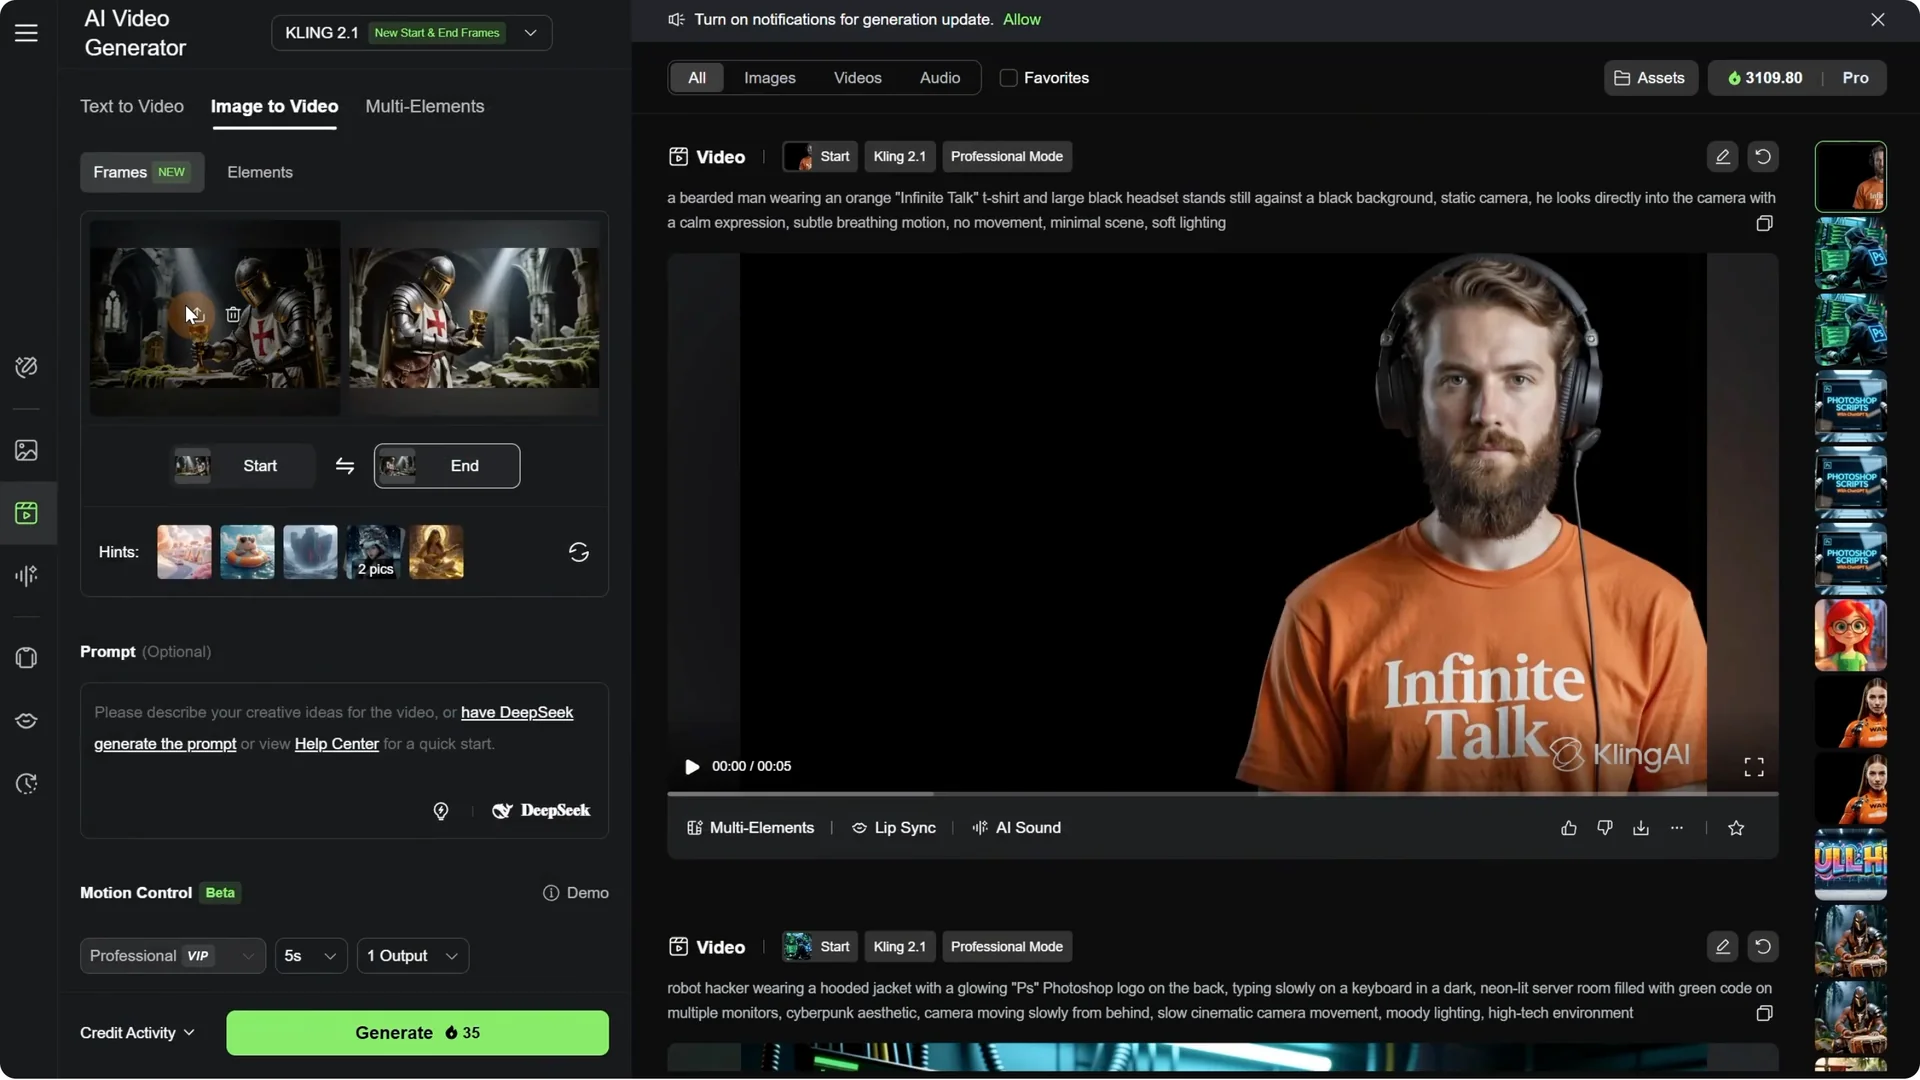
- Upload a start frame.
- Upload an end frame.
- Add your prompt and generate.
Example setup: I uploaded the last image where my previous video ended as the start frame. For the end frame, I uploaded the frame where the knight took the chalice and went to the right, preparing to leave. It should start in that position and then move in that direction.
If you are wondering how I get consistent results, I use the Quen model. You can also try nano banana or flux context.
Prompting inside Kling AI
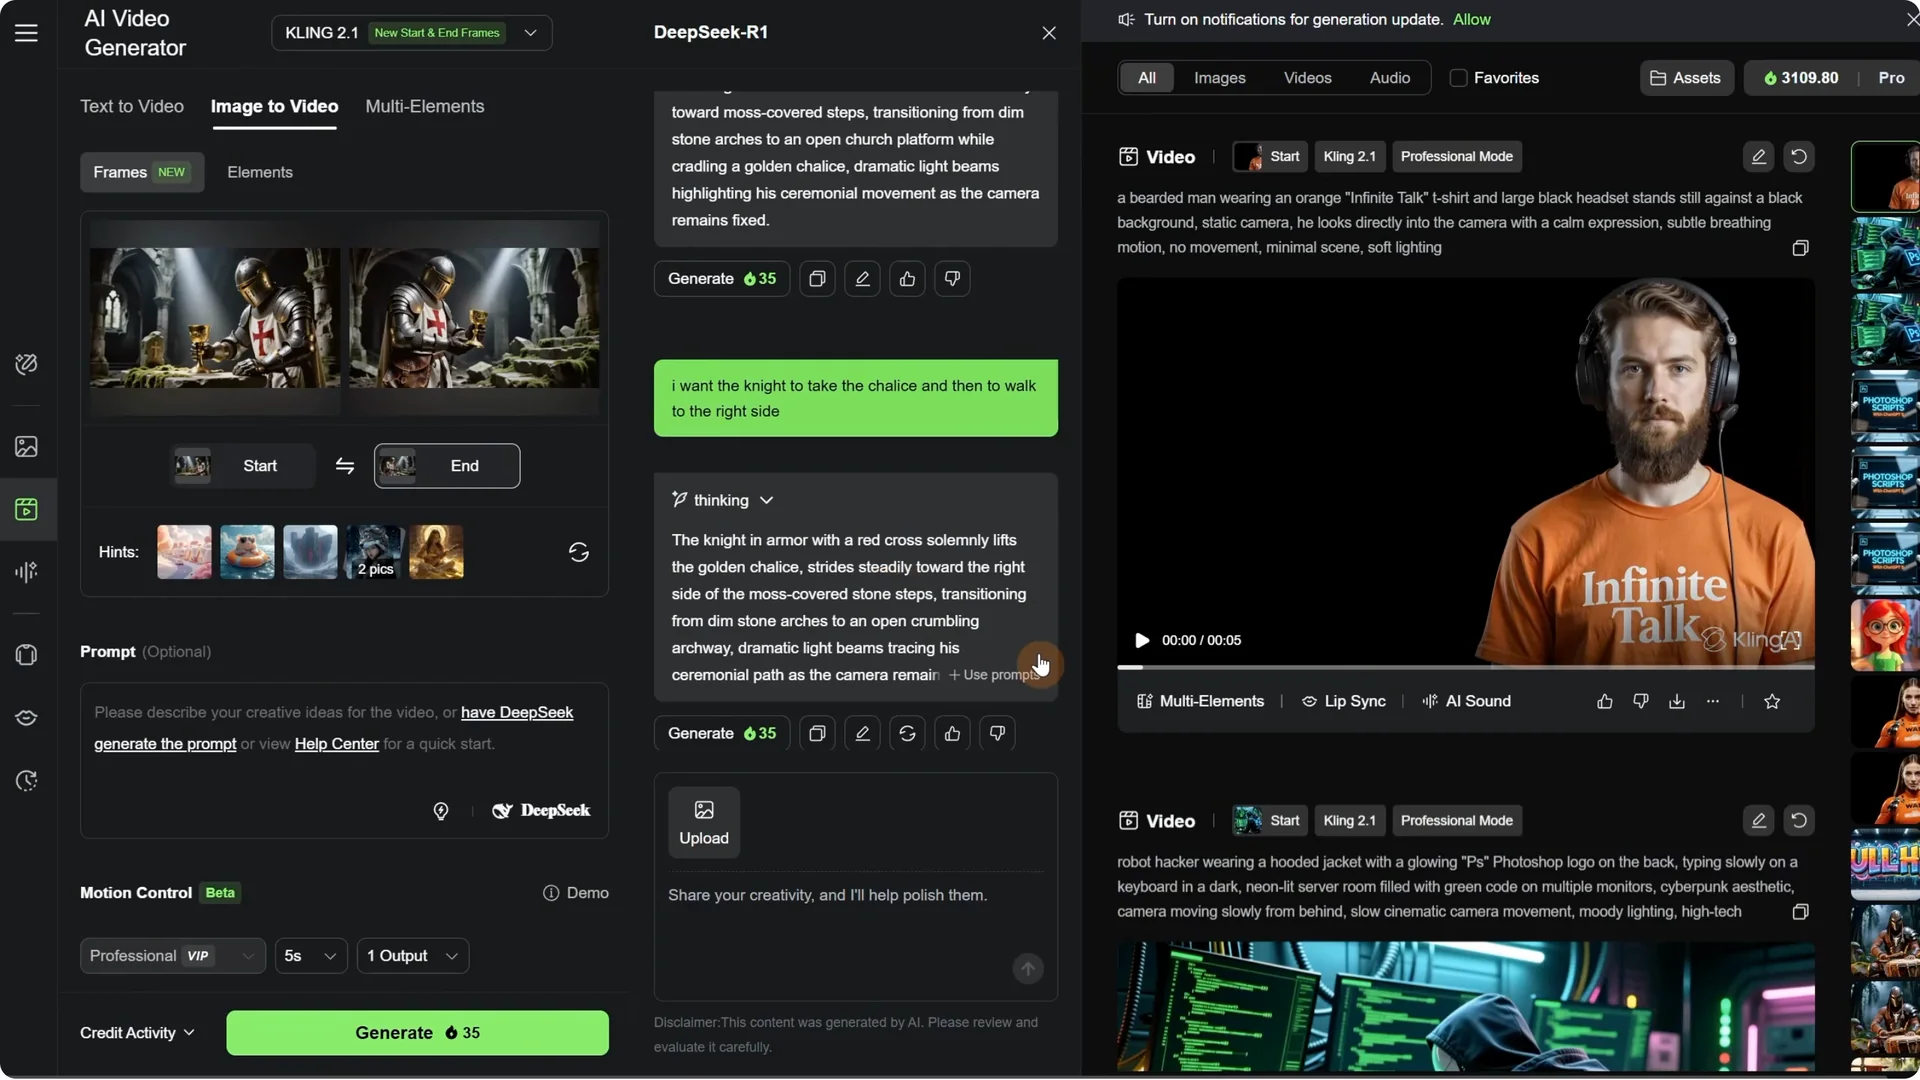
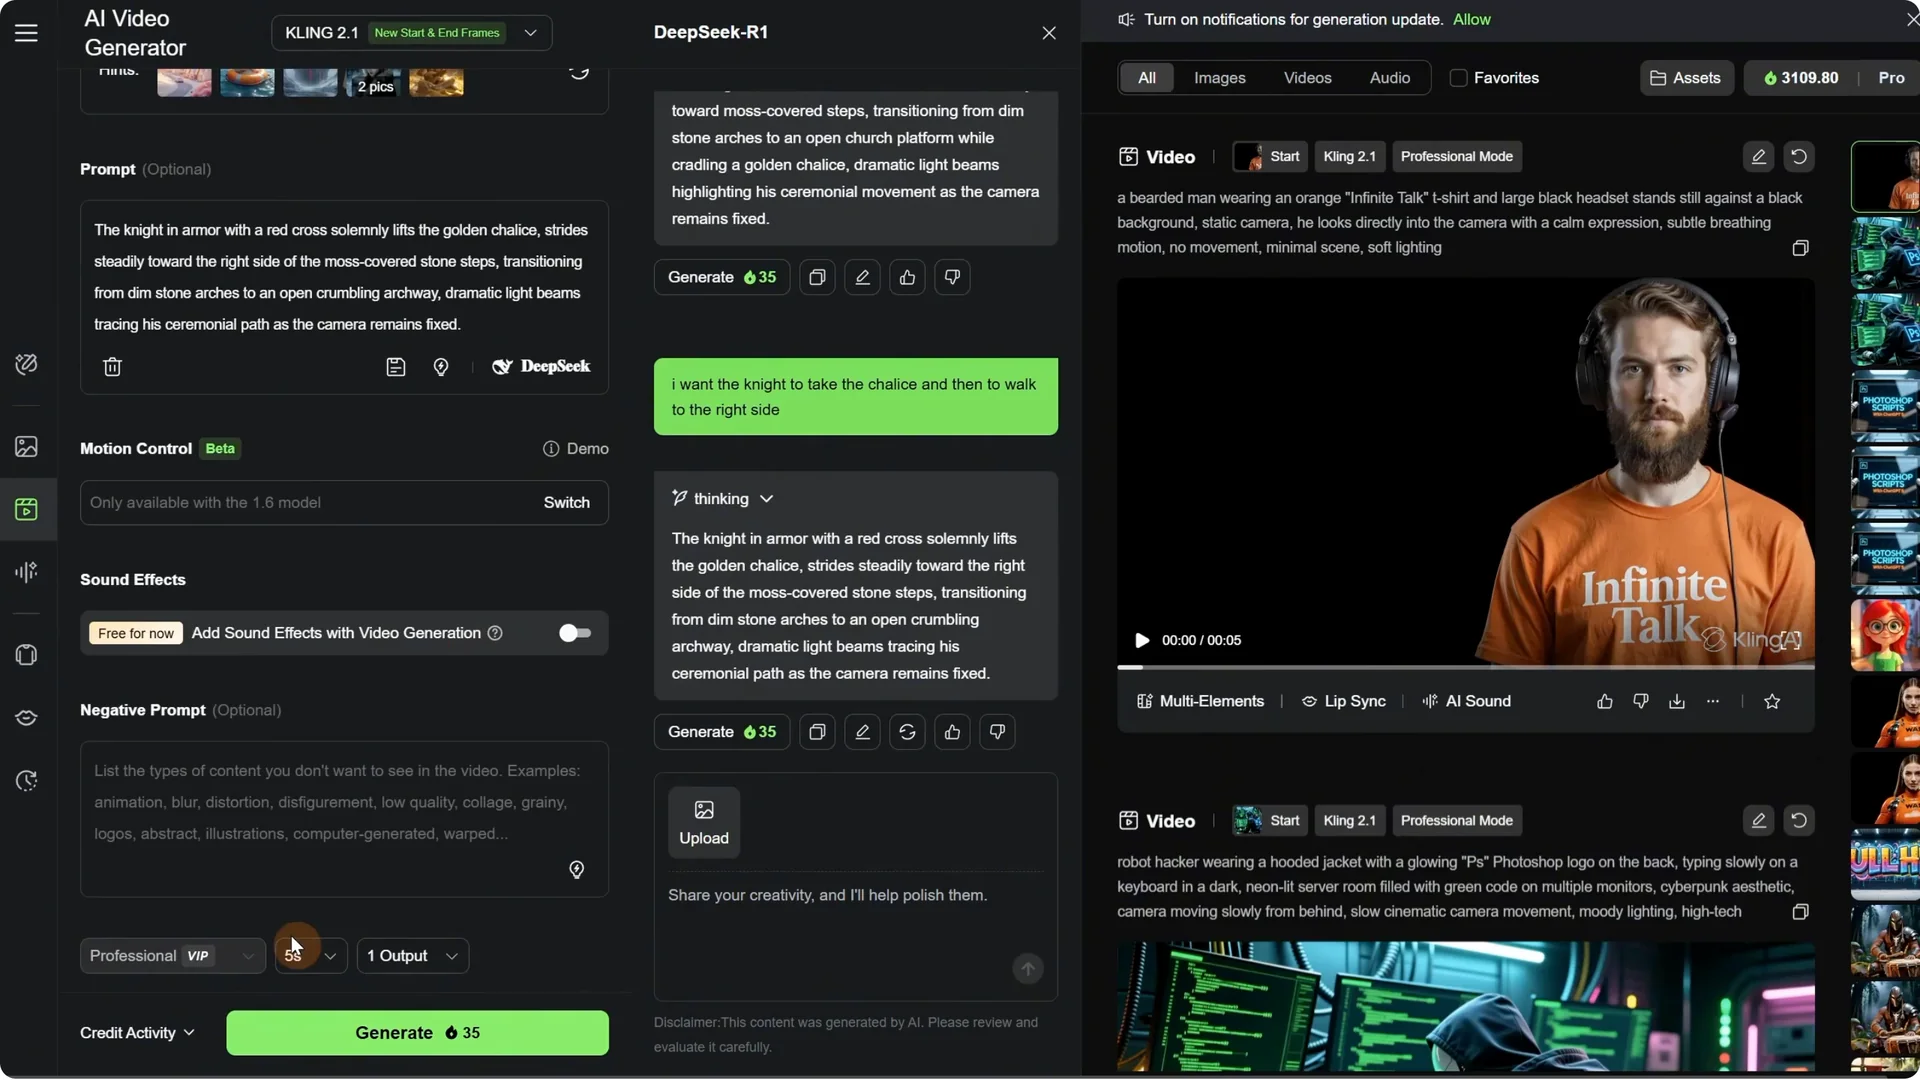
I tried DeepSeek to generate a prompt. It analyzes the images, starts thinking, and gives a prompt it thinks is best. I wanted more control, so I told it what I wanted to happen and it gave me another prompt. If I like the response, I click the Use Prompts button and it is added to the left.
I turn off sound effects since they are not always good quality. I go with Professional mode, set it to 5 seconds, and click Generate. The task is submitted and usually it takes around 2 minutes. You can generate multiple videos while you wait.
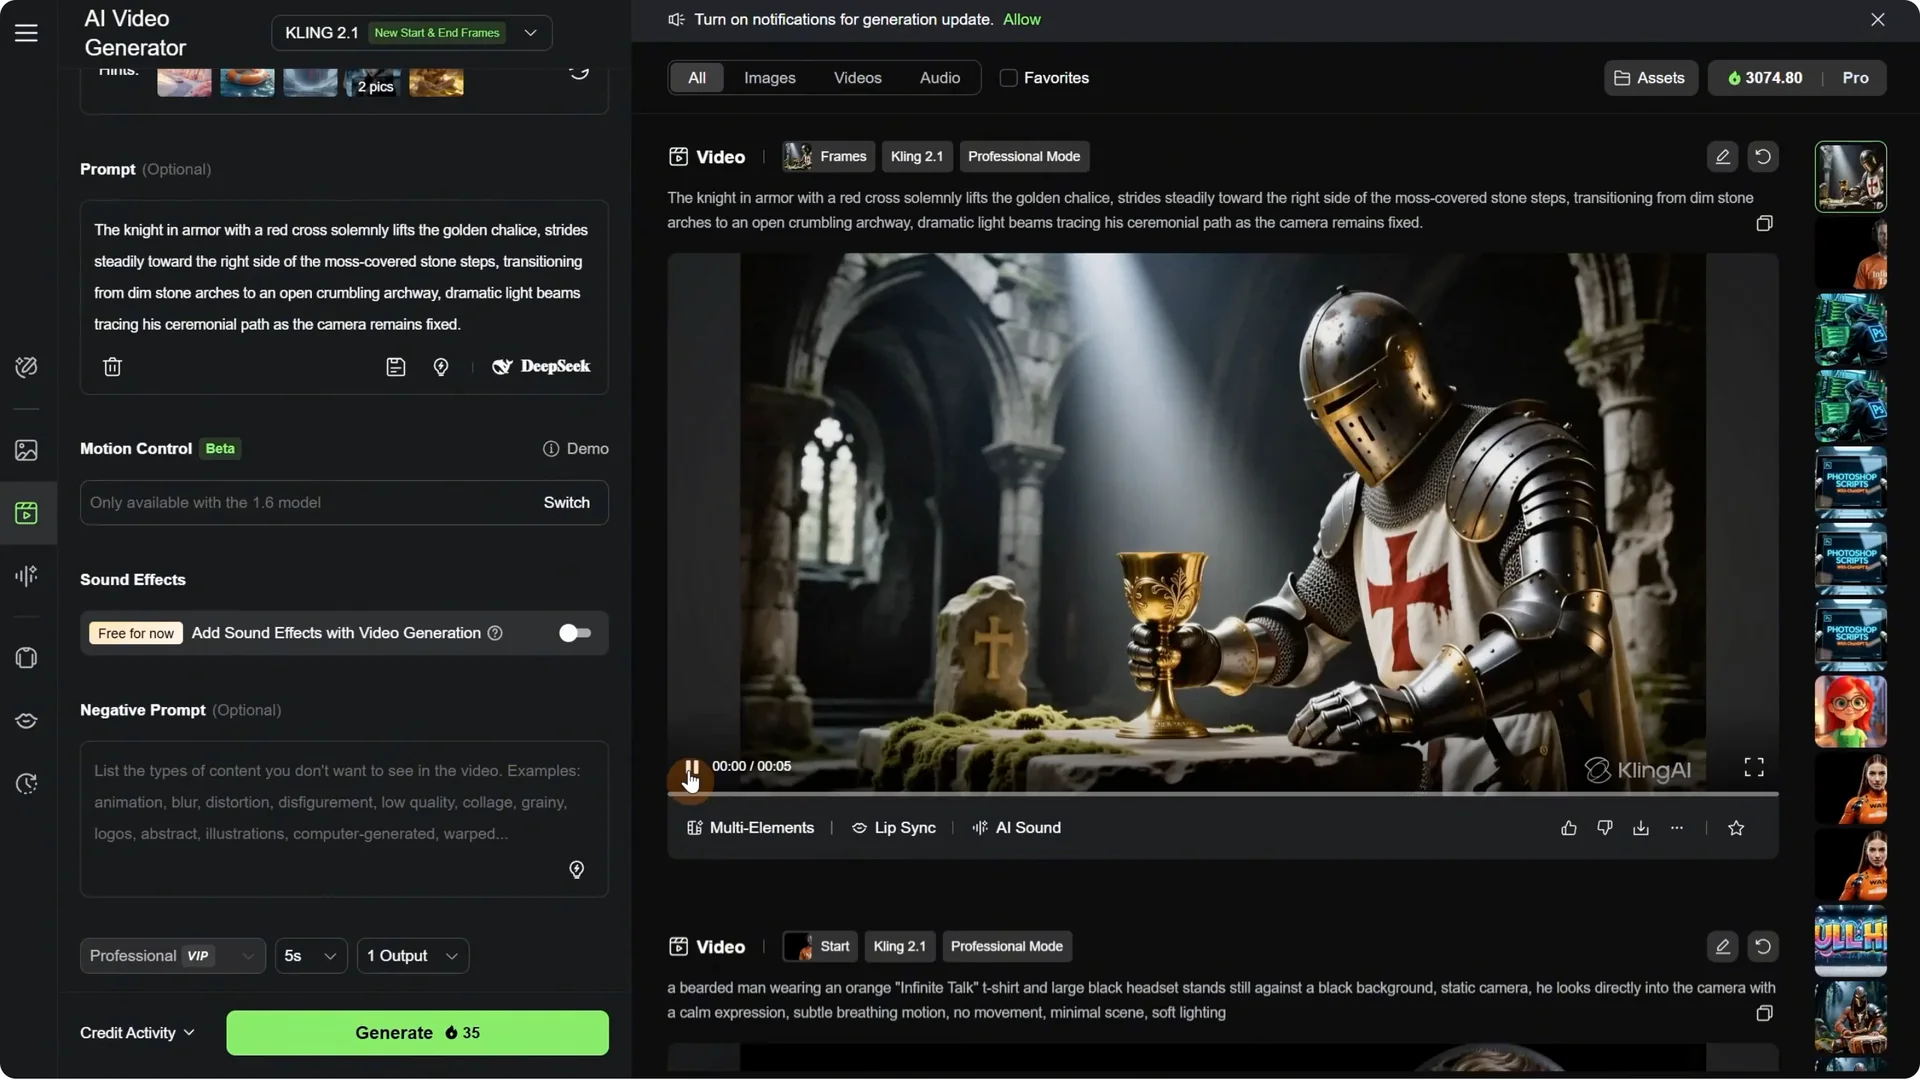
Result: the knight takes the chalice and goes to the right, ending in the position I wanted. It does not always work on the first try, but I can work with this video.
Continuing a sequence with new start and end frames
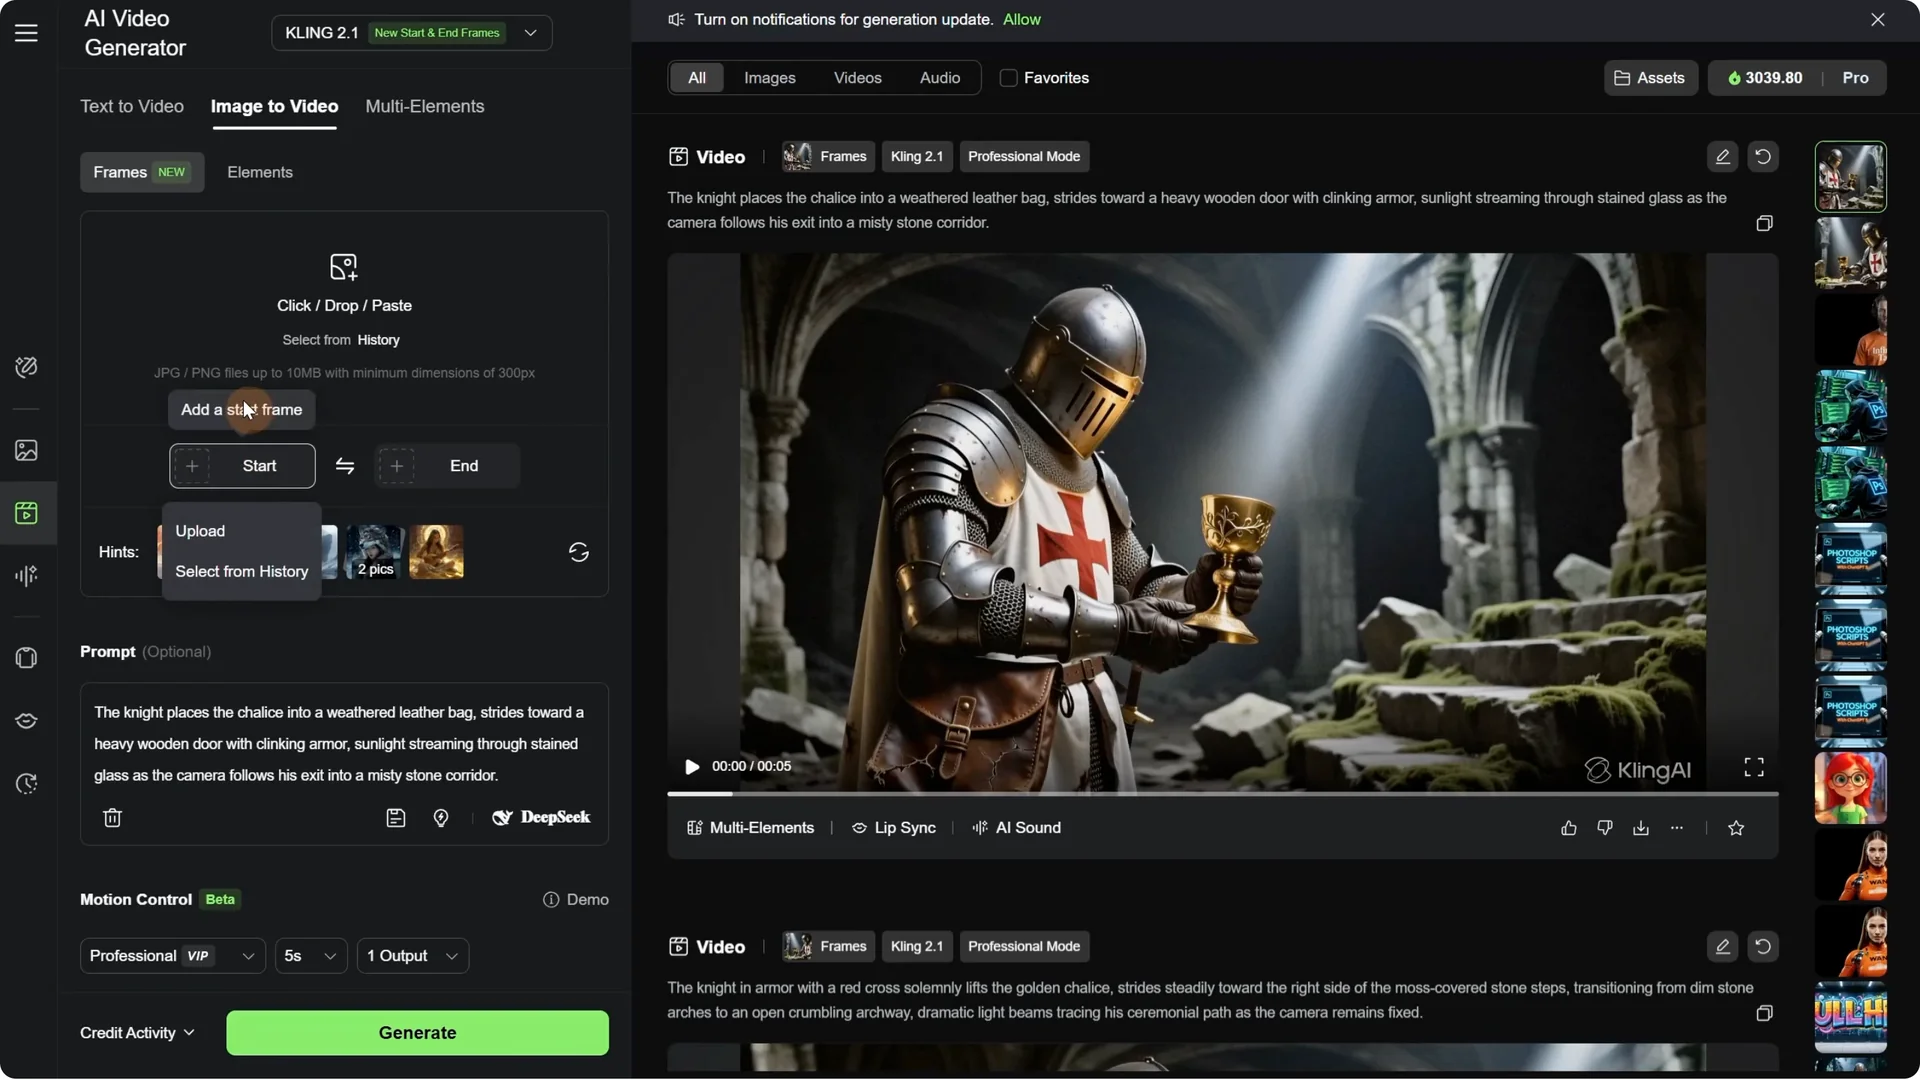
I deleted the start and end frames and did a continuation. I took where it ended and used that as the first frame. For the end frame, I wanted it to go out through the door. I went back to DeepSeek, used the stop button, wrote what I wanted to do and in what order, got a prompt, used it, and generated.
Result: he put the chalice in the bag, but not in the bag I wanted. Maybe the prompt was not detailed enough. He goes to the door and the transition is pretty smooth if the environment is very similar.
Kling AI Start-End Frames: Handling Complex Transitions
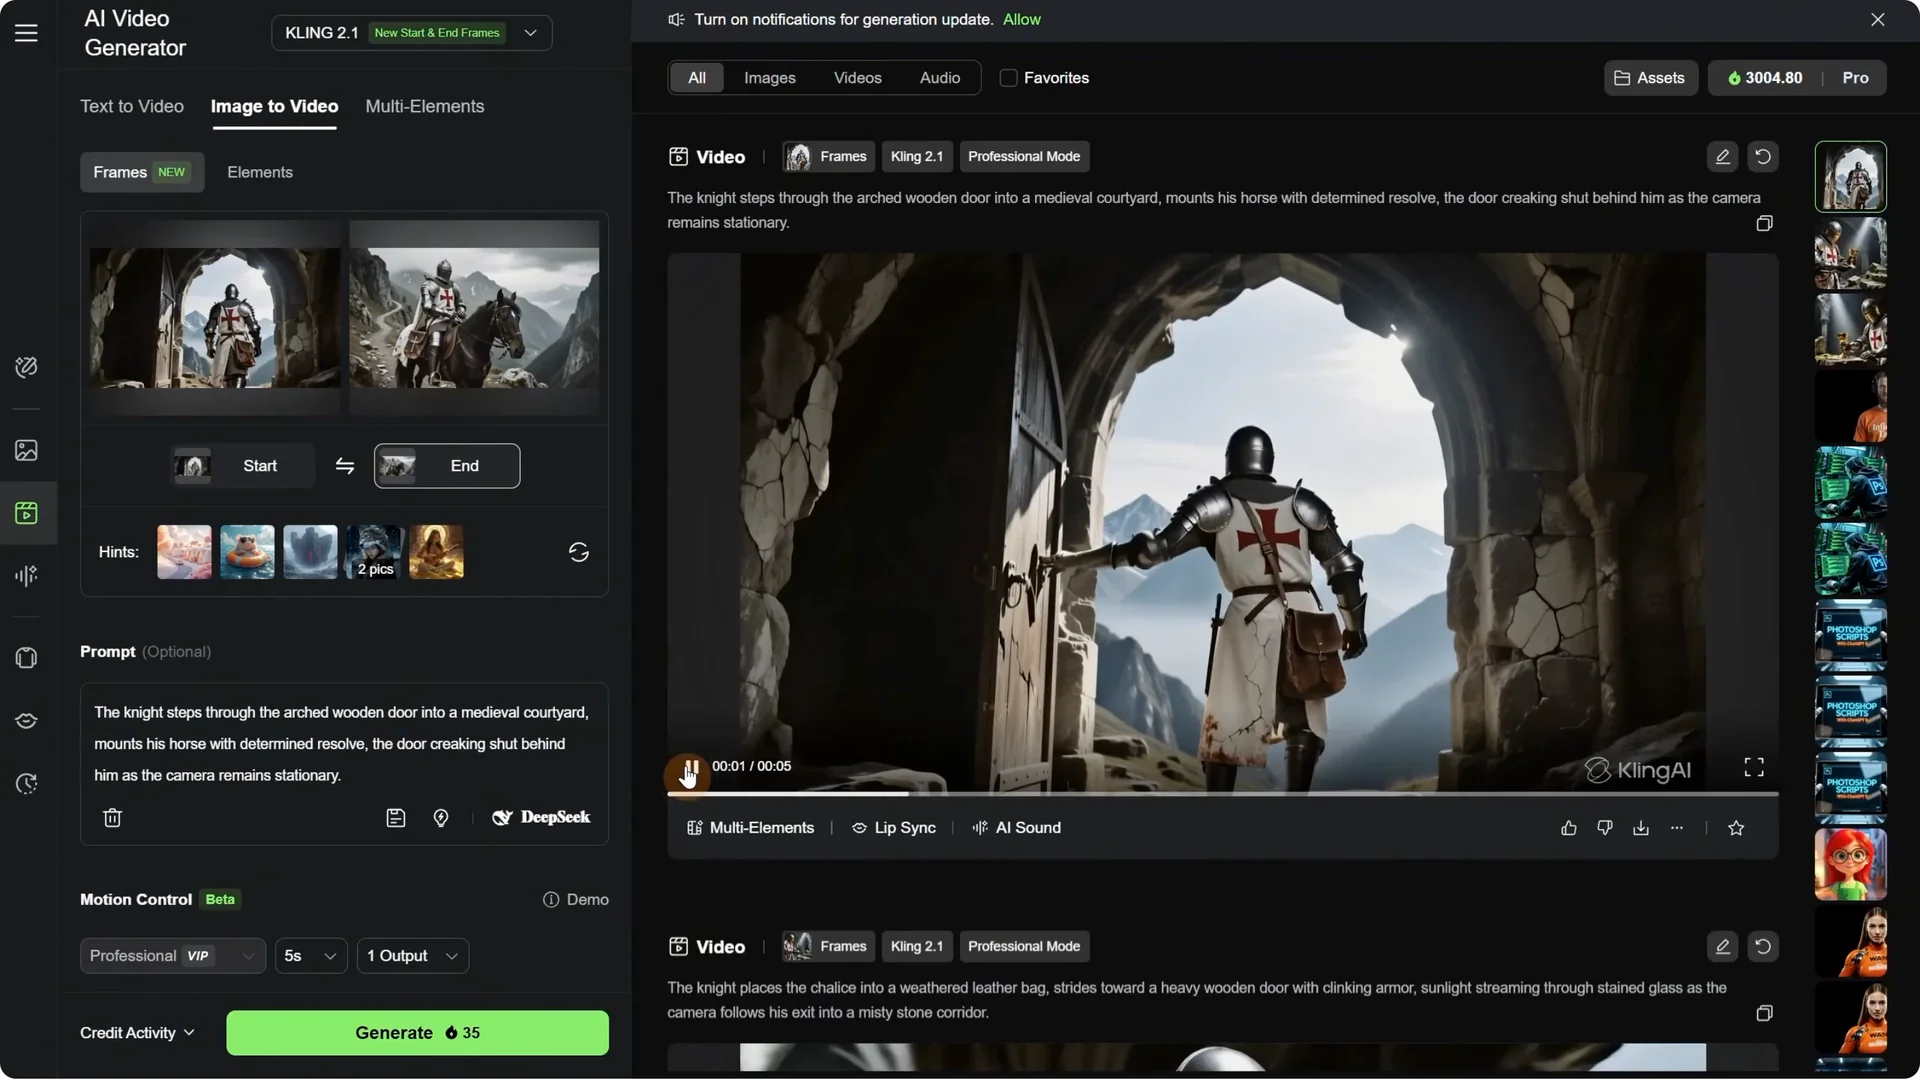
The next scene was more complex because the environment was different. One is inside and one is outside. The first frame was the one going out the door and the last frame was on a horse. I used the same process with DeepSeek for the prompt and generated the video.
Result: it looked like the AI decided to take a shortcut to the horse. It was kind of funny, but I wanted to do it better.
Getting more control with ChatGPT
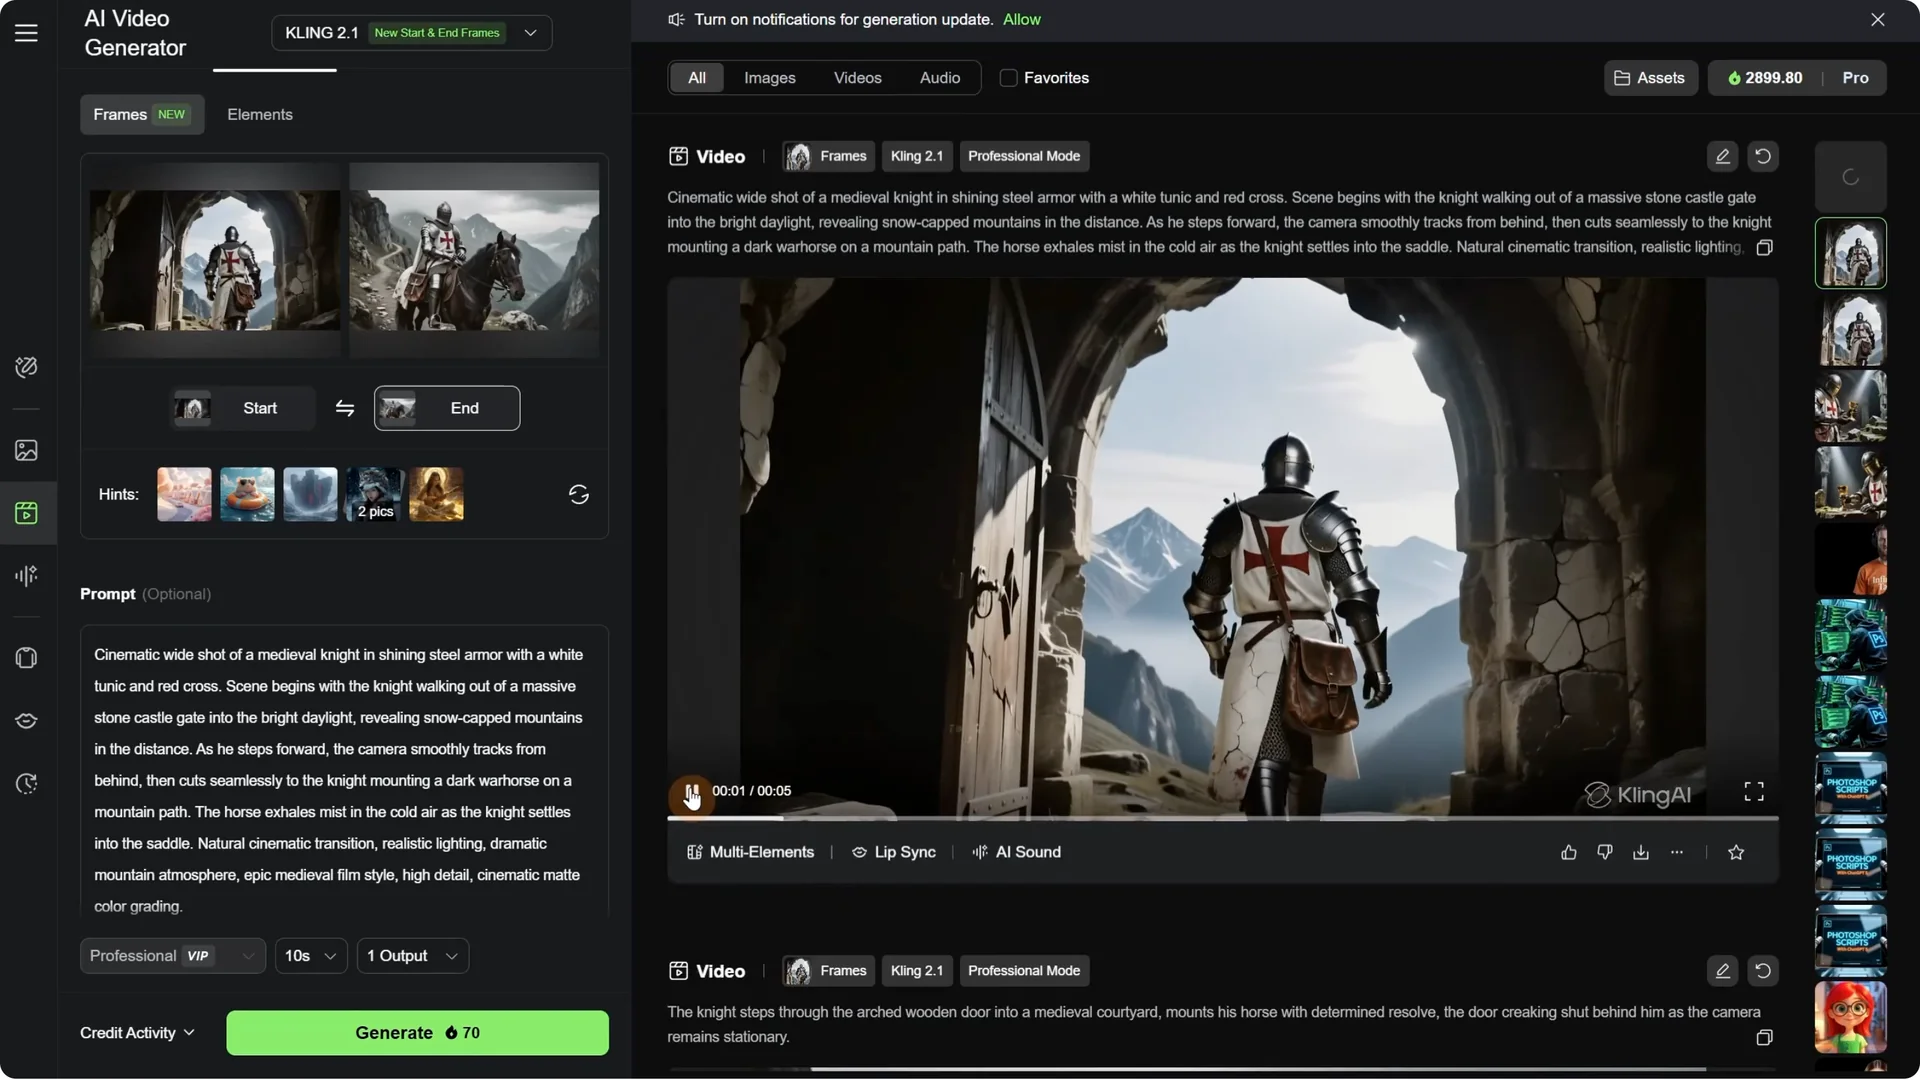
I switched to ChatGPT 5 since it is a little smarter. I added the same two images and asked for a video prompt for Kling AI. For this transition, I explained the process, how I wanted to go out the door and then jump on the horse.
ChatGPT gave me a long, detailed prompt. I copied it, pasted it in Kling AI, and generated again to see if it could do better. I also tried 10 seconds so it had enough time to go out the door and get to the horse.
- 5-second result: it goes out the door, the horse is coming, and then he jumps on the horse. Because of the mountains that were different, it made a transition that was not really natural. It is a complex scene to transition.
- 10-second result: same problem with the transition. It would have worked better if the horse had gone into the distance instead of turning around and if it had the same mountains.
Keep consistent resolution
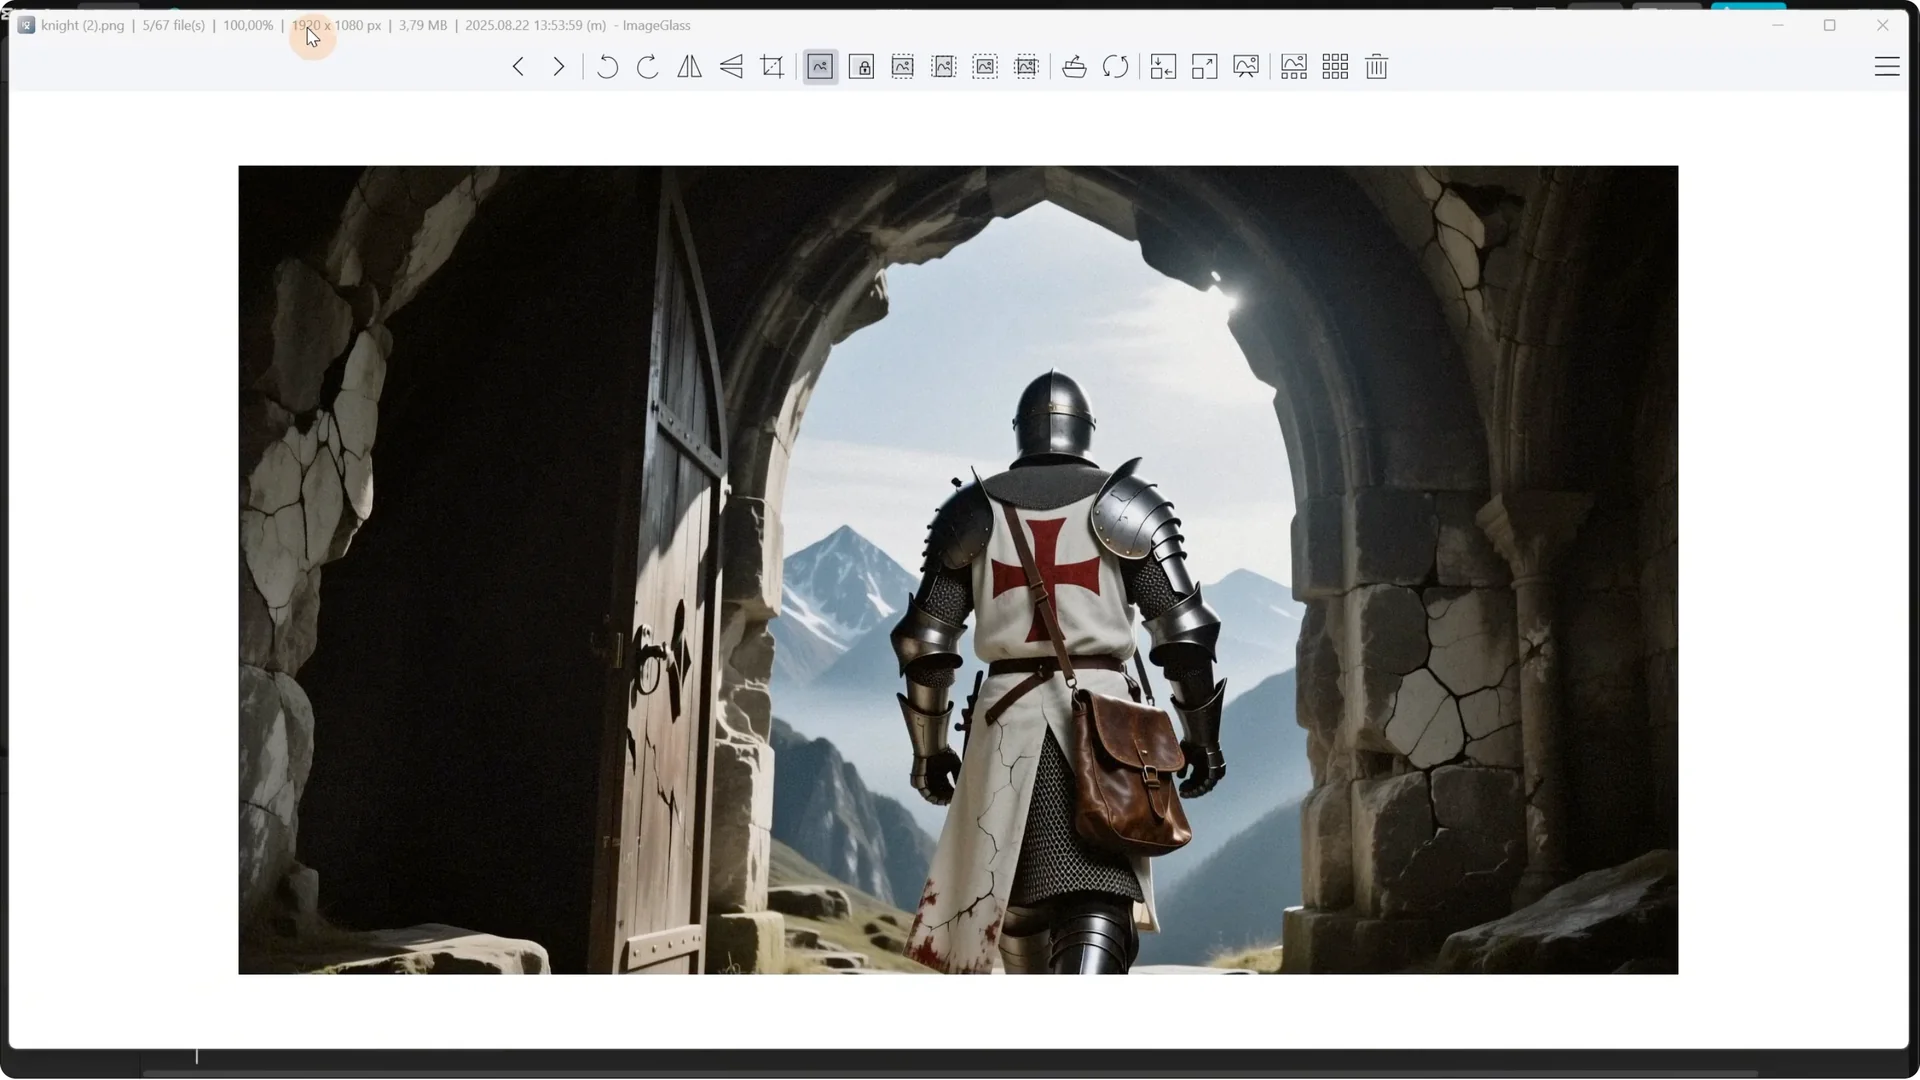
To make sure I have all the videos the same size, I made all my images 1920 by 1080 pixels. When you generate with AI, some sizes are different. I always upscale and crop them to that exact size.
Kling AI Start-End Frames: Building Longer Edits
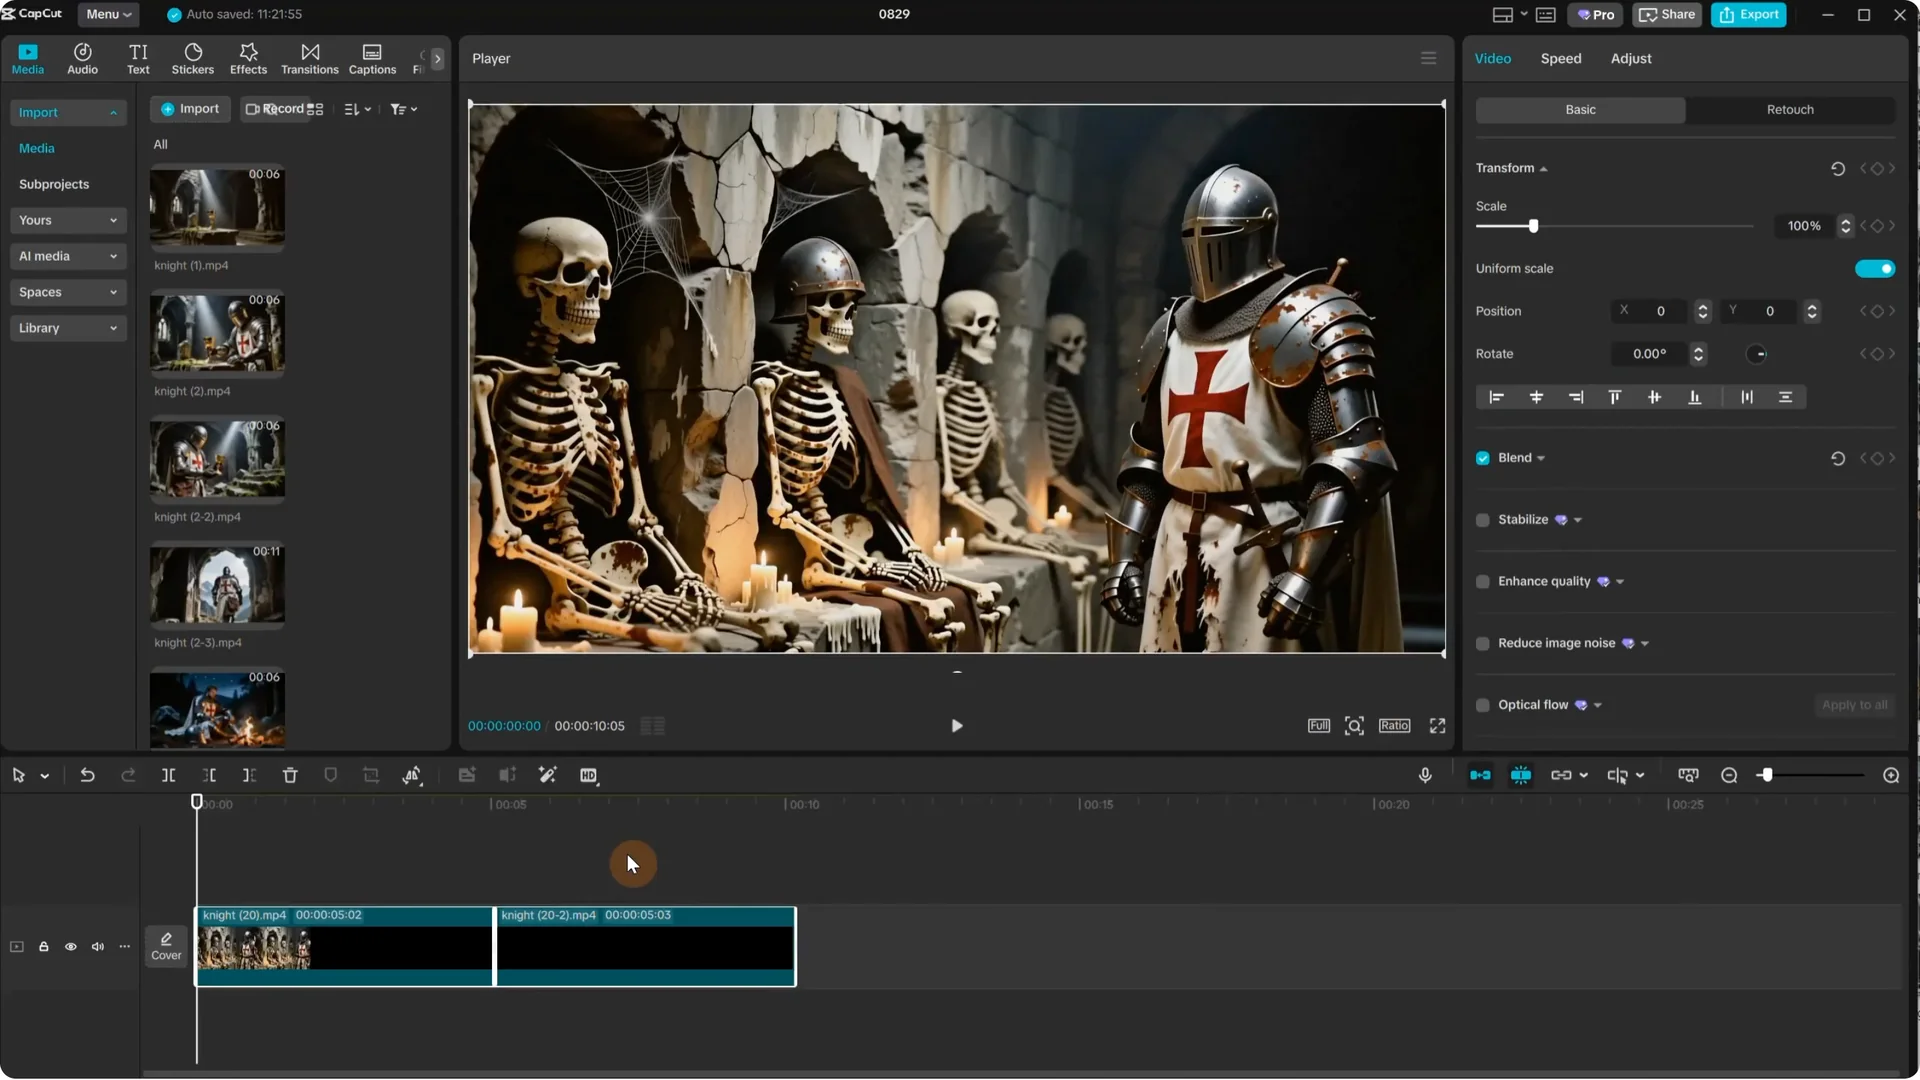
With multiple short clips ready, I added them to CapCut one after another to check if they continue nicely and create a smooth long video. I got a 25-second video by combining multiple videos, and you can make it as long as you want.
Kling AI Start-End Frames: Loopable Ambience From a Single Image
I uploaded a single image and wanted to create a loopable ambience video with the knight sitting by a burning fire. I asked ChatGPT for a prompt and mentioned a static camera and a loopable ambience. I uploaded that image as the starting frame and, for the end frame, added the same image to create a loop that starts and ends with the same frame. You can also pick that from history in the Uploads tab.
I generated a 5-second video. One problem is that sometimes things do not move as you expect and you can get a static video. For some images it works, for some it does not, and you get static results. In this case, only the fire was moving, but it was loopable.
Improving motion in loopable scenes
I asked for another prompt, this time specifying how the subject is moving. Usually it is easier to animate things closer to the camera and clear subjects, while things further in the background are more likely to stay static. The cool part of having the same frame is that you can chain all the videos together since they all start and end with the same frame.
Result: the knight’s head was moving and the fire was moving. I used that to create a loopable video.
In CapCut, I added the video where the head is moving. Then I added the second video where only the fire was moving. That way I was able to use both videos and maybe later create another video where he puts wood on the fire or takes off the helmet. You can build loopable videos.
Kling AI Start-End Frames: Looping Motion With a Two-Pass Method
I wanted to use a scene with a skeleton raising its hand. I added the image in ChatGPT and asked for a prompt where the skeleton raises its hand and tries to touch the knight. I pasted that prompt into Kling AI, uploaded the image as a starting frame, and used no end frame.
Result: the skeleton raises its hand. In theory, you could duplicate the video and reverse it to make it go back, but that does not always look natural and things like smoke or fire will move in reverse.
Clean loop workflow
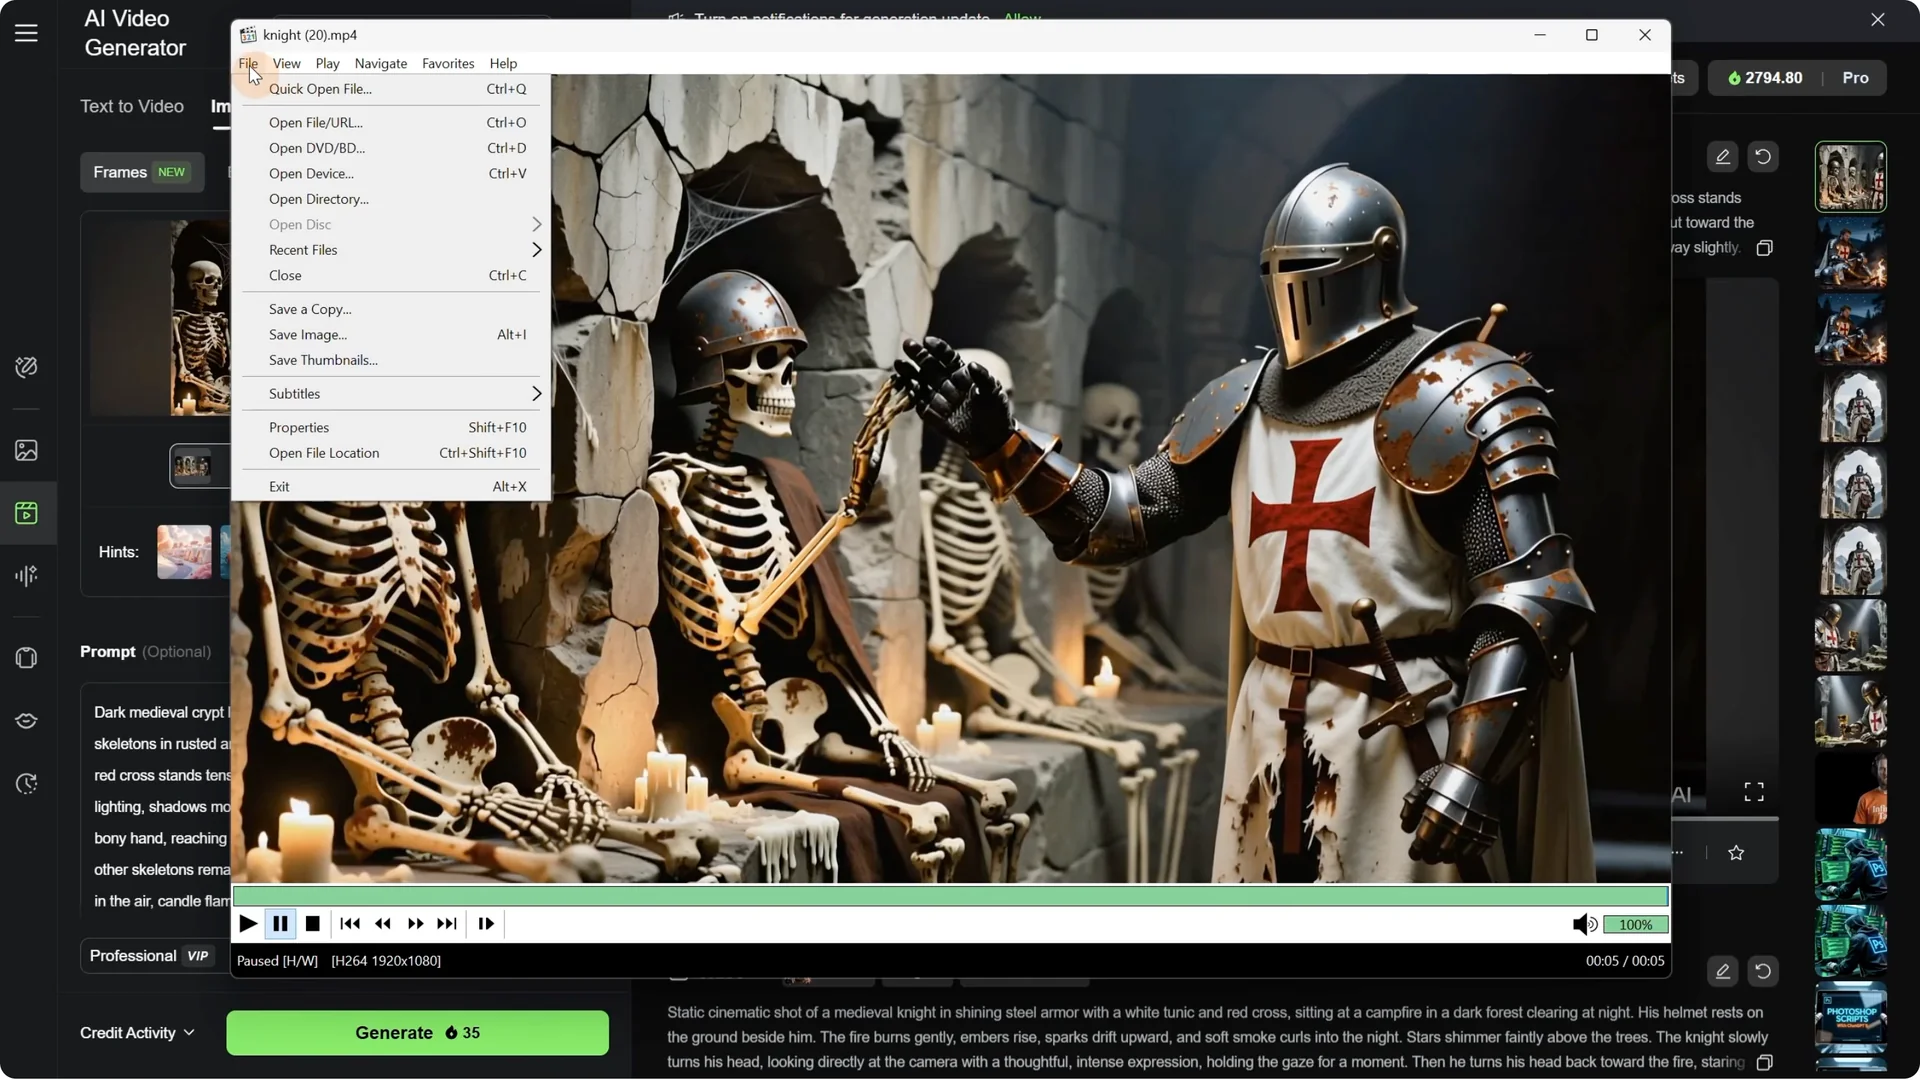
- Download the video and use a video player that lets you save a frame as an image. I use Media Player Classic.
- Go to the last frame in the video and save it as an image.
- Back in Kling AI, start with the image you just saved. For the end image, use the same image you started the last video with. This creates a loop that starts with the hand up and ends with the hand down.
- Upload both images to ChatGPT and ask for a prompt for that transition. If the prompt still mentions raising the hand, explain that you want the hand to go back down and it will adapt the prompt.
- Generate the video.
Result: the hand goes back to the original position. In CapCut, place both videos so you have a loop with the hand raising and then going back down. You can also duplicate the videos and it will continue naturally with the same loop.
Kling AI Start-End Frames: Practical Settings and Tips
- Model support: start and end frames are supported in Model 2.1. The older 1.6 did not support this.
- Prompting: DeepSeek is helpful for quick prompts, but I prefer controlling the sequence. ChatGPT is great for detailed, structured prompts.
- Interface tips: Use the Use Prompts button to insert the prompt. Turn off sound effects if quality is inconsistent. Professional mode works well.
- Duration: I often test at 5 seconds and try 10 seconds for longer actions.
- Render time: generation usually takes around 2 minutes. You can queue multiple videos.
- Consistency: models like Qwen, nano banana, and flux context can help with consistent results.
- Resolution: standardize to 1920 by 1080. Upscale and crop outputs to match.
Final Thoughts
Start and end frames in Kling AI give you control over direction, pacing, and continuity. You can chain scenes by reusing the last frame as the next starting frame, guide complex transitions with detailed prompts, and keep edits cohesive with a consistent resolution.
For loopable videos, either start and end on the same frame or use the two-pass method with a saved last frame to return to your original start. With careful prompts, matching environments, and clean assembly in CapCut, you can build longer, smoother videos and creative loops.