I’m going to show you how to use Xfield AI video editor.
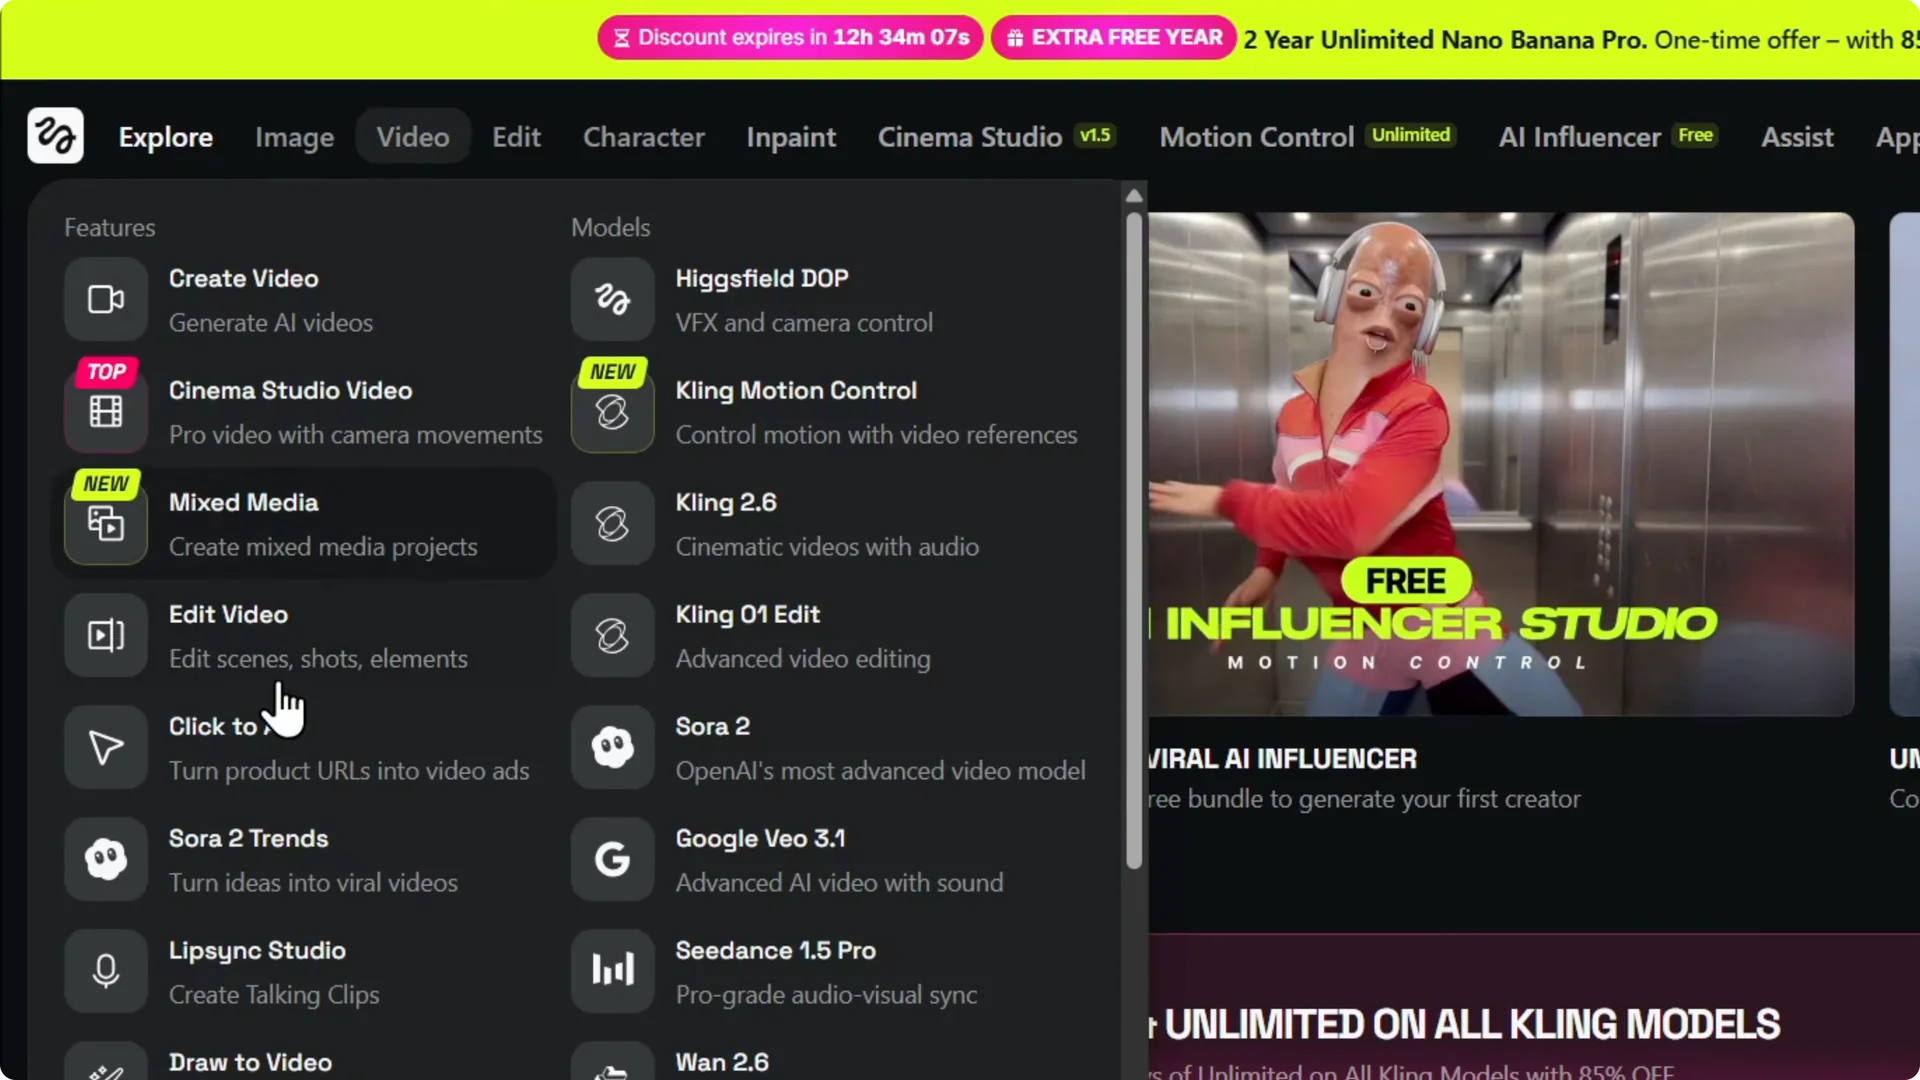
Higgsfield AI Video Editor Tutorial – Access
Step 1: Hover over Video at the top and select Edit video.
Step 2: Choose to edit your scenes, shorts, or elements, then click Edit video.

Higgsfield AI Video Editor Tutorial – Clear and upload
Step 3: If a video or image is already loaded, look to the left upload section and click the X to remove it.
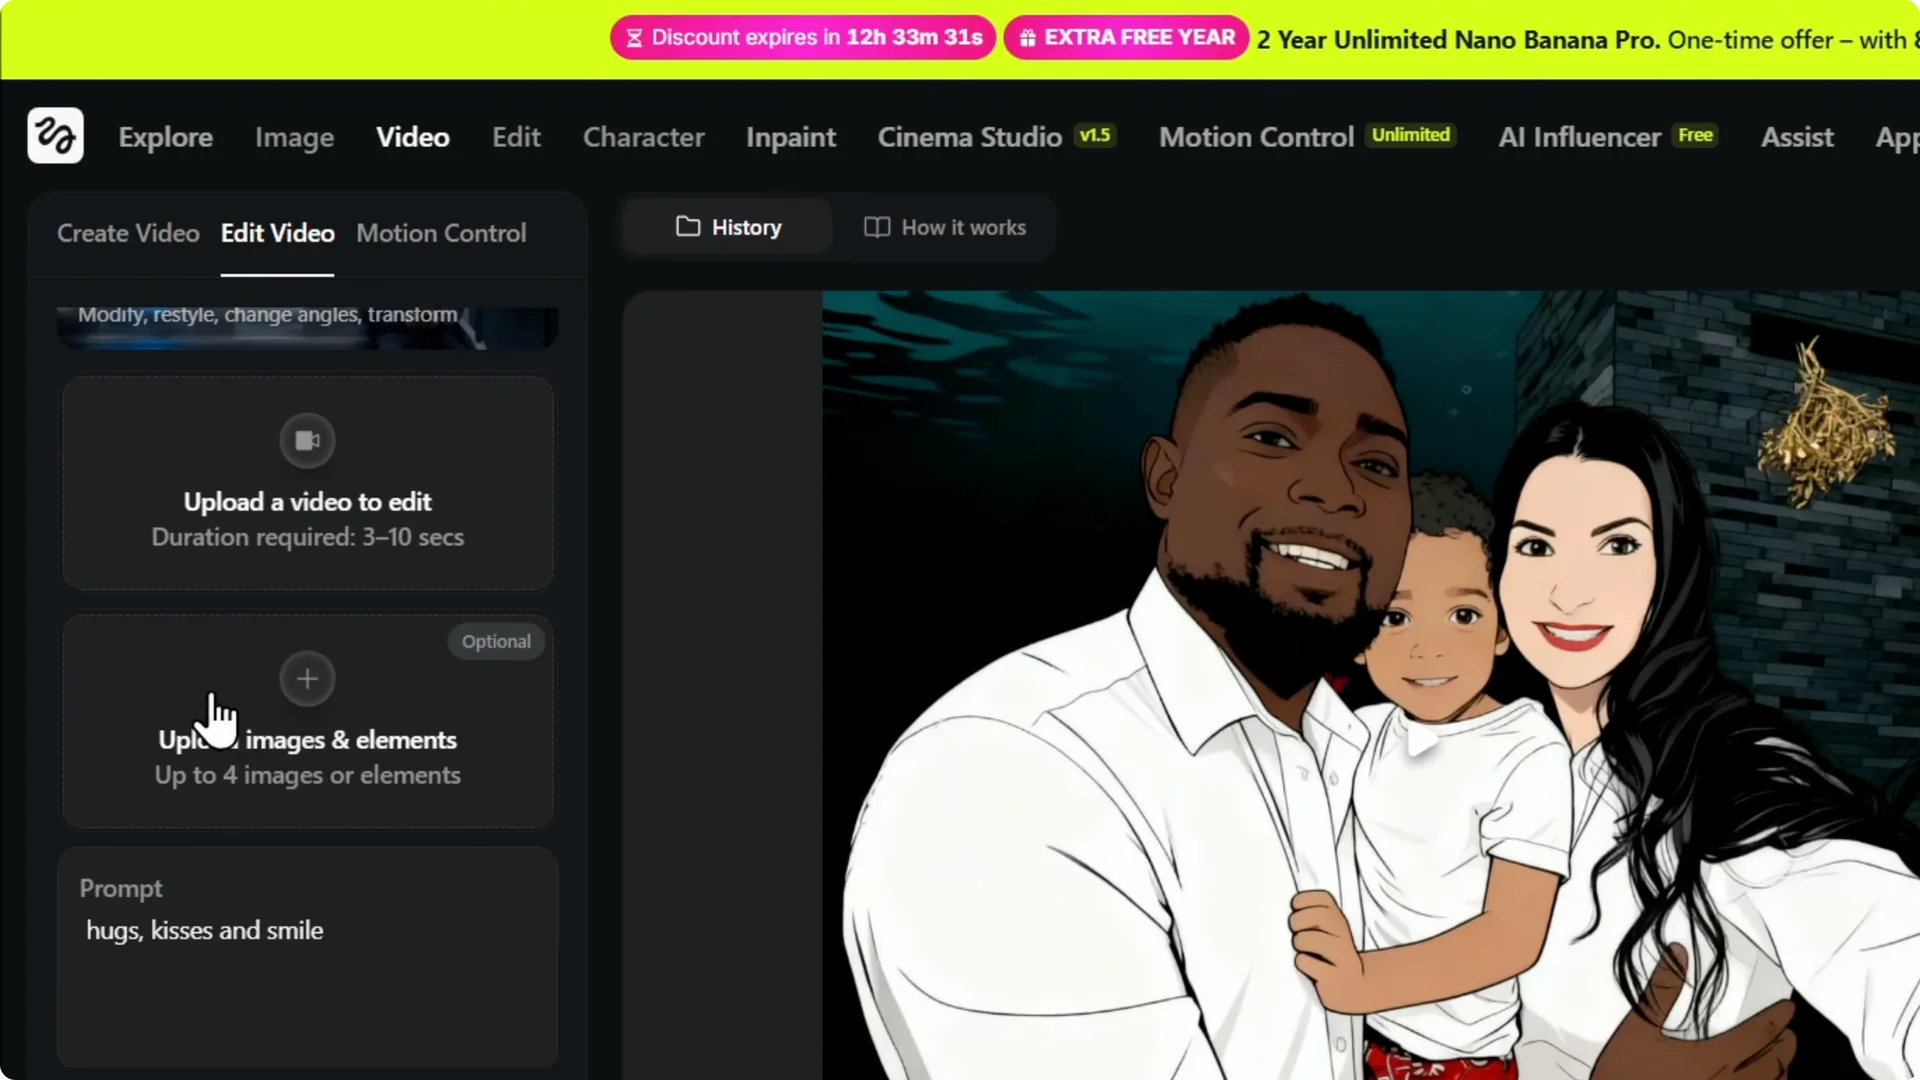
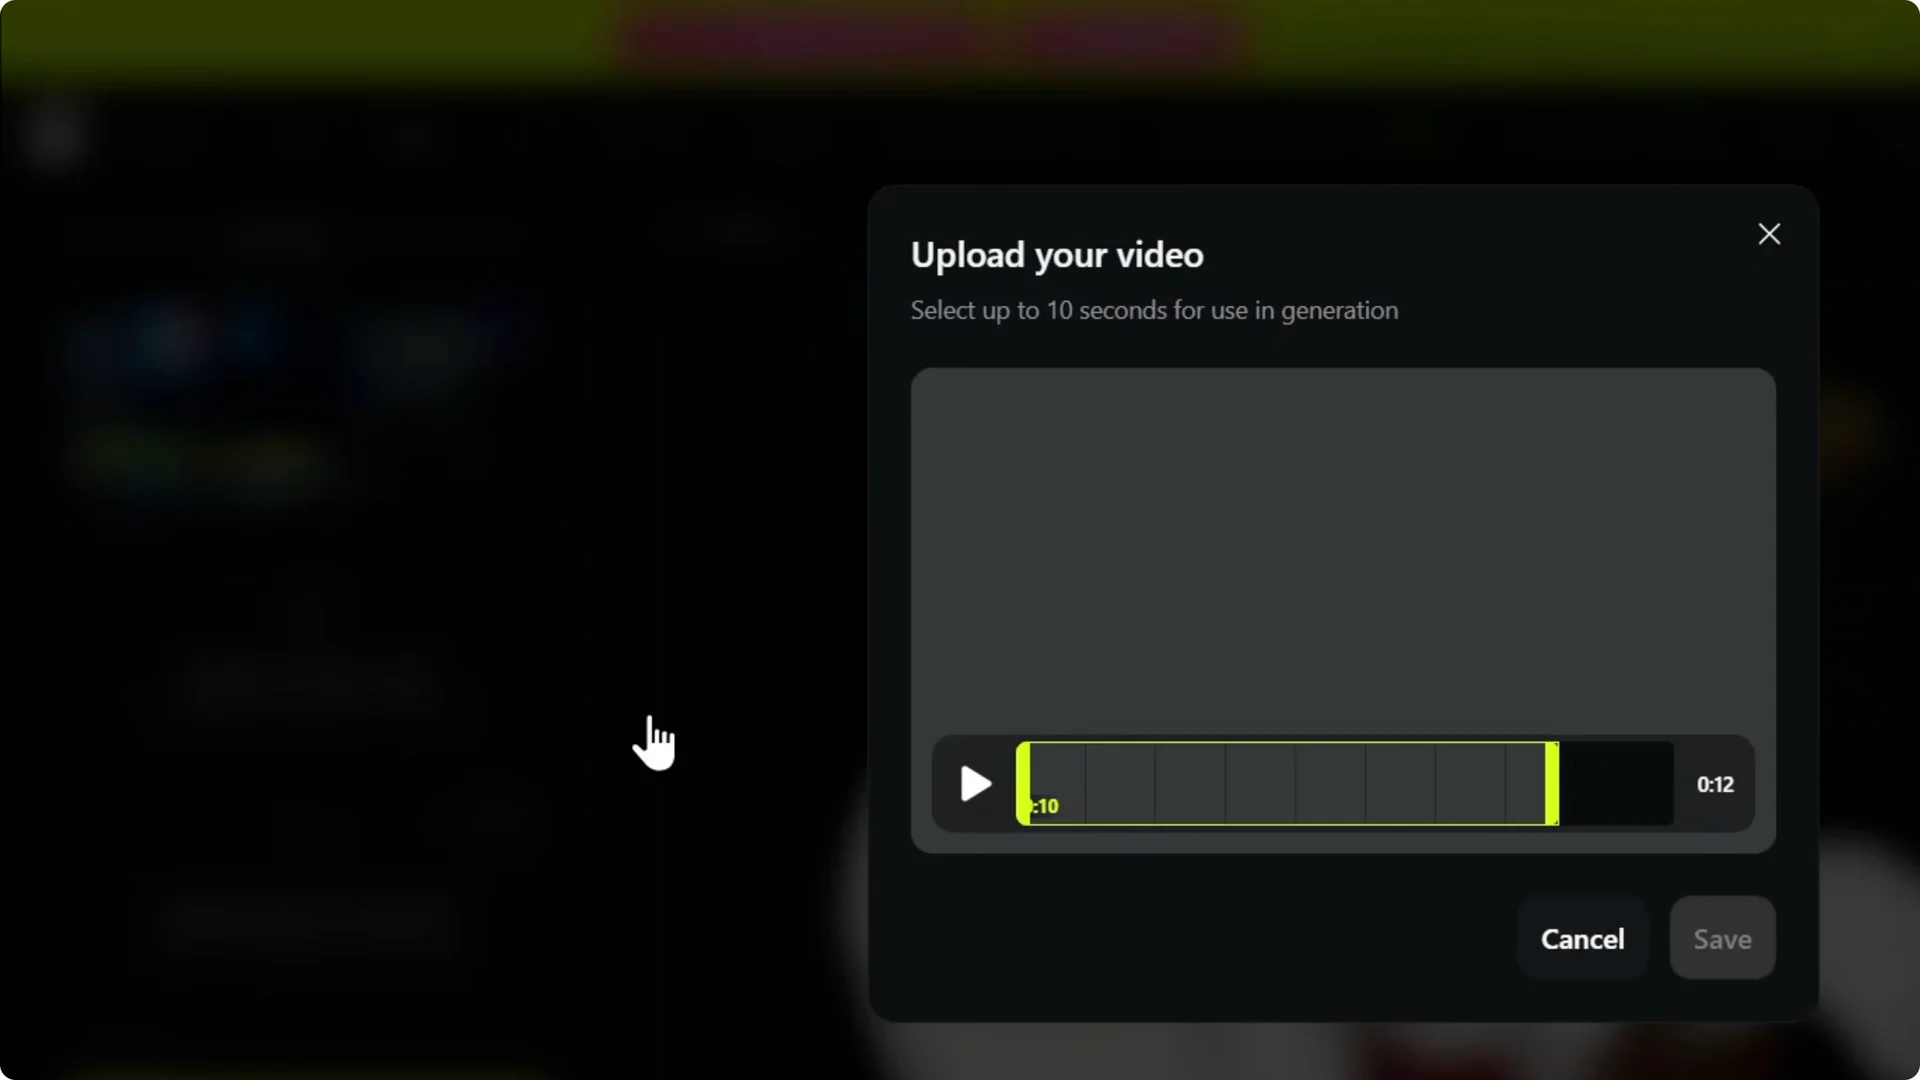
Step 4: Upload your video from your computer, choose the file, and click Open to add it.
Higgsfield AI Video Editor Tutorial – Trim and save
Step 5: If you want to trim, you can do that before saving.
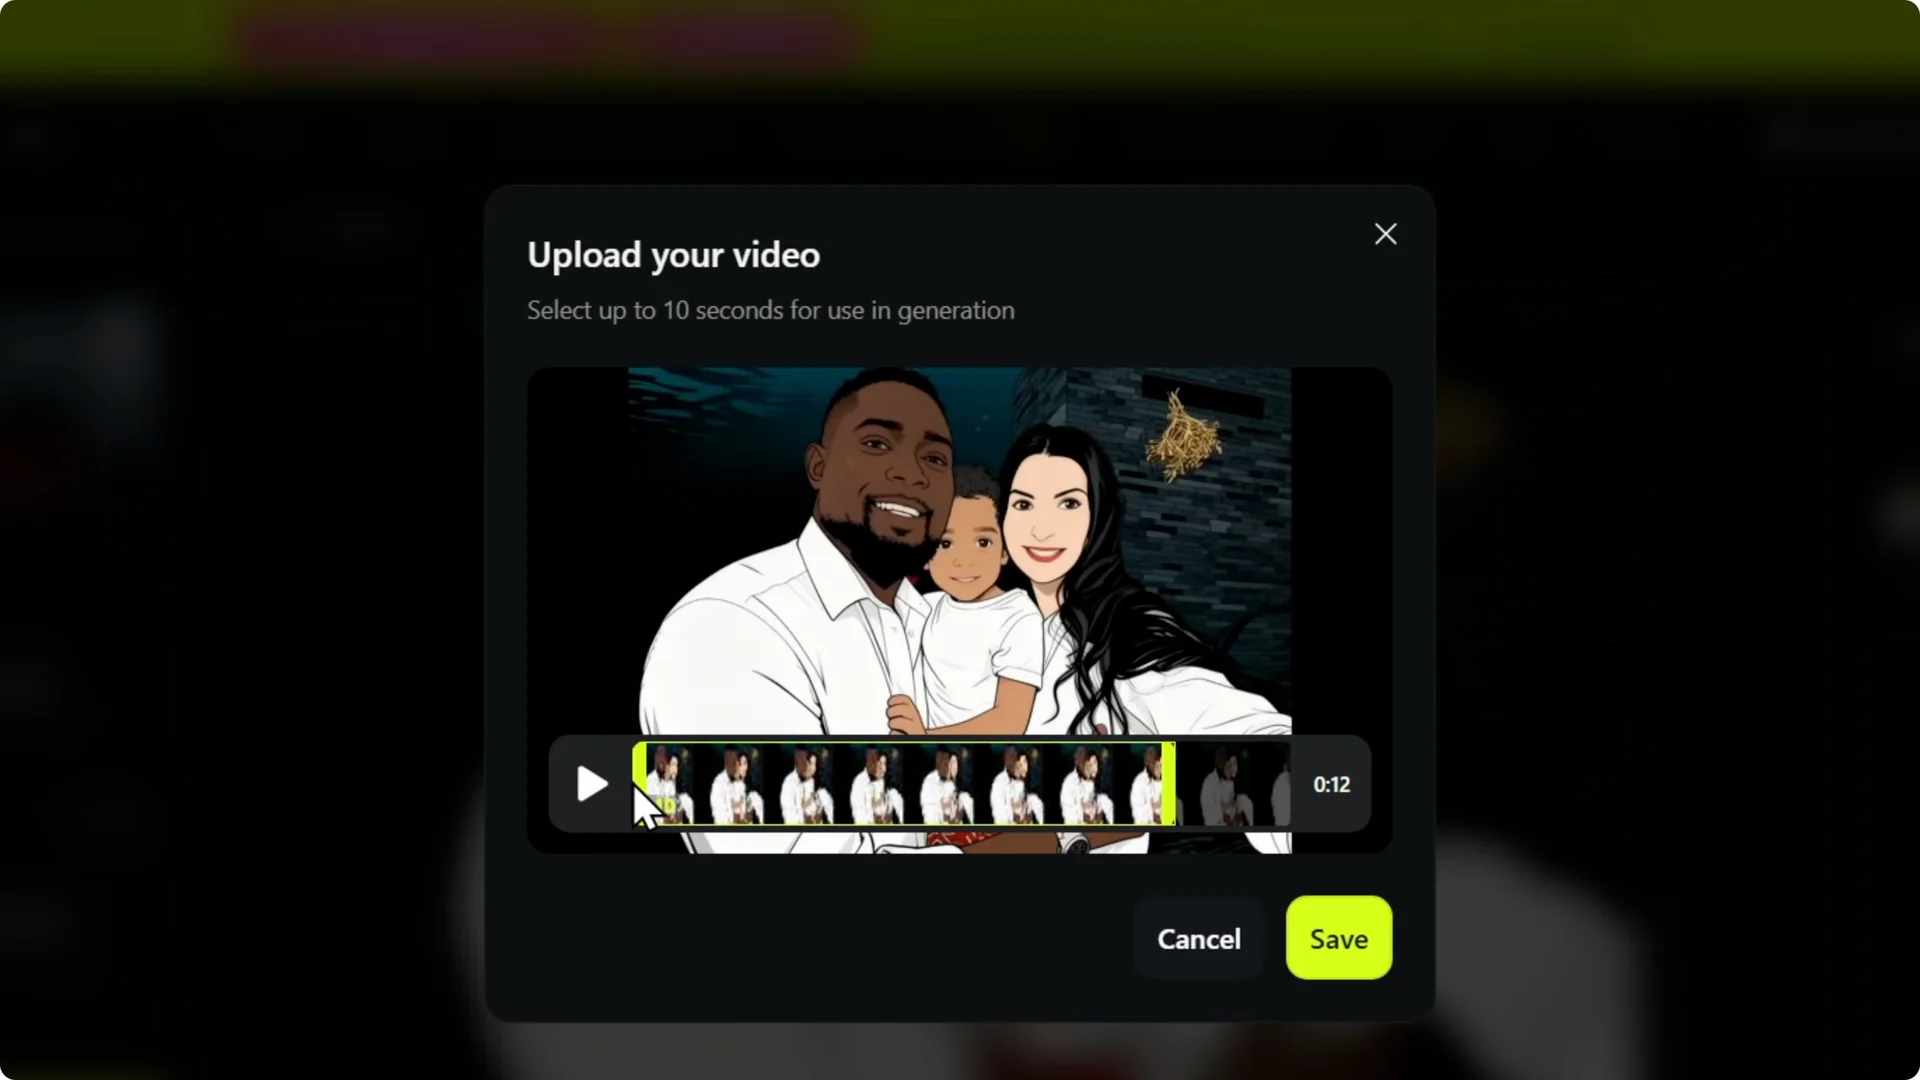
Step 6: Click Save, and it will upload and appear in the editor.
For product showcase clips, see the product presenter workflow.
Higgsfield AI Video Editor Tutorial – Edit with prompts
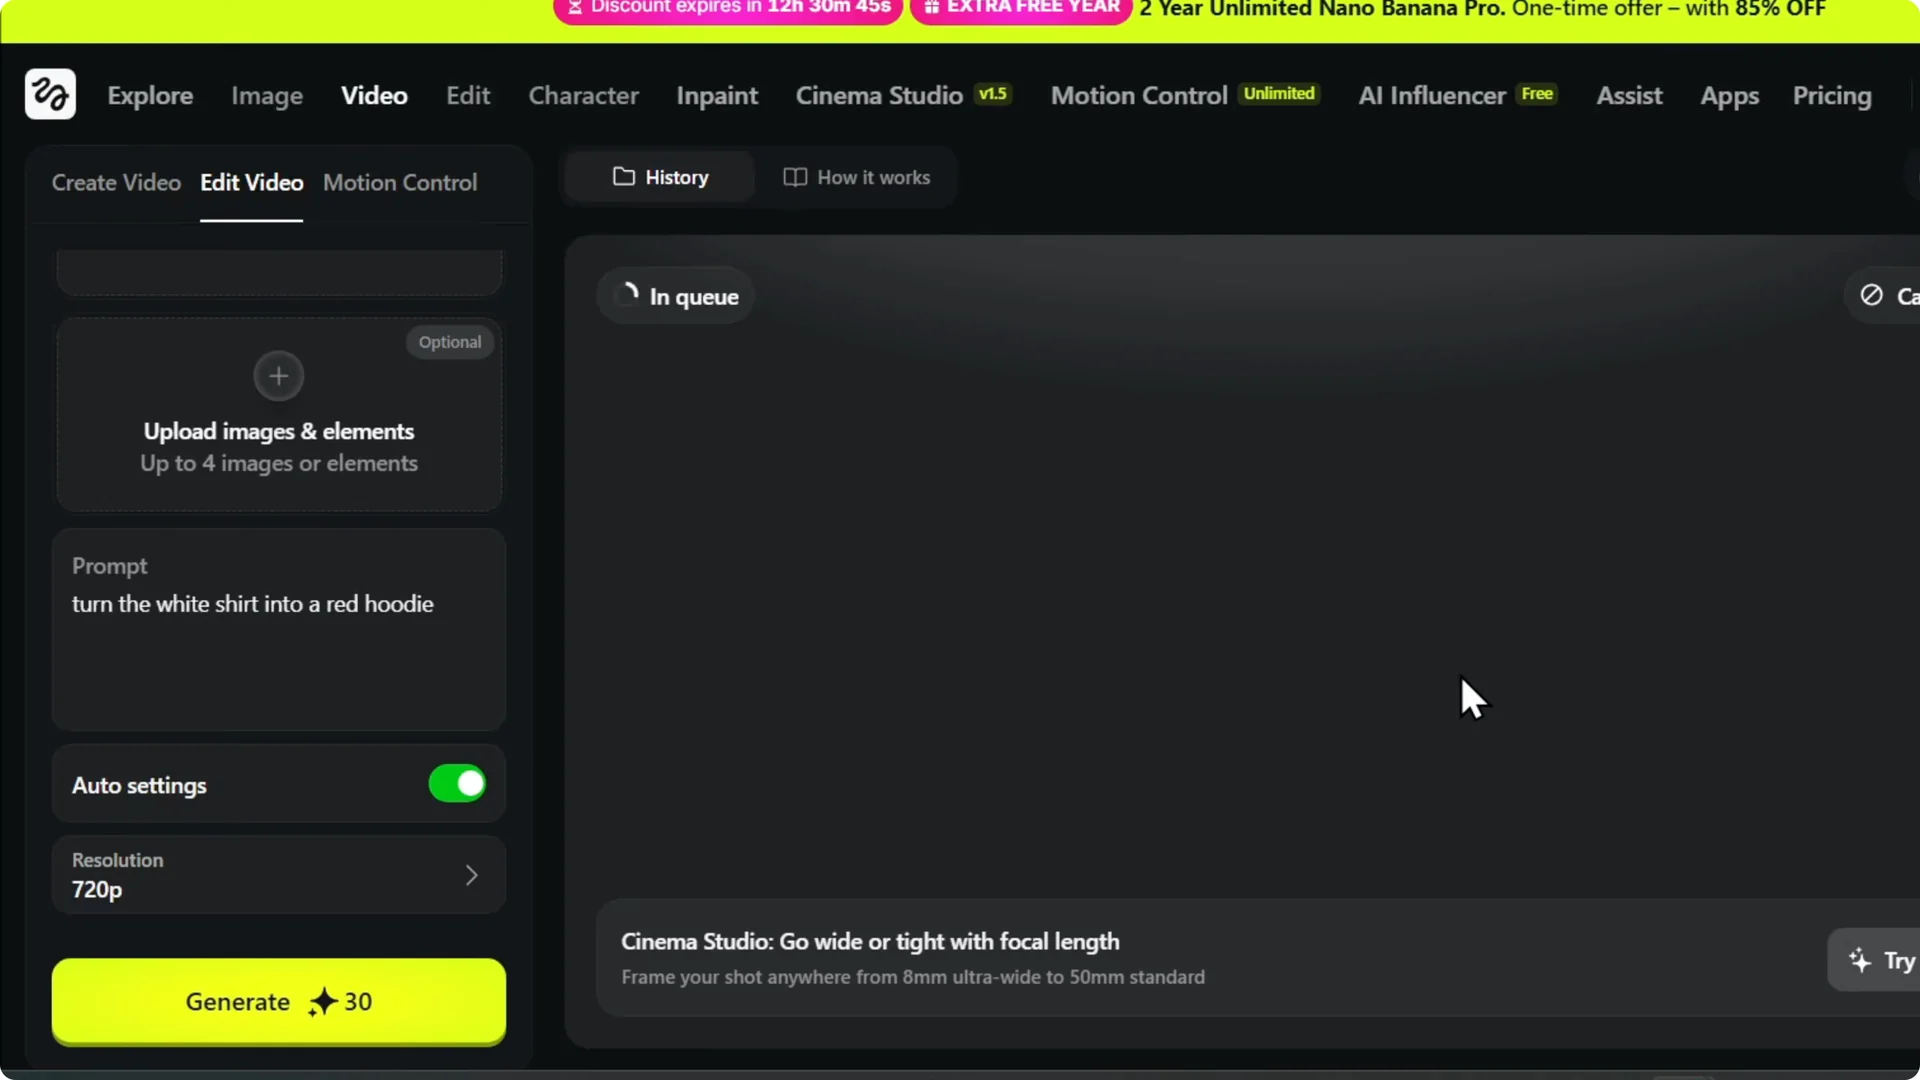
Once the video is there, you can use the video editor. It allows you to enhance your video with AI.
Higgsfield AI Video Editor Tutorial – Prompt editing
Step 7: Use a prompt to guide the edit. You can just use a prompt.
Step 8: Example prompt: turn the male white shirt into a red hoodie.

Higgsfield AI Video Editor Tutorial – Output settings
Step 9: Choose a resolution.

Step 10: Choose the aspect ratio and hit Generate.

Higgsfield AI Video Editor Tutorial – Results
Step 11: The AI applies your additional prompt to the specific video and modifies it.
To explore style options and effects, check these art-focused video features.
Higgsfield AI Video Editor Tutorial – Other edits
Step 12: You can add text to your video.
Step 13: You can turn it into a shorts and manipulate it with the power of AI.
If you also need stills or mixed media, see the video and image creation guide.
Final Thoughts on Higgsfield AI Video Editor Tutorial
Upload your clip, trim if needed, and save it to the editor. Use clear prompts, set your resolution and aspect ratio, then generate.
You can enhance visuals, add text, and make shorts with AI-driven edits. That’s how you can easily use the Xfield editor on Xfield AI.