I’m going to show you how to make UGC ads with Higgsfield AI.
Higgsfield UGC Ad Creation setup
Step 1: Go to Video in the menu in higgsfield.ai, hover over it, and click UGC Factory.
A creation box will open where you can build your UGC ads from start to finish.
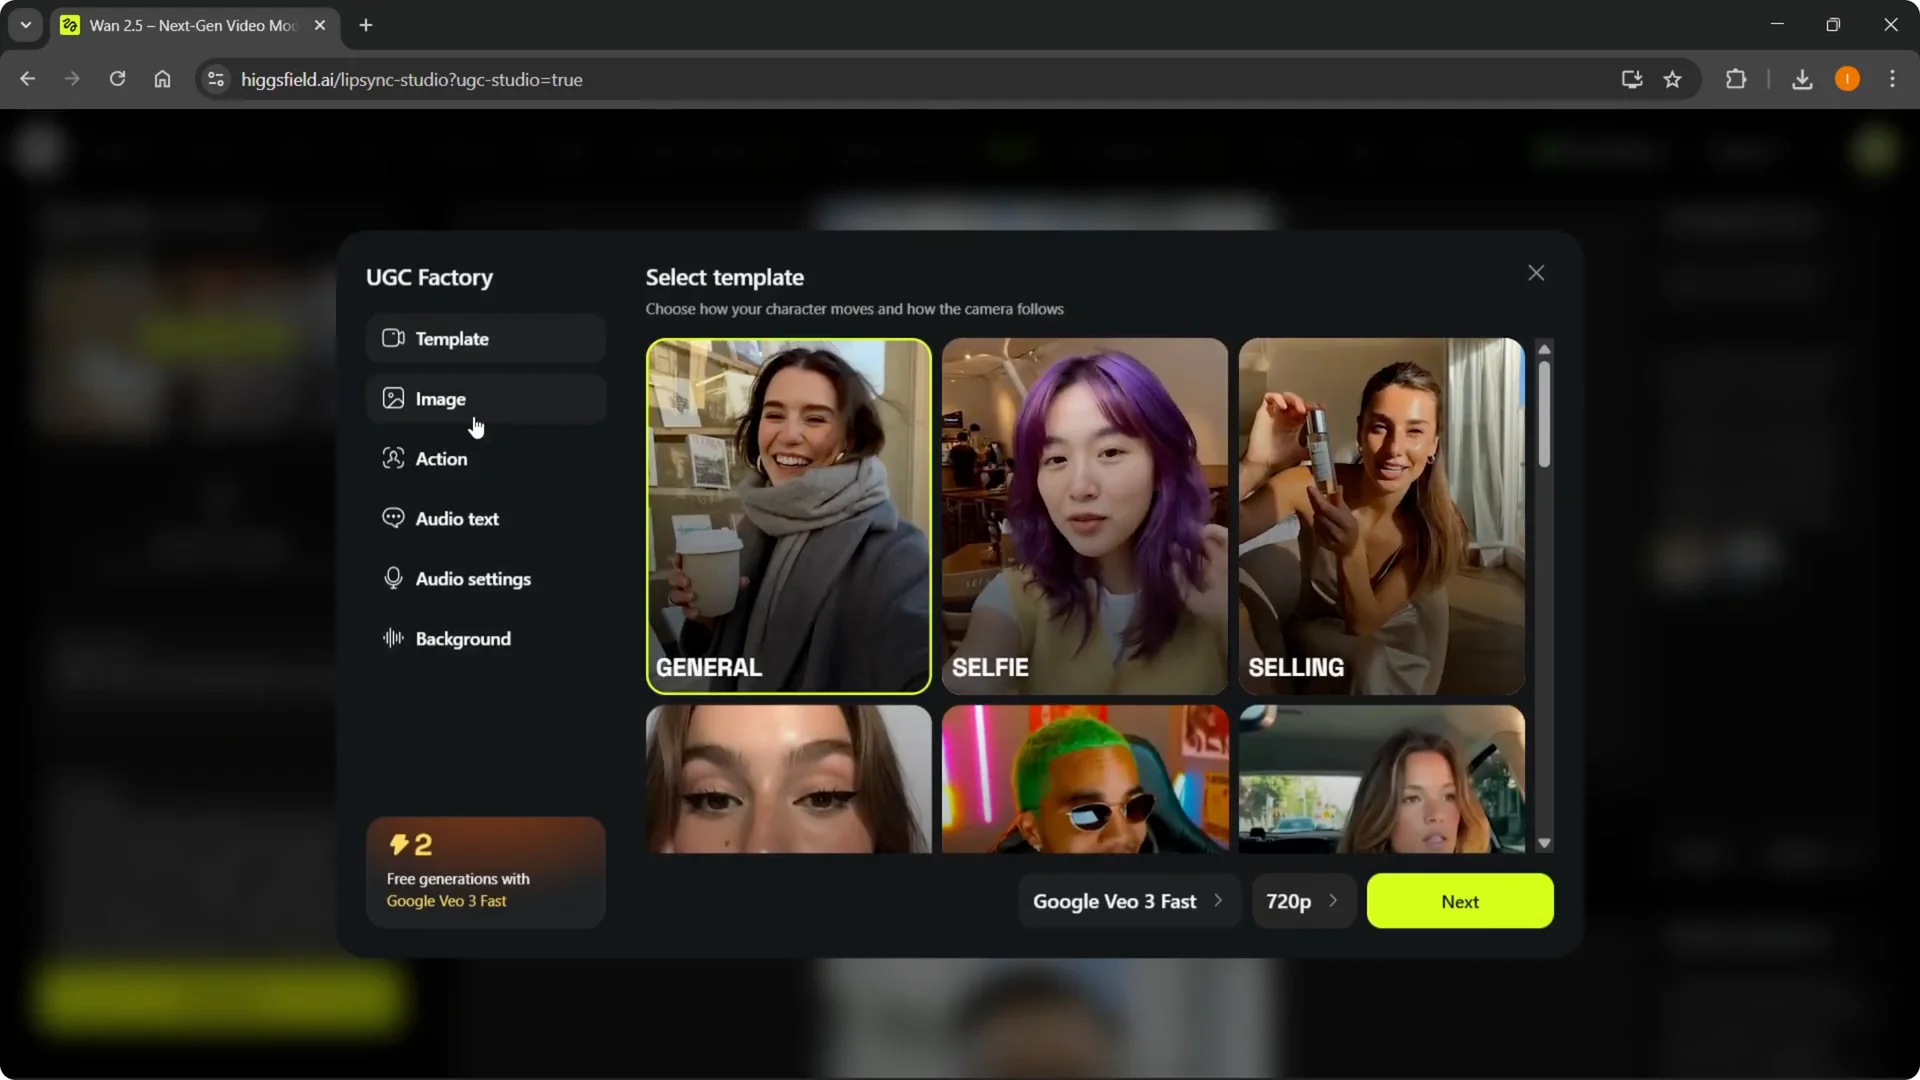
Step 2: Select a template.
You can pick from general, selfie, selling something, ASMR, and podcast.
Choose the one that fits the ad you are creating; for this walkthrough I’m using general.

Higgsfield UGC Ad Creation templates
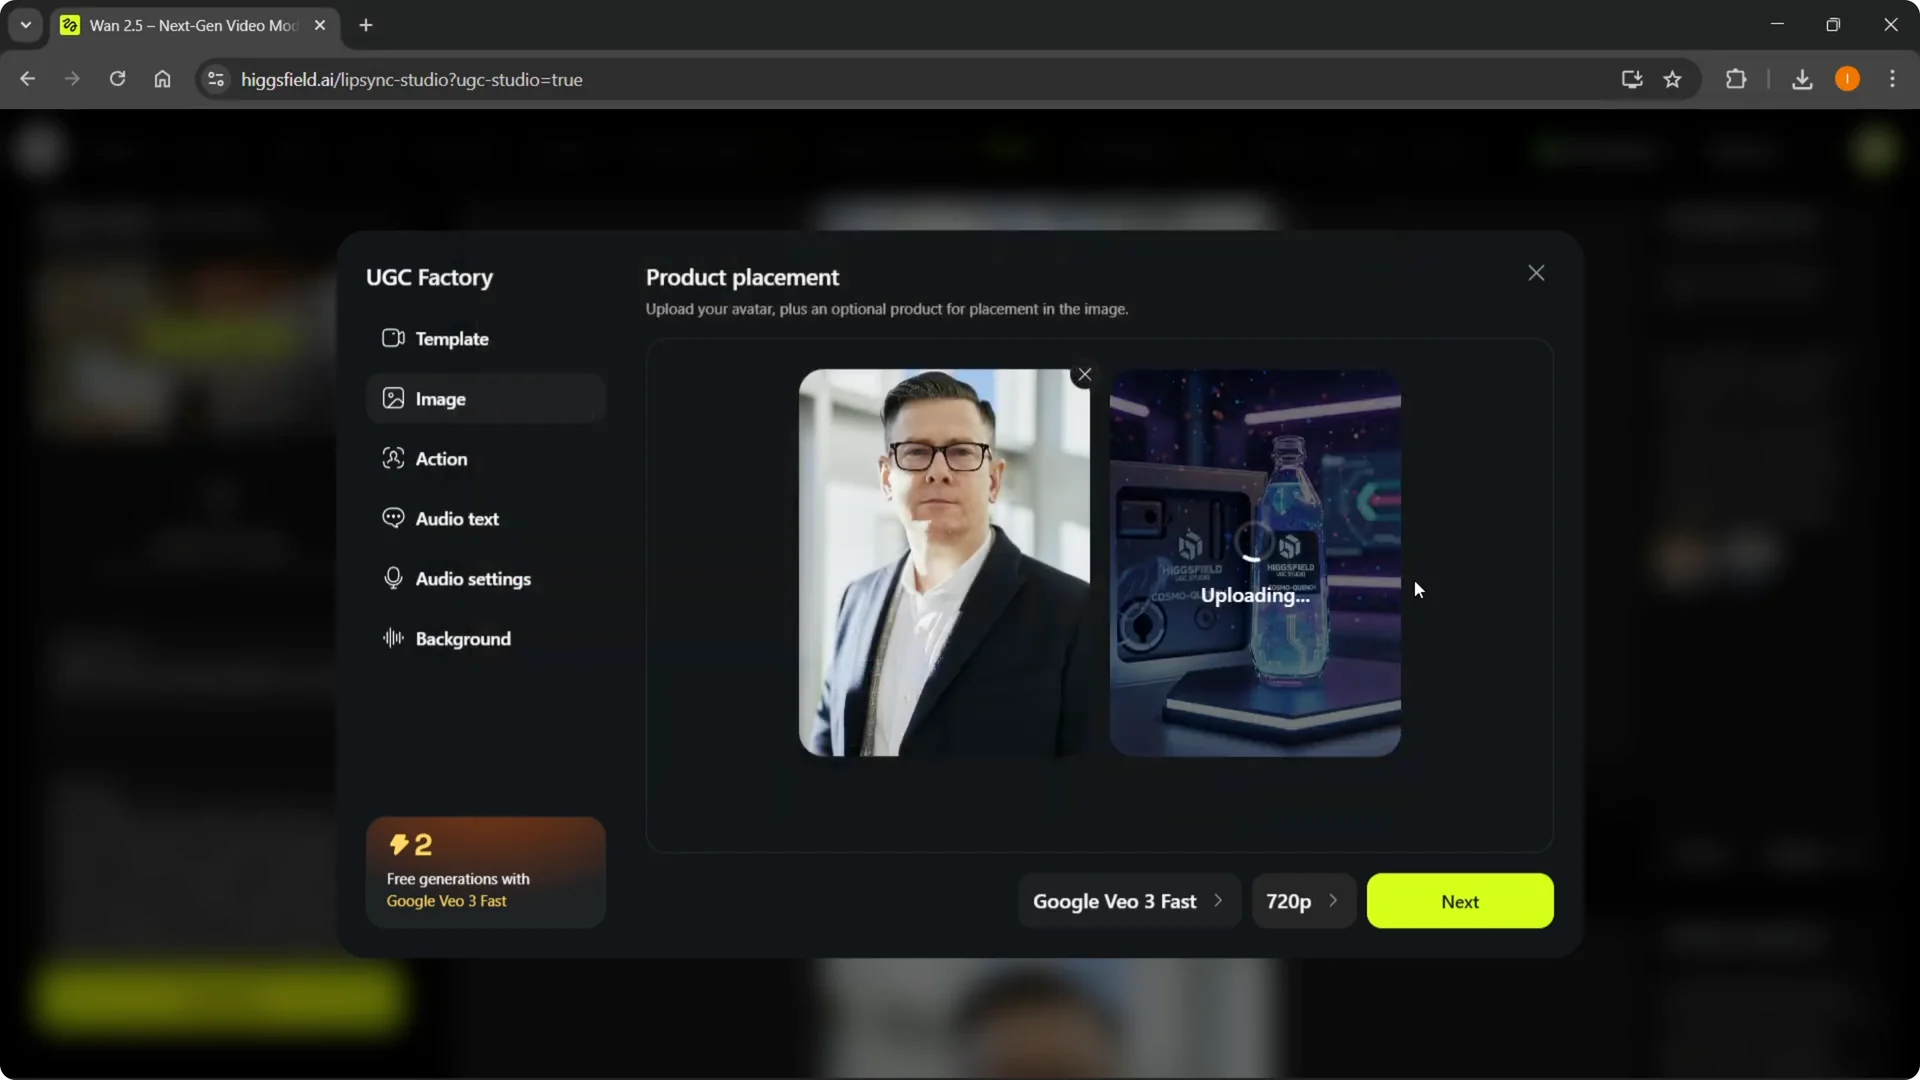
Step 3: Set up product placement.
Upload your avatar and an optional product for placement in the image.
For example, I uploaded an avatar and a random drink product image to combine them.
If you do not have a persona yet, you can create an AI influencer in Higgsfield first and use that avatar here.
This gives you a consistent face to speak about your product across ads.
Higgsfield UGC Ad Creation image combine
Step 4: Click Combine Image.
It will start processing the avatar and product together.
Step 5: Open View History to monitor progress.
It usually takes about a minute and you will see multiple combined results.
Pick the one that looks best, download it to your computer, and continue.
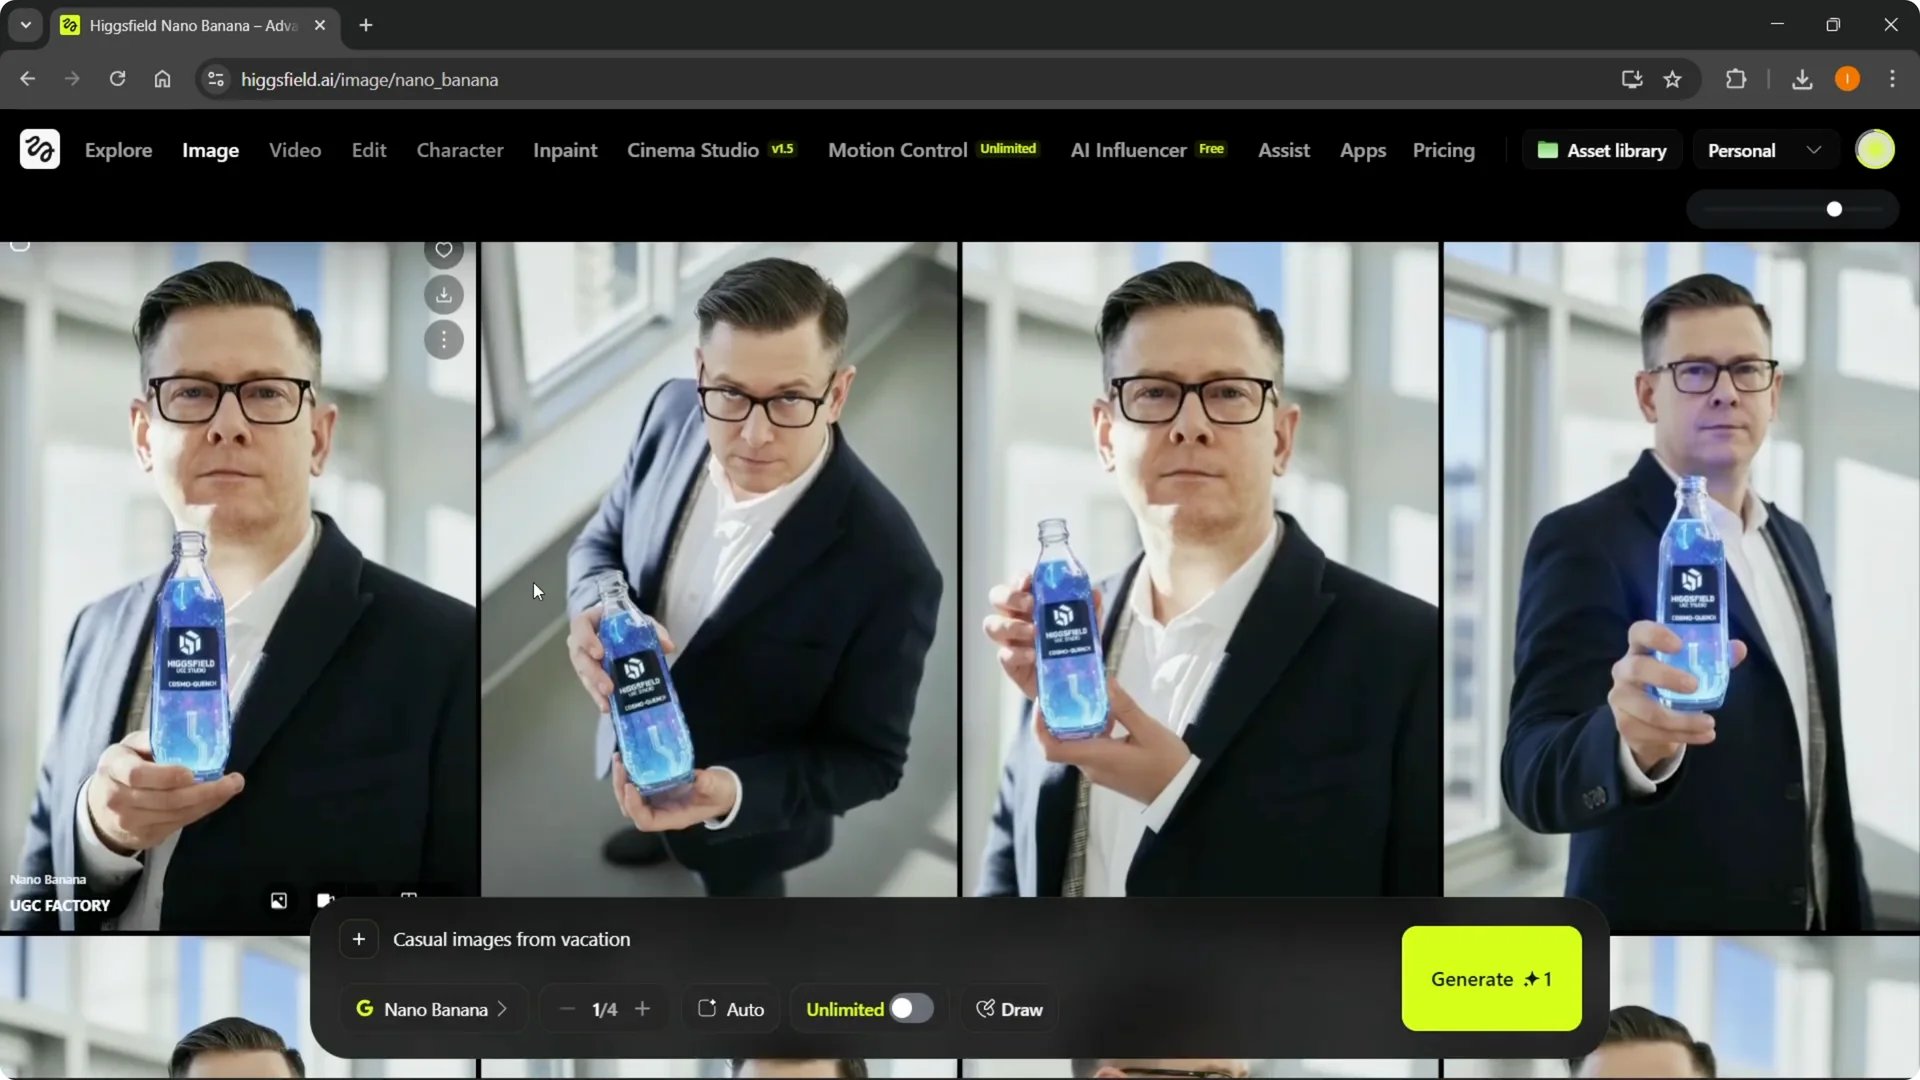
Higgsfield UGC Ad Creation new build
Step 6: Go back to Video, open UGC Factory, and start new.
Upload the selected avatar image you just created.
This will be the talking character for your ad.
If you need to adjust the environment later, see how to change backgrounds in Higgsfield to match your product aesthetic.
Swapping backgrounds can lift the perceived quality of your ad.
Higgsfield UGC Ad Creation actions and script
Step 7: Describe the action or gesture.
You can keep it simple, like selling the product, or add more detail based on your concept.
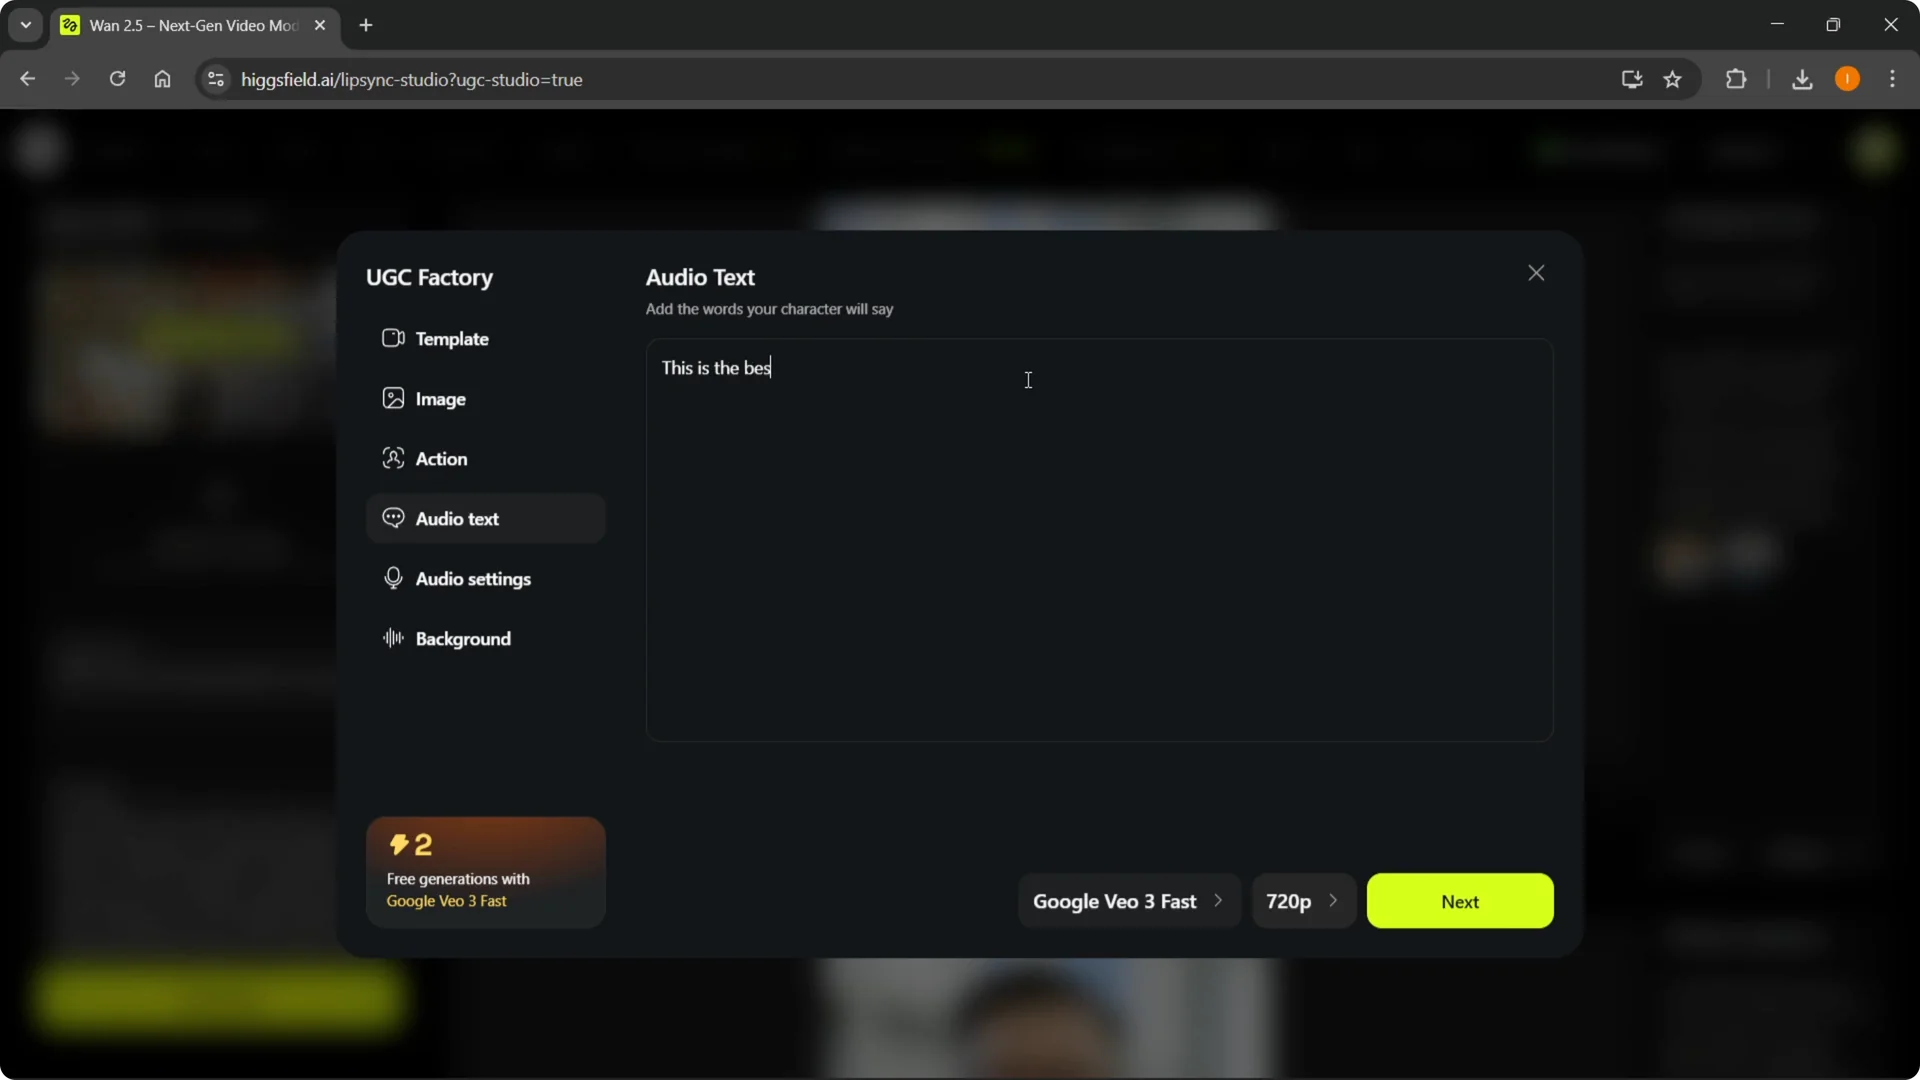
Step 8: Add the audio text your character will say.
For example: This is the best drink I’ve ever had.
Write the exact words you want spoken in the video.
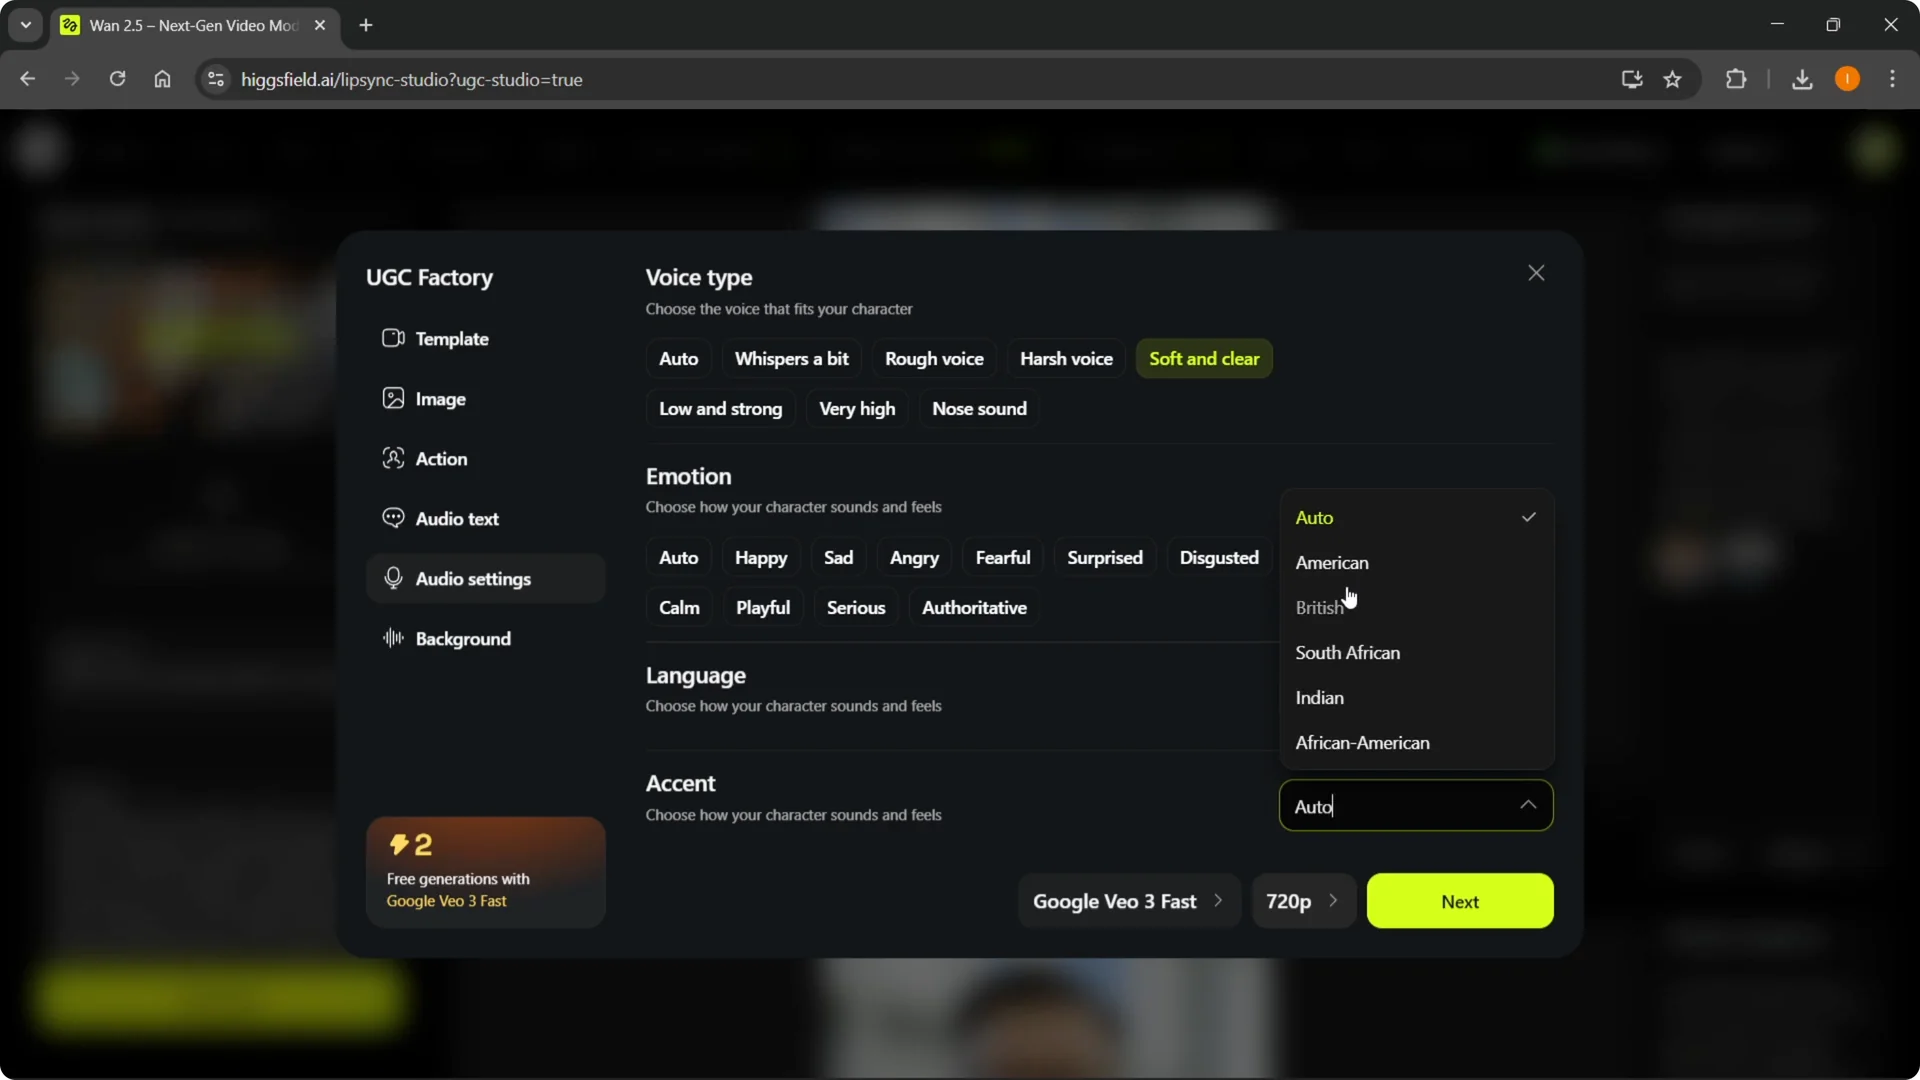
Higgsfield UGC Ad Creation audio settings
Step 9: Configure the voice.
Choose a voice type like soft and clear, then set the emotion, for example excited.
Pick your language and accent; I went with English and a British accent.
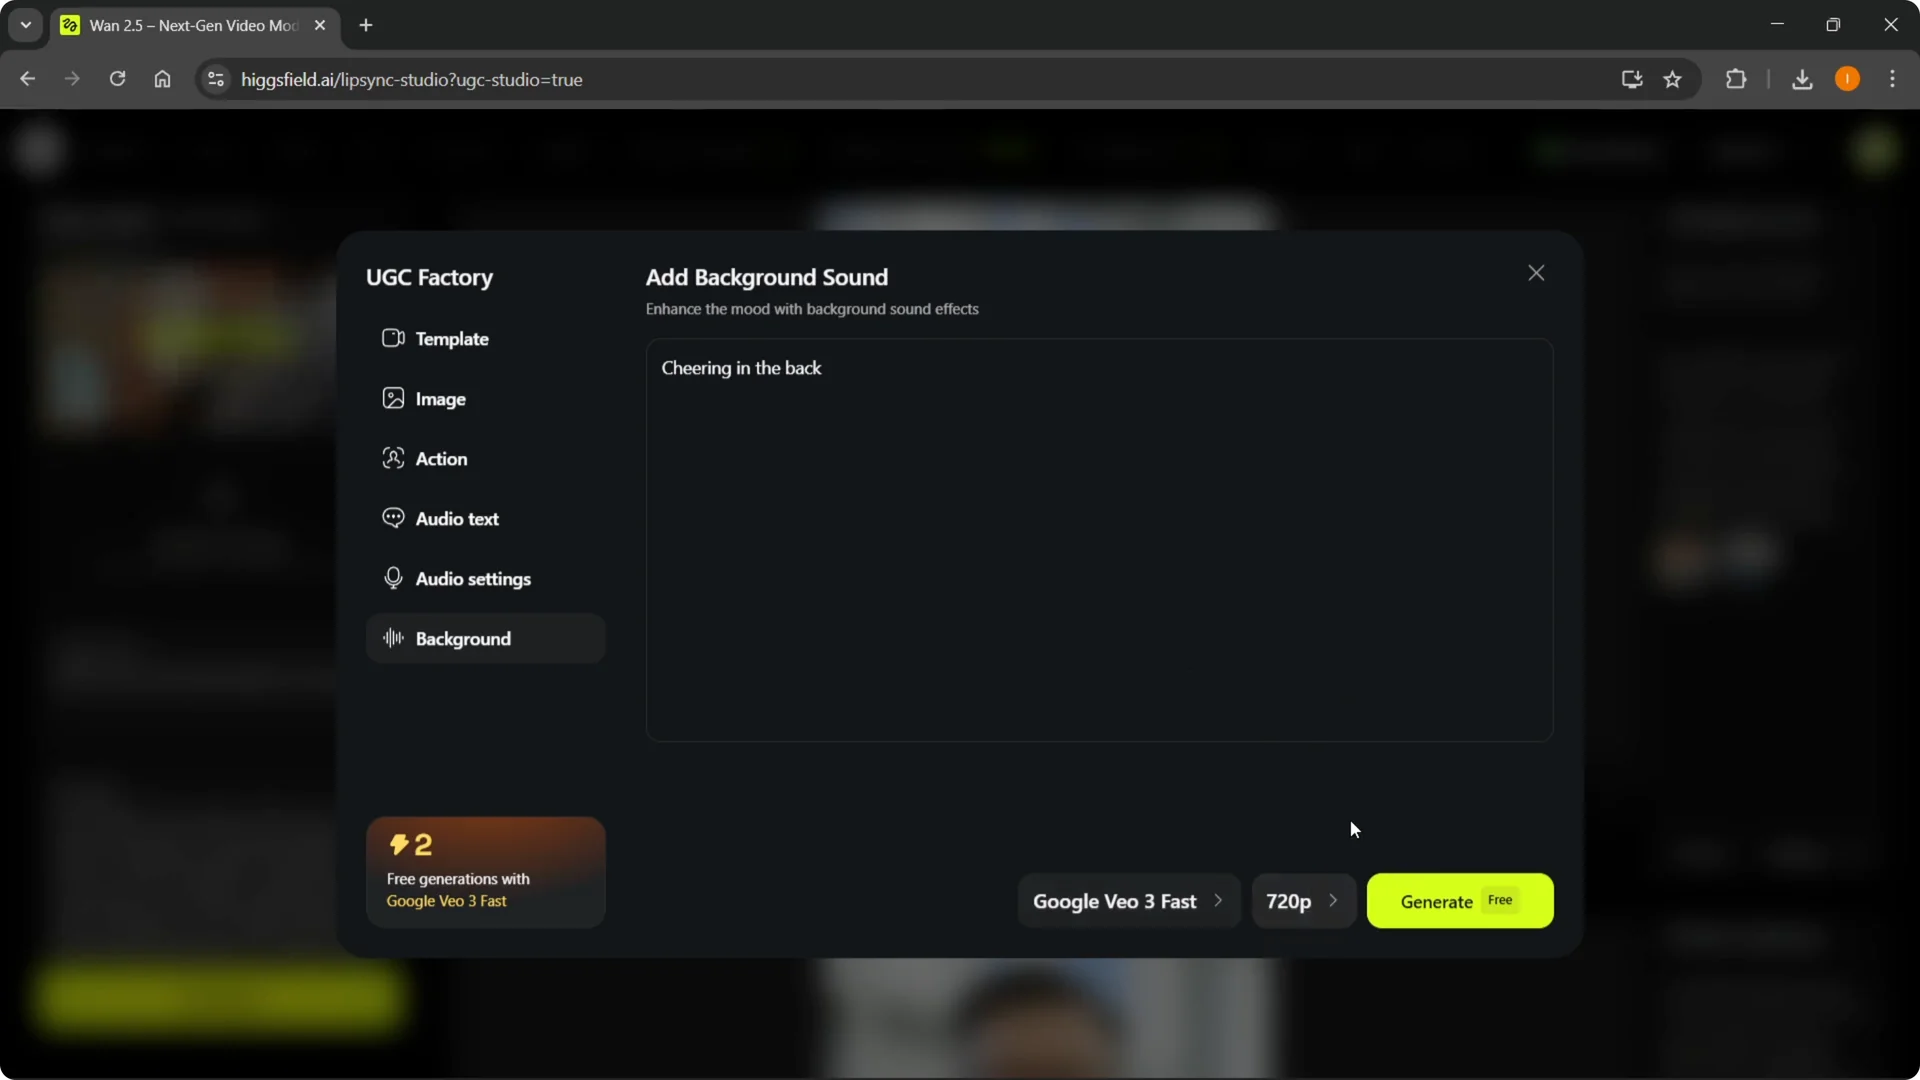
Higgsfield UGC Ad Creation sound and quality
Step 10: Add a background sound.
You can choose city noise, crowd cheering, or rain sounds; I used cheering.
Step 11: Select the correct model and output quality.
Choose 720p or 1080p based on your needs.
When everything looks right, click Generate.
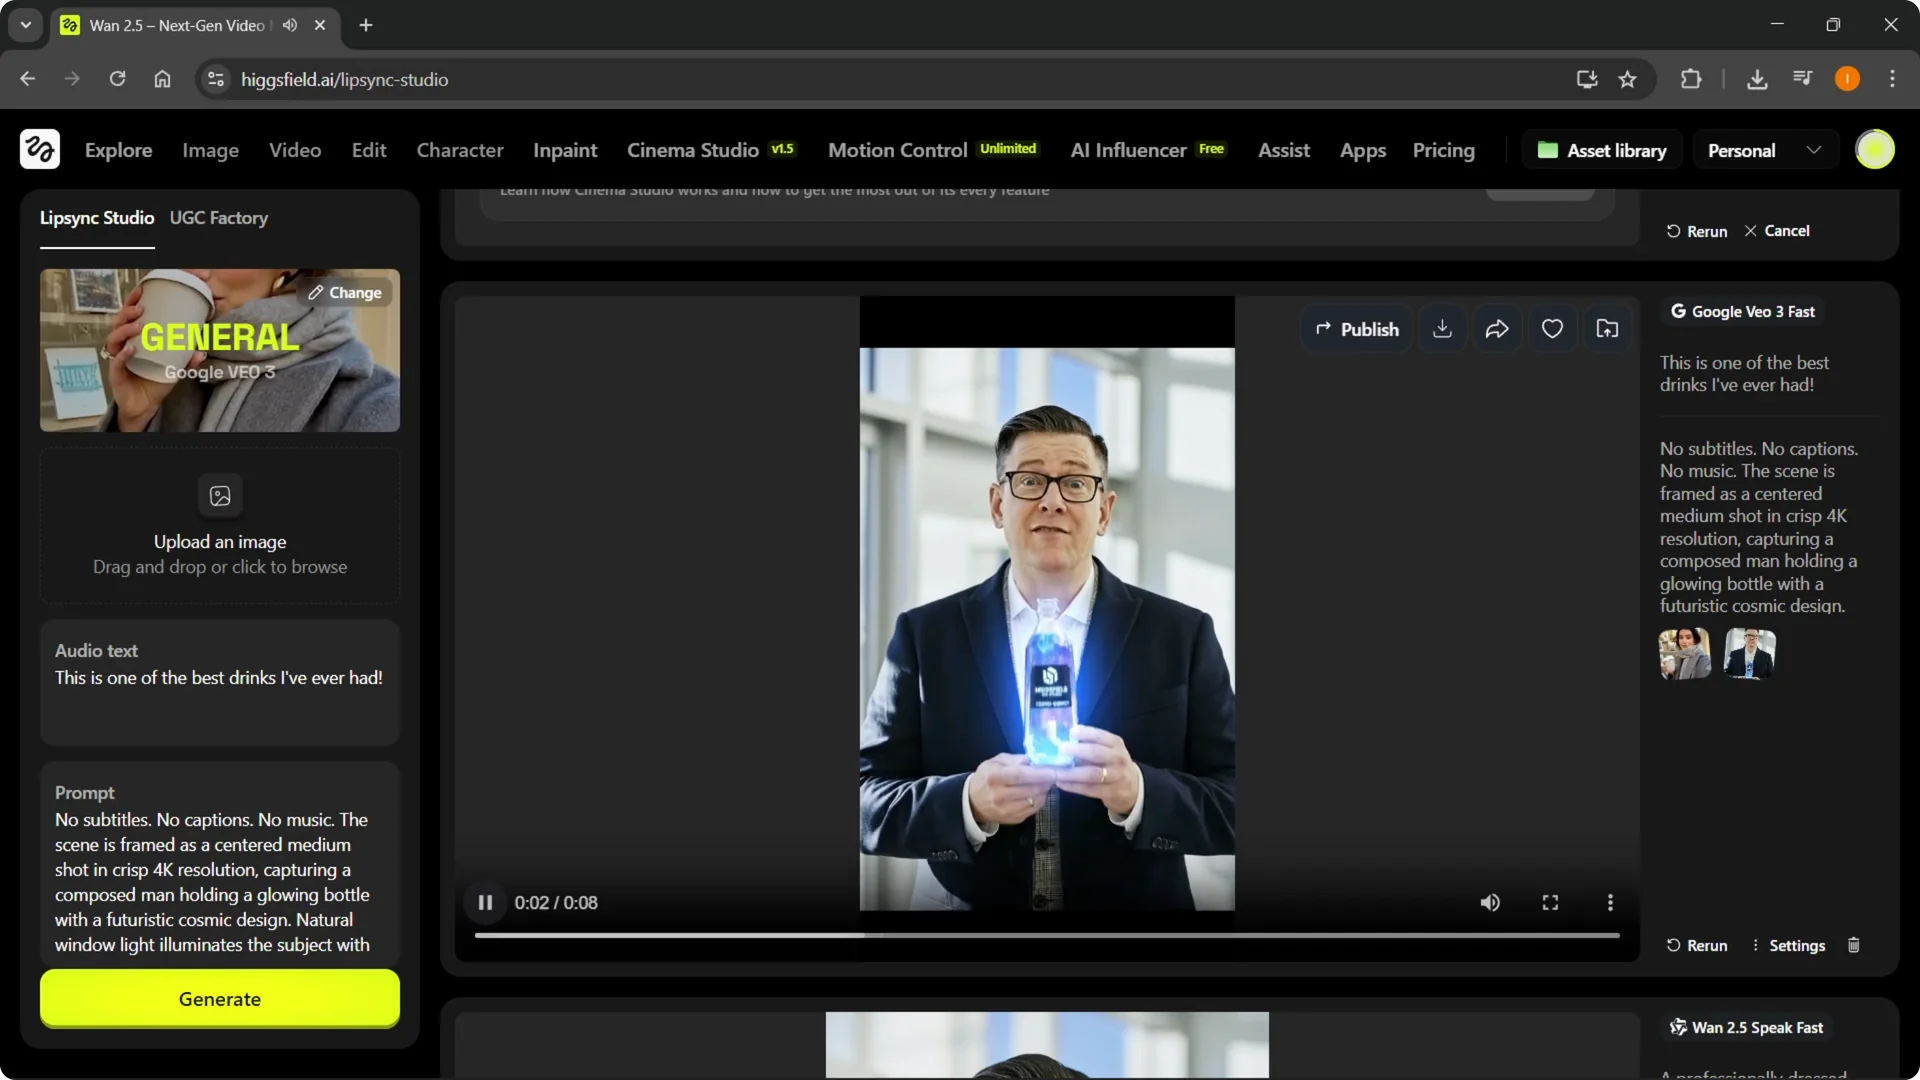
Higgsfield UGC Ad Creation results
Step 12: Review the generated video.
I used the same prompts and played the result to check timing, lip sync, and the feel of the delivery.
Better source images and stronger product photos will usually produce a better ad.
If you ever decide to stop using the platform, here is how to delete a Higgsfield account quickly.
It only takes a few steps and keeps your data tidy.
Final thoughts
This process takes you from template selection to a finished UGC ad with a scripted voice, gestures, and background audio.
Start with a clear avatar and a solid product image, combine them, script the message, set the voice, add ambient sound, choose your model and quality, then generate.
With a few iterations, you can produce engaging ads that match your brand style.