This guide shows how to upscale images with Higgsfield AI. I walk through signing in, uploading an image, choosing the right settings, and comparing the results.
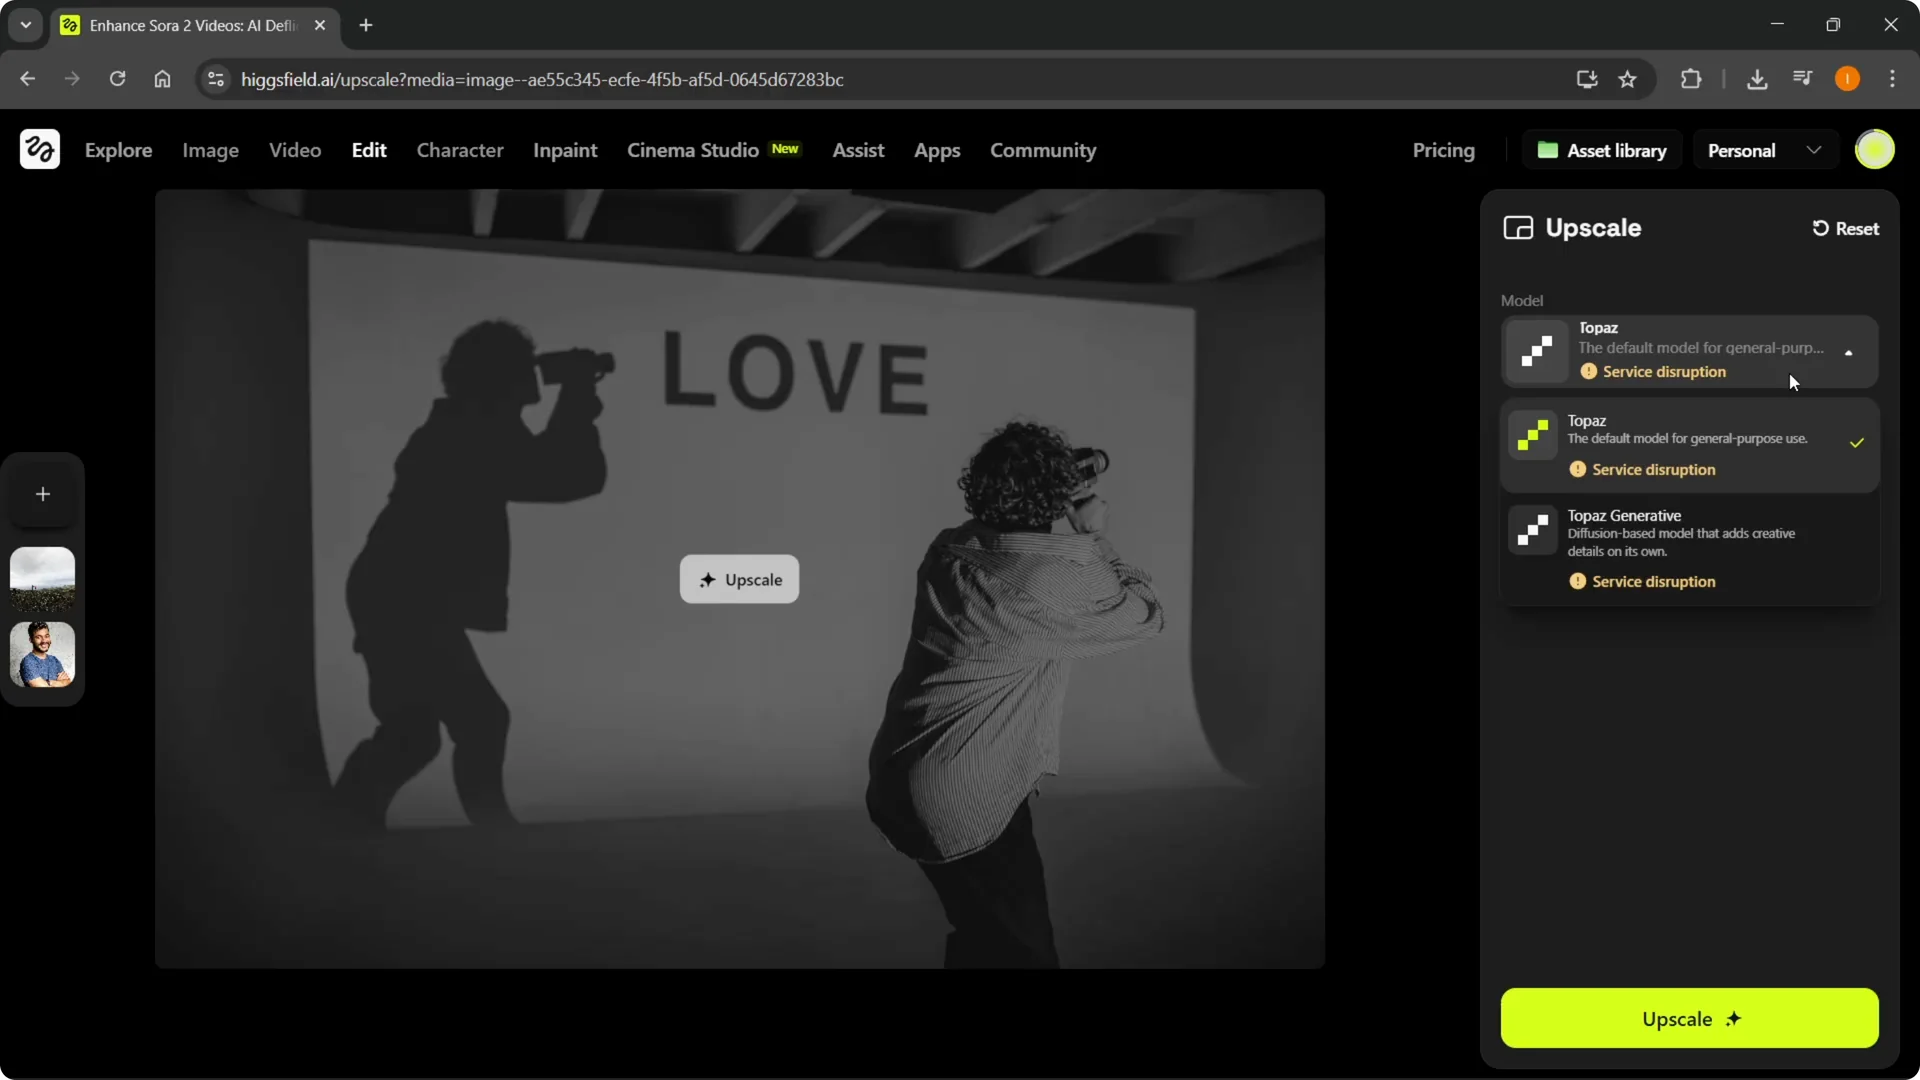
If you see a brief service disruption message, it may be temporary. It had just worked a second earlier for me.
Getting started with Higgsfield AI Image Upscaling
Step 1: Sign into your Higgsfield AI account or create one if you do not have one yet. Go to the Image section.
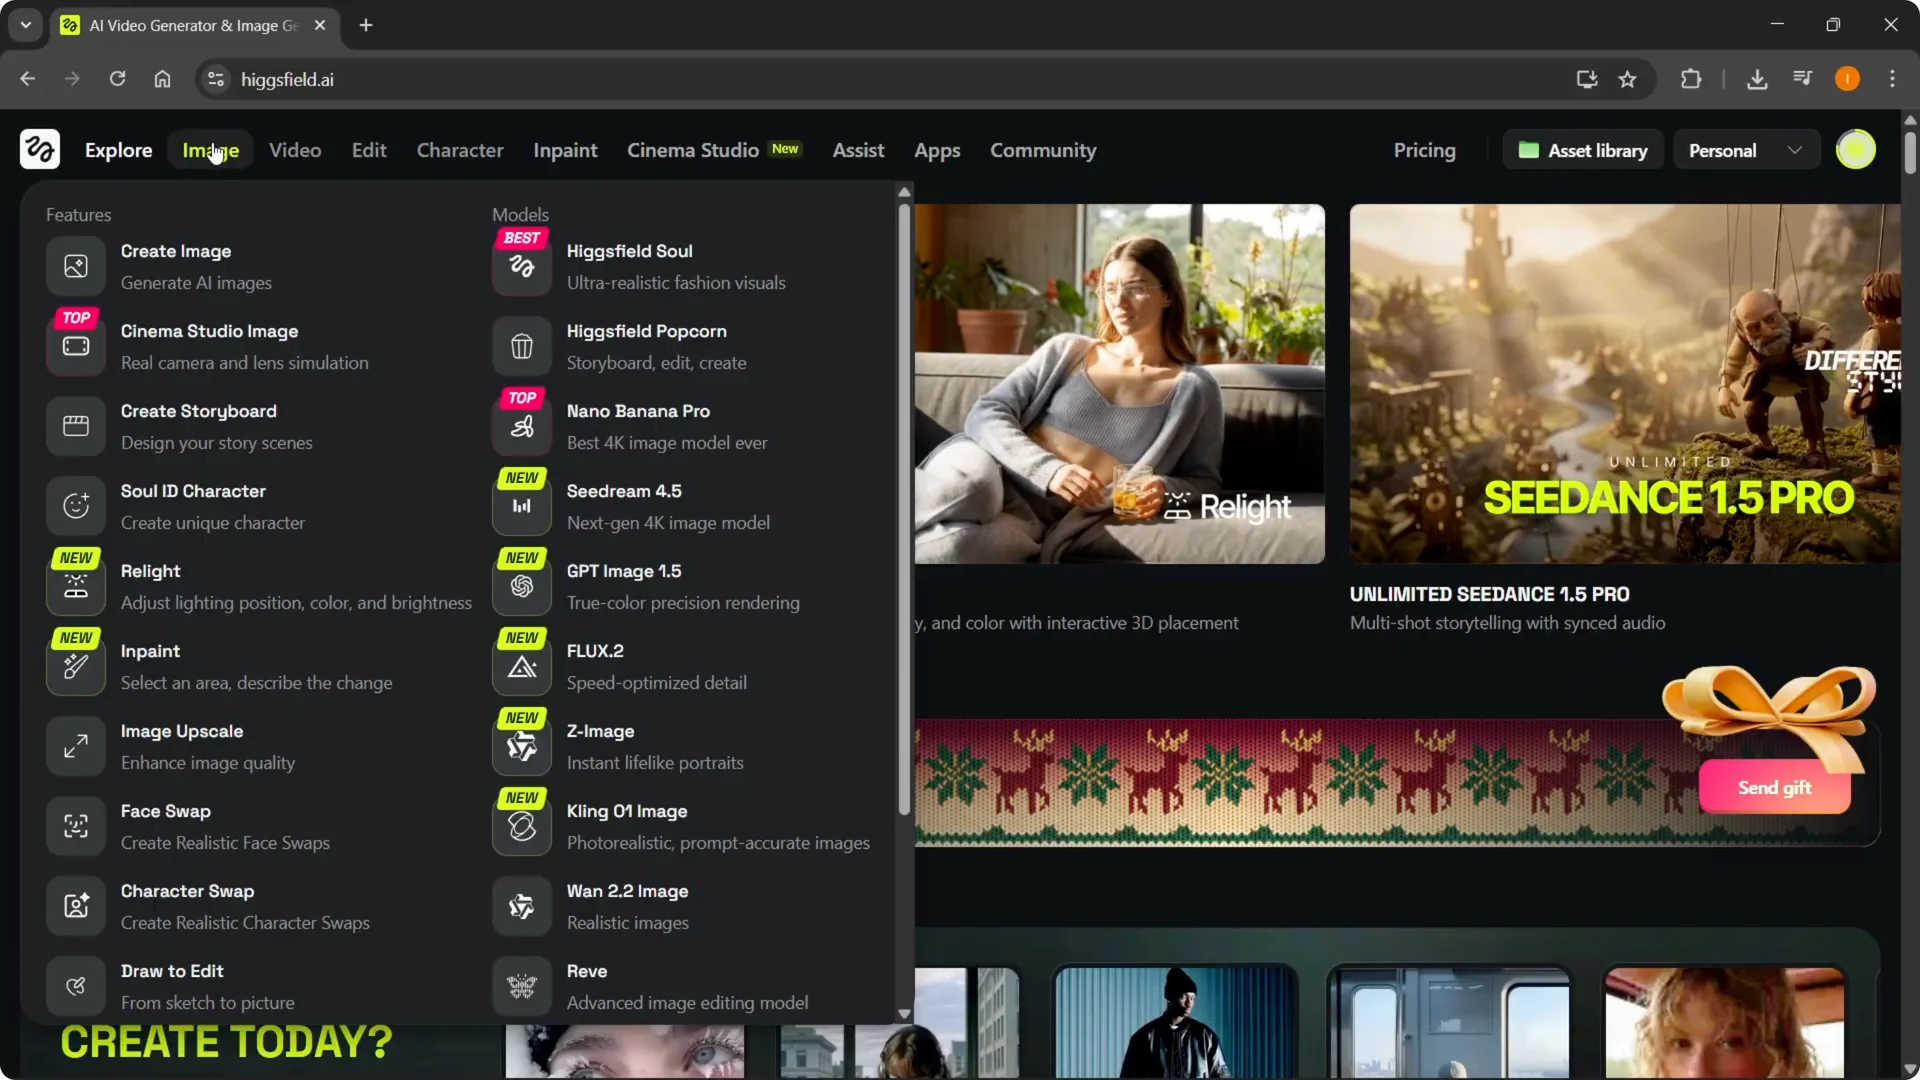
Step 2: Open Image Upscale on the left. Click it to access the upscaling workspace.
Read More: Higgsfield Ai Lip Sync
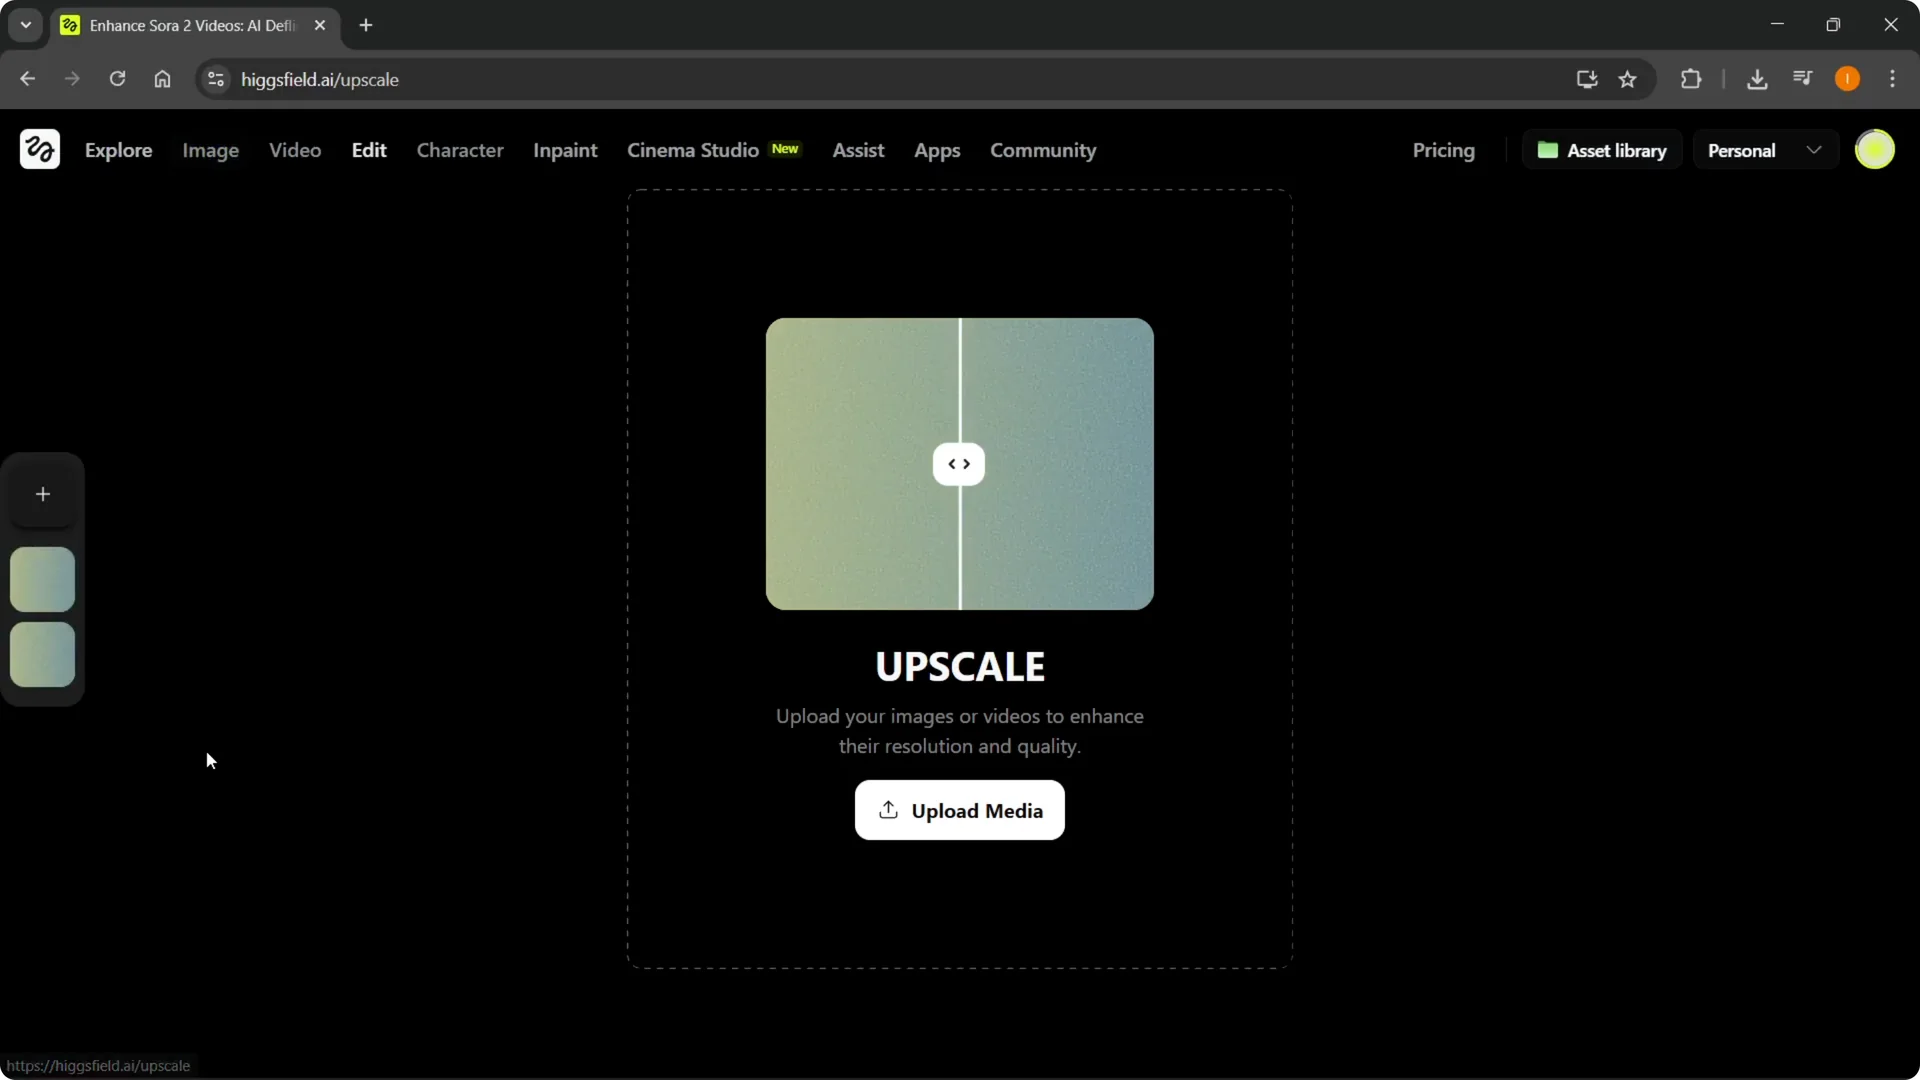
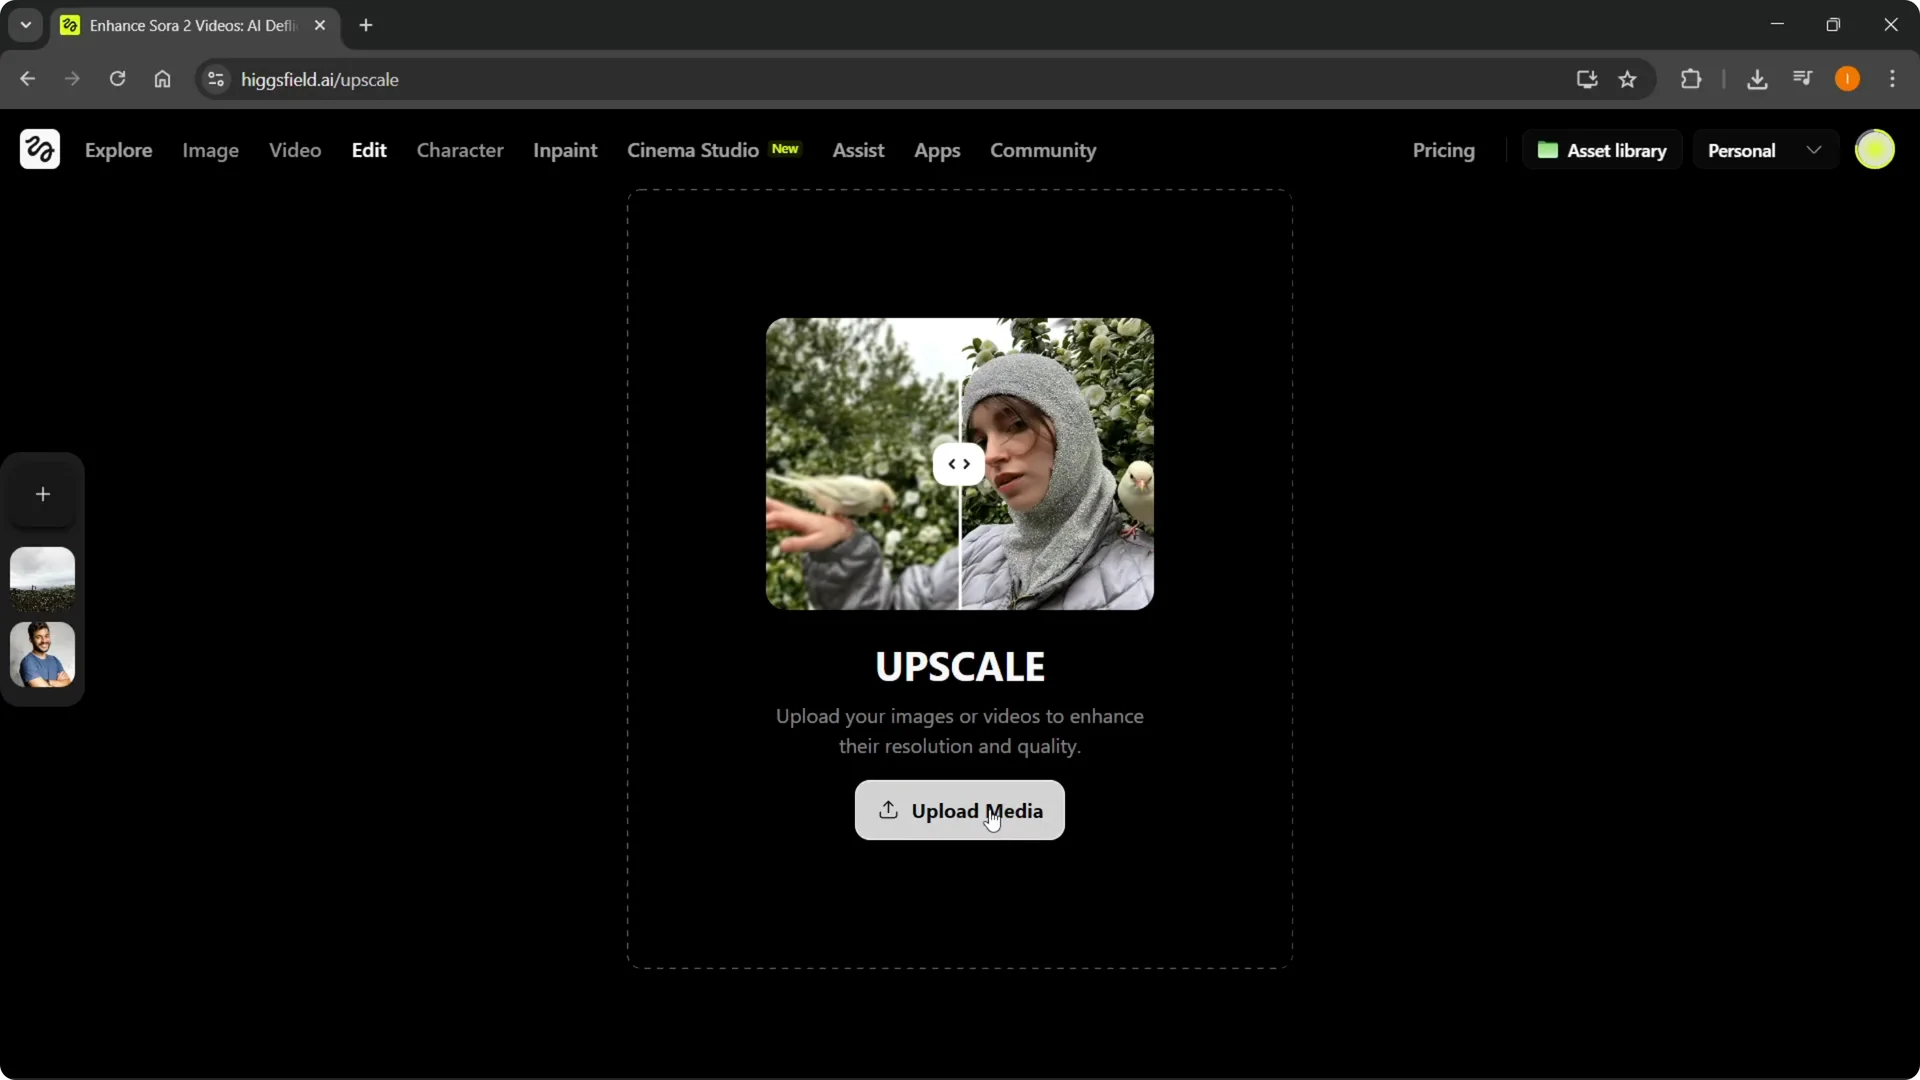
Upload to Higgsfield AI Image Upscaling
Step 3: Click Upload media and select your image. Choose your file and open it to start the upload.
When the image is uploaded, you can select the model. You will also see all the configuration options for your upscale.
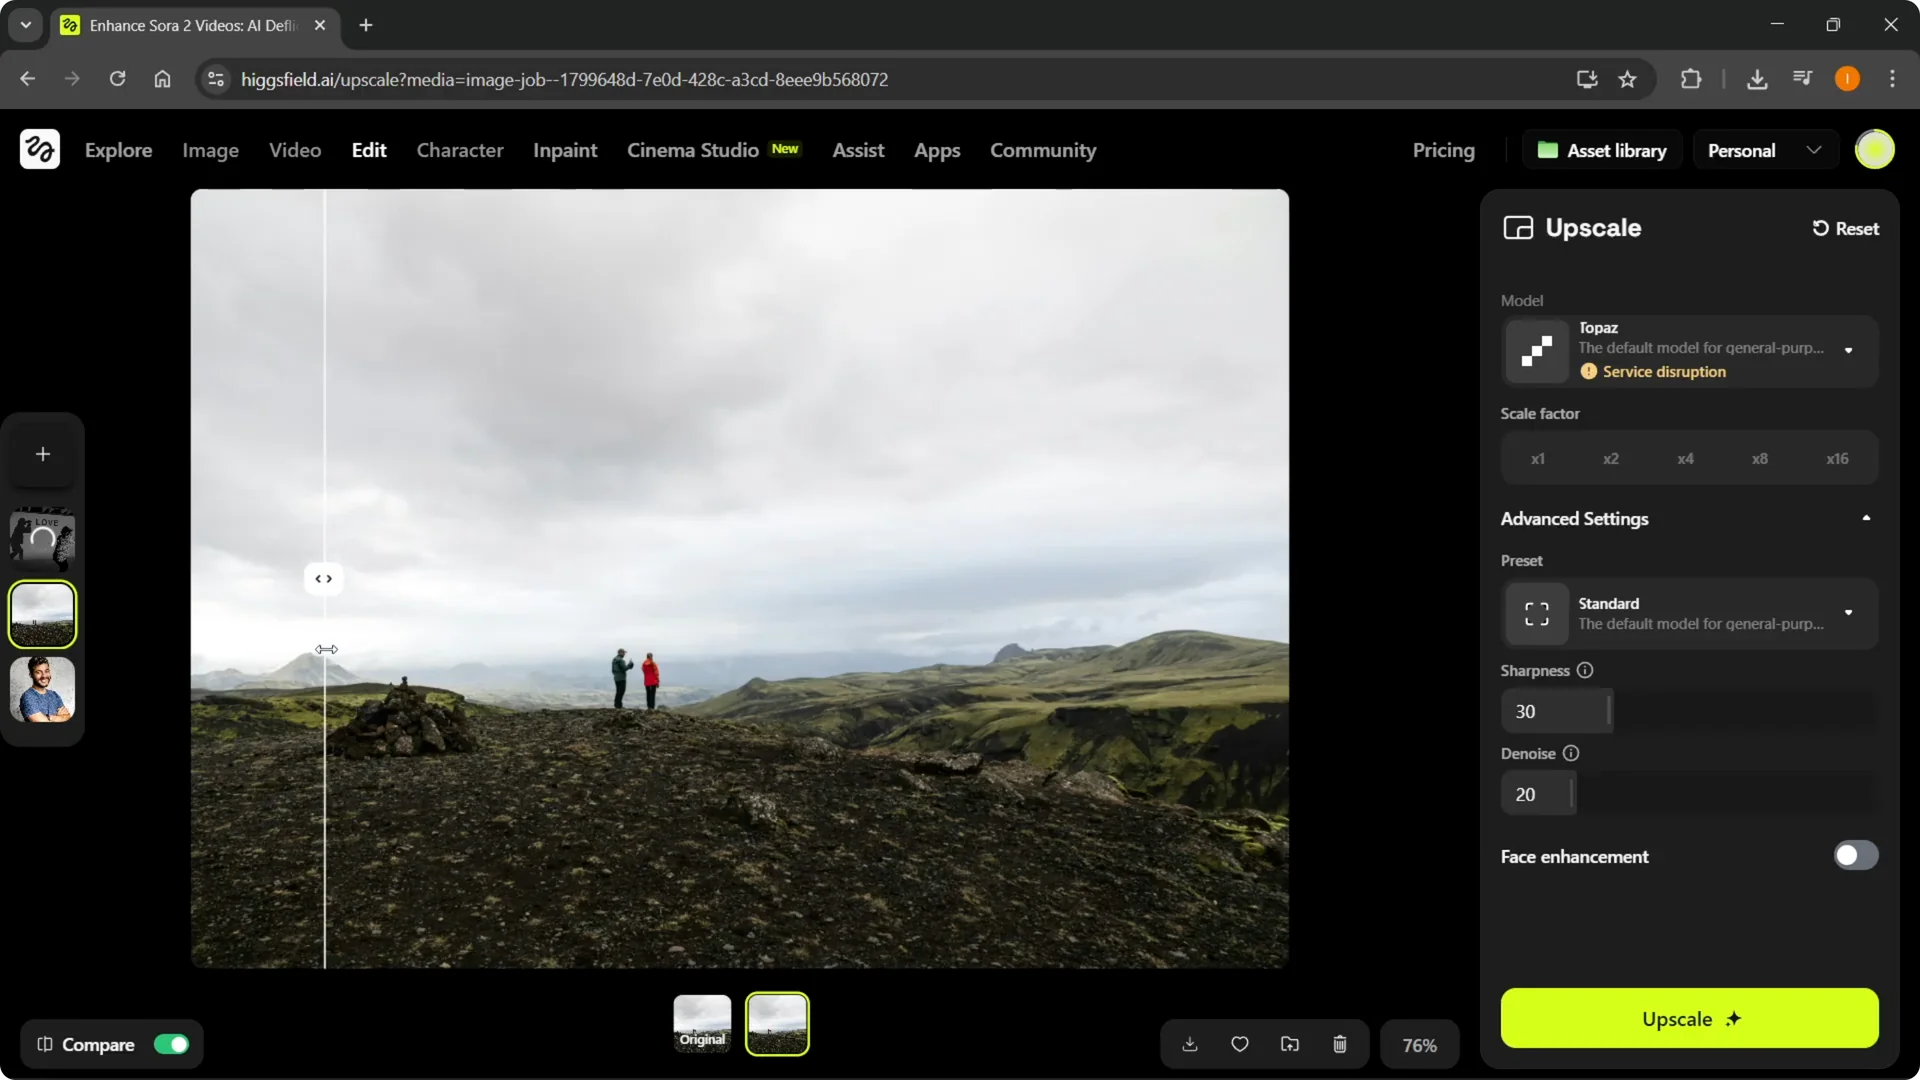
Choose settings in Higgsfield AI Image Upscaling
Step 4: Select your model. There are two different ones here, and you can pick whichever you want.
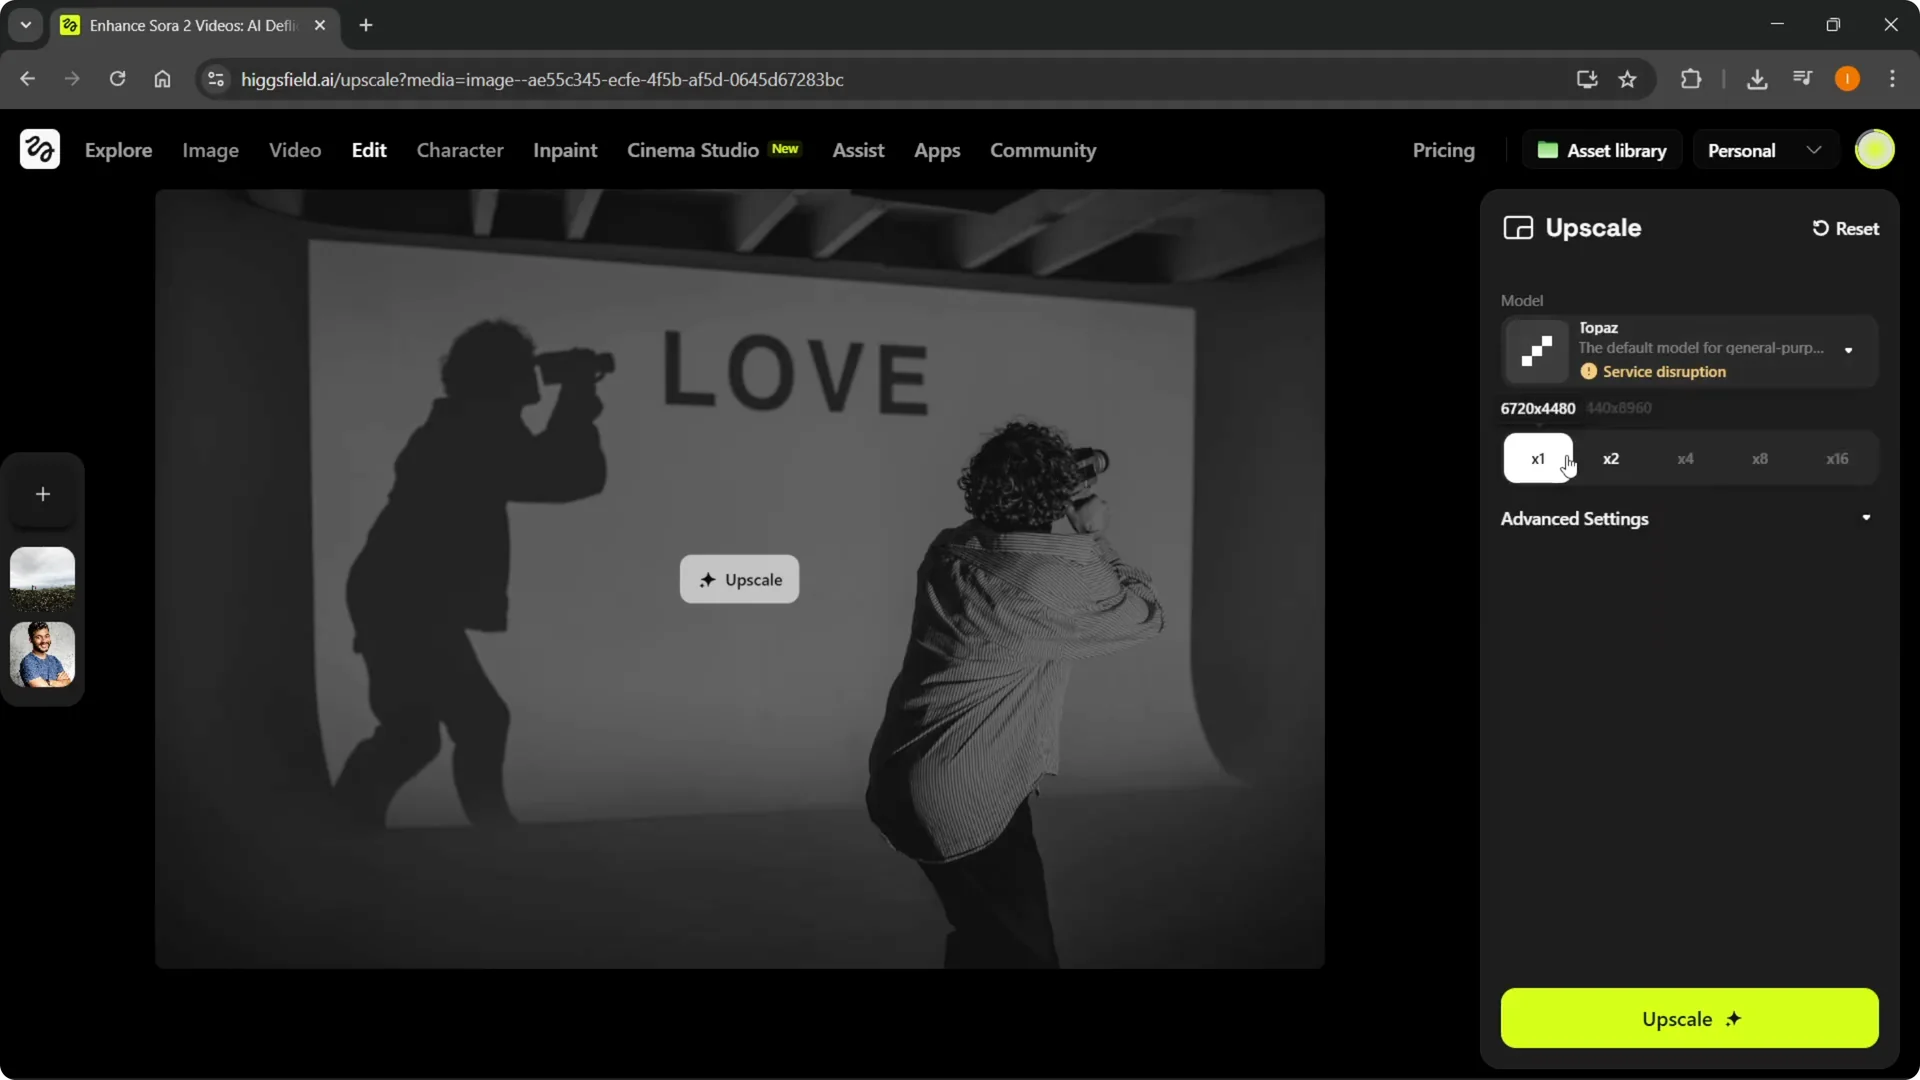
Step 5: Choose a scale factor. I picked 2x for the example.
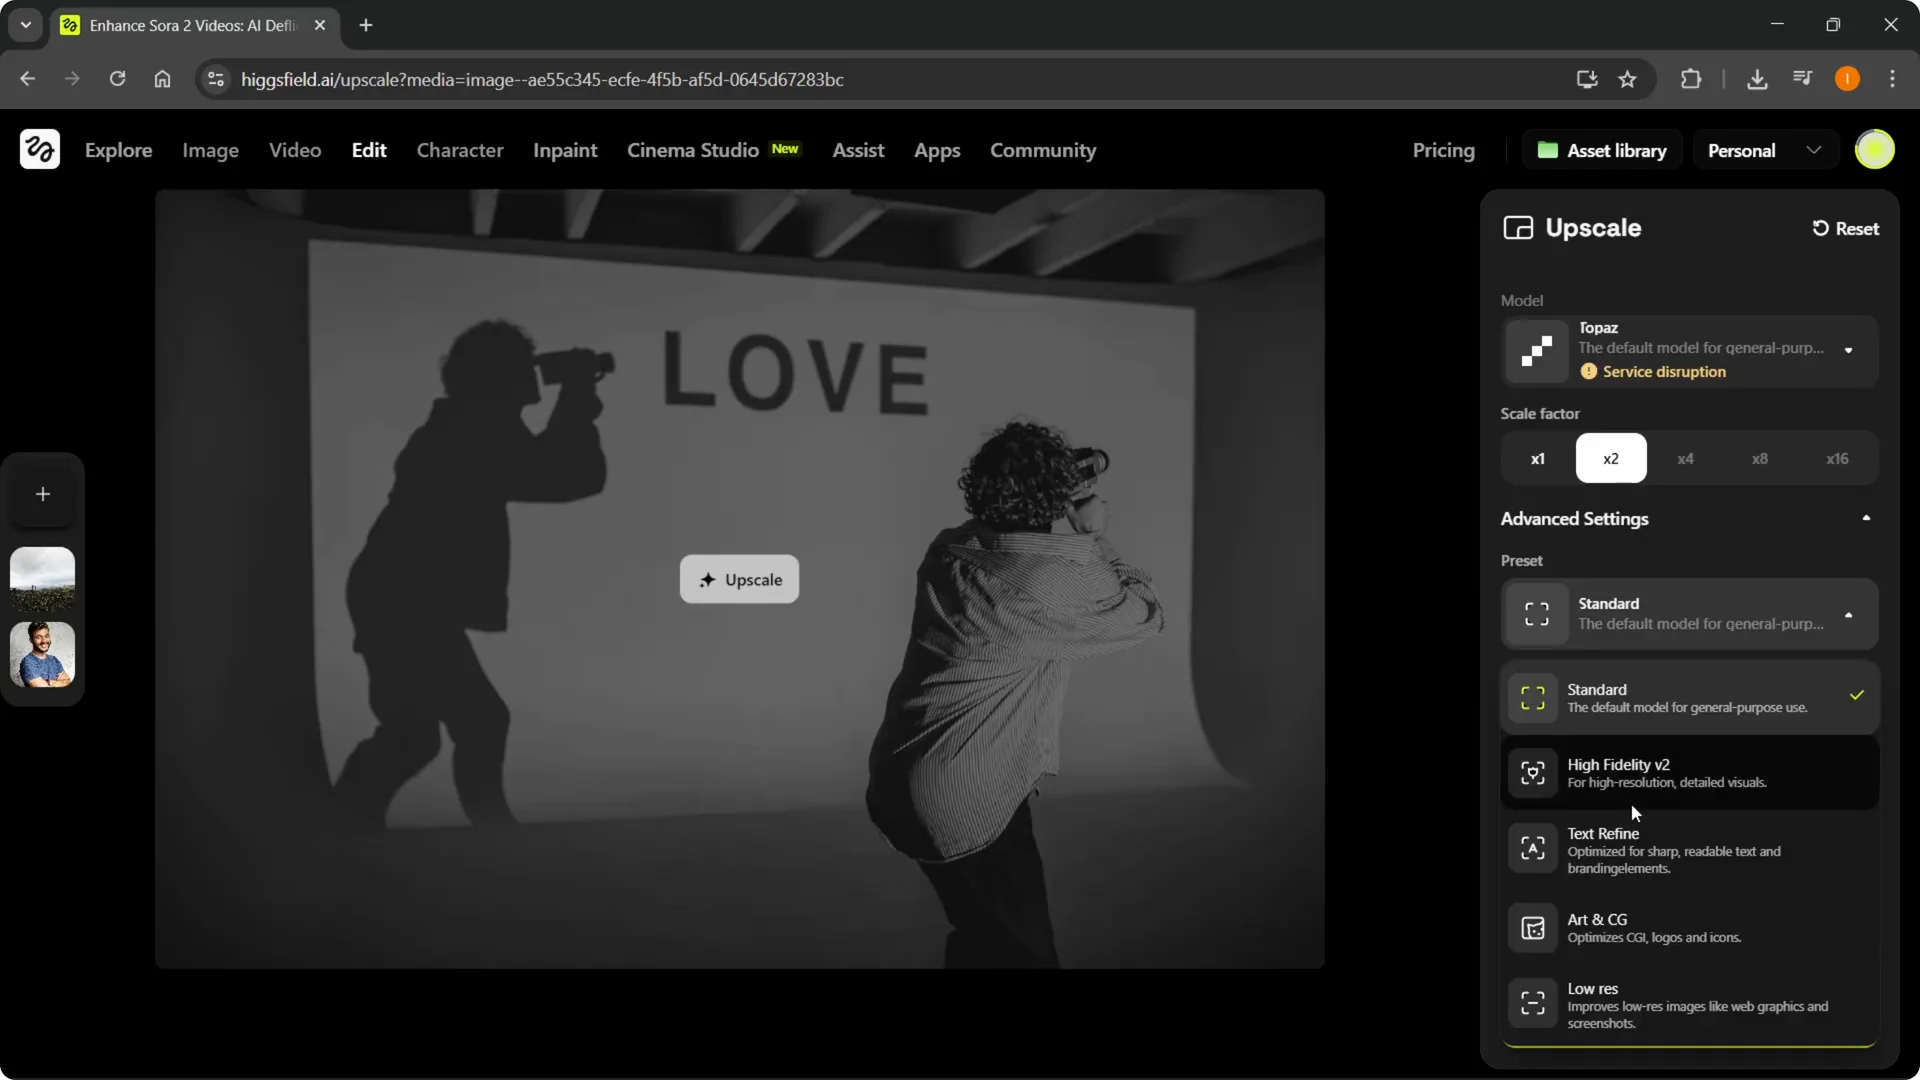
Step 6: Open Advanced settings to set presets. You have Standard, High Fidelity v2, Text Refine, Art and CG, and Low Res.
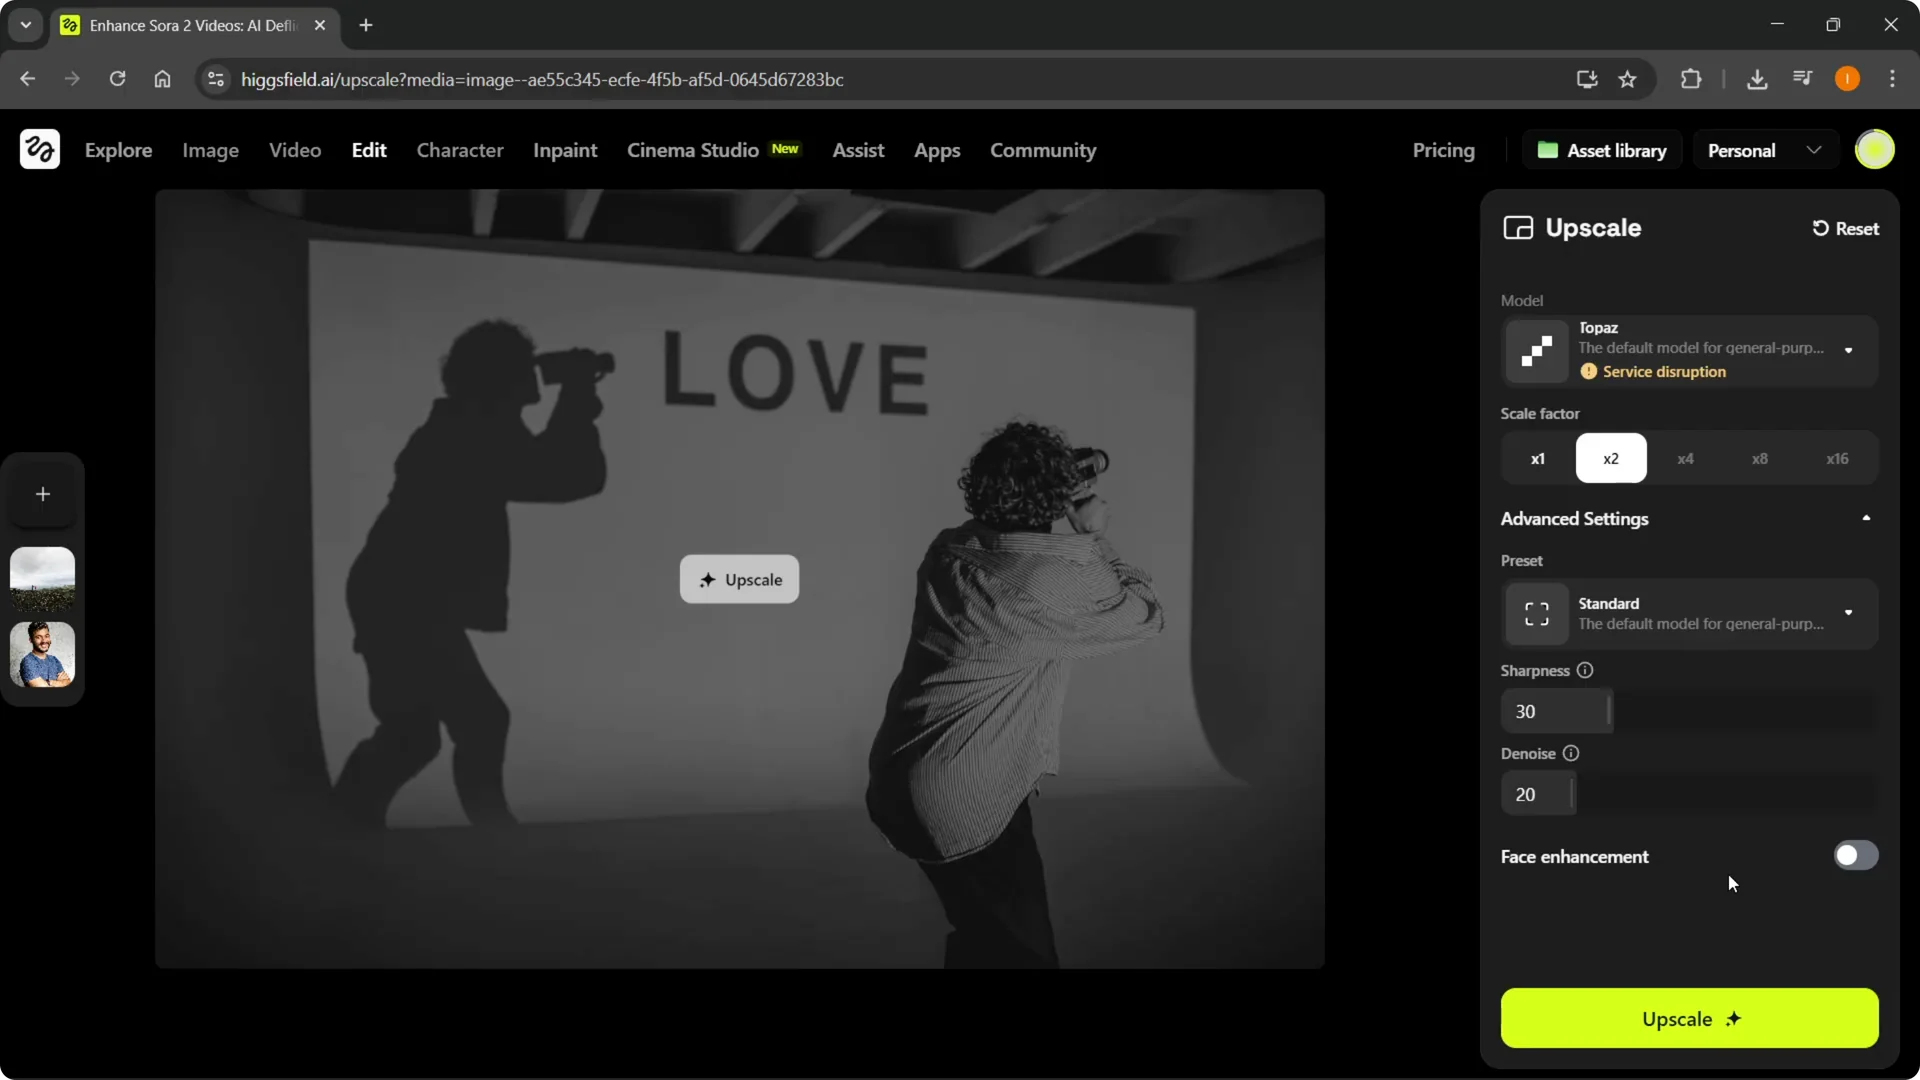
Step 7: Adjust sharpness as needed. Set denoise to control noise reduction. Turn on Face enhancement if your image includes faces.
Read More: Higgsfield Ai Smooth Transitions
Start the process
Step 8: Click Upscale. The process will start and generate the higher resolution image.

Compare results in Higgsfield AI Image Upscaling
Step 9: Open Compare mode from the bottom left. You can view the original and the 2x upscaled image side by side and slide to see the before and after.
Step 10: If you are happy with the result, use it. You can also rerun it to get a better or different upscale.
Read More: Delete Higgsfield Account Quickly
Final thoughts
Sign in, open Image Upscale, upload your image, pick a model, and set the scale. Fine tune presets, sharpness, denoise, and face enhancement. Start the process, compare before and after, and rerun if you want a different result.