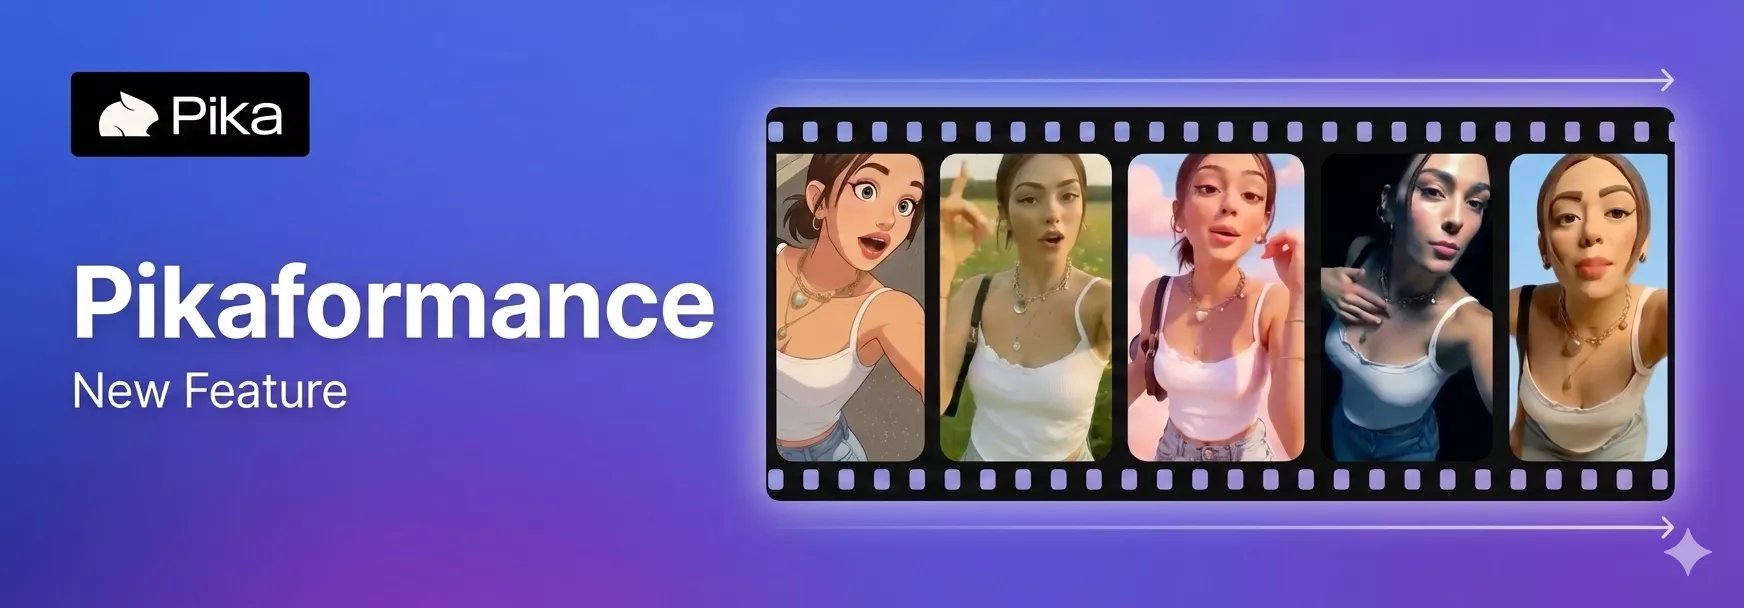
Pika just dropped Pikaformance, and after trying it myself, I can clearly say this is one of the most interesting updates they’ve released so far. Pikaformance lets you make images talk in real time using uploaded or recorded audio. It is fully audio driven, works with any image and any audio, and creates videos in near realtime.

What surprised me the most is the speed. You can generate any length video in around 6 seconds, and the output feels very expressive. I tested it with different images and voices, and it worked across styles and aesthetics without forcing a specific look.
In this post, I’m sharing my experience with Pikaformance, how it works, how to use it step by step, and how the pricing is structured.
What Is Pikaformance?
Pikaformance is audio-driven performance generation feature added by Pika to its platform pika.art. You upload an image, add audio, and Pika animates the face to match the sound.
Key things I noticed right away:
- The animation follows the audio closely
- Facial movement reacts naturally to speech
- The output is generated almost instantly
You are not limited to a specific type of image. You can use:
- A photo of yourself
- A character image
- Any face-forward image

The system focuses on talking head performances, and everything is driven by the audio you provide.
What Makes Pikaformance Stand Out?
From my testing, these are the core highlights:
- Audio driven performances in near realtime
- Any image can be used
- Any audio can be used
- Video generation happens in about 6 seconds
- Highly expressive facial movement
- Works across different aesthetics
I did not feel locked into a single style. The same image behaved differently depending on the audio and prompt, which gave me good control over the output.
How Pikaformance Works (Simple Breakdown)
The workflow is very straightforward:
- You upload an image
- You add or record audio
- You describe the talking performance
- Pika animates the image based on the audio
The facial movement is driven by the sound, not by preset animations. That is the core idea behind Pikaformance.
How to Use Pikaformance? (Step-by-Step)
Here is exactly how I used it, to create audio-driven talking videos.
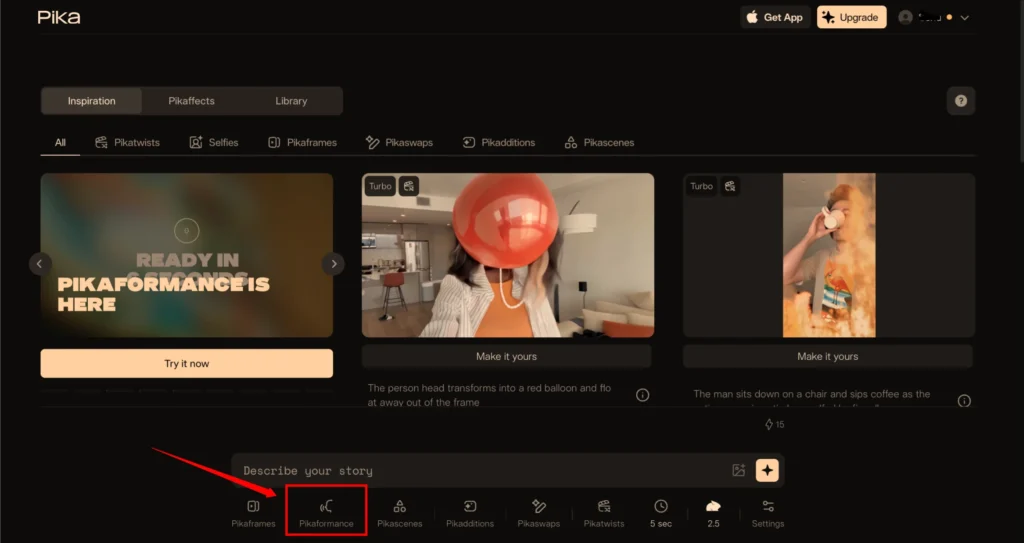
Step 1: Go to Pika
- Visit Pika.art
- On the main interface, scroll down
- Click on Pikaformance
Step 2: Upload an Image

- Add an image of yourself or a character
- The face should be facing the camera
- Clear frontal images work best
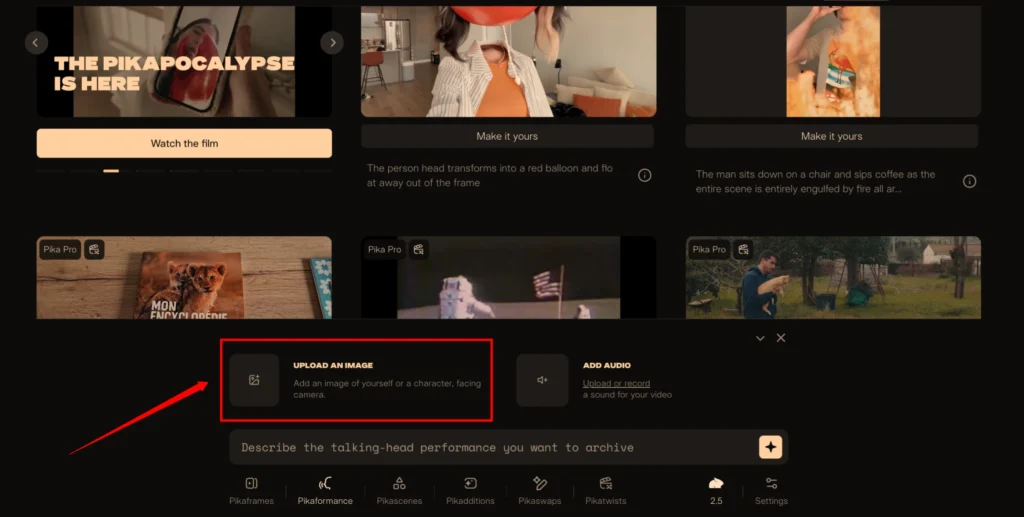
I noticed better results when the face was well-lit and not turned sideways.
Step 3: Add Audio
You have two options:
- Upload audio
- Record audio directly
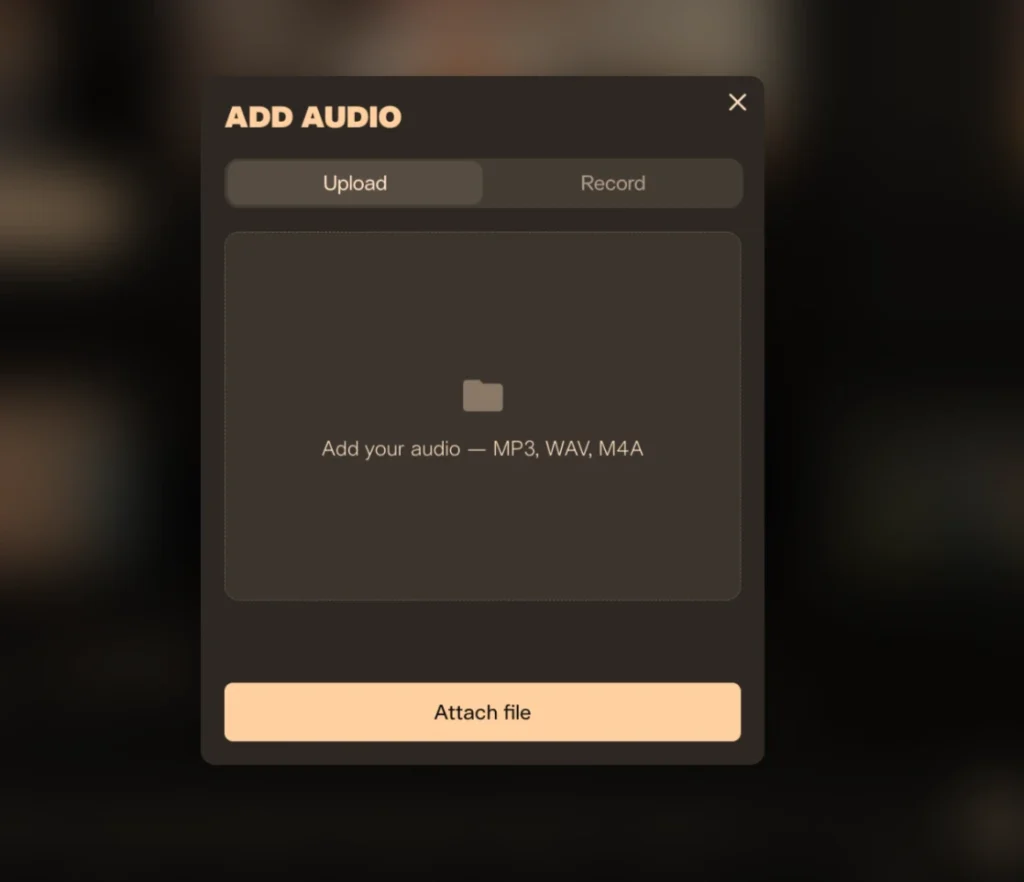
Supported formats:
- MP3
- WAV
- M4A

You can record audio up to 30 seconds directly inside the interface.
Step 4: Enter the Prompt
You will see a prompt field where you describe the performance.
Prompt field text:
“Describe the talking head performance you want to achieve”

This prompt controls the mood, expression, and delivery style of the talking head.
Step 5: Select Model and Settings
- Select Pika Model: Pika 2.5
- Choose any aspect ratio
- Enter a negative prompt if needed
- Add a seed number if you want repeatable results
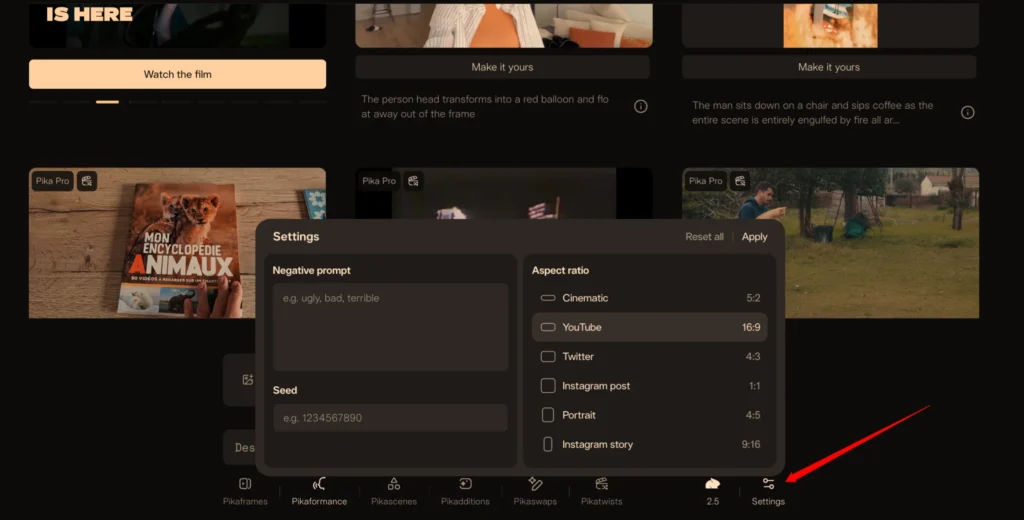
These settings give you more control, but you can also leave them empty and still get usable output.
Step 6: Generate
- Click on the generate icon
- The video is created in seconds
In my tests, generation was fast and consistent.
Pikaformance Pricing
Below is a clean and simple pricing table focused only on Pikaformance.
| Feature | Free Plan | Paid Plan |
|---|---|---|
| Video Quality | 720p | 720p |
| Audio Duration | Up to 10 seconds | Up to 30 seconds |
| Credit Usage | 3 credits per second | 3 credits per second |
| Plan Requirement | Free | Paid Pika plan |
The credit usage stays the same. The main difference is audio length.
My Experience With Pikaformance Performance
From a practical point of view, here is what stood out to me:
- Lip movement follows the audio closely
- Facial expressions react naturally to speech
- Output feels expressive, not stiff
- Generation speed is extremely fast
I tested it with different voices and styles, and the results stayed consistent. As long as the image is front-facing and the audio is clear, Pikaformance does its job well.
Where Pikaformance Fits Best
Based on my usage, it works well for:
- Talking head videos
- Character dialogue
- Voice-over driven clips
- Short expressive performances
Final Thoughts
Pikaformance feels like a natural extension of Pika’s image-to-video tools. The focus on audio-driven expression, near realtime output, and simple workflow makes it easy to use.
I like the fact that:
- It works with any image and any audio
- It does not require complex setup
- The results are fast and expressive
If you are already using Pika, Pikaformance is easy to jump into and experiment with, especially for talking head style videos.