
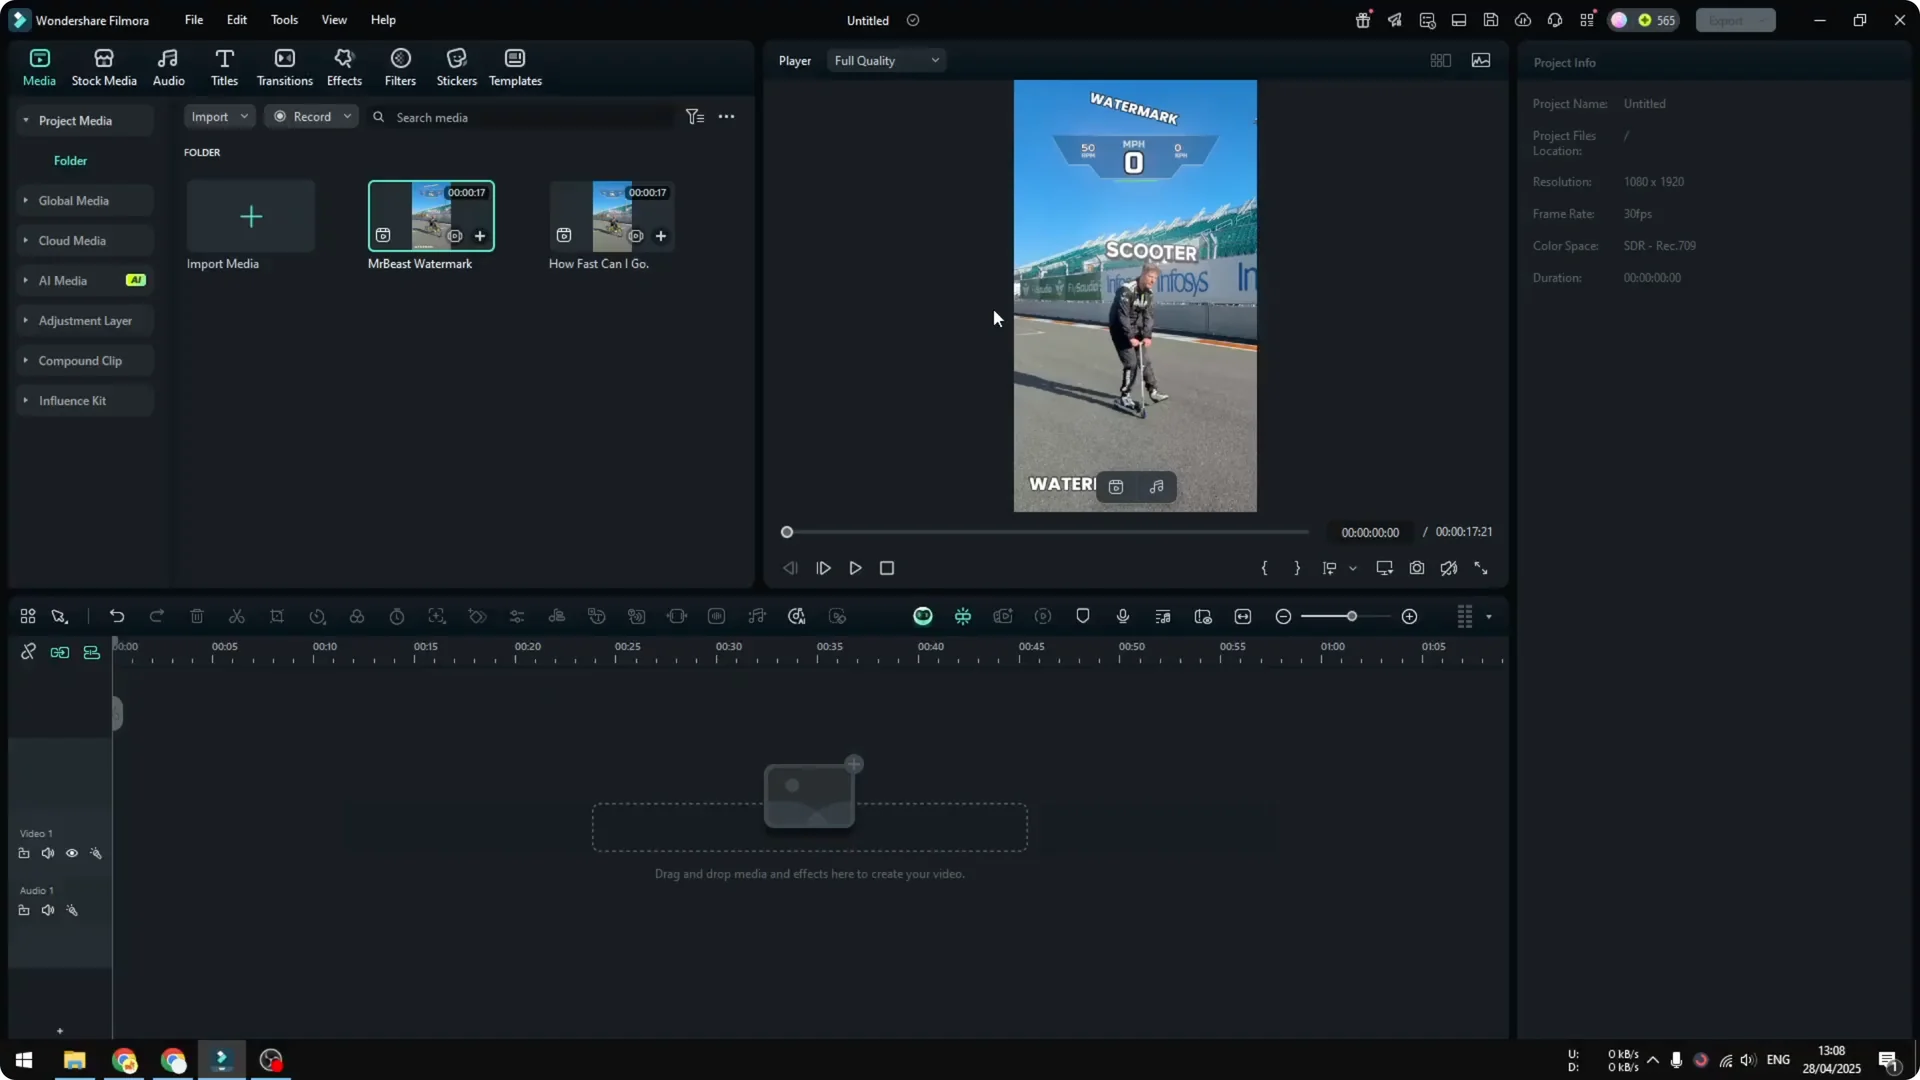
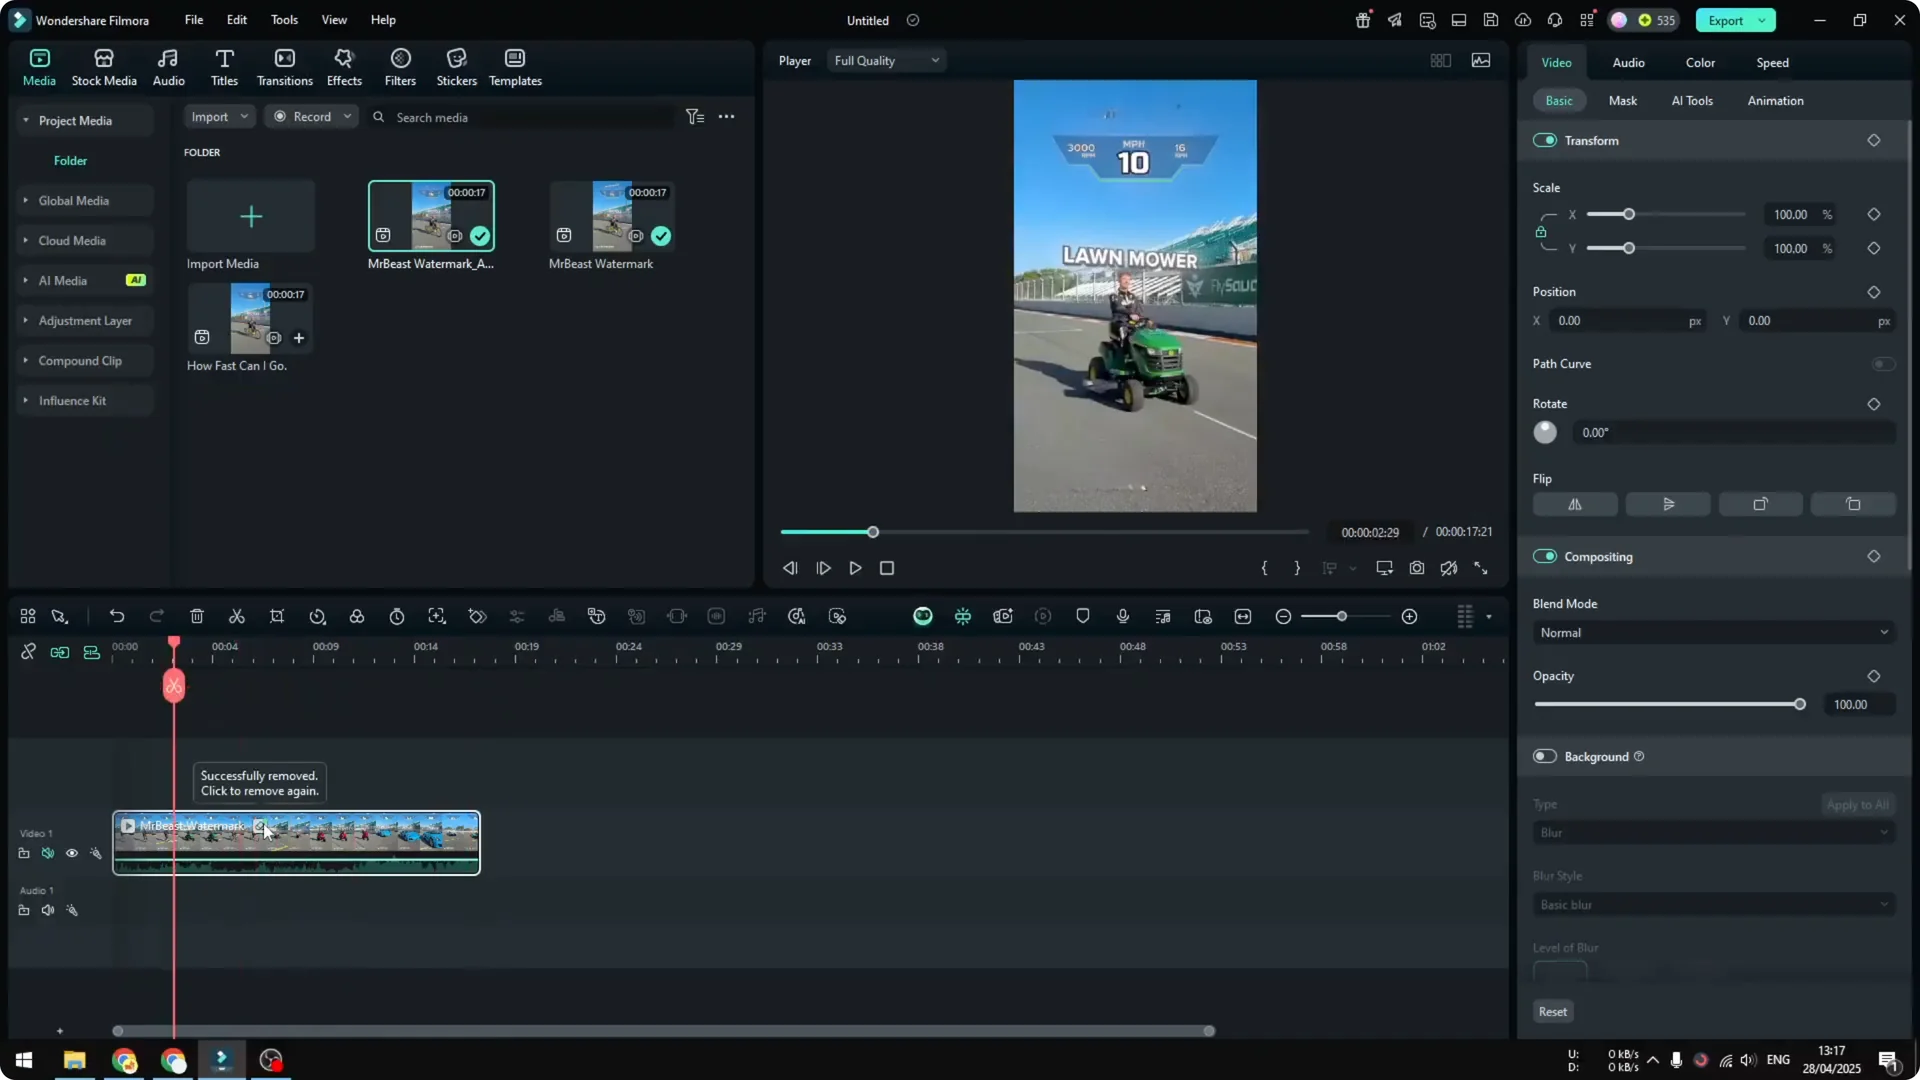
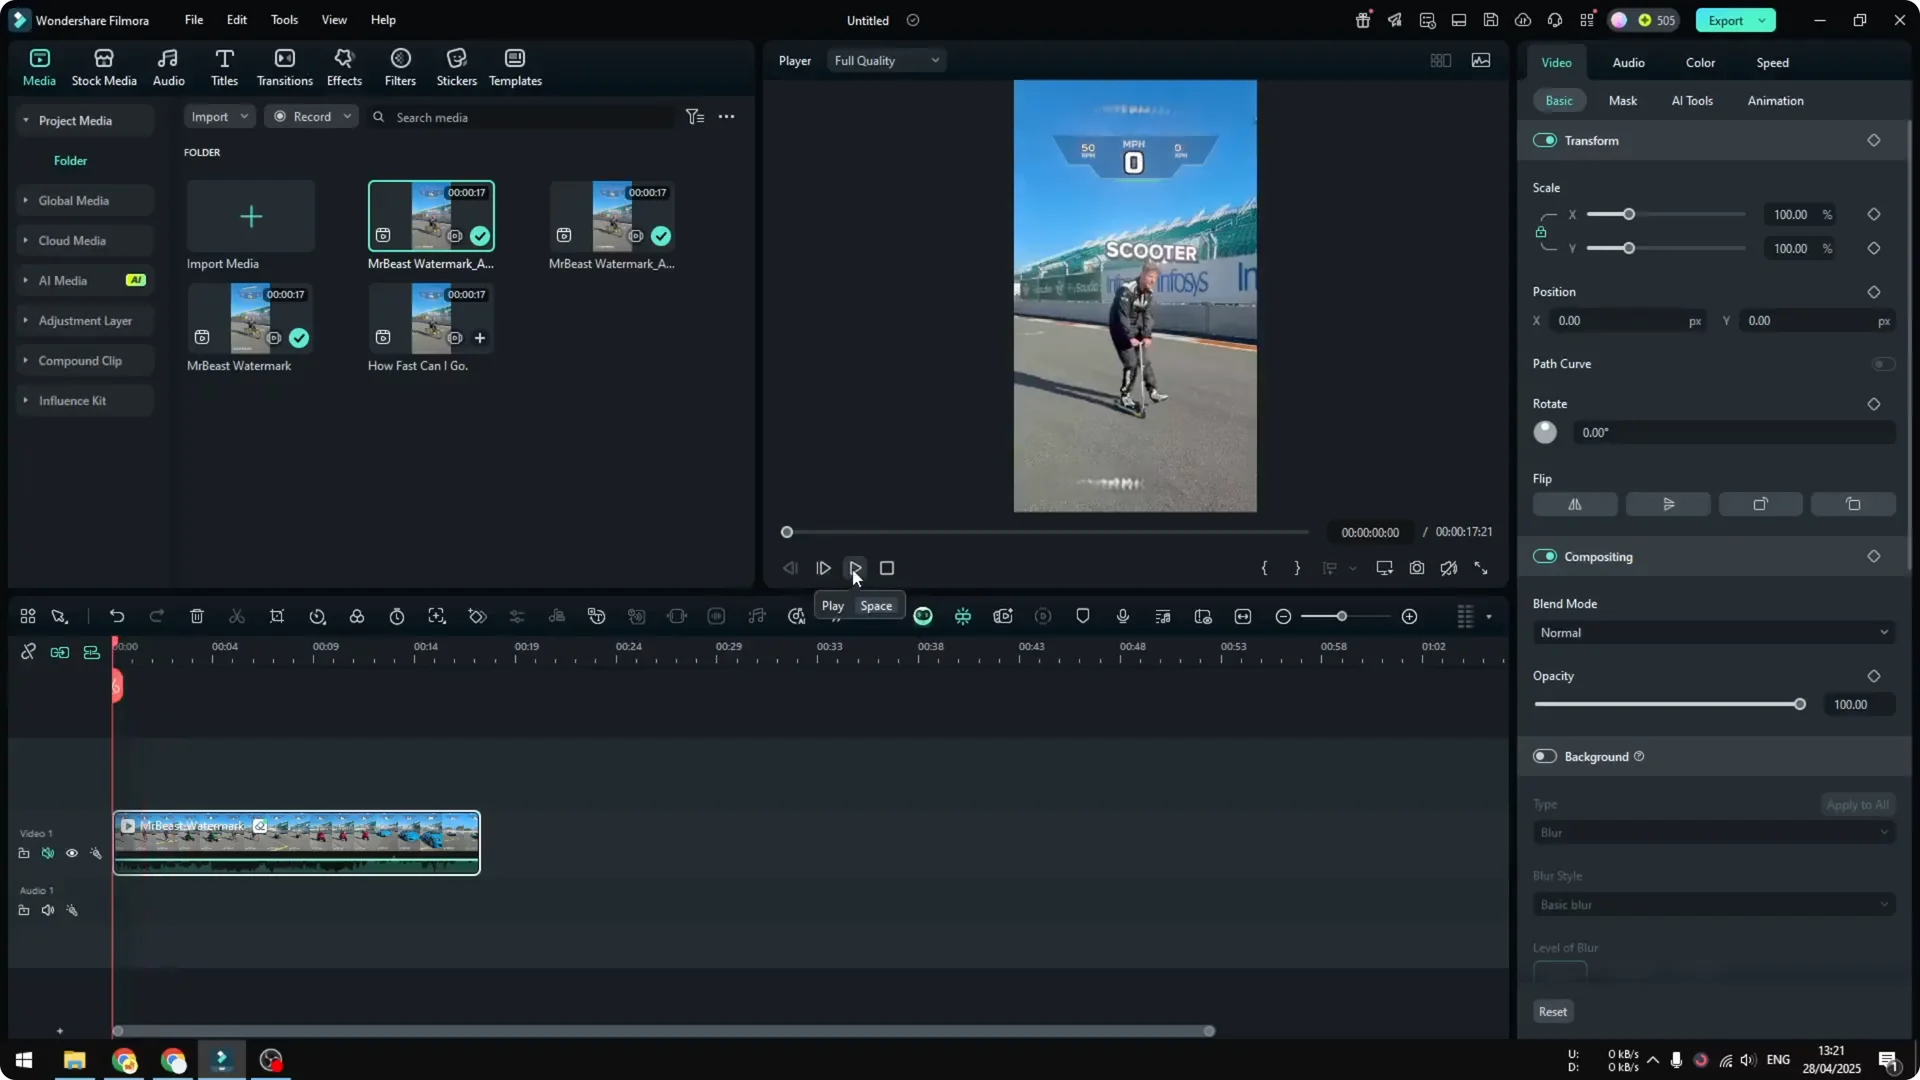
I have this video of Mr. Beast testing various vehicles and I edited it to have two watermarks: one at the top and another at the bottom. The bottom one is a static watermark. The one at the top is moving and looping throughout the video, so sometimes it changes position.
Here’s how I remove watermarks from a video using one AI feature in Filmora. It works for static watermarks and ones that move or change position.
Filmora AI Watermark Removal: What You Need
- Make sure you’re running the latest version of Filmora.
- This feature is only available for Filmora 13 and above. I’m using Filmora 14.
Filmora AI Watermark Removal: Step-by-Step
Add your clip and open the tool
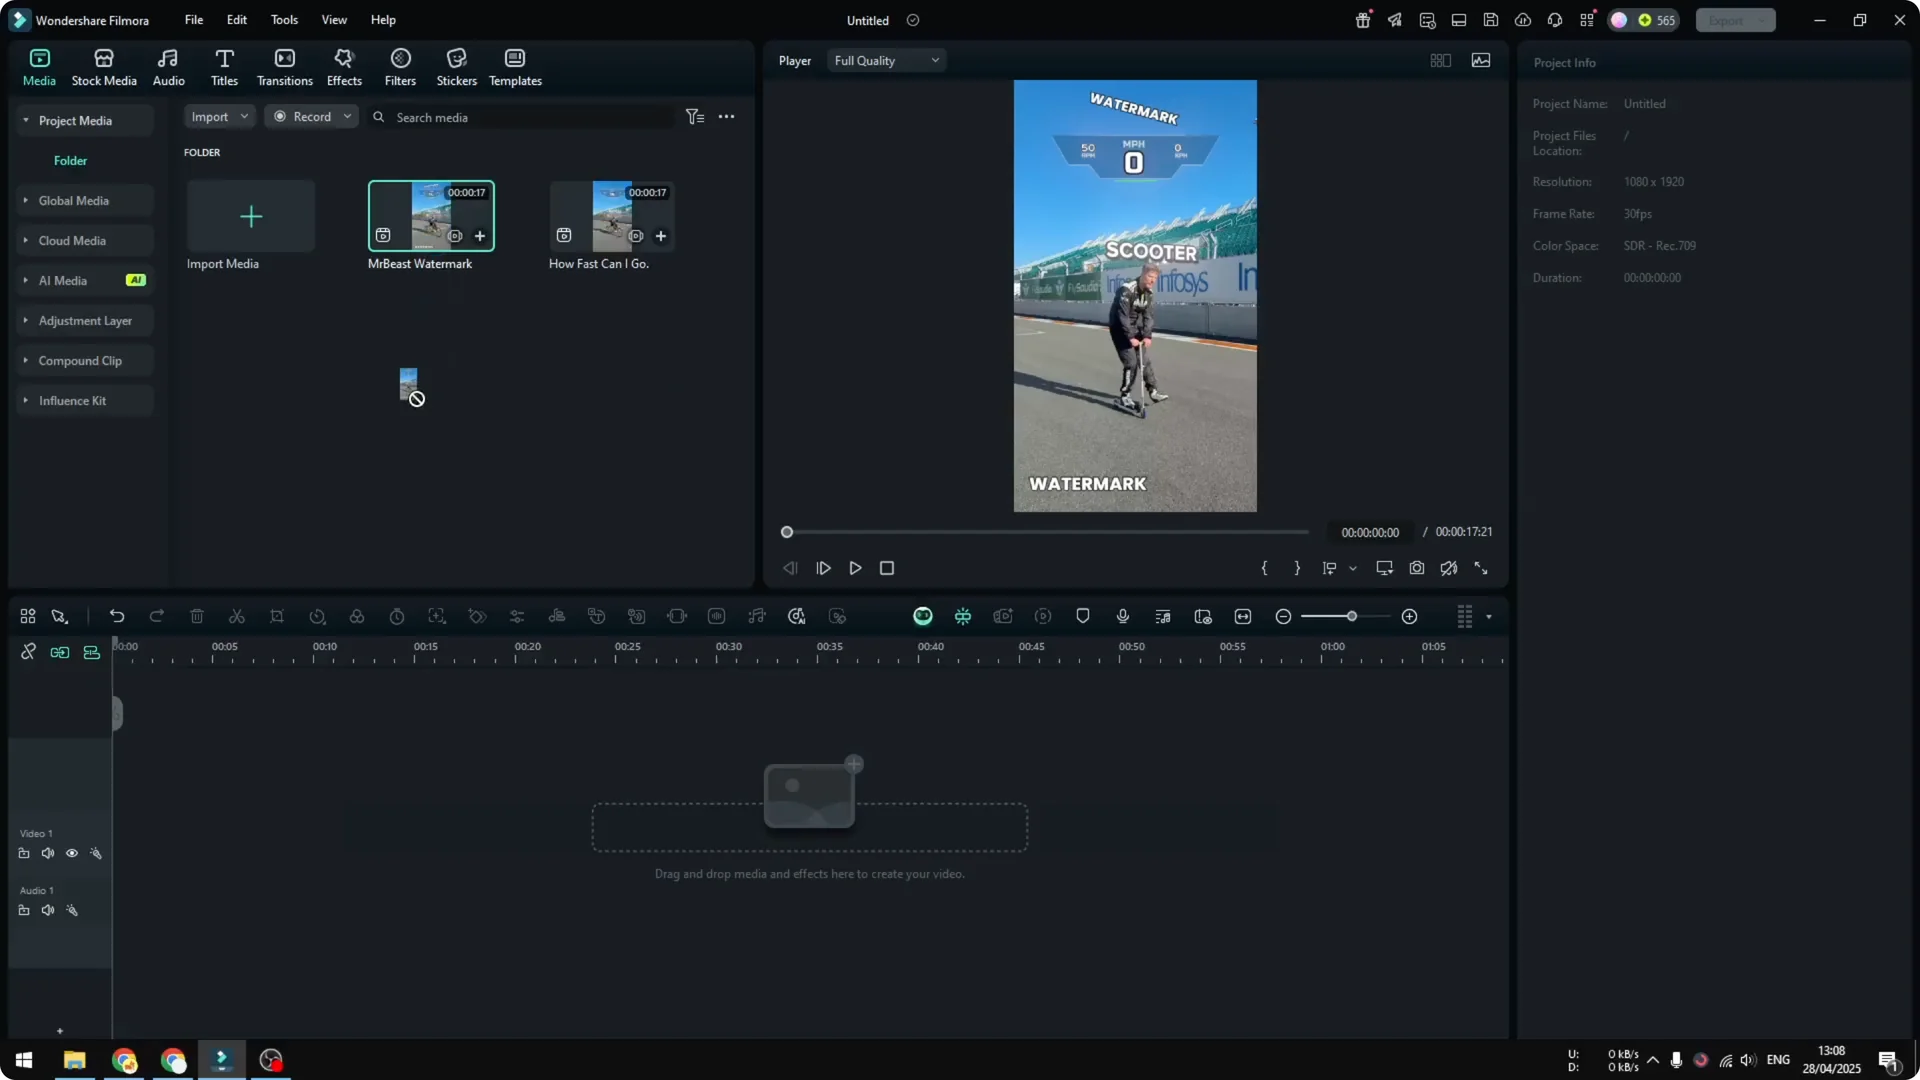
1. Drag and drop your video into the timeline and set the appropriate resolution.
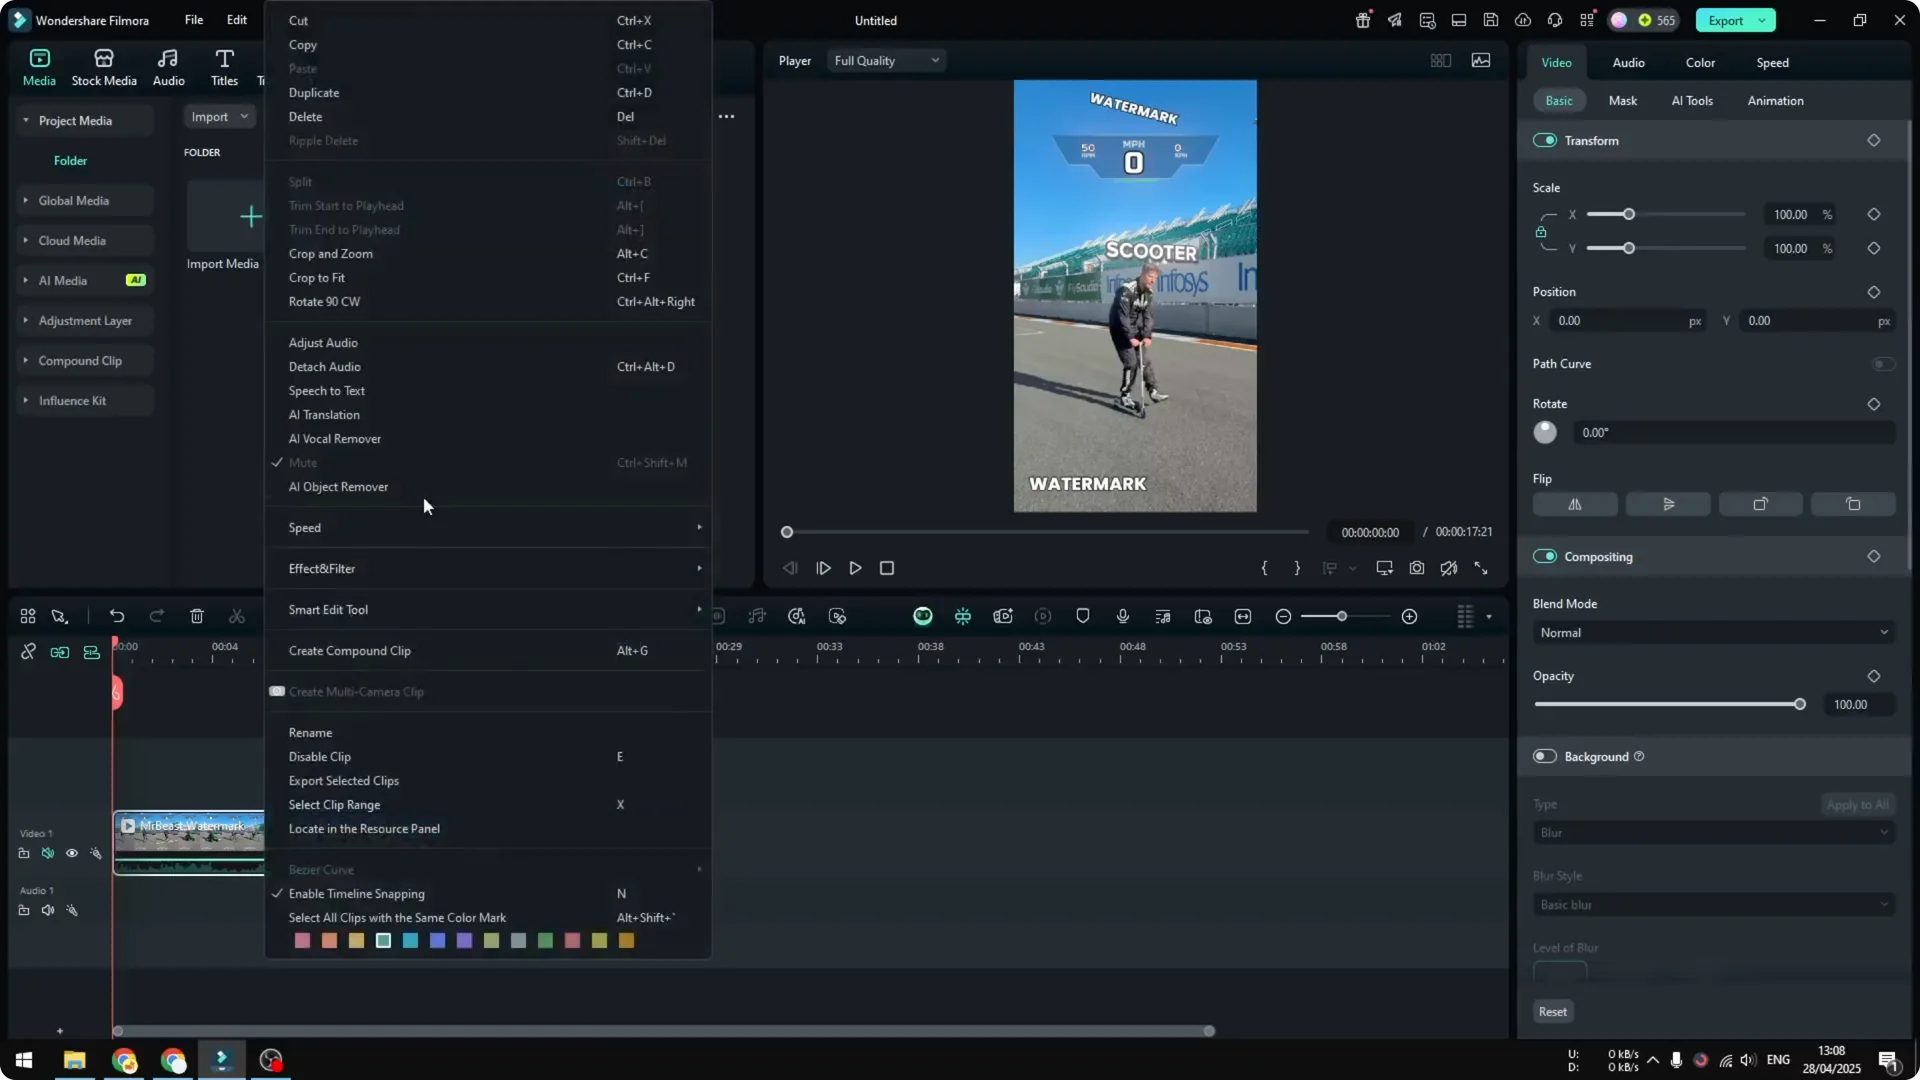
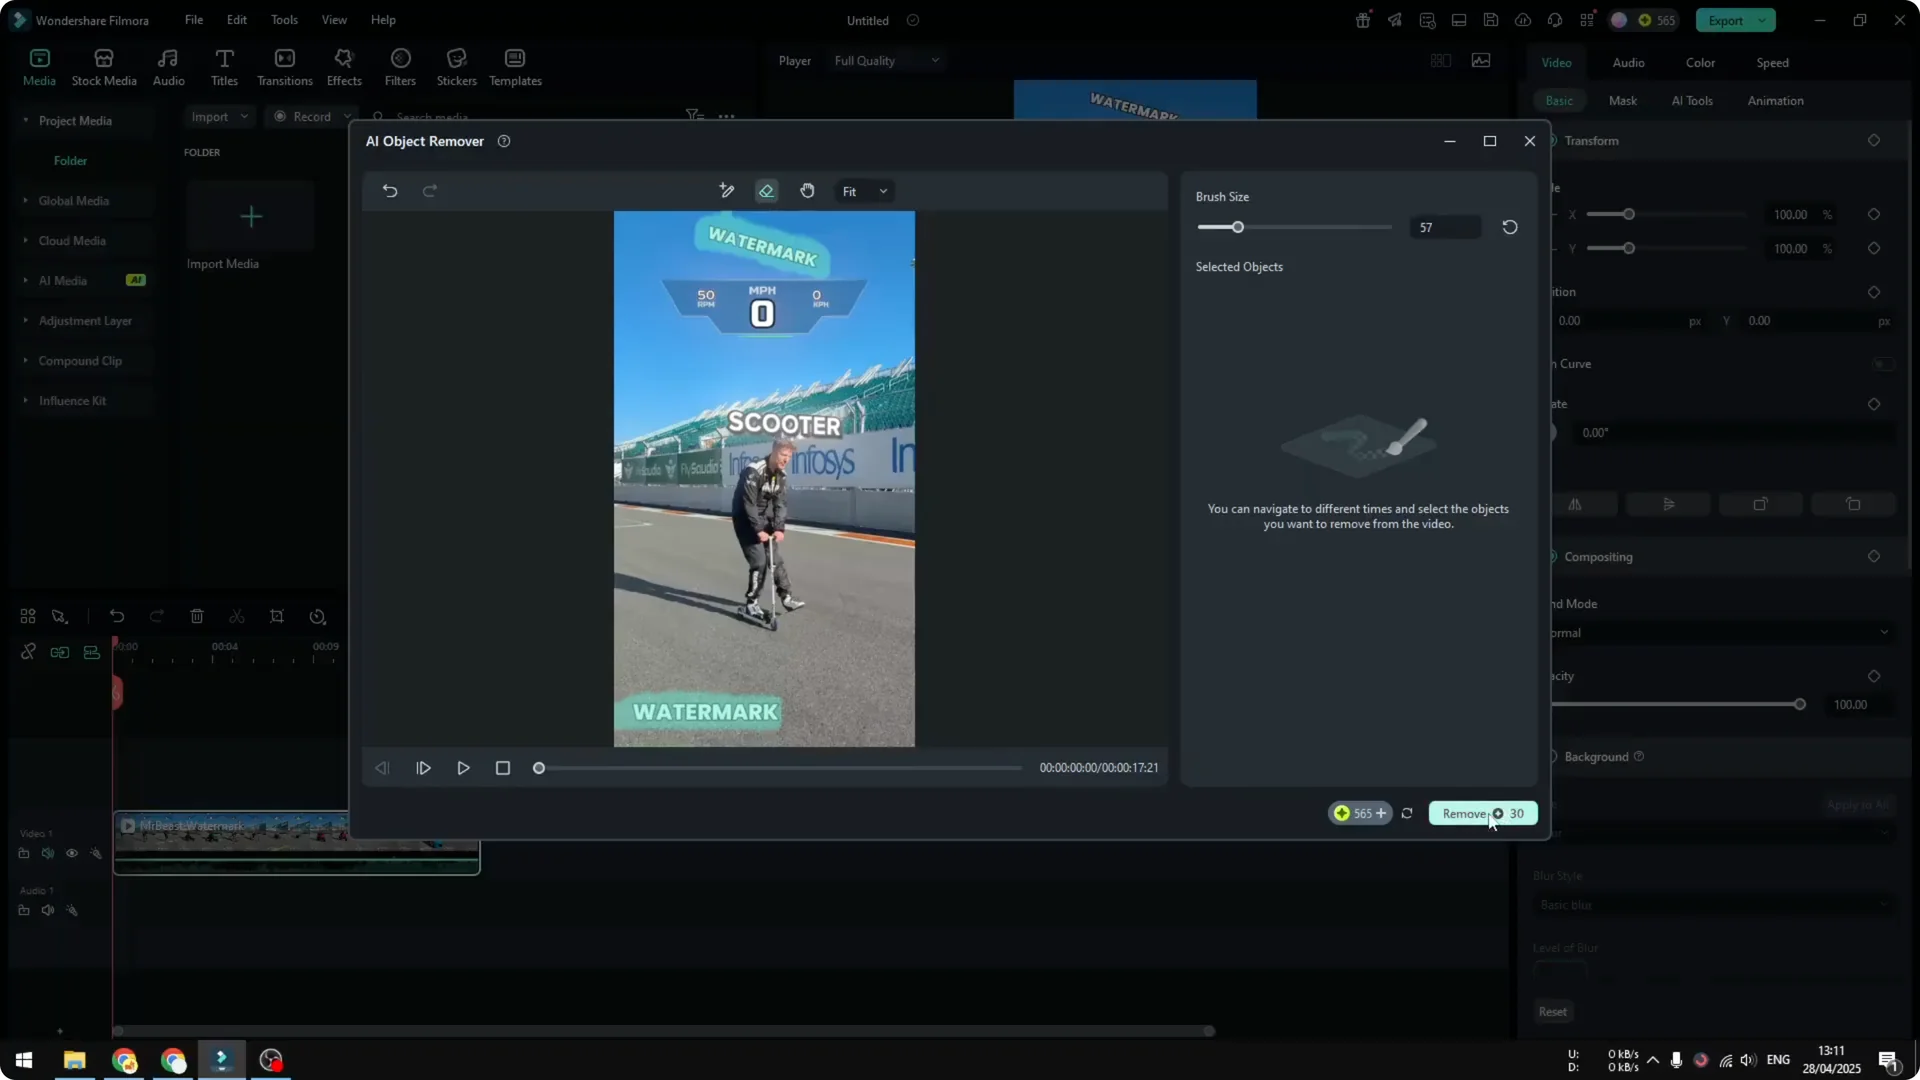
2. Right-click the video clip and click AI Object Remover.
Select the watermarks

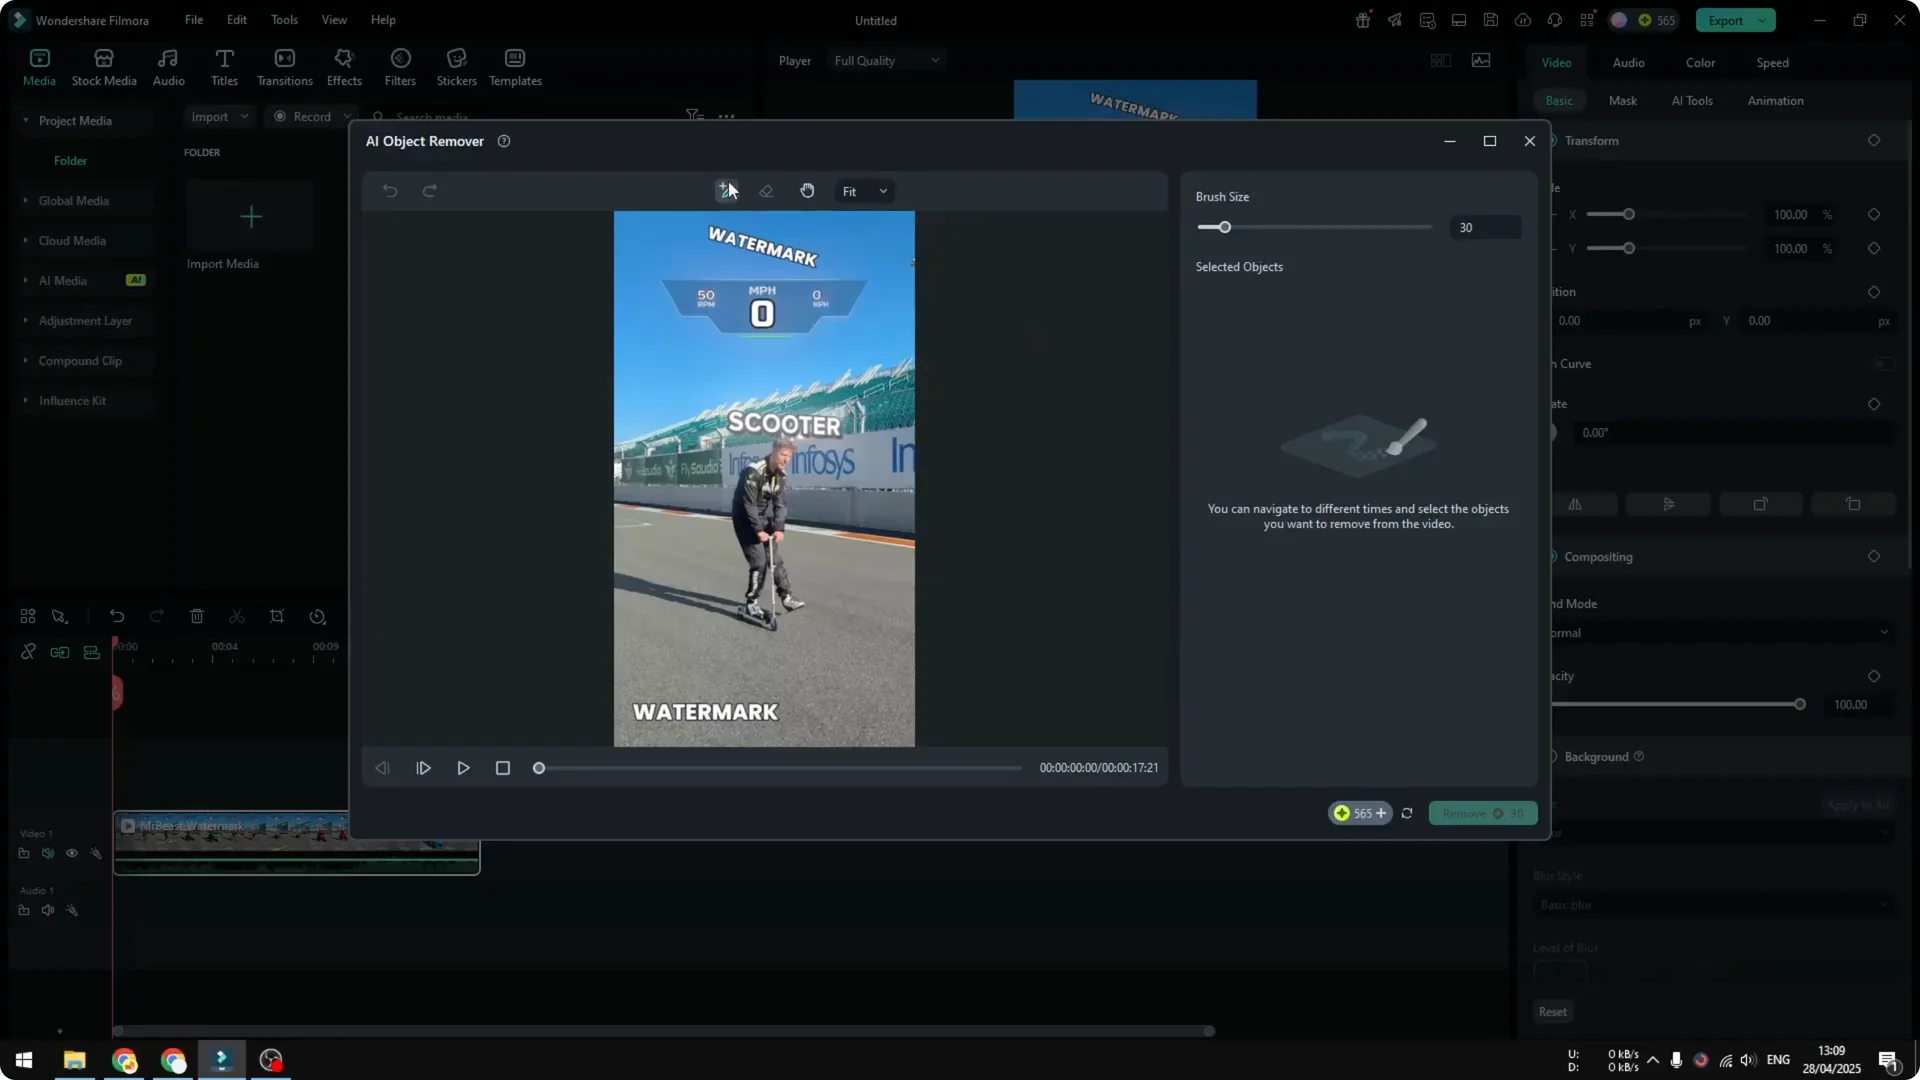
- Use the Brush tool to paint over the watermark area. Adjust brush size based on the size of the watermark or element you want to remove.
- The selection doesn’t have to be perfect. Filmora’s AI will automatically infer the area you want to remove.
- Do the same for the other watermark if you have more than one.
- Use the Eraser to refine and narrow the selection if you want it to be more precise.
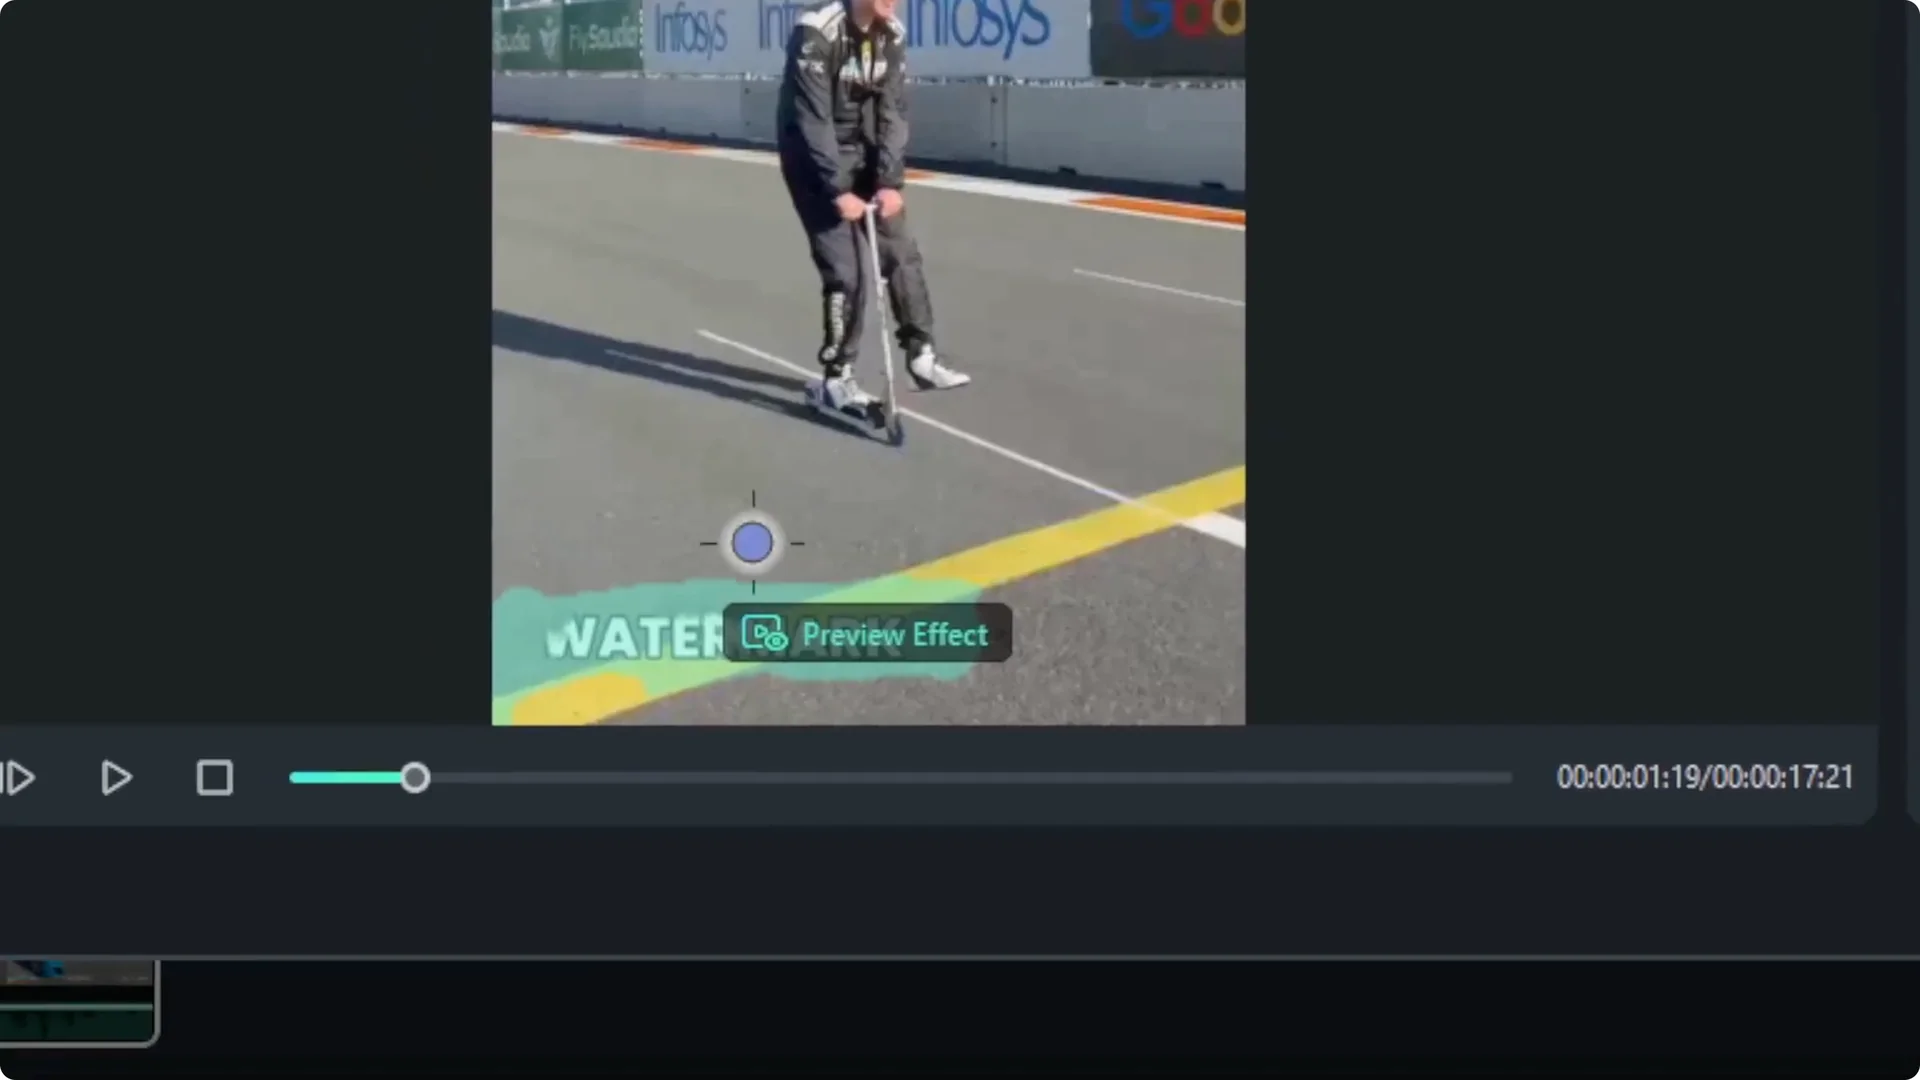
Preview before committing
- Click Preview Effect first. Don’t click Remove Watermark yet.
- Filmora will process the selection and try to figure out the content you want removed.
- Processing time depends on video duration and the speed of your internet connection.

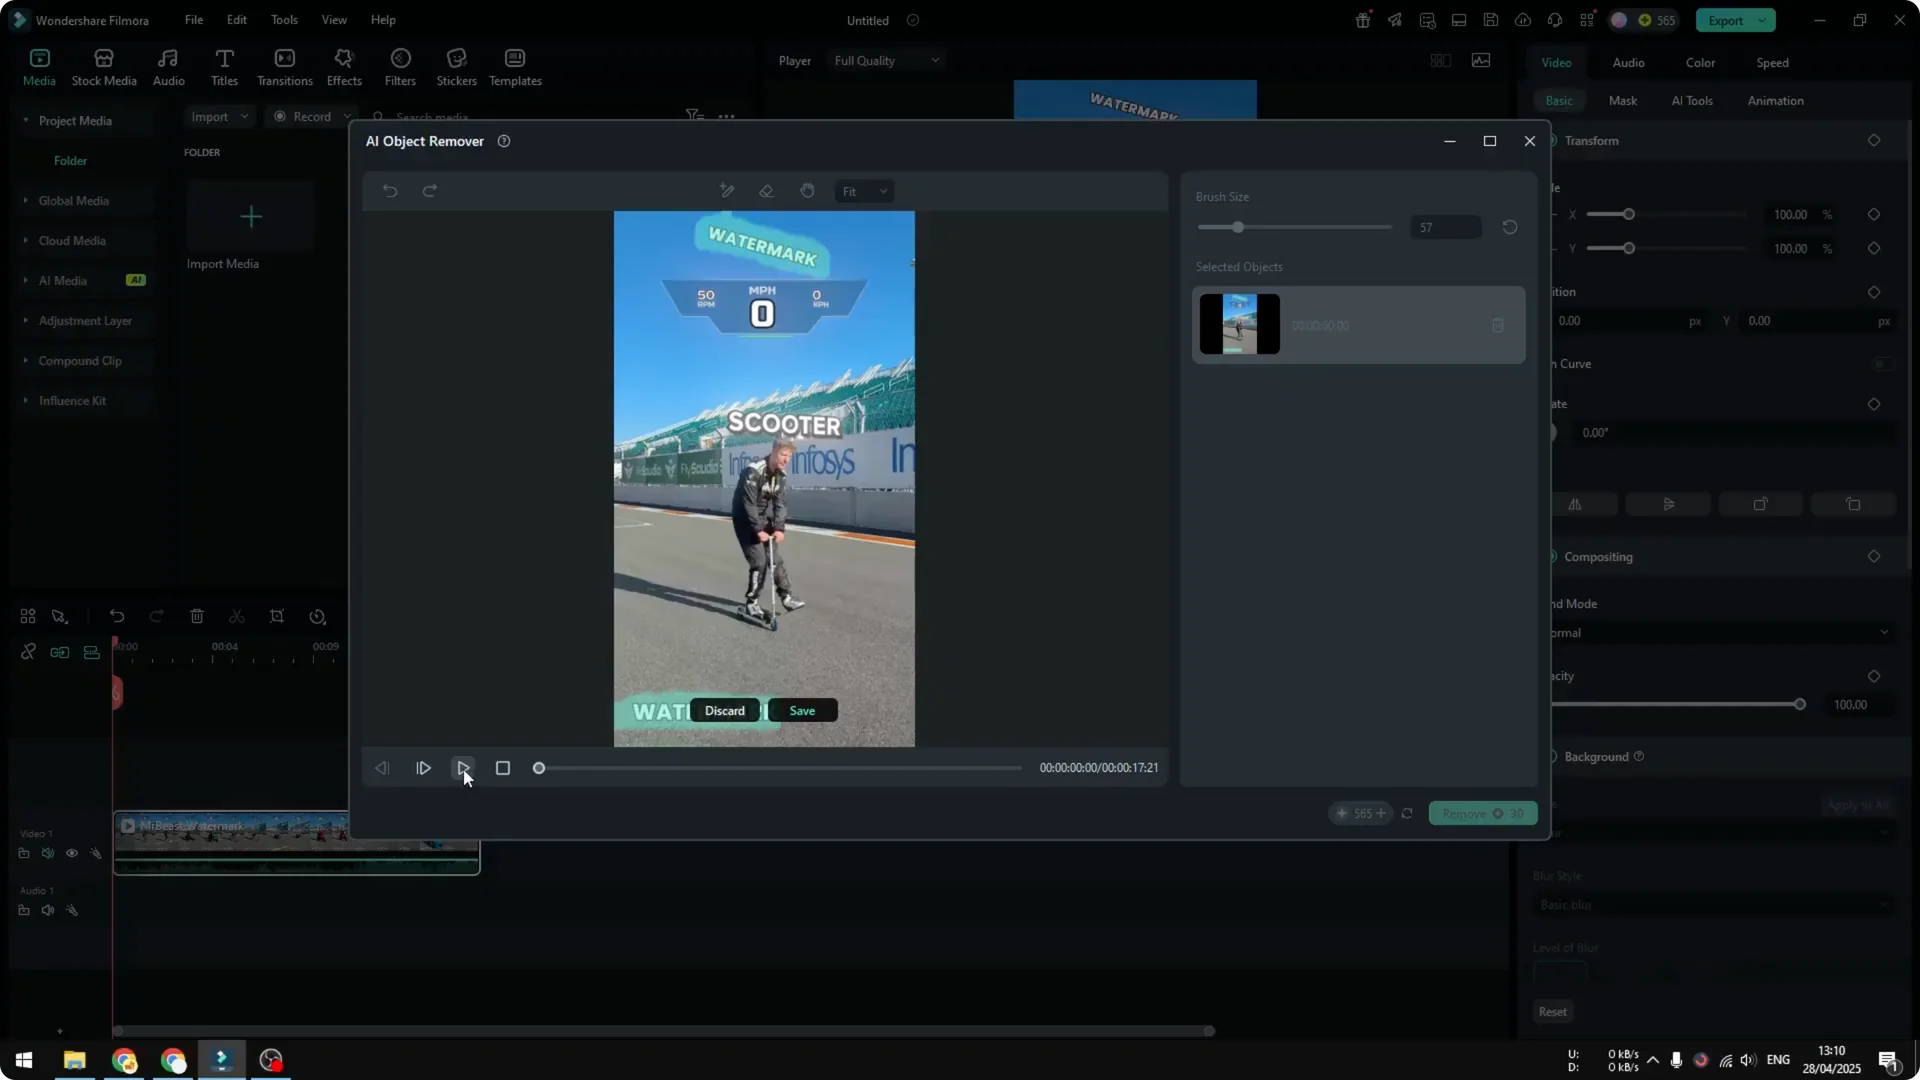
Confirm and run the removal
- When the preview is done, play the video to check if the green selection still encapsulates the watermark area. If it looks good, click Save.
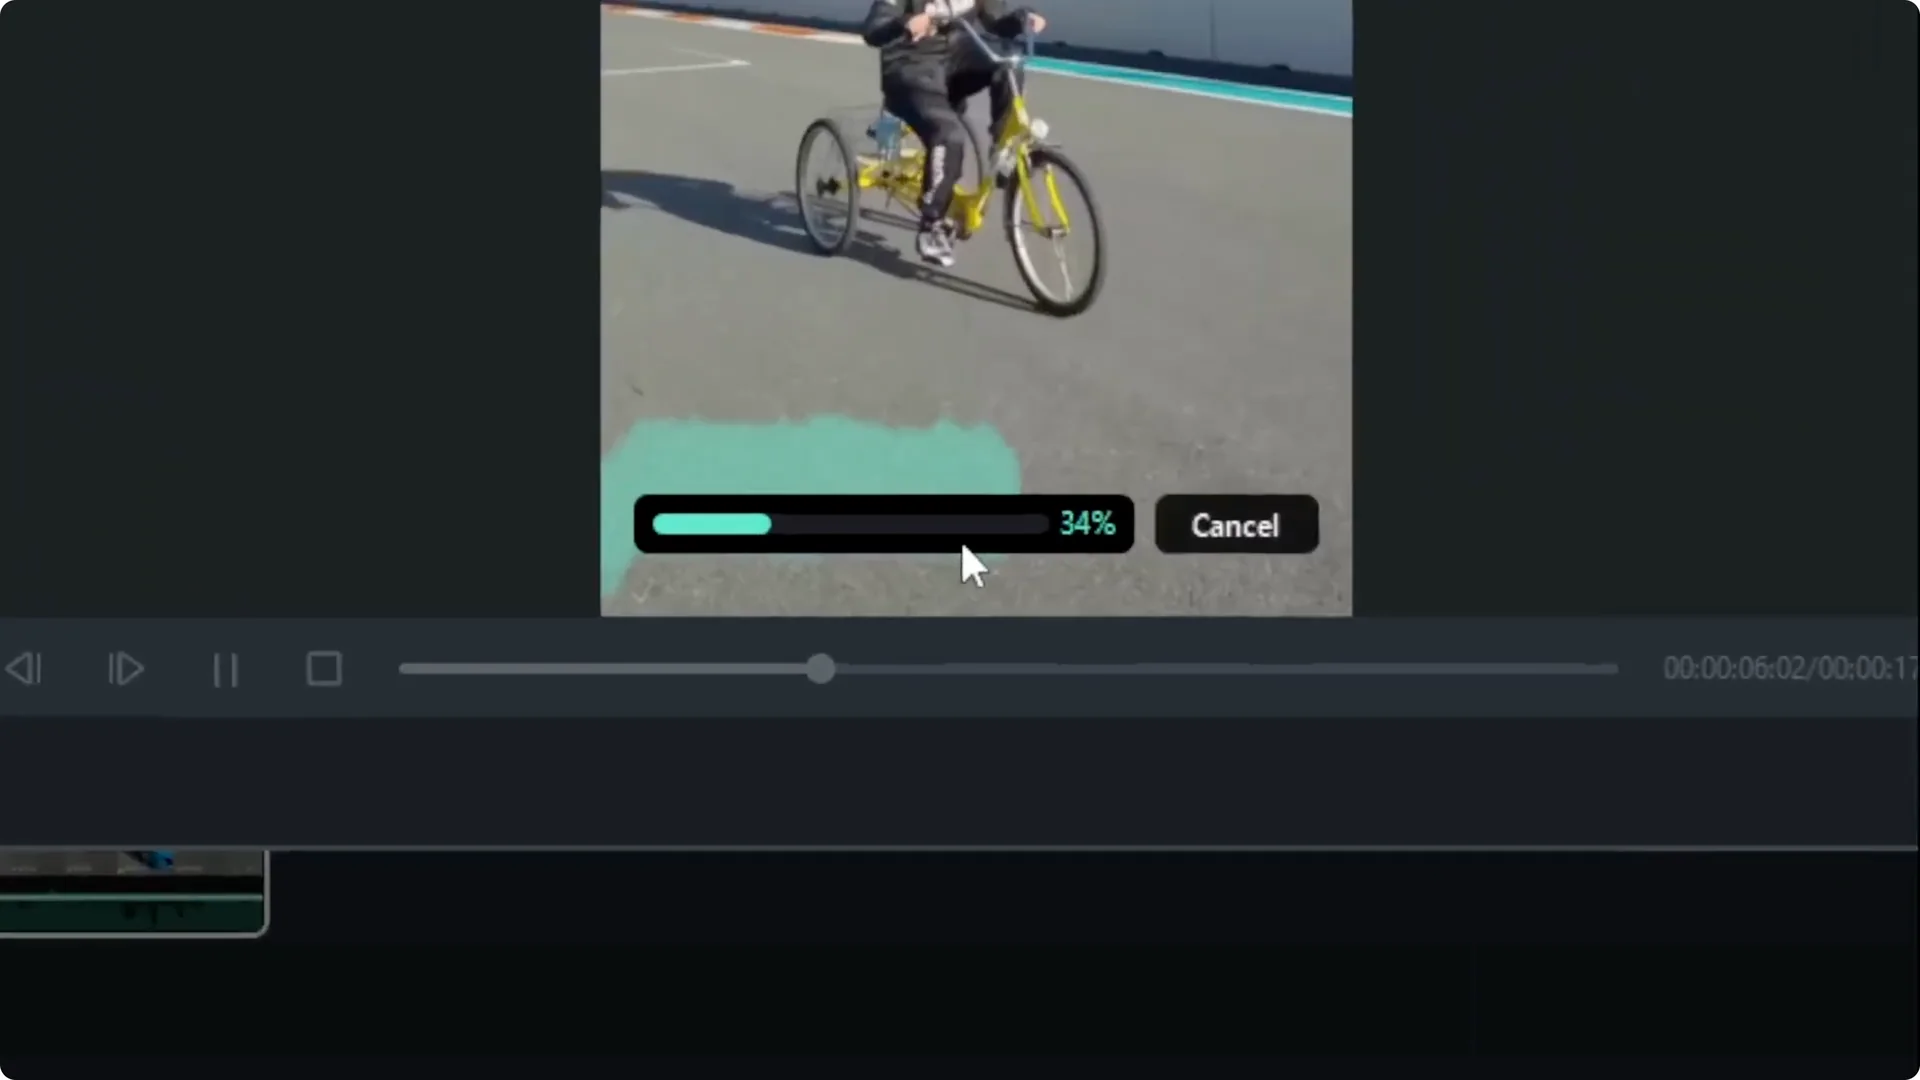
- Click Remove Watermark. The task will be sent to Filmora’s servers, not processed locally, so your computer doesn’t need to be very powerful.
- Wait for it to complete.
Filmora AI Watermark Removal: Results and Limitations
After less than 2 minutes for about a 1-minute clip, I got the result and here’s what stood out. The moving watermark over a busy background showed some flicker and was still noticeable, although it was better than before.
That area was harder to clean because there are a lot of elements behind the watermark, like a road sign, and the AI struggles to differentiate the watermark from the background.

You can iterate to improve it:
- Click the eraser icon on the video clip to reopen the AI Object Remover.
- Make the selection a bit bigger if the watermark touches multiple parts of the video.
- Select frames where the watermark is most visible.
- Refine with the Eraser, then click Preview Effect again.
- Results can improve, but it’s not guaranteed.
On the second iteration, the result was a bit cleaner, but I wouldn’t call it clean. The biggest challenge for this watermark remover is scenes with a lot going on behind the watermark.
If your video is very dynamic, the watermark may not be cleaned properly.
On simpler backgrounds, like the sky at the top of my clip, it did a lot better. Moving objects can still make it struggle to clean the area consistently.
Tips for Better Results with Filmora AI Watermark Removal
- Keep selections tight but generous enough to cover the watermark’s movement.
- Use the Eraser to avoid including areas you don’t want the AI to touch.
- Always use Preview Effect before running the full removal.
- Don’t hesitate to run multiple iterations.
- Expect better results on simple, consistent backgrounds.
Final Thoughts on Filmora AI Watermark Removal
Filmora’s AI Object Remover can reduce or remove watermarks on both static and moving elements. It works well on simple backgrounds and can struggle when the background is complex or the scene is highly dynamic. Preview, refine your selections, and iterate for the cleanest result you can get.