Today I’m super excited to walk you through the process of extracting the most high-quality AI Animation from Pika Labs AI.
There have been some remarkable innovations with this tool, and the results we’re achieving are edging close to cinematic perfection.
How to Create AI Animation Videos using Pika Labs AI?
Step 1: Start with a Cinematic Image
To achieve High quality, you need to begin with a cinematic image. For images, I prefer using Mid-Journey as it tends to produce the best results. Here’s a brief guide on how to source the right image:
- Search for an animation still image.
- Consider composition and your creative vision.
- Pay attention to factors like the lens used and color grading.
- Ensure you open the image in a browser for maximum resolution.
Once you have your cinematic image, it’s time to move on to Pika Labs.
Step 2: Head Over to Pika Labs
Pika Labs is accessible within Discord. If you haven’t joined the Pika Discord server, you can find the link below this video.
To convert your image into a video using Pika Labs, follow these steps:
- Go to any of the generated channels (I’ll pick number 6 for this example).
- Type
/createto initiate the process.
Step 3: Upload Your Image
Before proceeding with your creative direction, you should upload your cinematic image. Here’s how:
- Click on the “+1 more” option in Pika Labs.
- Select the image you want to use.
- Drag and drop your chosen image into the upload window.
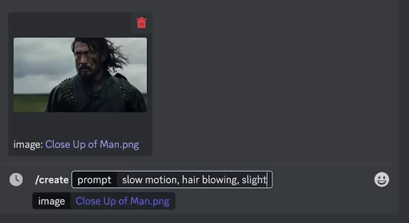
Step 4: Input Your Creative Direction
Now, it’s time to guide Pika Labs to create the video you envision. Use prompts to instruct the AI on how you want the scene to be.
For instance, for our example, we have a man looking to the left, so we can prompt for:

- Slow motion.
- Hair blowing in the breeze.
- Slight movement of the clouds in the background.
Remember, there are some limitations when it comes to movement.
Step 5: Camera Movement
One of the exciting features of Pika Labs is the ability to direct camera movement. This is where you can unleash your inner cinematographer.
Use the following commands to guide the camera:
dash camera pan: Specify the direction (right, left, up, down).dash camera zoom: Decide whether the camera should zoom in or out.dash camera rotate: Rotate the camera clockwise, counterclockwise, or anti-clockwise.
For our example, let’s say we want the camera to pan to the right. This adds depth to the scene.
Step 6: Enhancing Quality with Negative Prompts
To ensure the highest cinematic quality, consider using negative prompts. These prompts instruct the AI to avoid certain unwanted elements in the final result.
Here are some words you can include in your negative prompt to maintain quality:
- Noisy
- Bad quality
- Distorted
Including these terms in your prompt helps you keep the final product cinematic and free from unwanted distortions.
Step 7: Rendering
Now, it’s time to hit the enter key and let Pika Labs work its magic. Processing usually takes around 30 seconds.
It’s designed to empower creative individuals like you to create your own films from scratch. The creative landscape is evolving, and these tools can help you bring your animation visions to life.
Step 8: Review and Download
Once Pika Labs is done processing, you can review the result. If you’re satisfied, it’s time to download your creation. Simply hit the download button to save the video to your device.
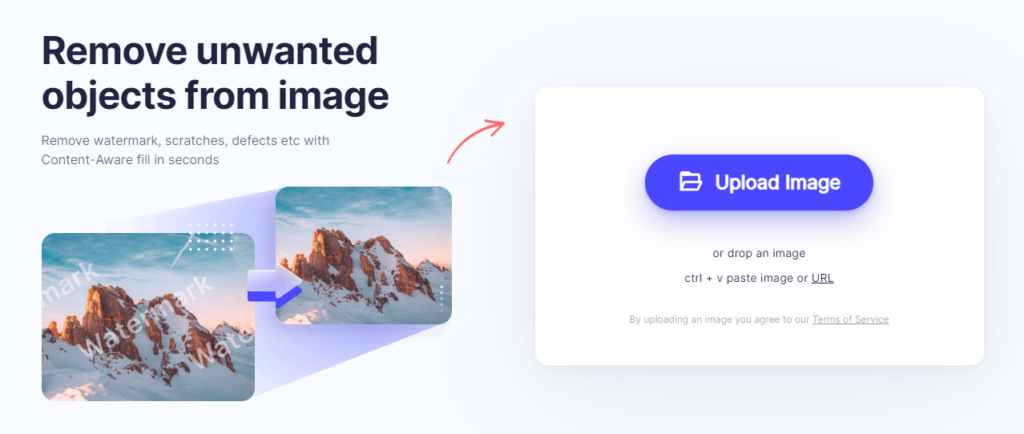
Step 9: Removing the Watermark (Optional)
Pika Labs videos come with a watermark. If you want to remove it, you can use a tool called Wondershare PixCut. Here’s how:
- Click on the “Remove Watermark” button.
- Upload the Pika Labs video.
- Use the brush tool to remove the watermark.
Please note that this tool may not be perfect, but it’s an option if you want to get rid of the watermark.
Keep in mind that it comes at a cost, and you can choose to leave the watermark in if you prefer.
Step 10: Enhance Cinematic Quality
To achieve maximum cinematic quality, especially if your video appears a bit fuzzy, you can use Topaz Video AI.
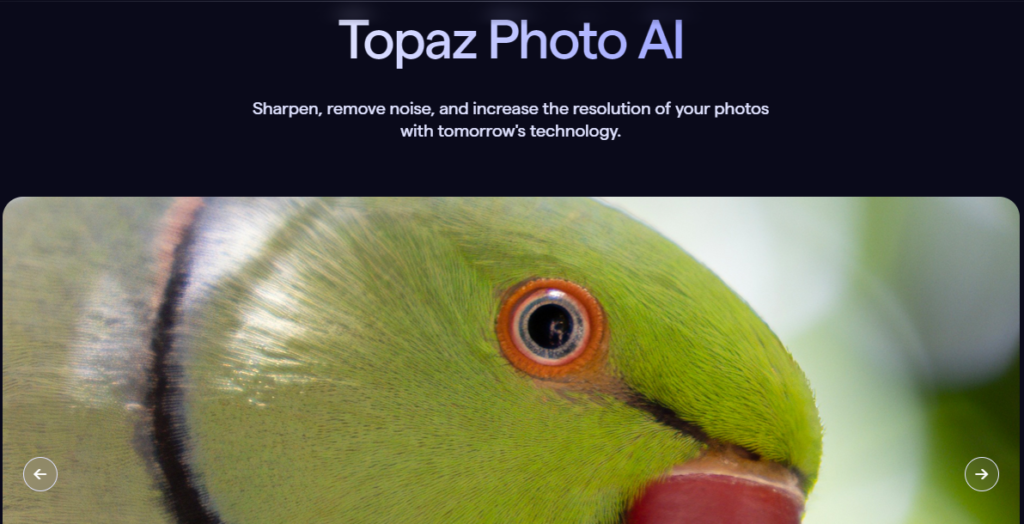
It’s an excellent tool for a final quality pass on your videos. Here’s how to use it:
- Open Topaz Video AI.
- Drag and drop your video.
- Adjust your output settings for higher resolution.
- Make sure the AI model is set to Proteus.
- Choose your preferred output settings based on your machine’s capabilities.
- Hit the export button to process the video.
Conclusion
You’ve successfully created an AI Animation video with Pika Labs. Remember to experiment with camera movements, prompts, and negative prompts to get the best results.
You can create great high-quality AI animation videos with the right tools and techniques.
Create AI Talking Face Animations here: Sadtalker AI
FAQs
1. What are negative prompts in Pika Labs, and why should I use them?
Negative prompts instruct the AI to avoid certain unwanted elements in the final result, such as noise, bad quality, or distortion. Using negative prompts helps maintain high cinematic quality.
2. Can I remove the watermark from Pika Labs videos, and how?
Yes, you can remove the watermark using tools like Wondershare Pixie Cut. Simply upload your Pika Labs video and use the brush tool to remove the watermark.
3. What AI model is recommended for use in Pika Labs?
The Proteus model is recommended for use in Pika Labs, as it consistently provides excellent results and is user-friendly.