PixVerse V3 has arrived with venom effect, making video generation from text and images more accessible and creative than ever before. In this guide, I’ll walk you through its key features, from turning text prompts into videos to animating the images.
In this guide, we’ll explore the features and advancements of PixVerse V3. At the end, let me know if you think PixVerse can hold its own against other video generation tools like Runway , Pika Art or Hailuo AI.
What is PixVerse V3?
PixVerse V3 is an AI-powered video generator that converts text or images into animated videos. It offers tools for text-to-video and image-to-video creation, venom effect, zombie effect allowing users to create cinematic scenes by simply entering descriptive prompts.
With customizable settings like video length, style, aspect ratio, and motion, PixVerse V3 enables creators to produce high-quality videos tailored for platforms like YouTube, TikTok, and Instagram.
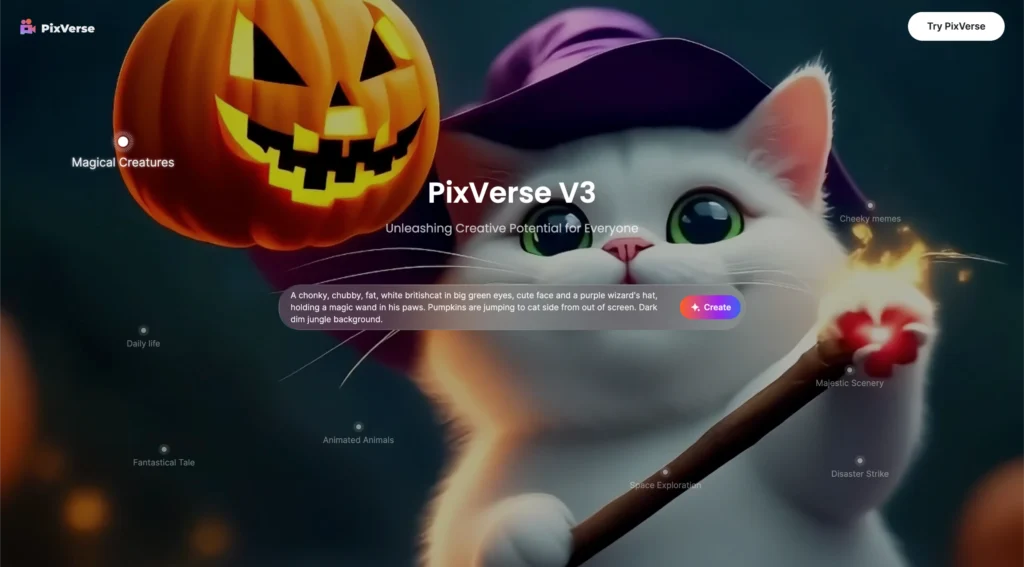
This tutorial will highlight the advancements from the previous version to PixVerse V3 and demonstrate its user-friendly interface and capabilities.
Exploring the PixVerse AI Website
Updated Interface and Navigation
PixVerse’s website has had a major redesign. The homepage is now more interactive, with animations and videos generated by the AI displayed prominently. This new, modern look is a big improvement over the simpler design of the previous version.
As I explored the site, I was immediately drawn to the new “Try PixVerse” button located in the top right corner.
Follow these steps to set up your account and get ready to create:
Sign In or Register: You can register using your Apple, Discord, or Google account. For this tutorial, I used Google for quick access.
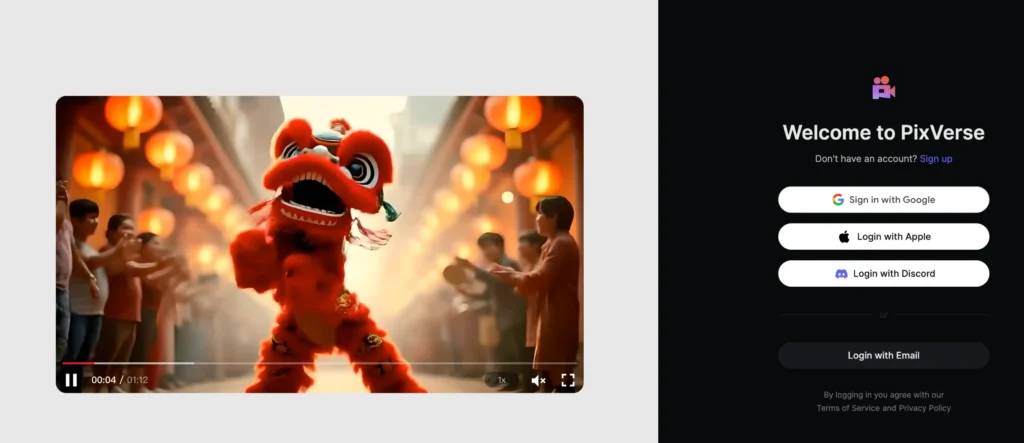
Free Credits: When you first create an account, PixVerse grants 130 free tokens to experiment with video generation.
Checking Your Plan: Click on the token count icon to view available plans. On the free plan, you’ll get 100 credits initially and a daily recharge of 30 credits. If you need more credits, upgrade plans start at $8 per month.
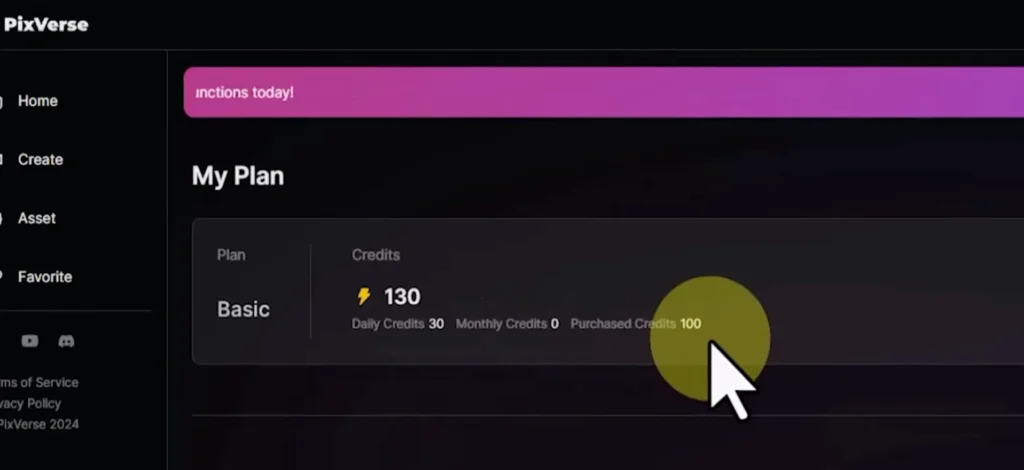
Tip: Test the features with free credits before upgrading. It’s an excellent way to evaluate PixVerse without any investment.
Exploring the Venom Effect
PixVerse has a “Discover” section where you can see other users’ creations. Click on any video to view it in full size and get inspired. You can also copy the prompt used to recreate or modify similar effects for your own projects.
PixVerse V3 Text-to-Video Generation
The main feature of PixVerse V3 is its ability to turn text prompts into videos. Here’s how to use this feature effectively:
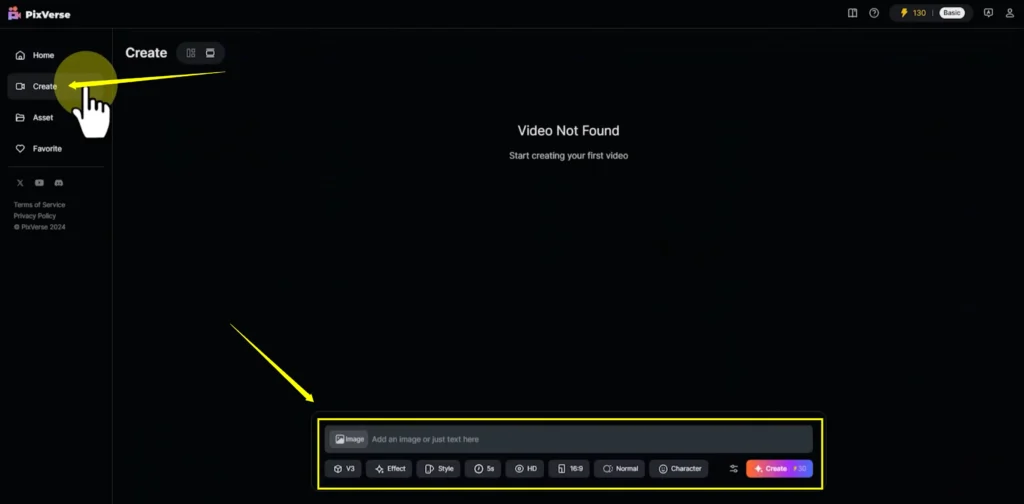
- Access the Create Page: Go over to the “Create” page, where you’ll find a text box to enter your prompt.
- Crafting the Prompt: A well-written prompt is key to great results. Try to include:
- Scene elements: Items, background, and foreground.
- Emotions and character actions: Expressions, movements.
- Colors and lighting: Mood of the scene.
- Location and camera movements: For dynamic shots.
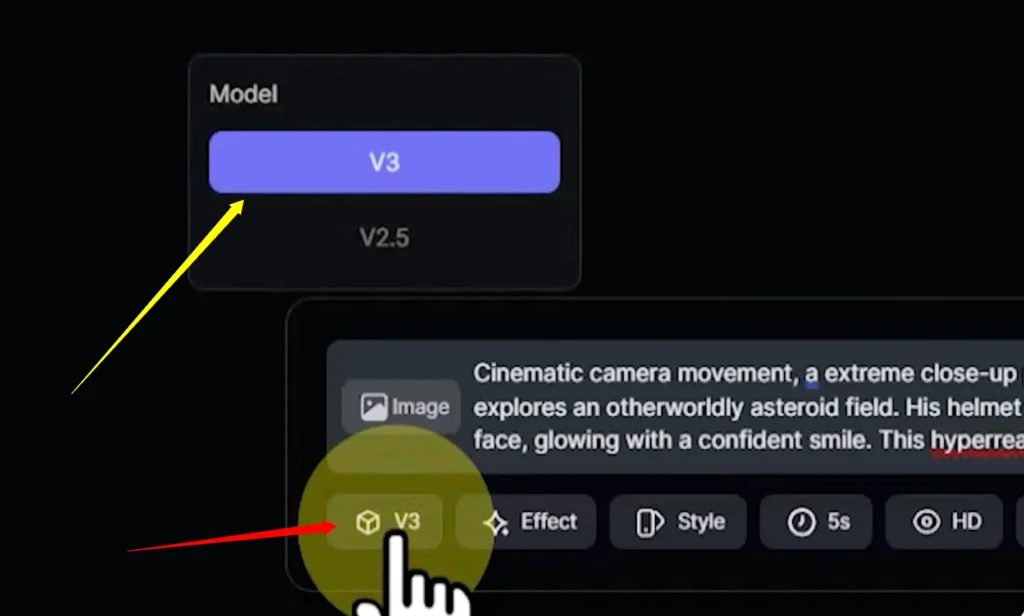
- Choose a Video Generation Model: PixVerse V3 offers model versions 2.5 and 3. Select version 3 for the latest capabilities.
- Apply Effects and Styles:
- Effects such as “Out of Frame,” “Zombie Mode,” “Venom Effect” and “Monster Invades” can add unique touches to videos.
- Choose from styles like Anime, 3D Animation, or Clay. I found the Anime style to be particularly effective.
- Set the Video Duration and Quality:
- Duration options are 5 seconds (30 tokens) and 8 seconds (60 tokens).
- Choose HD quality for better visuals, as SD quality may not meet modern standards.
- Aspect Ratio and Motion Settings:
- Select between Square, Landscape, or Portrait, depending on where you’ll post your video (e.g., YouTube, TikTok).
- Opt for Normal or Performance mode under motion settings. I used Normal for this example.
Adding a Negative Prompt
If there are specific elements you don’t want in your scene, you can add them in the Negative Prompt field within Additional Settings. This feature allows you to exclude unwanted items to achieve a cleaner result.
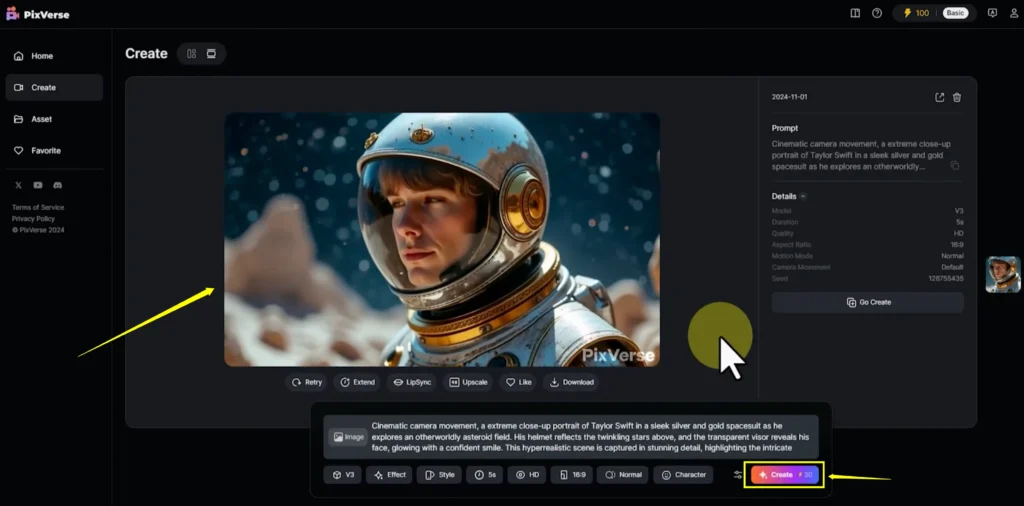
After configuring these options, click “Create” to generate the video. Within seconds, PixVerse V3 will transform your text prompt into a video that you can preview and download.
Quality of Output
The quality in PixVerse V3’s text-to-video process is impressive, with smooth movements and high-resolution visuals. Compared to the older version, V3 delivers cinematic scenes that look professional and are free of glitches.
Note: Creating videos like this with traditional software could take days or weeks, but PixVerse allows you to produce Hollywood-level results in minutes.
Extending Video Scenes
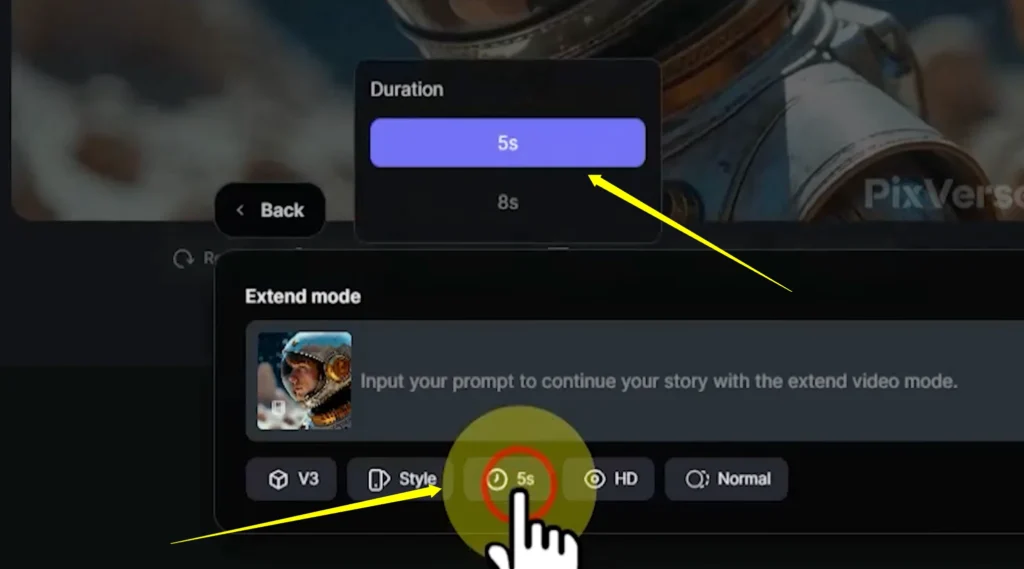
PixVerse V3 includes an “Extend” option to lengthen scenes. Here’s how it works:
- Extend Feature: Below the generated video, click “Extend” to add more duration.
- Add a New Scenario: Enter a prompt for the new segment and choose its duration (5 or 8 seconds).
- Return to Create Mode: If you decide to stop extending, click “Back” to exit the extend mode.
Animating Images to Video
Another standout feature in PixVerse V3 is its image-to-video capability. Let’s explore how to bring still images to life.
Steps for Image-to-Video Conversion
- Prepare an Image: Choose a personal photo or an AI-generated image. You can use other AI tools like Leonardo to create original images from prompts.
- Upload the Image: On the “Create” page, click the image icon in the text box’s bottom-left corner. Select and upload your image.
- Writing the Animation Prompt: Describe what you want to animate. Some options include:
- Expressions: Smile, sadness, excitement.
- Movements: Walking, dancing, turning.
- Environmental Effects: Rain, wind, lighting changes.
- Create the Animation: After finalizing your prompt, click “Create” to animate the image. PixVerse V3 will process it and turn it into an engaging animated video.
Results and Observations
The image-to-video results are smooth and well-synchronized with the prompt. Animating an image manually would require days of work, but PixVerse makes it possible in moments.
Downloading Your Video
Once your video is ready, PixVerse V3 allows you to download it in an MP4 format. Here’s a quick rundown:
- Below the video frame, click the Download button.
- Save the video to your device for use in presentations, social media, or content projects.
PixVerse V3 Pricing Overview
While PixVerse offers a free plan with limited credits, advanced users may need to upgrade. Here’s a quick look at the available pricing plans:
| Plan | Cost | Credits | Best For |
|---|---|---|---|
| Free Plan | $0 | 100 credits + daily 30 | Testing the basic features |
| Basic Plan | $8/month | Increased limits | Regular use for hobby projects |
| Advanced Plan | $15/month | High credit limit | Professionals or commercial projects |
Recommendation: Test out the free plan to see if PixVerse meets your needs before committing to a paid plan.
Creating with No Limits – Tips for Effective Use
- Detailed Prompts: Include as much detail as possible in your prompts for the best output.
- Experiment with Styles: Try different visual styles to discover what suits your vision best.
- Start Small: Use shorter videos (5 seconds) to test results, then expand once you find what works.
Key Video Generation Options:
Below the prompt box, you’ll find several useful options:
- Video Generation Model: Choose between versions 2.5 and 3.
- Preset Effects: Effects like “Out of Frame,” “Zombie Mode,” and “Monster Invades” can be applied to enhance your video.
- Styles: Choose between Anime, 3D Animation, or Clay. For anime, this style performed best in my experience.
- Duration: You can set the video length to either 5 or 8 seconds. Five seconds uses 30 tokens, and eight seconds uses 60.
- Quality: Options for HD and SD are available. I went with HD to ensure high-quality output.
- Aspect Ratio: Select Square, Landscape, or Portrait based on where you plan to share your content.
- Motion Setting: Choose Normal or Performance. I used Normal but plan to test Performance in future videos.
Final Thoughts on PixVerse V3
PixVerse V3 provides an innovative way to create high-quality videos with minimal effort, accessible to beginners and experts alike. If you’re making videos for personal use or professional projects, PixVerse V3 opens up opportunities for creativity without the need for complex software.

