
If you’ve ever wanted to create 3D animation styles like the examples I showed, here is how to create every part of the process using Heisfield. I am continuing to explore this software to build a really short documentary style story with a 3D character. Everything below is made with AI.
Heisfield is an AI powered tool where you can create images and videos based on prompts or via a range of creative tools. You can turn images into videos, do character face swaps, and create avatars. I used a paid plan for this walkthrough.
AI 3D Filmmaking Workflow: Overview
The goal is a seven-scene short built around a single 3D character. I generated the script, the character, scene images, and animations, then stitched the results into one video.
AI 3D Filmmaking Workflow: Plan the Story
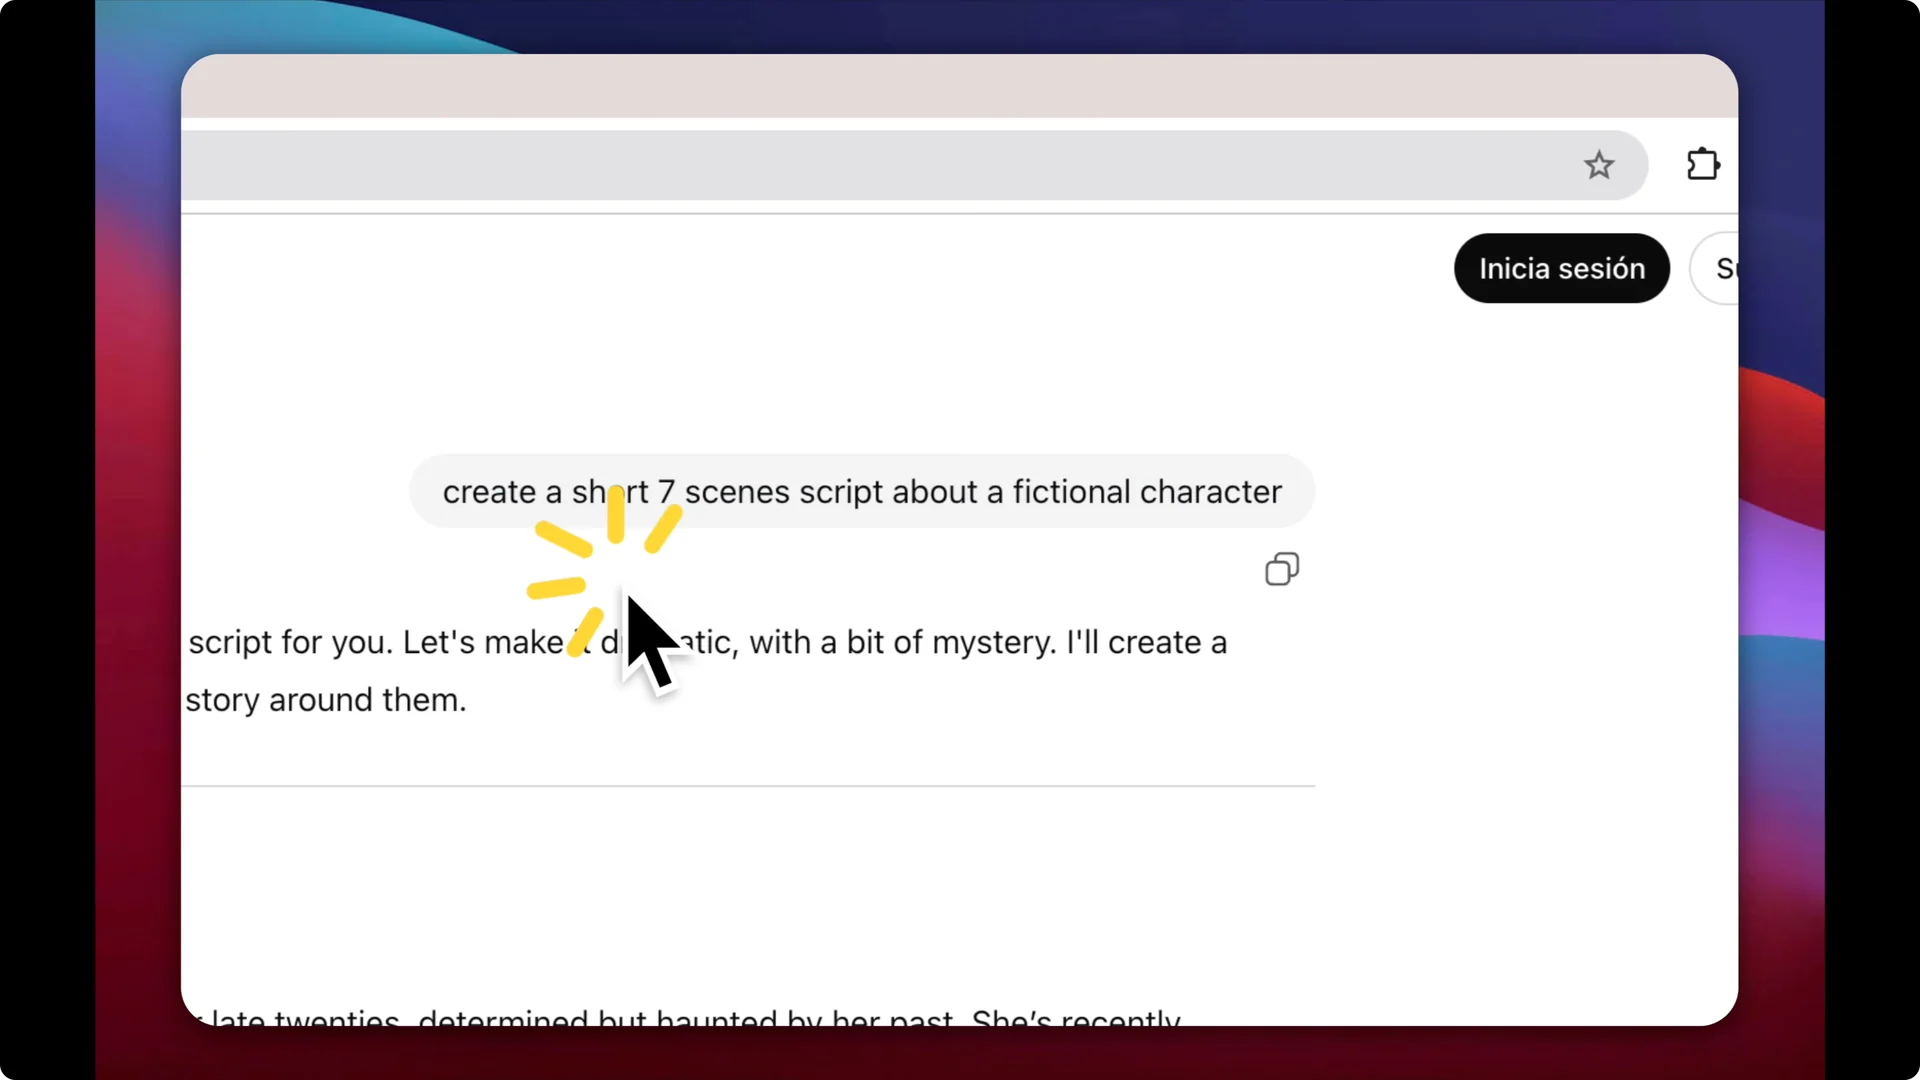
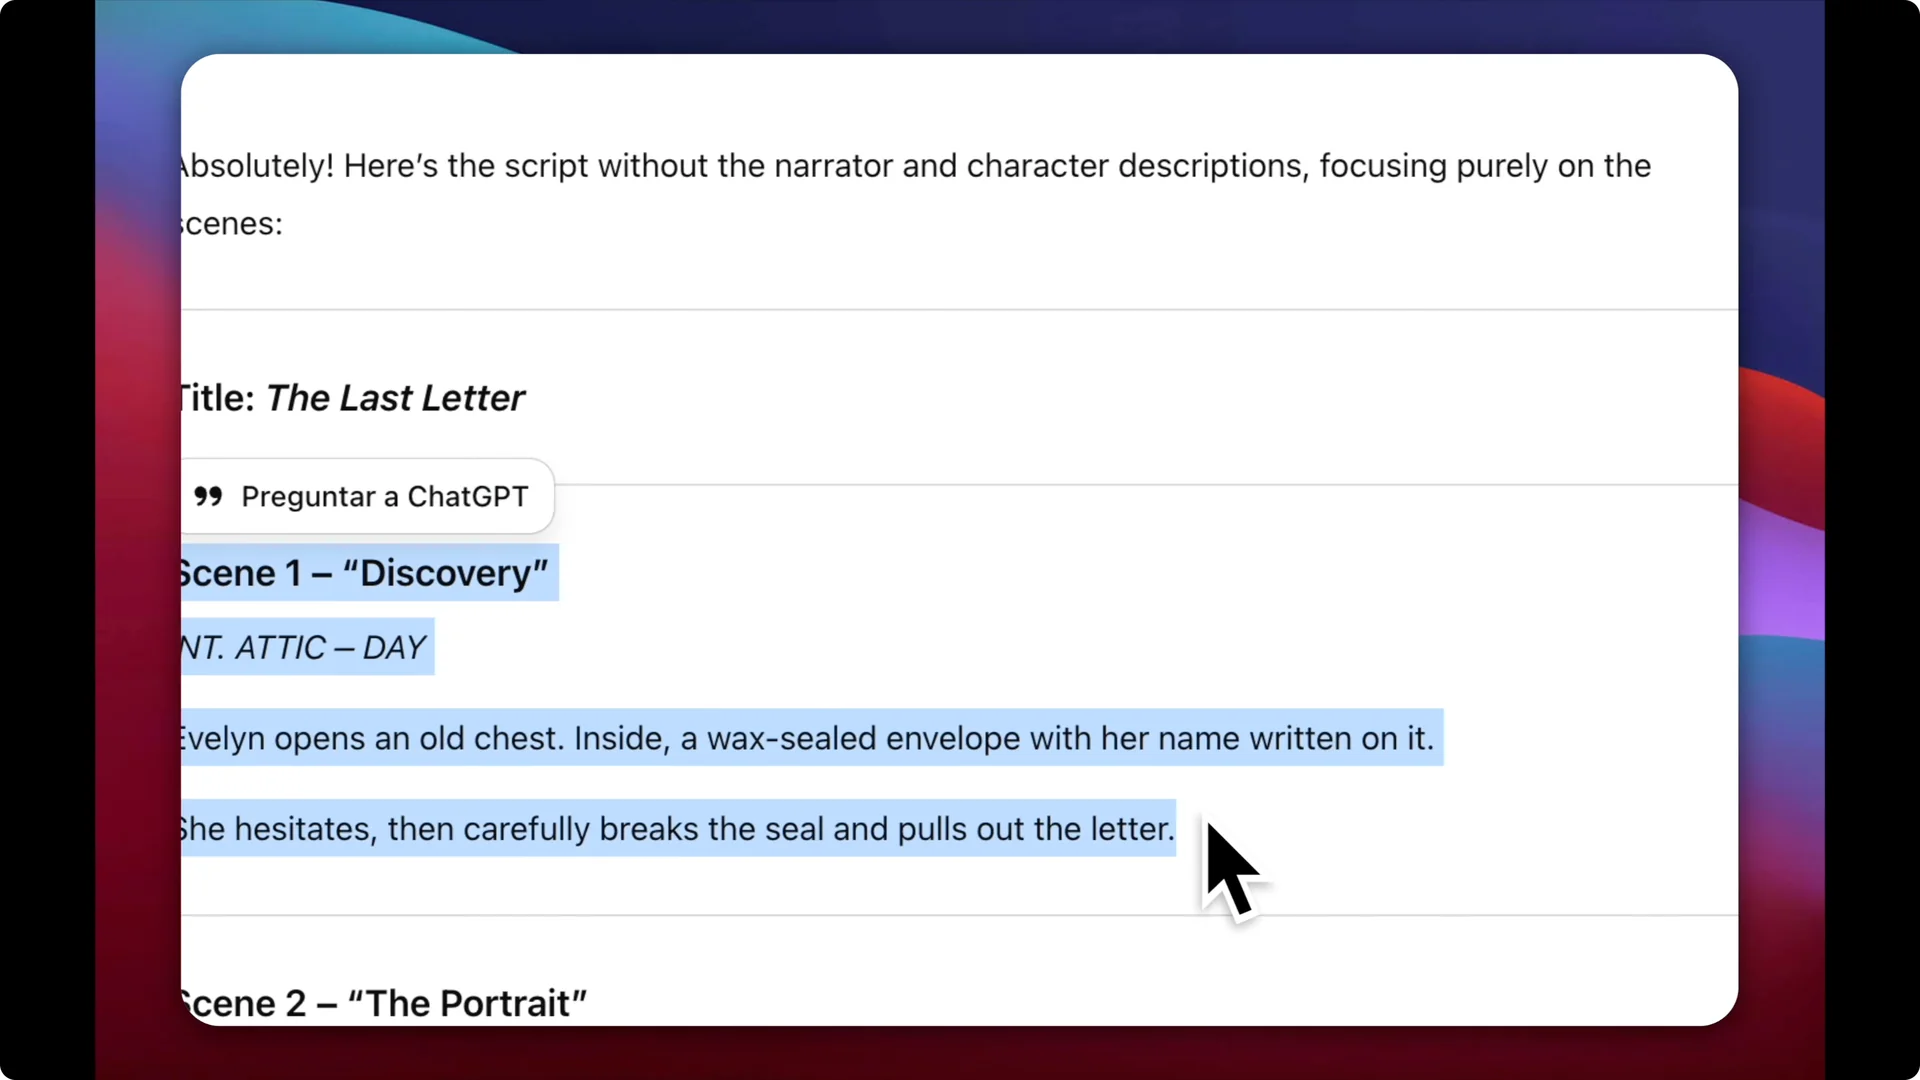
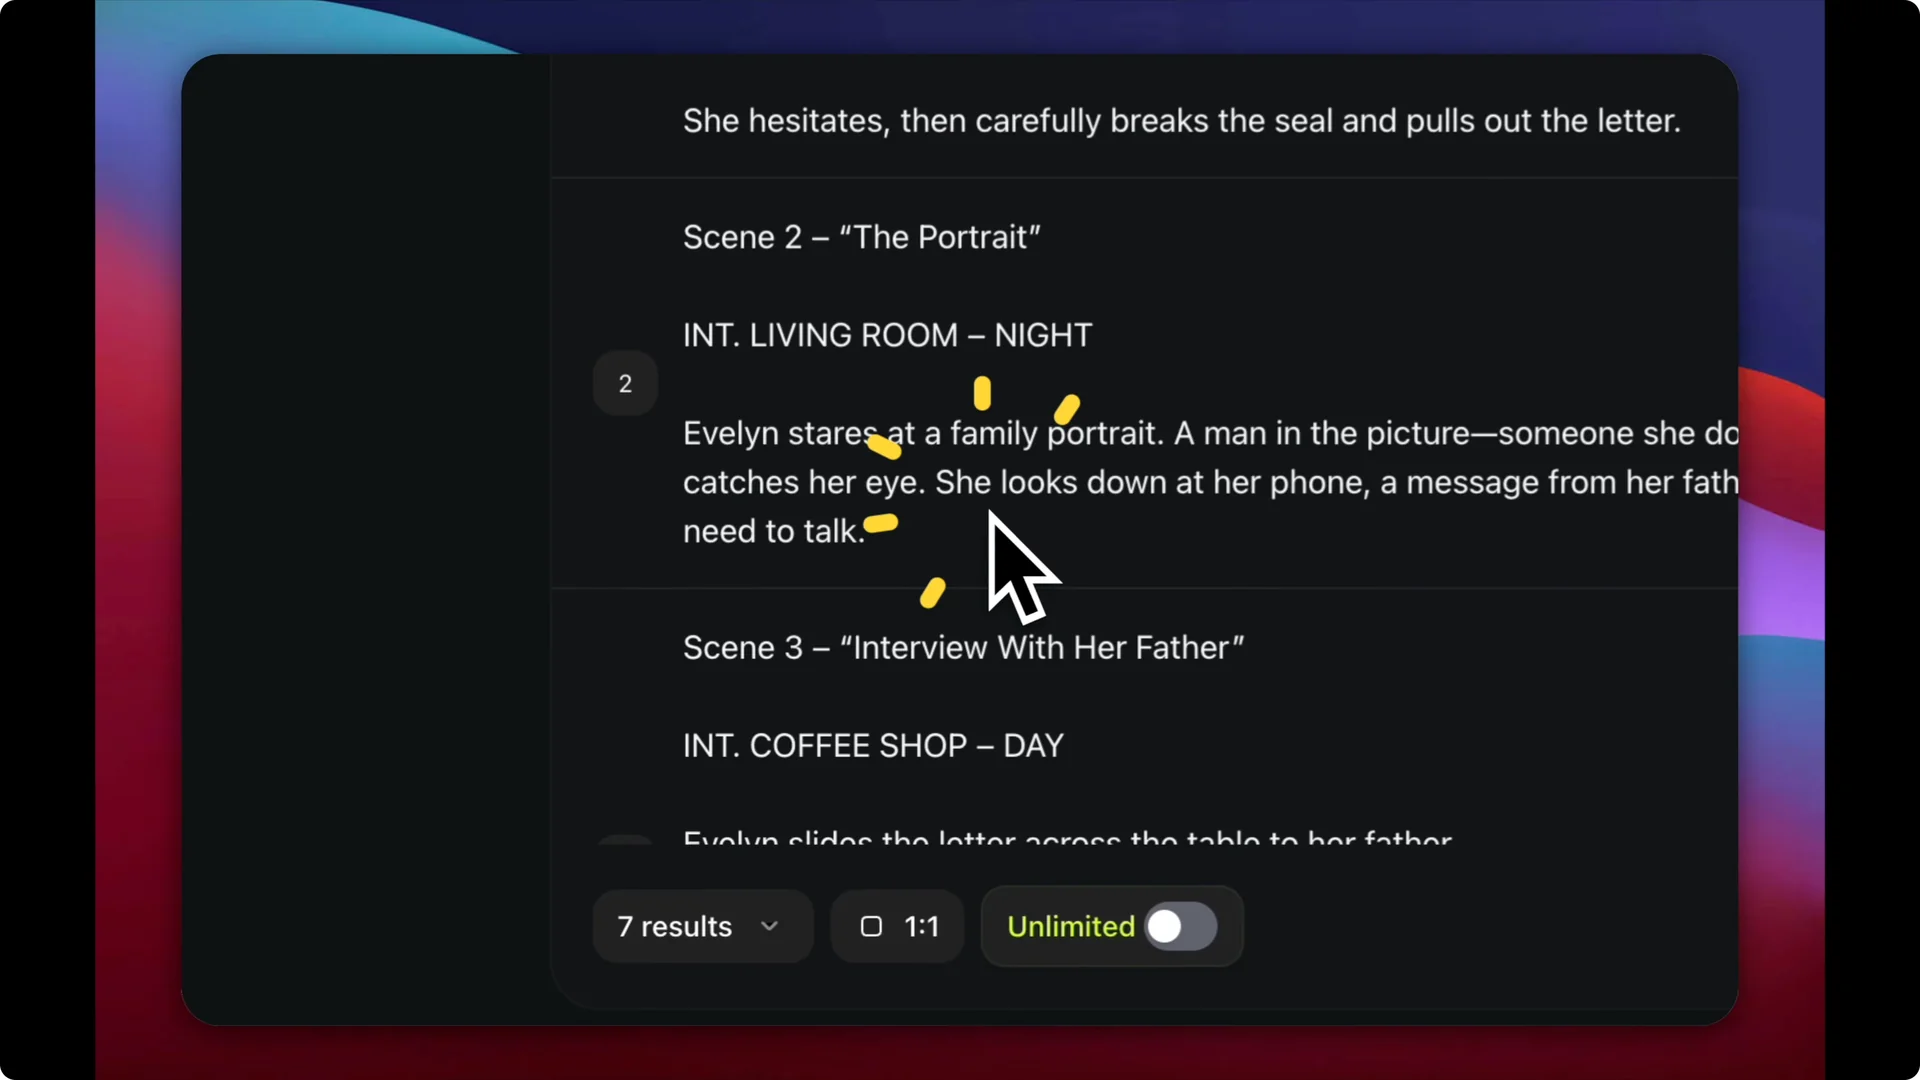
Step 1: Use ChatGPT to write a short script.
I asked ChatGPT to create a seven-scene script about a fictional character. I also asked it to add visual elements such as visual cues so that Heisfield can better understand those instructions.
Step 2: Keep the script handy for scene building.
You will copy and paste these scene descriptions into Heisfield later. The visual cues help the image model match tone, setting, and actions.
AI 3D Filmmaking Workflow: Create the 3D Character
Step 3: Open Heisfield and go to Image – Nano Banana Pro.
I asked the software to create a 3D style character for use in the story. I set the aspect ratio to 1×1.
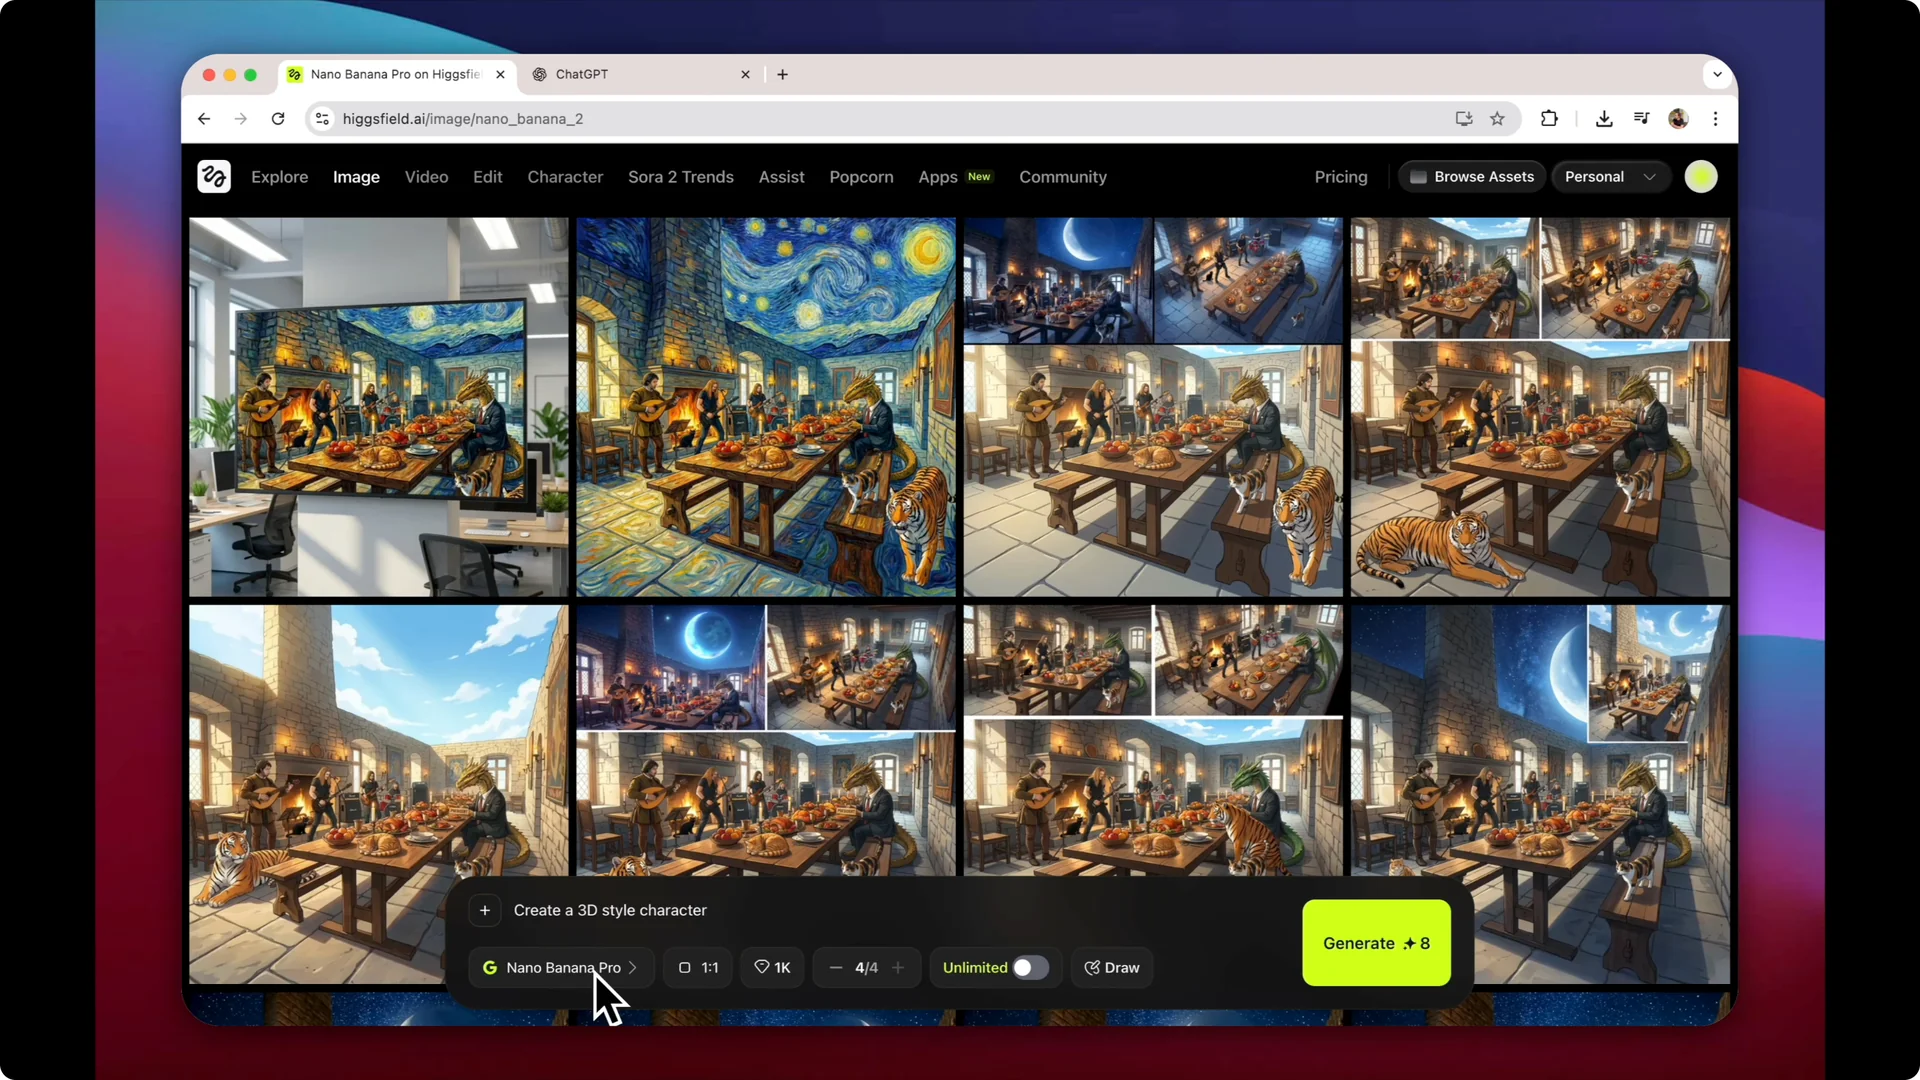
Step 4: Generate a batch of character options.
You can select how many images to create in one batch. I generated four to start, then expanded to six to see variety.
Step 5: Review and select the best design.
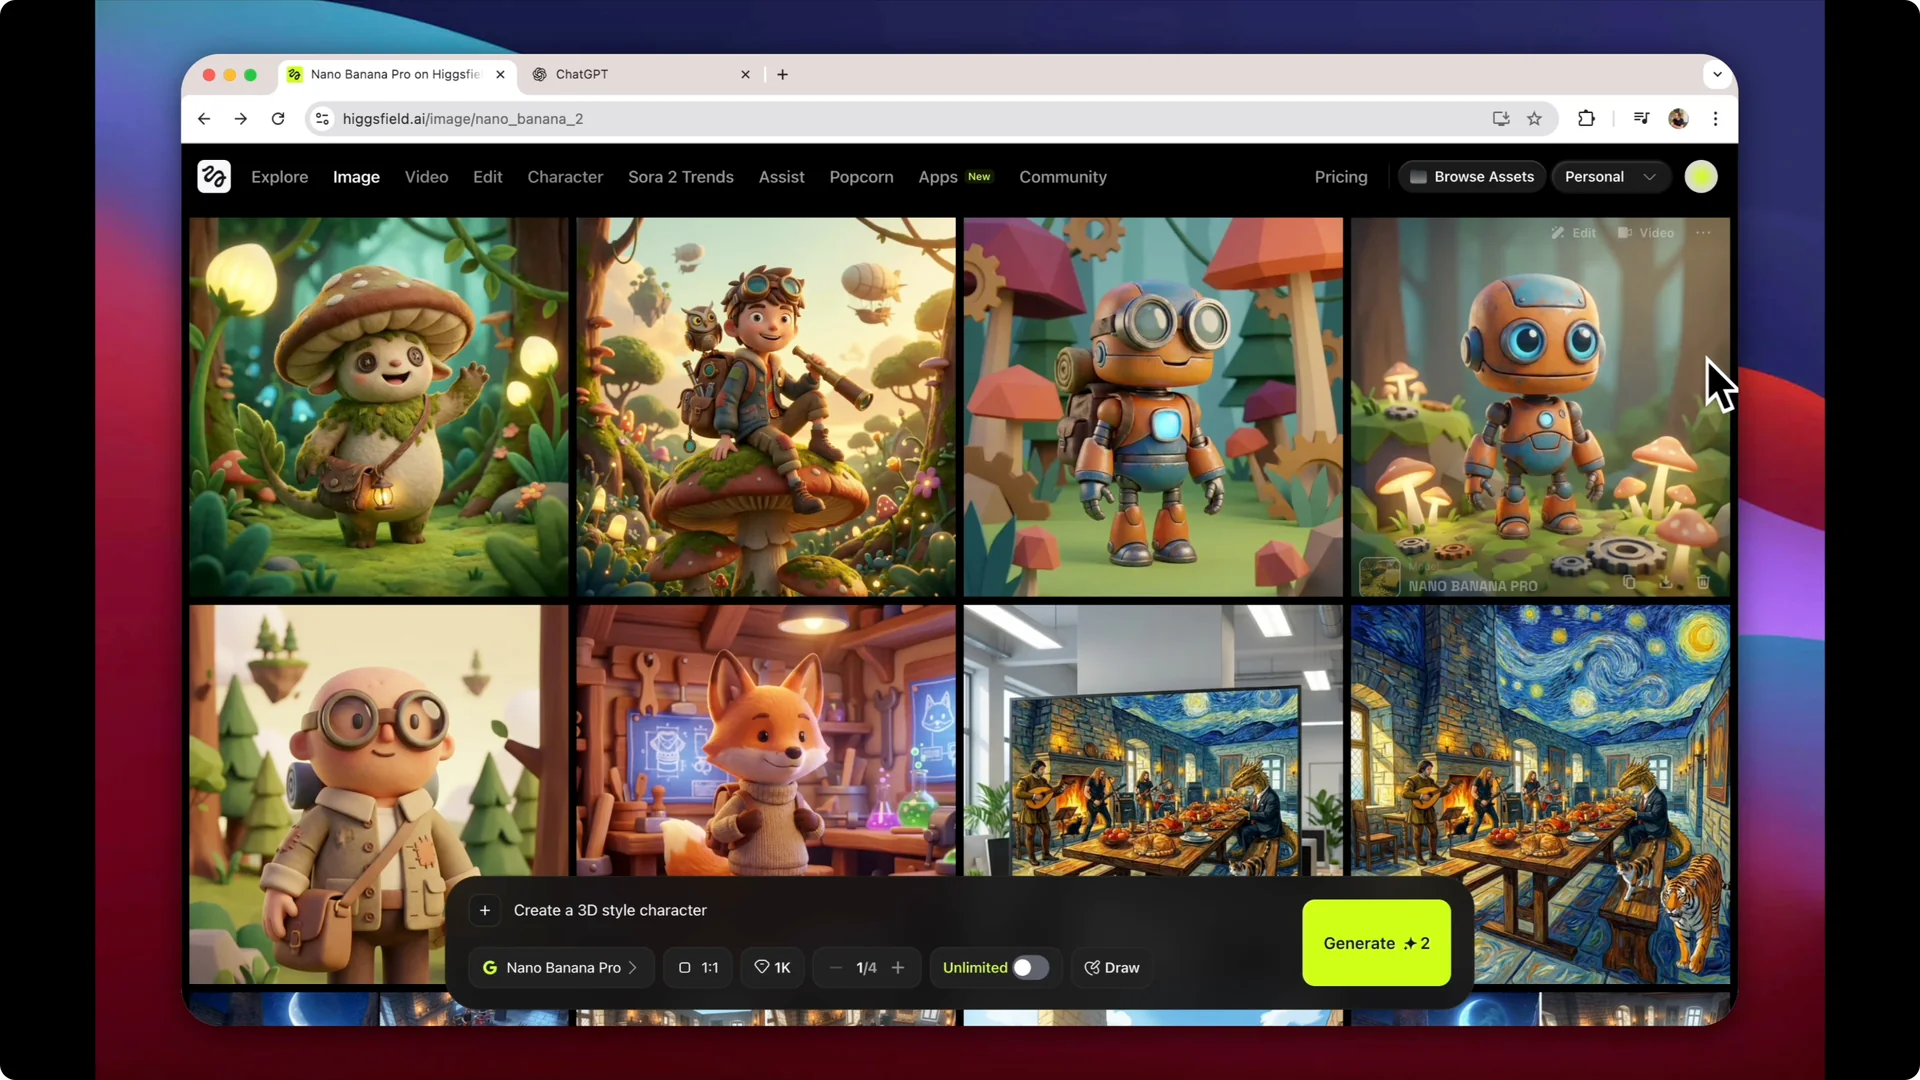
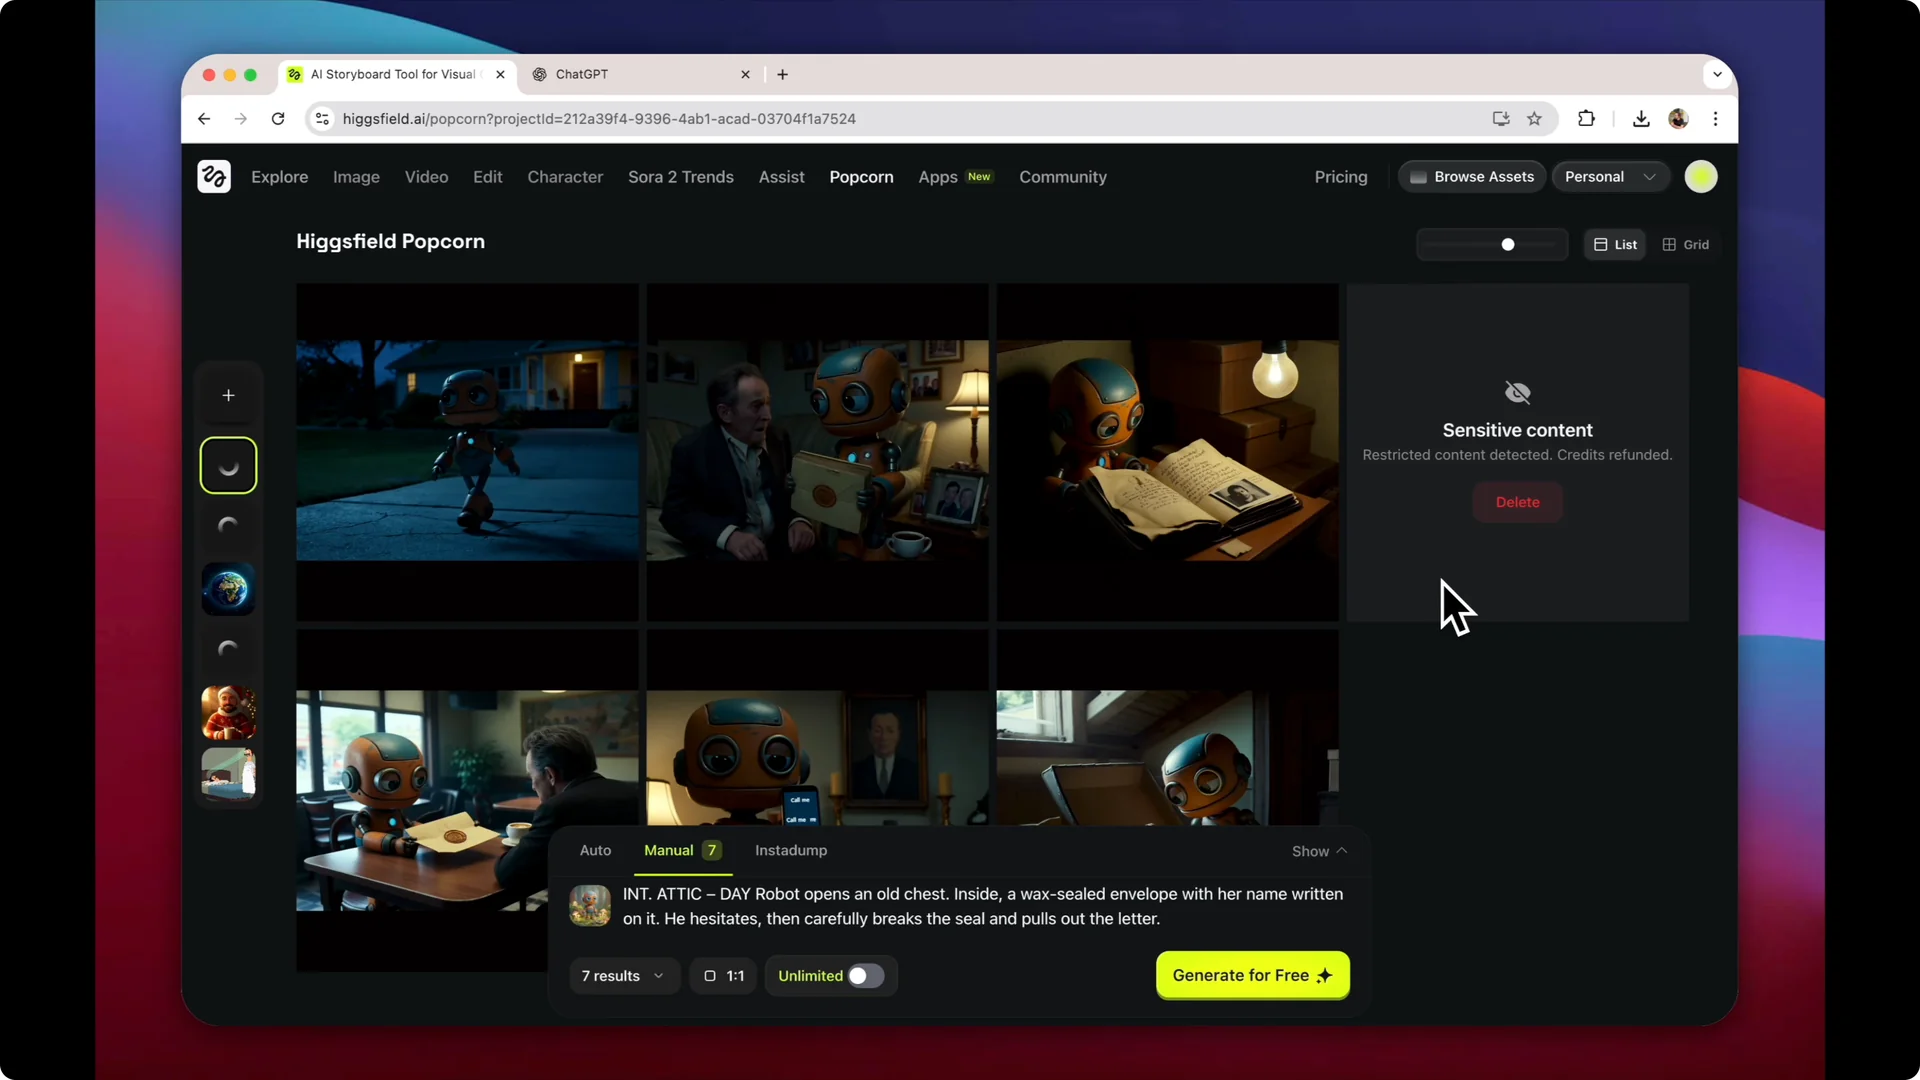
The results ranged from a little robot, a more humanoid character, a mushroom character, a fox, and another humanoid. For the 3D animation I was aiming for, the full-body robot worked best. I downloaded the robot and saved it locally.
AI 3D Filmmaking Workflow: Build Scenes in Popcorn Tool
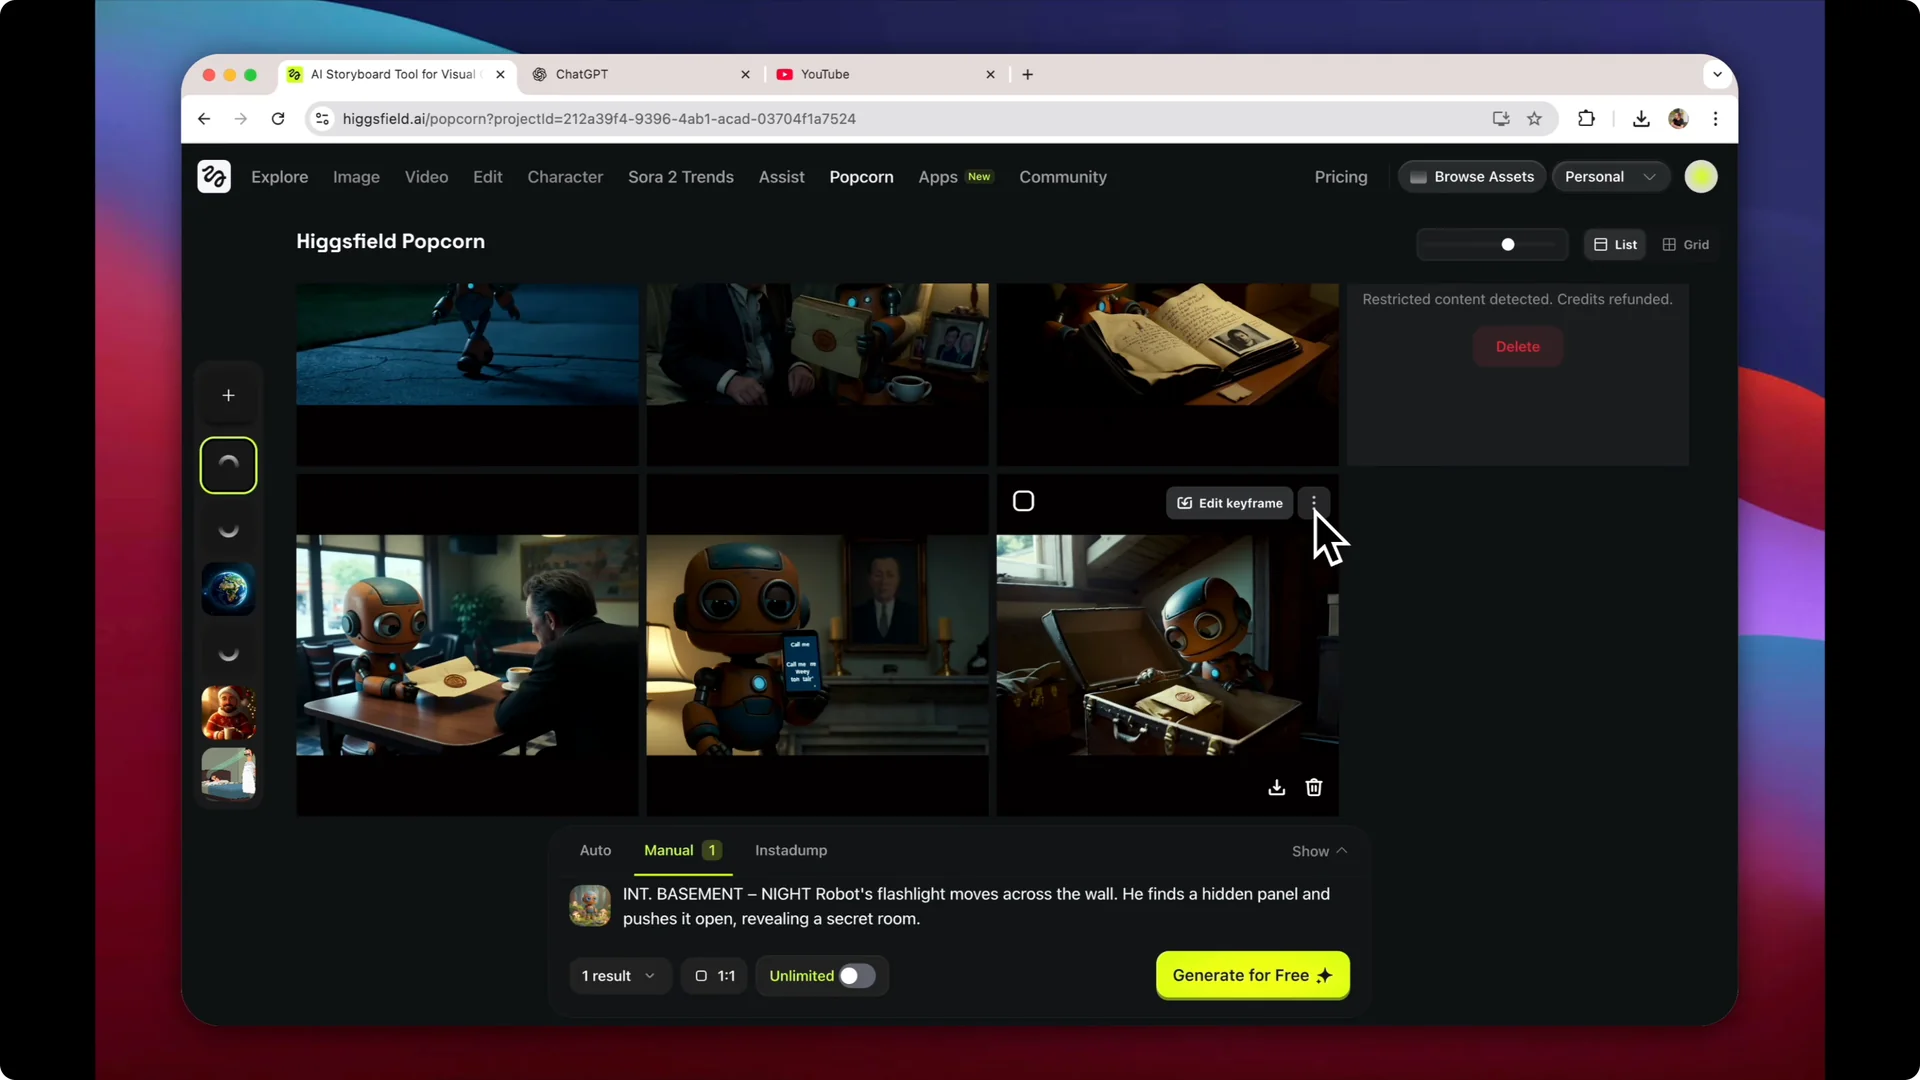
Manual scene setup
Step 6: Open the Popcorn tool and choose Manual.
There are two modes – auto or manual. Manual lets you describe specific scenes for the story, which is exactly what we want.
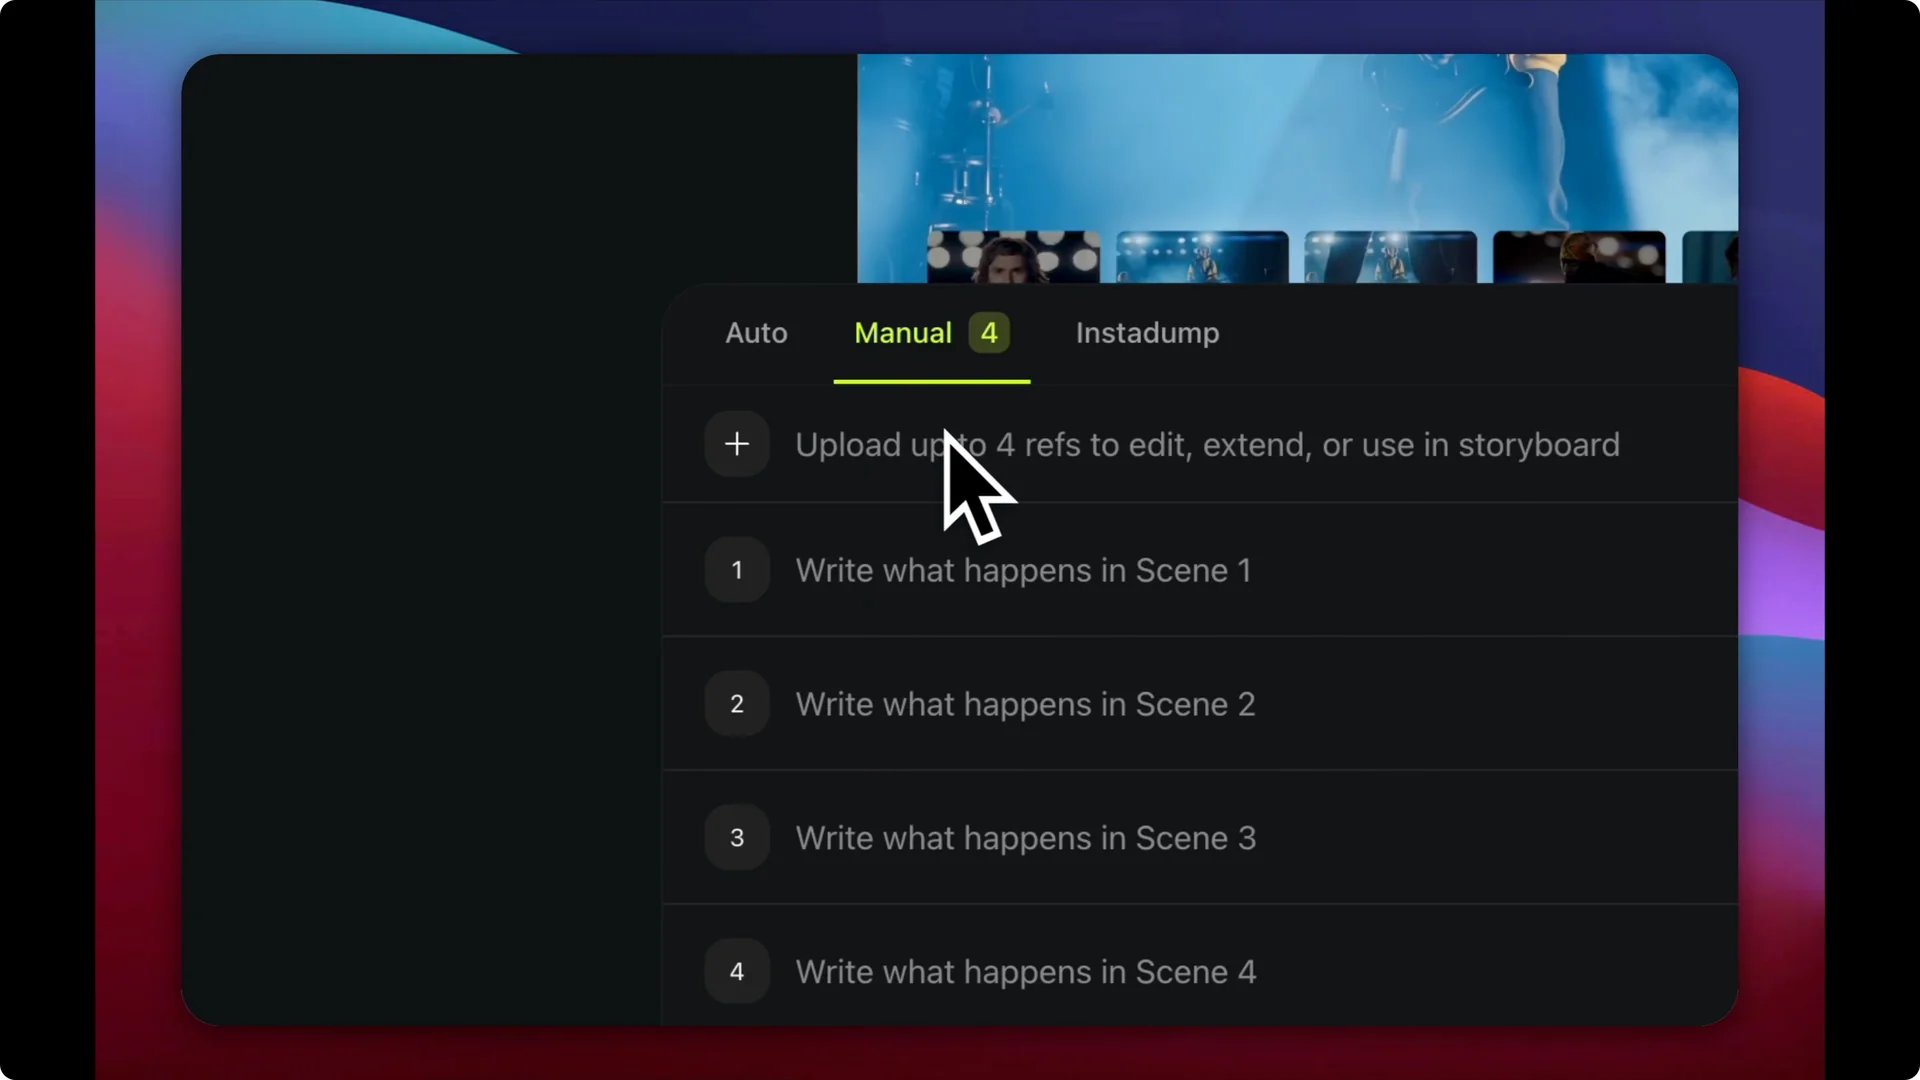
Step 7: Upload the character image.
I uploaded the robot as the reference character for all scenes. This keeps the character consistent across the sequence.
Script to images
Step 8: Paste the seven scene descriptions.
I copied the scenes from ChatGPT into the tool. You can add up to seven scenes.
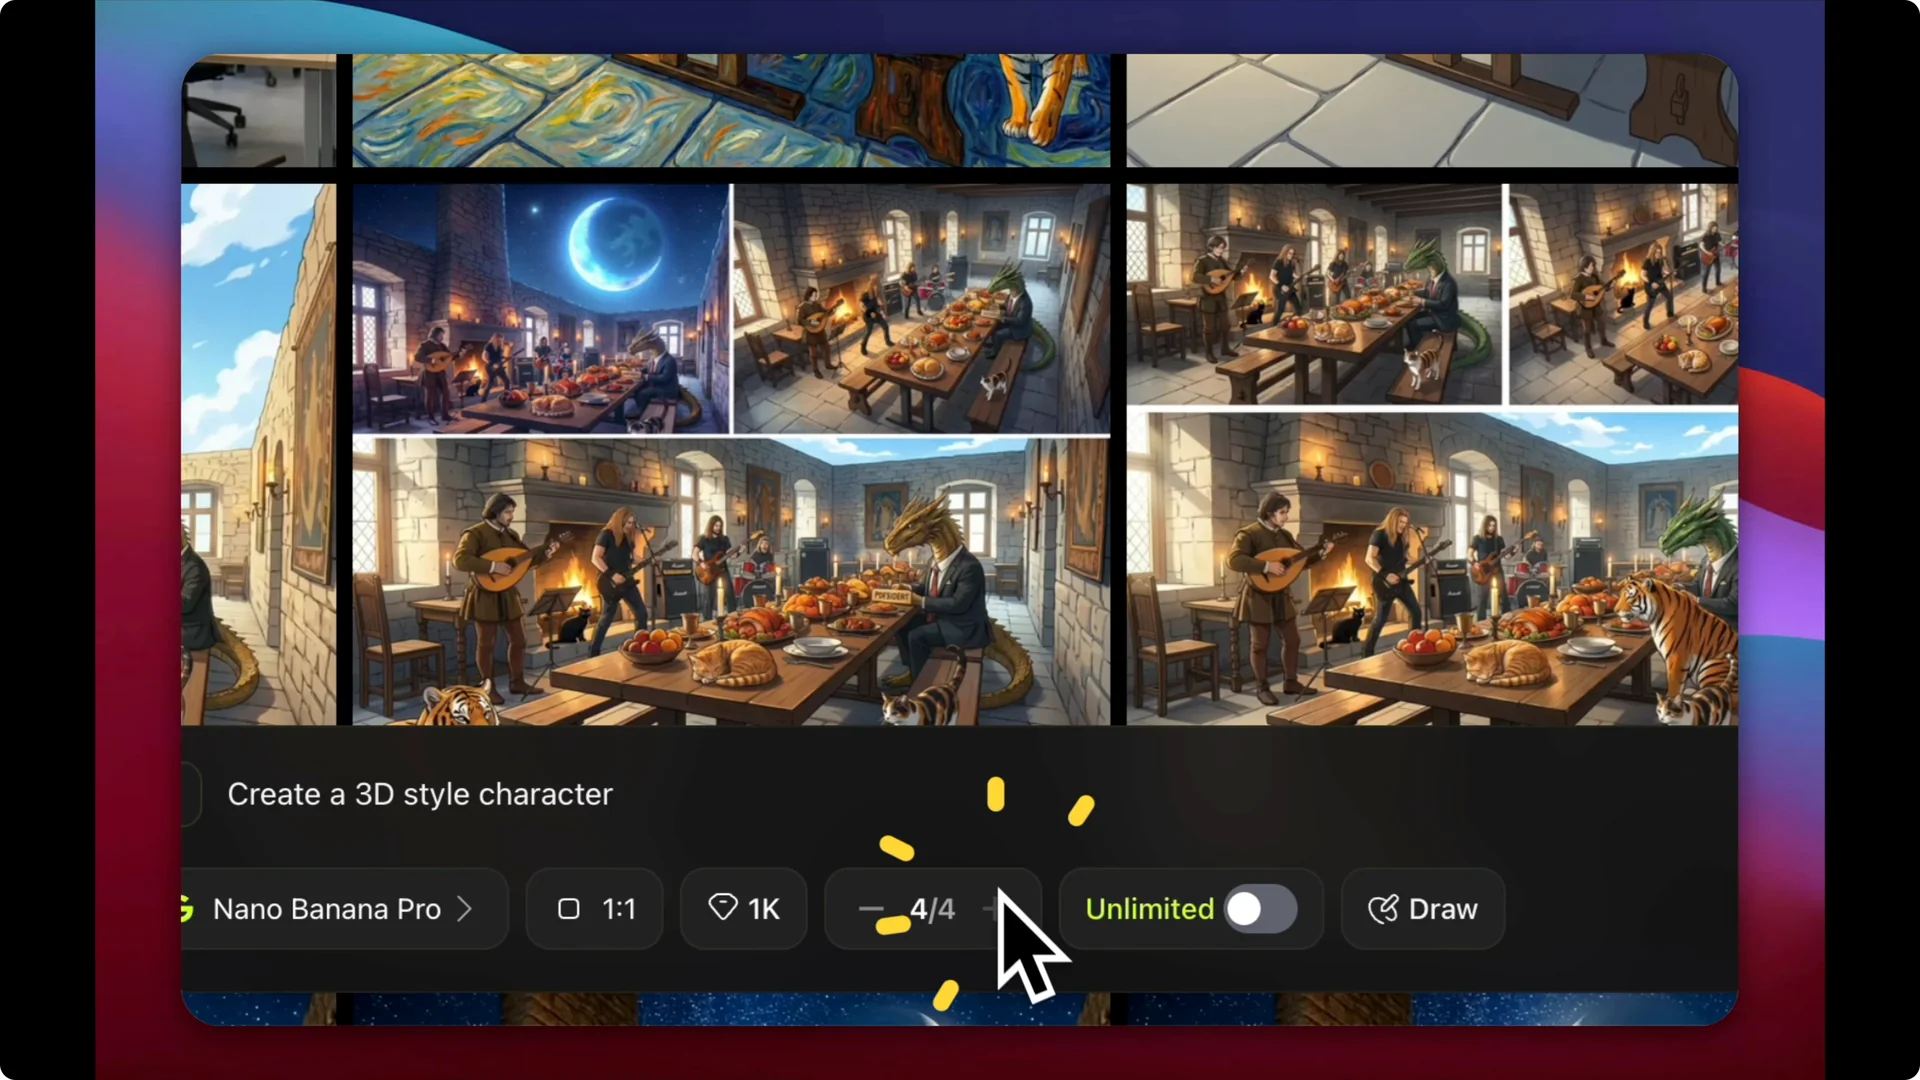
Step 9: Match the aspect ratio.
Since my original image was 1×1, I kept that aspect ratio for the final output. Click Generate and wait a couple of minutes for the images to render.
Handling sensitive flags
Step 10: Recreate any flagged scenes.
Sometimes a scene may be flagged as sensitive content. In my case, scene four was flagged, so I recreated it and continued.
AI 3D Filmmaking Workflow: Animate Each Scene
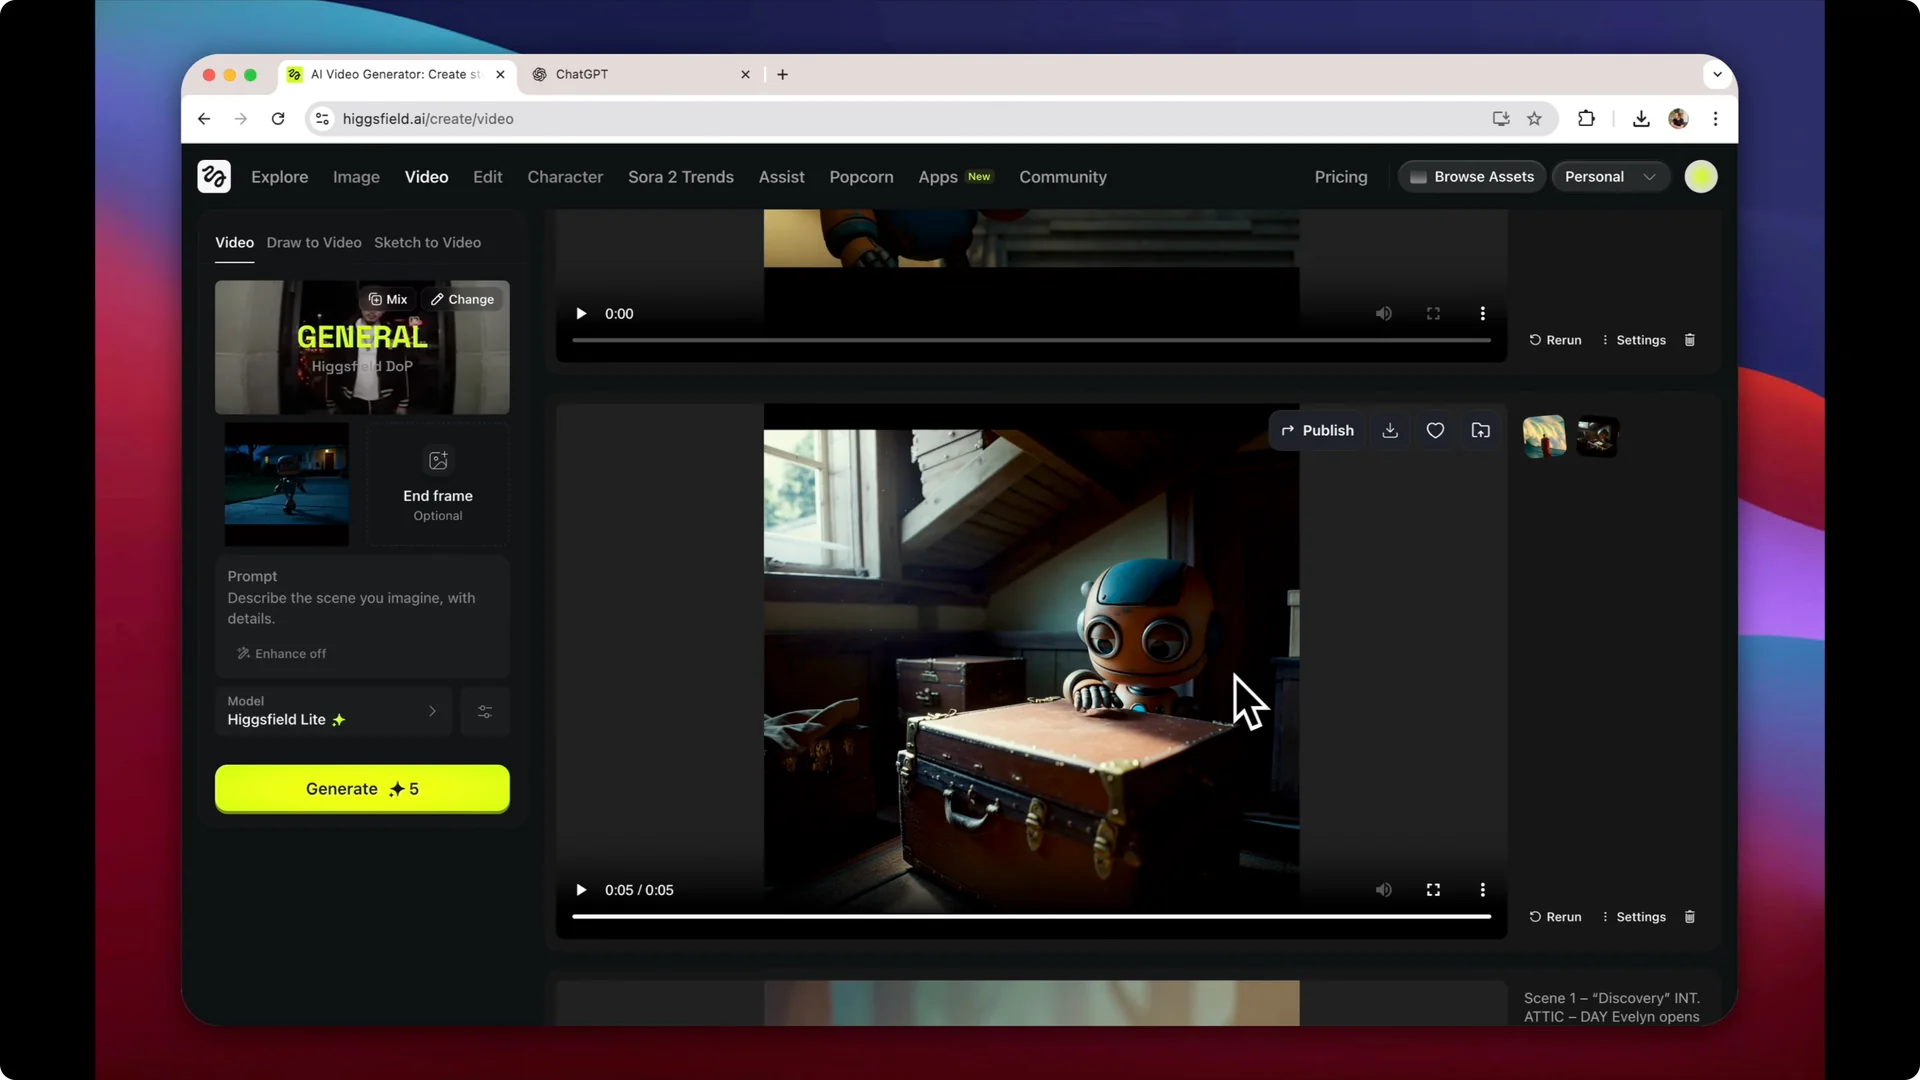
Step 11: Animate from the scene menu.
Once you have the stills, click the three dots on a scene and choose Animate. You can describe what you want the scene to be doing, or leave the prompt empty and let the software interpret it.
Step 12: Preview all seven animations.
I animated all seven and reviewed each one. The animations are really smooth.
For inspiration on playful motion tests, see this dancing baby made with Kling AI and adapt the idea to your character beats.
AI 3D Filmmaking Workflow: Stitch and Sound
Step 13: Download and assemble the sequence.
I downloaded the seven animated clips and stitched them together in an editing app. I used Final Cut, but any editor works.
If you plan to repurpose longer edits into short social clips, here is a simple way to convert long videos into viral clips using Filmora AI. It pairs well with this workflow once you have a finished piece.
Step 14: Add voice and music.
You can upload your own voice for narration or use tools inside Heisfield to generate voice over and music on top of the video. My final video with seven scenes stitched together was 37 seconds long.
If a test export adds a moving watermark, here is how to remove a moving watermark using Filmora AI before publishing.
Final Thoughts
This is a basic AI-driven path to build a short 3D animation style story with a consistent character. I created the character, the script, and all assets with AI, then stitched and polished the final. Start simple, preview each step, and build on top of this workflow as you refine your style.