
Cinema Studio from Higgsfield AI just dropped. I’m going to show you how it works and how to use it from scratch. You can access it on Higgsfield AI’s official website.
I’m inside my account and clicking on Cinema Studio. I already have some footage ready, but I’ll start from the beginning so you can follow along.
Higgsfield AI Cinema Studio Tutorial
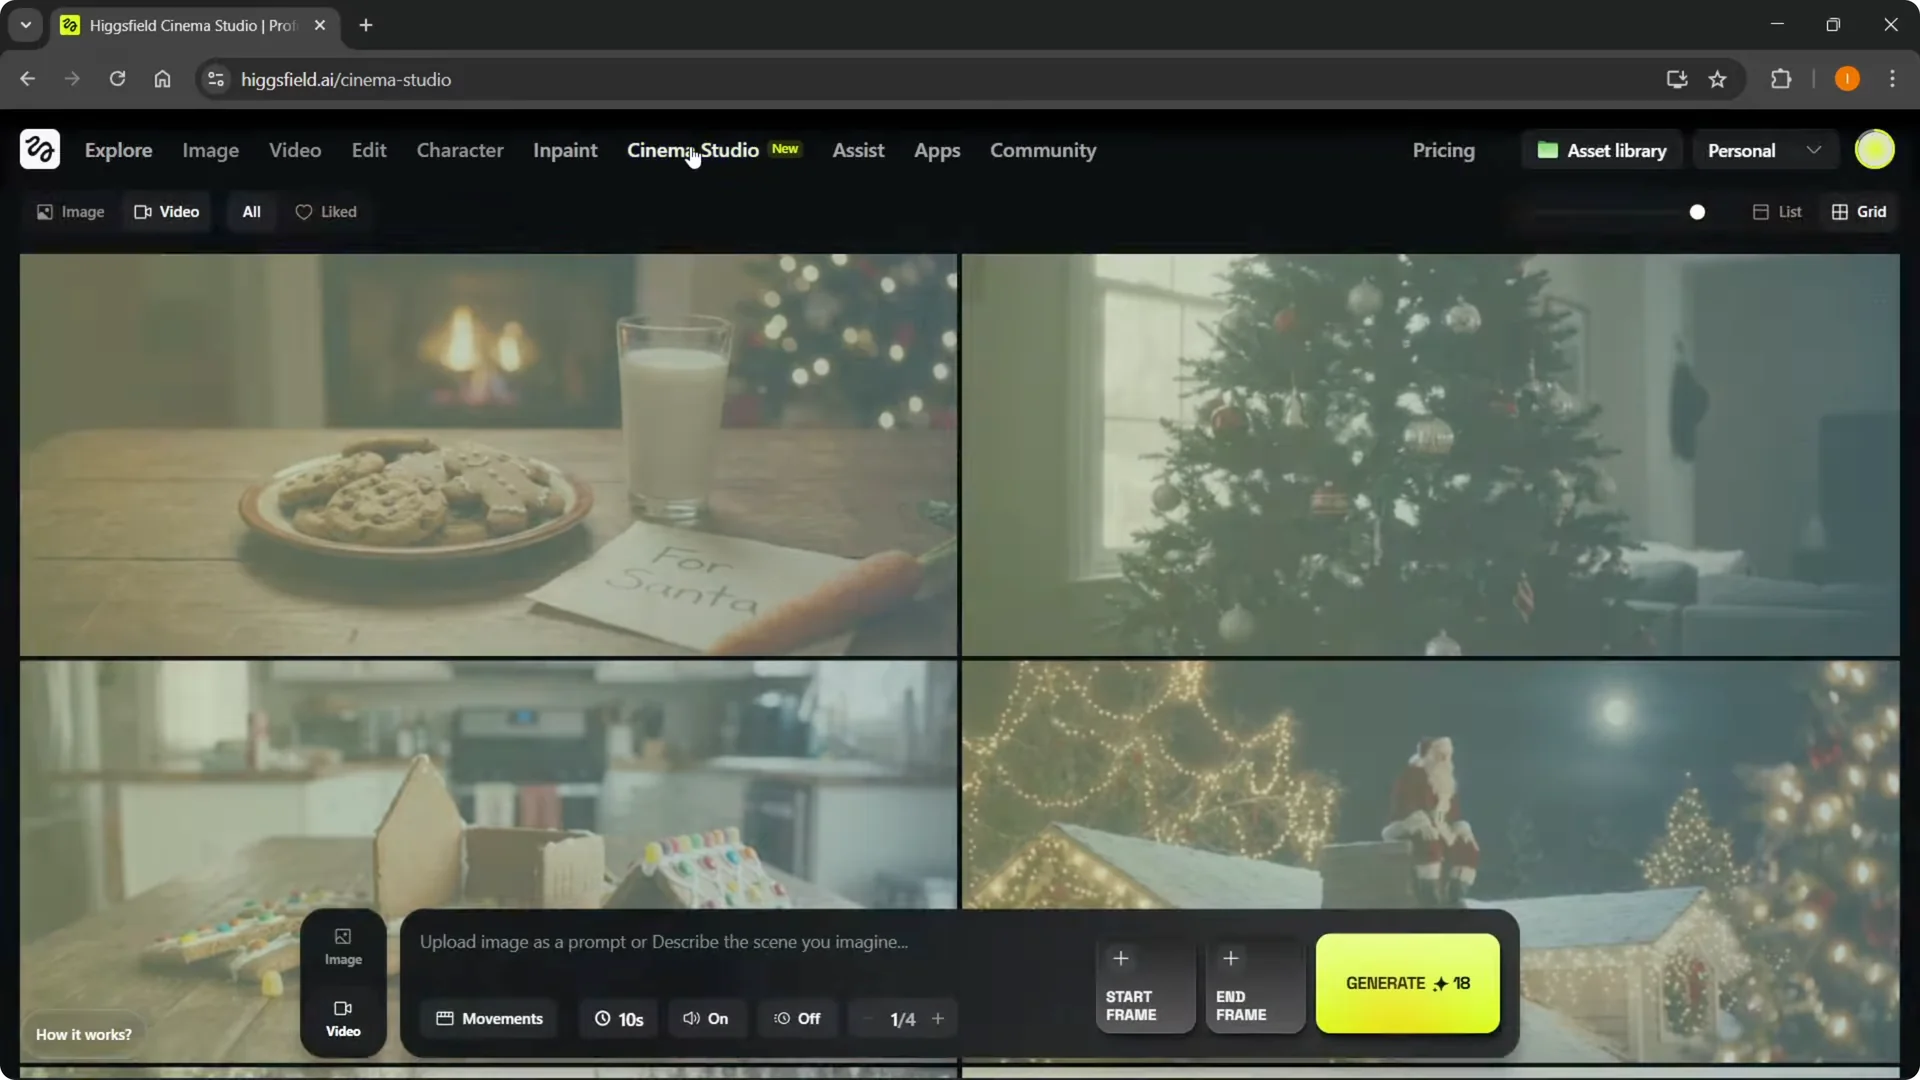
When you start, you’ll see two options at the bottom left: video and image. Cinema Studio is great for cinema-style videos for trailers, movies, and similar projects. The most important thing is to set a start frame, and the end frame is optional.

Start frame and prompt
You must have a start frame to get things done the way you want. Inside video, you’ll type your prompt, but because you need a start frame, begin by creating an image first.
Switch over to image. You can upload an image as a prompt or describe the scene you imagine.

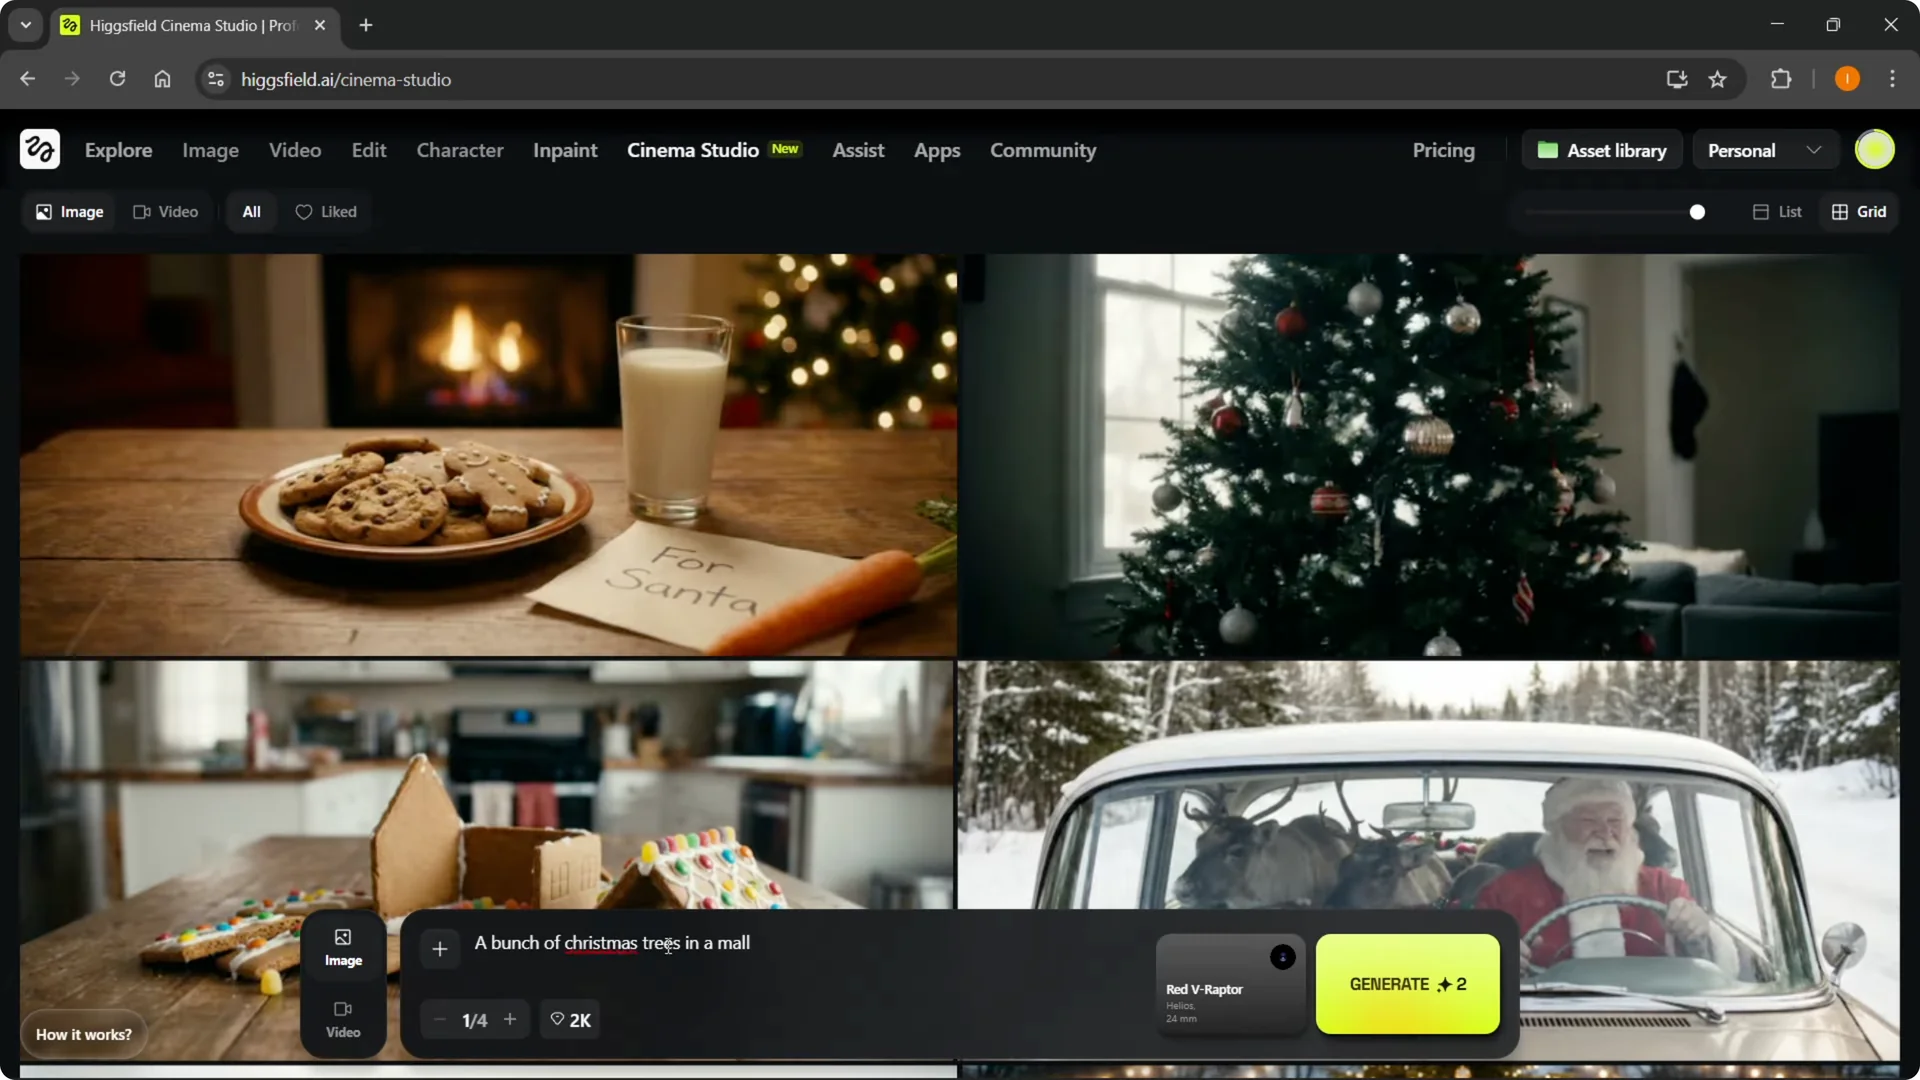
Step 1: Select the camera, lens, and focal length.
Step 2: I’m using the Red V Raptor, the Helios lens, and a focal length of 24.
Step 3: Enter your prompt. I typed “a bunch of Christmas trees in a mall.”
Step 4: Click generate to create your first frame.
Once that image is generated, move over to video. Describe your scene and add the start frame.
Read More: Quick Easy Creating Characters Higgsfield
Create the video
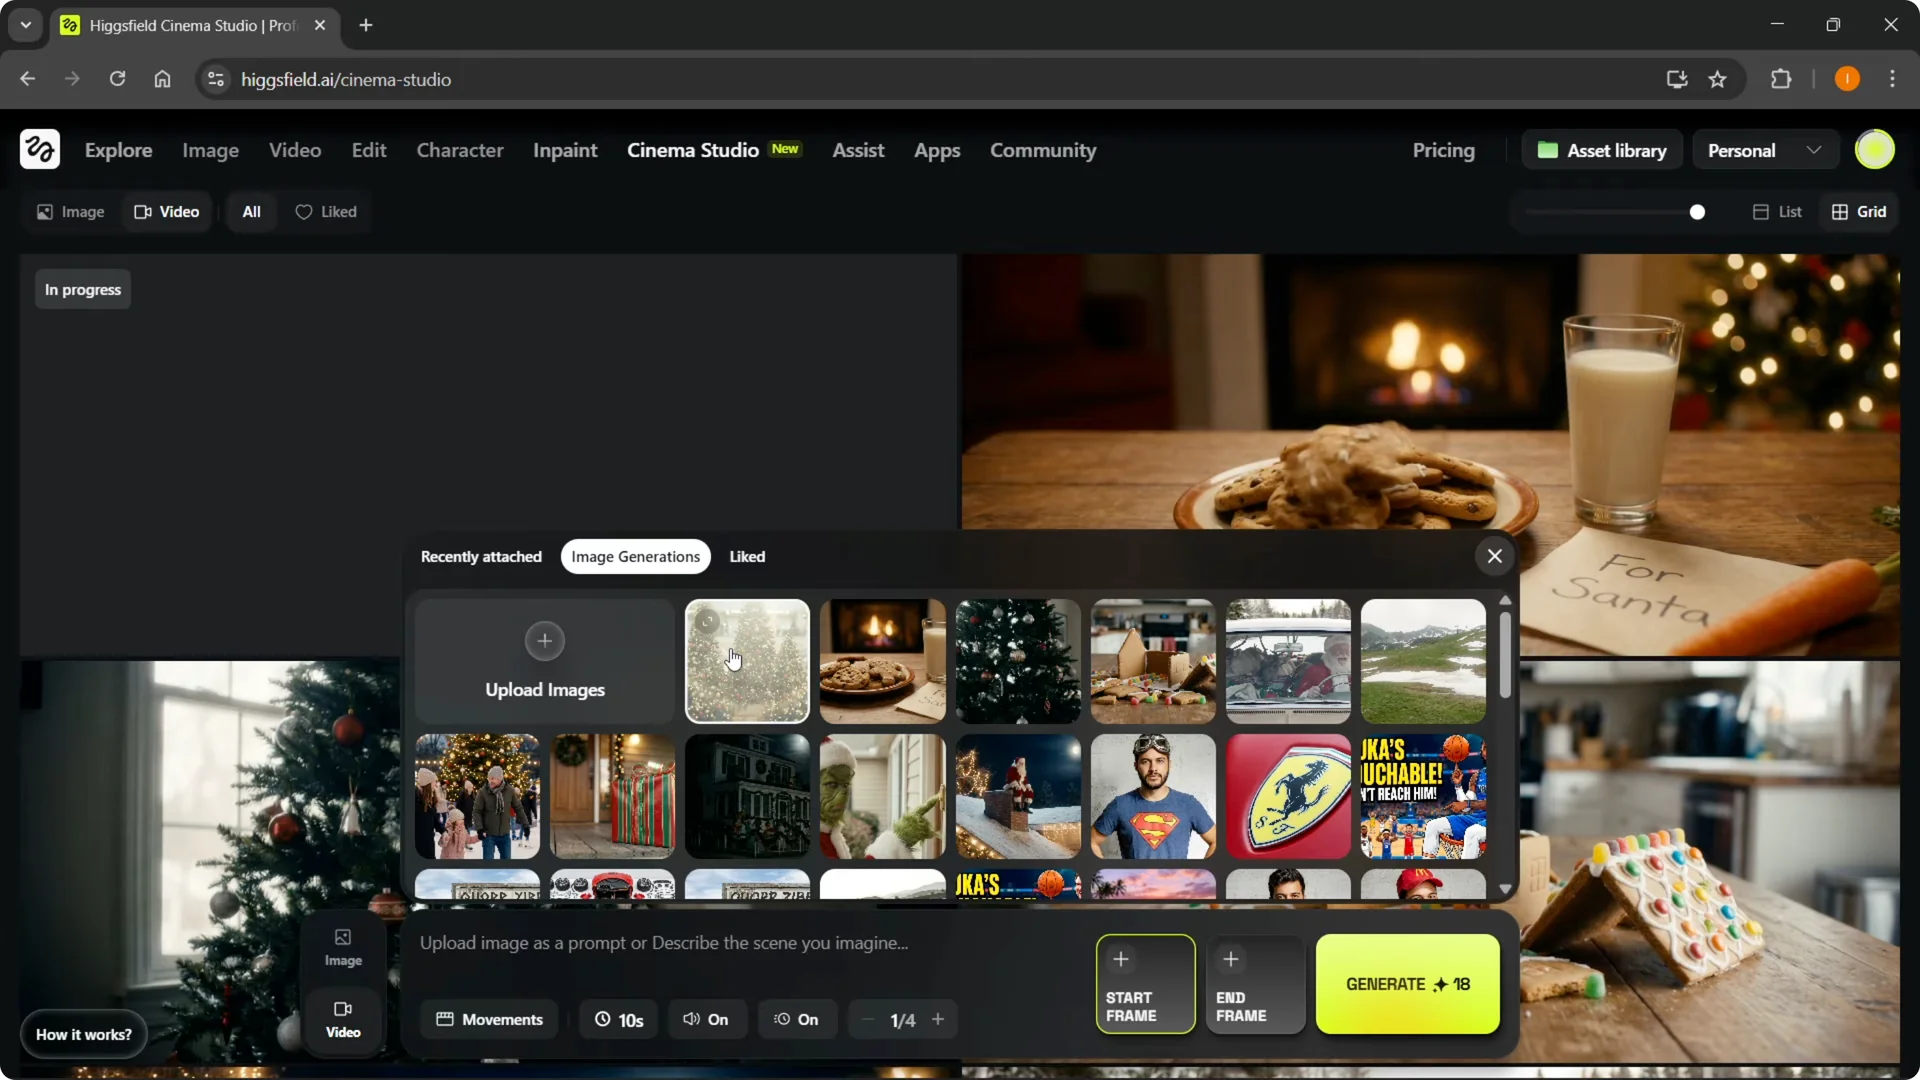
Click + Start frame. You can upload images or use your image generations.

I selected a present image from my generations. I described the scene as “The Christmas present explodes and music starts playing with confetti everywhere.”
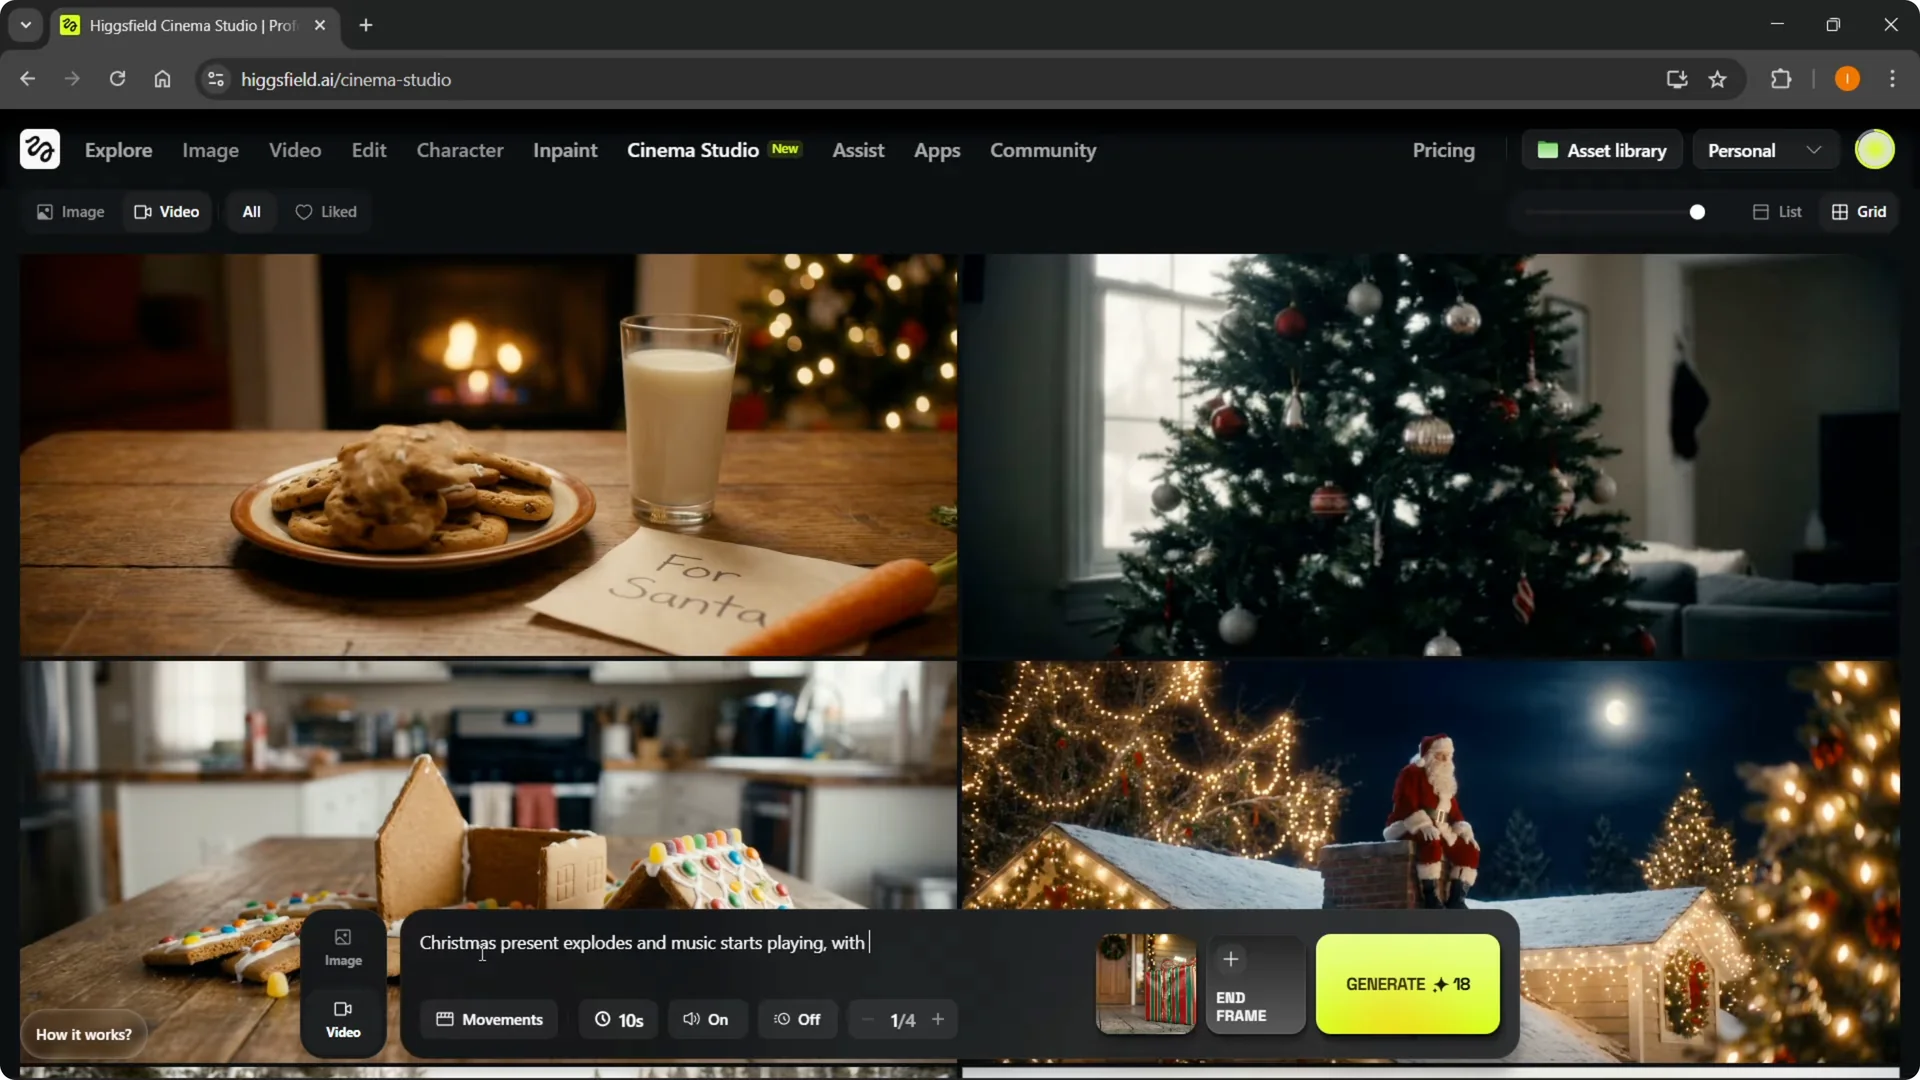
Step 1: Set the duration. I’m using 10 seconds.
Step 2: Pick a movement. Options include static, handheld, zoom out, zoom in, and camera follows.
Step 3: I chose drone shot.
Step 4: Leave audio on and turn slow motion on for this example.
Step 5: Use one image and no end frame. If you want a finished end frame, add it.
Step 6: Click generate.

If your new image just finished generating, go back to video, clear your text if needed, remove the old image, click + Start frame, refresh, and select the new image. You can now create the video you had in mind. It’s that easy.
For spoken audio or vocals, see this lip sync guide to align dialogue with your generated clips.
Movements and timing
Movements add style to your shot. Drone shot creates a dramatic aerial feel, and orbit around pans the camera around your subject.
I also tested slow motion on and off. You can mix these settings per clip to match your scene.
If you want cleaner shot changes between scenes, see these tips on smooth transitions.
Examples
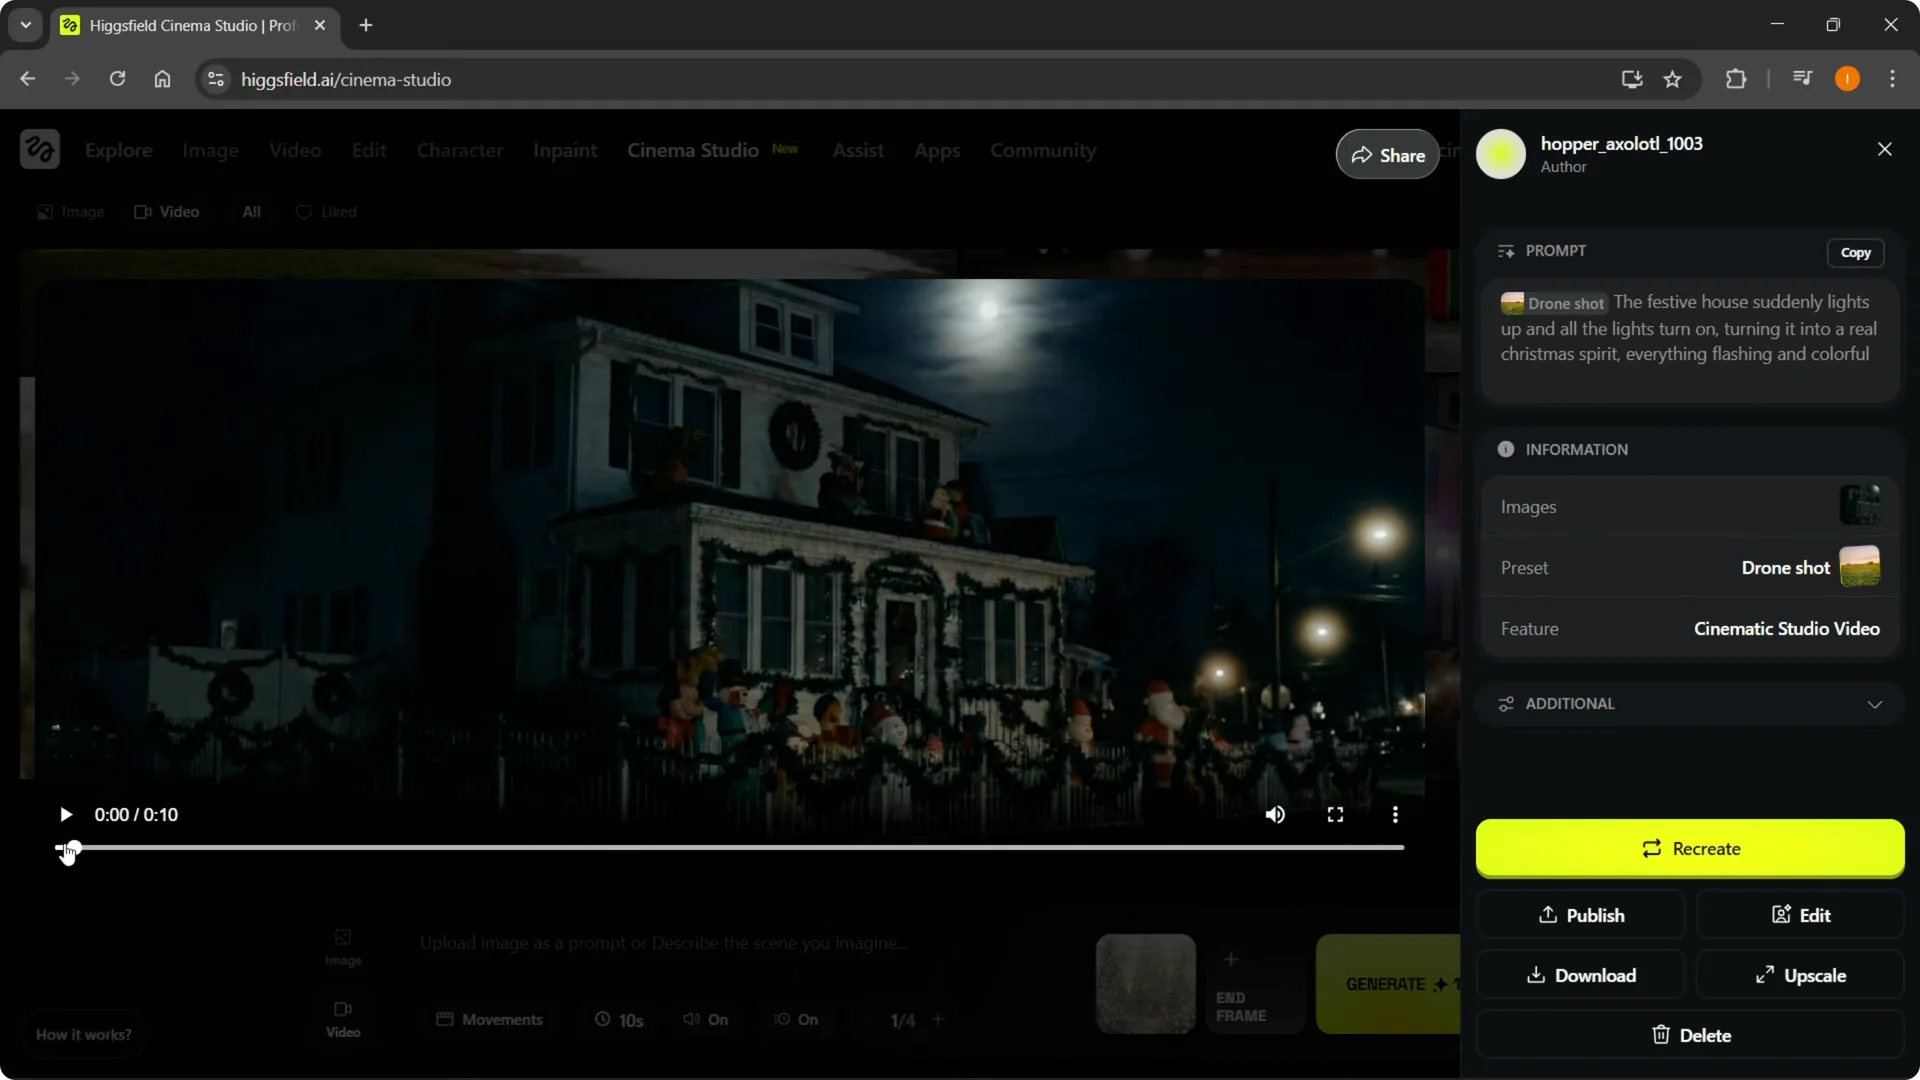
I made a festive house with the lights off that turn on while a drone shot circles the house. The lights light up and everything flashes as described.
I made the Grinch trying to ring the doorbell. The door opens, he runs in, and he rushes out with a bunch of stolen presents.
I used a present prompt similar to the earlier one. The present explodes with confetti lights and effects, and it looks great.
I created an abandoned ski slope that doesn’t have enough snow. It turns into a winter wonderland as it starts snowing and everything gets covered, forming the slopes.
I made Santa driving a car with reindeer in the back. He drifts the car and a Christmas present falls on the roof, all from a single start frame.
I tried Santa pulling a present out of the chimney. The result looked a bit weird, but it did pull out a present from the chimney.
I built a gingerbread house scene that disassembles itself magically. No one is building it, it just comes apart nicely.
I added a Christmas tree that lights up by itself. Random music starts playing and the scene follows the description.
I prompted cookies eating themselves. Crumbs fly into the milk and it follows the instructions perfectly.
I tested the explosive Christmas present with music again. Confetti fills the frame in slow motion, exactly as requested.
Another quick build
I used the image with Christmas trees and described “colorful lights get put on the trees.” I turned slow motion off, set 10 seconds, picked orbit around, and generated.
Orbit around pans around the objects to showcase the lights. It’s straightforward and fast.
Export and reuse
You can like, export, reuse, or delete your videos. Reuse creates a copy and keeps the prompt at the bottom so you can tweak and regenerate.
There’s a lot you can do with these settings. Make your own trailers, movies, or short video spots.
Upload your own images
You are not limited to AI image generations. Upload images from your computer, including photos you took yourself, and make AI videos inside Cinema Studio from those as well.
This makes building scenes convenient and flexible.
Final Thoughts
Cinema Studio works best when you start with a clear start frame and a concise prompt. Set your camera and lens, choose a movement, dial in duration, and decide on audio and slow motion.
From there, generate your clip, iterate with new start frames, and export or reuse as needed.