You just want to swap a face for a thumbnail. You search Photoshop face swap and you get eight to ten minute tutorials with steps like match the lighting and use a soft brush. It turns into a whole job.
What if you could actually do it in one click and have it look good? Things just changed. This is Higsfield face swap, and they just made everyone else look embarrassed.
Let’s put Higsfield to the test. I’ll show you exactly where to find the tool, then run it through three real-world tests creators and marketers actually care about.
Higgsfield Face Swap Tutorial: Find the Tool
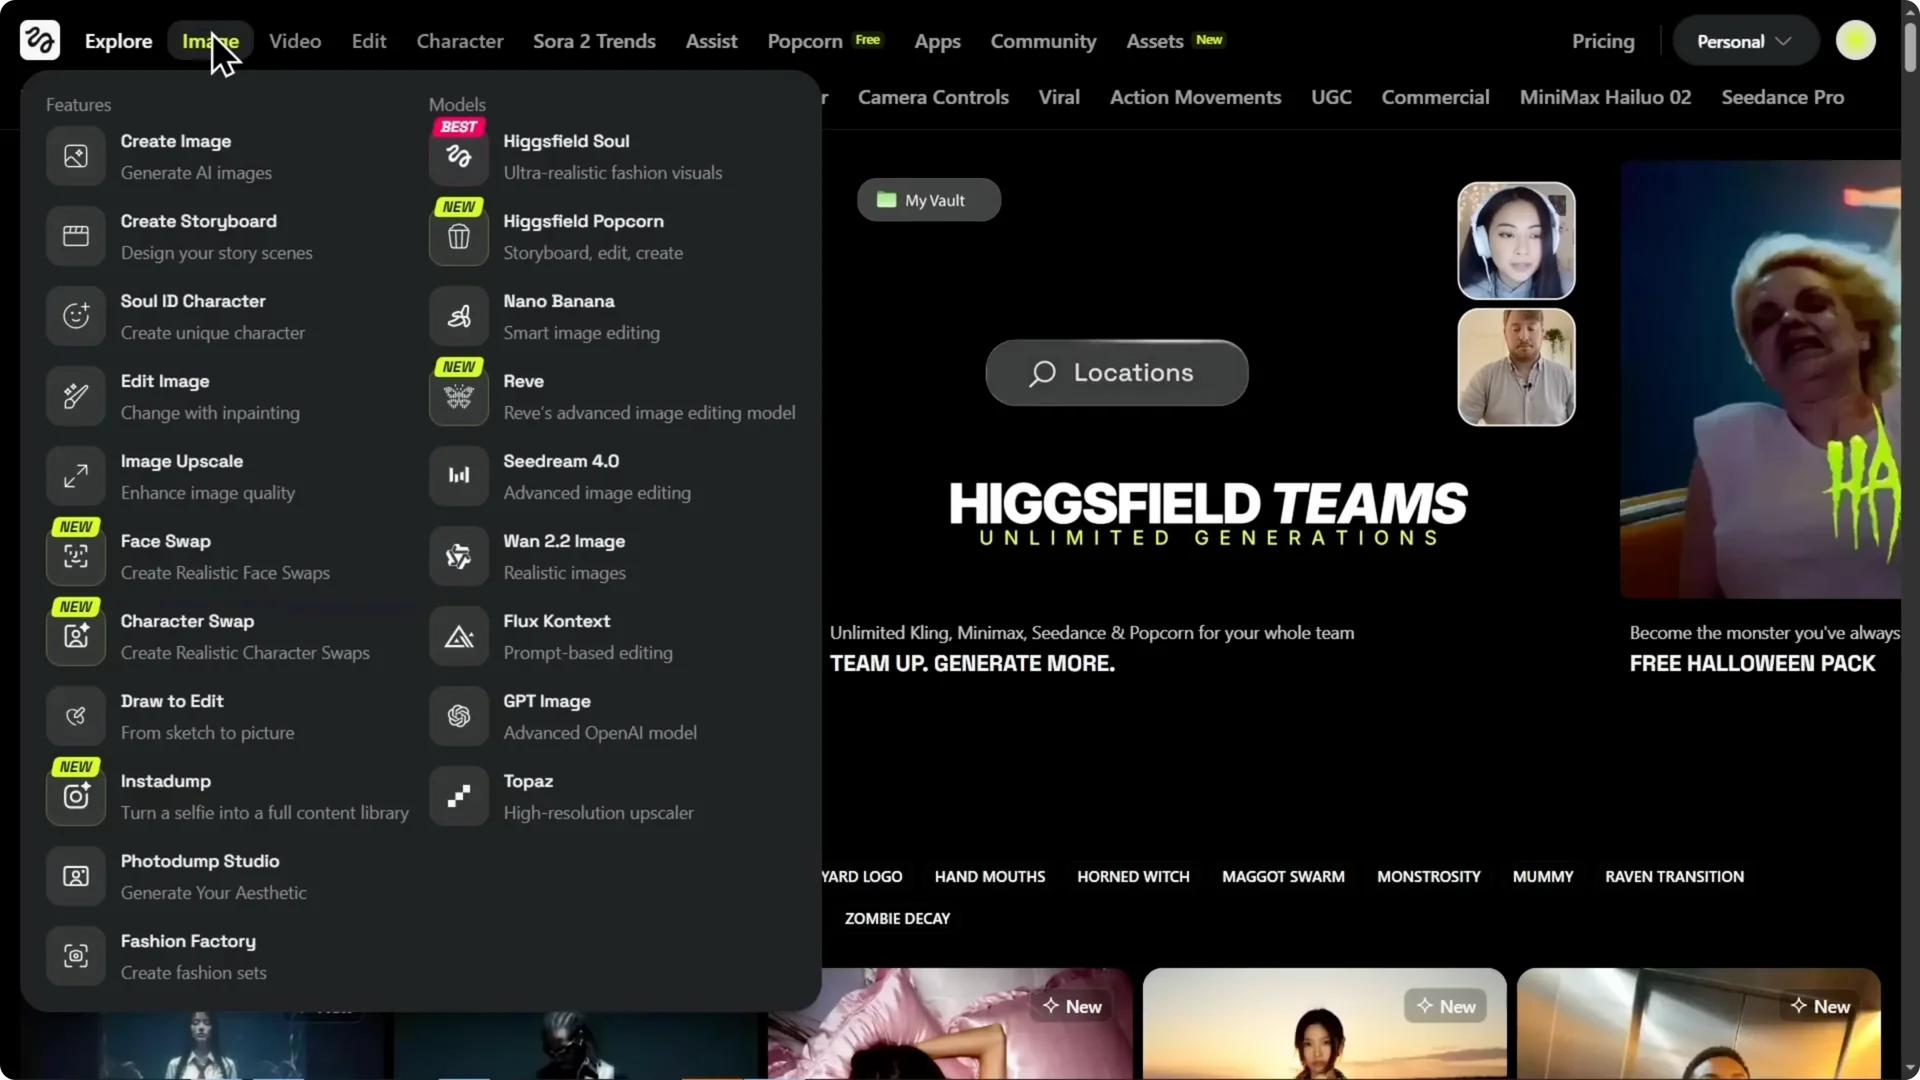
When you log in to Higsfield, you land on the Explore page. There are two quick paths to Face Swap.
Step 1 – Go to the top navigation bar, hover over the Character tab, and click Face Swap in the dropdown.
Step 2 – Or hover over the Image tab and choose the Face Swap feature there.
The interface is clean. You get a slot for your photo and a slot for the target image. That’s it.
Higgsfield Face Swap Tutorial: Setup and a Key Tip
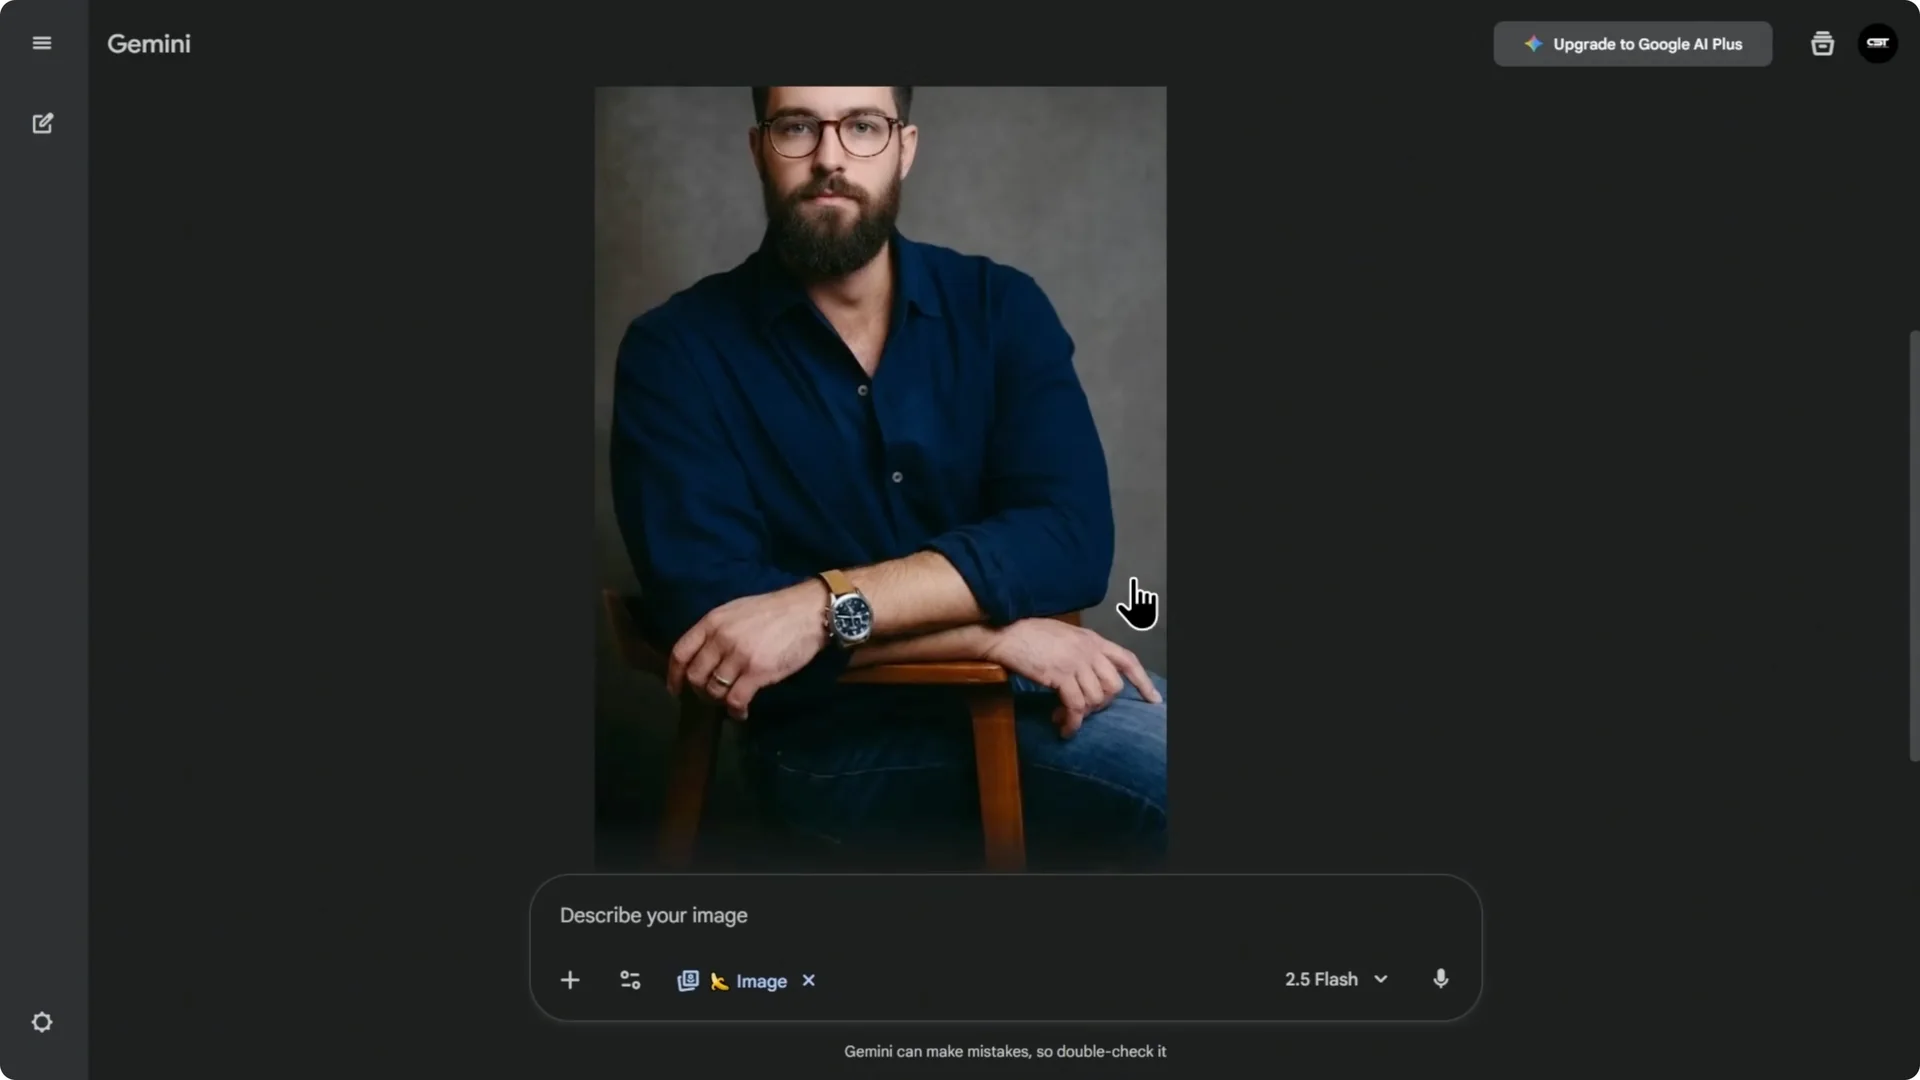
I’ve loaded my control photo. Here’s a quick tip: use a clear, well-lit selfie facing the camera.
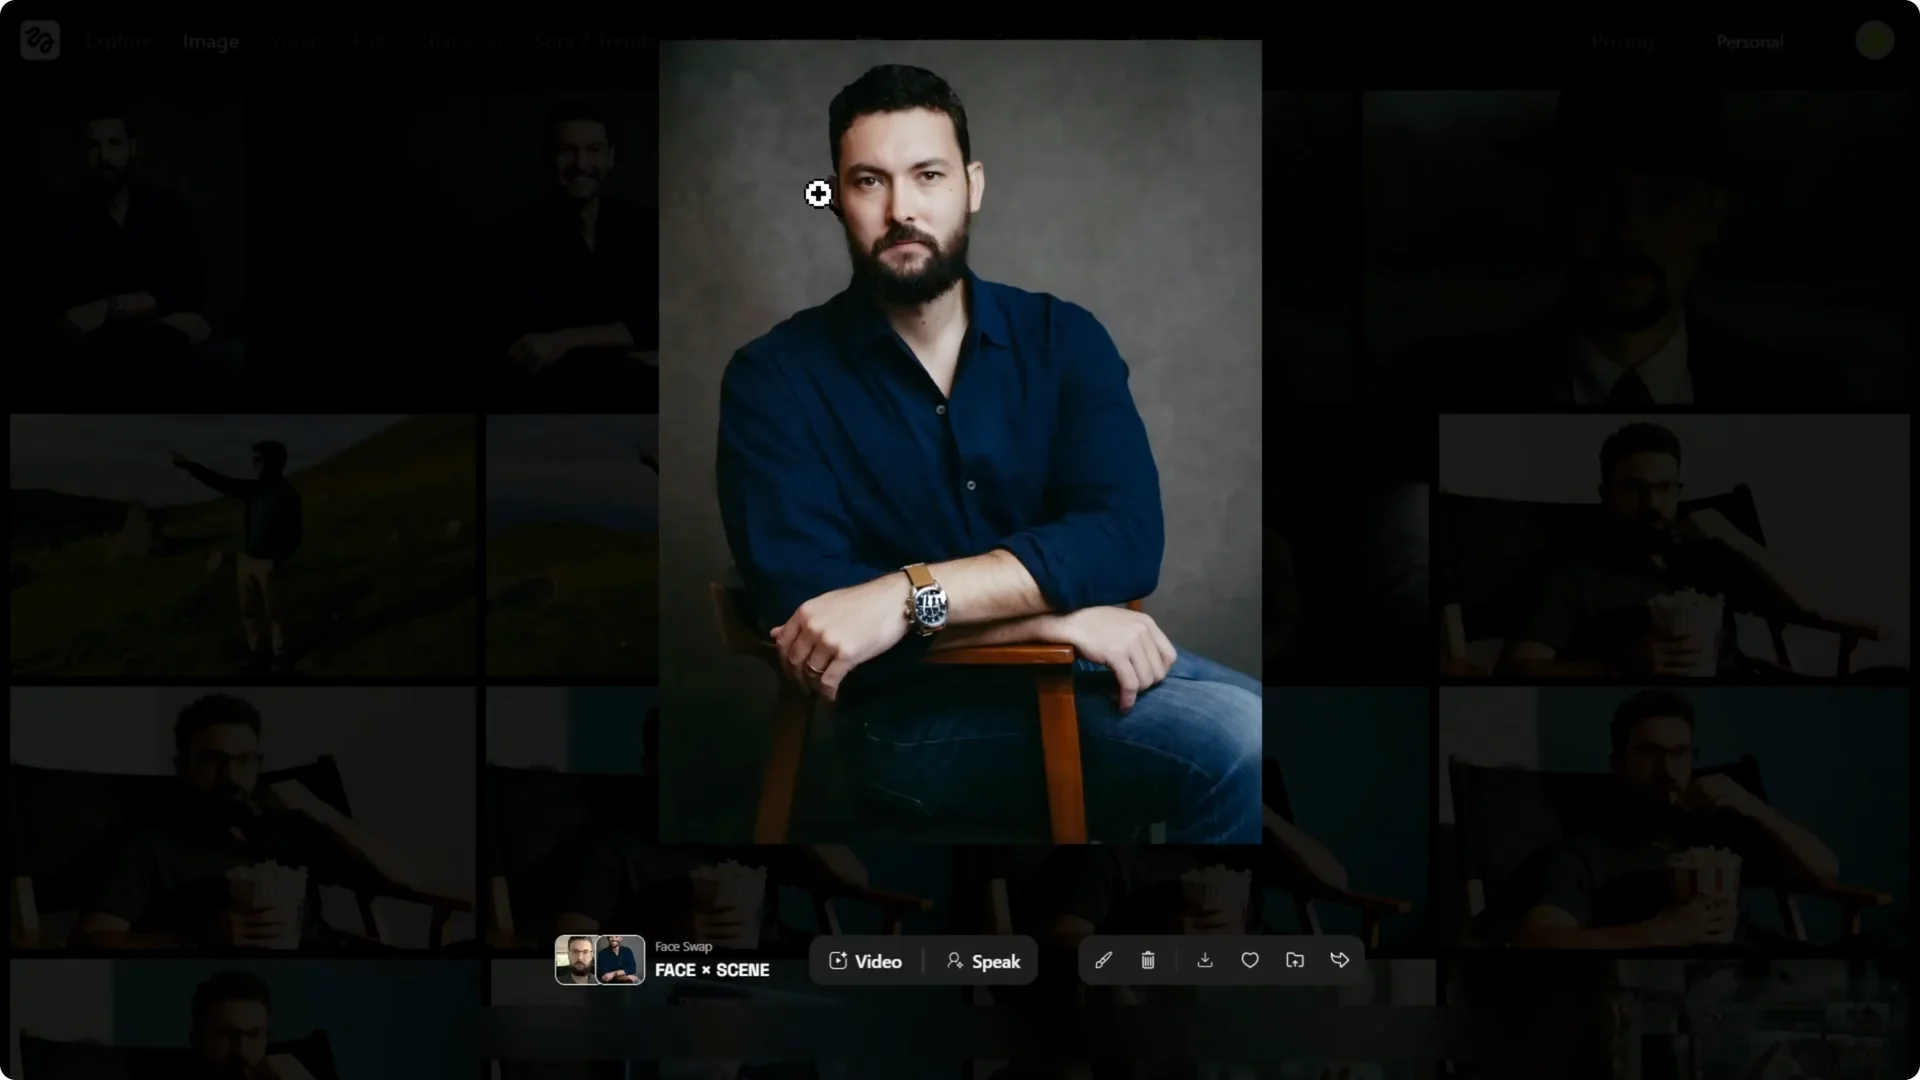
For the target, I’m grabbing a pro studio shot. I’ll hit generate with the default settings first.
I notice the default aspect ratio is 16×9, but my target image is vertical, about 3×4. I’m changing the aspect ratio to 3×4 to match the target and generating that version too.
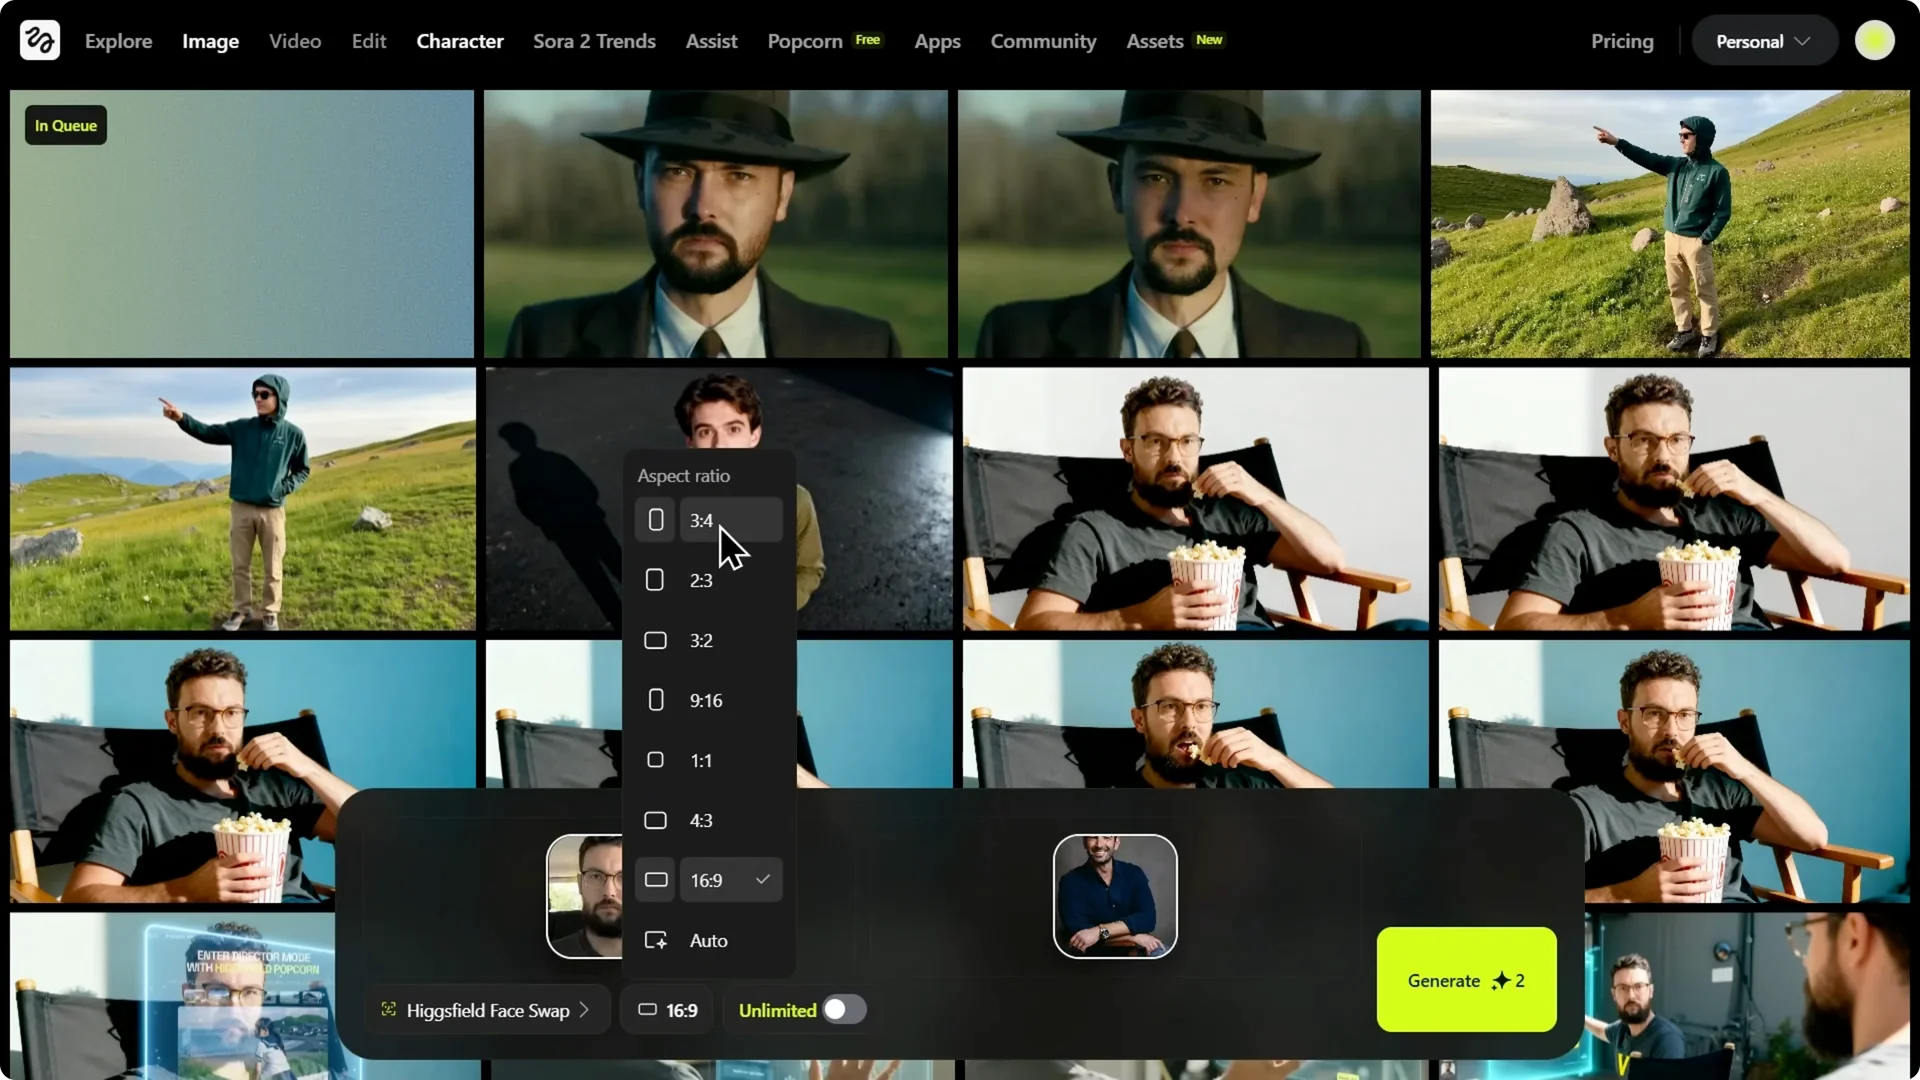
The default horizontal result puts my face in, but the framing is wrong because it tried to force a vertical image into a horizontal box.
The 3×4 version we did by matching the aspect ratio is perfect. The framing, lighting, and skin tone are all there.
Pro tip: match your aspect ratio to your target image. It makes all the difference.
Read More: Nano Banana Pro Higgsfield
Higgsfield Face Swap Tutorial: Stylized Black and White
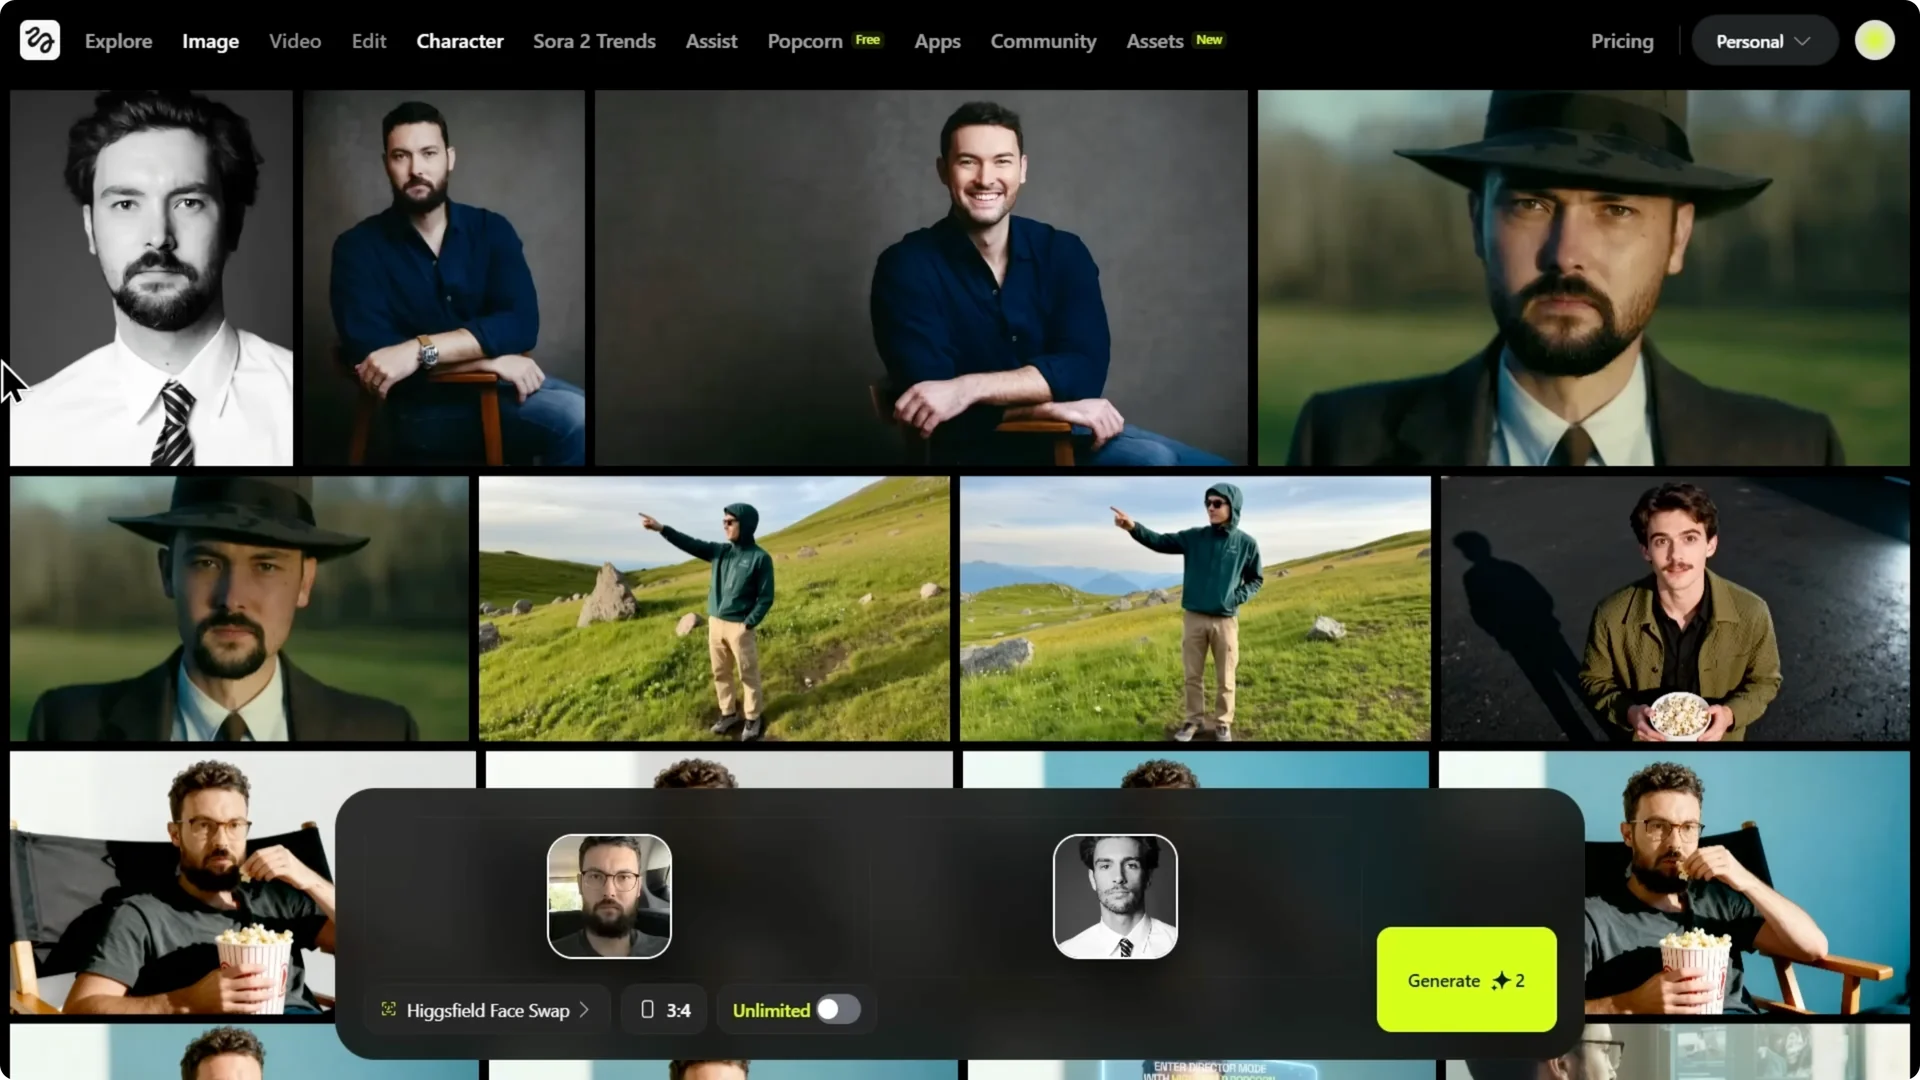
Let’s try a black and white photo as a tough test. Can it keep that high contrast black and white vibe, or is it going to add color?
It’s perfectly black and white. It didn’t just paste my face. It understood the lighting, kept the high contrast shadows, matched the lack of color, and held a clean hairline with real-looking skin texture.
For fairness, I ran the same test on Nano Banana with the same selfie and studio target.
The result had a fake plastic sheen, wrong skin tone, and lost the original grain and texture. It just looks cheap.
For a broader comparison of outputs and methods, see this Nano Banana vs Higsfield rundown.
Higgsfield Face Swap Tutorial: Test 1 – Pro Headshot
For a pro headshot, Higsfield nails it. It holds vibe consistency in lighting, texture, and tone, not just the face outline.
If your first pass looks off, check aspect ratio first. Matching it to the target image fixes most framing and composition problems.
Higgsfield Face Swap Tutorial: Test 2 – Viral Thumbnail Recreation
I’m keeping the same control photo and using one of the most famous thumbnails on the planet as the target. This is not a simple headshot. There’s fire and harsh lighting in a complex scene.
This target is 16×9, so I’m setting the aspect ratio to 16×9 and generating. It doesn’t just paste my face. It matches the expression, keeps gritty skin texture, carries the warm lighting from the fire, and looks a little sweaty and dirty in a good way.
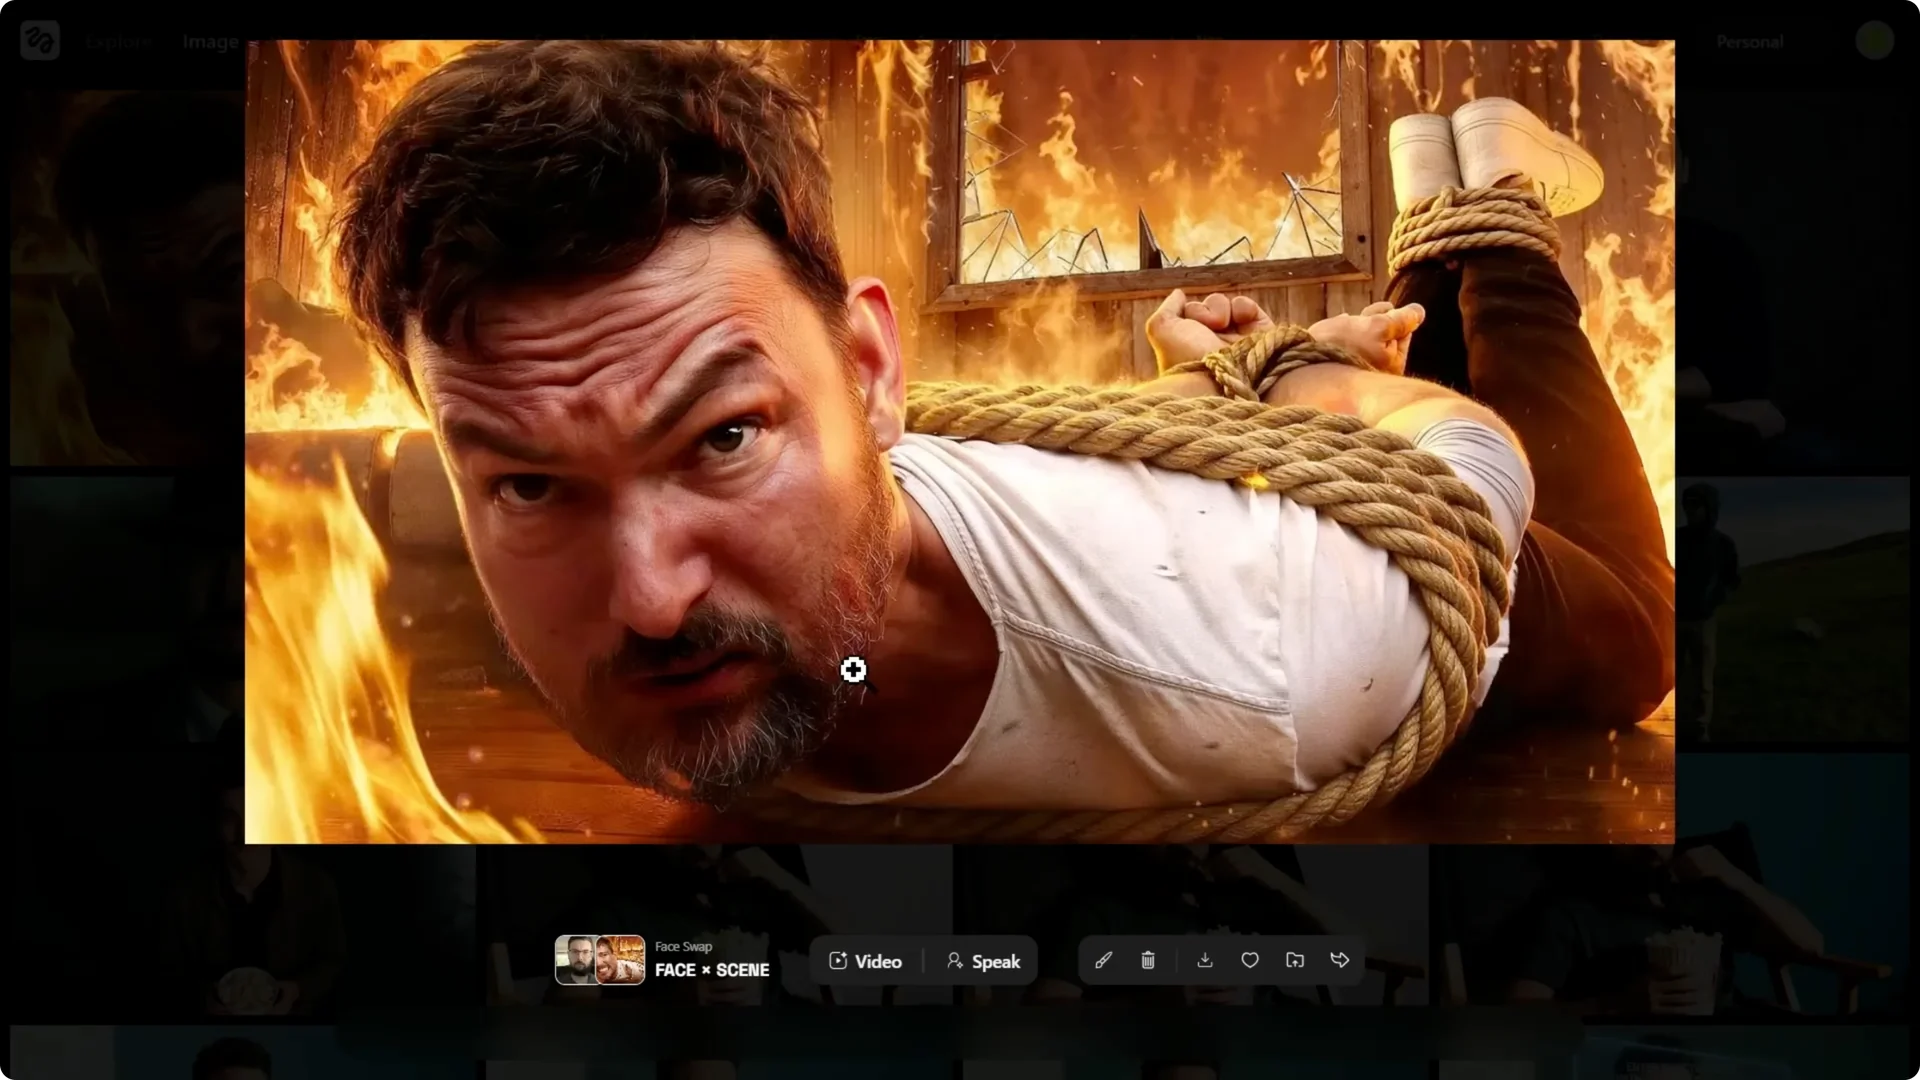
It even blends the face into the torn shirt. We just made a high stress Mr. Beast style thumbnail in one click.
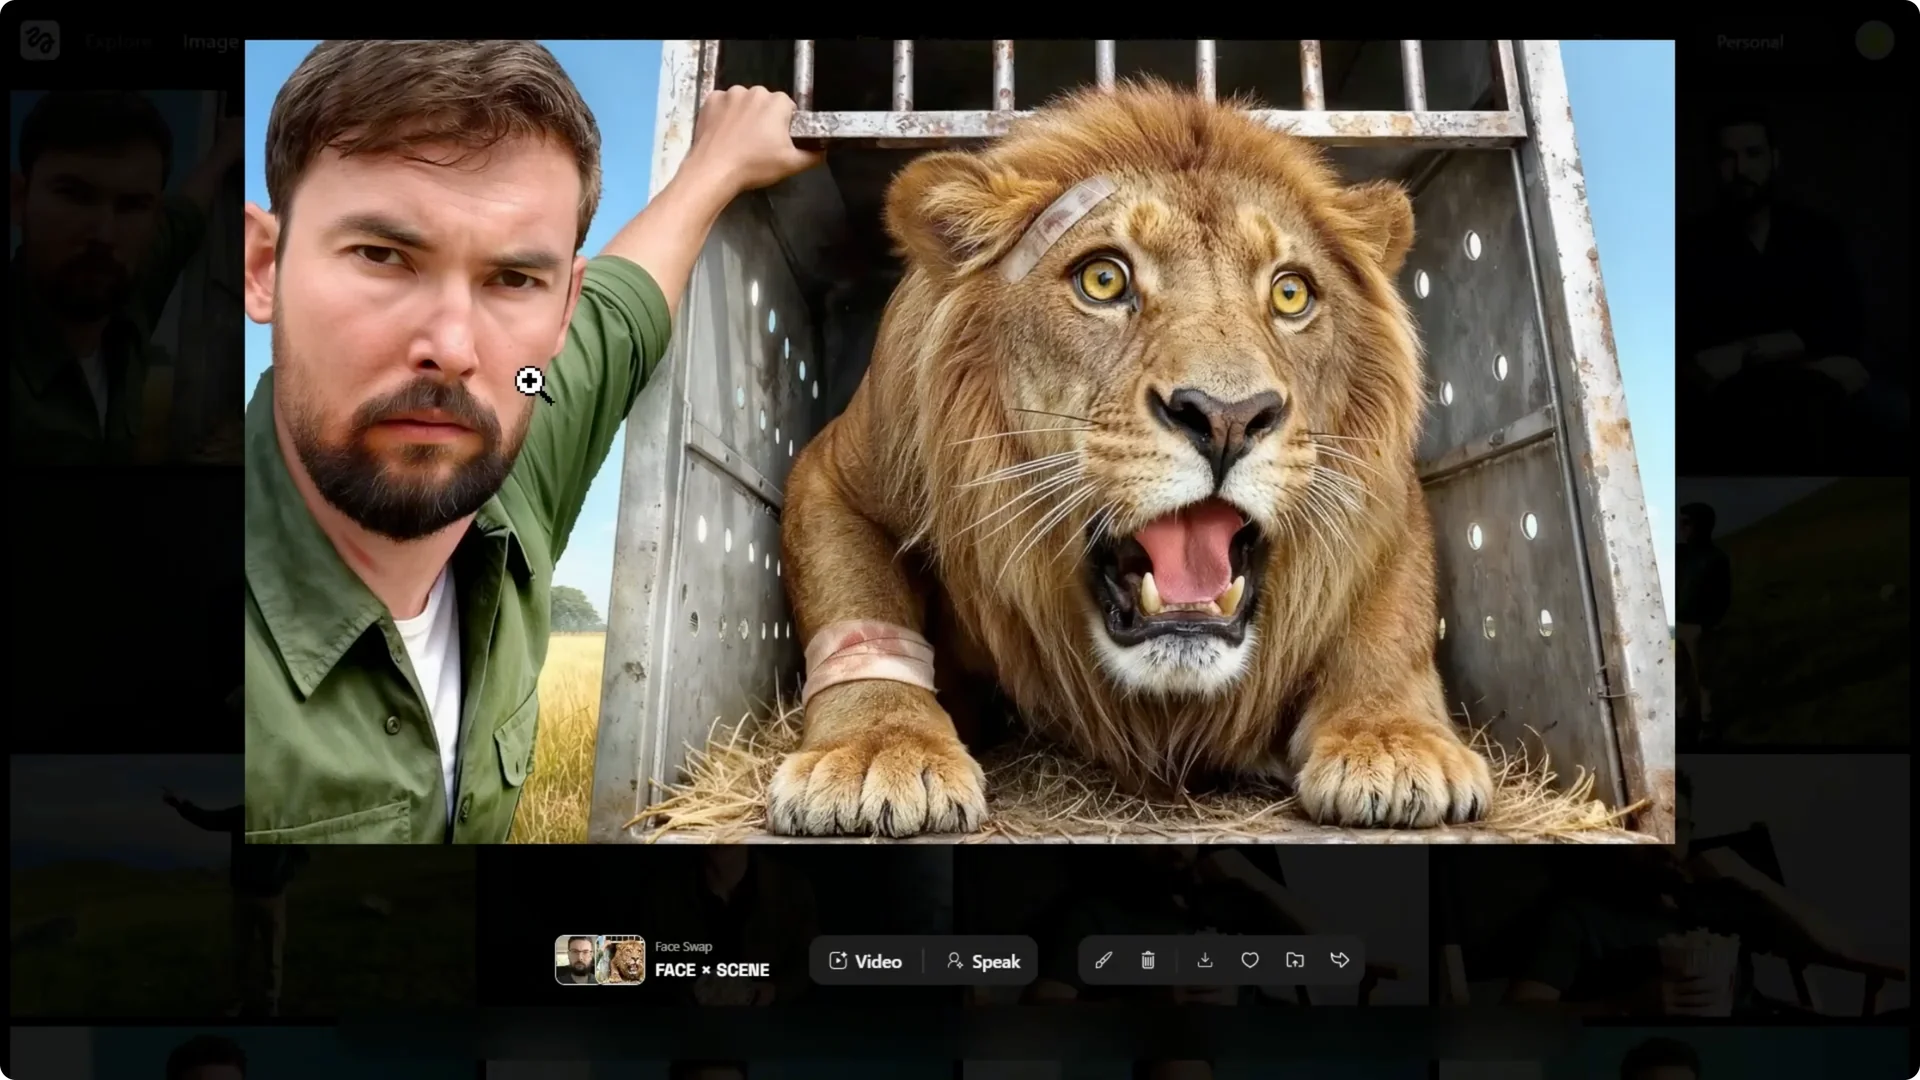
Let’s try the surprised lion thumbnail with two subjects. The test here is whether it targets the human face cleanly and keeps the other subject the same. Again, 16×9 ratio, generate, done.
It’s bright outdoor light with a slight green cast, and it nails it. It even matches my beard cleanly. You take one photo and can A/B test dozens of high impact thumbnails in a few minutes.
This speeds up workflow in a big way. For faster iteration and cleanup tricks, check these quick editing tips for Higsfield.
Higgsfield Face Swap Tutorial: Test 3 – Cinematic Vibe Check
I’m keeping the same control photo and switching the target to a vintage black and white fashion photo. It has heavy film grain, a specific old-school vibe, and it’s a full body shot.
It looks like a 9×6 vertical. I’m setting it to 9×6 and generating. The result is really good.
It’s not as mind-blowing as the first two because the original face angle was different. But the black and white is perfect, not just desaturated. It matches the contrast and, most important, keeps the film grain so it feels like a vintage photo.
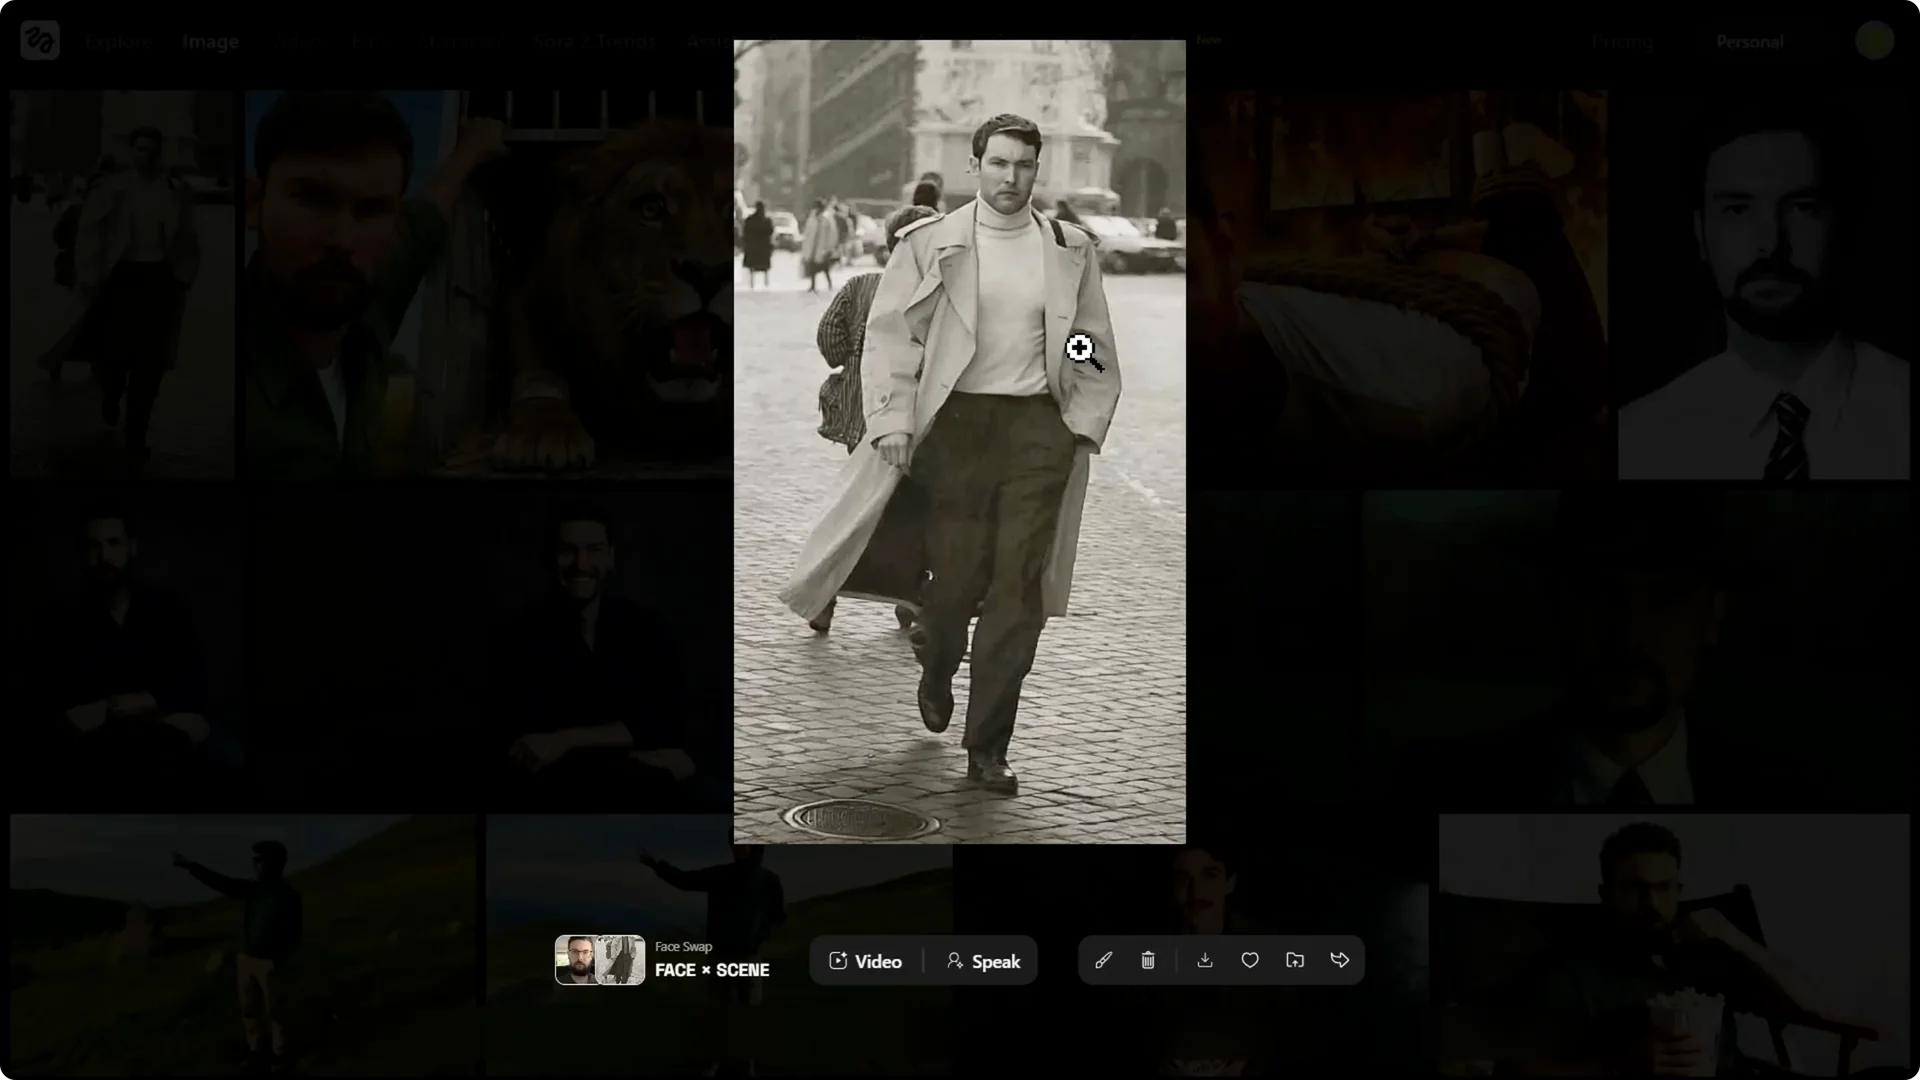
This is the vibe consistency other tools get wrong. Here, the aesthetic holds up across tone, grain, and lighting.
Higgsfield Face Swap Tutorial: Final Verdict
Higsfield’s claim isn’t just hype. They nailed it across studio headshots, complex thumbnails, and stylized art photos.
Other AI tools often give you a cheap plastic look, and Photoshop is a ton of work. Higsfield is the first tool I’ve seen that is both one-click and gives you a high quality, believable result.
Keep these tips in mind for consistent outputs.
Start with a clean, well-lit selfie facing the camera.
Choose a high quality target image with the vibe you want.
Match your aspect ratio to the target image before you generate.
Trust your taste – picking strong targets is the real skill.
The use cases are broad. A/B test thumbnails, create multiple ad variations from one photo, try new looks for a personal brand, or have fun making high quality memes. Once you match aspect ratios and pick strong targets, the results speak for themselves.