Audio ducking in Filmora lowers background music under speech and lets it come up when the video goes quiet. It makes your video more engaging and avoids awkward silence. You have probably seen this in many videos and movies.
It is a good practice if you mix voice and music in the same timeline. The goal is simple: keep dialogue clear and let the music breathe in silent moments.
Audio Ducking in Filmora basics
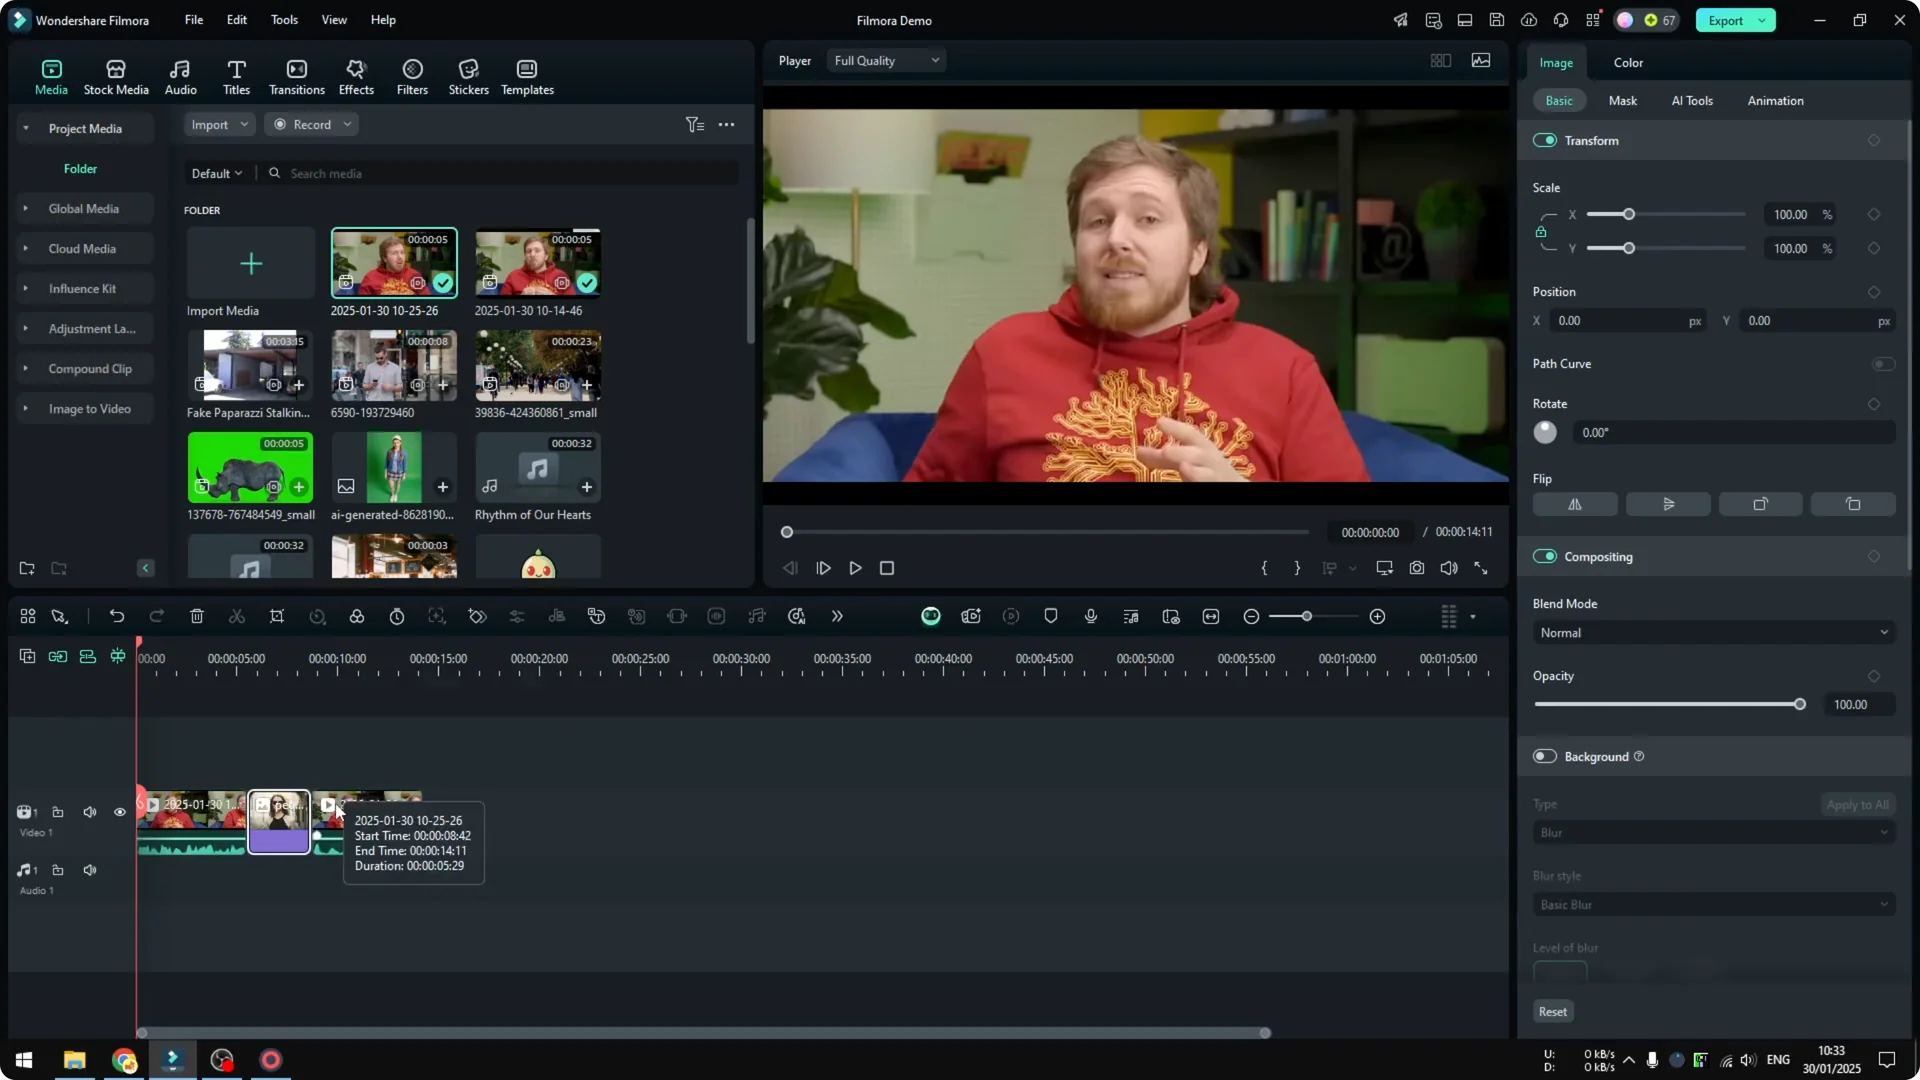
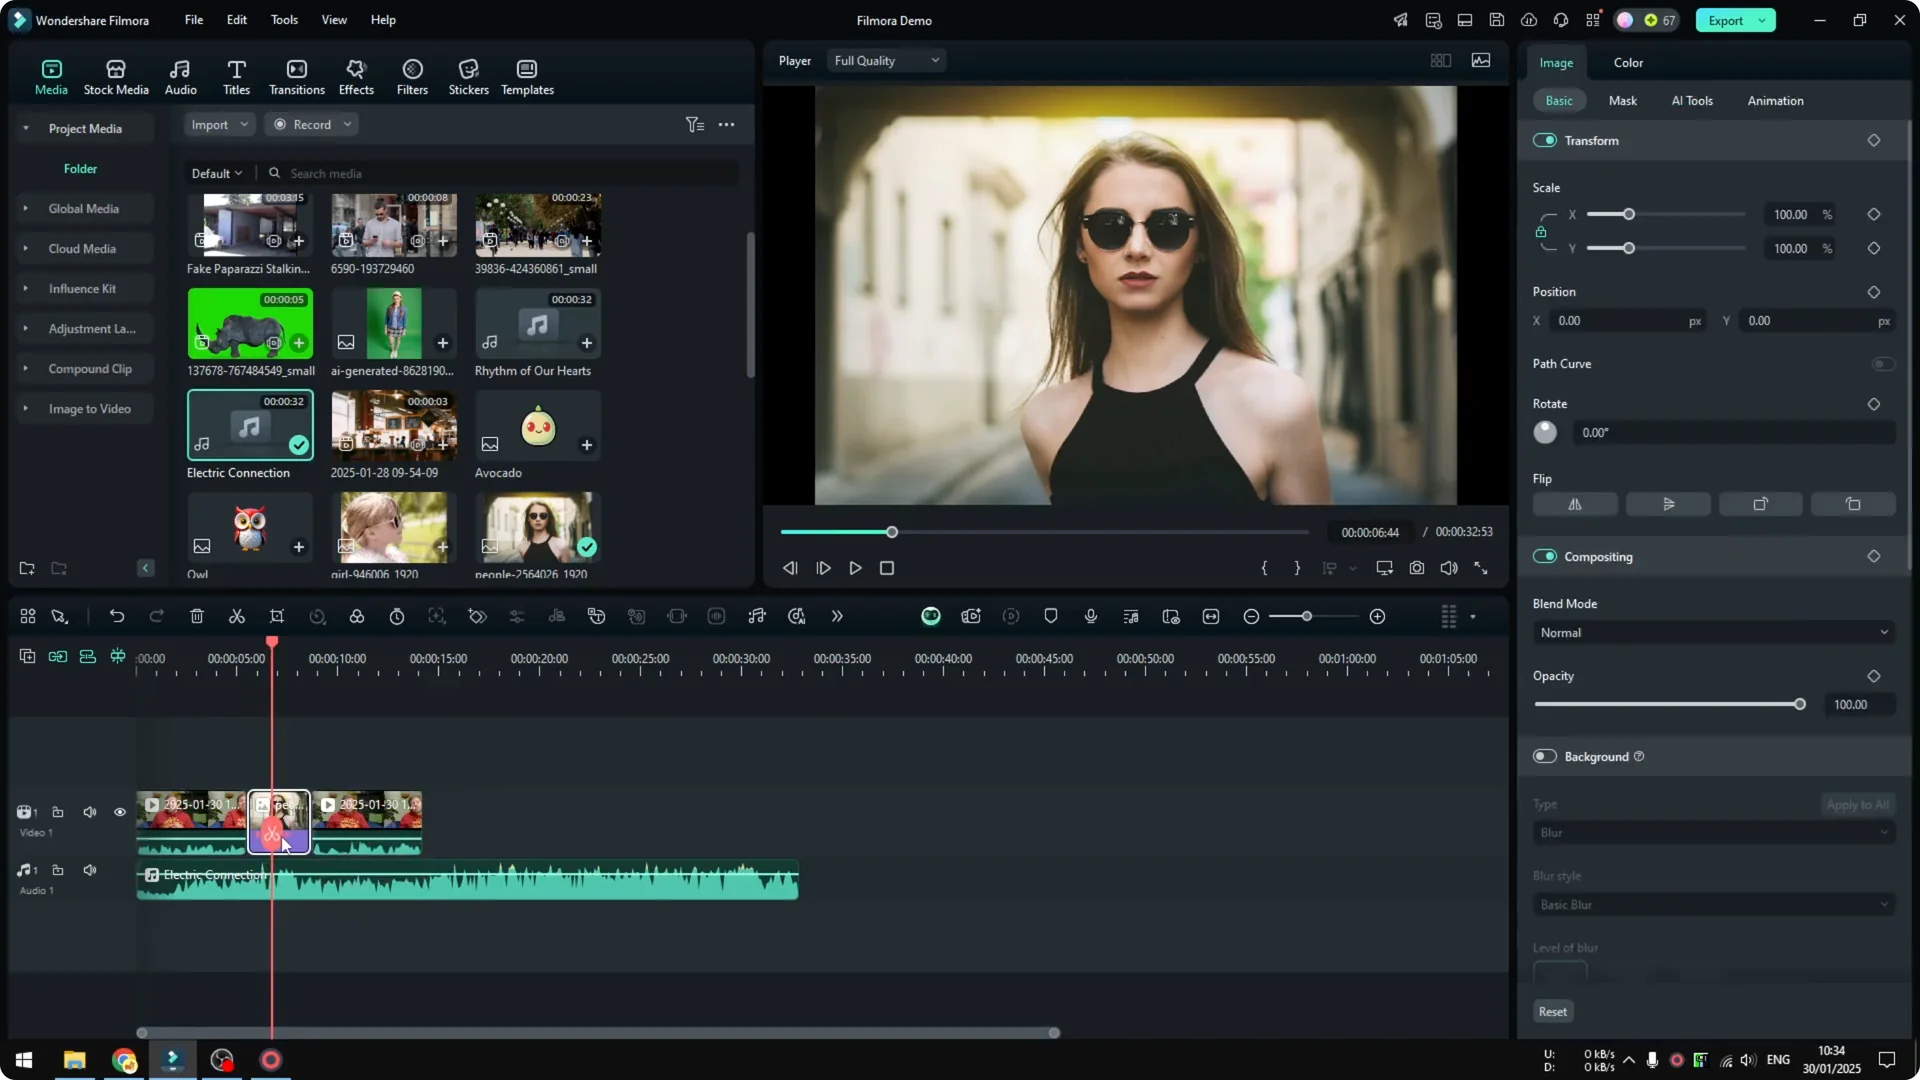
I set up a sequence with a talking clip, a few silent photos, and another clip. Then I added background music and played it back. There was basically no difference in the music level during talking parts and silent parts.
That is where audio ducking comes in. It automatically turns the music down under speech and brings it up in gaps. Here is how to apply it.
Apply Audio Ducking in Filmora
Step 1: Select the clips that should trigger ducking. I select all the dialogue clips that contain a person talking.
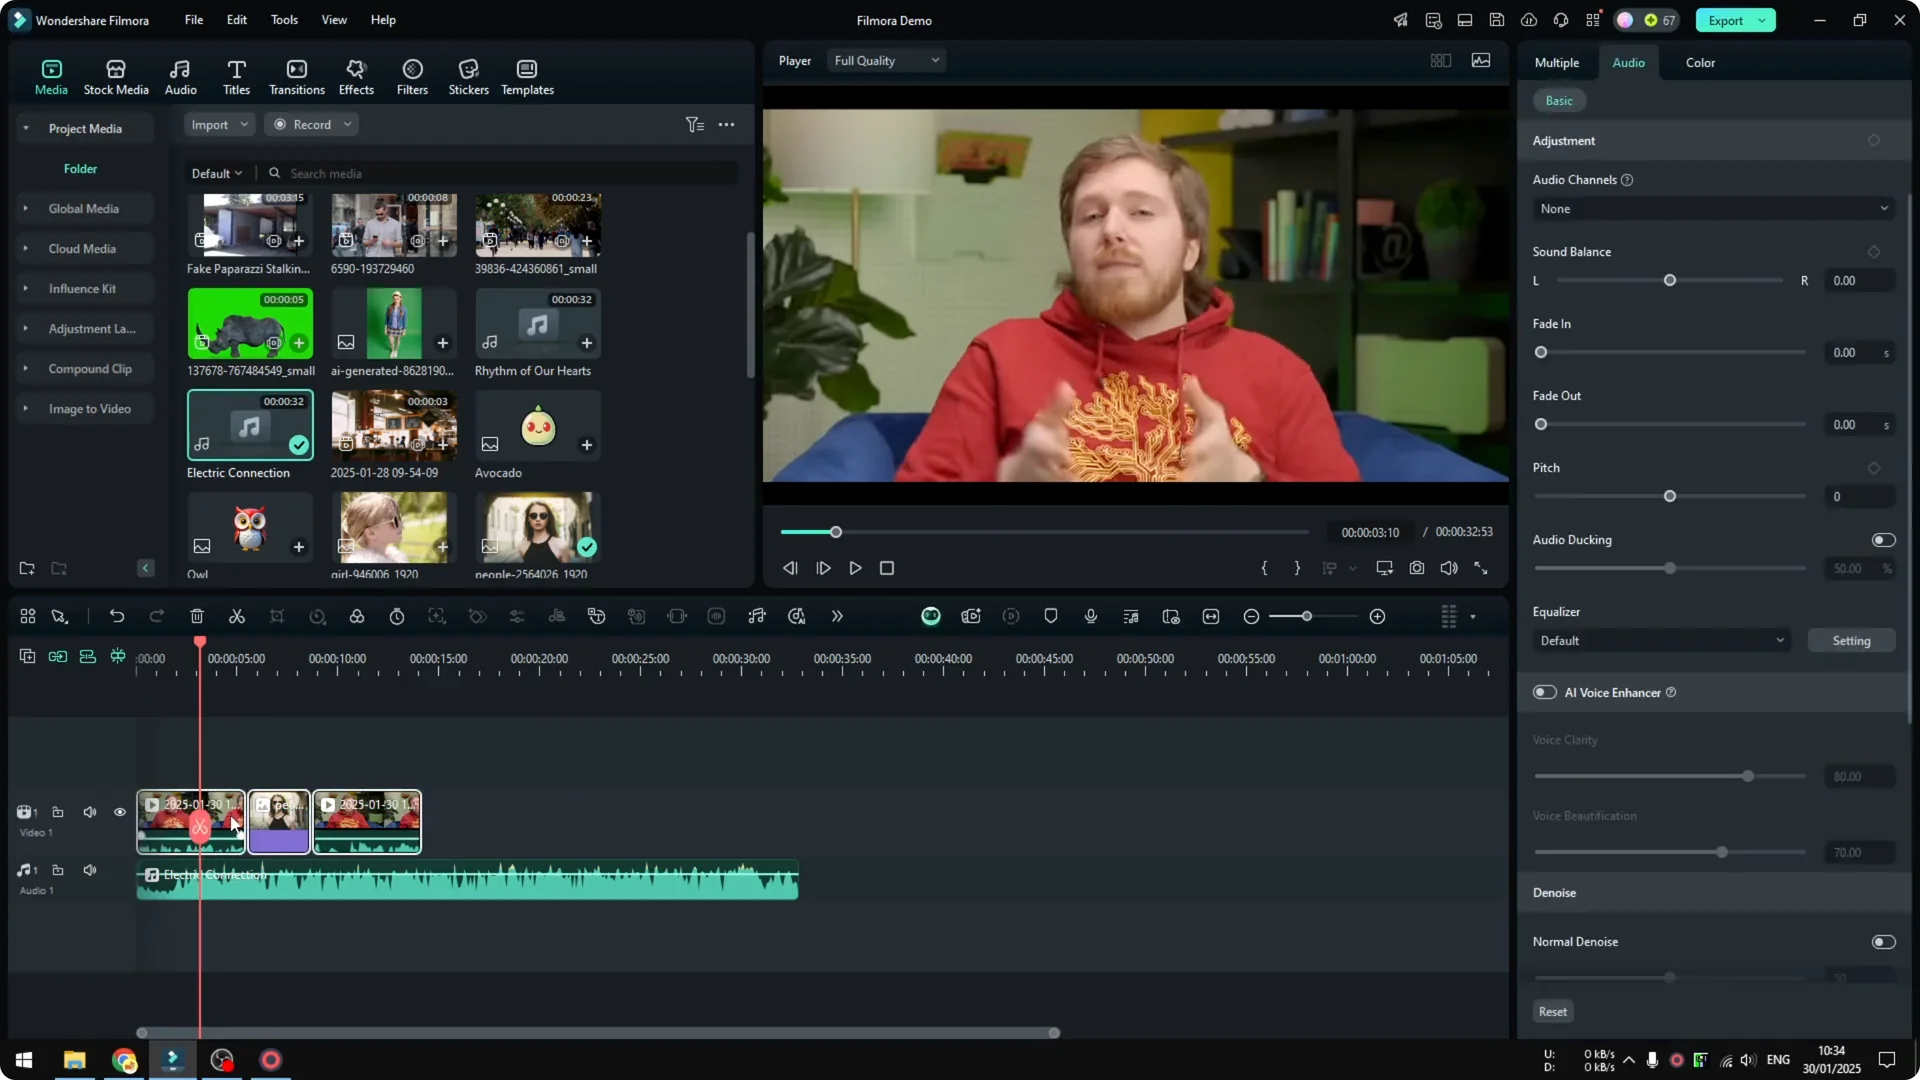
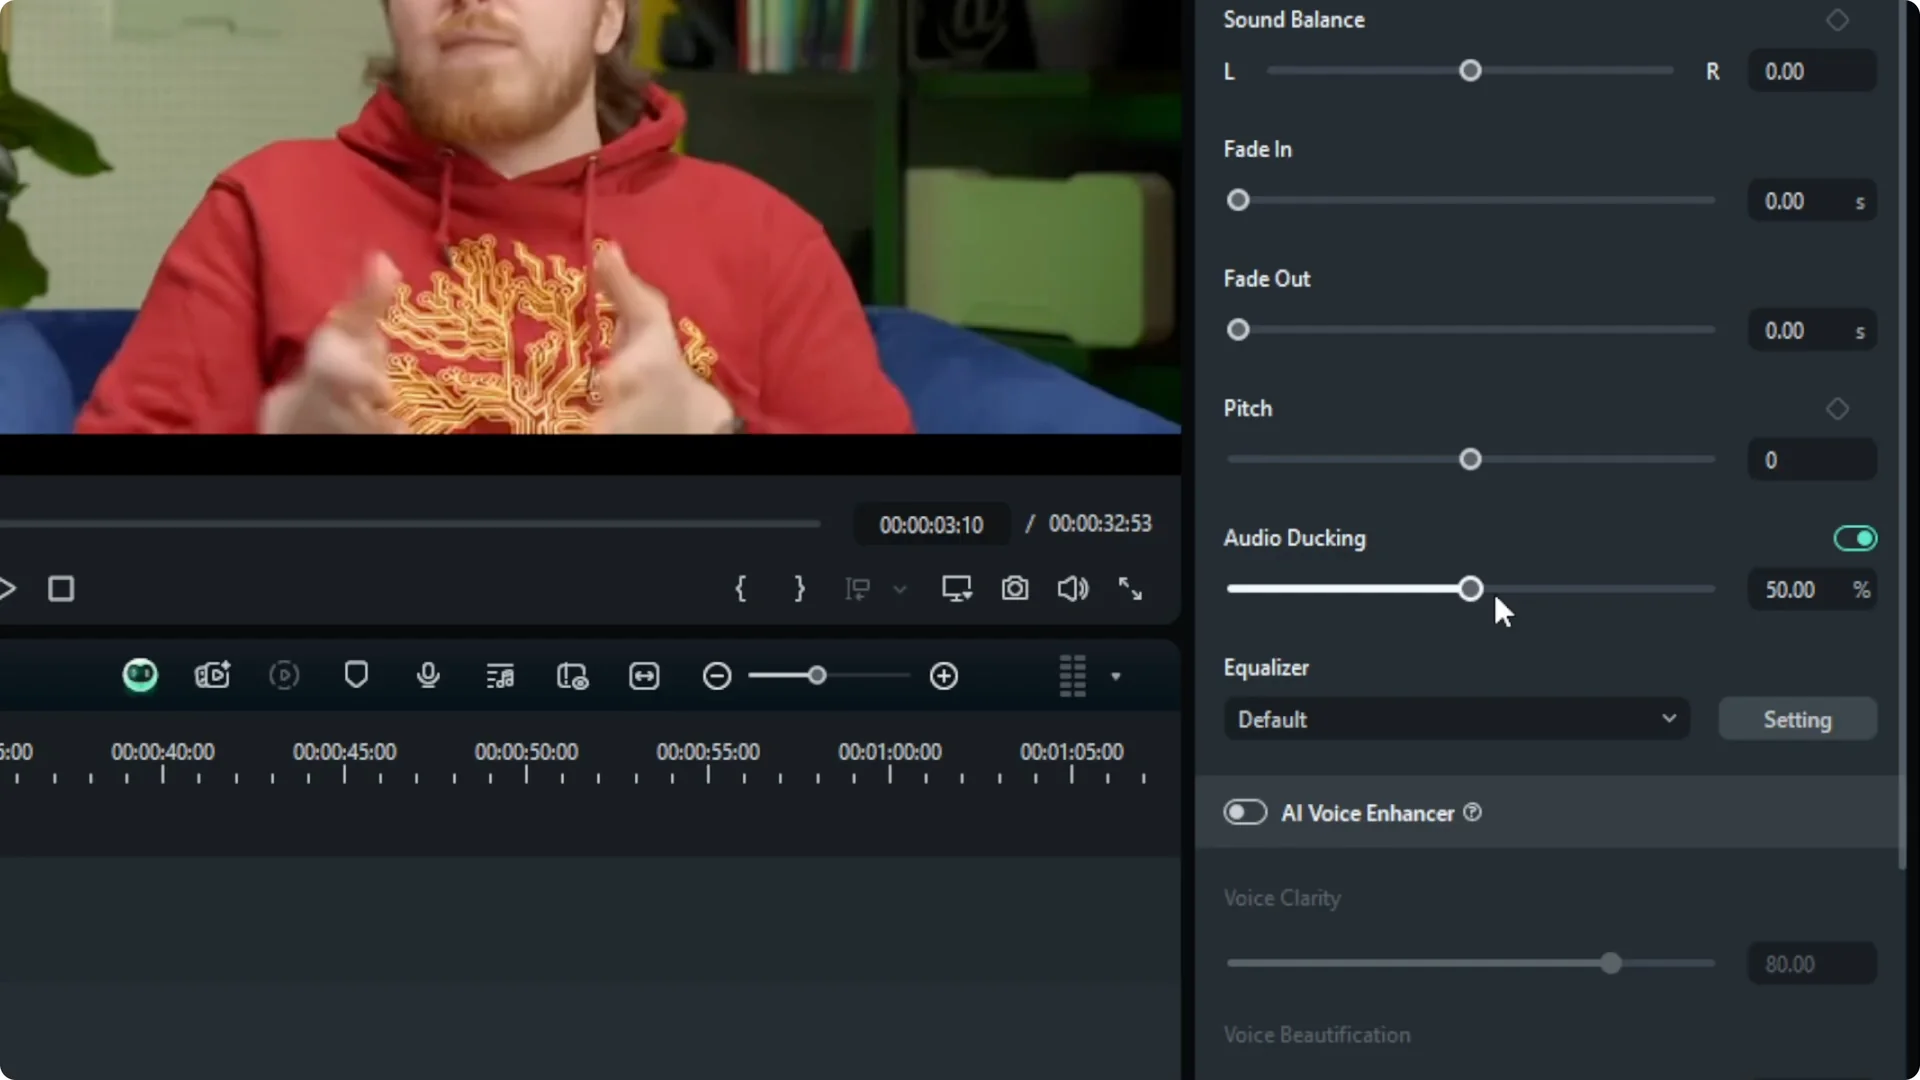
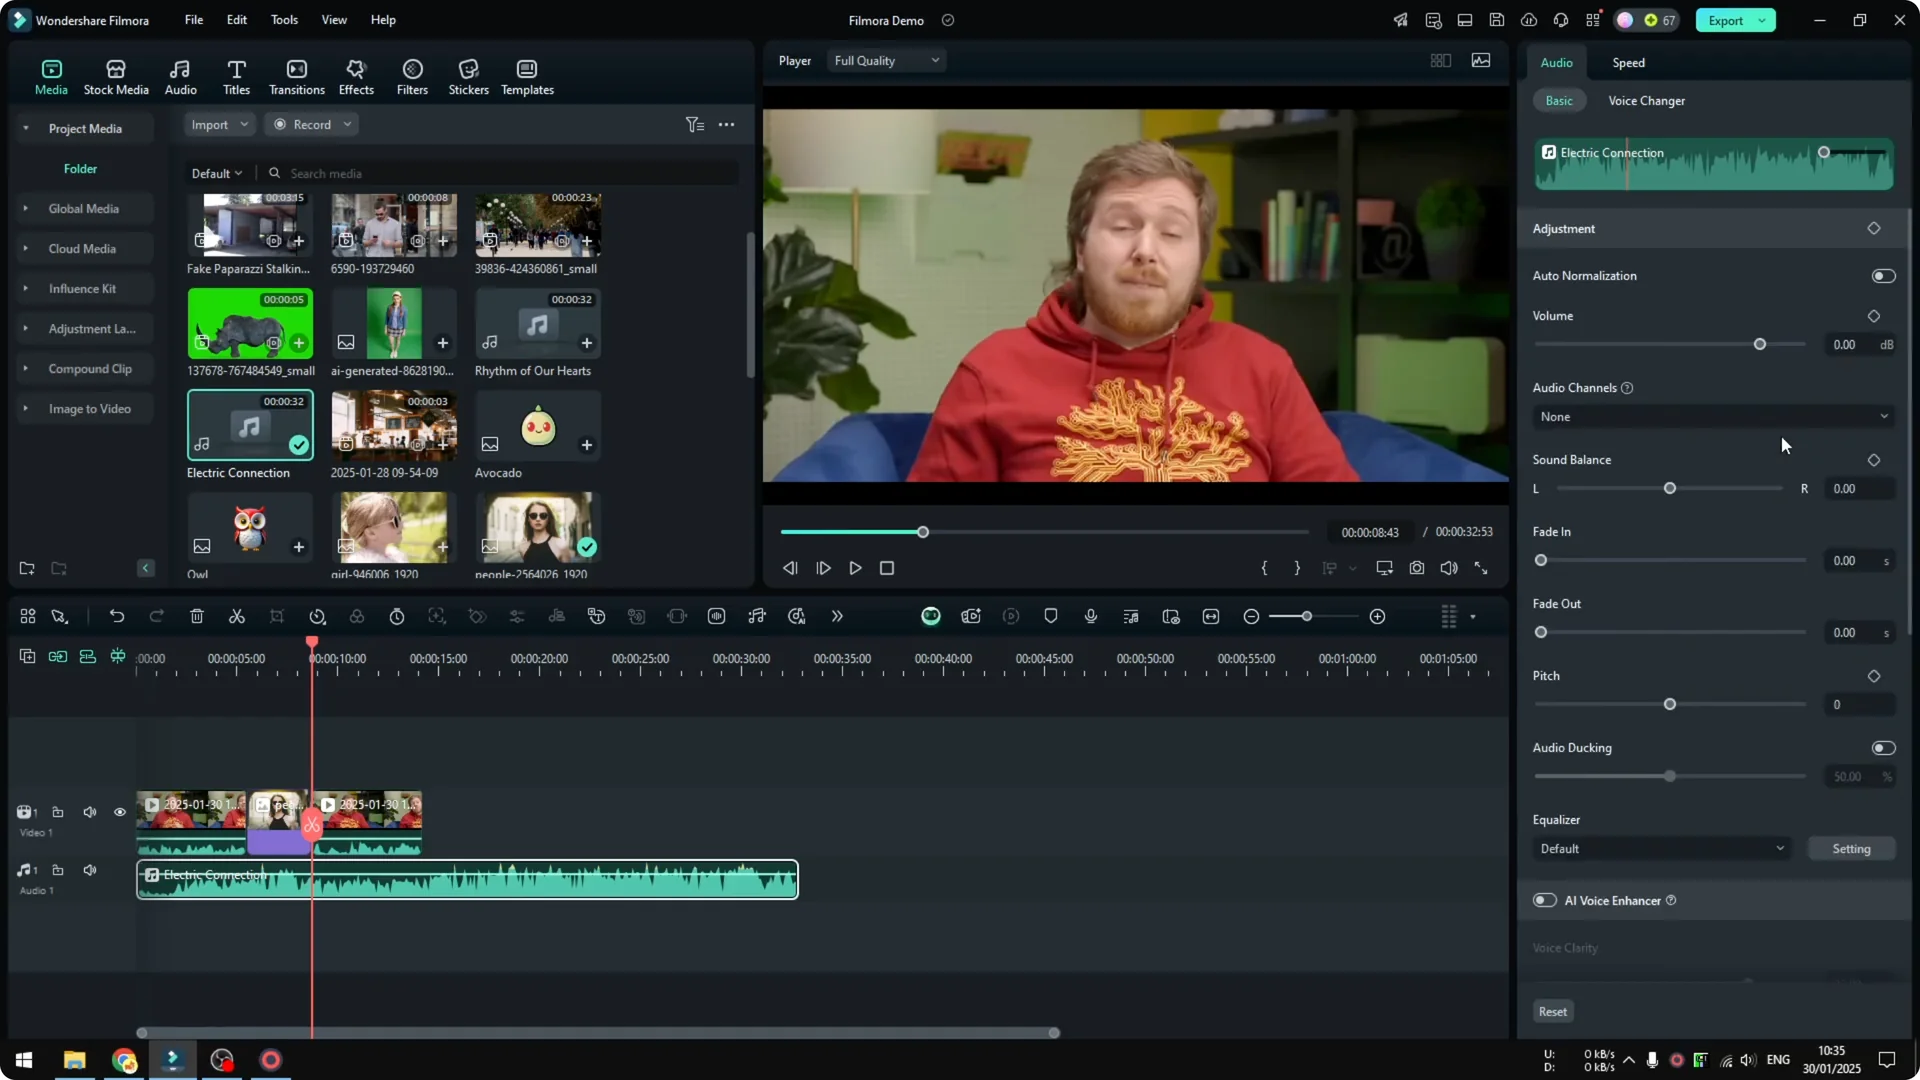
Step 2: Open the Audio panel and enable the Audio Ducking effect. Toggle it on for the selected clips.
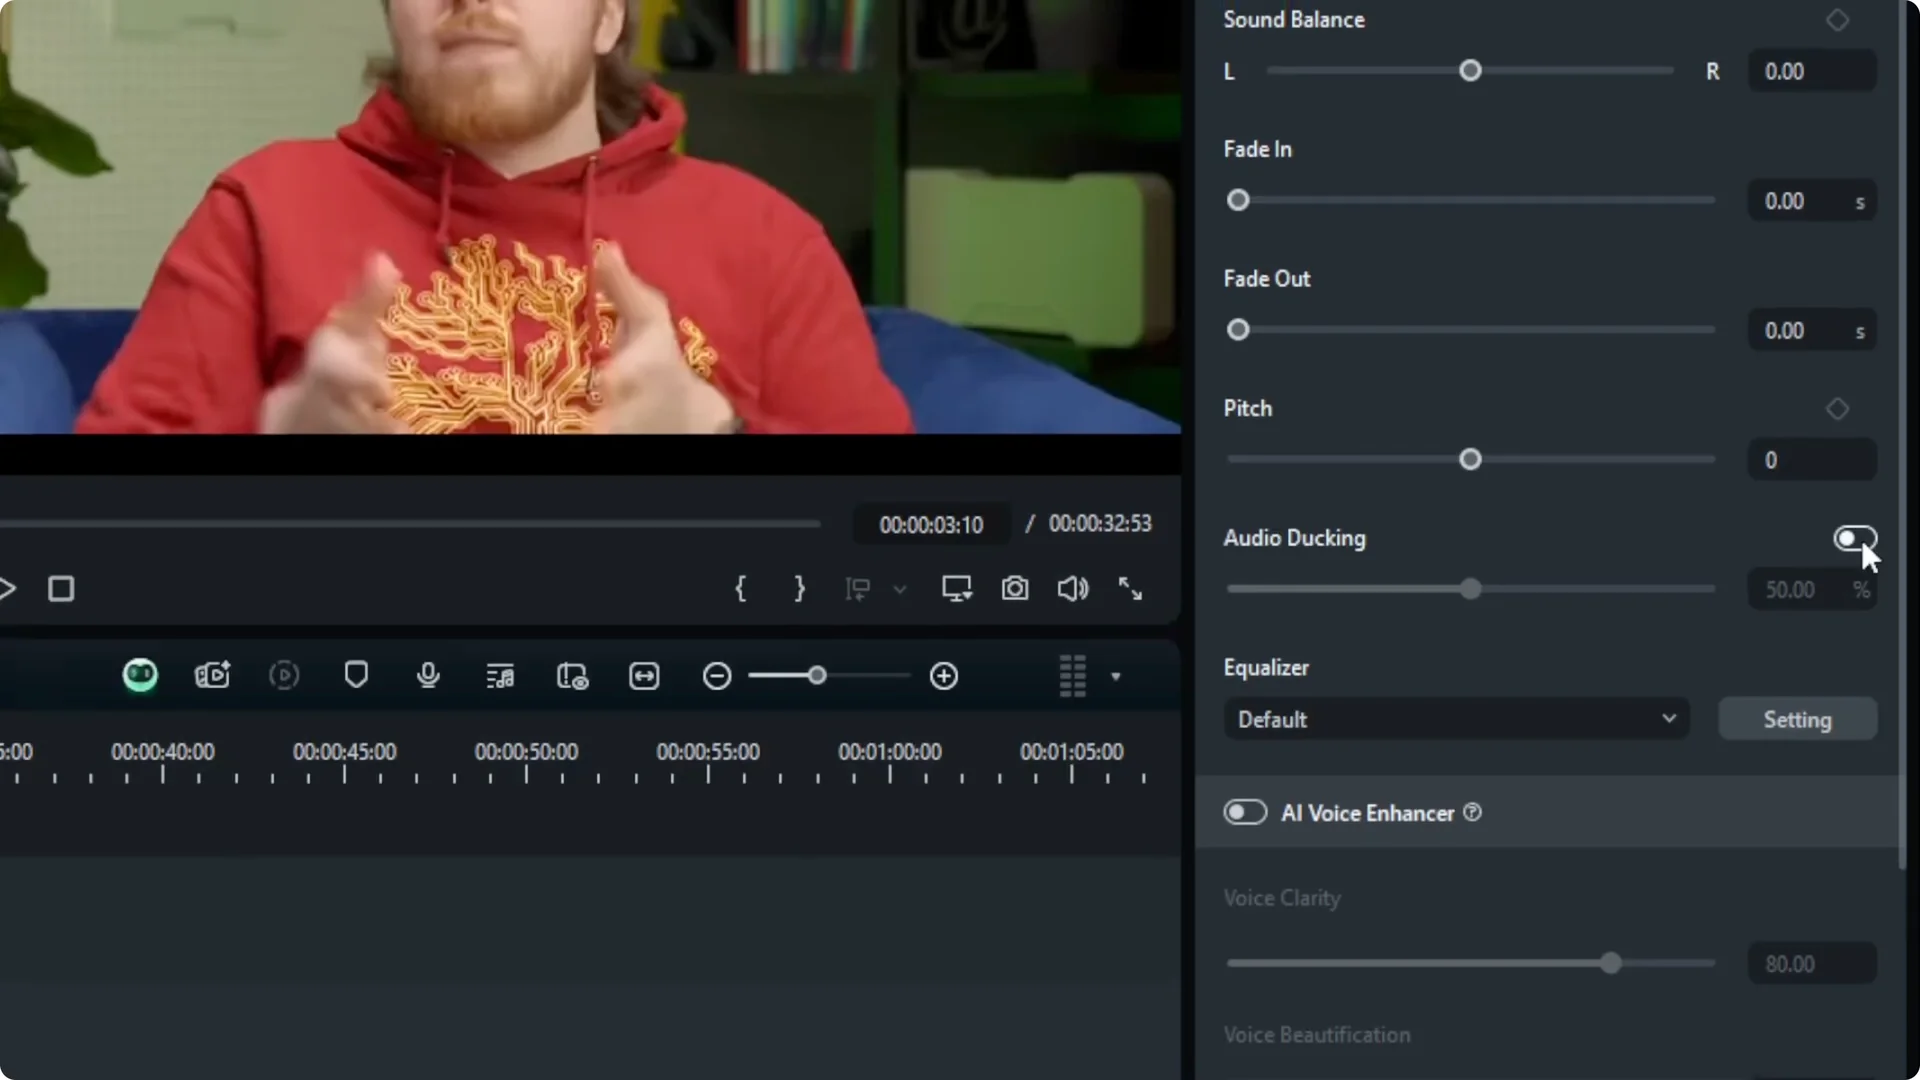
Step 3: Adjust the percentage. The default is 50%, and I usually find 50 to 70 to be good, depending on how loud the background music should be.
Step 4: Preview and fine tune. Test the mix and adjust the ducking amount if the music still feels too strong under the voice.
If you like building motion that follows your soundtrack, you can also make text react to your audio. For that, see how to make text effects respond to audio.
What changes with Audio Ducking in Filmora
After enabling ducking, the music becomes barely audible during speech. It gets louder in sections where the timeline is silent. It automatically softens again as you approach the next clip where a person is talking.
This is the main benefit of audio ducking if you have background music throughout your edit. You get clear dialogue without manually keyframing music levels every time. If you want visuals that pulse with the beat while the music comes up in silent gaps, you can add an AI audio visualizer.
Pair Audio Ducking in Filmora with other tools
You can combine ducking with Auto Normalization to even out overall levels. Sound Balance can help focus the midrange where voice sits. You can also adjust the volume level to something that feels more appropriate after testing a preview.
If your titles need extra pop when the music rises, try a glowing neon text effect. It stands out nicely when the background track swells in silent moments.
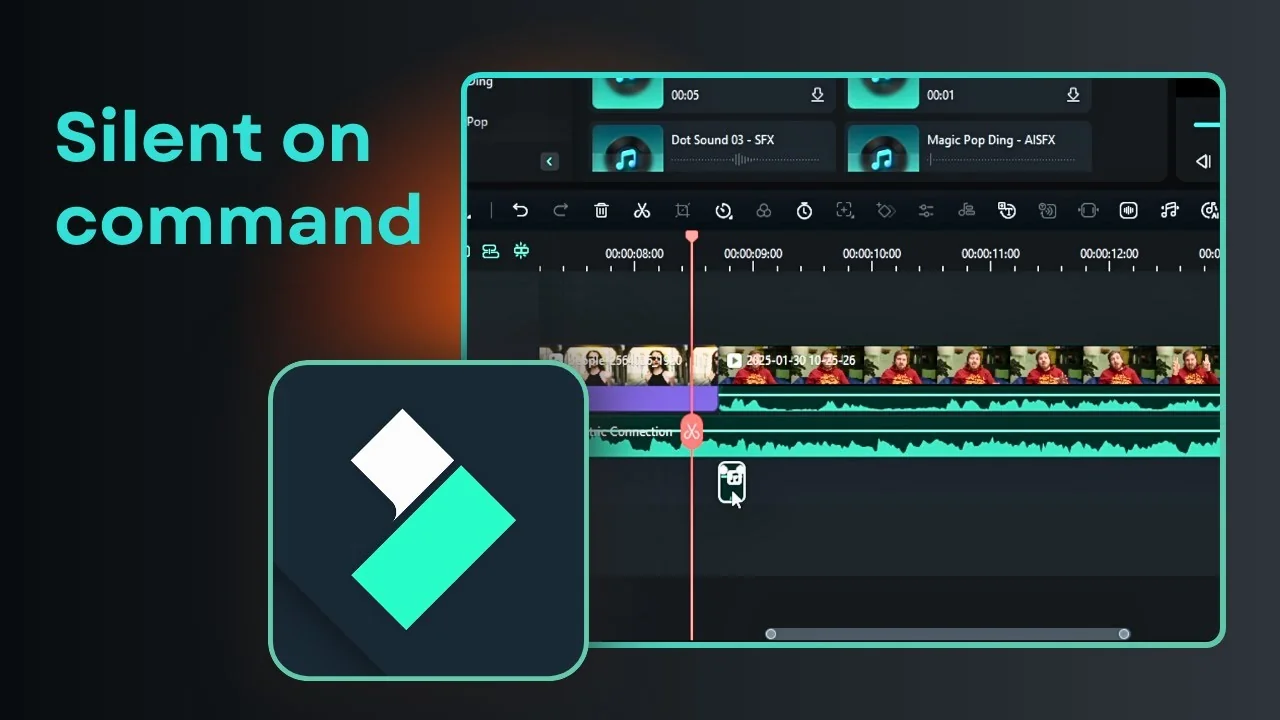
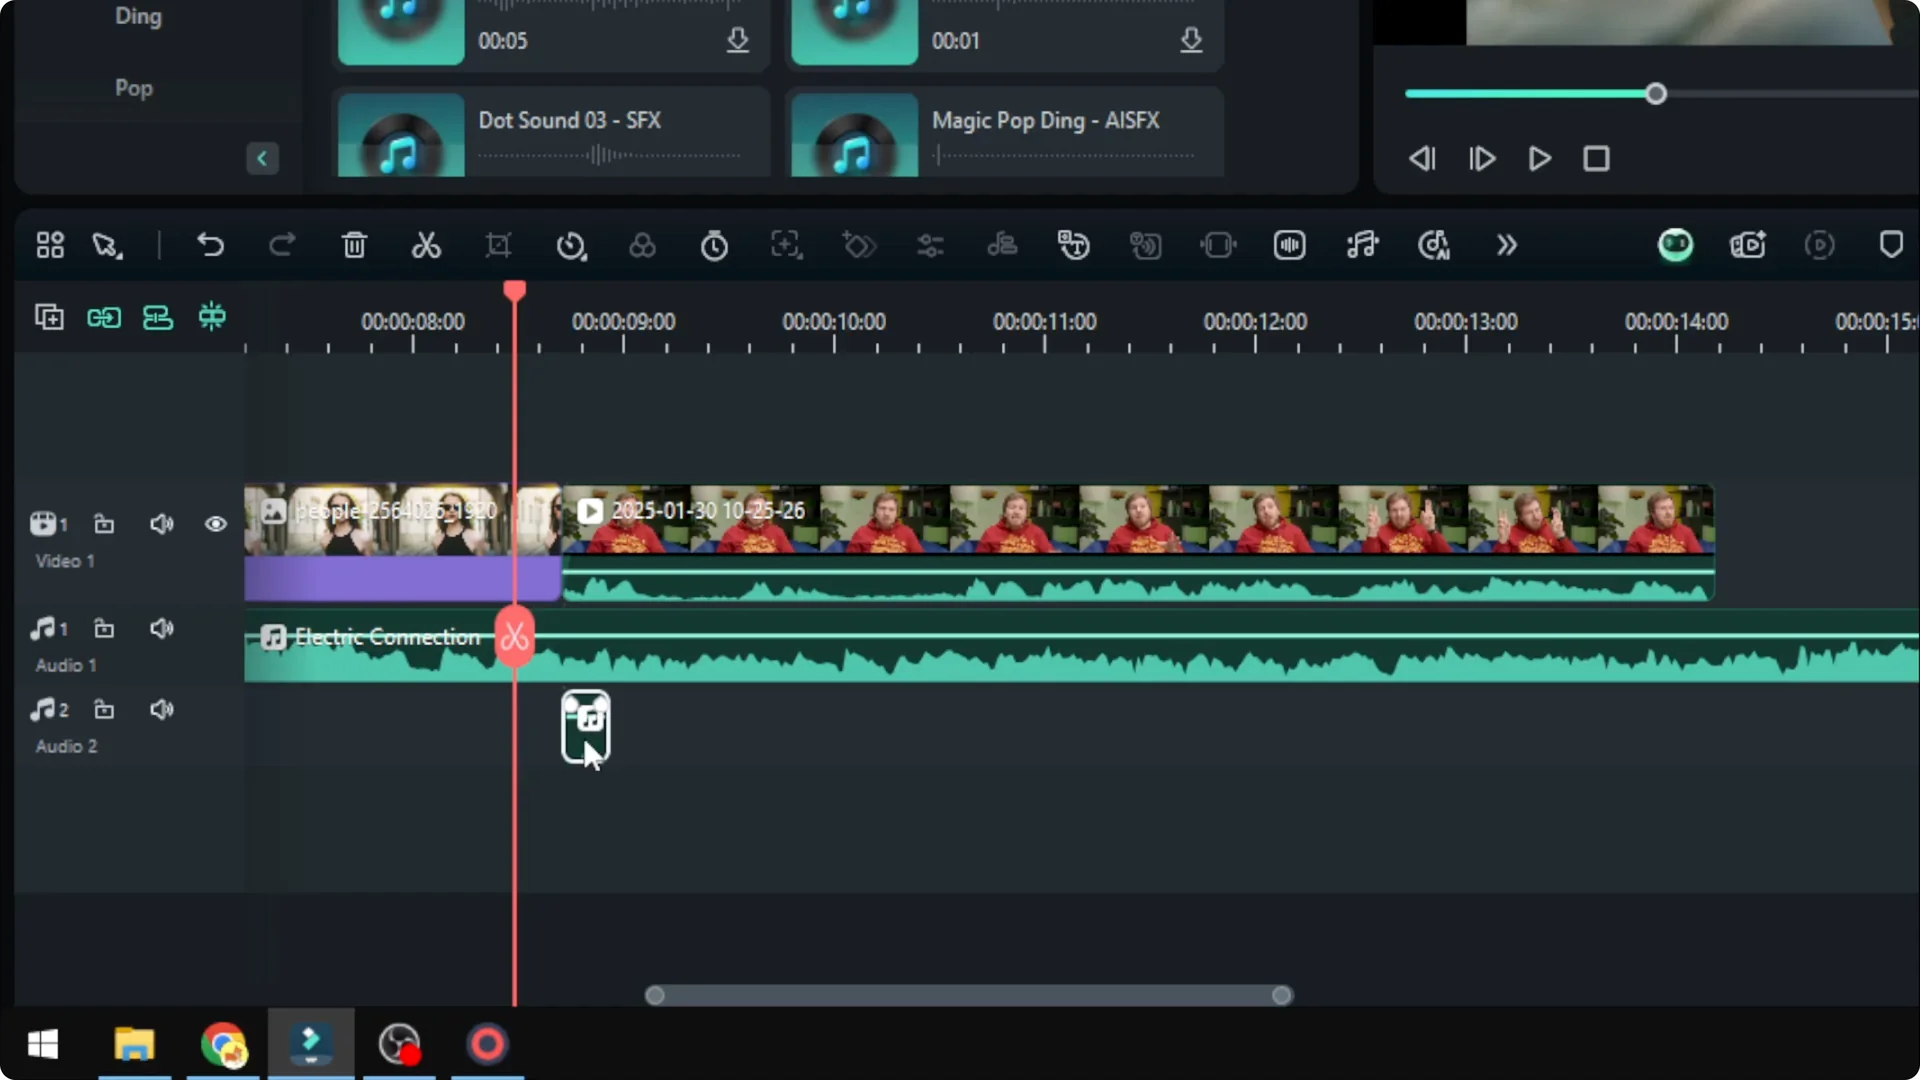
Use Audio Ducking in Filmora for short sound effects
I added a tiny mouse click sound effect as a test. With background music running, it was almost inaudible. There is a quick fix.
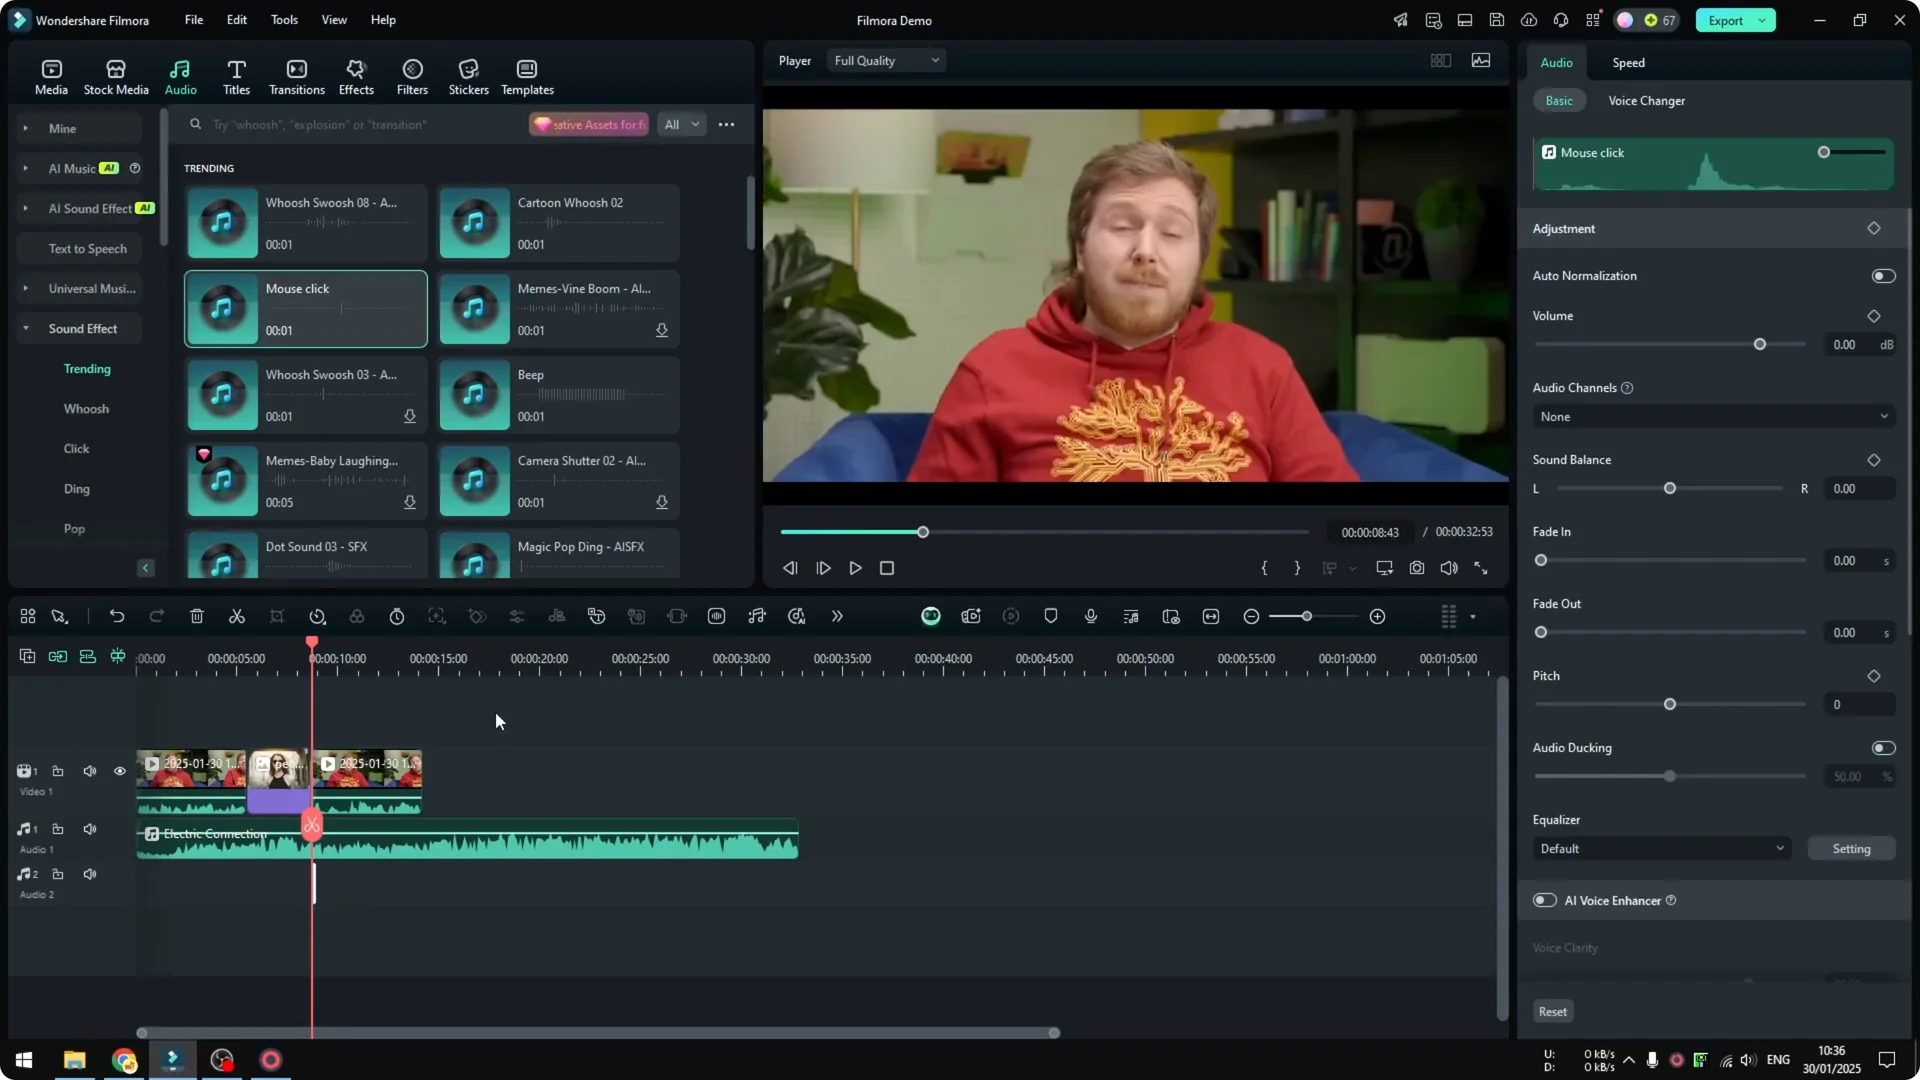
Step 1: Select the short sound effect clip on the timeline. Enable the same Audio Ducking effect for this audio section.
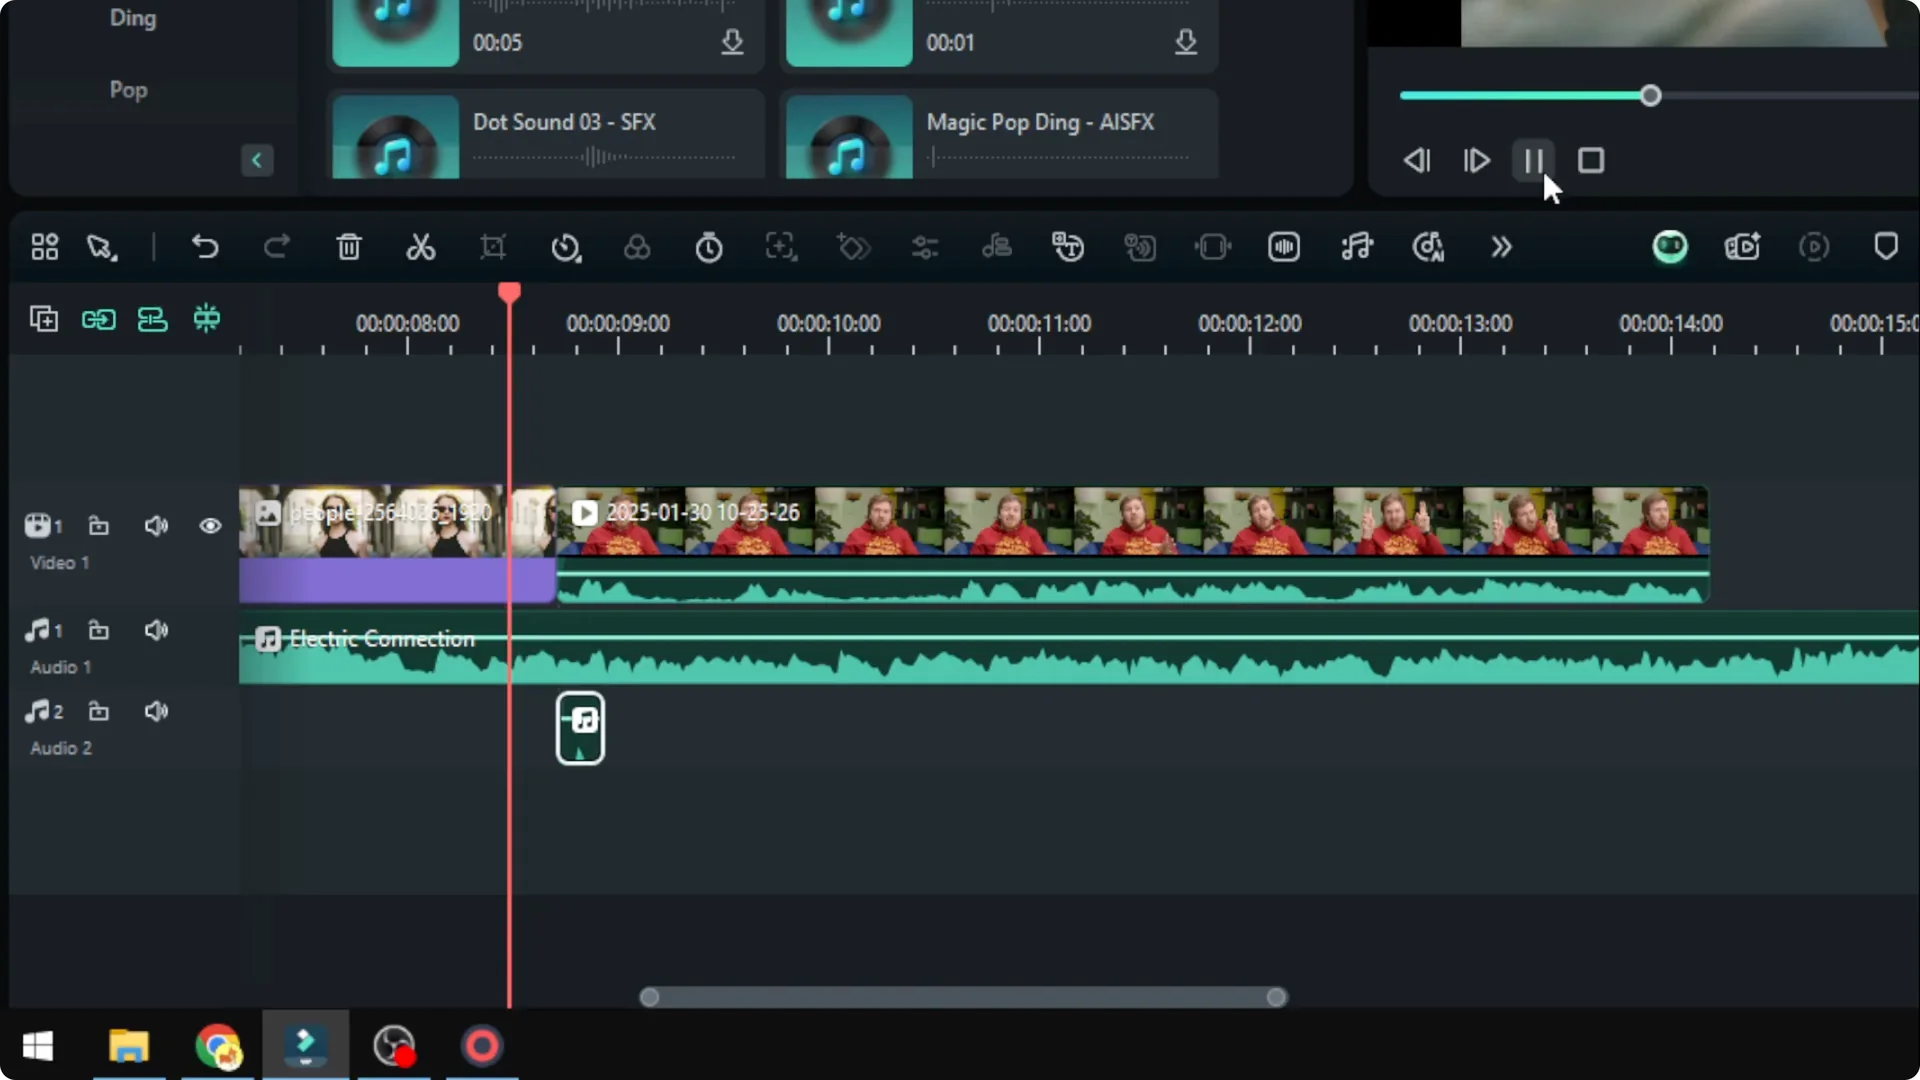
Step 2: Preview and adjust the ducking amount if needed. Ducking can be applied to multiple clips across different sections of the timeline.
After applying it, the mouse click becomes clearly audible. It cuts through the music right where it needs to be heard. This approach works well for UI clicks, swishes, and other short cues.
Final thoughts on Audio Ducking in Filmora
Audio ducking is a simple way to keep dialogue clear while letting your music shine in the gaps. Start with 50% and refine by ear until the balance feels right. Set it once, preview, and you get consistent results without constant manual mixing.