I am going to show you how you can add animations to text in Filmora. There are many ways to do it, but I will start with the simplest method. I use a video clip as the background and put the text on top of that clip.
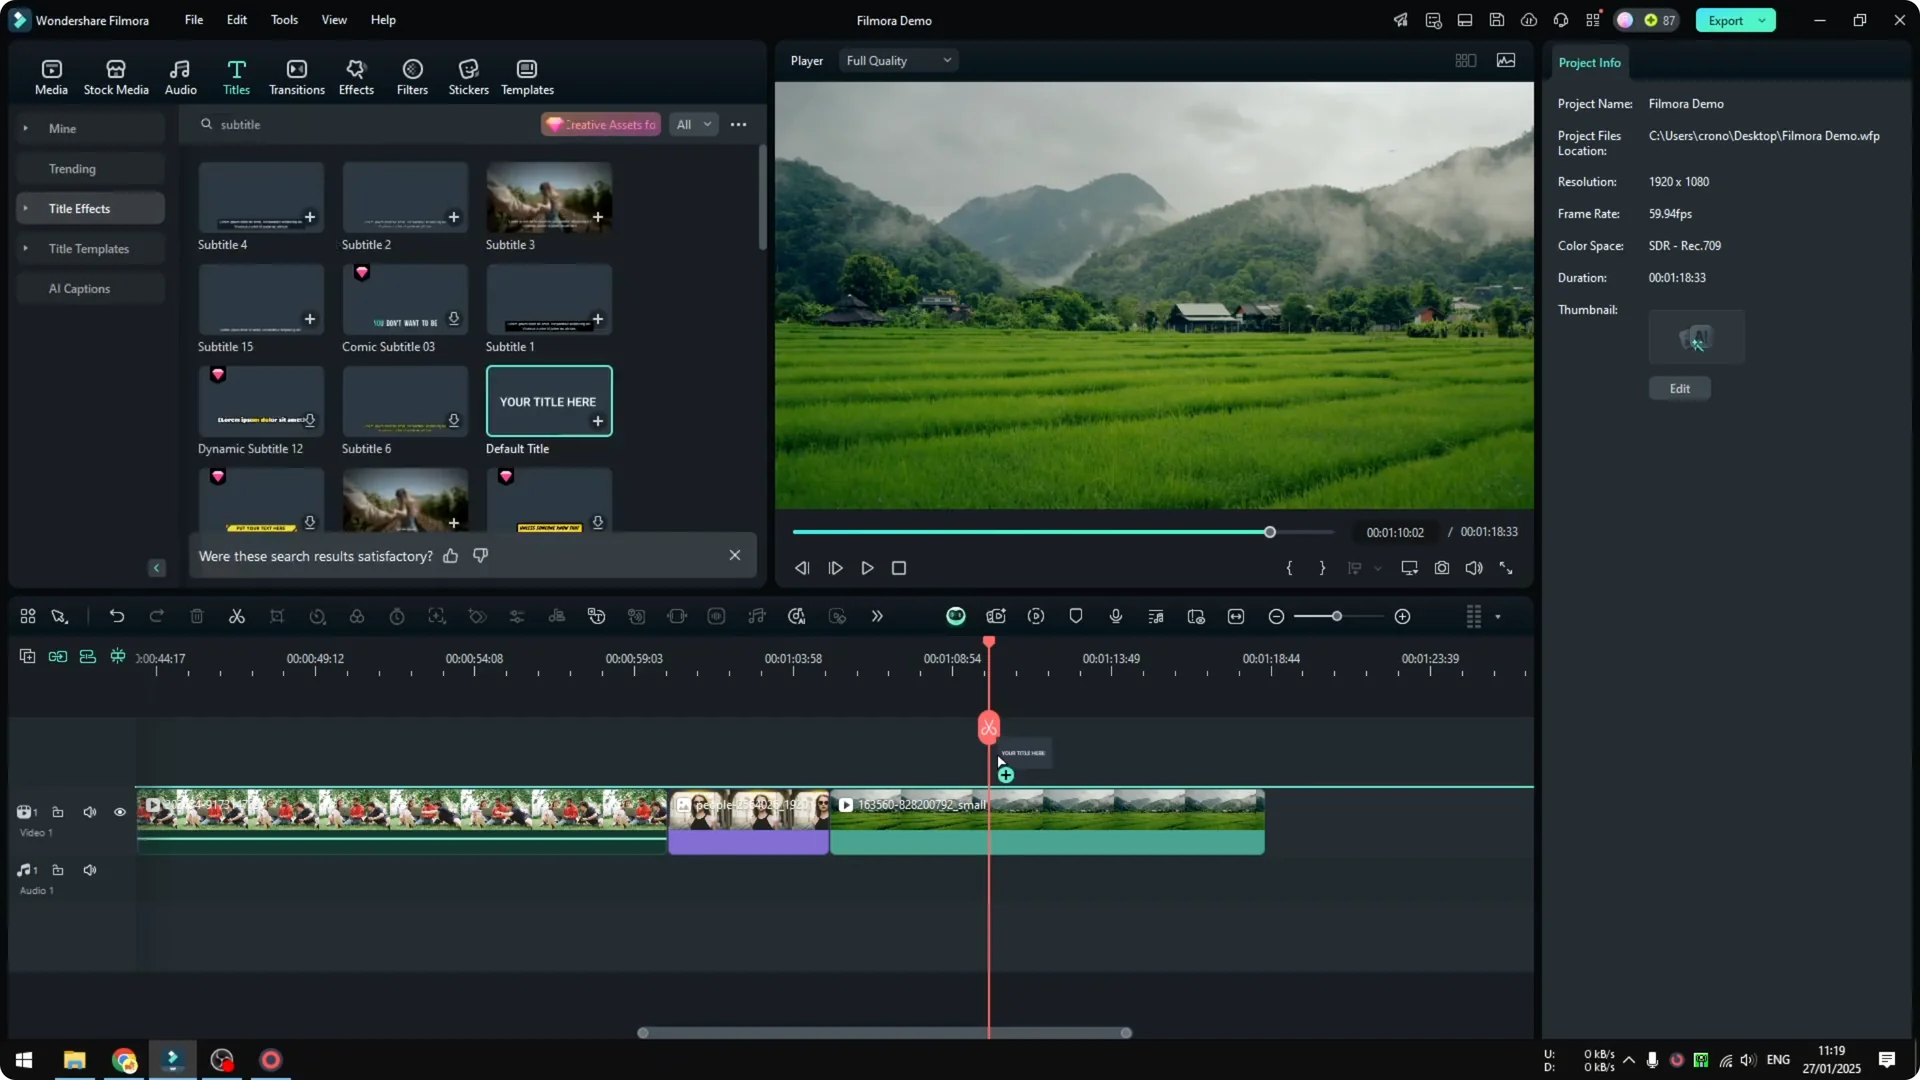
Click on a video and drag it to the timeline. I just want to use this video clip as the background, so the text will sit above it. Then go to Titles and open trending title effects or title templates.

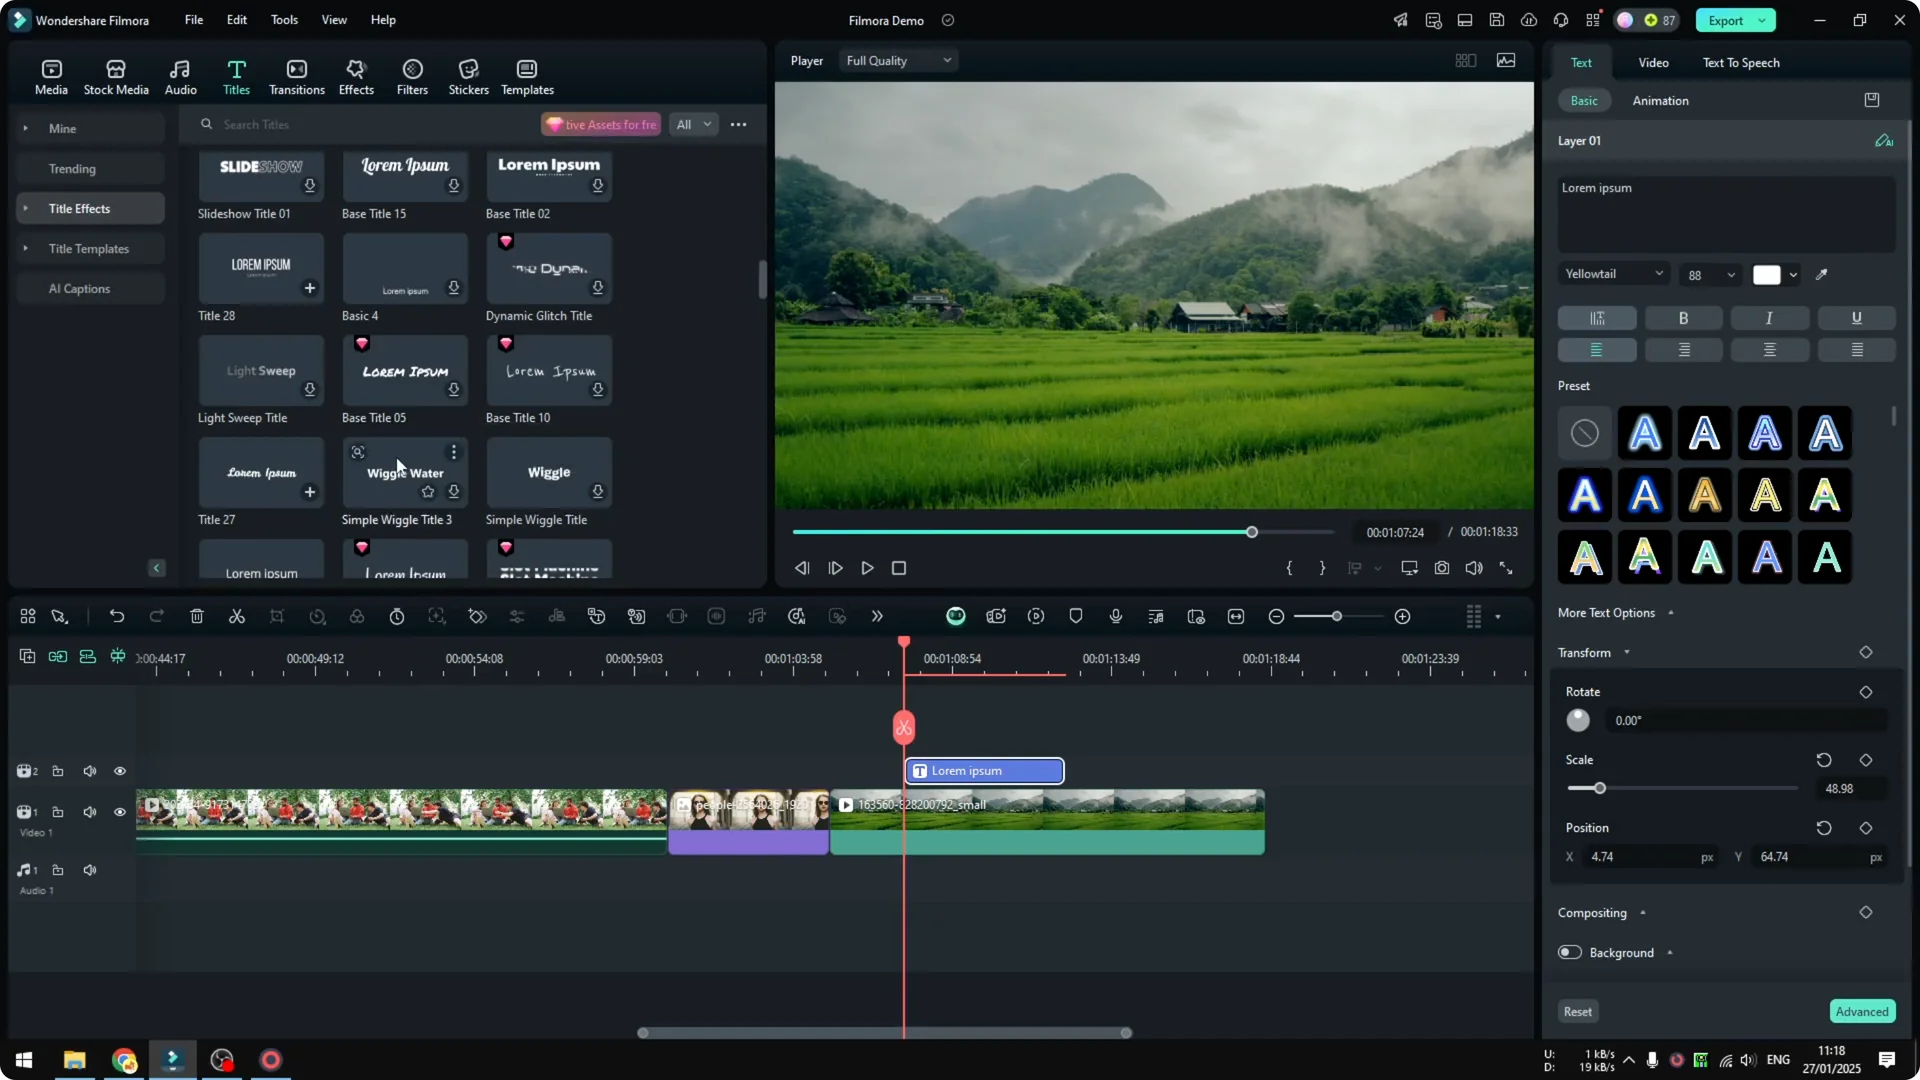
Drag and drop one animation style to your project. It is worth mentioning that these texts usually have their own animation presets. For example, I have an animated text that has a built in typewriter effect, so I do not have to add any more animation.
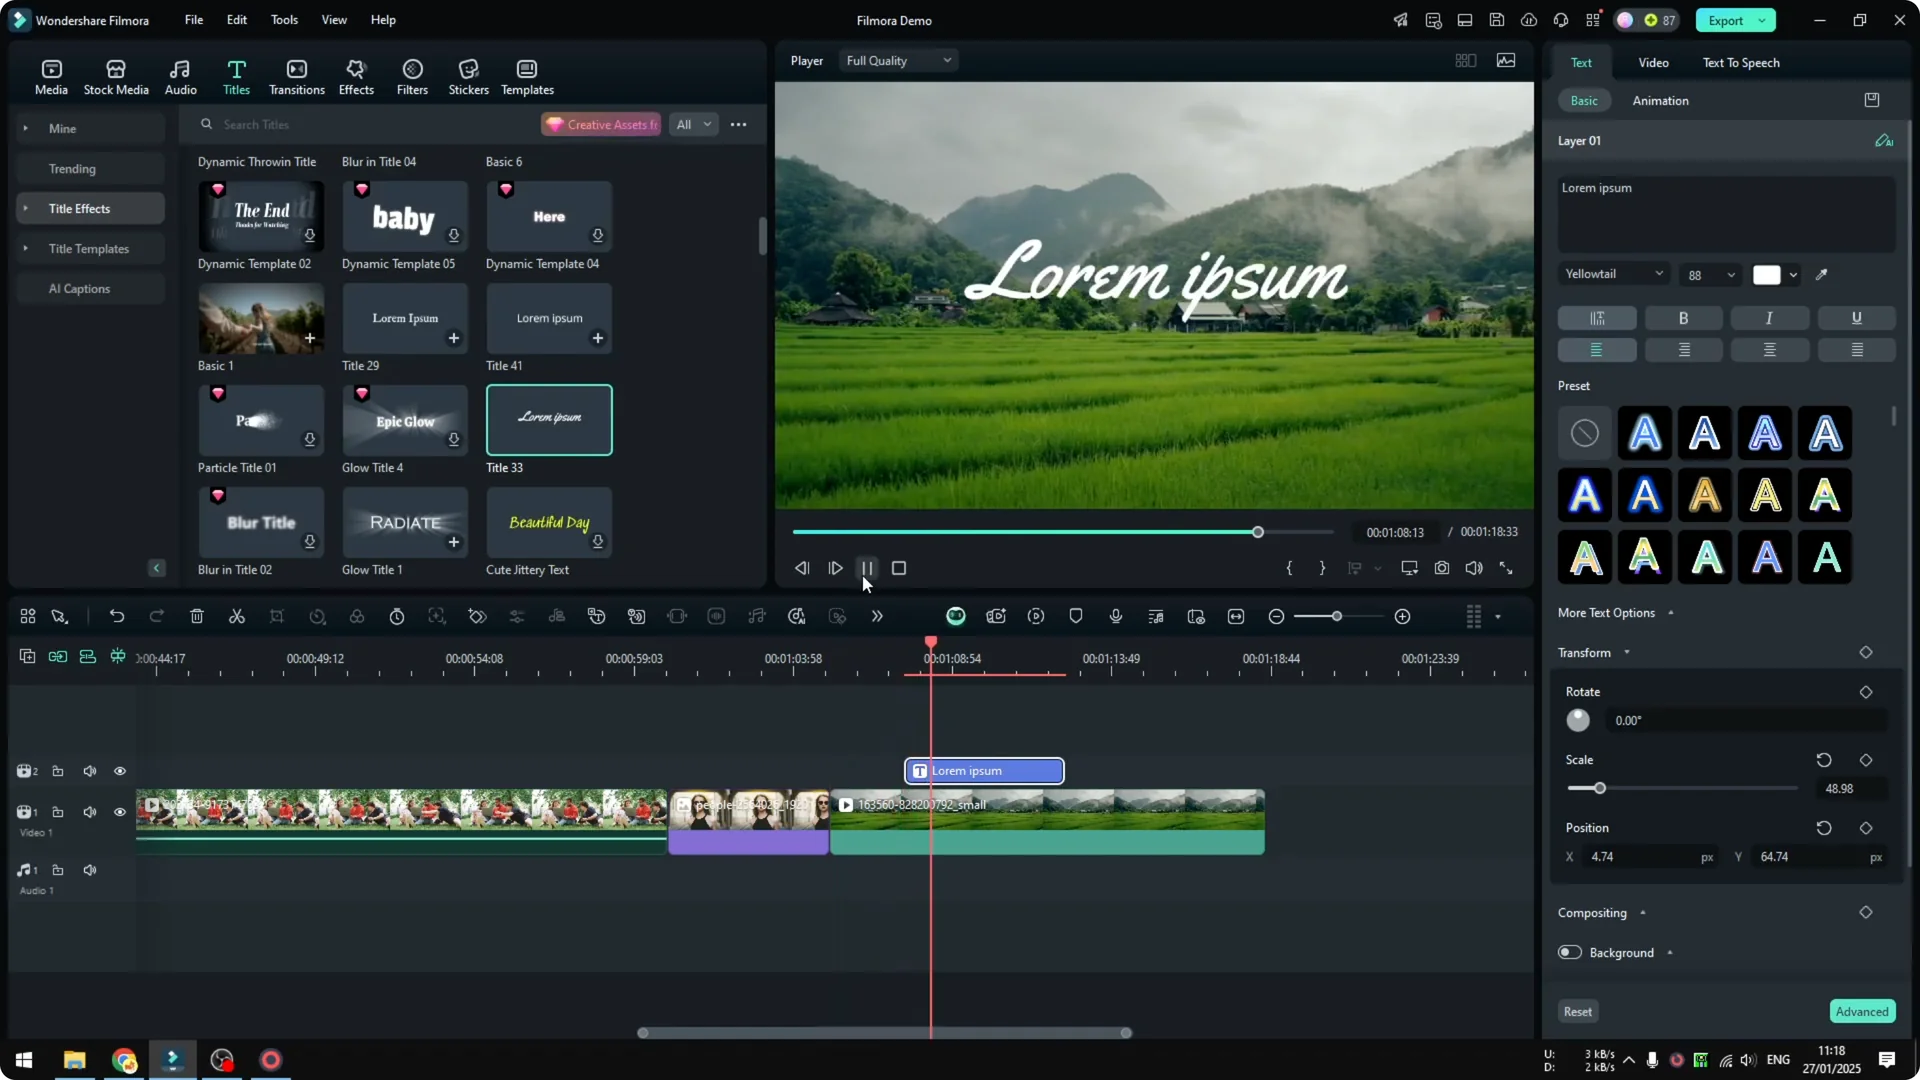
Some text effects are premium. If you are using the free version or the lifetime version like I am right now, you might not be able to use the ones with the pink diamond icon. If you are on the premium version, you should be able to use any animation style in that area.
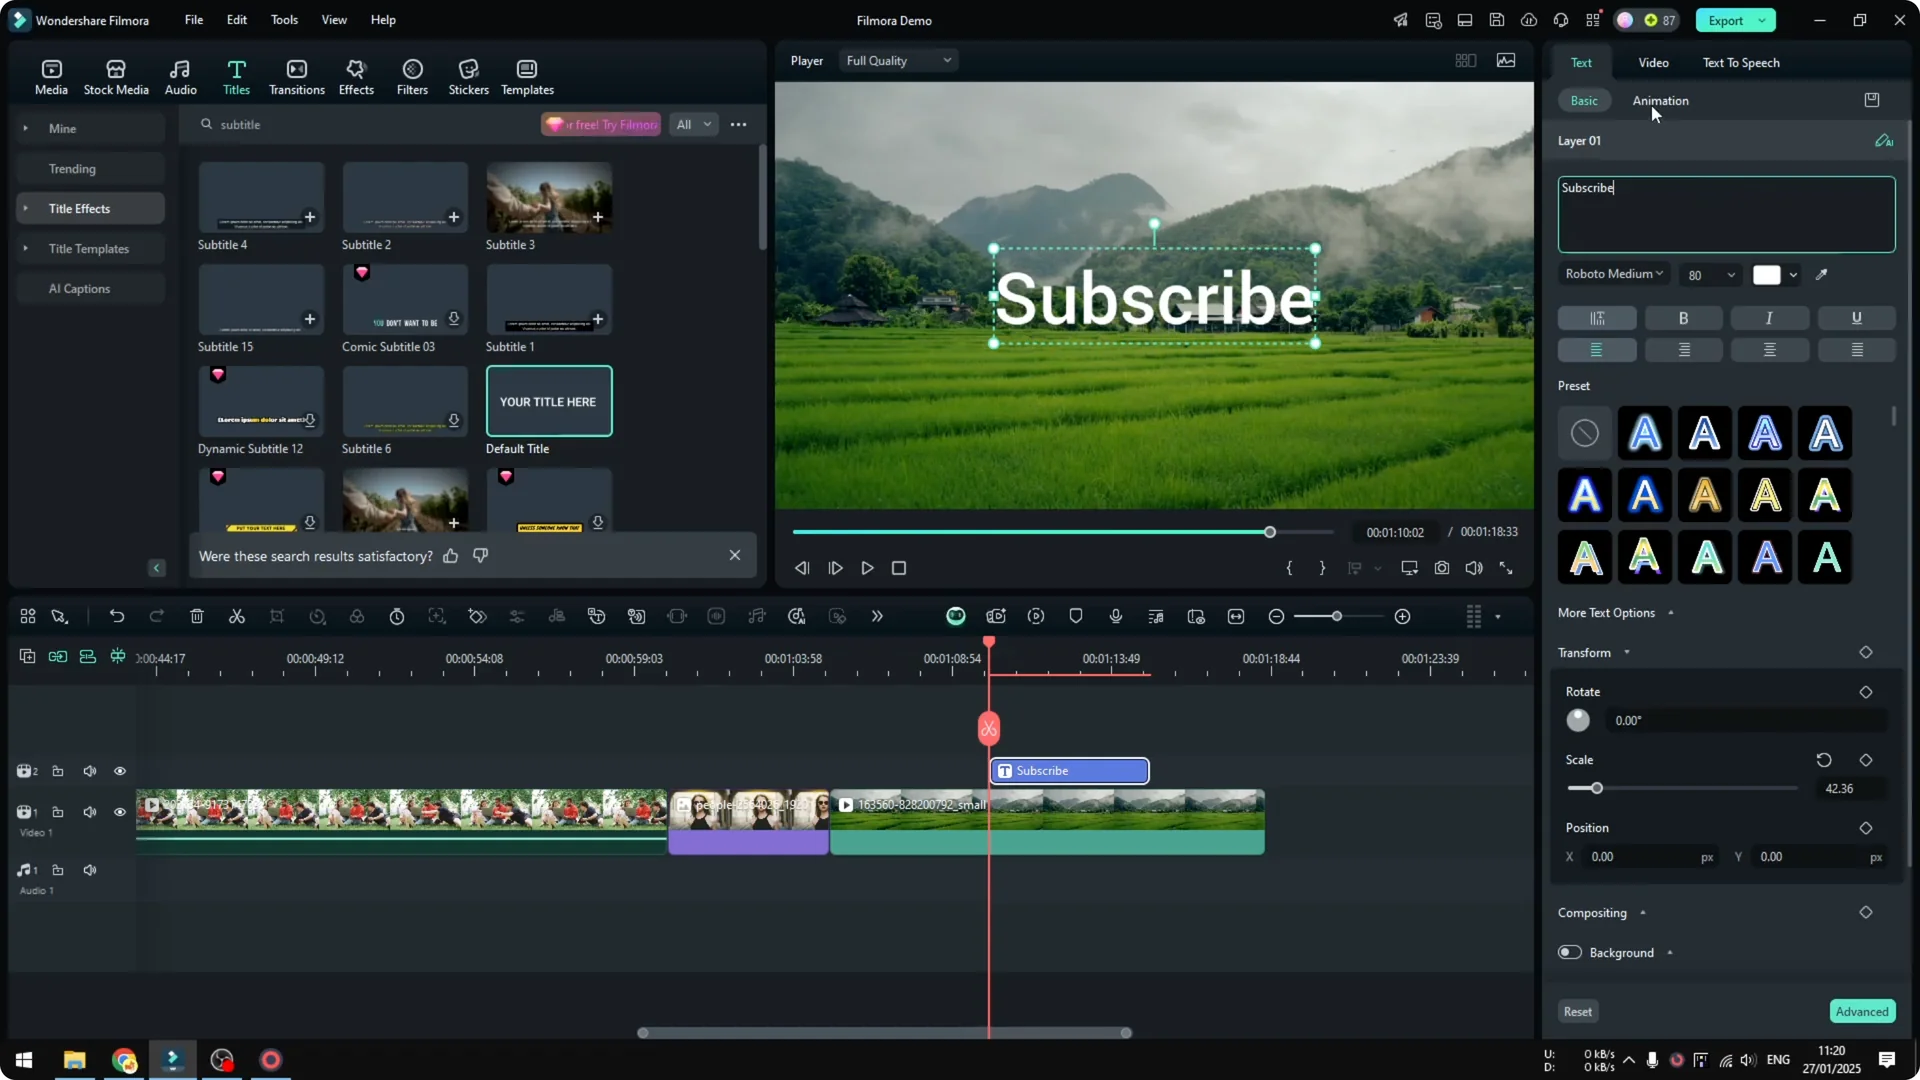
Double click on the text and change it to something like subscribe now. If you play it back, it will still have the same animation style and only the text is different. You can also change the font, the font size, and the color.
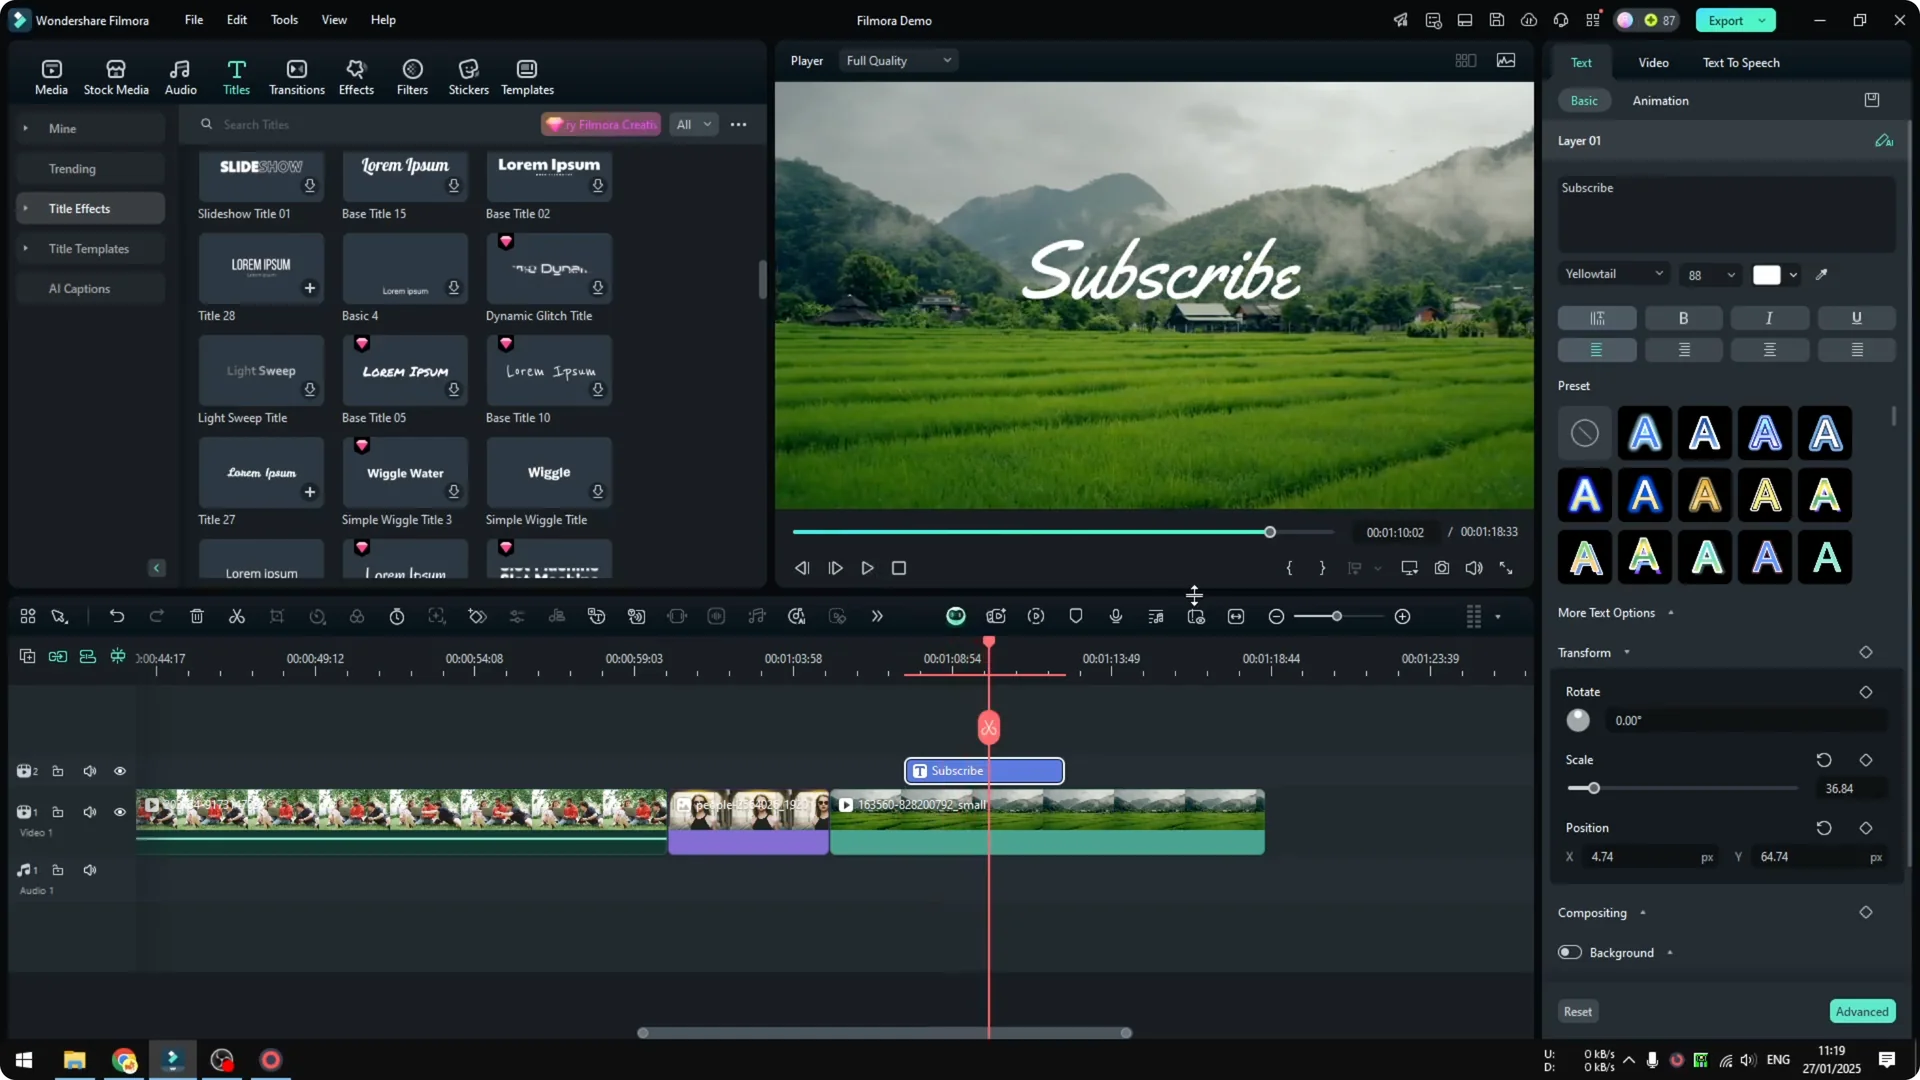
This is where you can play around and have different styling for the text. More or less the animation is taken care of by the template or the preset. If you want a glowing look for titles, check this guide to a glowing neon text effect.
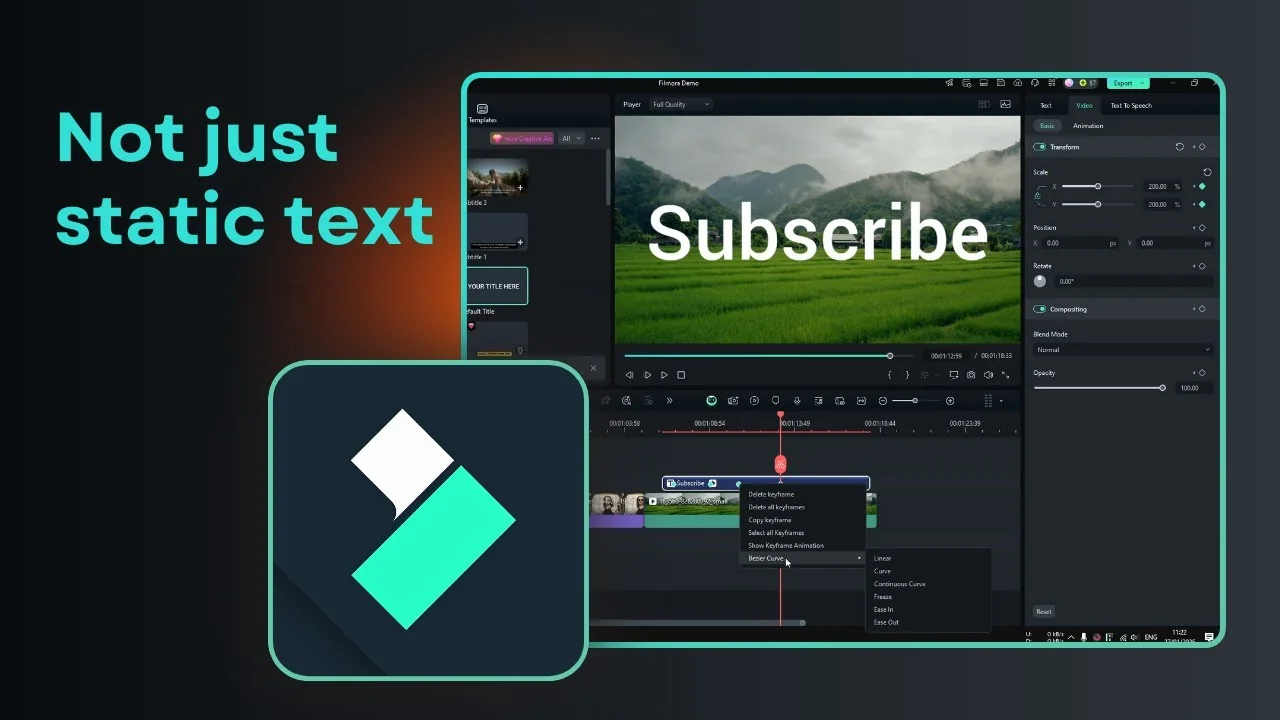
Getting started with Text Animations in Filmora
Step 1: Drag your background clip to the timeline. I use it only as a background so the animated text sits on top. That keeps the focus on the title.
Step 2: Open Titles and browse the templates. You can drag and drop any style into the timeline. Many of these already include intro and outro animations.
Step 3: Double click the text to edit content, font, size, and color. Play it back to confirm the preset animation is active. You can refine the look in the same panel.
Preset title animations for Text Animations in Filmora
Templates that include built in animations save time. The typewriter effect is a good example that works right away. You only change the words and the styling.
Styling your text for Text Animations in Filmora
I edit the text to fit the message and then tweak fonts and colors. Keeping contrast with the background helps readability. Templates still control the motion, which is great for quick results.
If you work with captions or want to cut clips from a transcript, see this workflow to edit video using text.
Create your own Text Animations in Filmora
I remove the preset title and insert a simple default title. It is regular text that suddenly appears in the video. There is no intro and no outro animation at all.
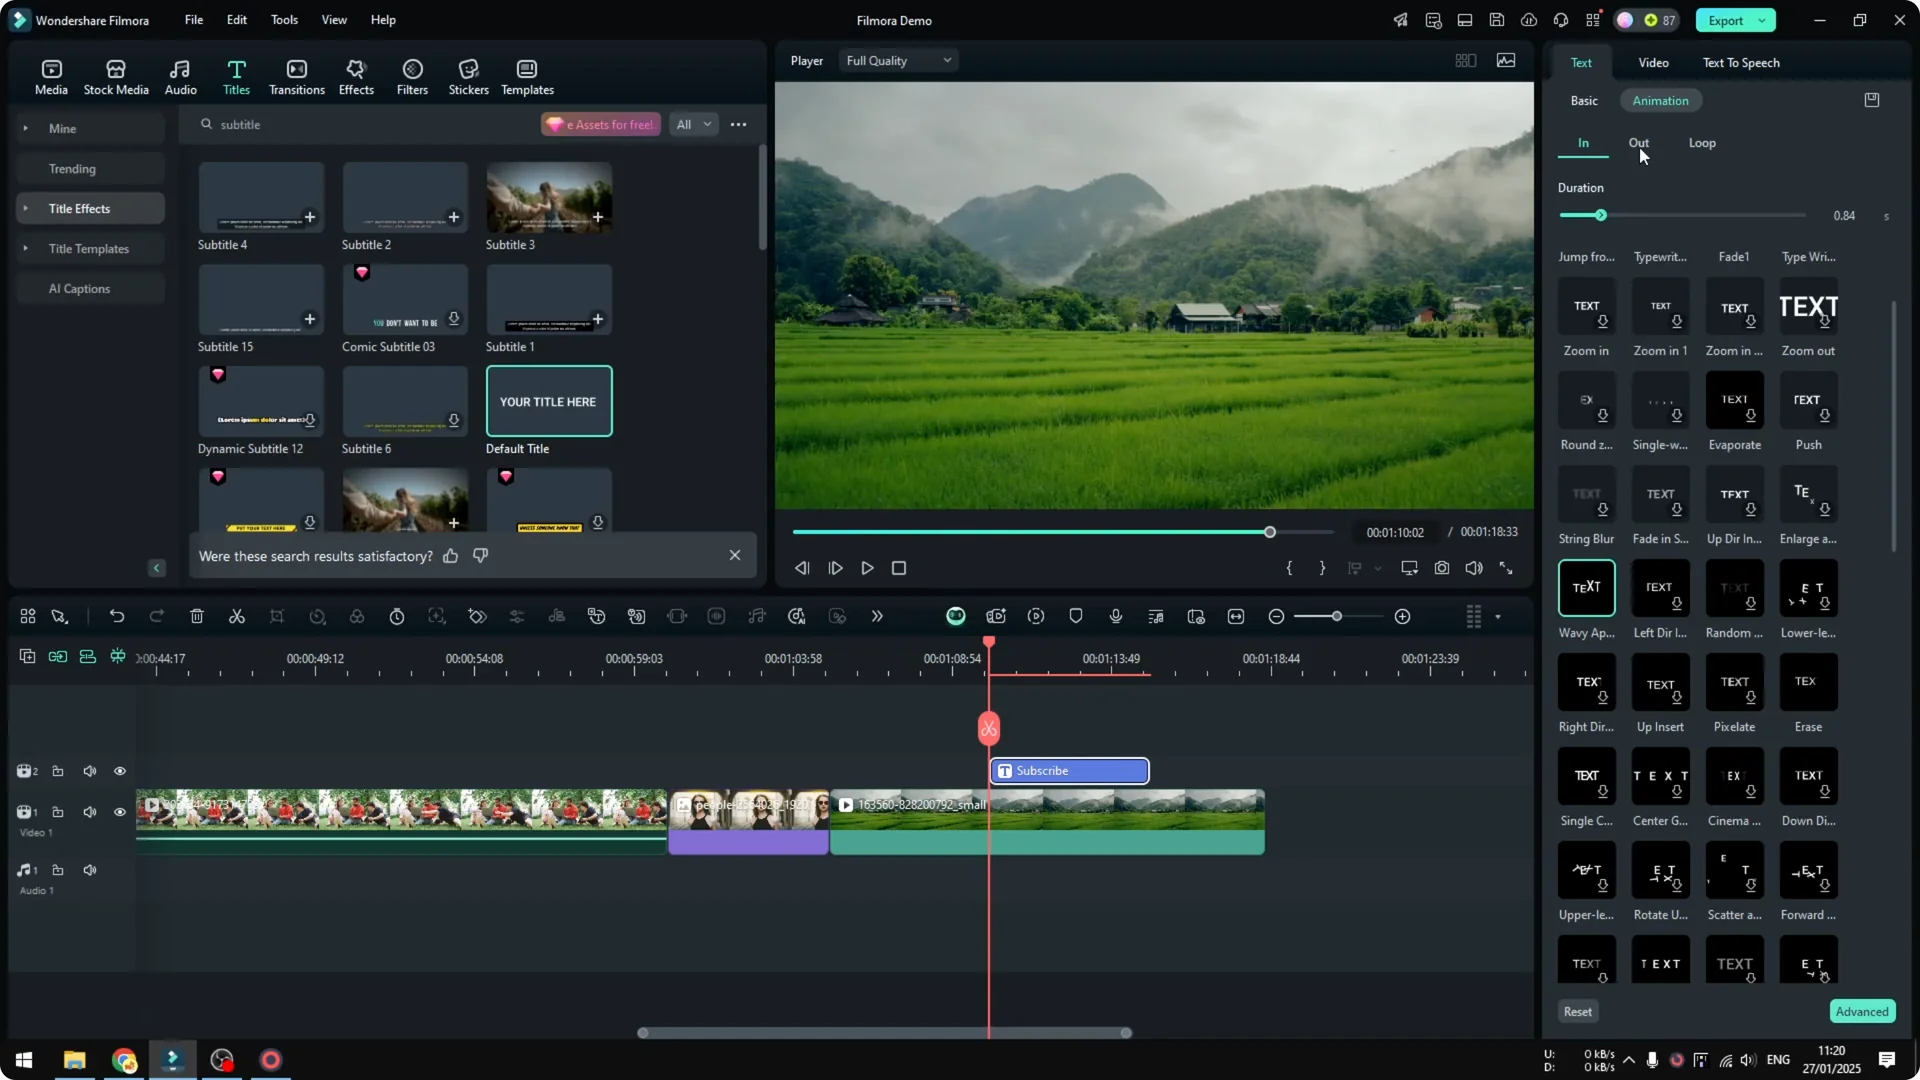
This default look is simple but not very engaging. Double click the text and change it to something like subscribe. Then go to Animation where you will see plenty of different animations you can apply to this text.
I try something simple like an appearance effect. I think it looks really cool. You can apply animation for In, Out, or set a Loop.
Apply in, out, and loop animations for Text Animations in Filmora
Try the blinking animation as a loop. Make the text clip longer so you can see the full effect. Play it back and you will see the intro animation, then the loop, and then the outro.
Looping is useful when the text needs to keep drawing attention. In and out handle the entrance and exit. This gives you a full cycle that feels complete.
Use keyframes for Text Animations in Filmora
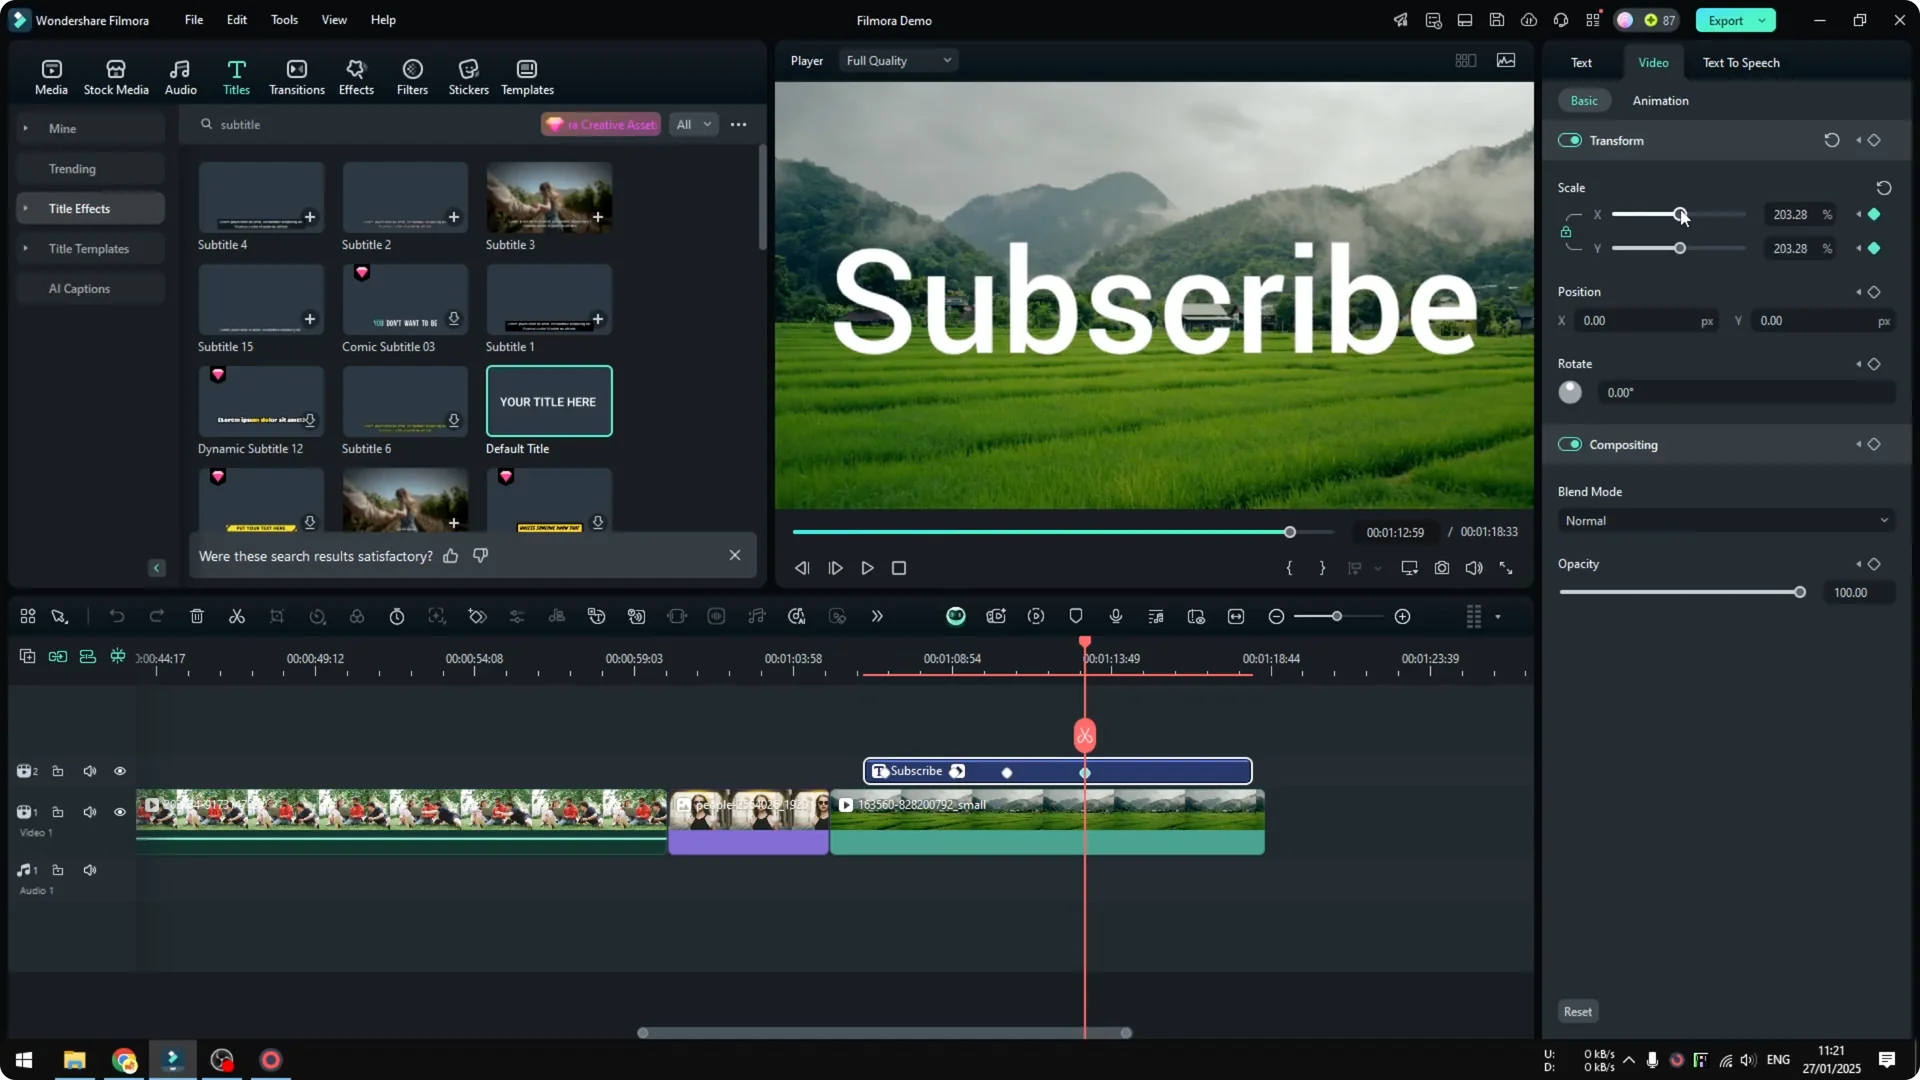
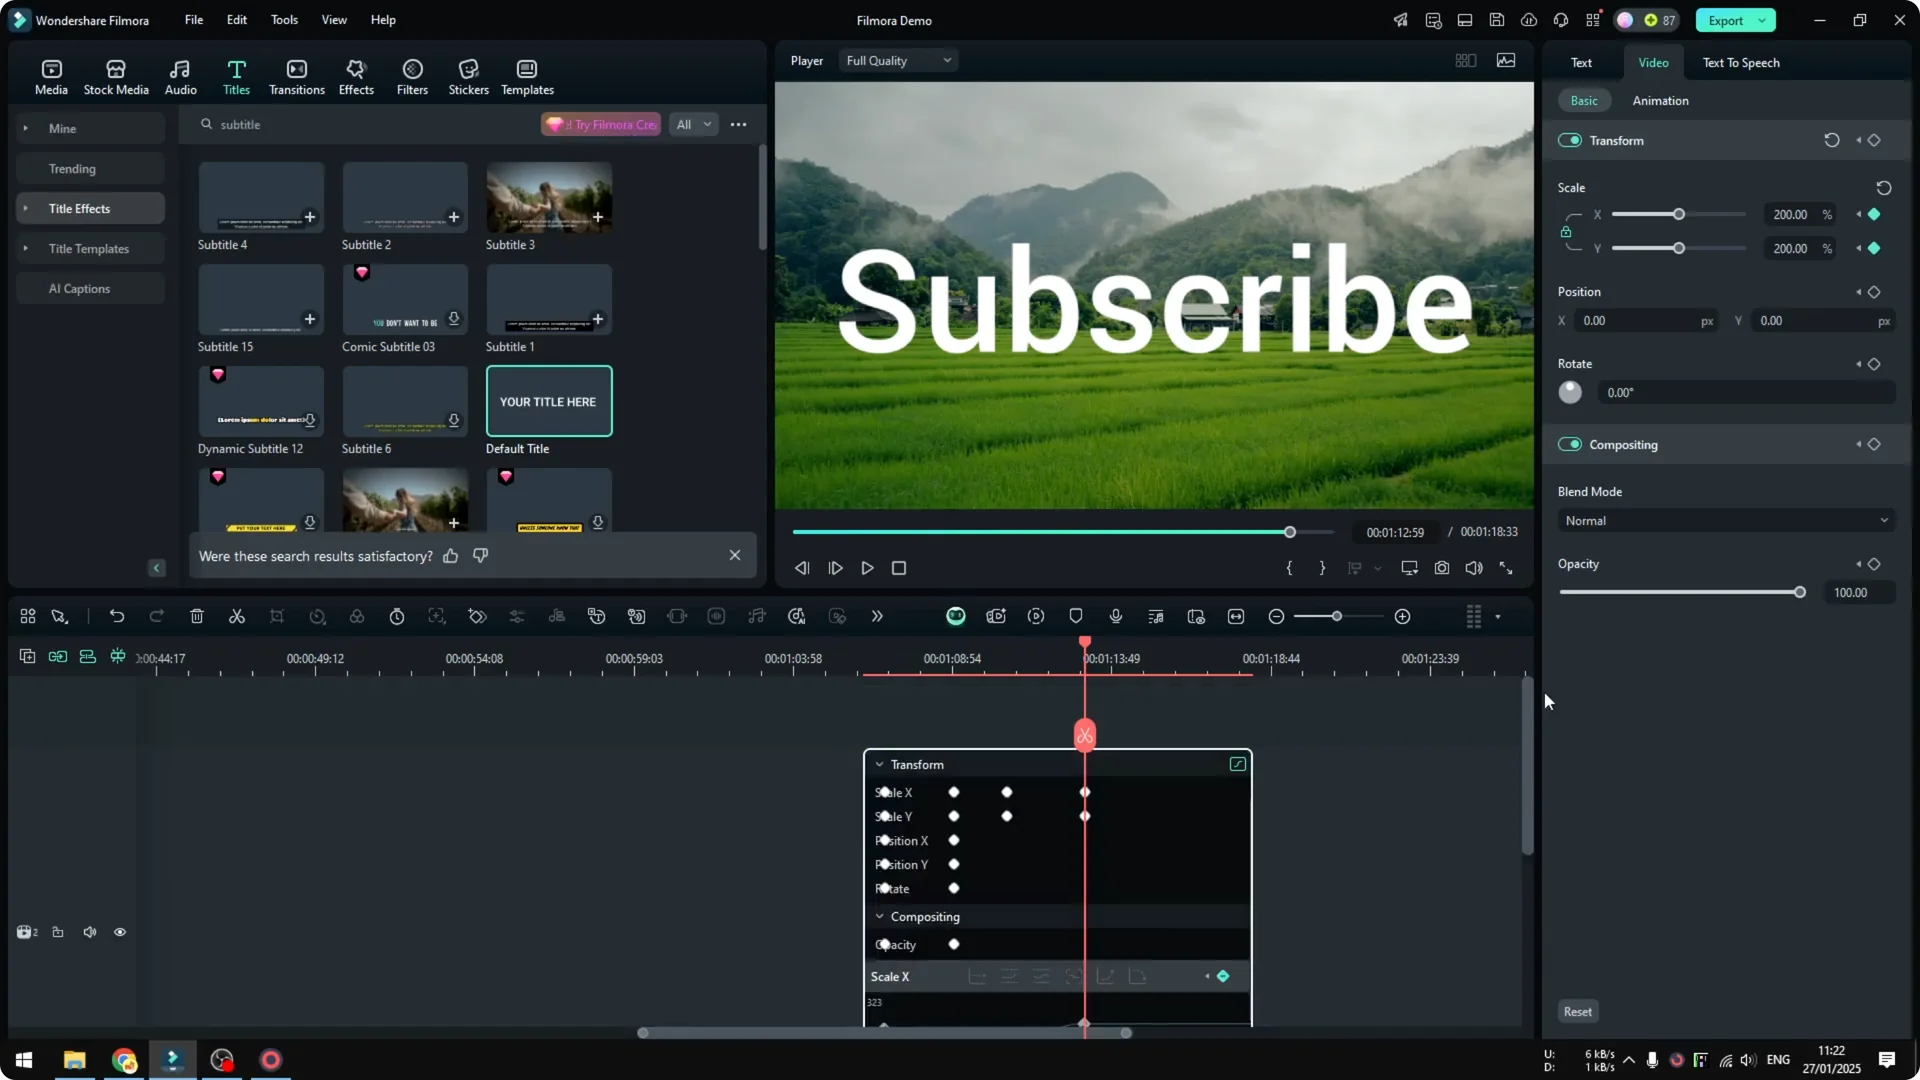
You can also use keyframes. It is more advanced and not for everyone, and even I personally do not use keyframes too much, but it is something you can apply. I want to make the text bigger, then smaller, then bigger again.
Add a keyframe when the Scale is 100 percent. Increase it to around 170 percent and set another keyframe. Move the playhead and make it smaller at about 45 percent, then add another keyframe around 100 percent, and finally set one more at about 200 percent.
Play it back and it will go small, then big, then small again, then big. This gives a pulsing look. It is quick to set up once you get used to keyframes.
If you want your text to react to beats or voice, learn how to make a text effect respond to audio.
Smooth the motion with curves in Text Animations in Filmora
You can make the animation smoother by applying some smoothing. Select every single one of these keyframes by holding Control and clicking them. Right click and click curve, then select a style like easy out to make it smoother.
This will open an interface that allows you to modify the keyframes even further. Personally I do not use it very often. I close it after picking a style that works.
Useful shortcut for Text Animations in Filmora
Use the keyboard shortcut Alt Shift K to open or close that curve interface. That makes testing faster. Play the animation again and it should feel smoother and more modern.
Final Thoughts on Text Animations in Filmora
Preset titles are fast and already include good motion, so you only adjust the words and styling. Custom animations give you control with In, Out, and Loop, and keyframes let you shape motion like scale changes. Add curve smoothing for a clean result and use shortcuts to speed up your workflow.