I’m going to show you how to use Sora 2 on Higgsfield AI. This walkthrough covers selecting the model, setting up your prompt and options, and generating results that match your scene.
You can create Sora 2 videos directly in the model’s workspace. The General model is currently the only option for Sora 2 right now.
Higgsfield Sora 2 Tutorial: Getting Started
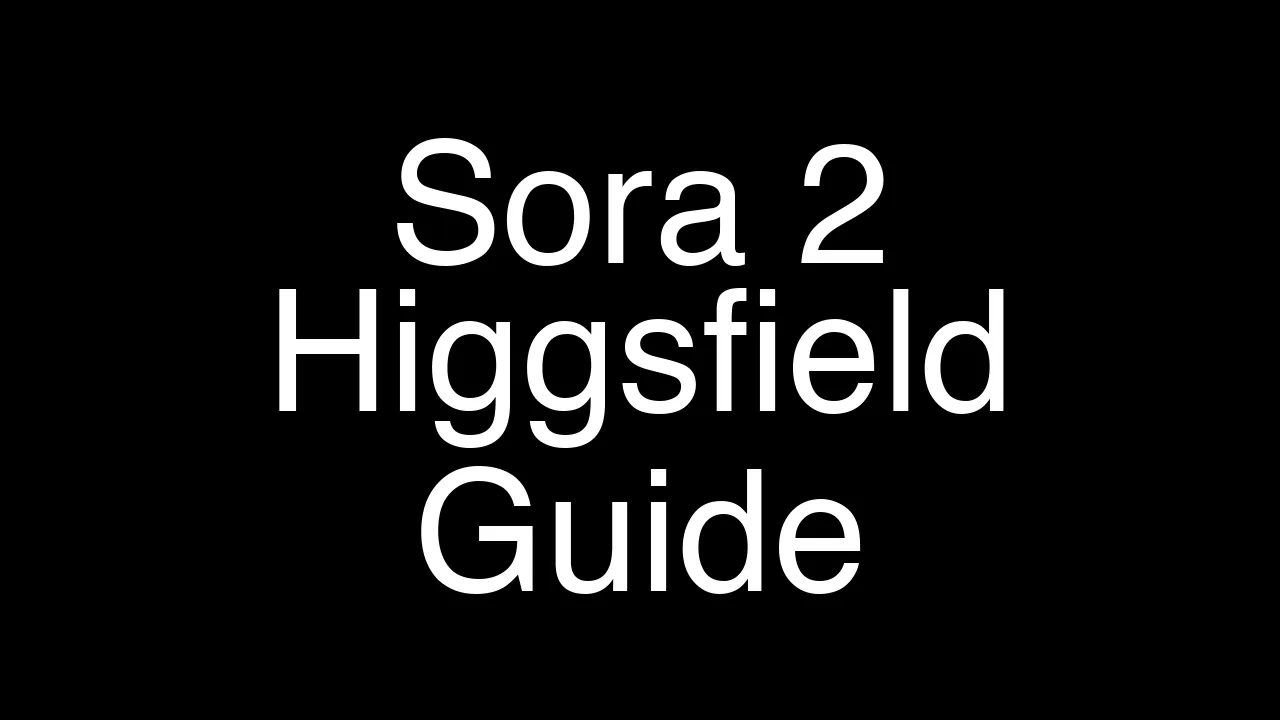
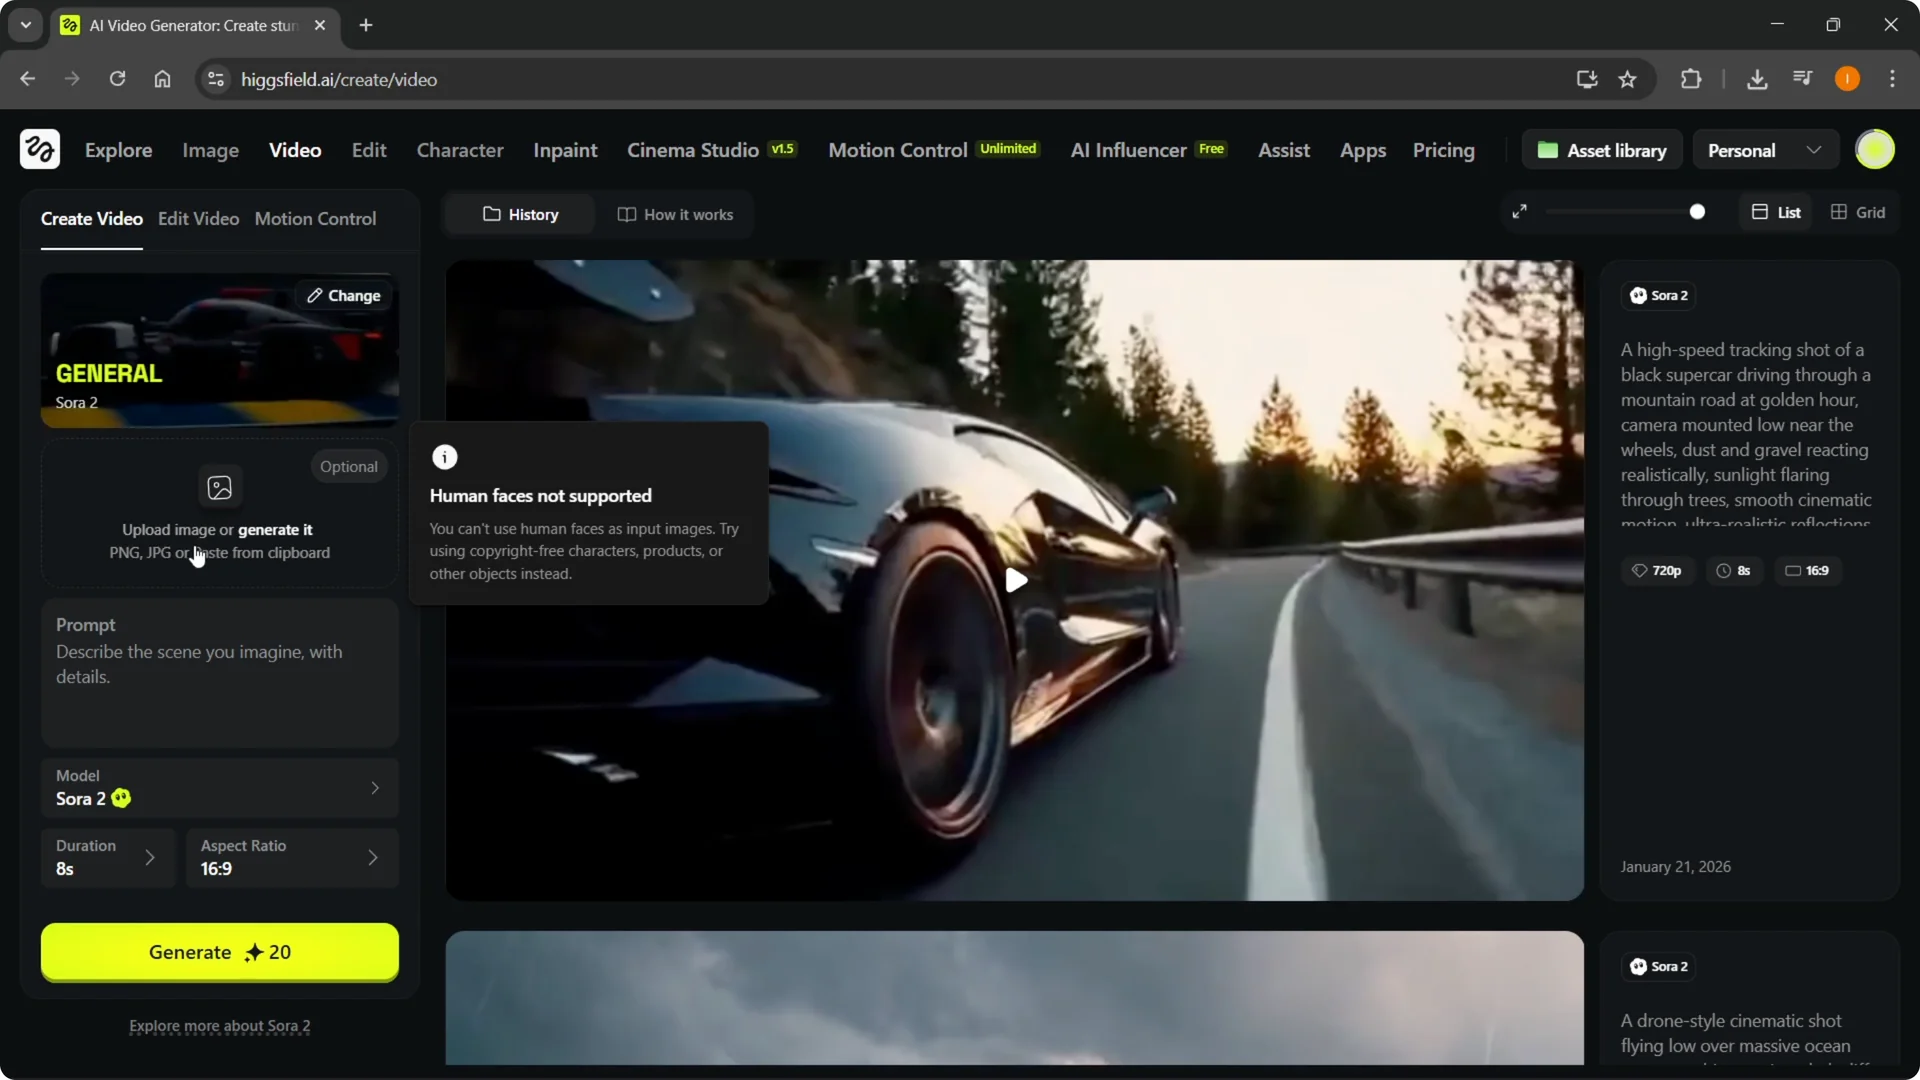
This is where you set the core parameters for your video. You can upload an optional image to act as a visual reference, or skip it and rely on the prompt alone.
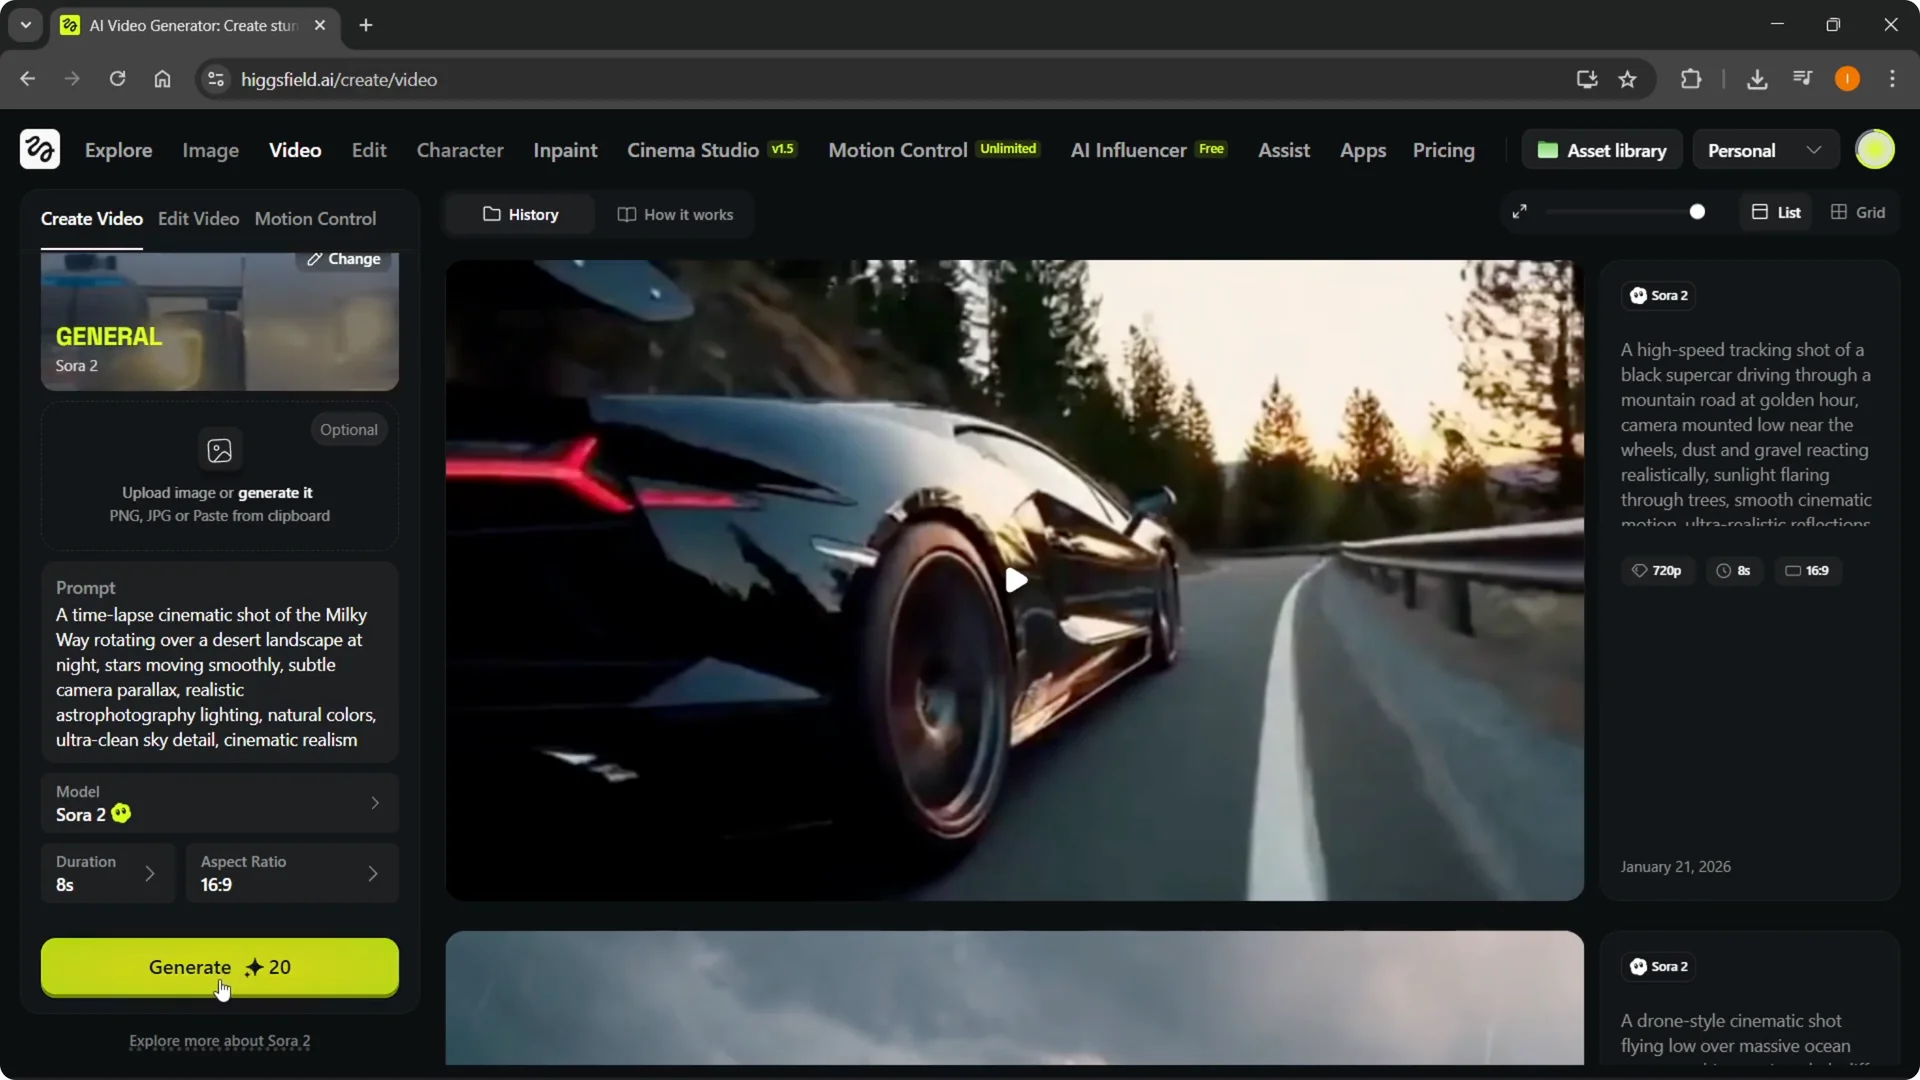
The prompt is the main part. Describe the scene you imagine, then paste it in. I used a prompt I had ready: a time-lapse cinematic shot of the Milky Way rotating over a desert at night.
Prompt and settings
Make sure the model is Sora 2. Choose a duration of 4, 8, or 12 seconds.

Select an aspect ratio in horizontal or vertical. If you have a reference image, add it for more accuracy.
Steps
Step 1: Open the Video menu at the top, then under Models choose Sora 2. Step 2: In the Sora 2 workspace, keep the General model selected since it’s the one available right now. Step 3: Optionally upload a reference image to guide the look of your video.
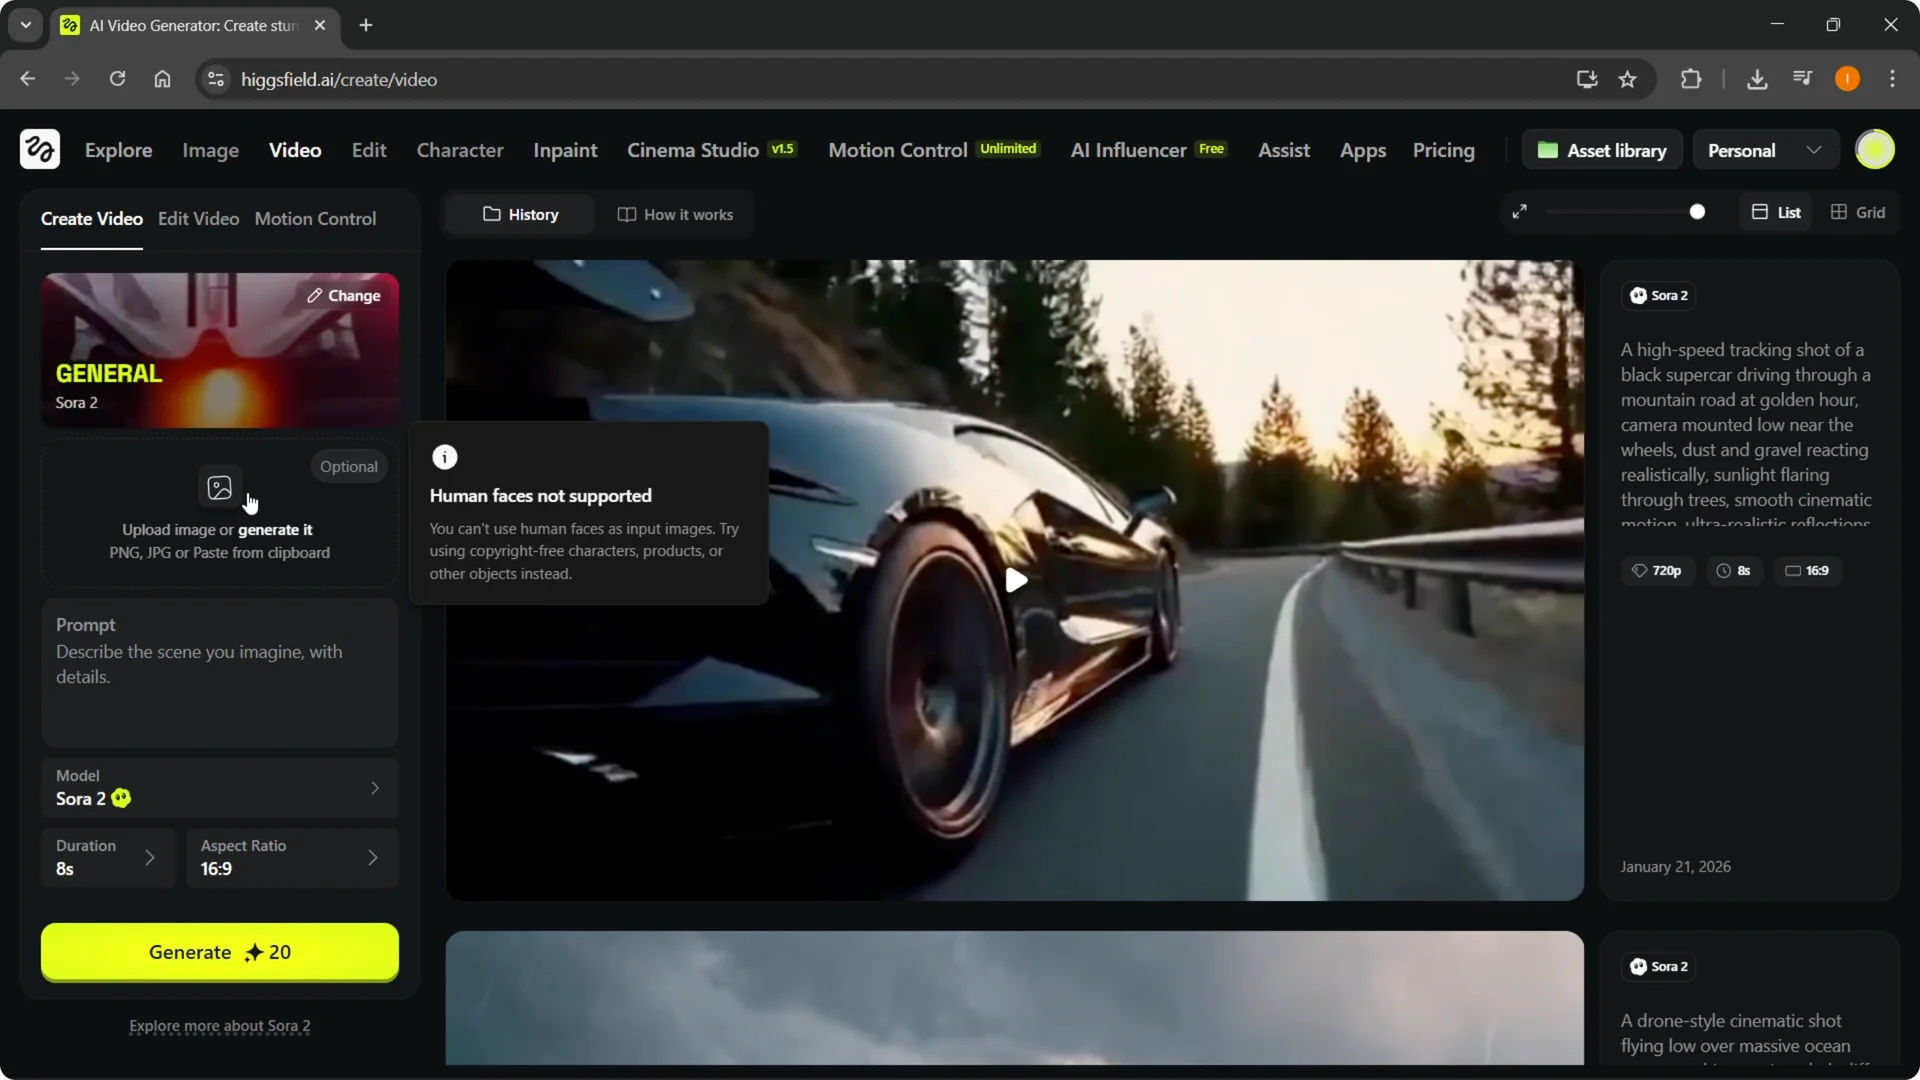
Step 4: Enter a clear prompt describing the scene. Step 5: Set the model to Sora 2 and pick a duration of 4, 8, or 12 seconds. Step 6: Choose horizontal or vertical aspect ratio to fit your target format.

Step 7: Click Generate to start rendering. Step 8: The job appears in progress and can take a few minutes. Step 9: When it’s finished, review the result and decide if you want to keep it or try again.
If you plan to refine scenes after rendering, you can change backgrounds in Higgsfield AI to match your creative direction.
Higgsfield Sora 2 Tutorial: Example Results
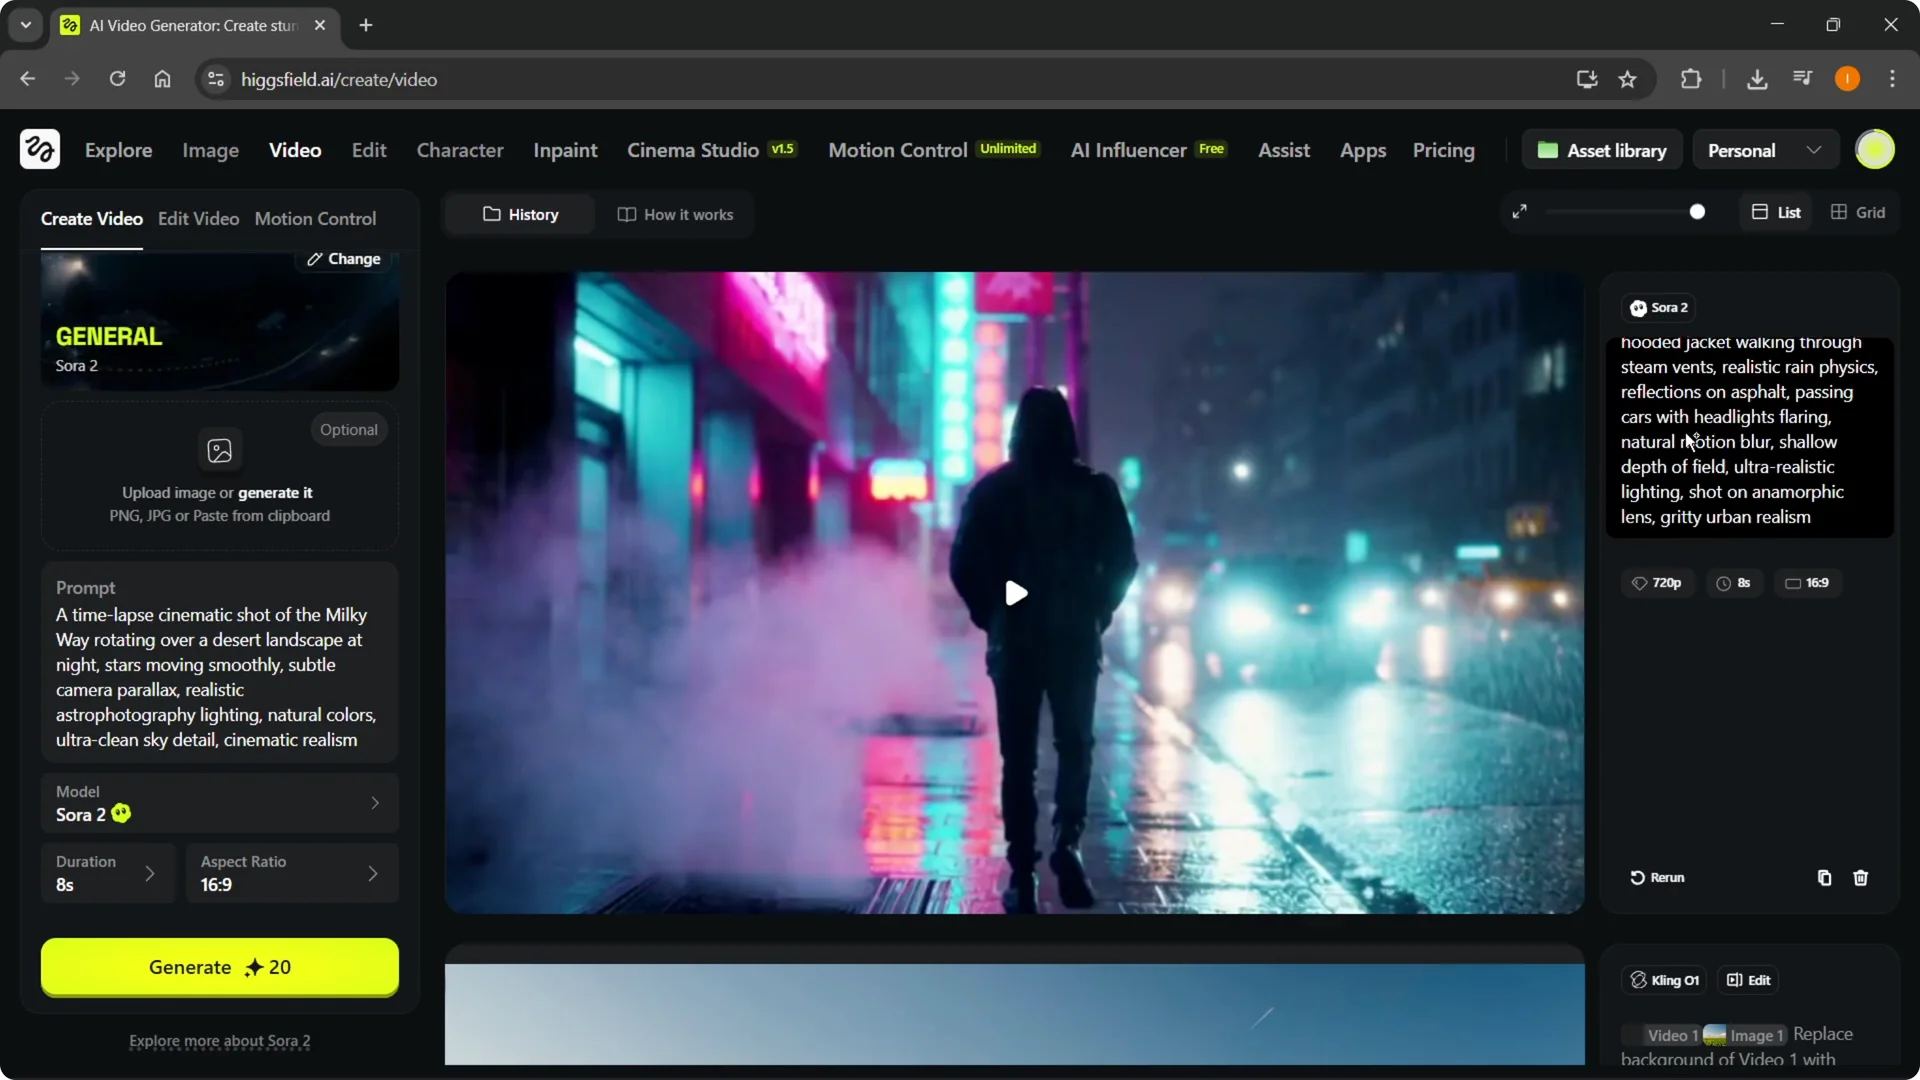
Here’s an 8-second cinematic shot of a rainy neon-lit city street at night. The camera follows a lone person in a hooded jacket, and it was pretty much the exact thing I wanted.
Another example is a drone style cinematic shot flying over a massive ocean wave. The movement pulls smoothly over the water and nails the feel I was aiming for.

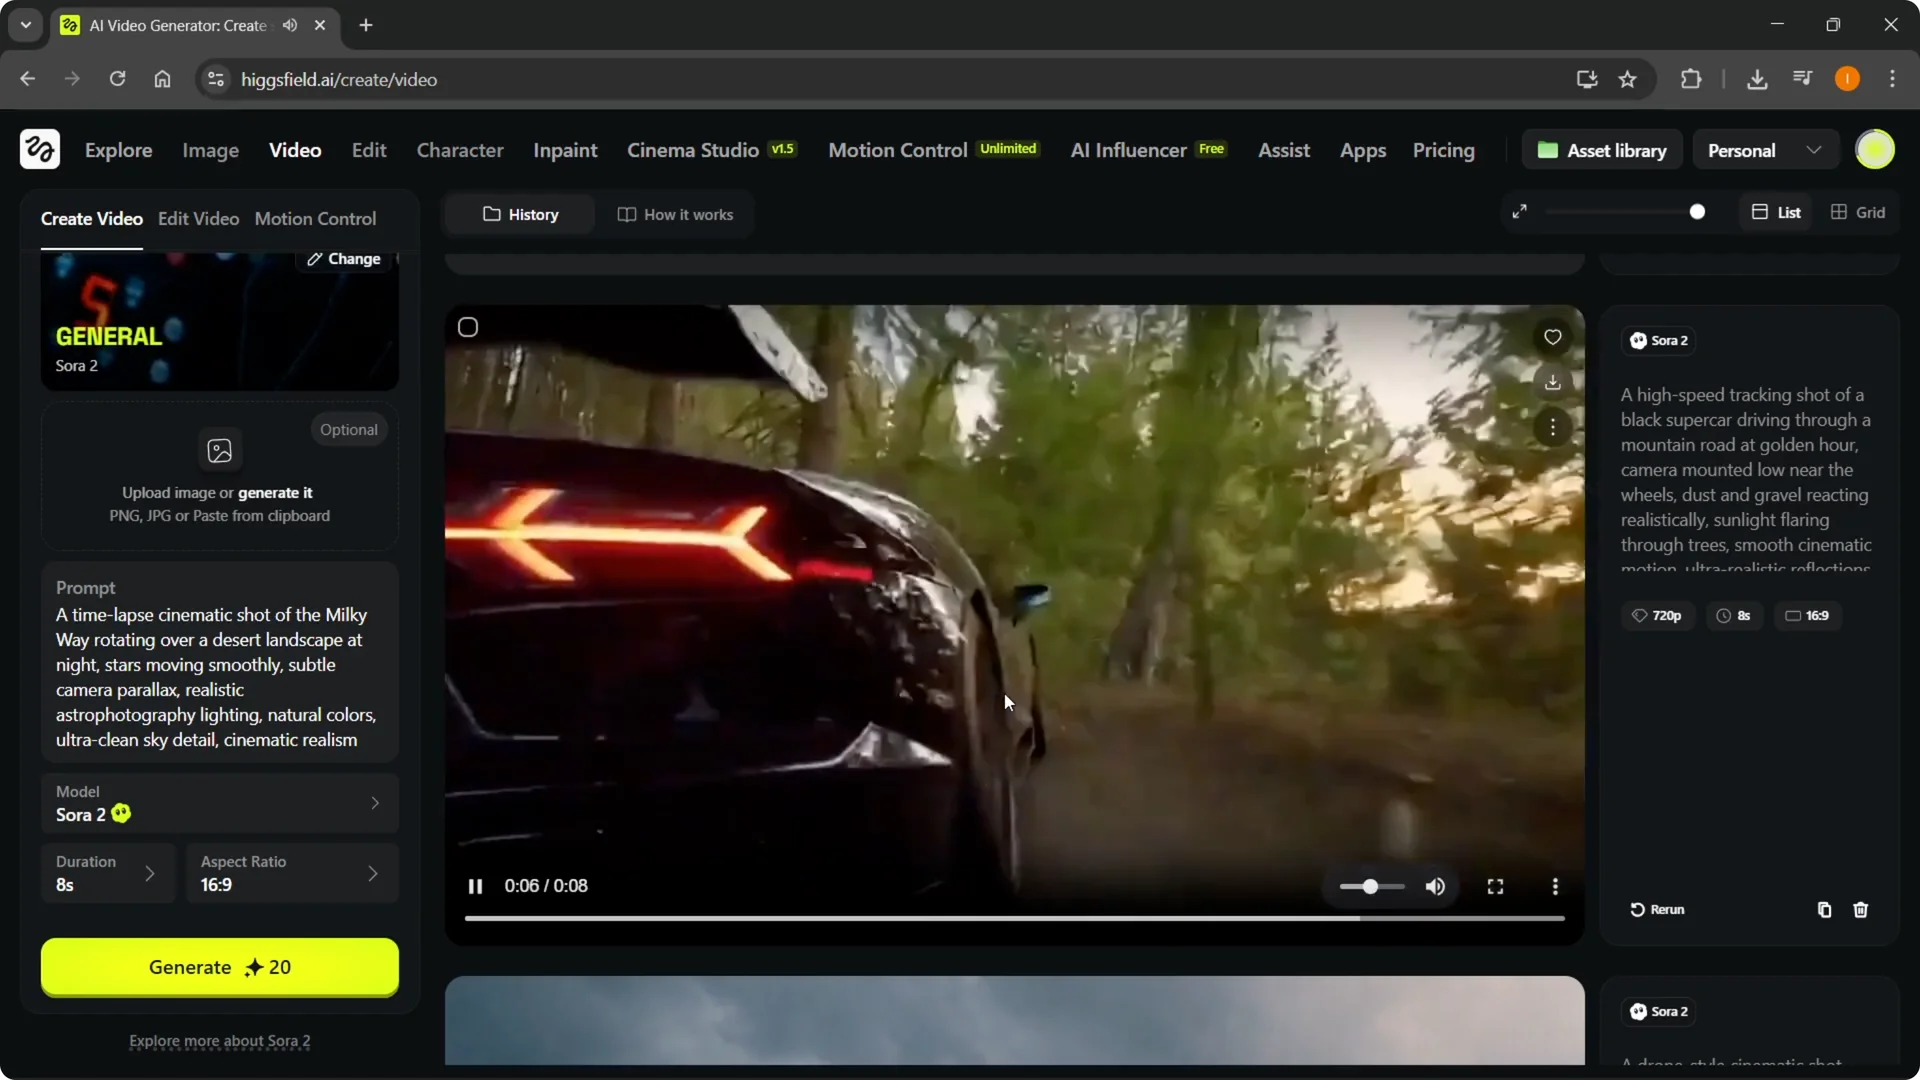
A highspeed tracking shot of a black supercar driving through a mountain road at golden hour also worked well. The camera looks mounted near the rear wheels and the scene matched what I described.
If you’re building character-driven clips, you might want to create an AI influencer in Higgsfield and feed that into your prompts for consistency.
Higgsfield Sora 2 Tutorial: Rendering and Iteration
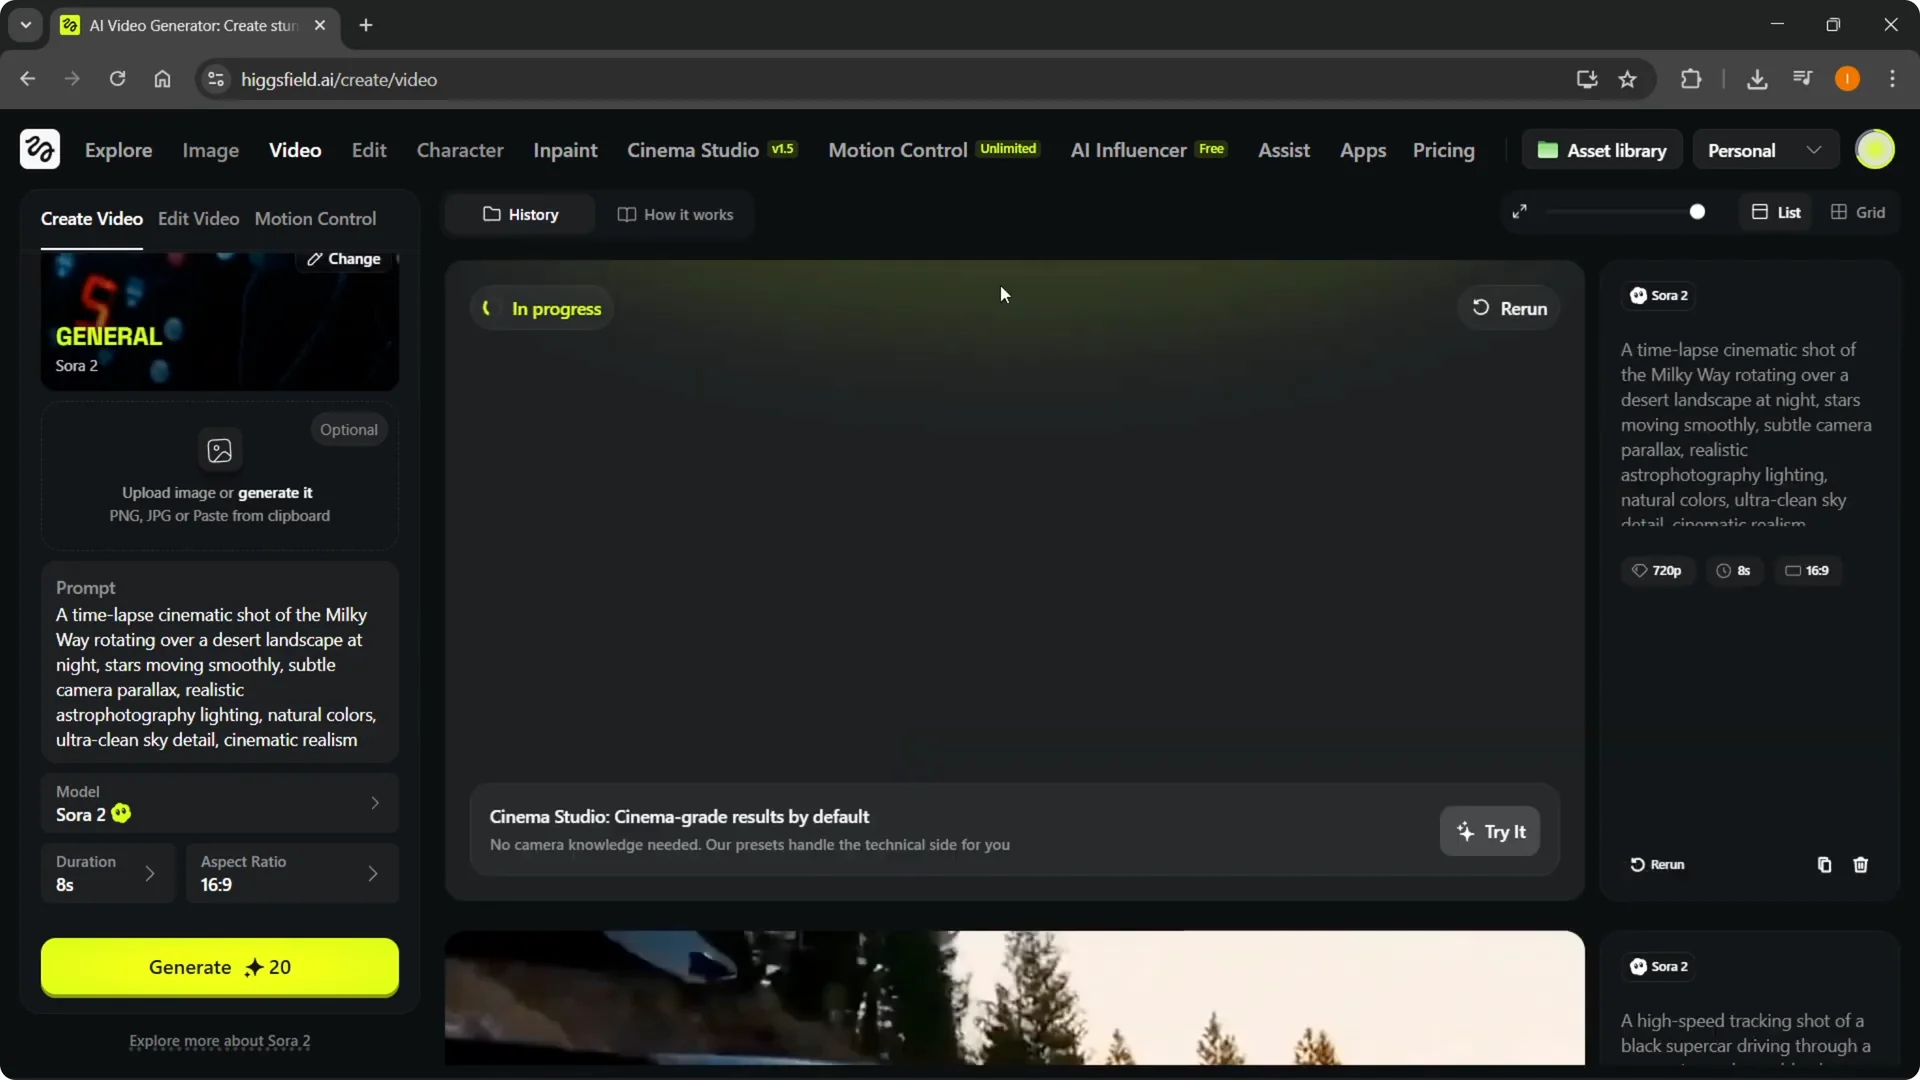
When you generate, your job moves to the in-progress queue and takes a few minutes. Once it’s done, you’ll see your videos ready to preview.
If you like the output, keep it. If not, reuse the prompt, adjust options, and regenerate to create something else from it.
If you later need to close your profile, here’s how to delete your Higgsfield account without extra steps.
Final Thoughts
Sora 2 on Higgsfield AI is straightforward: write a clear prompt, pick duration and aspect ratio, add an optional reference image, and generate. The examples show it can stick closely to the scene you describe.
If a result isn’t quite there, tweak the prompt, try a different duration or aspect ratio, and regenerate until it matches what you want.