Here’s how to create a character in Higgsfield AI and generate images from it. You can make your own character and then create unlimited selfies in different styles using your own photos.
Higgsfield AI Character Creation: Getting started
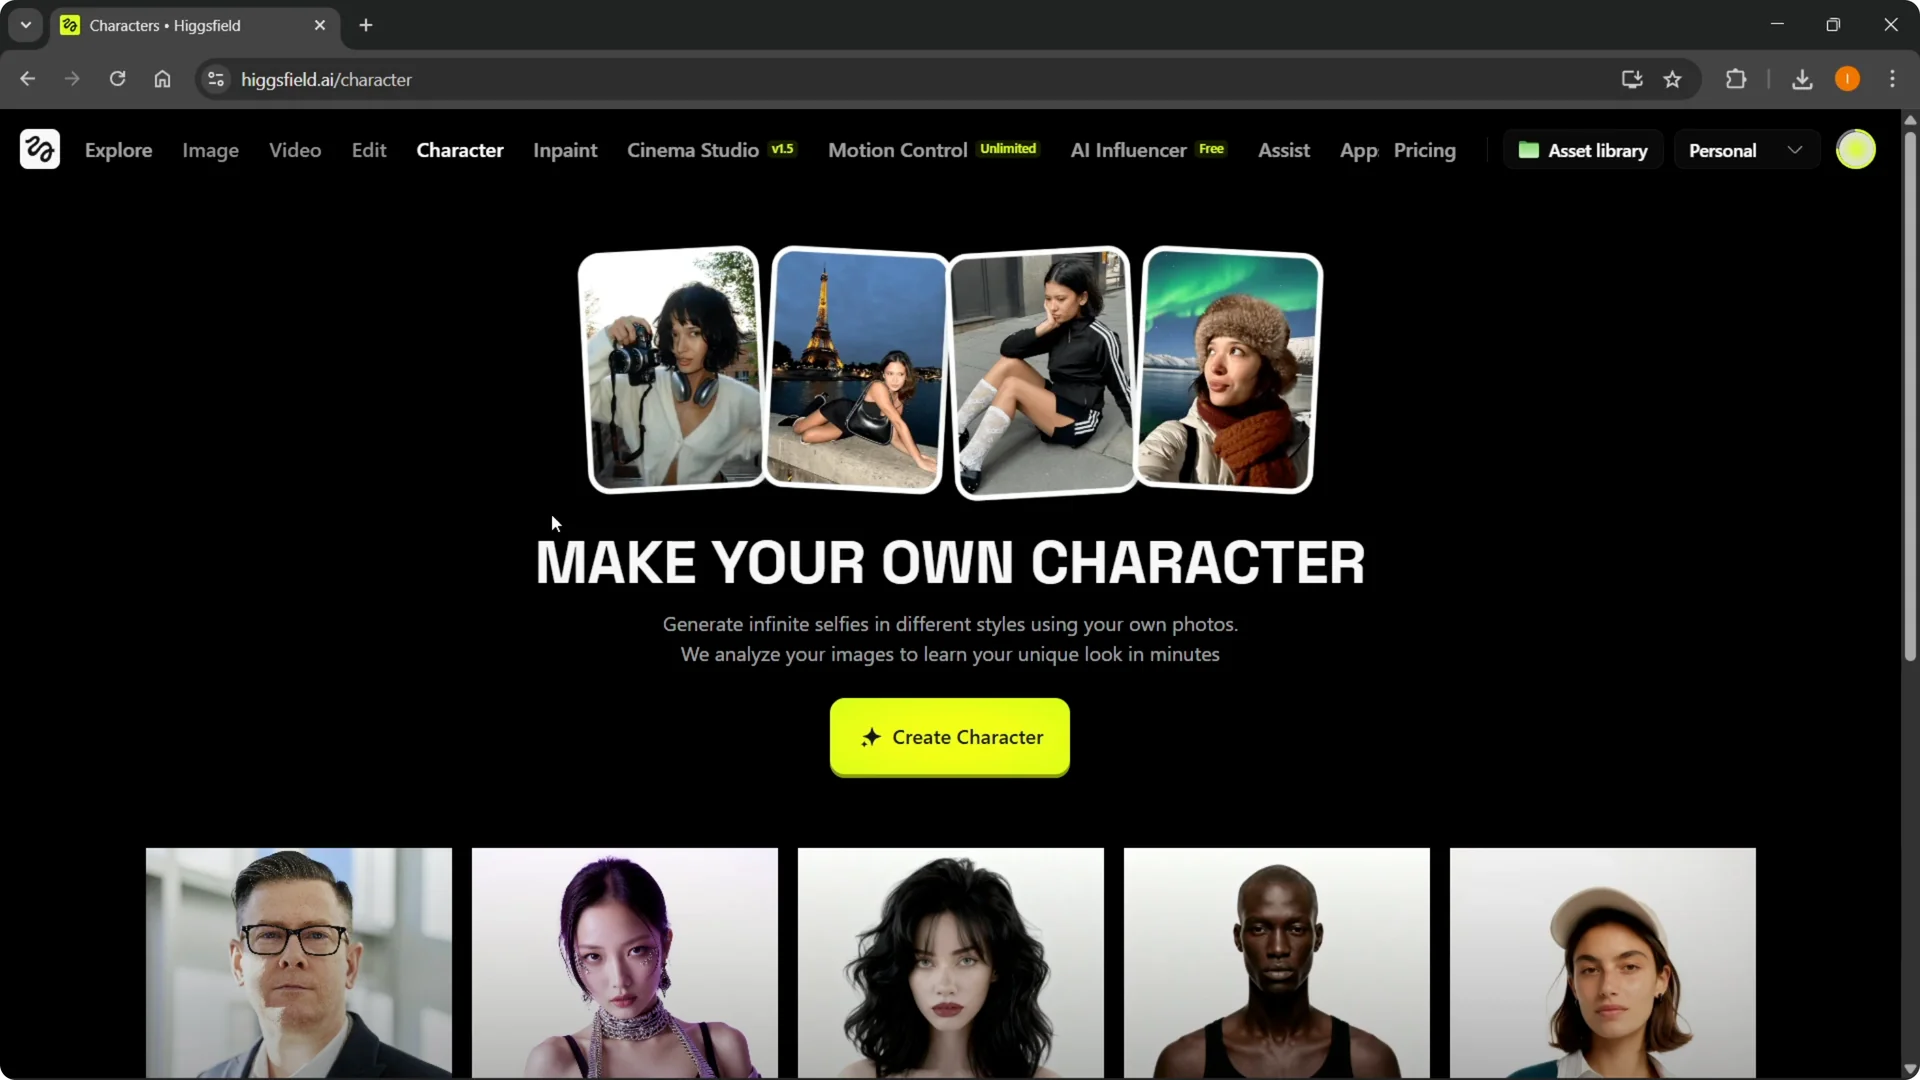
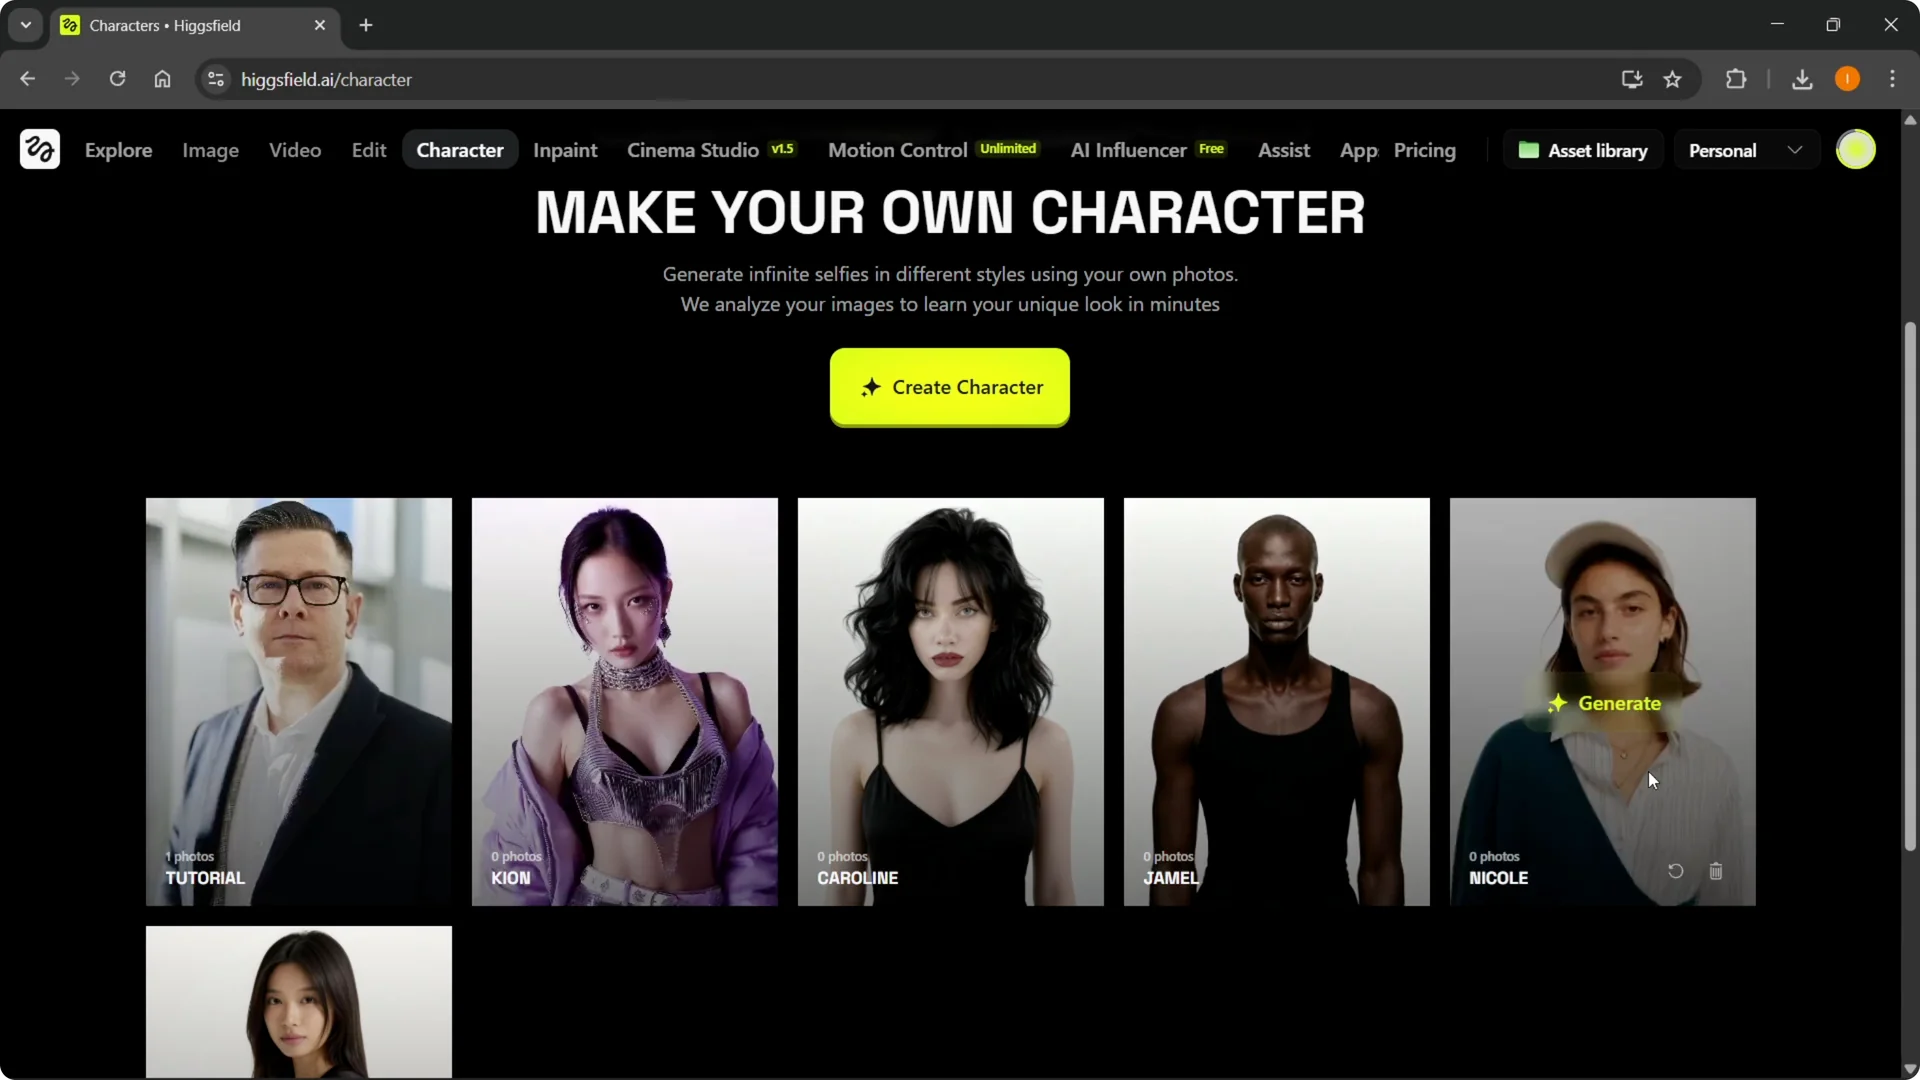
Create your character
Step 1: At the top, hover over Character, then under Models click Soul ID Character.
Click Create Character to begin.
Step 2: Upload 20+ photos for best results. If you only have around 20 or even a bit less, that will work too, but the more images you provide, the better the generations are going to be.
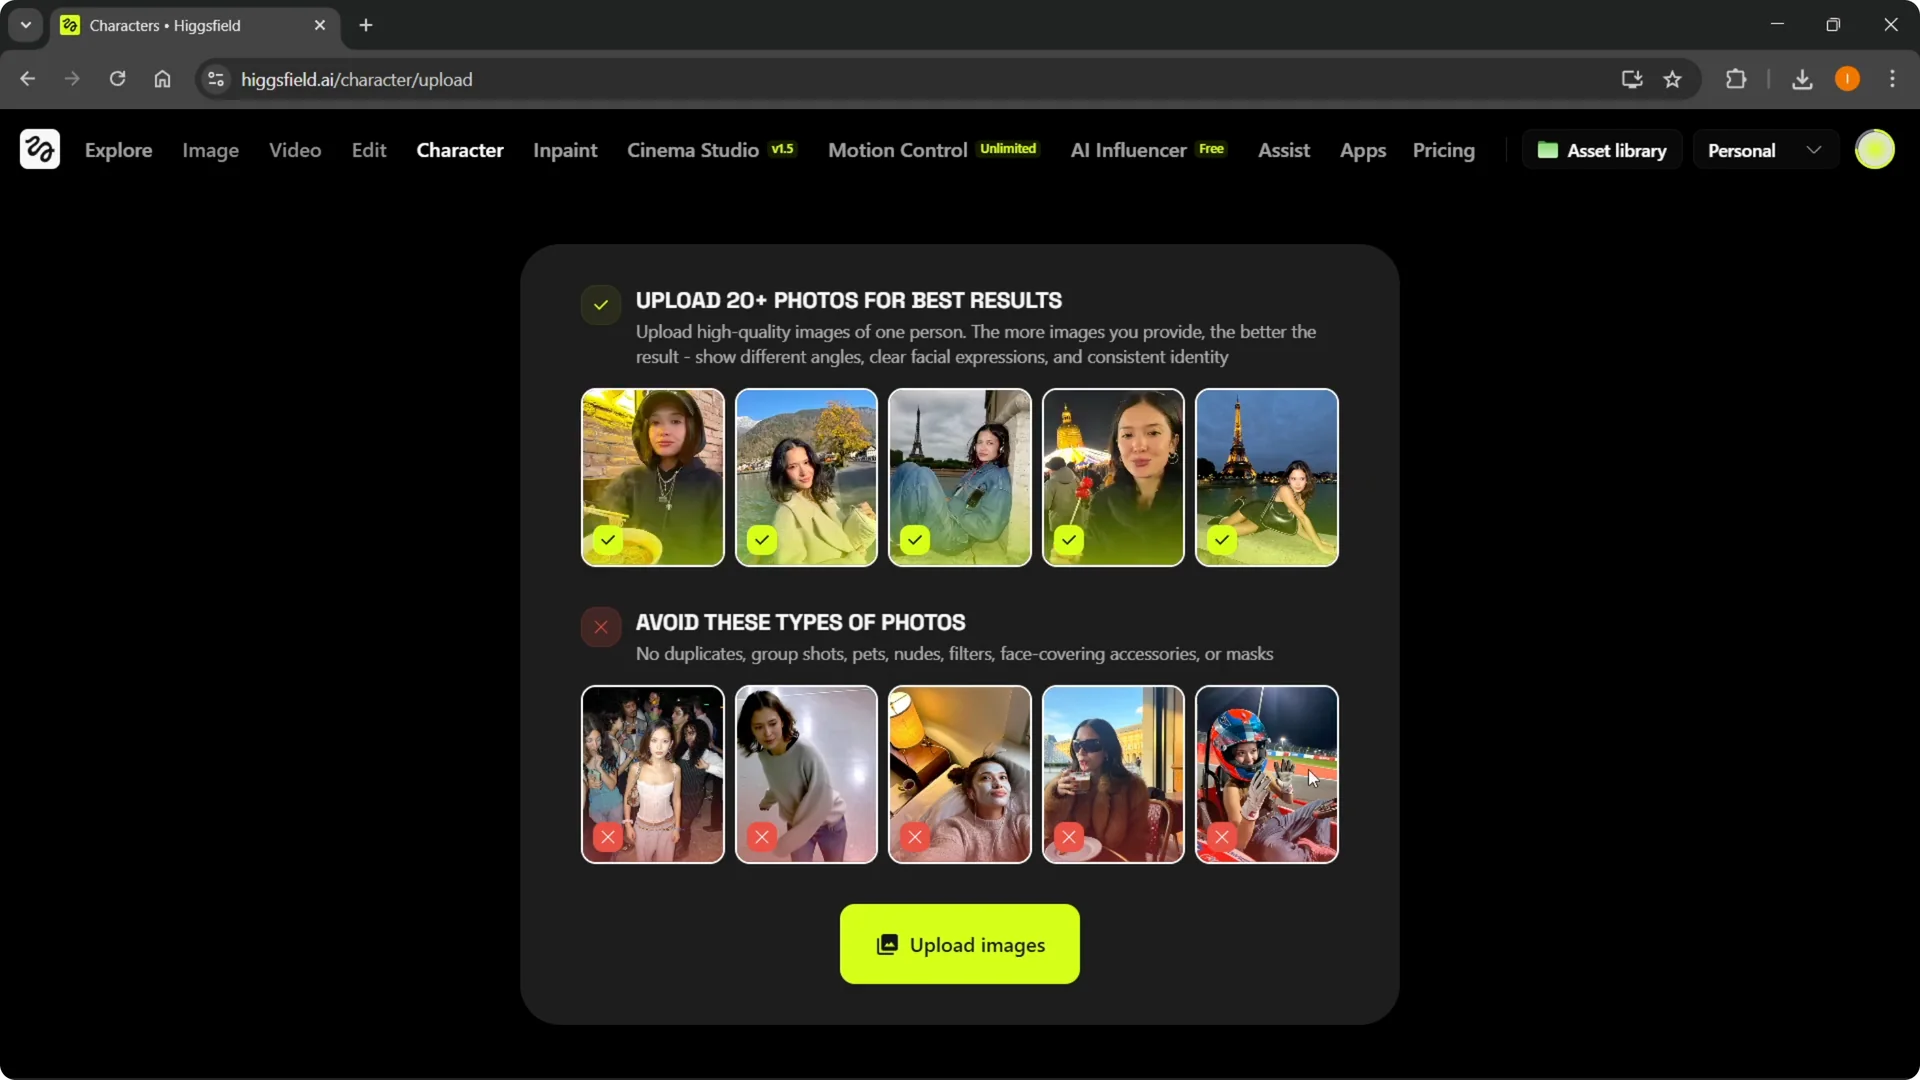
Step 3: Follow the photo tips shown in the uploader.
Clear shots of your face work great, while covered faces or images with multiple people will not work as well.
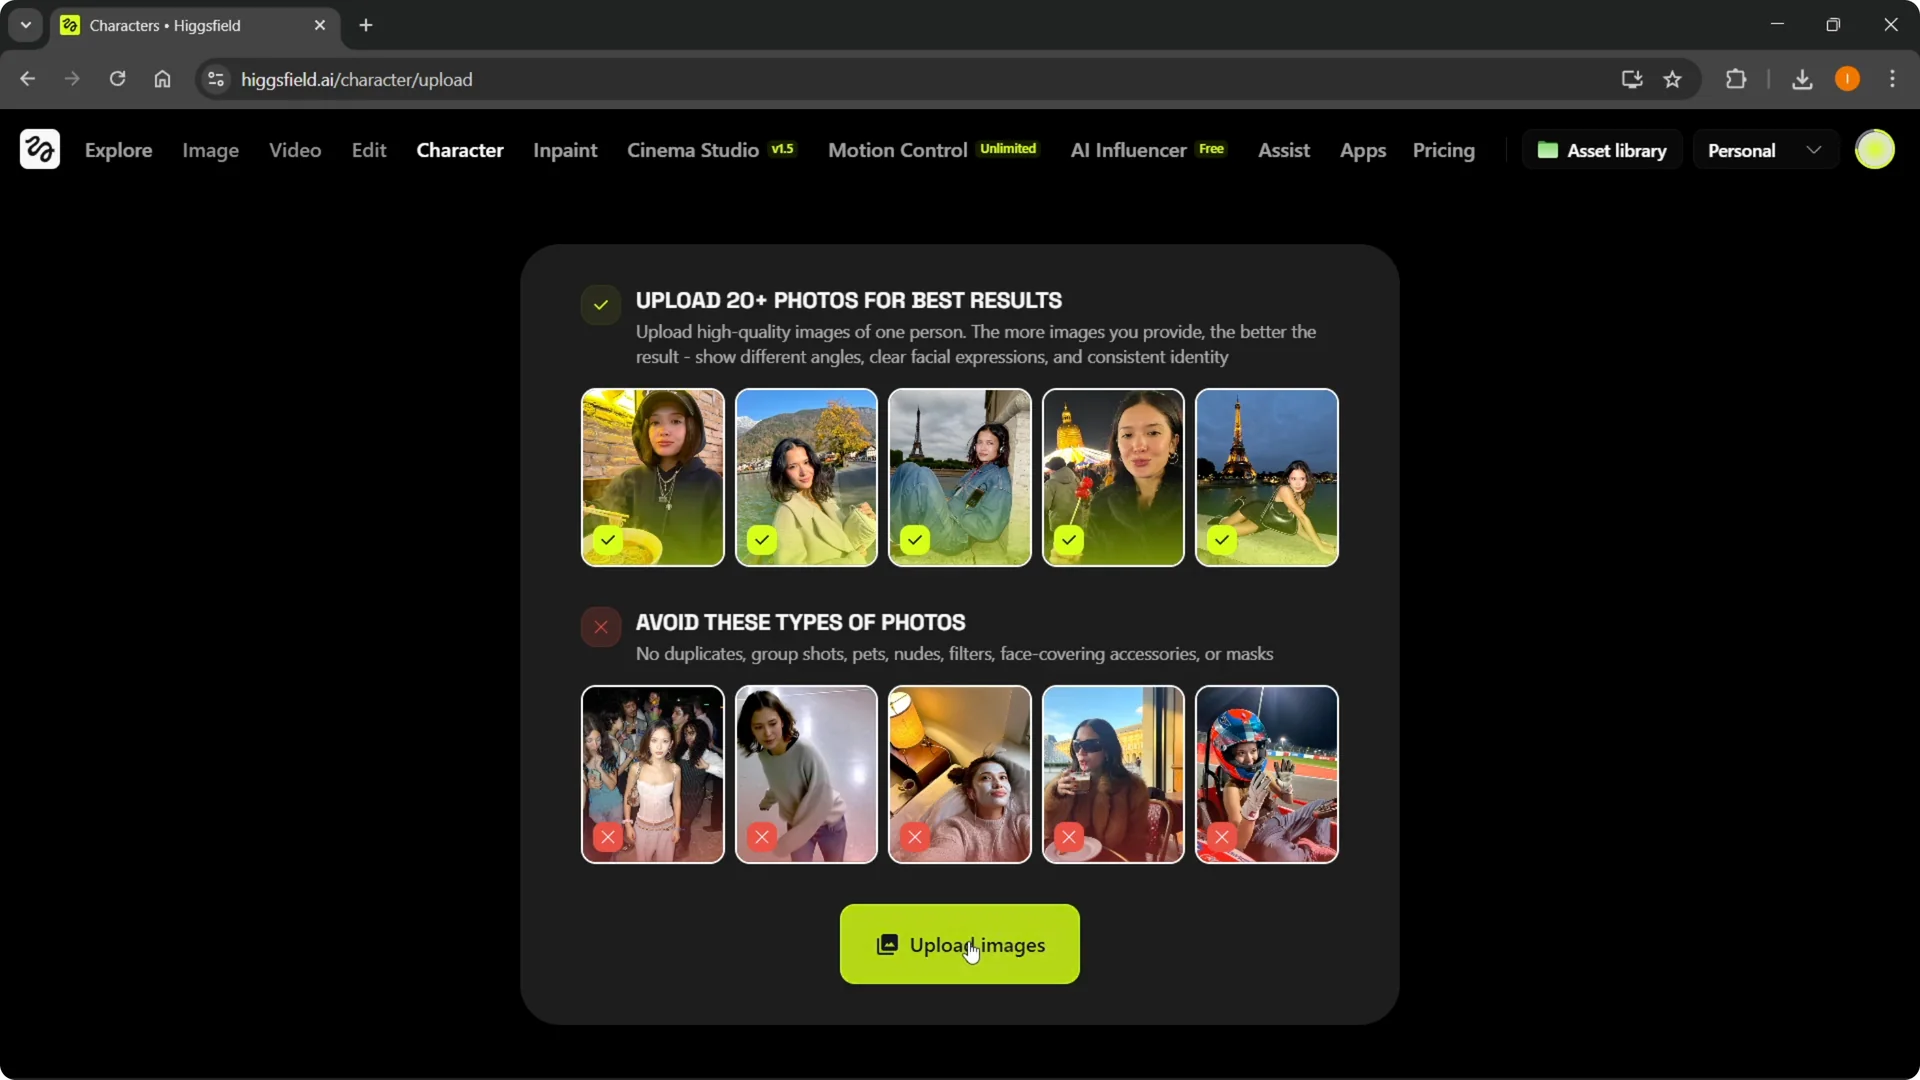
Step 4: Click Upload Images and drop them in. After uploading, go back to the Character tab to see it start generating your character.
Step 5: You may see some default characters there by default.
Your own character will pop up inside your Characters menu once it is ready.
Read More: quick ways to use Higgsfield Popcorn
Higgsfield AI Character Creation: Generate images
Prompt and style
Step 1: Hover over your new character and click Generate. Select the character you created.
Step 2: In General, choose your visual style. I like the iPhone style, and I’ll prompt with something like “casual image from vacation.”
Model, aspect ratio, and quality
Step 3: Choose a model from options like Higgsfield Soul, Face Swap, or Nano Banana Pro. If you want to use your specific character, make sure Soul is selected, which also lets you create ultra realistic fashion visuals.
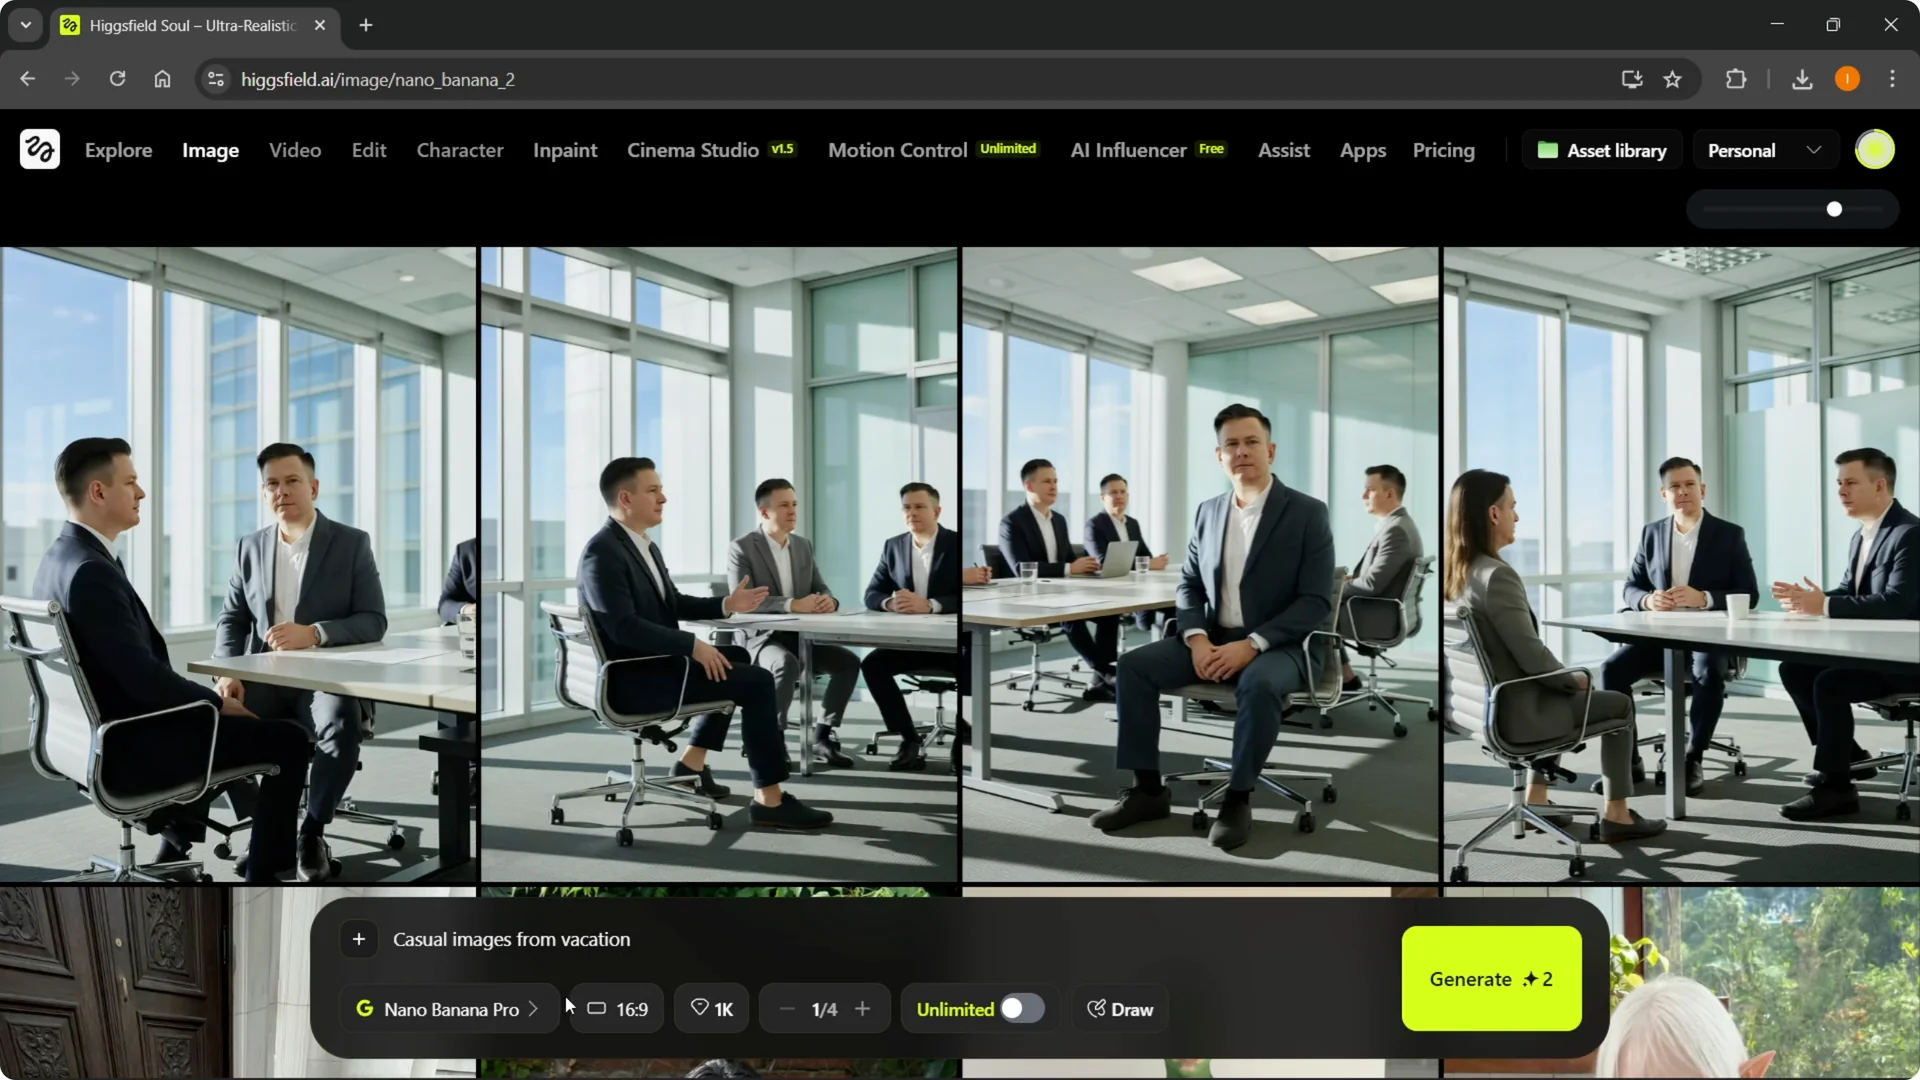
Step 4: Pick an aspect ratio, such as portrait 3×4. Select the quality you prefer, for example 2K or 1.5K.
Read More: tips for smooth transitions in Higgsfield
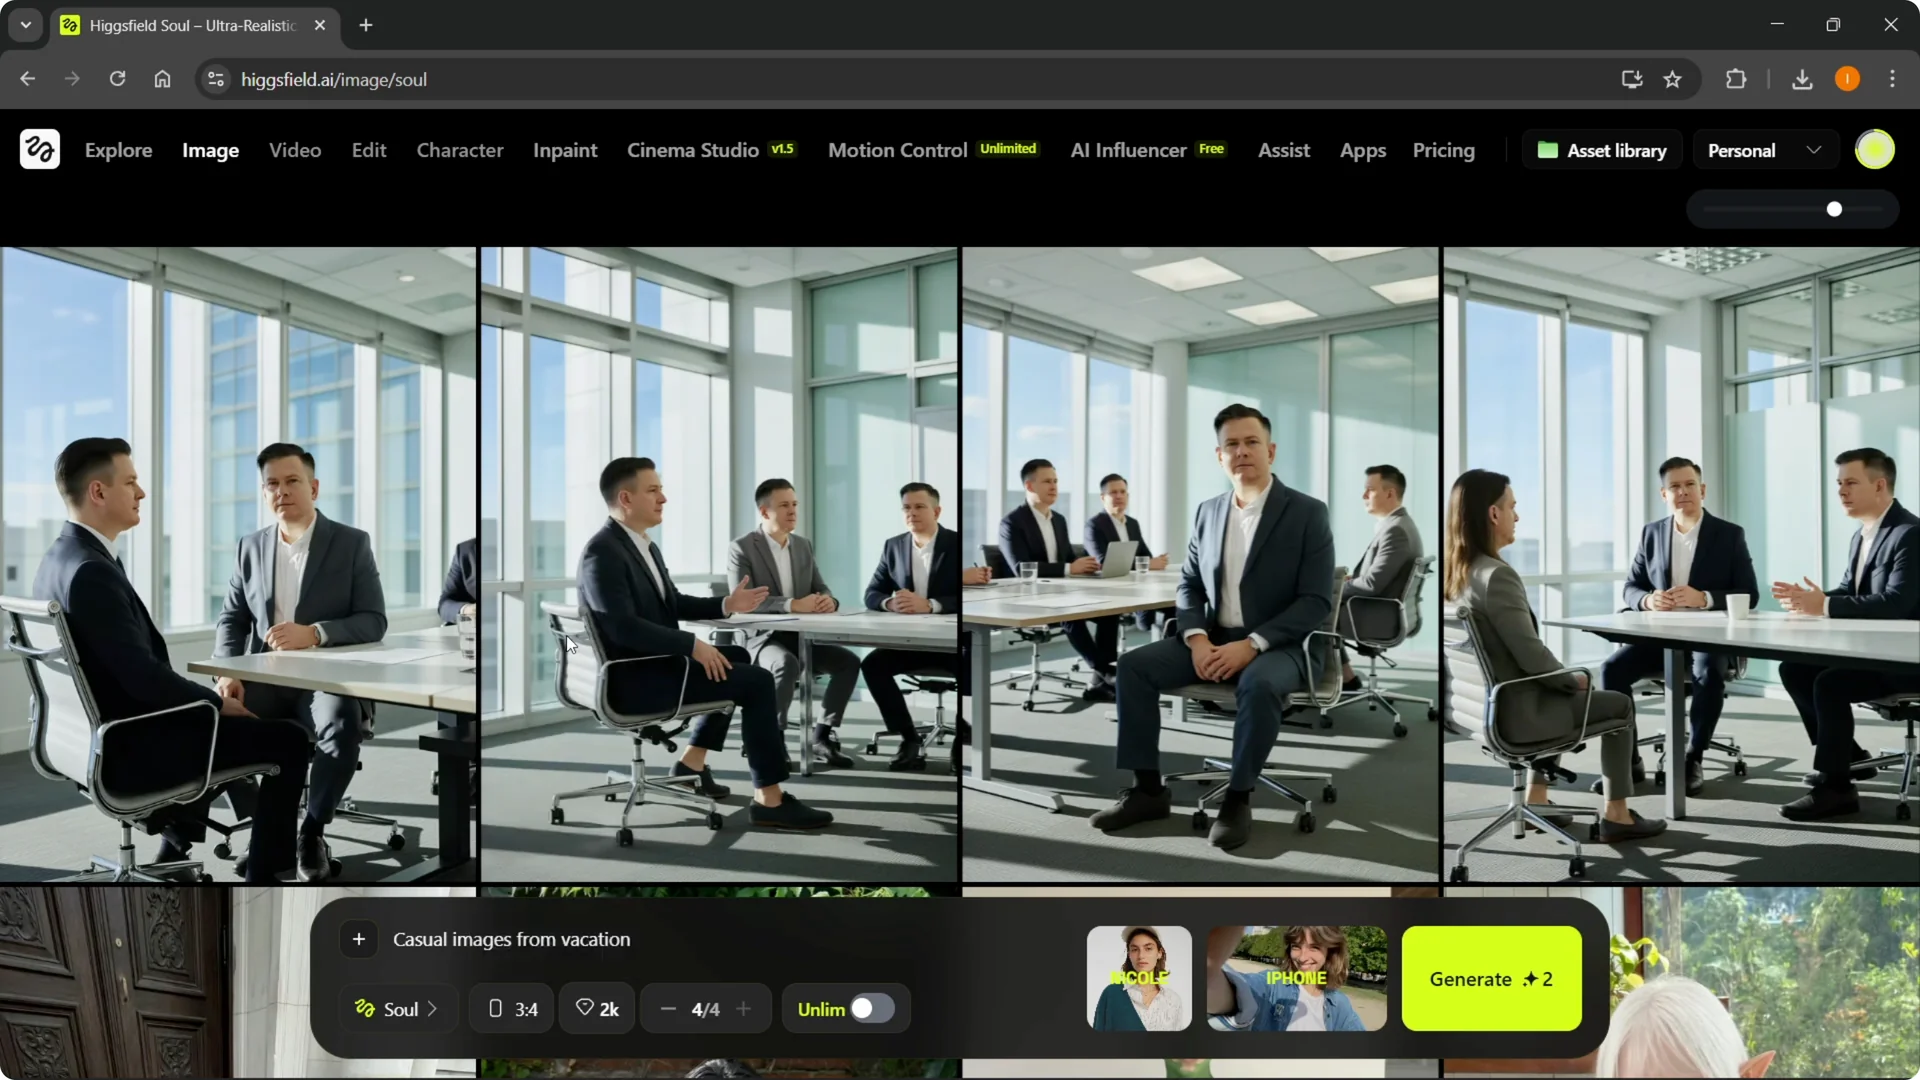
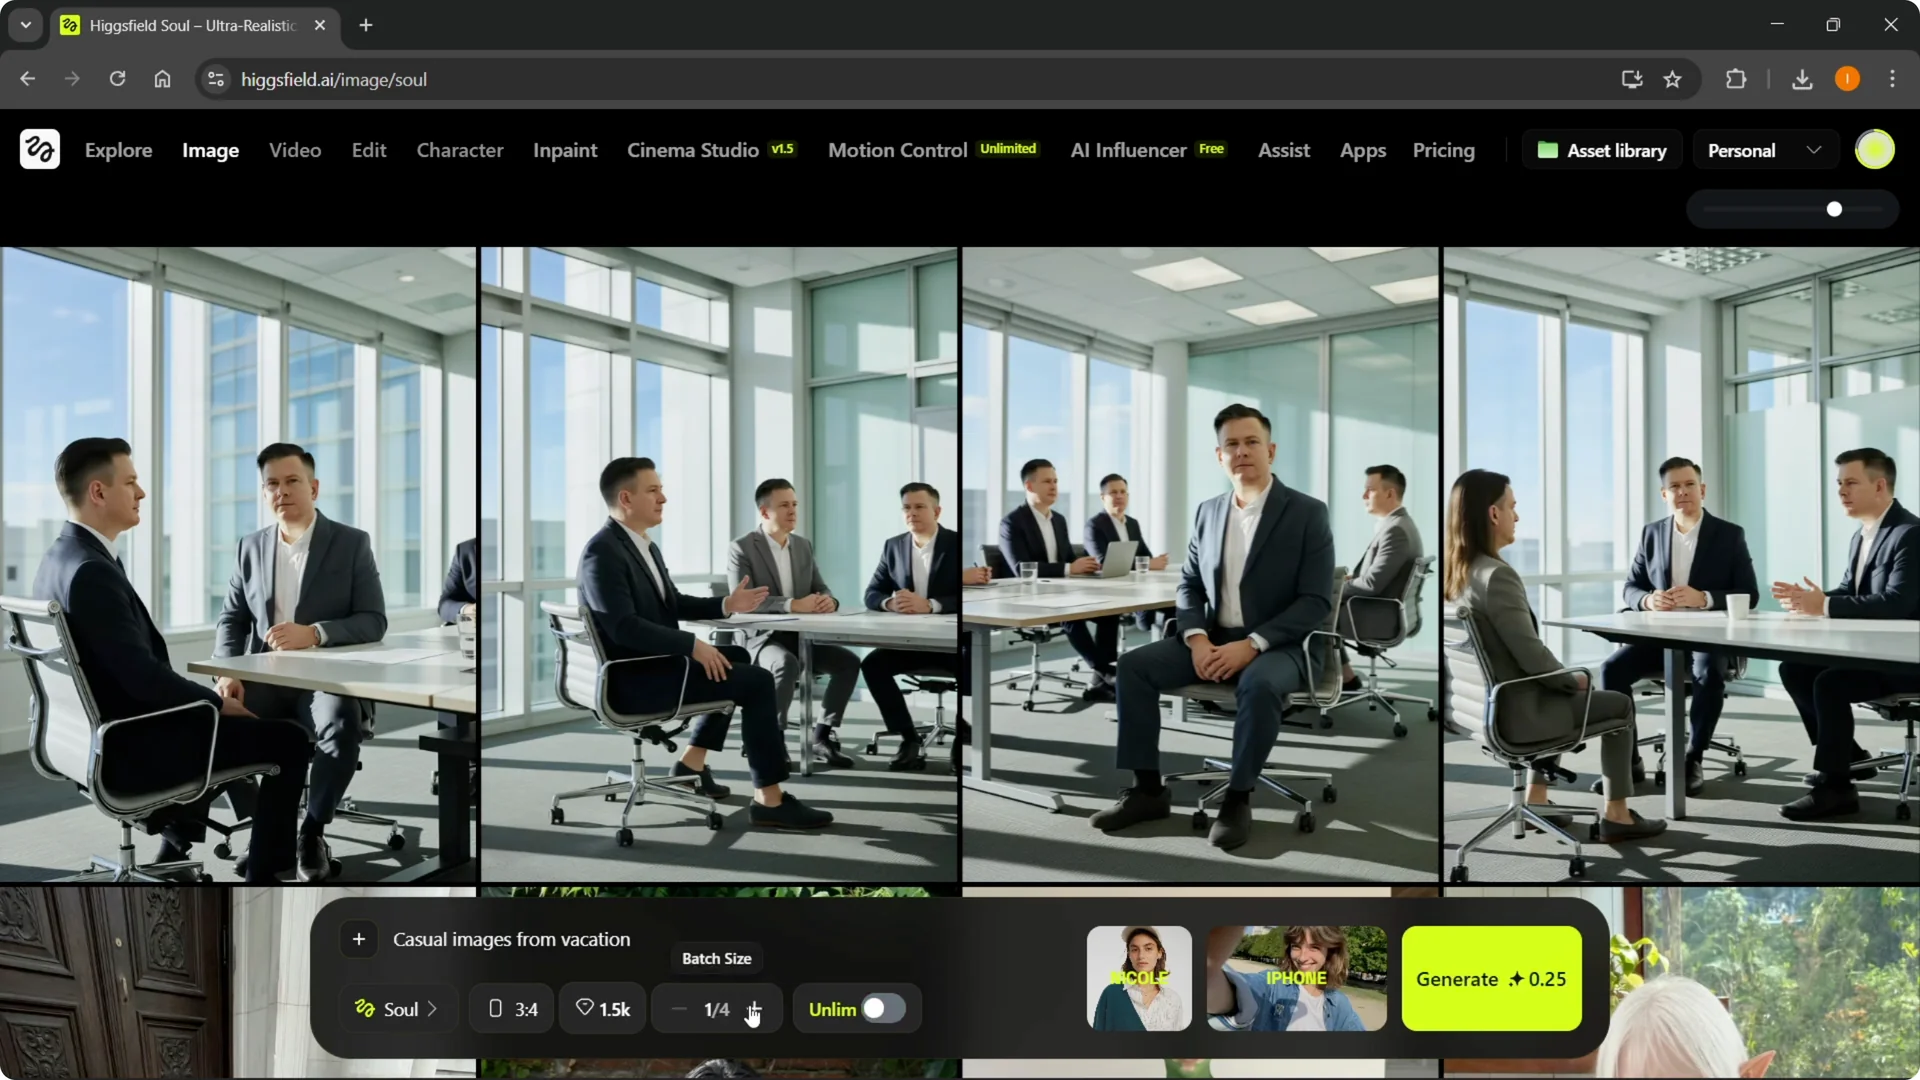
Batch size and Unlimited
Step 5: Choose your batch size. If you click Unlimited, it allows you to create unlimited photos without using credits, but it will take longer.
For example, clicking Unlimited did not take any credits, so it was a free generation.
Regular generations usually take a few seconds up to 2-3 minutes, though sometimes they take longer.
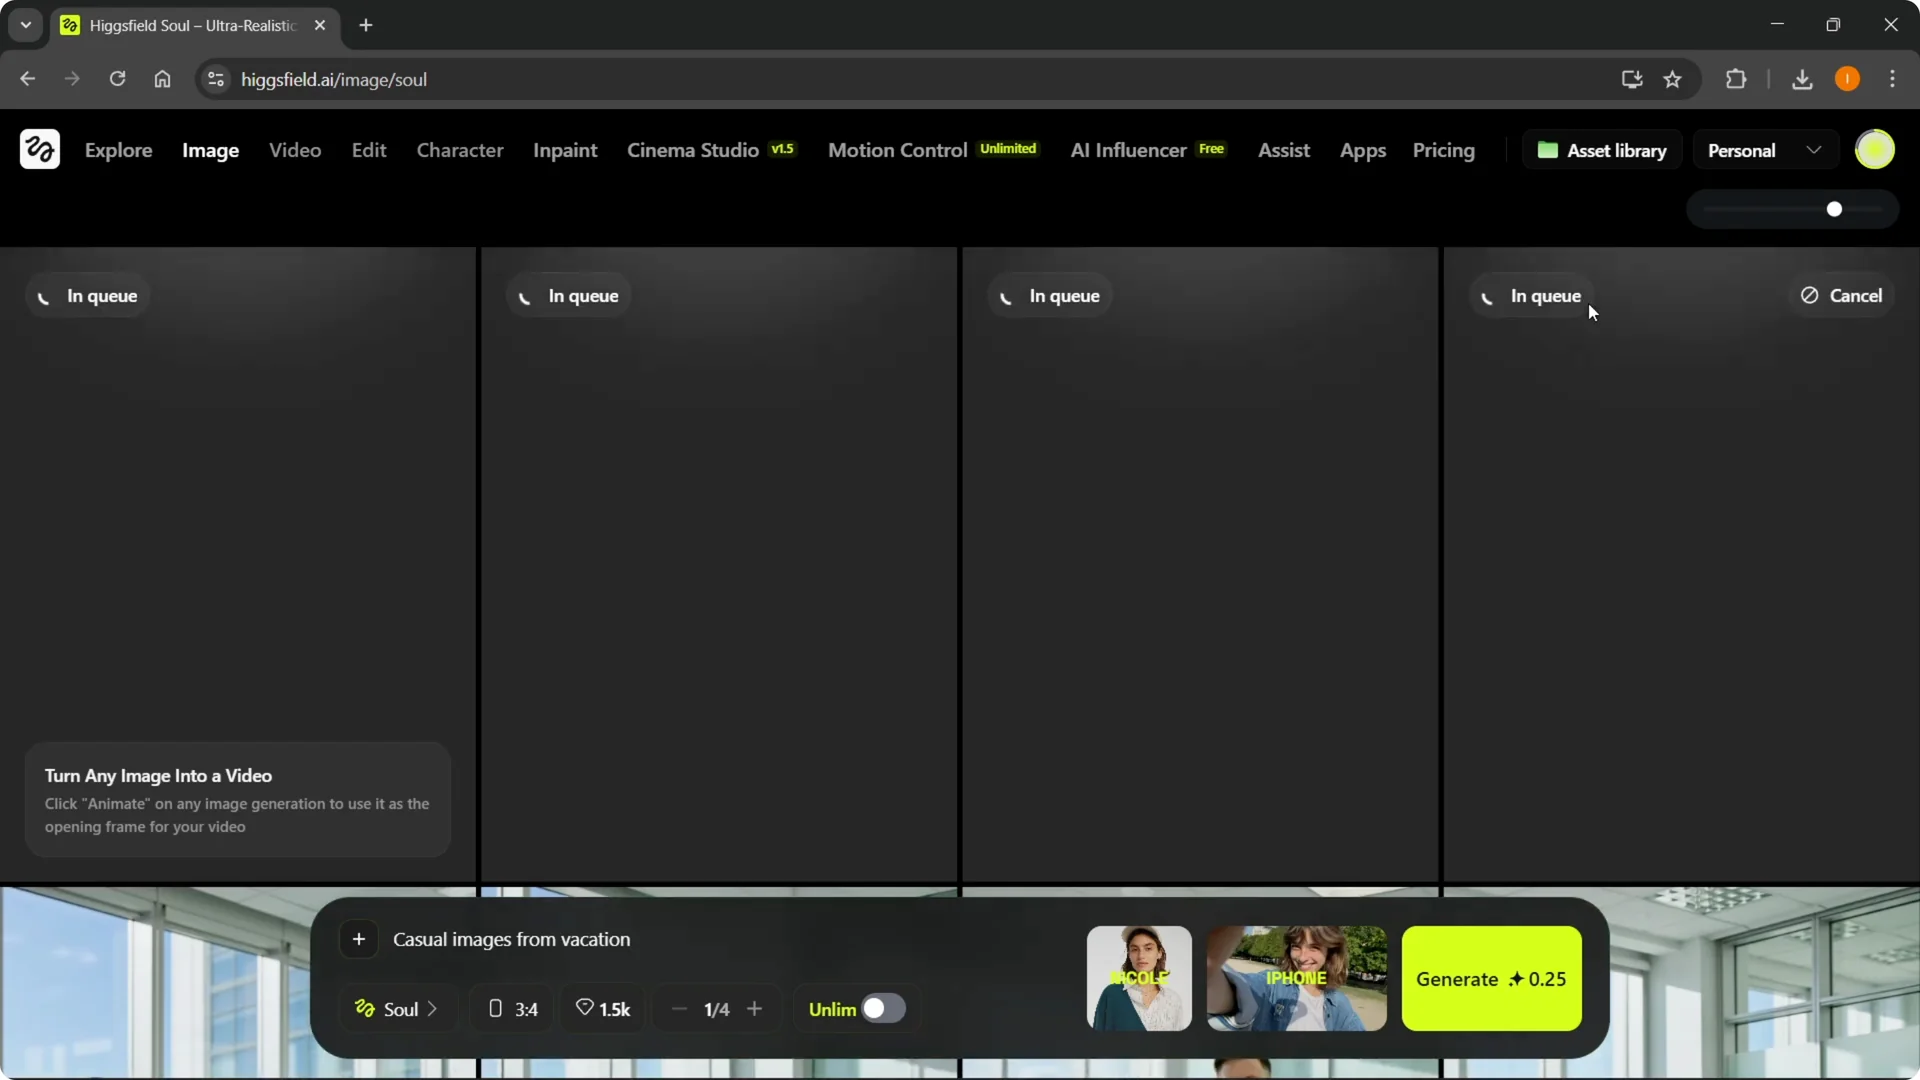
Queue and results
Step 6: Wait for the job to move from in queue to in progress. When it’s done, you will see the images created using your own character.
Read More: building UGC ads with Higgsfield
Final thoughts
Upload as many clear photos as you can to train your character well. Use the Soul model to ensure your generations match your character, set your aspect ratio and quality, and decide if Unlimited mode fits your time and credit needs. Watch the queue, let it finish, and your character images will be ready.