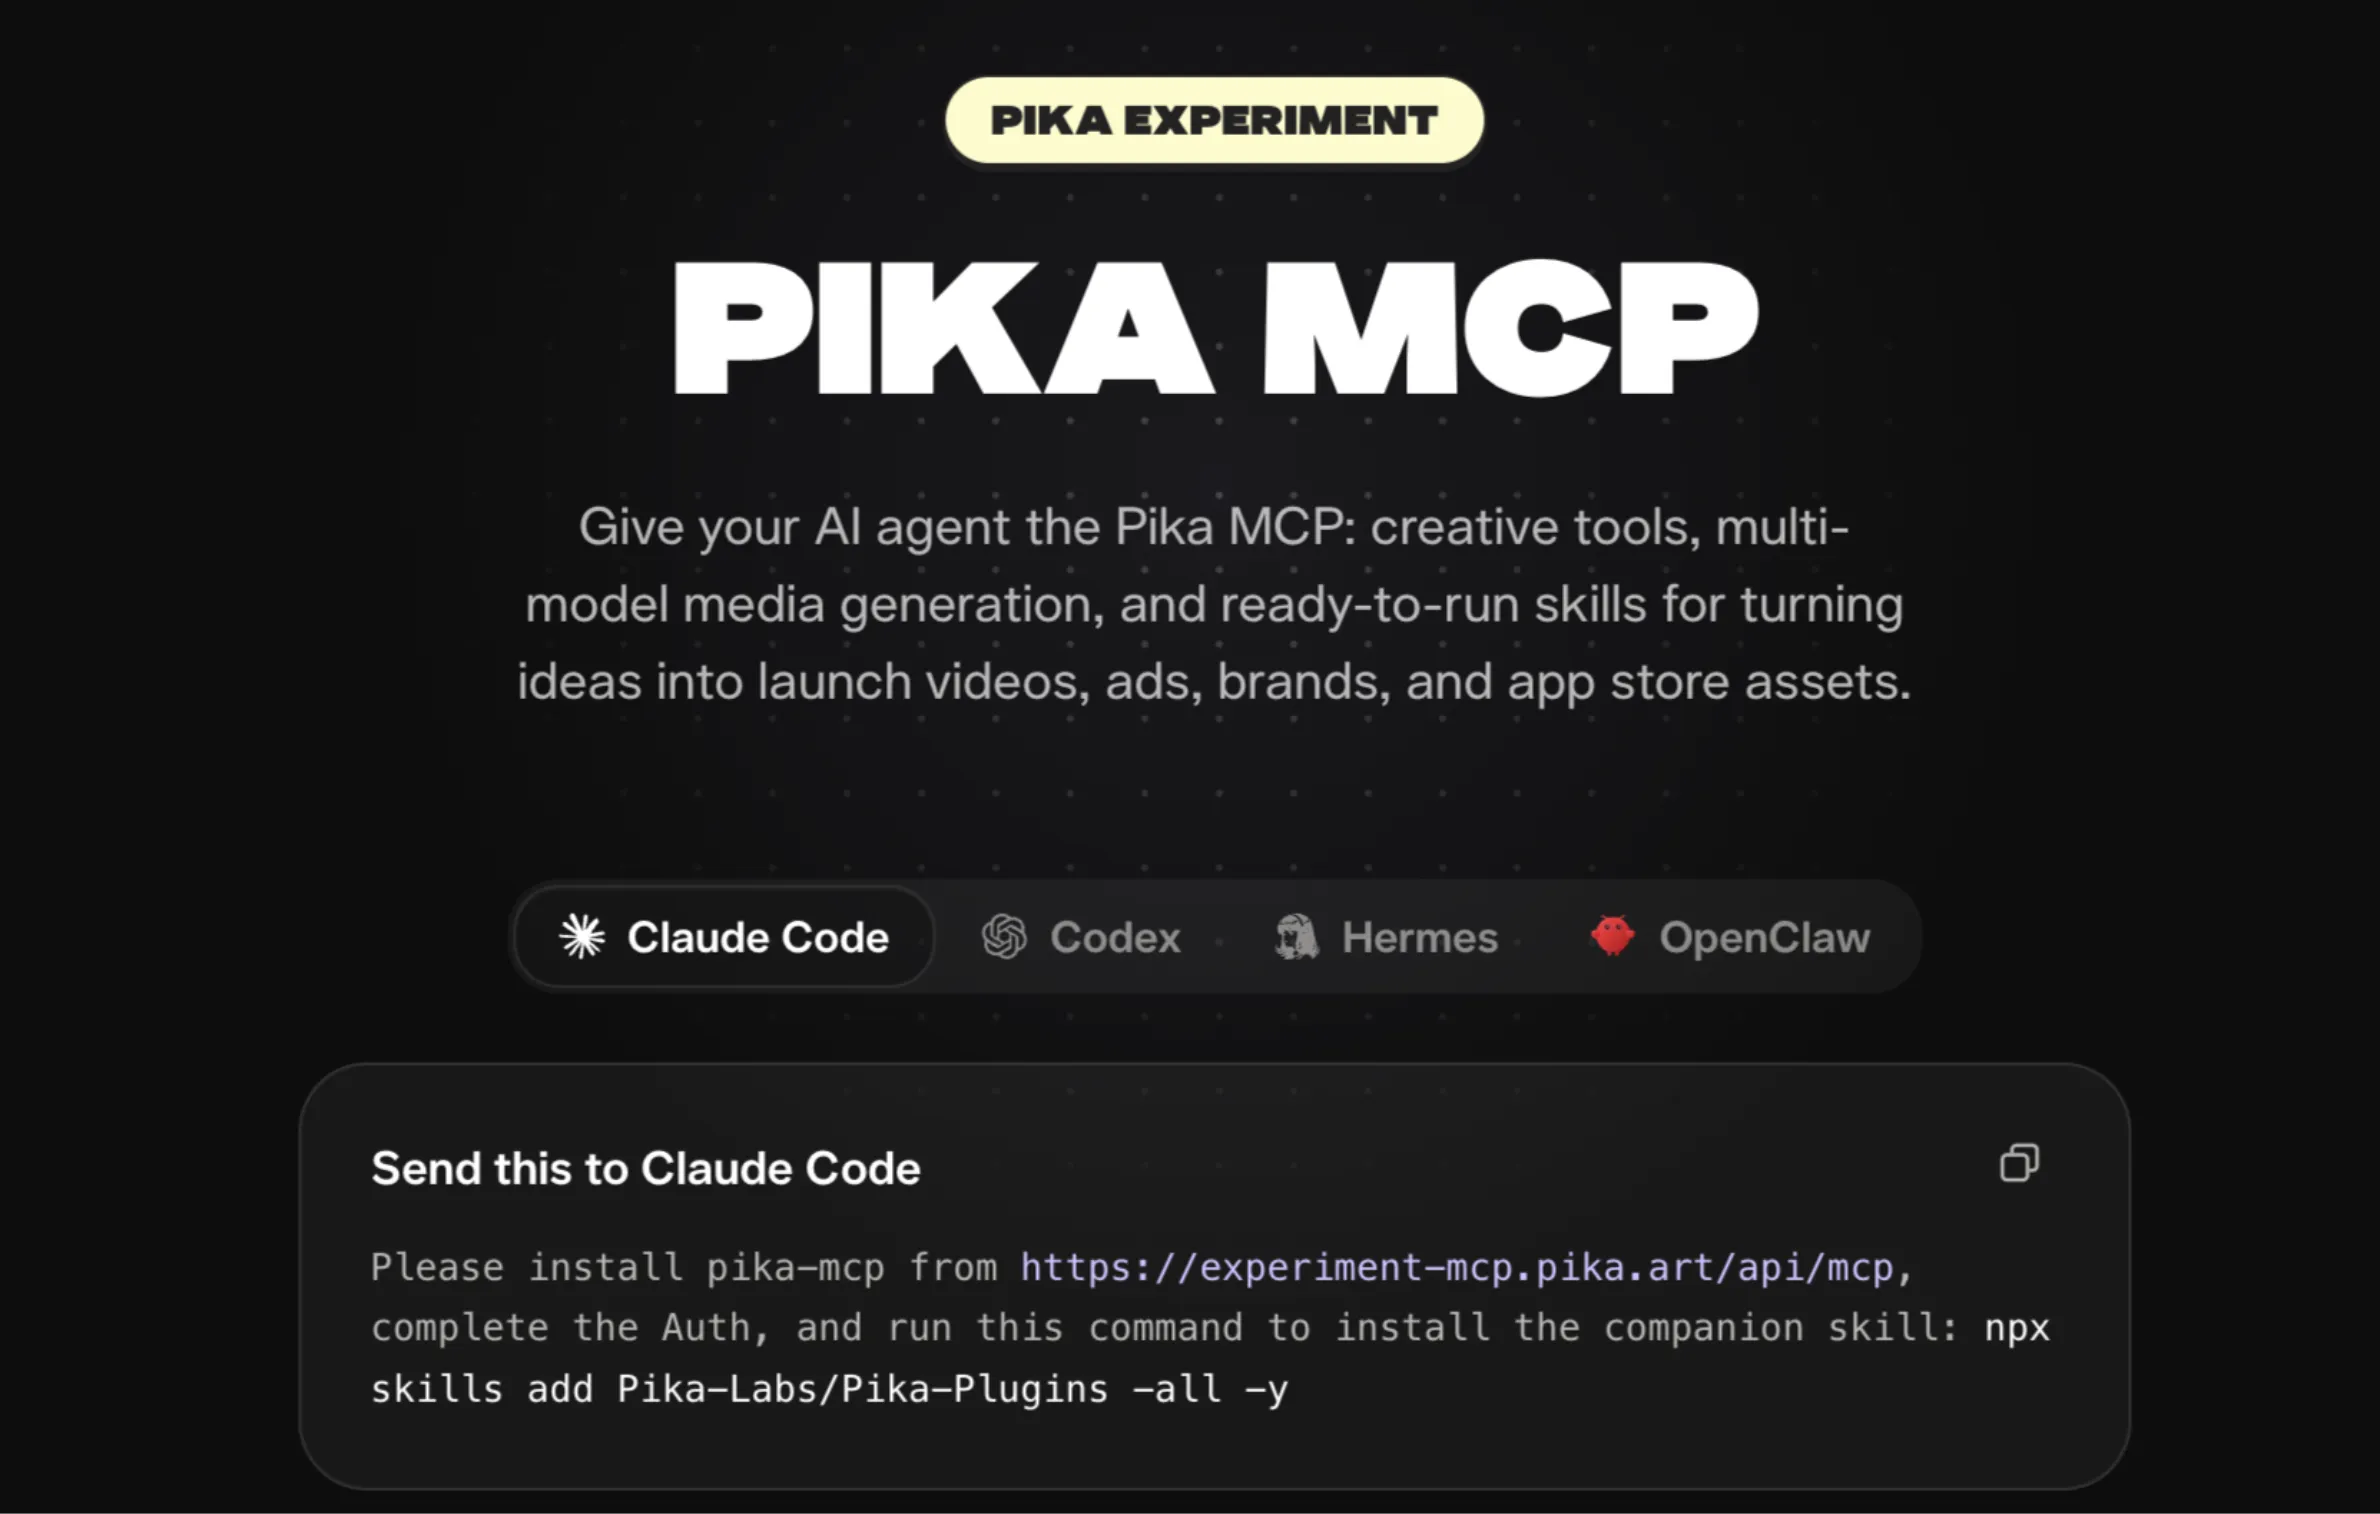
If you have ever wished your AI agent could also make videos, images, music, and voiceovers without you switching between five different apps, Pika MCP is built for exactly that. It connects your existing AI agent, like Claude, Codex, or others, to Pika’s full set of creative tools.
Once connected, you can simply type what you want in plain language, and Pika handles the rest.
In this guide, we will cover what Pika MCP is, what it can do, and a full step-by-step setup so you can start using it today.
What is Pika MCP?
MCP stands for Model Context Protocol. Think of it as a bridge that lets one AI tool talk to another AI tool’s features. Normally, your AI agent (say, Claude) can chat, write, and code, but it cannot generate a video or design an image on its own. Pika MCP fixes that gap.
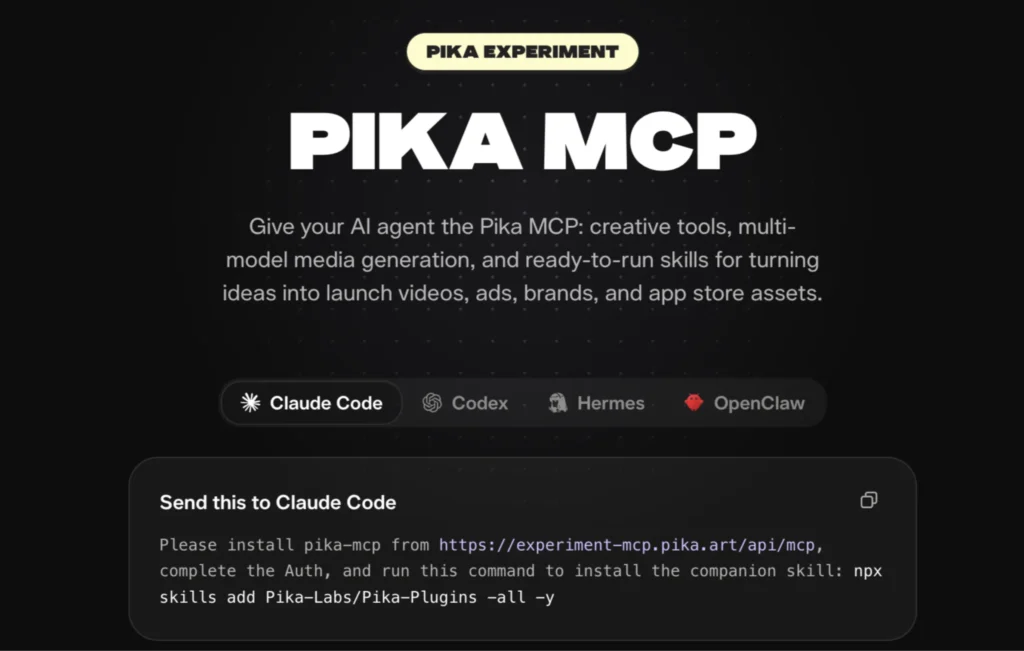
Once you install Pika MCP, your AI agent gets access to Pika’s entire library of creative models and tools directly inside the same chat window you already use. You don’t need to open a separate app or copy-paste prompts between tools. You just ask, and your agent uses Pika’s tools to build it for you.
Anthropic calls this “Pikafying” your agent. It means your AI assistant now behaves like a creative partner that can write, plan, and also produce finished media.
What Can You Actually Create With Pika MCP?
Pika MCP is multi-model, which means it doesn’t rely on just one video or image generator. Instead, it gives your agent access to several different models, and either you choose which one to use, or the agent picks the best fit based on your request.
Here are the models available through Pika MCP:
Video generation models:
Seedance Video, Kling Video, MiniMax Video, Pika Video, Veo 3 Video, Sora Video, and Remotion.
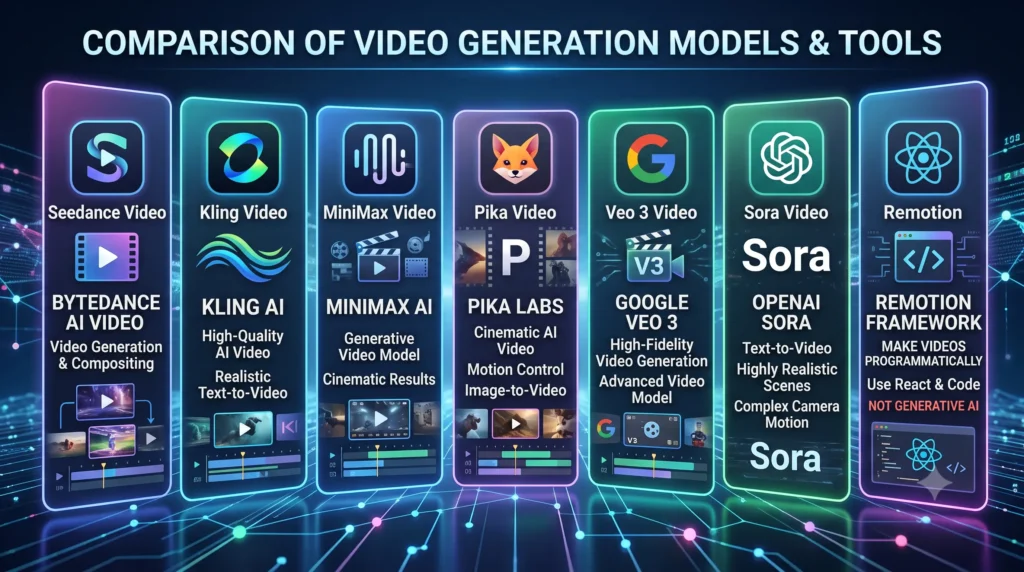
Image generation models:
Gemini Image, SeedDream Image, ChatGPT Image, along with Style Extract and Image Style tools.
Audio and voice models:
ElevenLabs for voice, OpenAI Whisper for transcription, MiniMax Music for background music, and MiniMax Voice for voiceovers.
On top of these models, Pika MCP also gives you a toolkit for editing and refining content, including:
Reference Video, Extend Video, Re-cut Video, Modify Video, Text-to-Image, Reference Image, Image Edit, Image Upscale, Inpaint, and Background Remover.
In simple words, you can generate a video from scratch, extend a clip that’s too short, remove a background from a photo, upscale a low-quality image, write a voiceover script and turn it into actual audio, and add background music, all from one chat.
What Makes Pika MCP Different?
Most AI tools ask you to write long, technical prompts to get good results. Pika MCP works differently. It is built specifically for AI agents to use, not for humans typing into a website form.
So instead of crafting a detailed prompt yourself, you can just say something like “make me a 30 second product demo video” and the agent figures out the steps, picks the right model, and builds it.
Pika MCP also remembers your past requests and keeps your agent’s personality consistent across sessions.
This is done through something Pika calls your “Pika Agent identity,” which we’ll set up in the steps below.
Step-by-Step Guide: How to Set Up Pika MCP
Here is the full process broken into simple steps.
Step 1: Connect Pika MCP to Your AI Agent
- Open Claude.ai and go to Settings.
- Click on Customize, then Connectors.
- Click the plus (+) icon to add a new connector.
- Search for “Pika” in the connector search box.
- Select the Pika custom connector and click Authorize.
- Grant the tool permissions you are comfortable with.
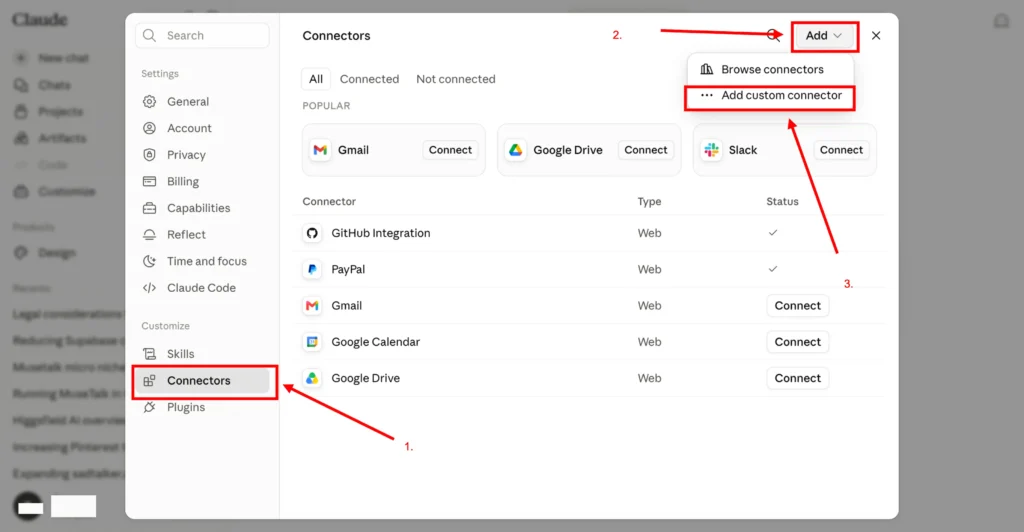
Once this is done, Claude is now connected to Pika’s creative tools.
A quick note: you cannot install this connector from the Claude iOS app directly. But once you install it from Claude.ai on your computer, it automatically syncs to your mobile app too.
Your login stays connected across both, so you won’t need to sign in again on your phone.
If you use a different AI agent instead of Claude, like Codex or Hermes, you can share these same instructions with that agent, and it should be able to follow the same setup pattern.
Step 2: Set Up Your Pika Agent Identity
After connecting the tool, you need to load your Pika Agent’s identity so it keeps the same personality and memory across chats.
To do this, type the following into your Claude chat:
“I’ve just connected the Pika MCP to Claude. Please help me set up my Pika Agent identity by doing the following: Read my existing identity files by calling identity_persona_read for each of the three files: identity, soul, and style.”
This step tells your agent to read three identity files and apply them.
Once done, your agent will respond and act in a way that matches your Pika Agent’s established personality and style.
Step 3: Install the Companion Skills Plugin
Pika MCP also comes with a skills plugin that adds extra abilities and templates. To install it, run this command through Claude Code or Codex:
npx skills add Pika-Labs/Pika-Plugins -all -yThis installs all the current skills in one go. If you want to update the skills later, after Pika releases something new, run this command instead:
npx skills add Pika-Labs/Pika-Plugins -yThat’s it. Your agent now has both the MCP connection and the skills plugin installed.
Step 4: Start Creating
Now you can simply type what you want to make. A few examples of prompts you could try:
“Make me a 20 second explainer video about my new app.” “Turn this photo into a background-removed product shot.” “Write a short podcast script and turn it into a voiceover.” “Extend this video clip by 10 seconds.” “Upscale this image so it looks sharper.”
Your agent will pick the right model automatically, or you can ask it to use a specific one, for example, “use Kling Video for this” or “generate this image using SeedDream.”
How Pika MCP Pricing Works?
It’s important to understand where charges come from, since two systems are involved.
Any content you generate through Pika, like videos, images, music, or edits, uses Credits from your Pika Agent Wallet.
You can check your Wallet at any time to see how many Credits you’ve used.
Regular chat messages and requests that go through your main AI agent, like Claude, Cursor, or Codex, still use your existing subscription for that agent as normal.
So your Claude subscription and your Pika Wallet are billed separately, based on what part of the request each one is handling.
A Few Tips Before You Start
Keep your first few prompts simple. Instead of writing a long, detailed description, just describe what result you want and let the agent figure out the steps.
If a video or image doesn’t come out the way you expected, you can ask the agent to modify or re-cut it, rather than starting over completely.
Since Pika MCP has memory of past requests, it helps to be consistent with your Pika Agent identity setup early on.
This way, future results stay aligned with the tone and style you want.
If you’re managing content for a brand or a channel, it can help to keep a small list of prompts that worked well for you, so you can reuse them later with small changes.
Final Thoughts
Pika MCP brings together video, image, voice, and music generation into the same chat window you already use for your AI agent. Instead of jumping between five tools and copying content back and forth, you describe what you want once, and the agent builds it using Pika’s models in the background.
For creators, bloggers, and anyone building content regularly, this setup can save a good amount of time on production work, letting you focus more on ideas and less on switching tools.
If you haven’t tried it yet, the setup only takes a few minutes, and the steps above should get you running from connection to your first generated video or image.