Here is how to use LipSync in Higgsfield AI. Follow these steps to set up your character, add audio, and generate a short, clean lip sync clip.
I have an example ready, but first, here is how this actually works from start to finish.
Getting started with Higgsfield AI Lip Sync
Step 1: Sign in.
- Go to their website and sign into your account or create one if you do not have one yet.

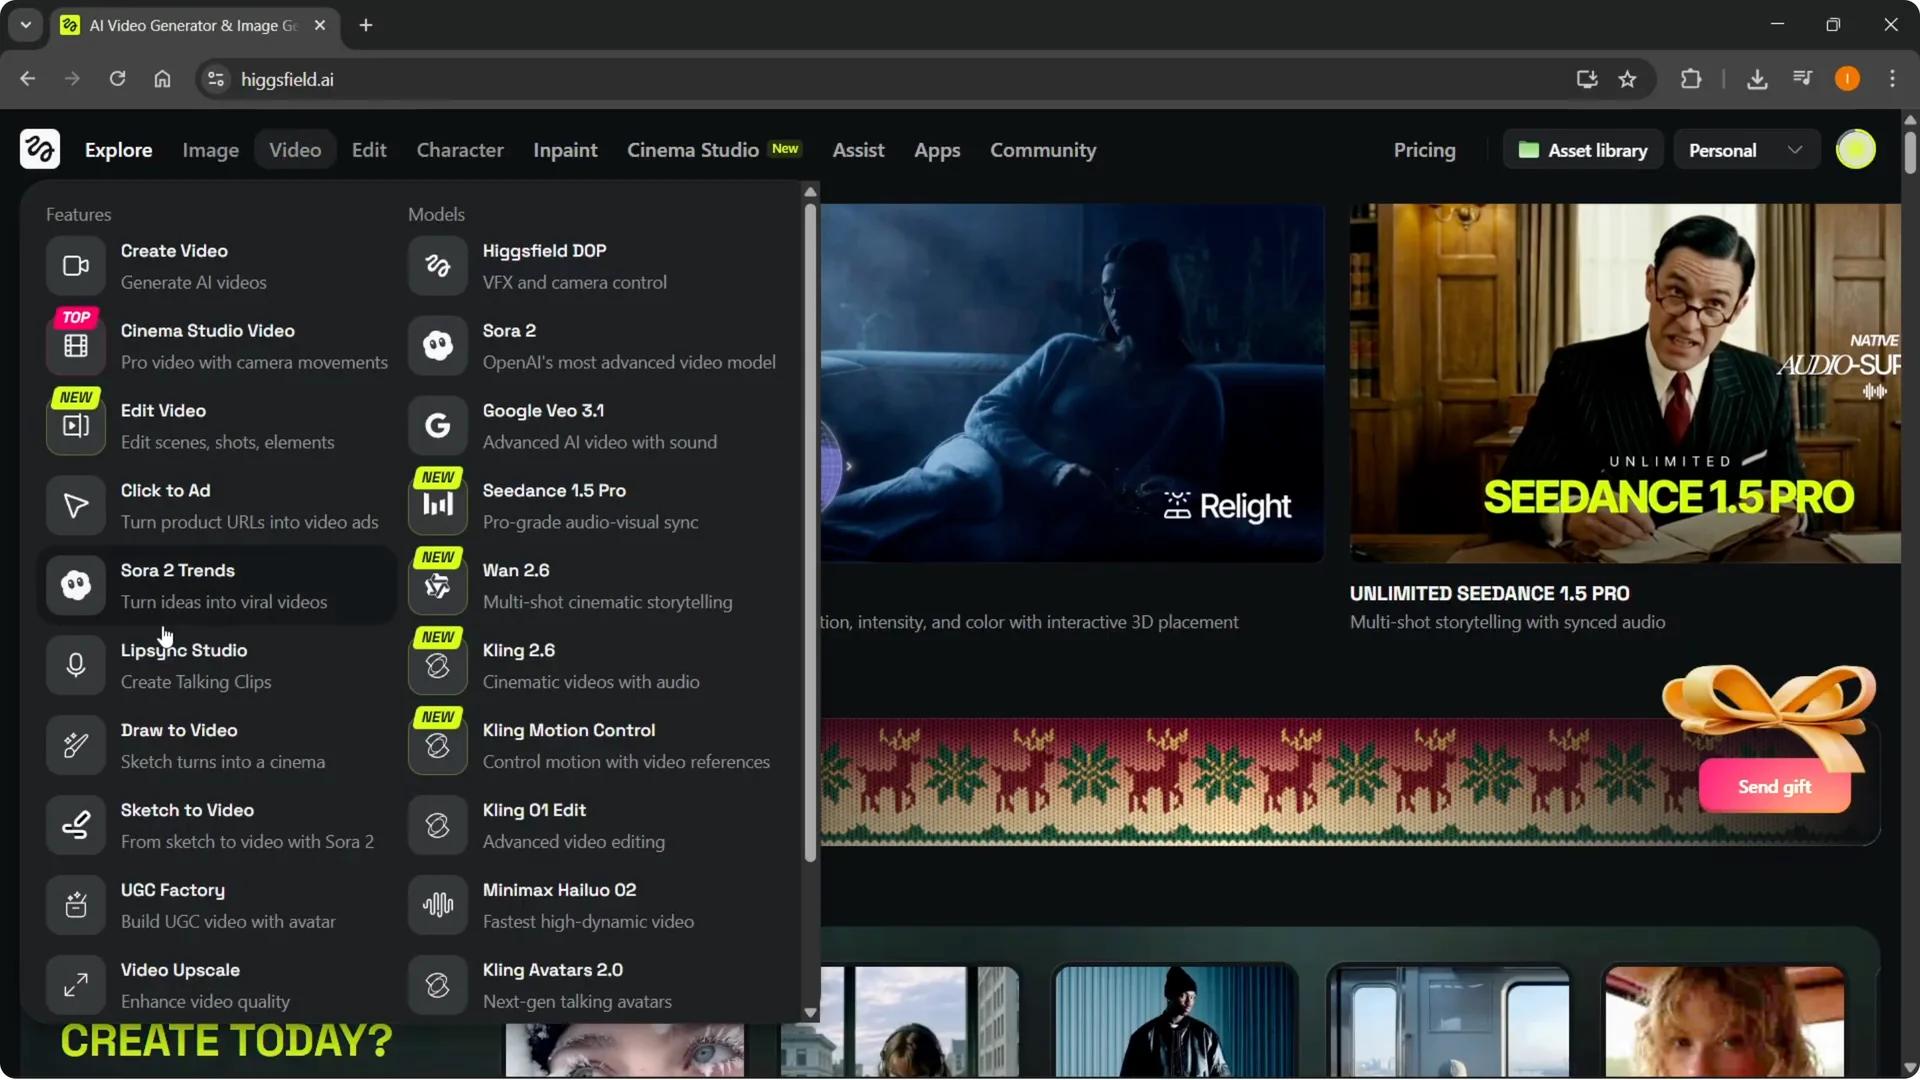
Step 2: Open the tool.
- Hover over where it says Video at the top left, and on the left about in the middle, click Lip Sync Studio.
Prepare your character image in Higgsfield AI Lip Sync
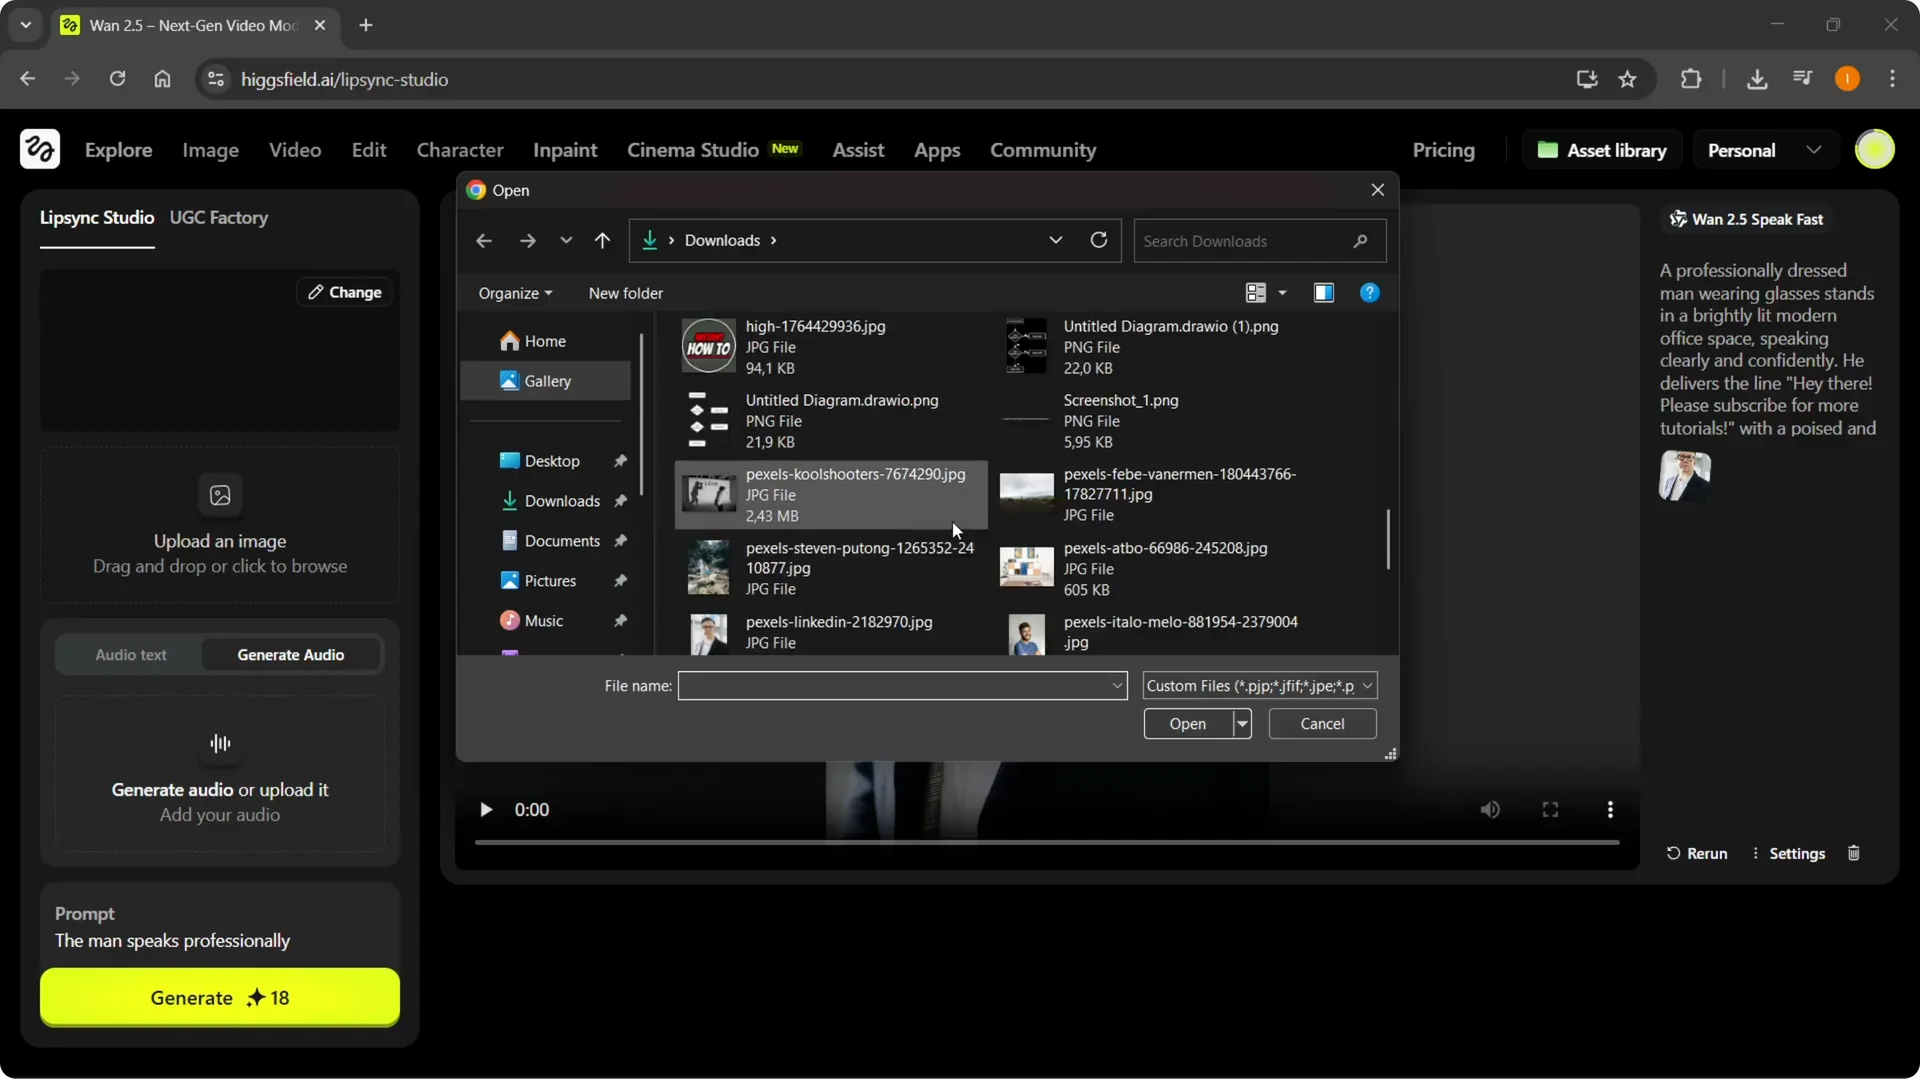
Step 3: Upload an image.
Make sure you are inside Lip Sync Studio and upload an image.
The image is going to be your character. Click Upload image and pick one.
To change backgrounds for your scene later, see this quick guide on changing backgrounds in Higgsfield AI.
Add audio in Higgsfield AI Lip Sync
Step 4: Choose how to add voice.
You have two options.
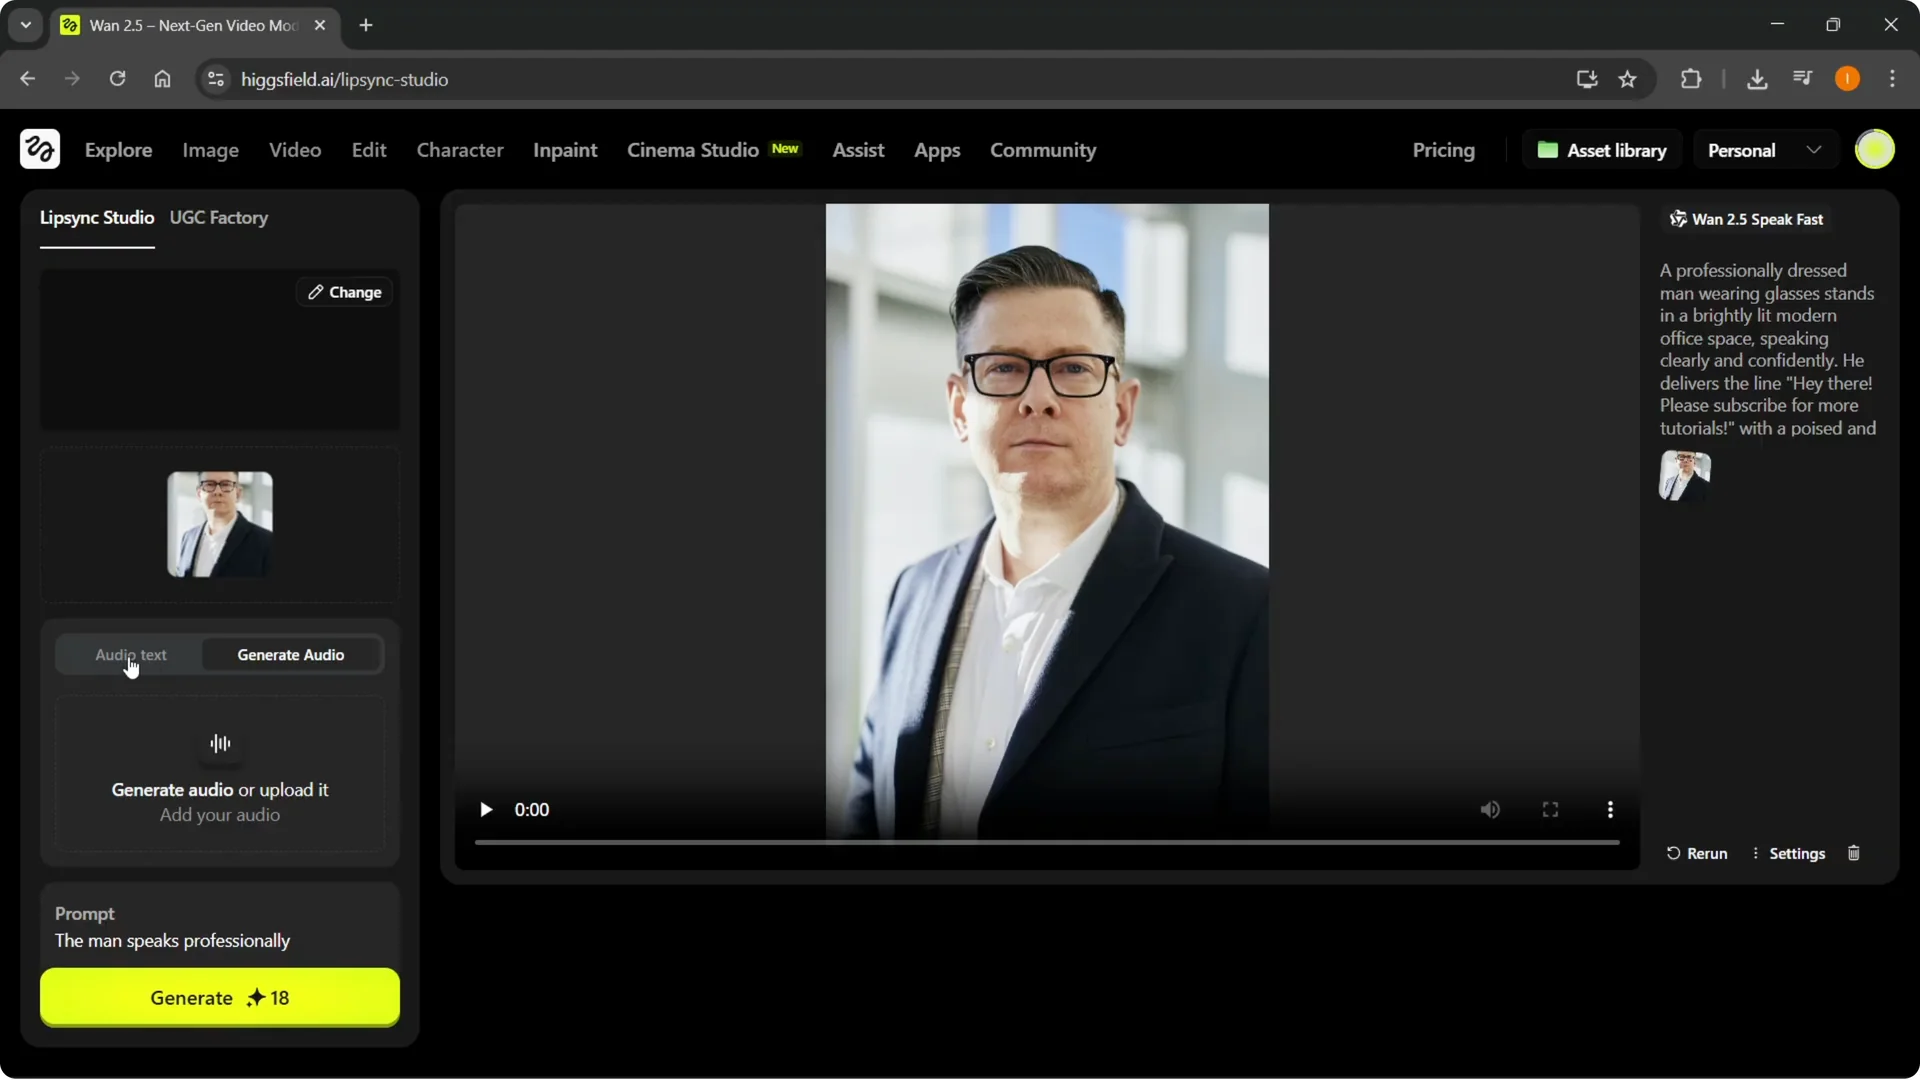
You can use Audio text, which lets you type the text you want to use.
Or use Generate audio to create audio using pre-selected voices, or upload your own voice.
Guide the scene in Higgsfield AI Lip Sync
Step 5: Add a prompt.
Below the audio options, you have the prompt.

For example, I typed in the man speaks professionally. You can type any prompt you want and this will shape the scene.
Step 6: Pick a model.
You can select your model.

I used the default one, the WAN 2.5 Fast. There are other models you can choose if you prefer.
Step 7: Set duration and resolution.
Choose how long and how sharp you want the output.
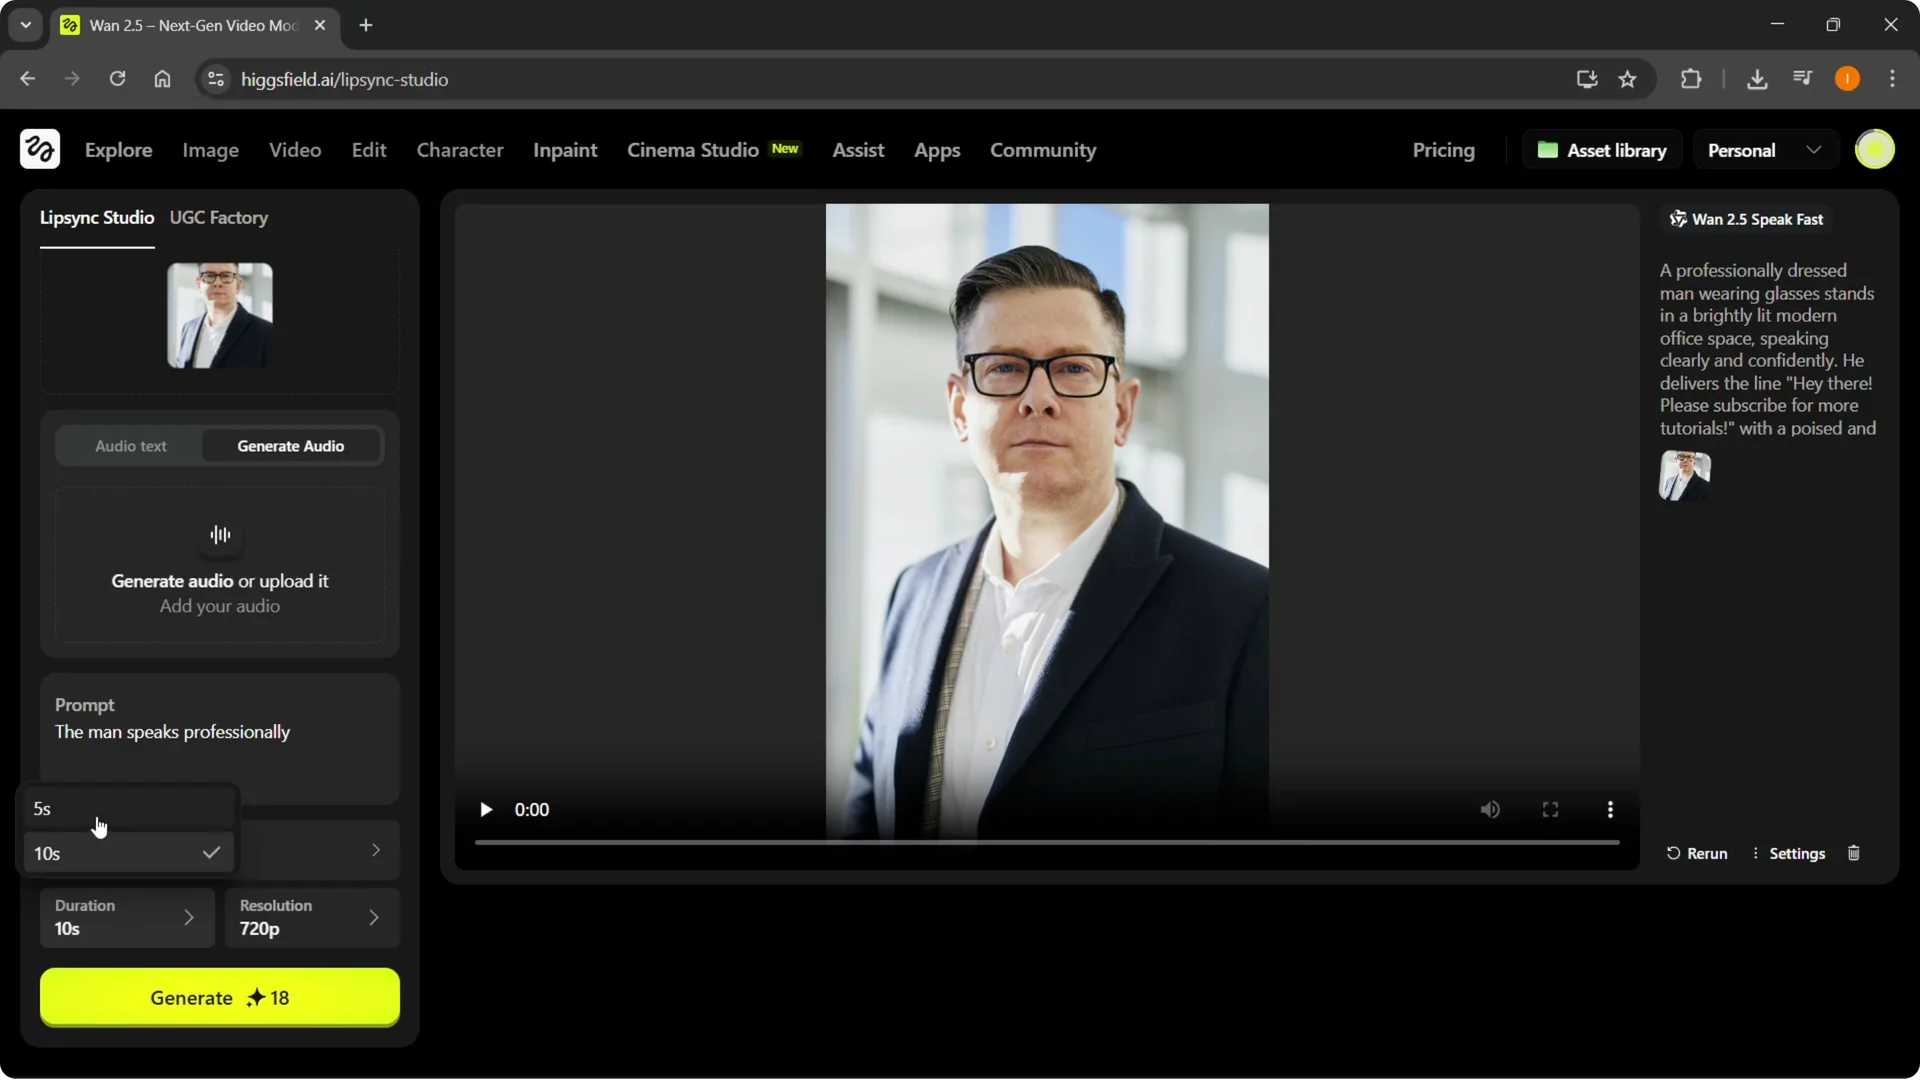
The duration can be either 5 or 10 seconds. The resolution can be 720p or 1080p.
Use templates with Change in Higgsfield AI Lip Sync
Step 8: Apply a template. Up top you will see Change.
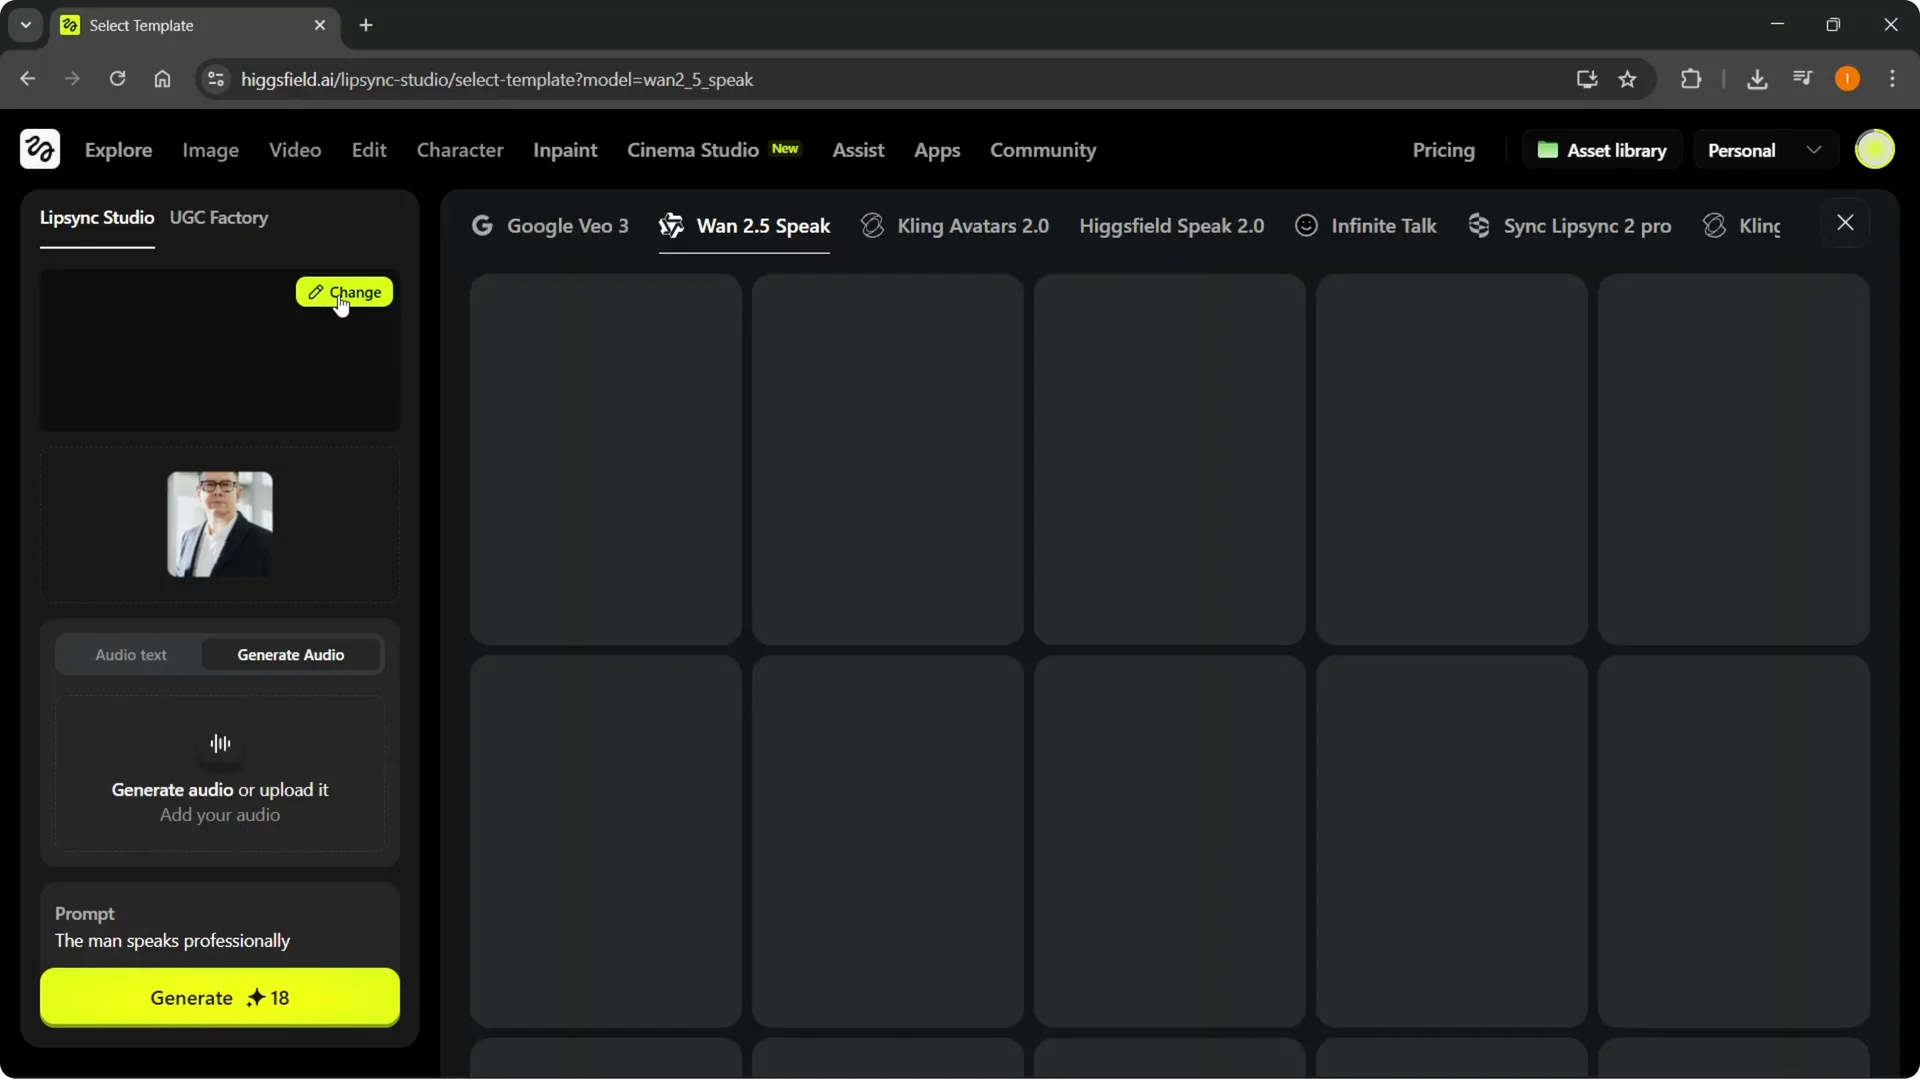
Clicking Change lets you create a specific video with a specific template.
For example, you can apply General, Through object in, Dolly out, Handheld, or Dolly in.

For smoother camera motion and cleaner timing between cuts, see these tips for Higgsfield AI transitions.
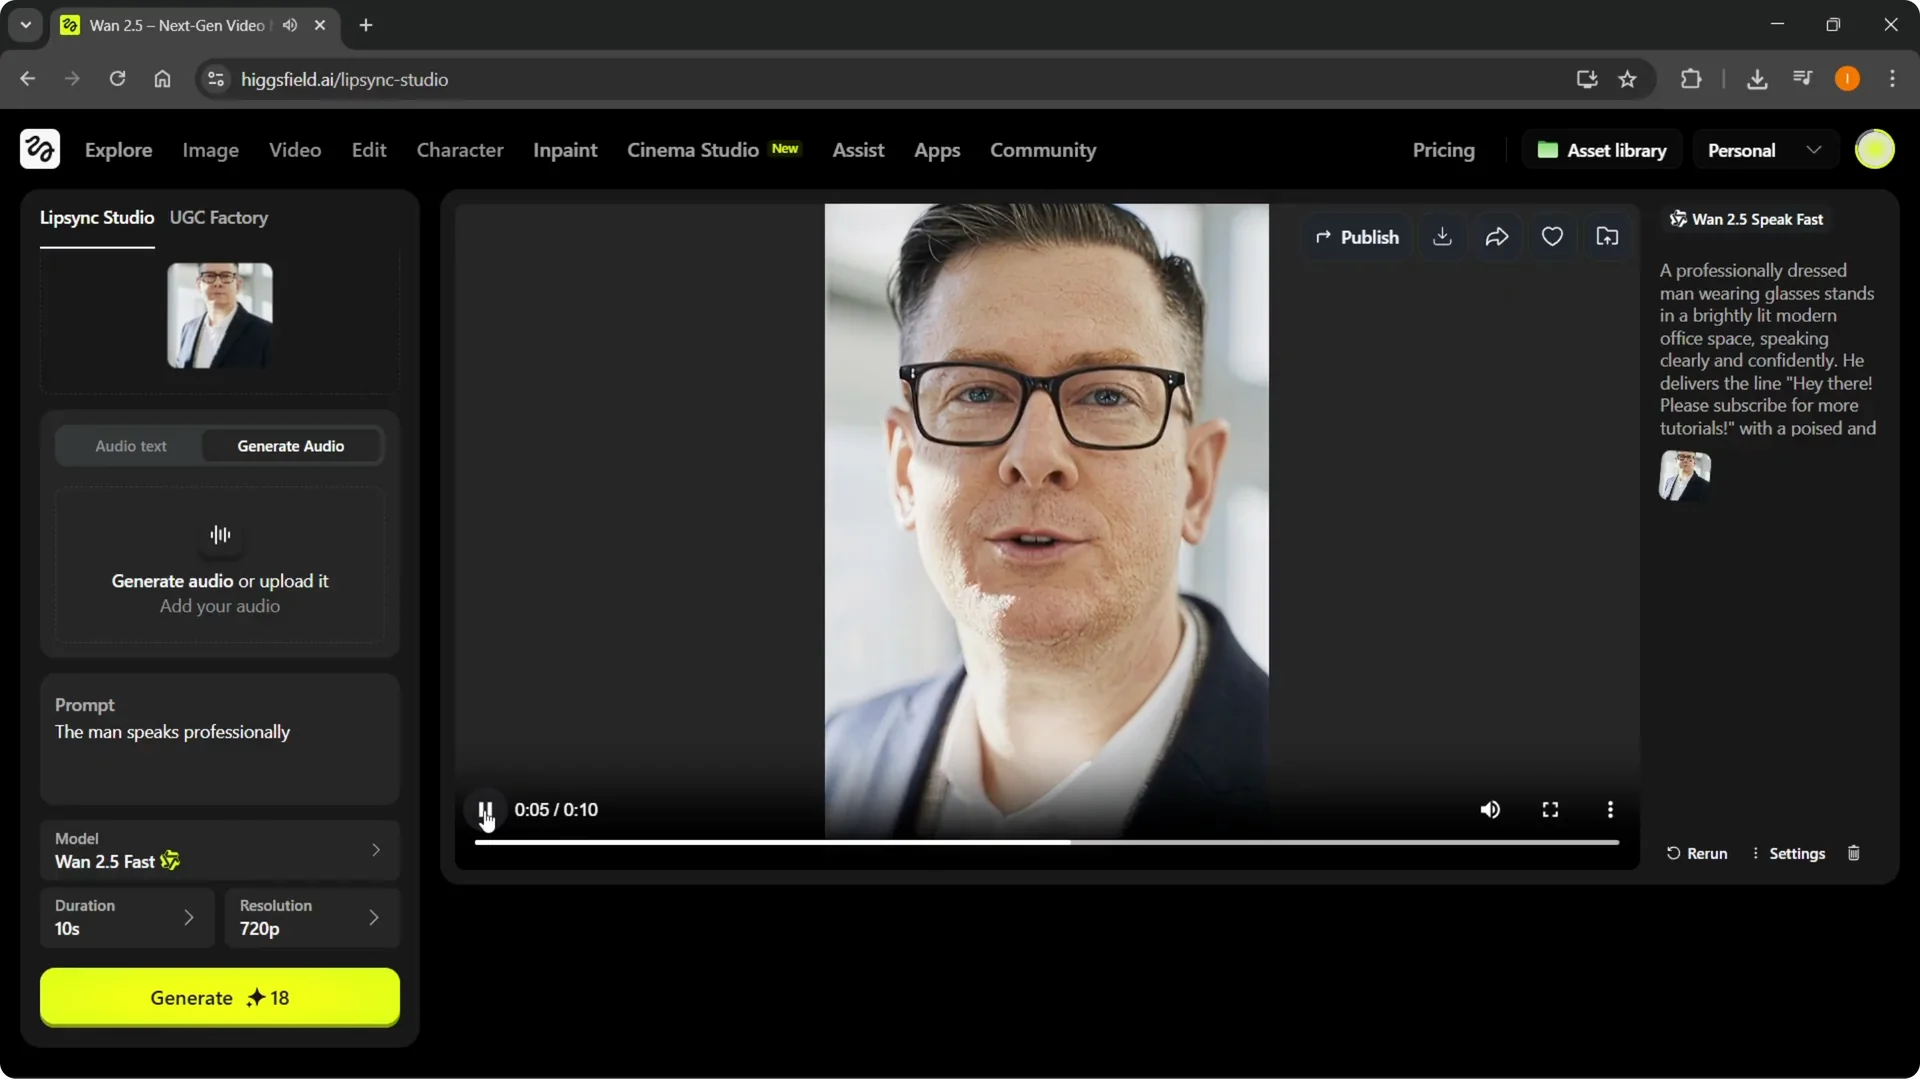
Generate and review in Higgsfield AI Lip Sync
Step 9: Generate the clip.
Go back into Lip Sync Studio and run the generation.
The result comes together quickly. It is quite good, and the prompt is applied as expected.
I successfully did a lip sync on this image using the steps above. You can repeat the process with different images, prompts, and templates to build a set of short clips. For more quick tricks that pair well with these steps, see these fast Higgsfield Popcorn tips.
Final thoughts
Upload a clear image, choose or create audio, add a short prompt, then set your model, duration, and resolution. Use Change to apply a template that matches your scene. Generate the clip and review the result to confirm the lip sync matches your audio.