
I show how to add voice in Higgsfield AI. The easiest way to add voice to an image is Lip Sync Studio, though you can also generate AI videos and add different voices.
Here is the exact process I follow to add a voice to a still image and sync it to a character.
Higgsfield AI Voiceover setup
Step 1: Go to Video at the top.
Step 2: Open Lip Sync Studio to add voice to characters or a video. It is one of the easiest paths to get a voice on an image.

For more control over timing and mouth motion, see this lip sync guide.
Step 3: Click Change at the top to choose what you want to achieve, then select a template. I pick the general template for this example.
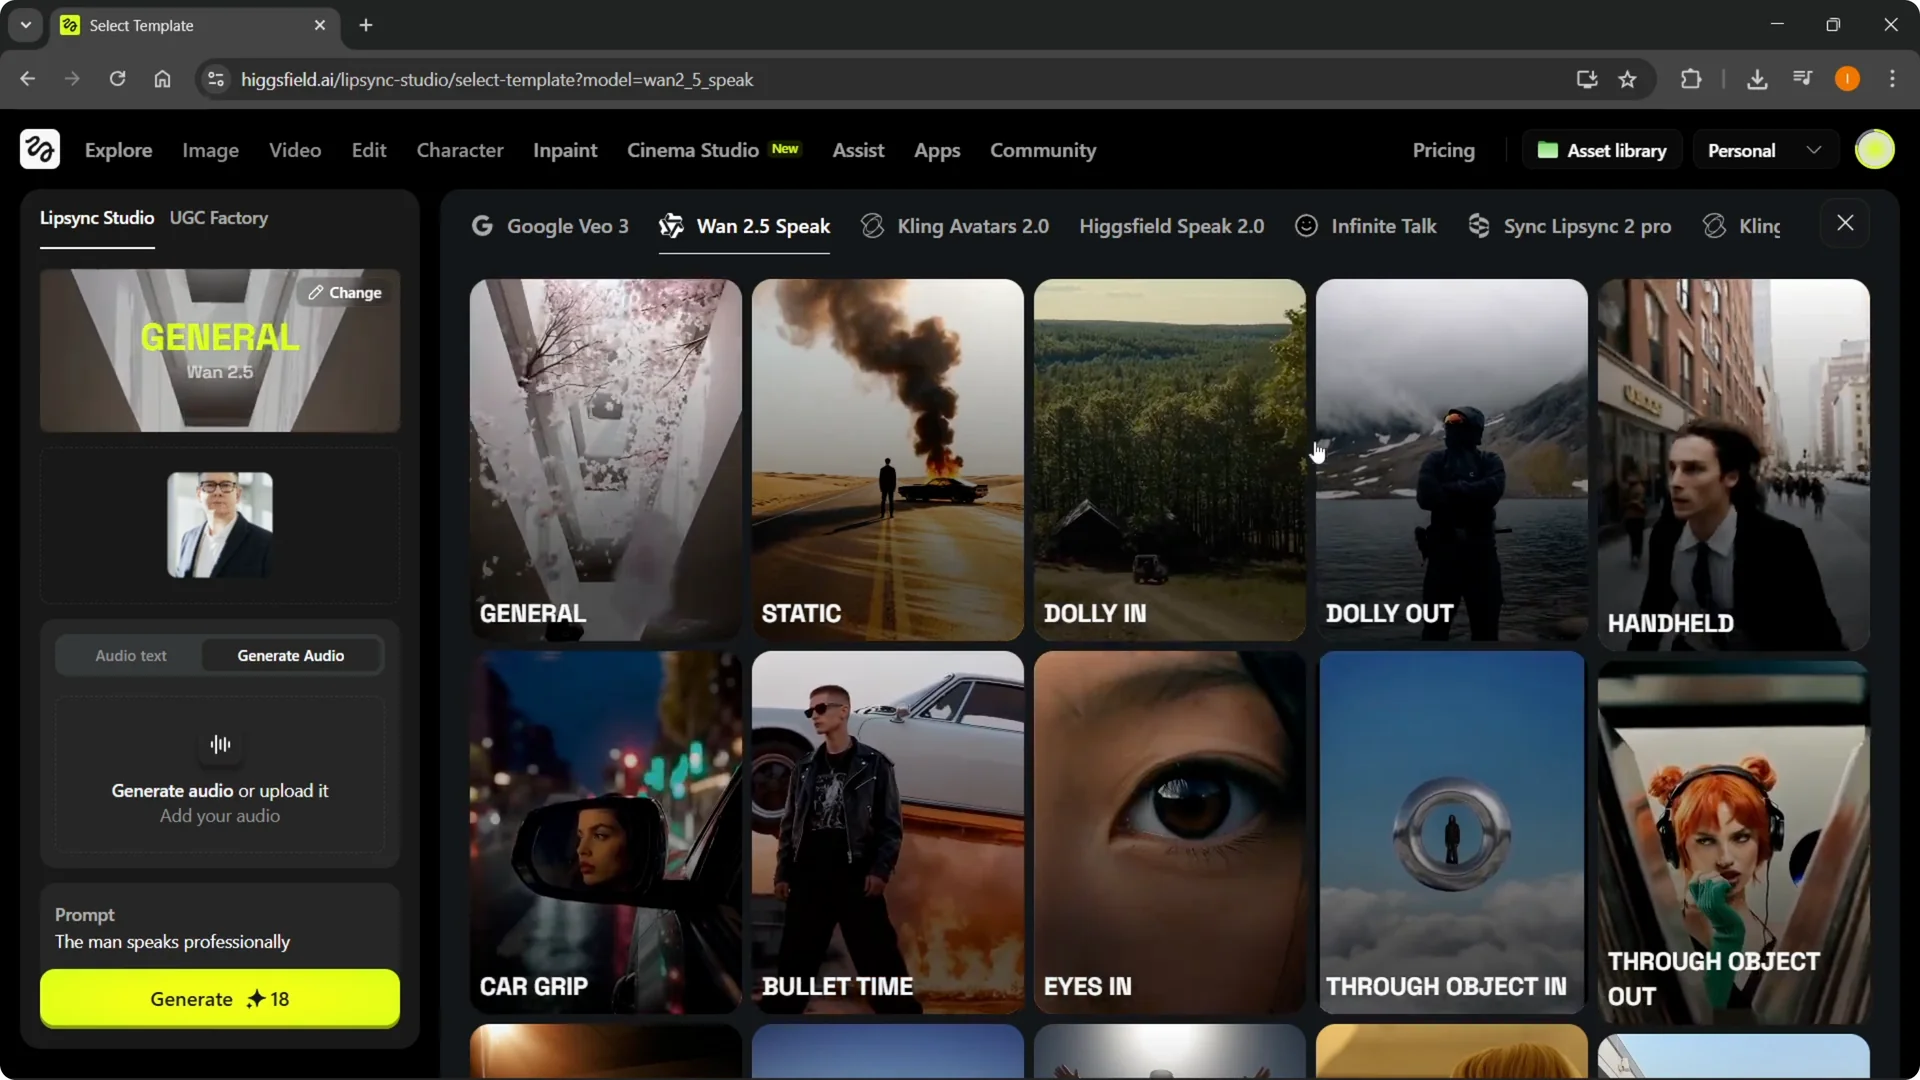
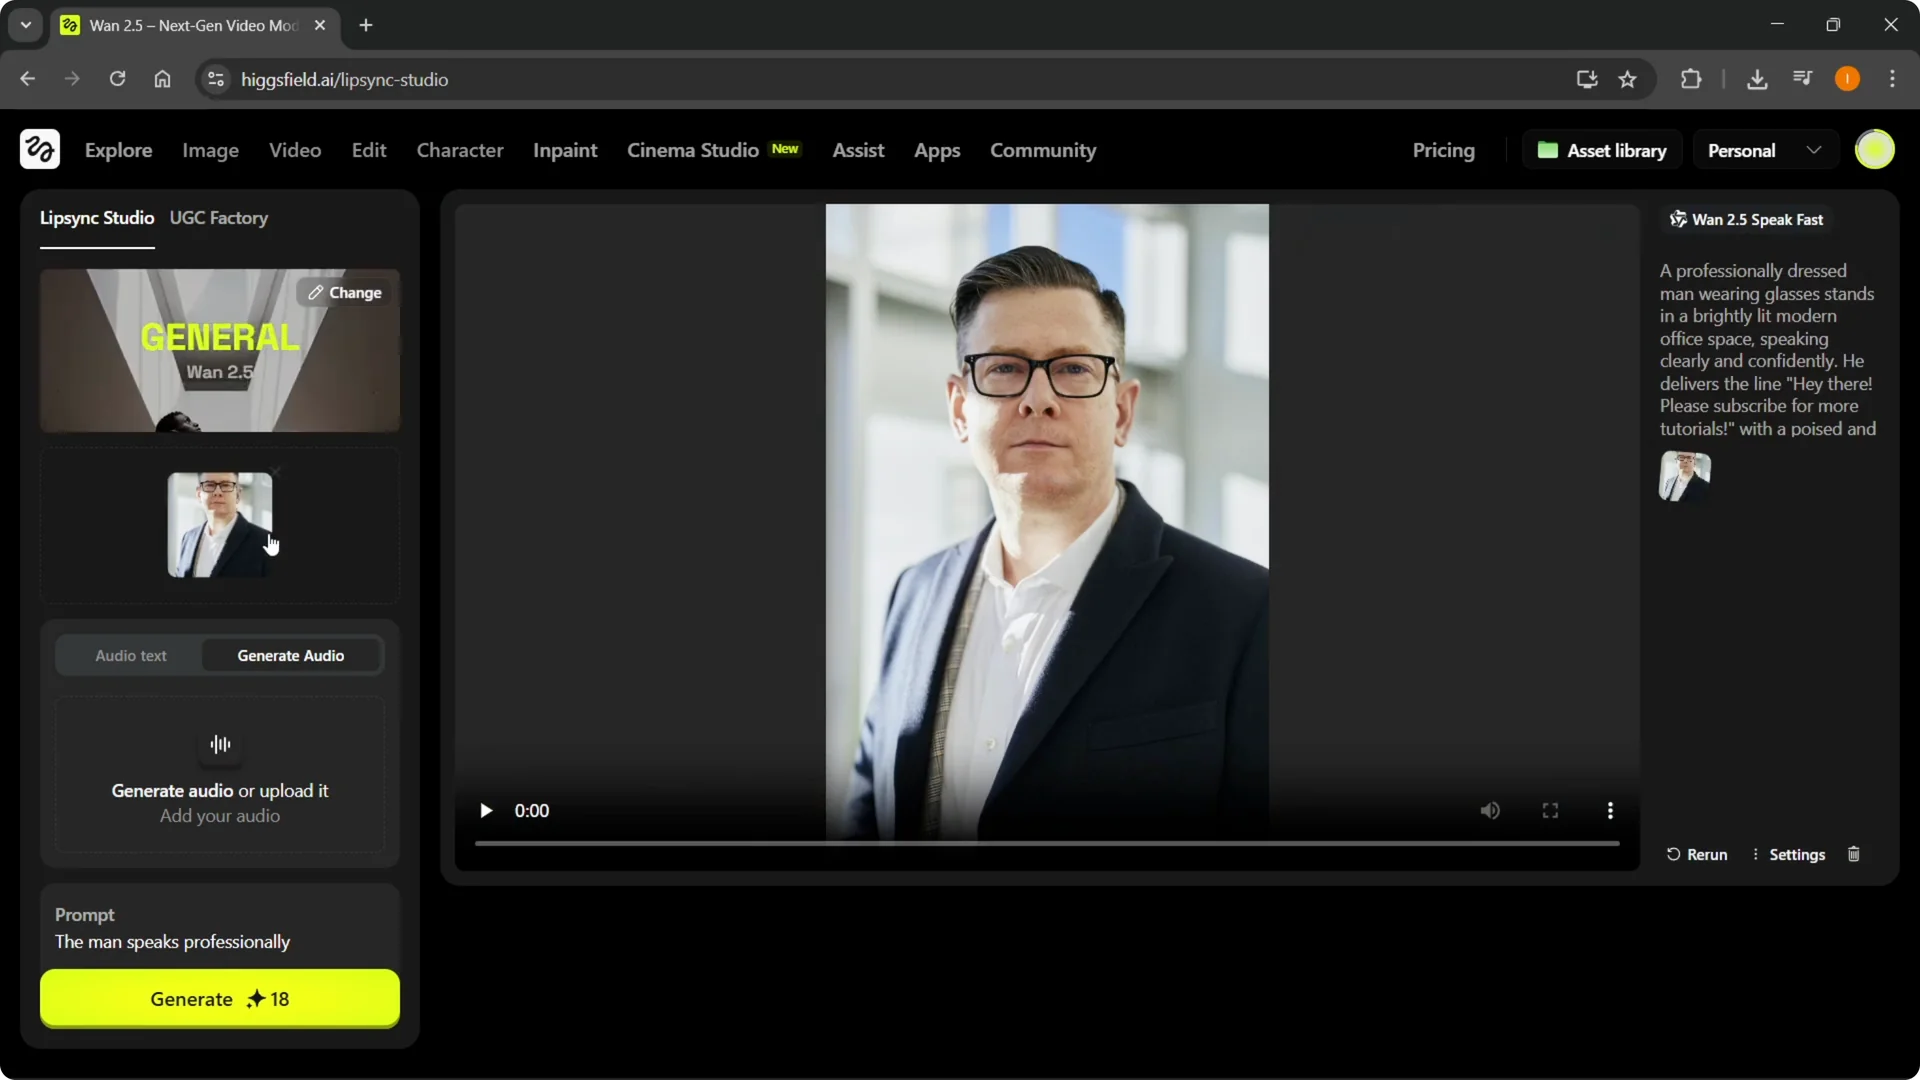
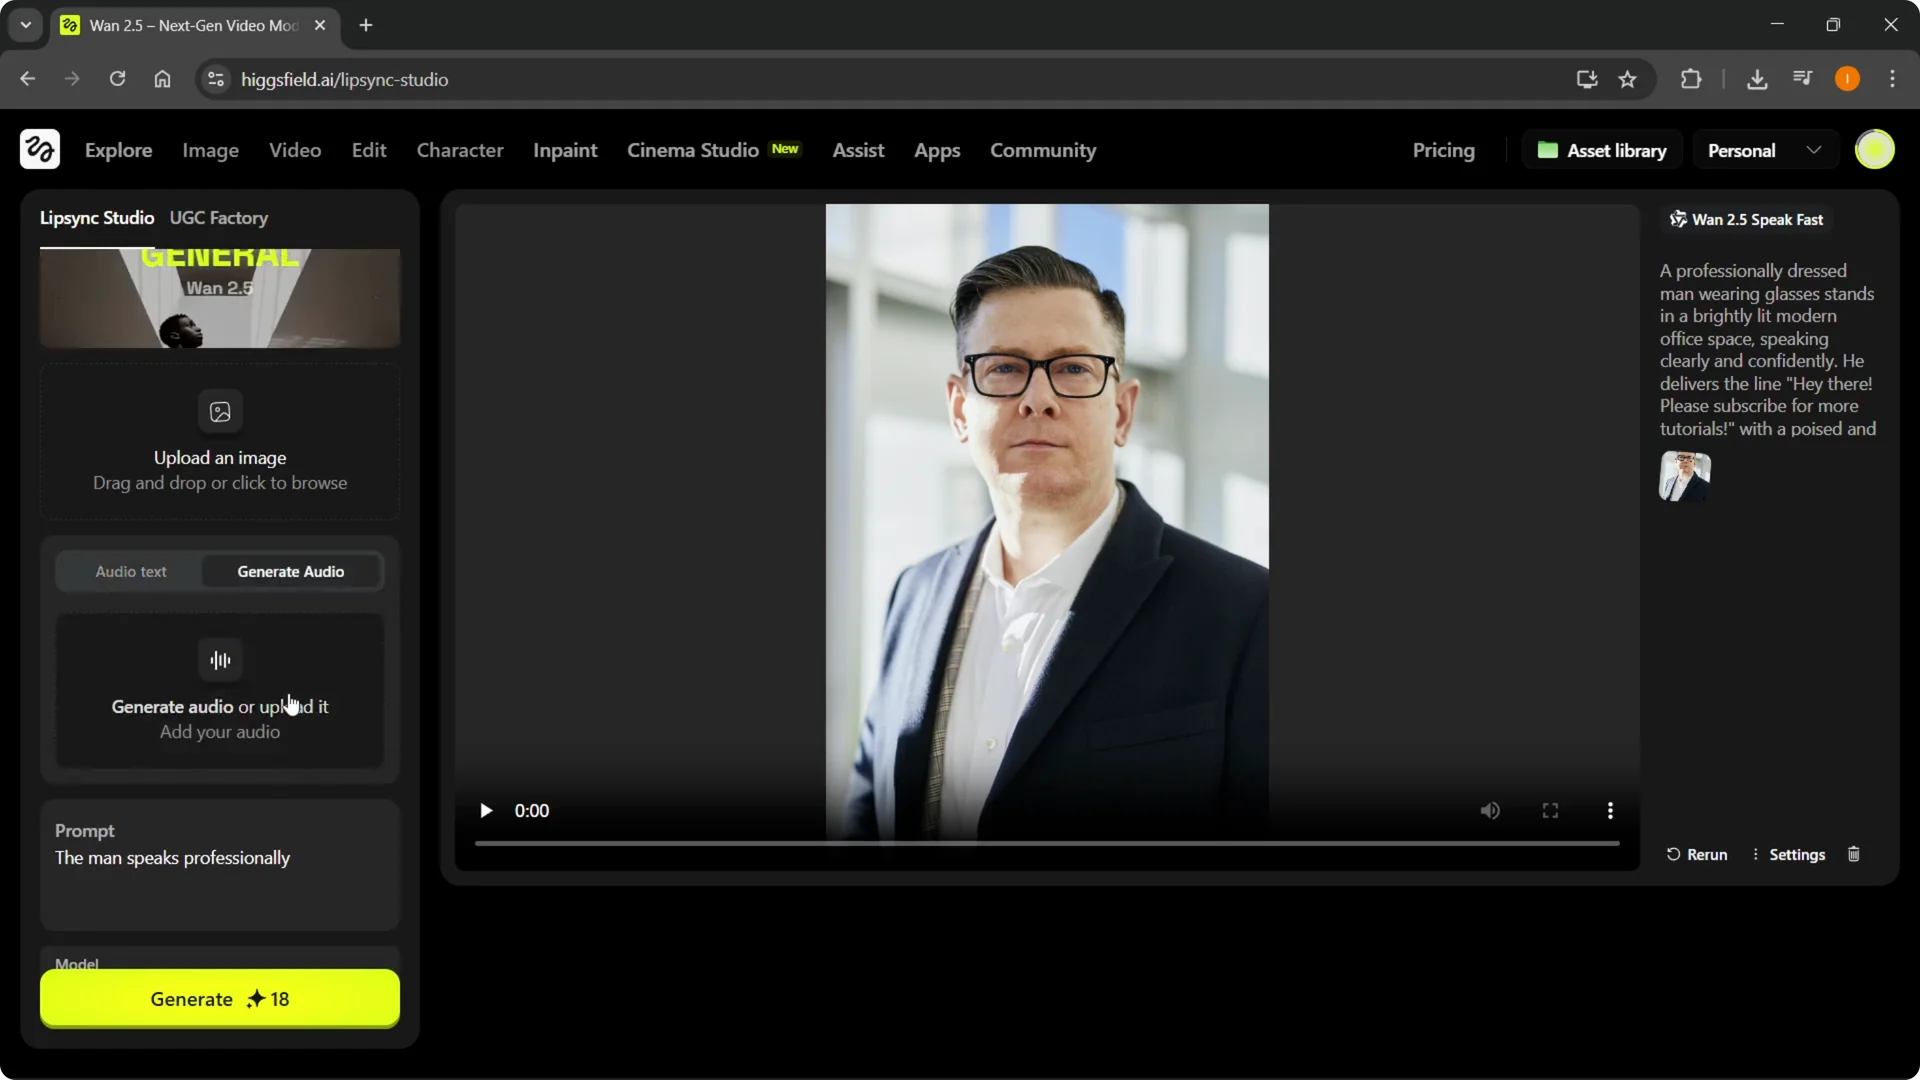
Step 4: Select your image and upload it. Do whatever setup you need for the scene.
If you want help building a character before you upload, check this quick walkthrough on creating characters in Higgsfield.
Generate audio for Higgsfield AI Voiceover
Step 5: To add your own voice, go to Generate audio, not Audio Text, and click it.
Step 6: Upload your voice by file or drag and drop. Supported formats include MP3 and WAV, up to 100 megabytes.
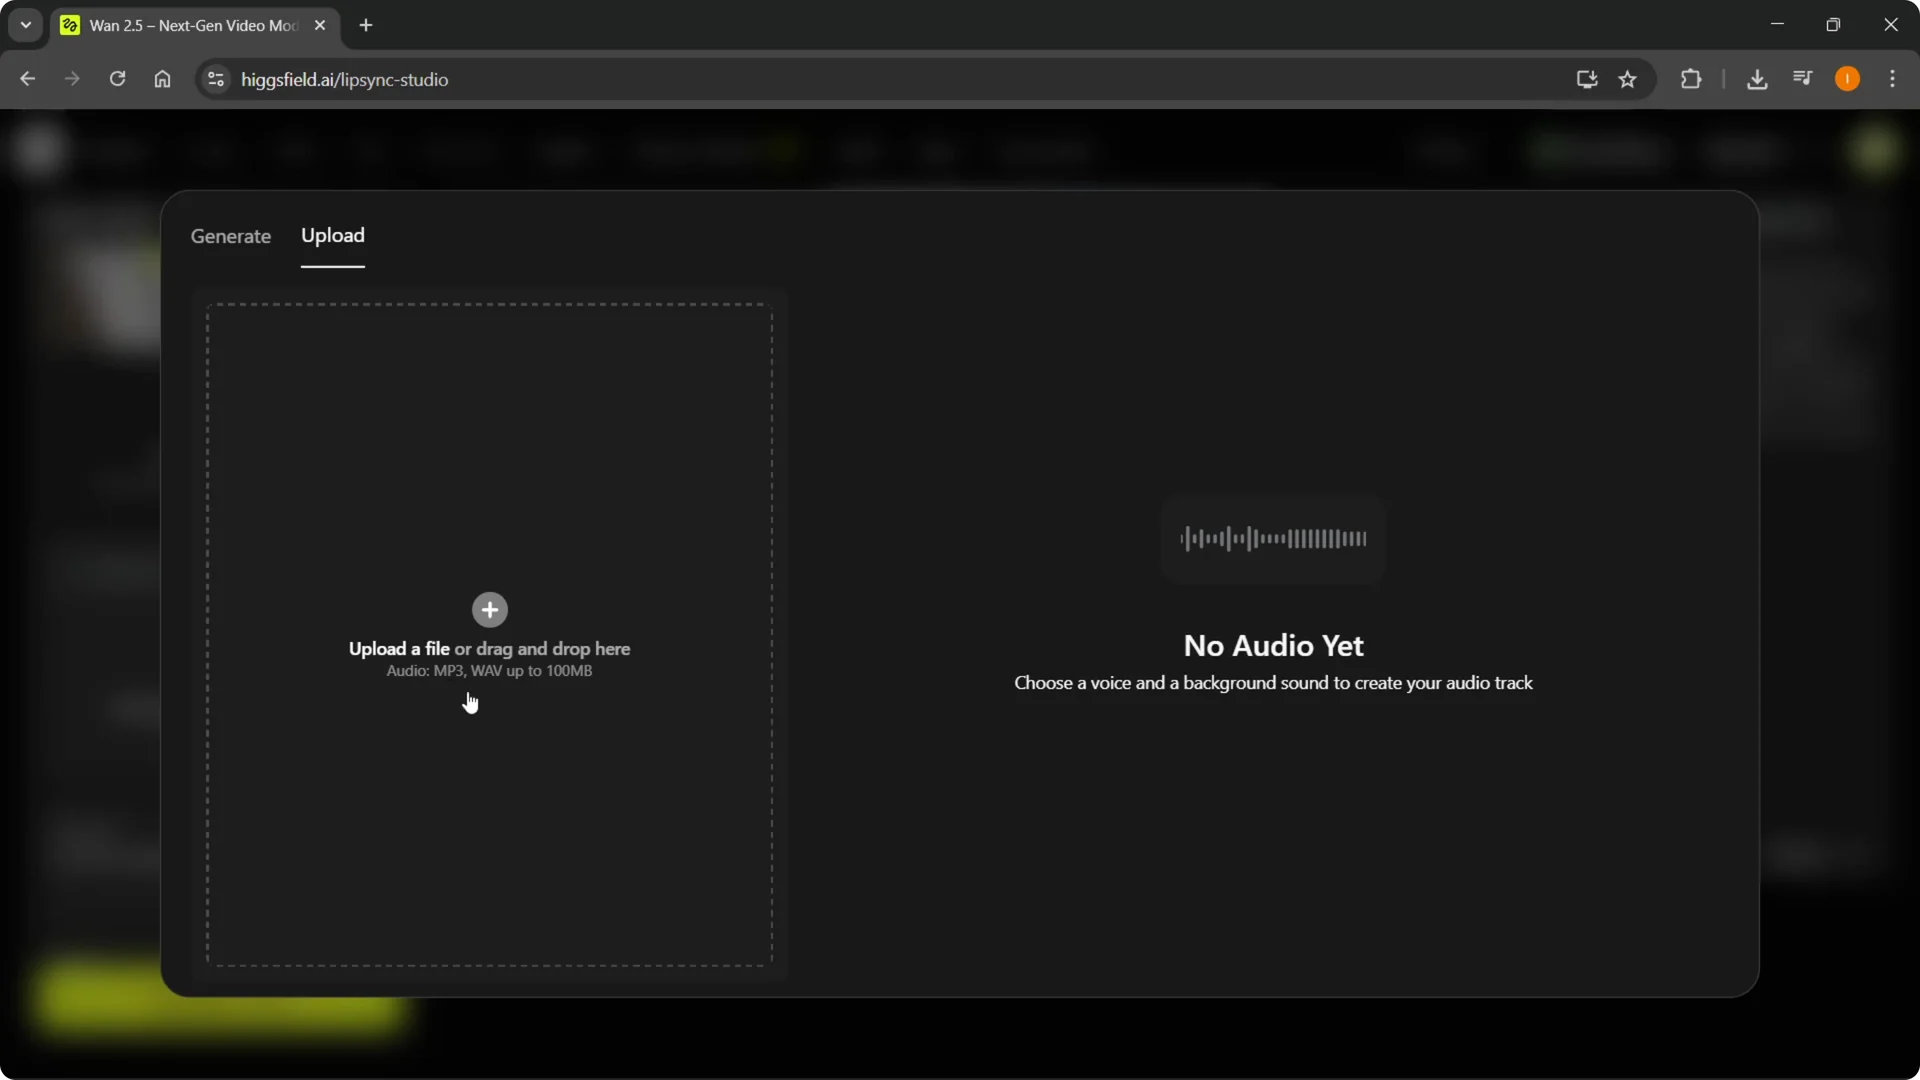
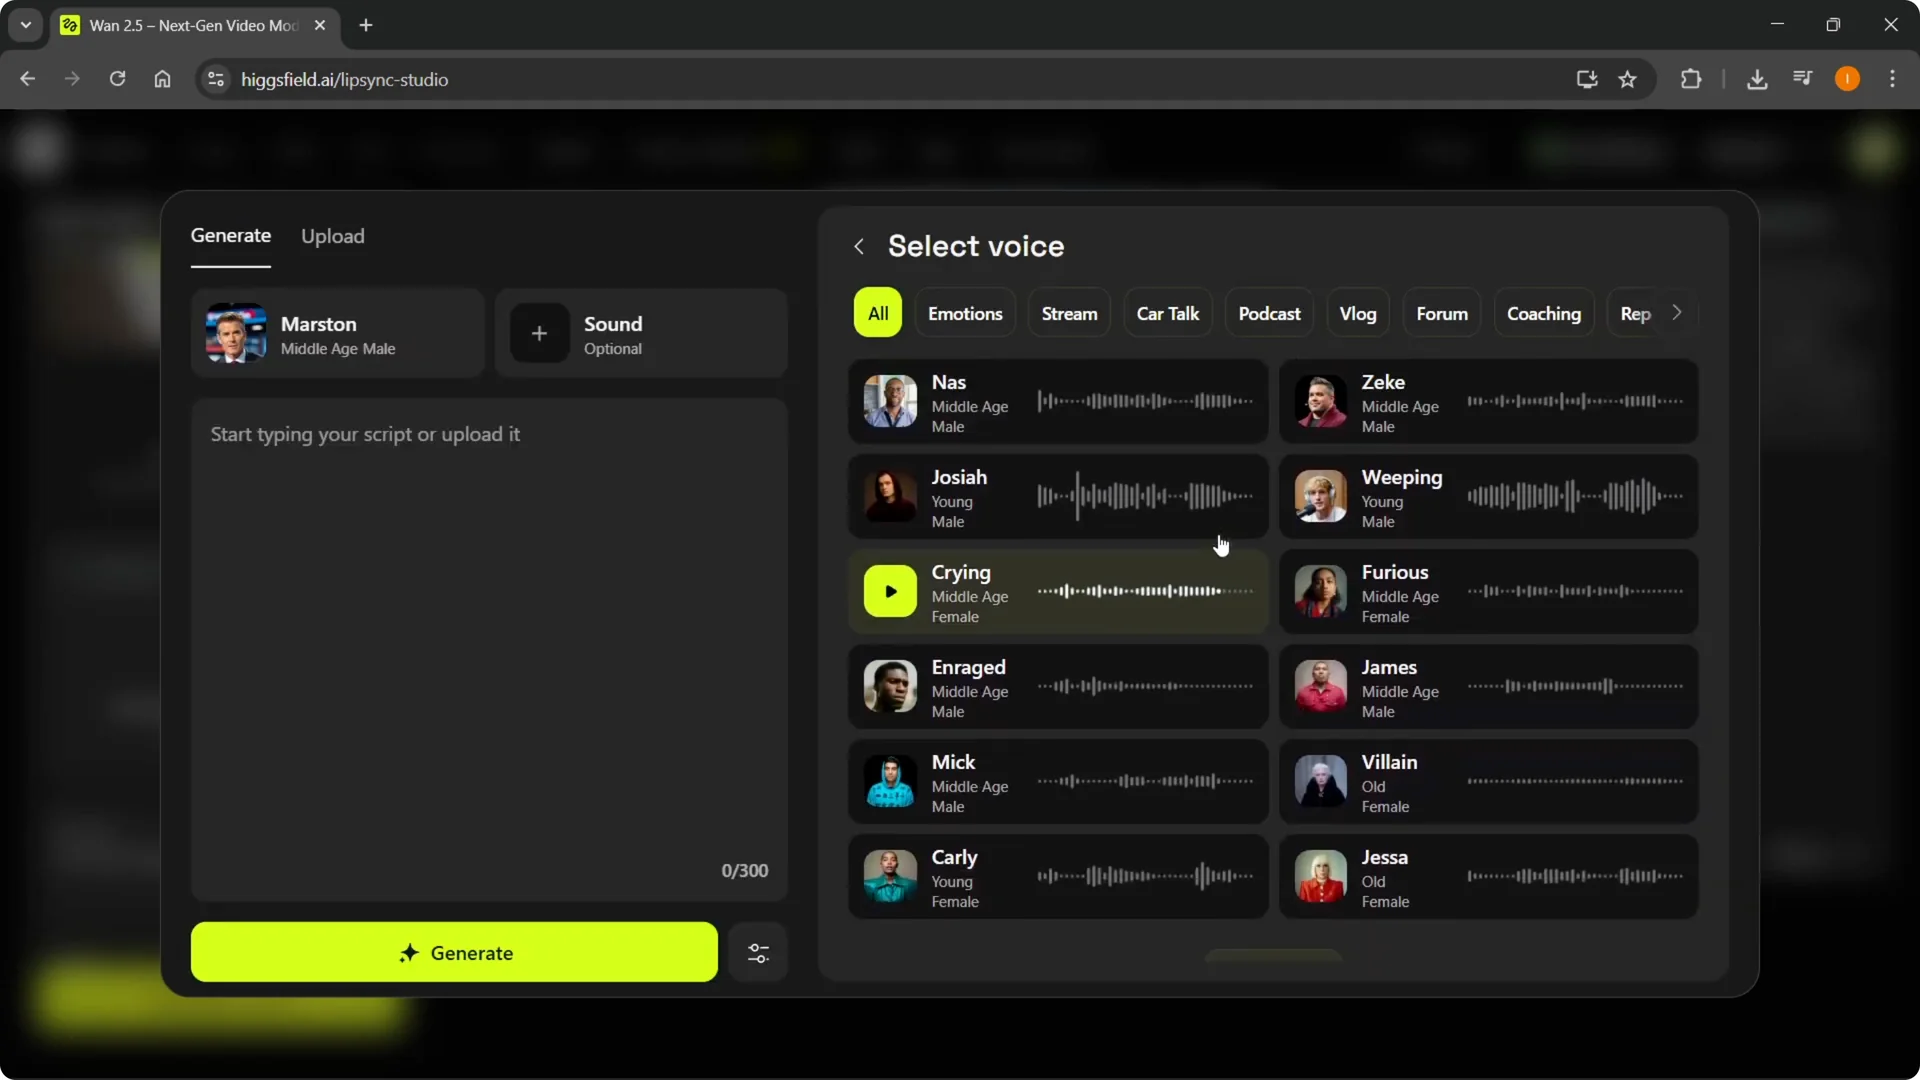
Step 7: Or generate a voice by selecting from the available voices, load more if needed, then type your text. It will generate that specific voice for you.
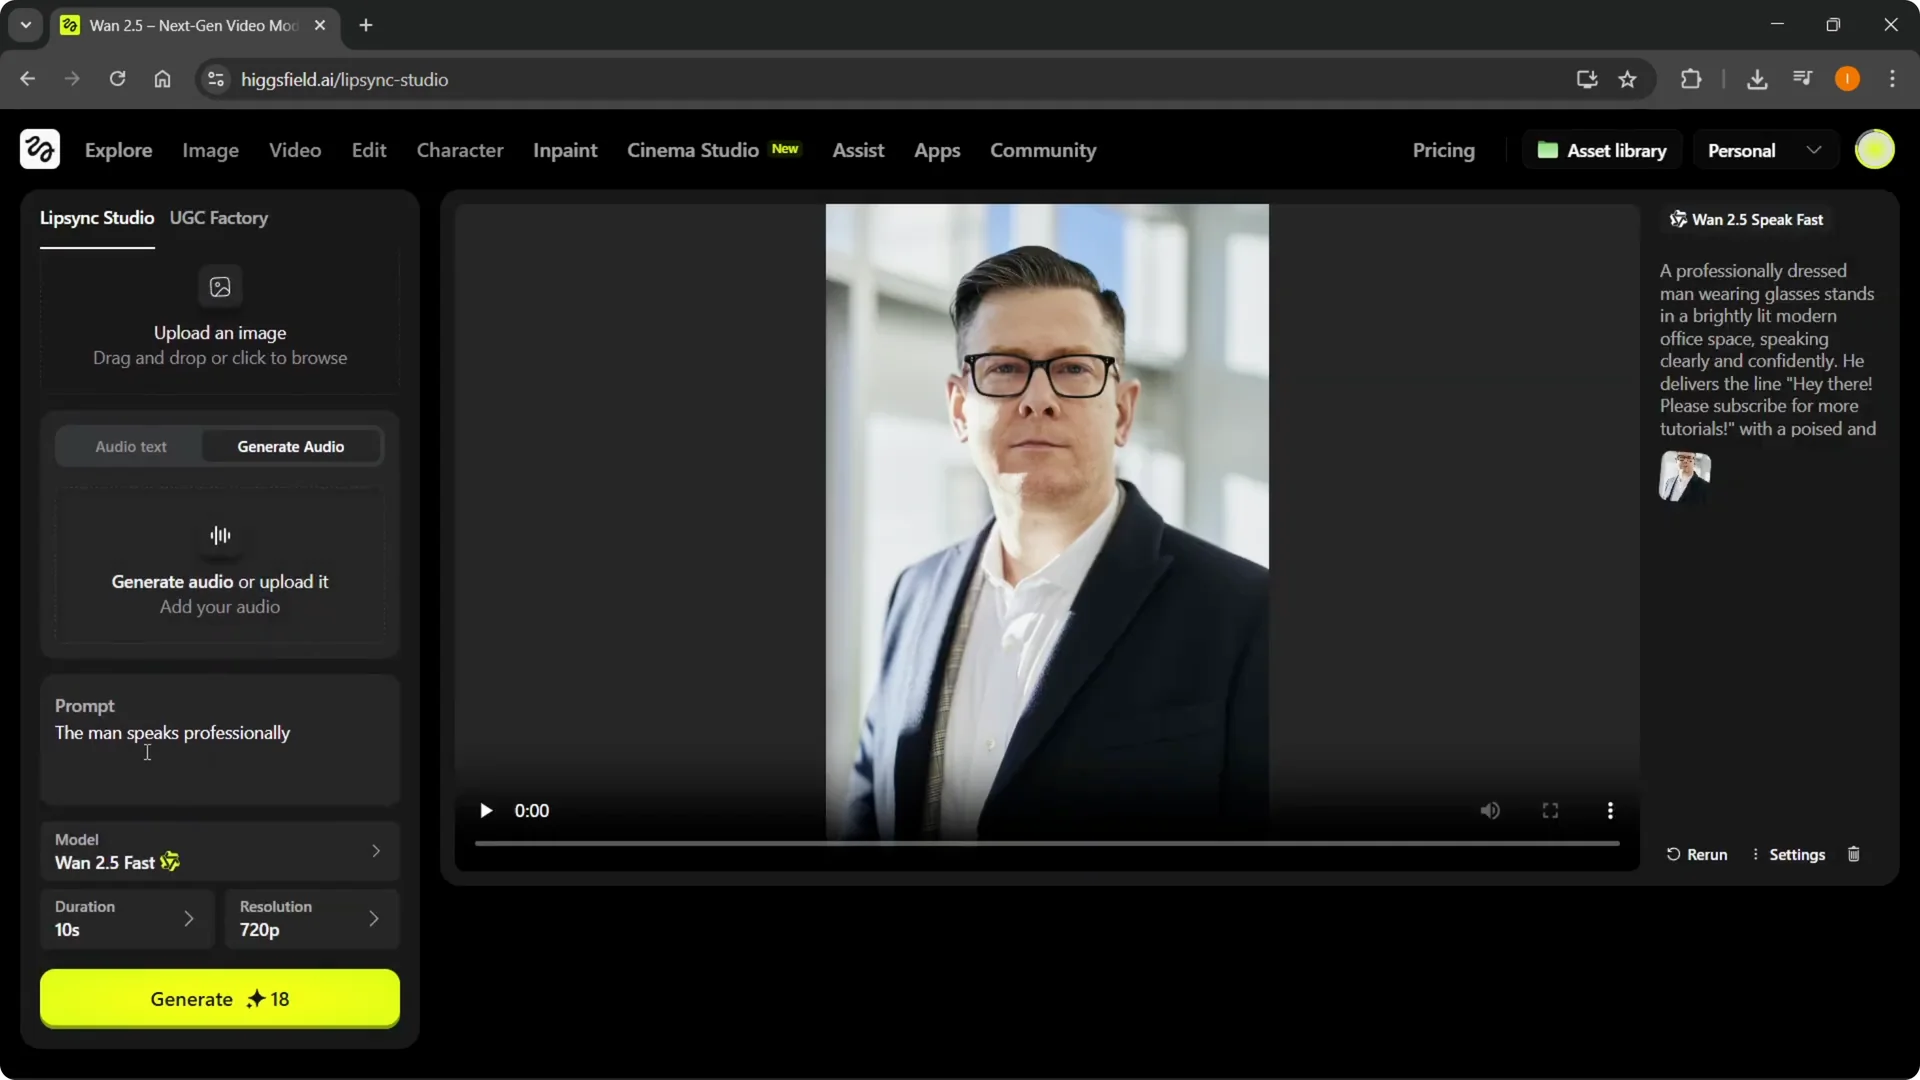
Step 8: Add the generated or uploaded voice to your character. Complete your prompts and settings.
To polish the final result, see these smooth transitions tips.
Apply voice and render
Step 9: Click Generate to create your video. It will render with the voice synced to your character.

Higgsfield AI Voiceover results
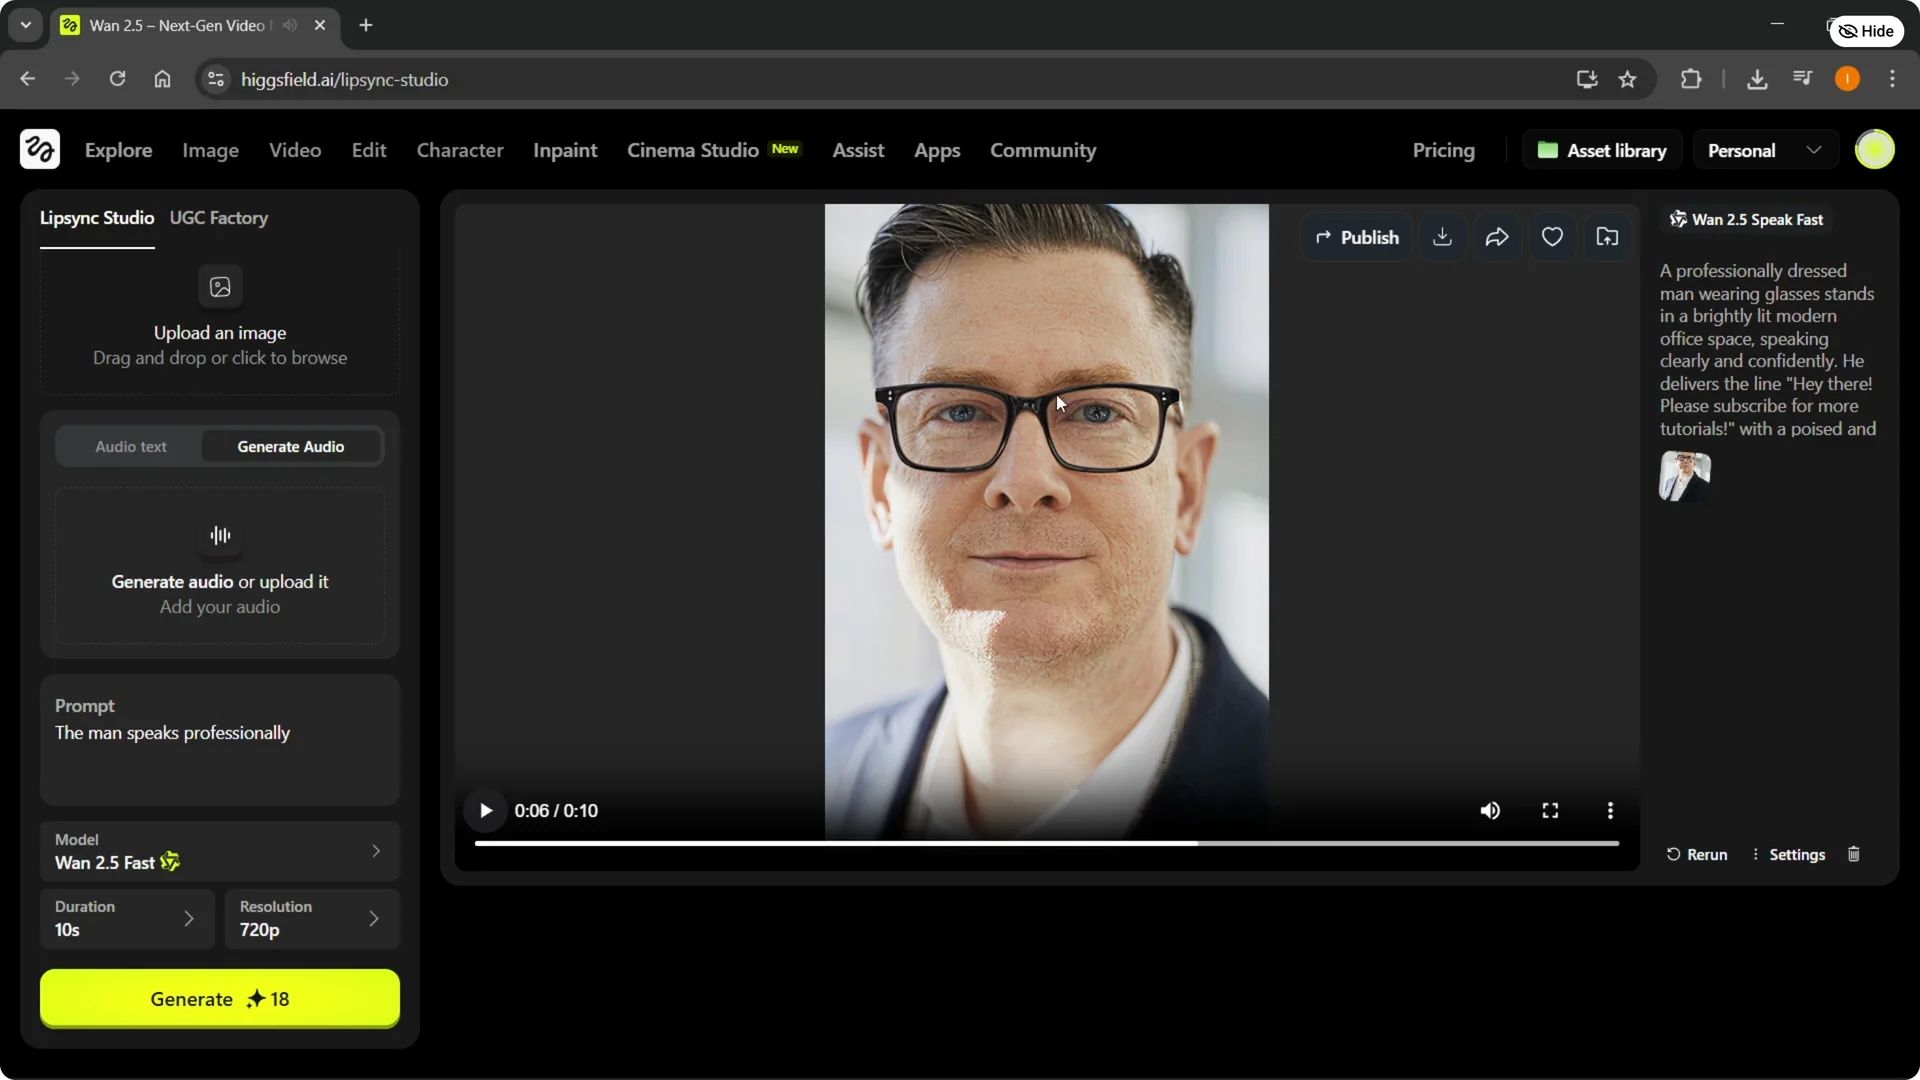
I successfully added voice to a man who was previously just a still image. The result plays back with synced speech.
Final thoughts
Lip Sync Studio provides a fast path for adding voice to images in Higgsfield AI. You can upload your own audio or generate a voice from text, then apply it to the character and render. Supported formats are MP3 and WAV up to 100 megabytes, and the Generate button completes the process.