Here is how I edit in Higsfield AI. Go to higsfield.ai and sign into your account or create one if you do not have one yet.
Click Create, then pick Video, UGC content, Speak content, or Image. For this walkthrough I am using a video as the example.

Getting Started With Higgsfield AI Video Editing
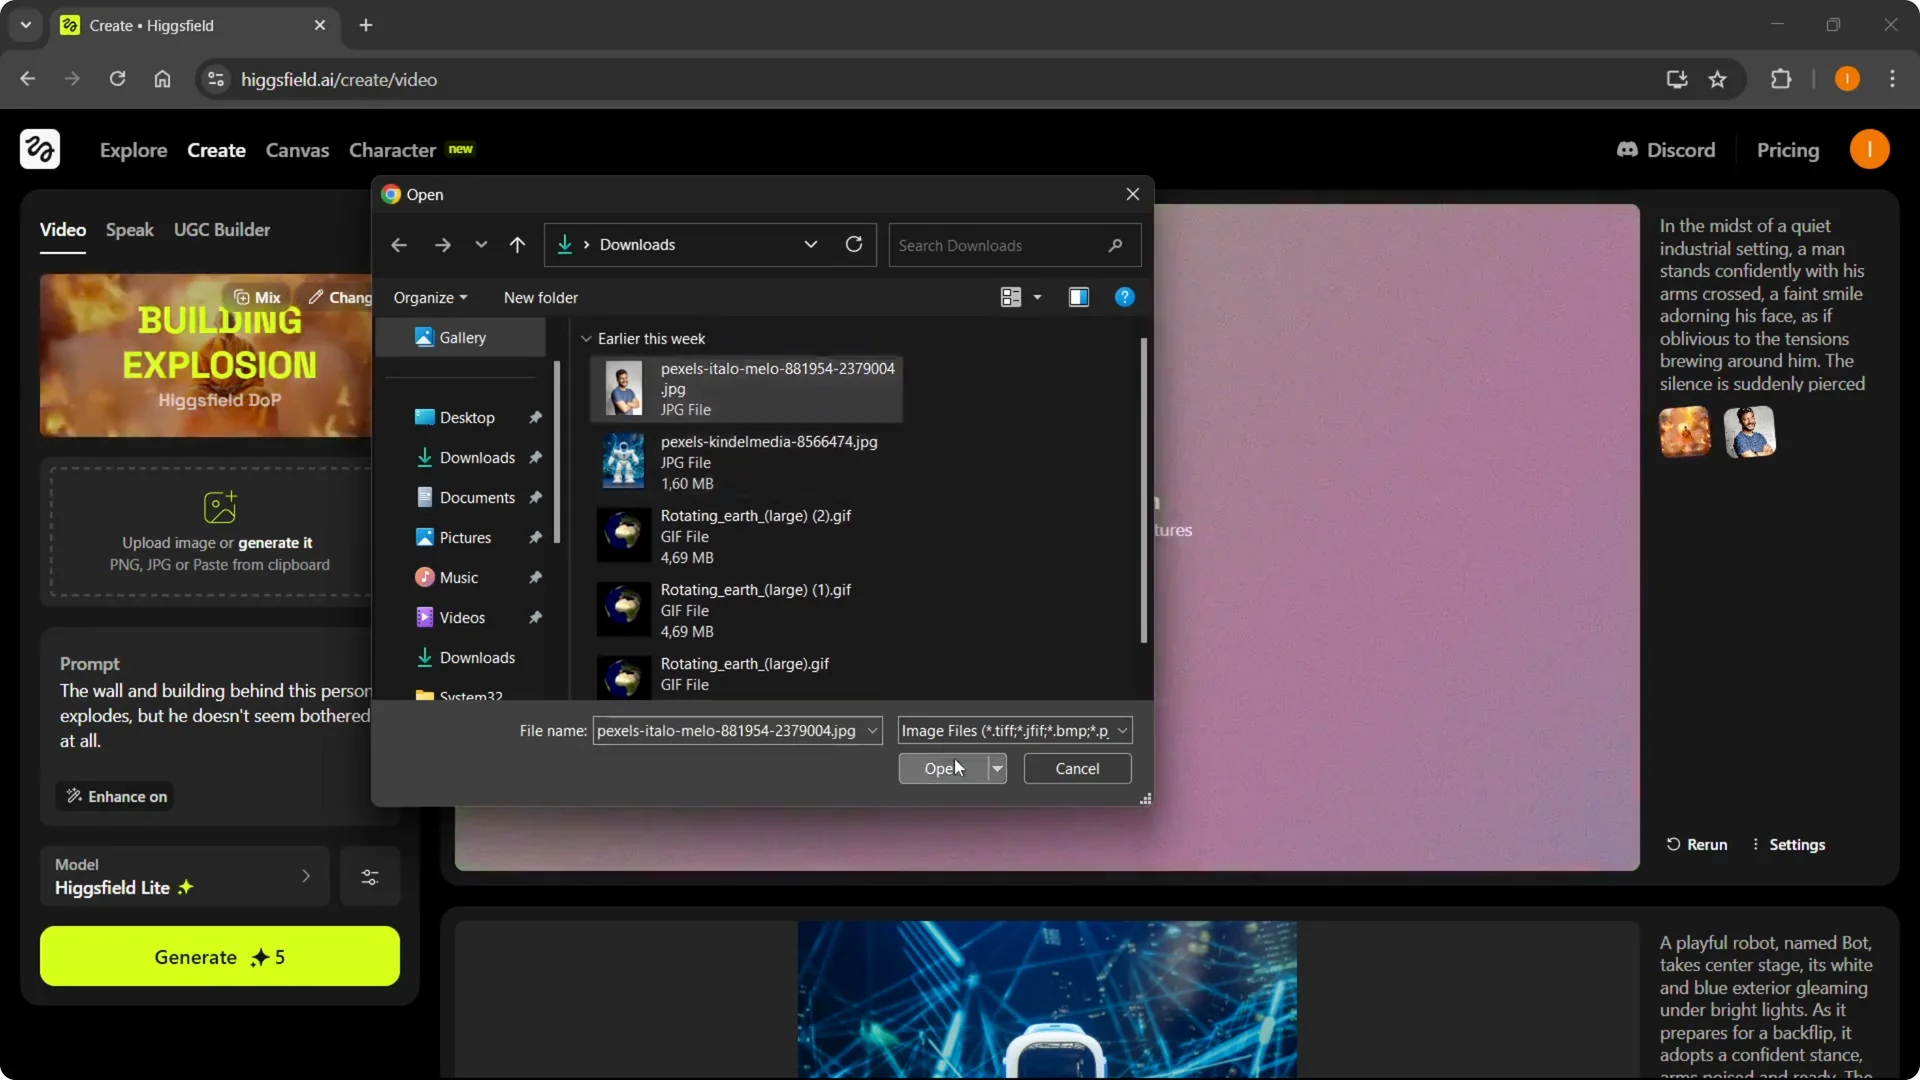
Step 1: Upload an image or a video. You can paste media or open it from your device. I am using a simple example just to show the flow.
Step 2: Open the editing controls with Change. This is where the magic happens. You can start editing as soon as your media loads.
Models and Presets in Higgsfield AI Video Editing
Picking a Model
Step 3: Choose a model – Higsfield or V3. You will see a set of options that define how your edit is processed. Pick the one that fits your goal.
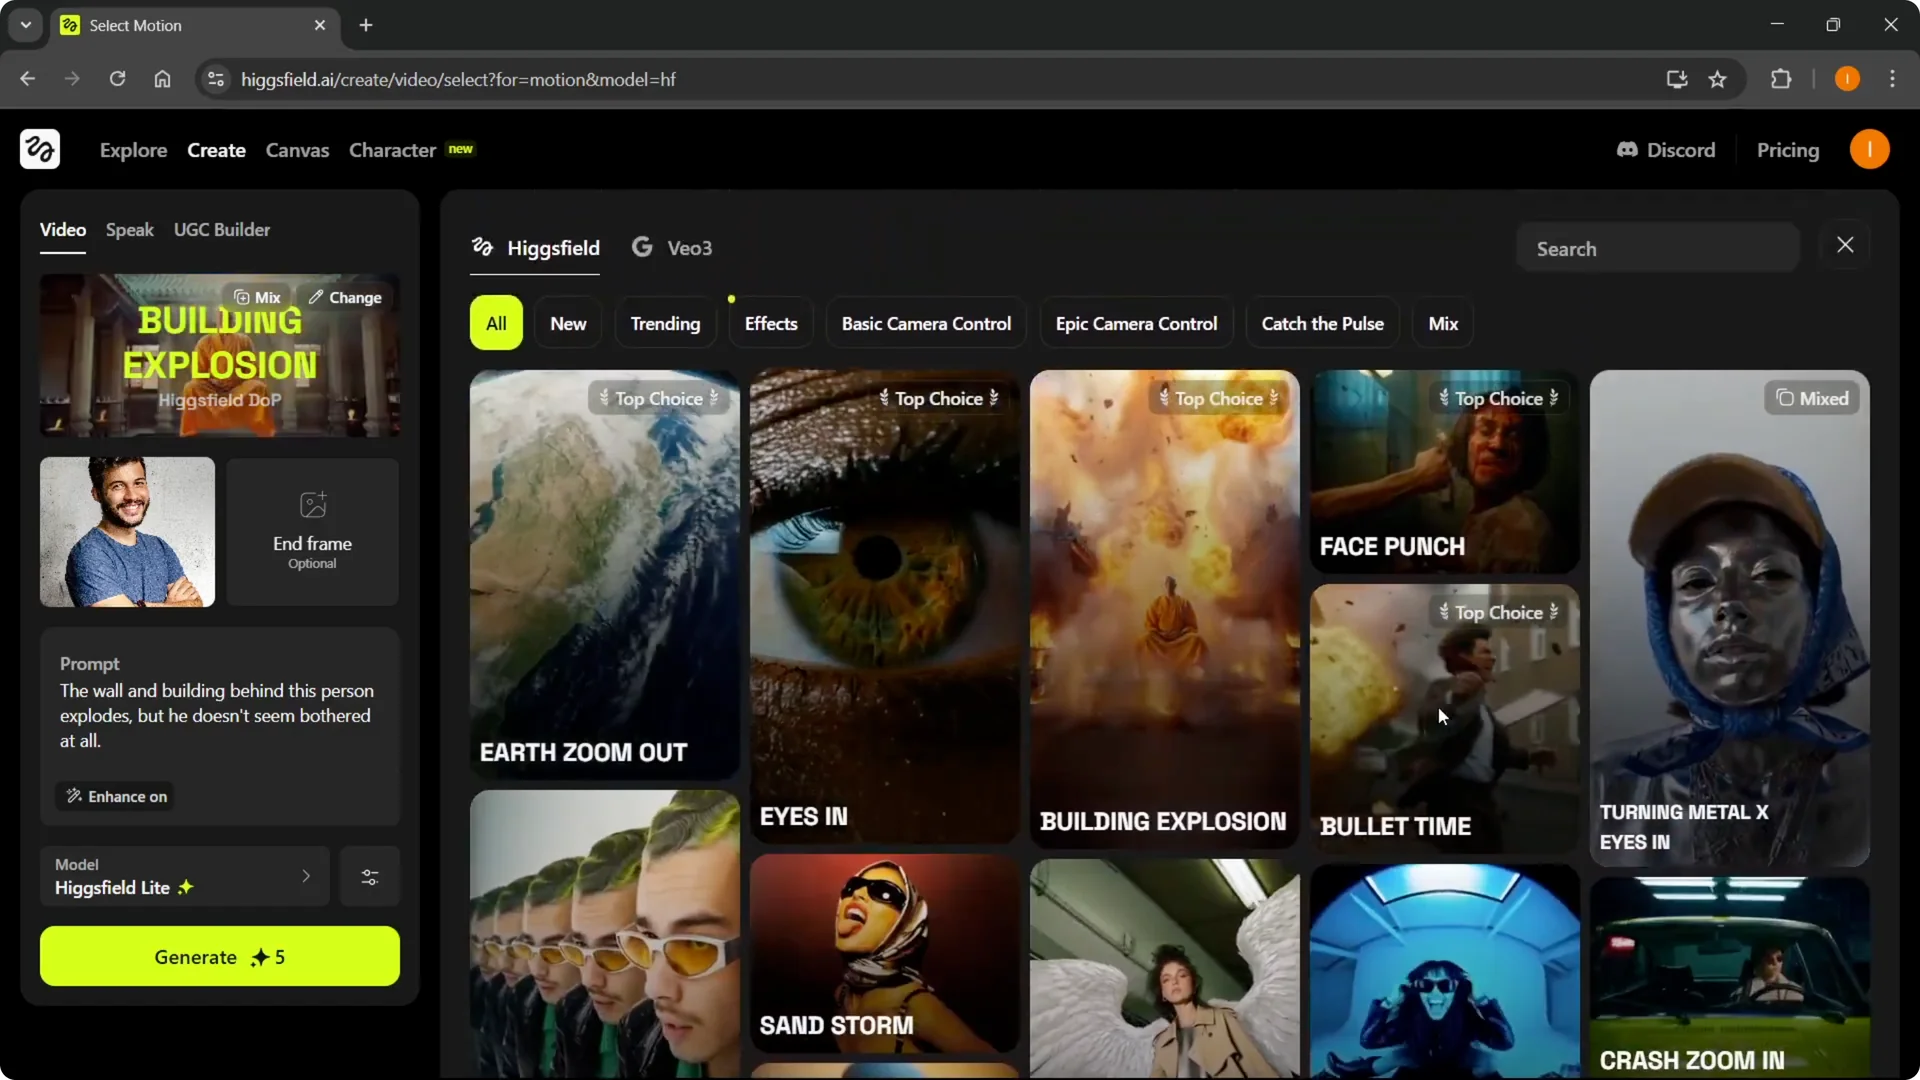
Choosing Effects and Presets
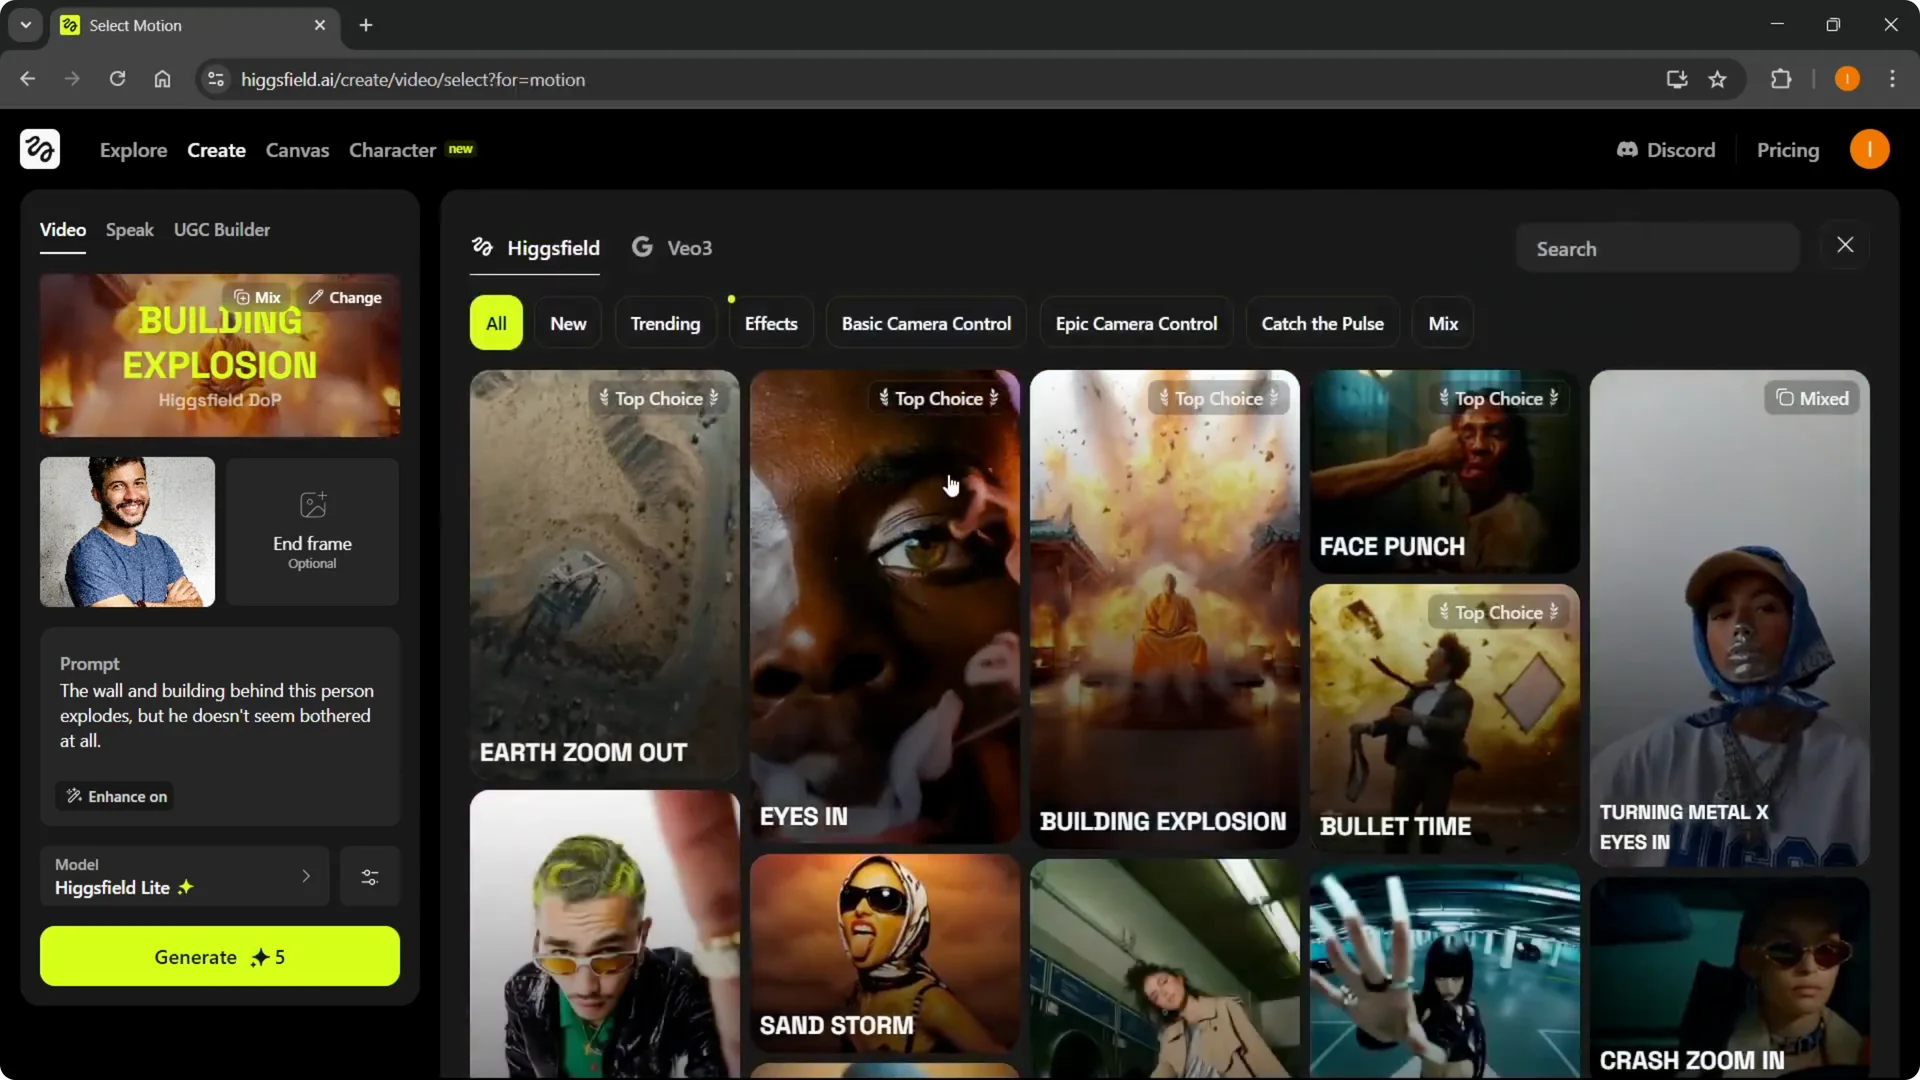
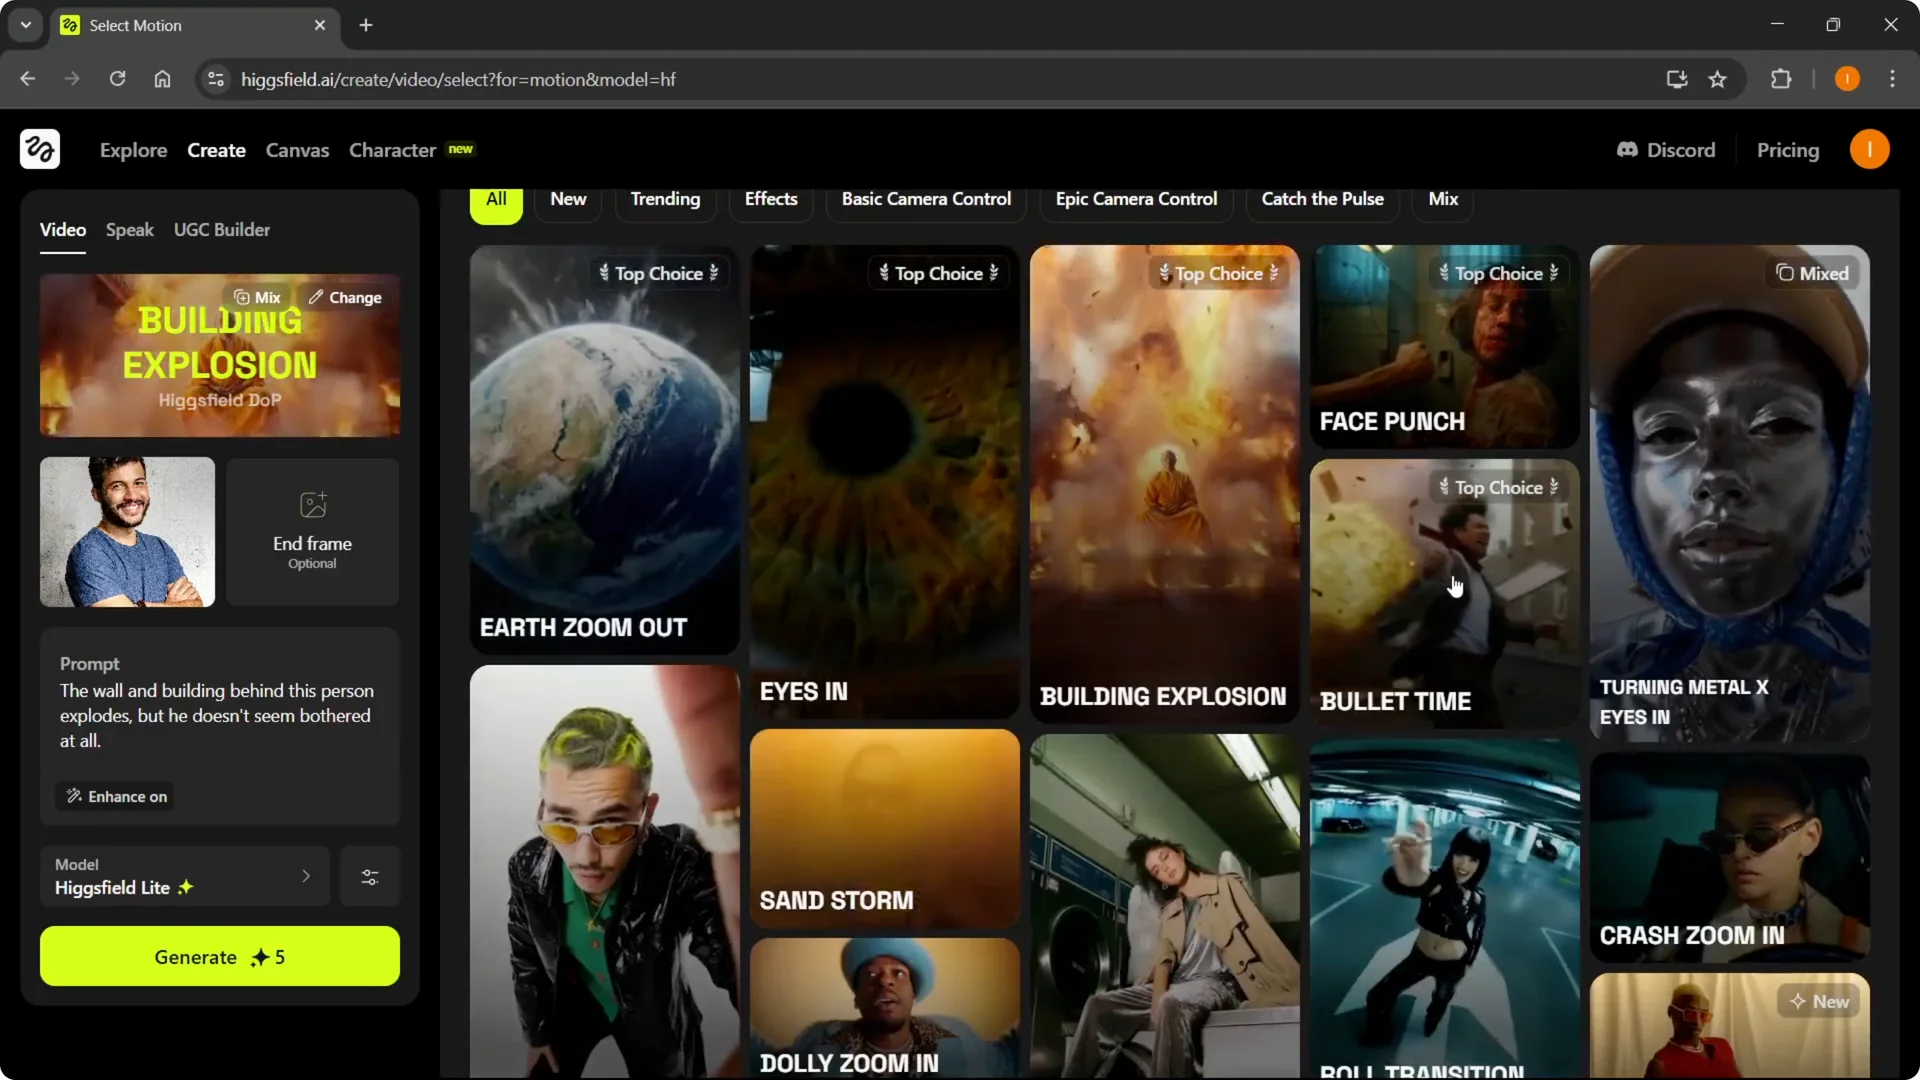
Step 4: Pick a preset effect. You will see bullet time, crash zoom in, mouth in head off, and more. These are the edits available for your image or video.
For more cinematic effects ideas and workflows, see this overview of VFX options in Higsfield: Vfx Higgsfield Ai.
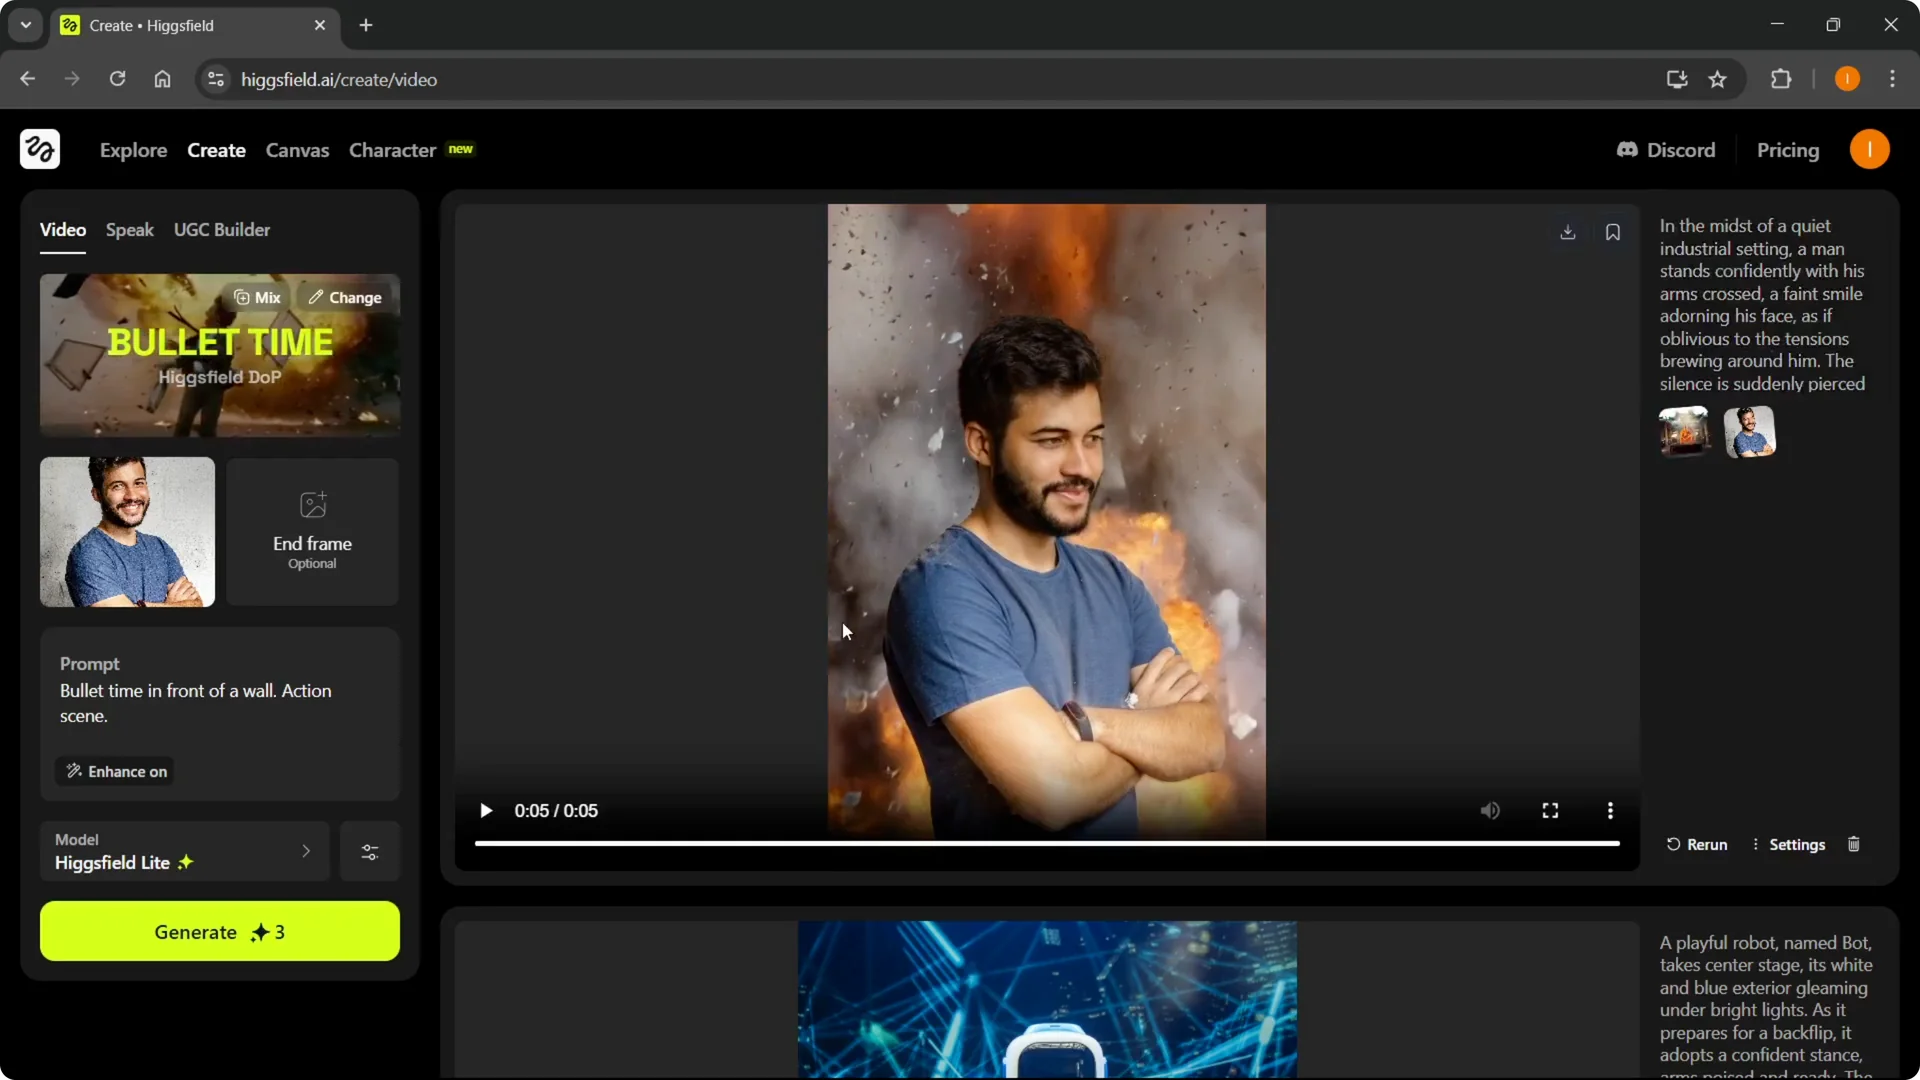
Example – Bullet Time in Higgsfield AI Video Editing
Select bullet time for this example. Click the preset and it will create and edit your image into a video with bullet time or any effect you chose.
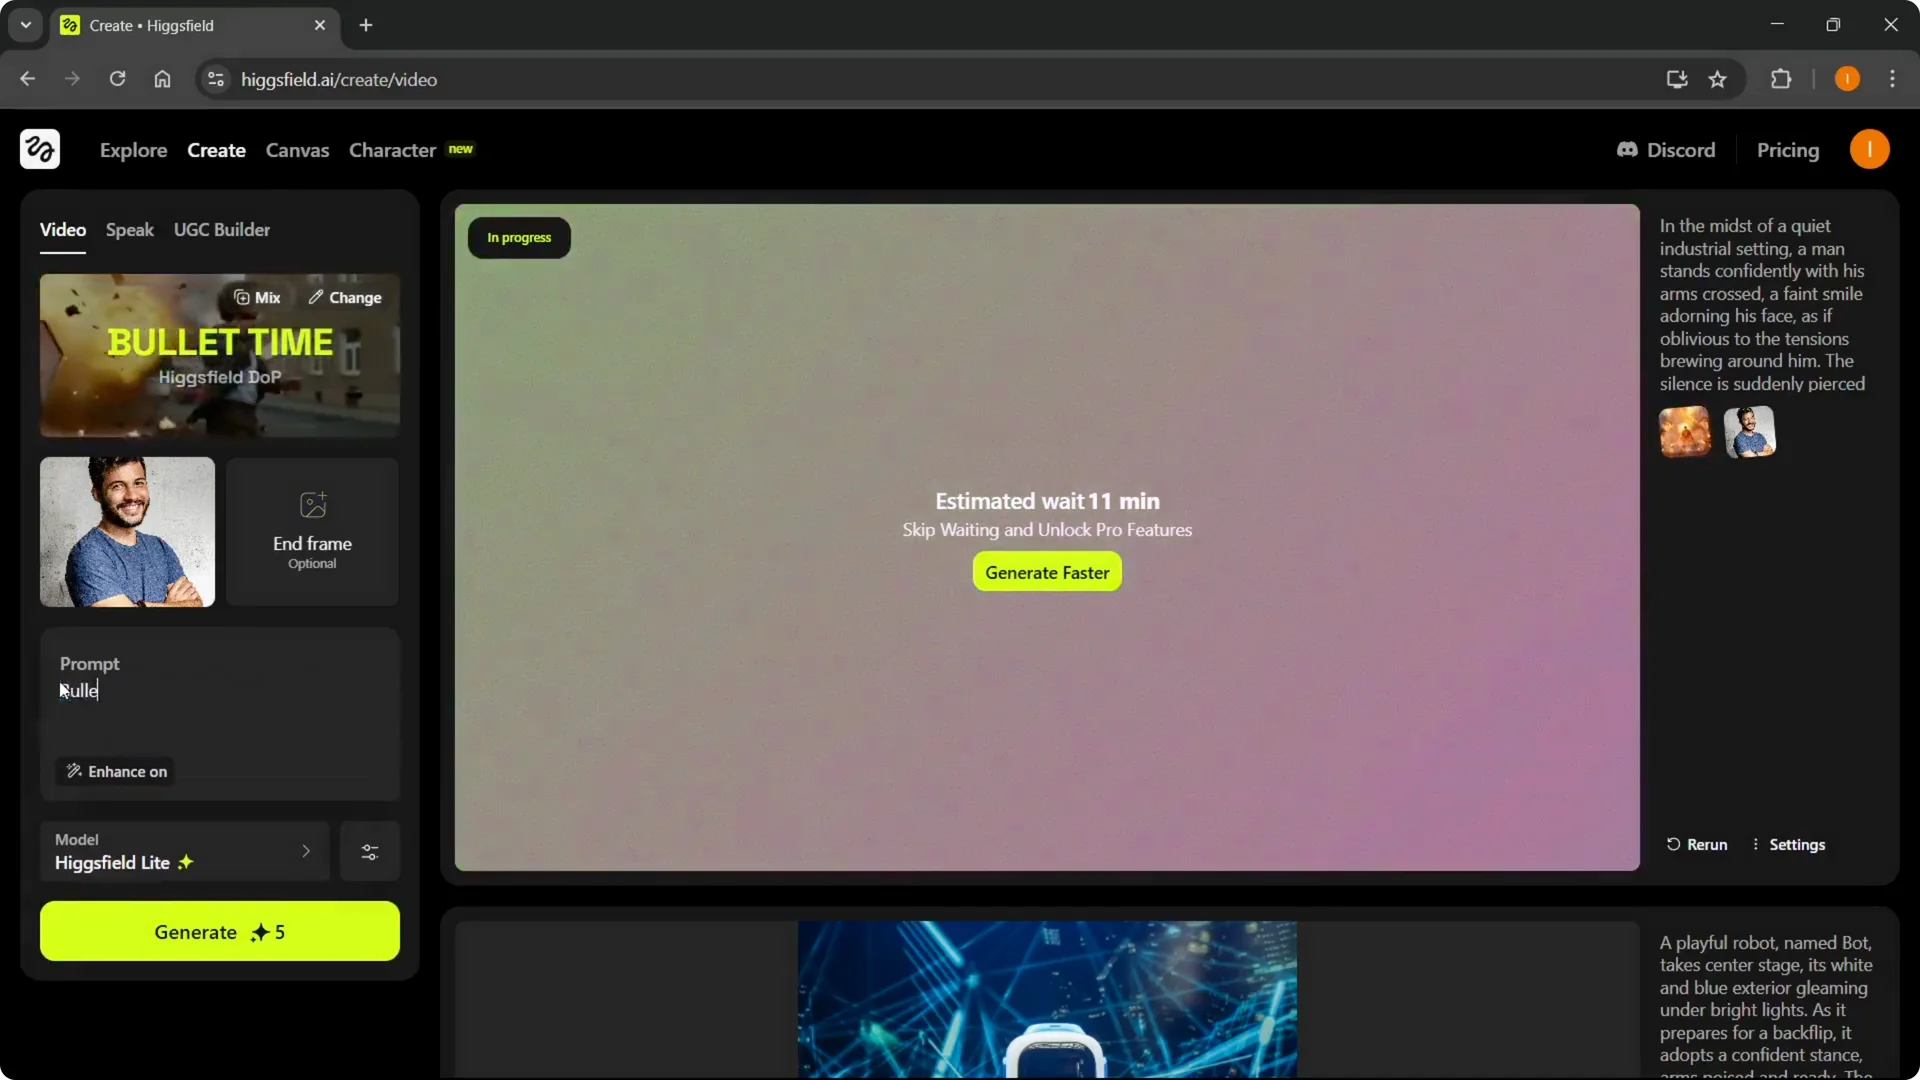
Prompting and Optional Frame in Higgsfield AI Video Editing
Step 5: Optionally select a frame. This is an end frame, and you can skip it if you want. Go directly to the prompt if you do not need a frame.
Step 6: Write a detailed prompt. For example, bullet time in front of a wall action scene. Be as detailed as possible because it will give you better results, and you can keep Enhance on to make prompts a bit better.
If your edit focuses on consistent characters, check out these quick tips for building them fast: Quick Easy Creating Characters Higgsfield.
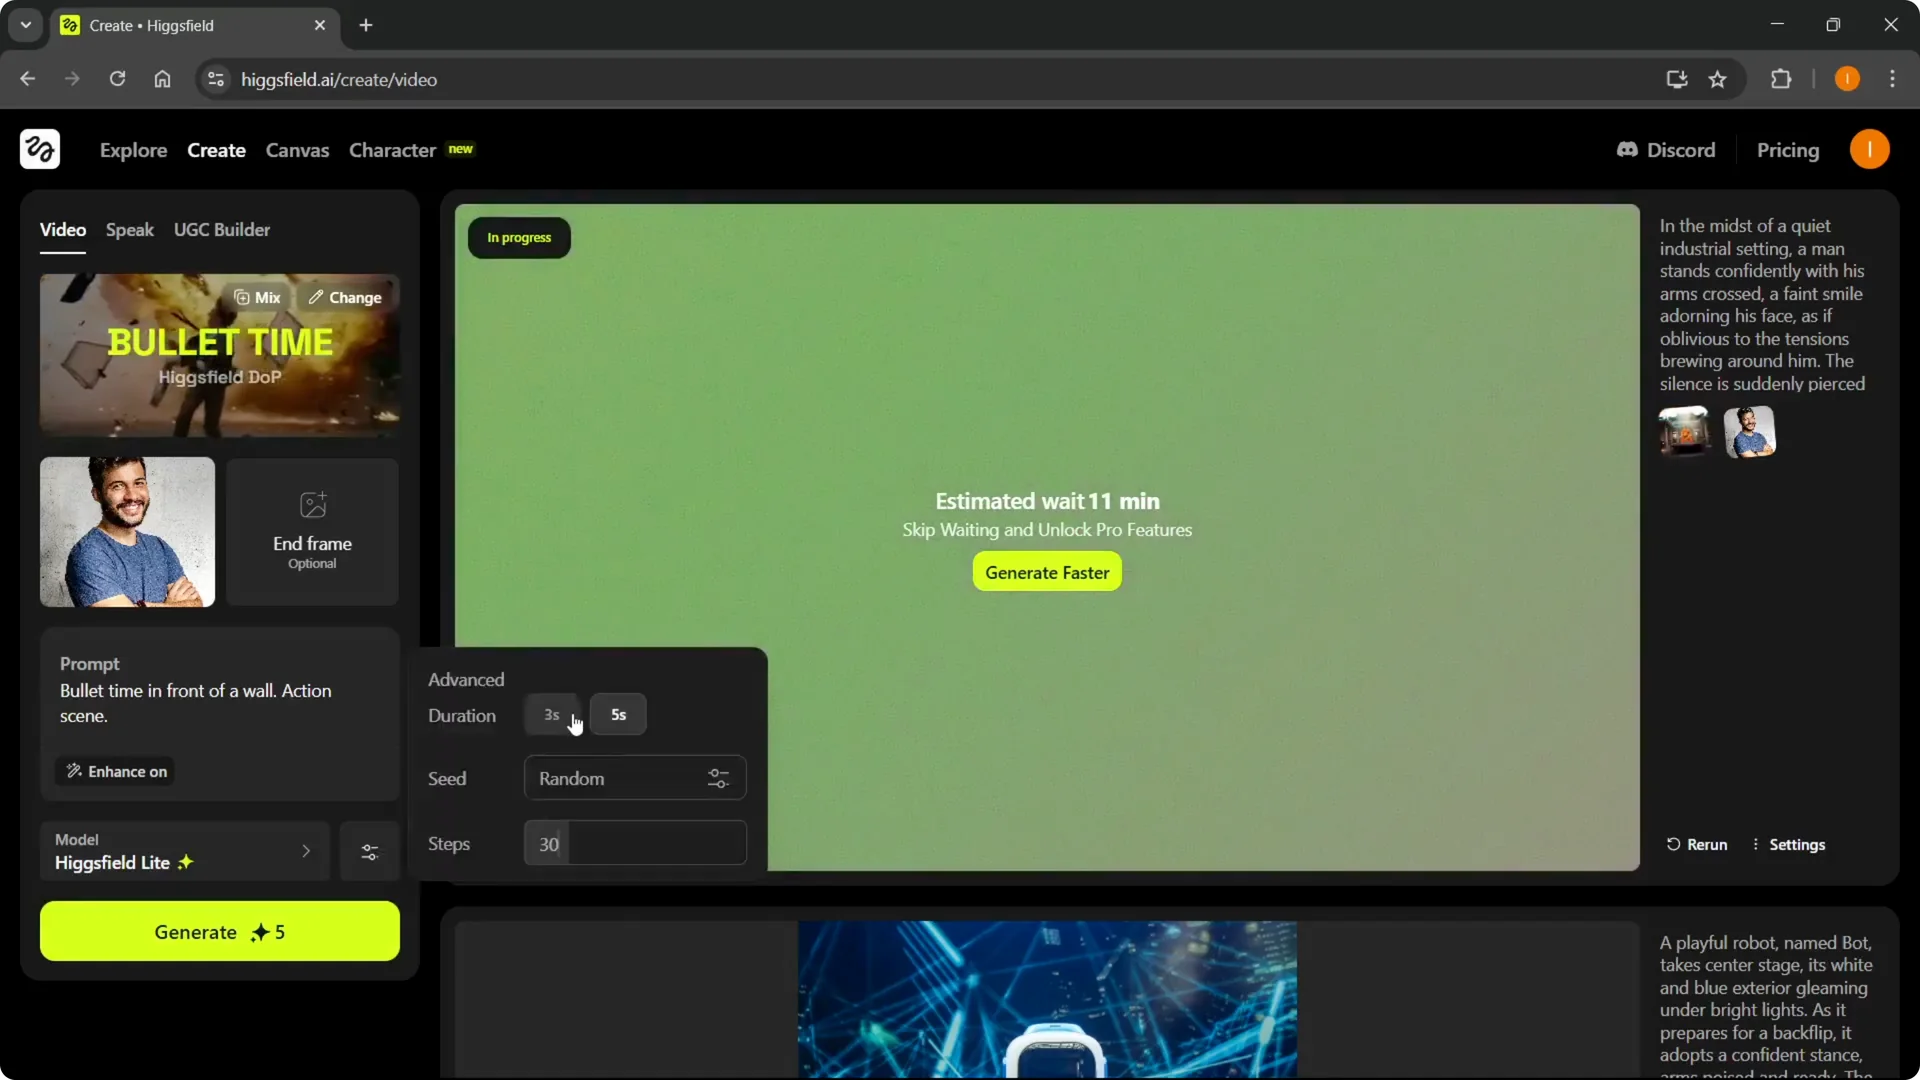
Model Access and Settings in Higgsfield AI Video Editing
Step 7: Select your model tier. In the free version, Higsfield light is the only option you can access. With premium, you can use one of the other models.

Step 8: Adjust settings. Set the duration, choose a random seed or lock it, and pick more steps or fewer steps. Tune these based on speed and quality needs.
If you are exploring Popcorn features and quick workflows around edits, see these practical tips: Quick Easy Ways Use Higgsfield Popcorn.
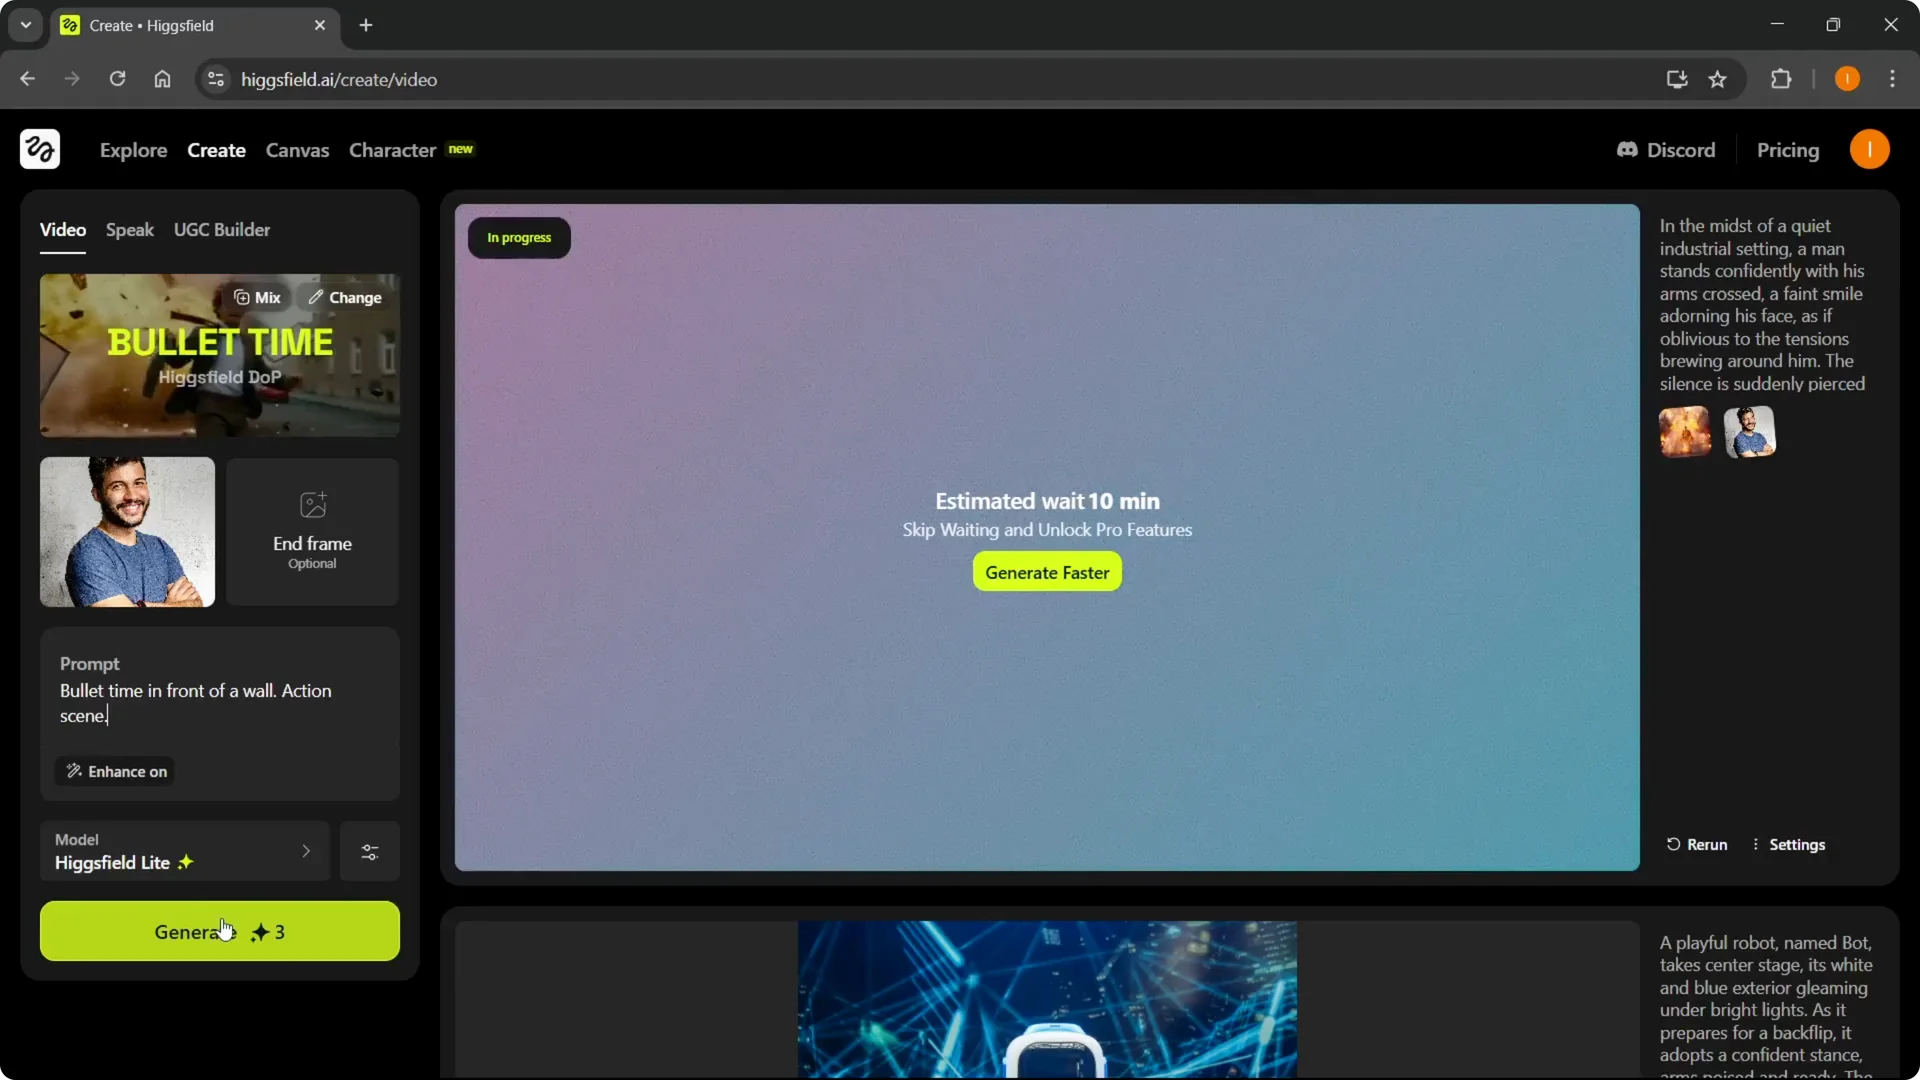
Generate and Review in Higgsfield AI Video Editing
Step 9: Press Generate. It will start generating a video based on your media, preset, model, and prompt. Wait for the render to complete.
I did one with a building explosion as a test. It was edited and it did exactly what I tell it to do. It matched the prompt and effect selection.
In my example, a man is standing with his arms crossed with a smile, and everything explodes behind him. However, he seems unbothered. That is exactly what I asked for.
Final Thoughts on Higgsfield AI Video Editing
You can use this to edit an image or a video into a new clip with custom effects. Choose your model, pick a preset, write a clear prompt, set the duration and steps, and generate. That is pretty much it.