I’m going to show you how to edit a Higgsfield video. Go to higsfield.ai and sign into your account or create one if you don’t have one yet.
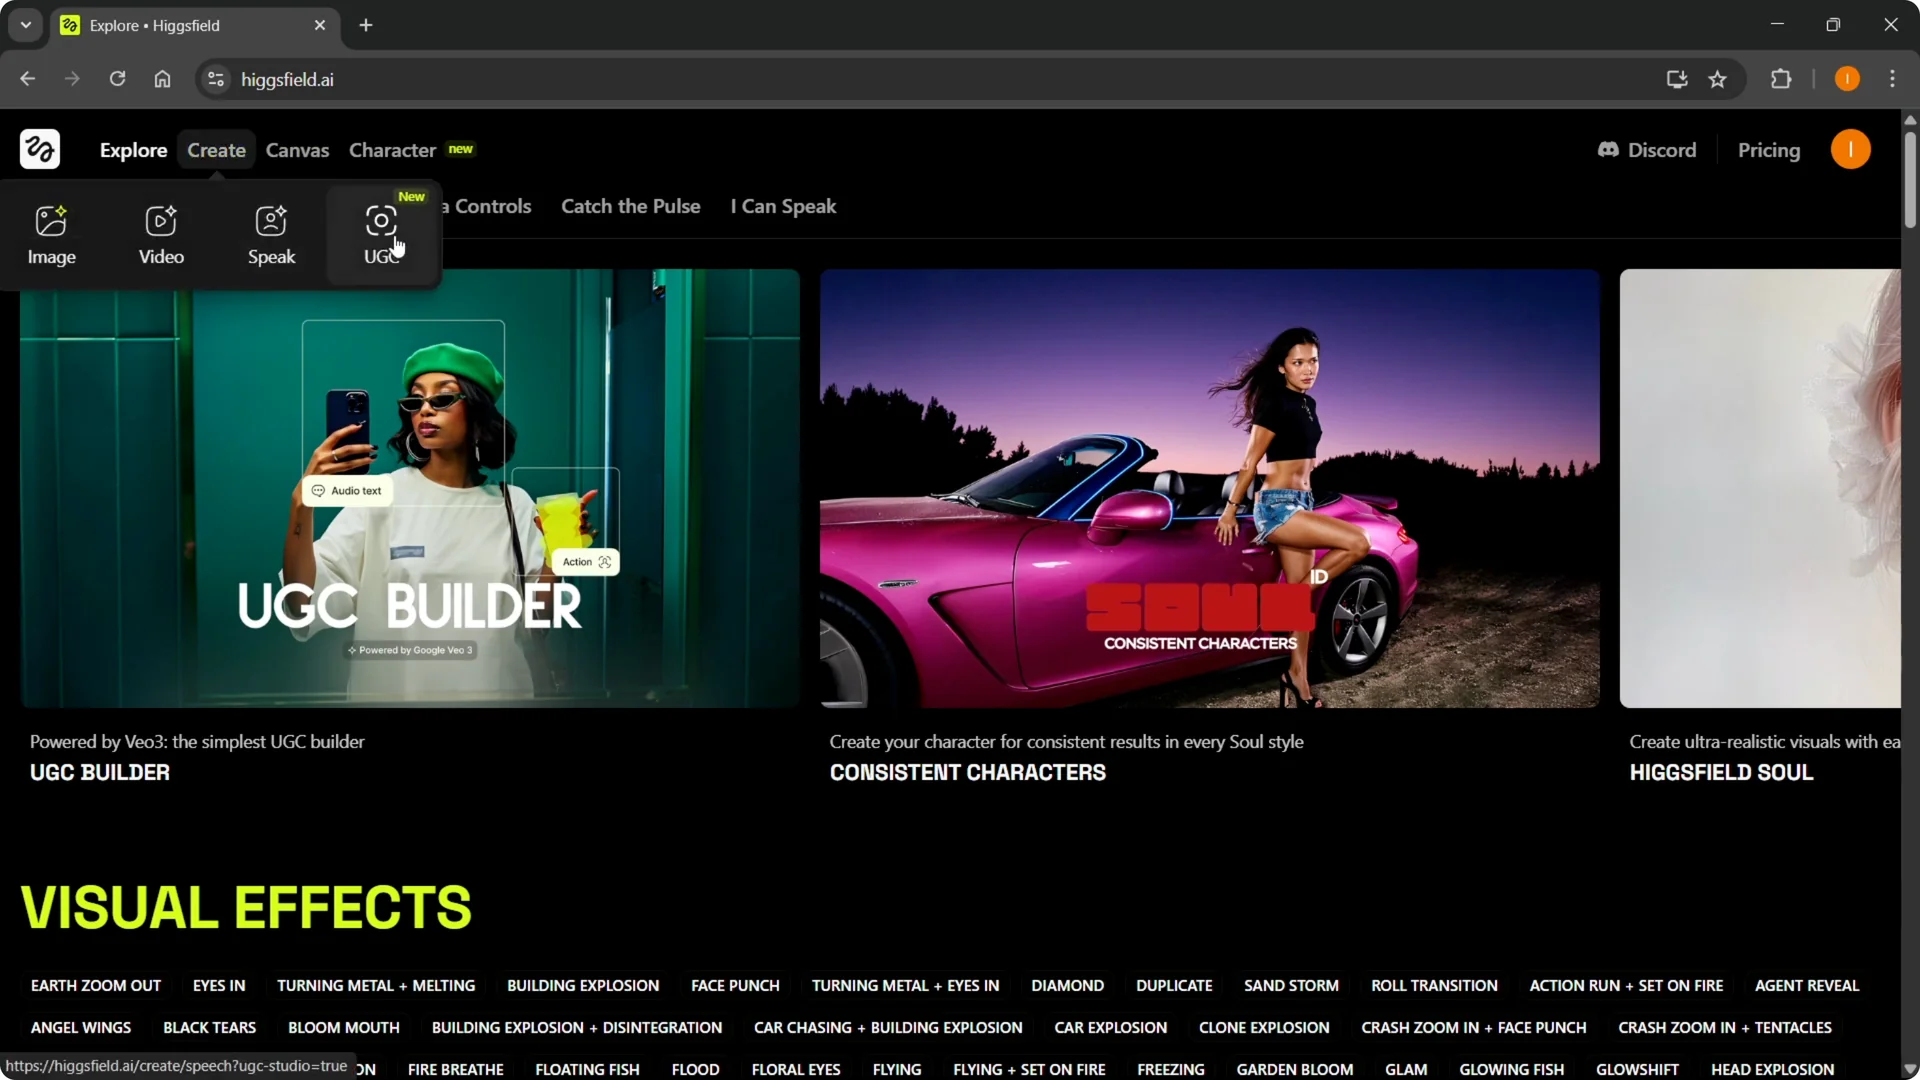
Hover over Create and choose image video, a speaker video, or UGC content. To actually edit a video, go into Video.
Getting Started with Higgsfield AI Video Editing
Step 1: Sign in or create an account. Go to higsfield.ai and log in or create an account if needed.
Step 2: Pick the creation type. Hover over Create and choose image video, your speaker video, or UGC content.
If you are building character-driven scenes, see tips for creating characters in Higgsfield.
Choose Your Image for Higgsfield AI Video Editing
Step 3: Open Video. Go into Video to start editing.

Step 4: Select an image. You can select one of your images to base the video on, generate an image, paste it, or just upload it.
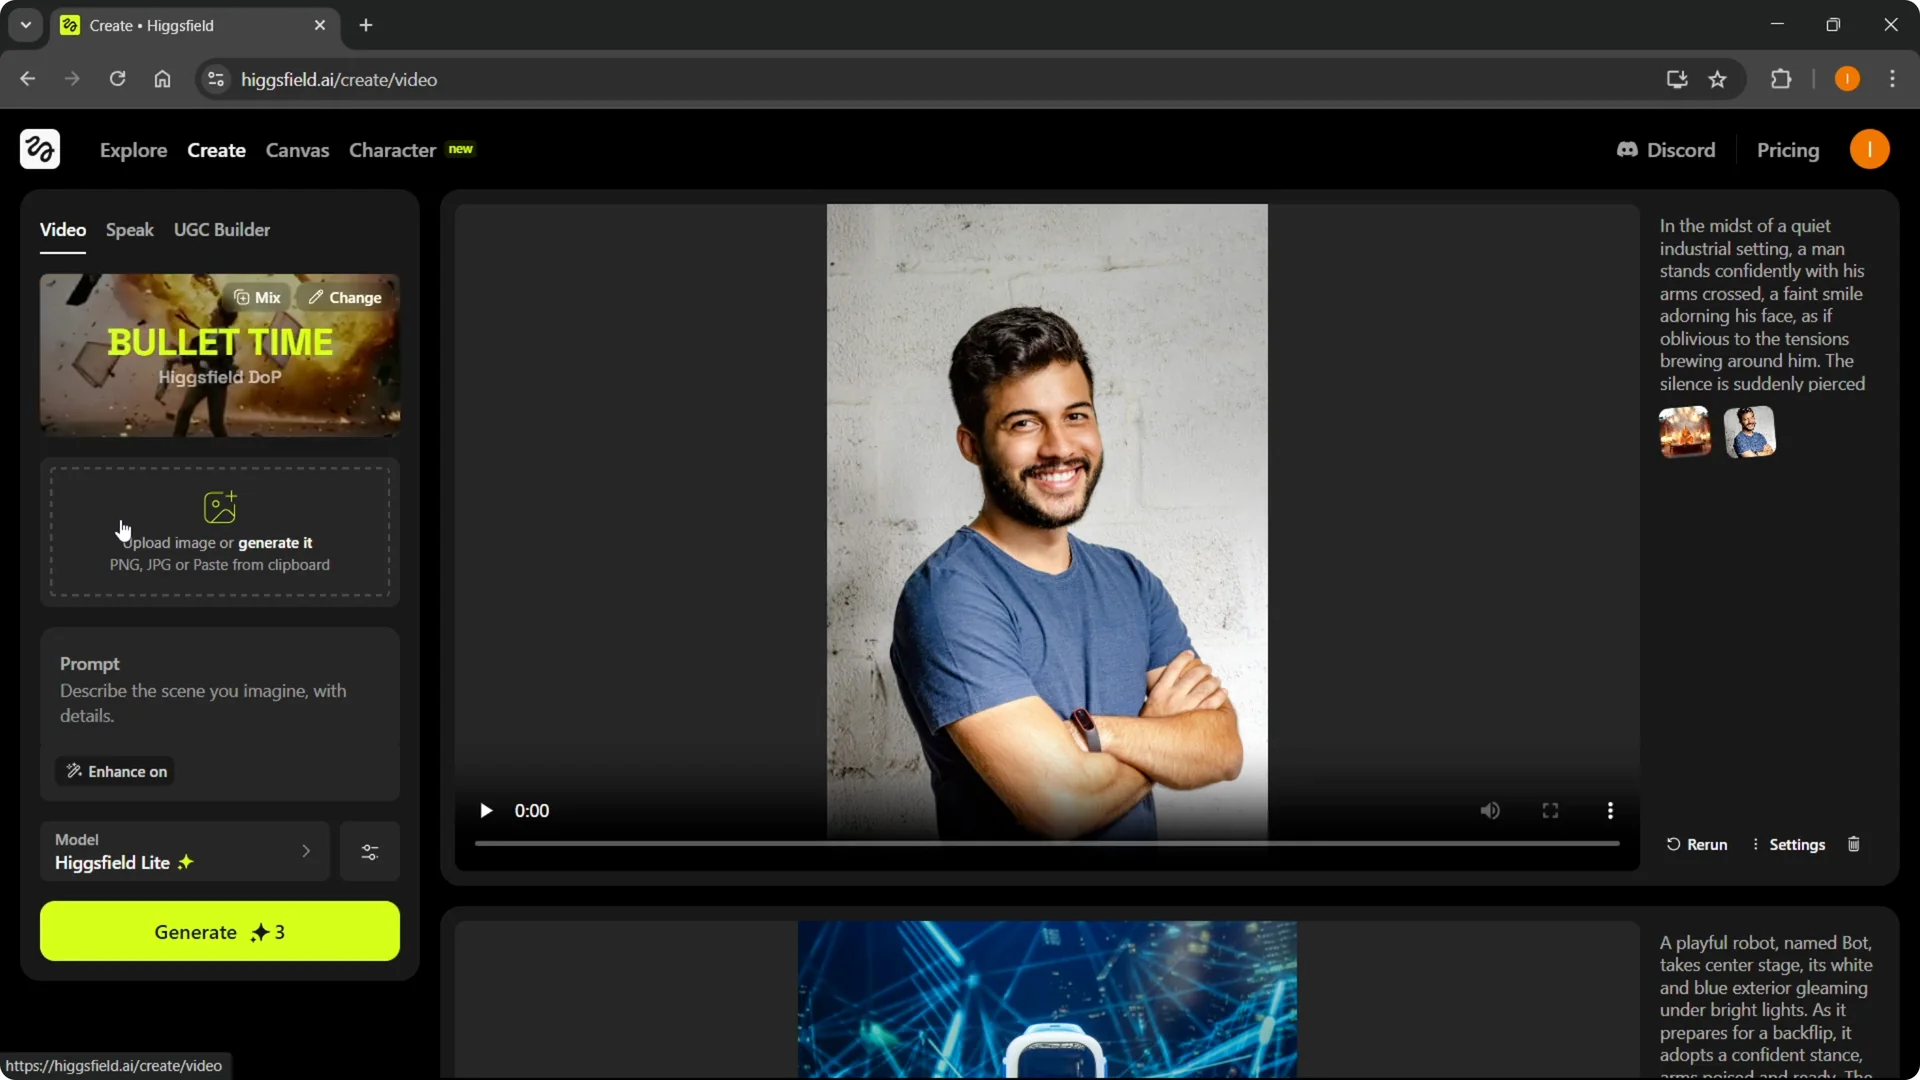
I uploaded an image, for example a shot of a dude. If you have only this image and you’d like to edit that into a video, you can do this and it can look awesome.
I added an explosion behind him and it looked very legit. You can create similar results with your own images.
Apply Edits in Higgsfield AI Video Editing
Step 5: Choose an edit. Click Change and select the edit you want.
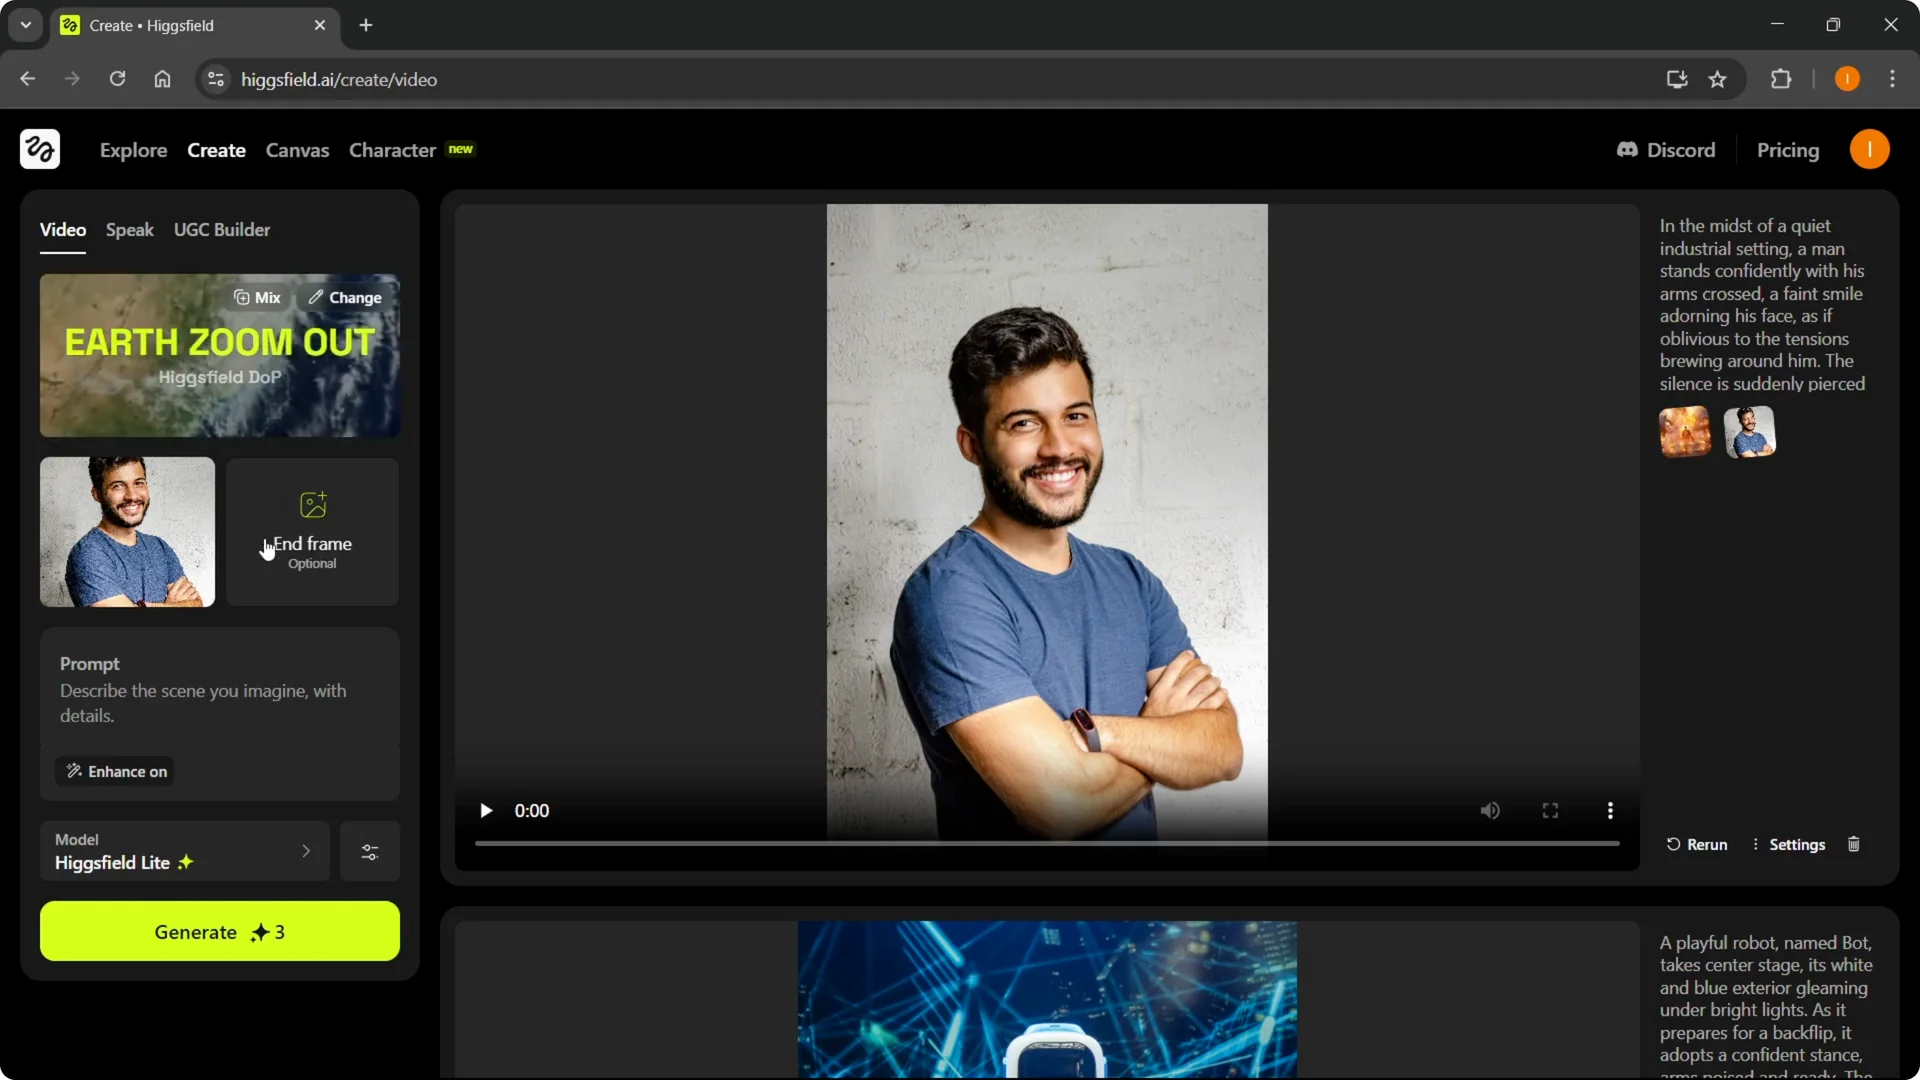
You have different ones like face punch, building explosion, eyes in, and earth zoom out. For this instance, I’m going to do the earth zoom out.
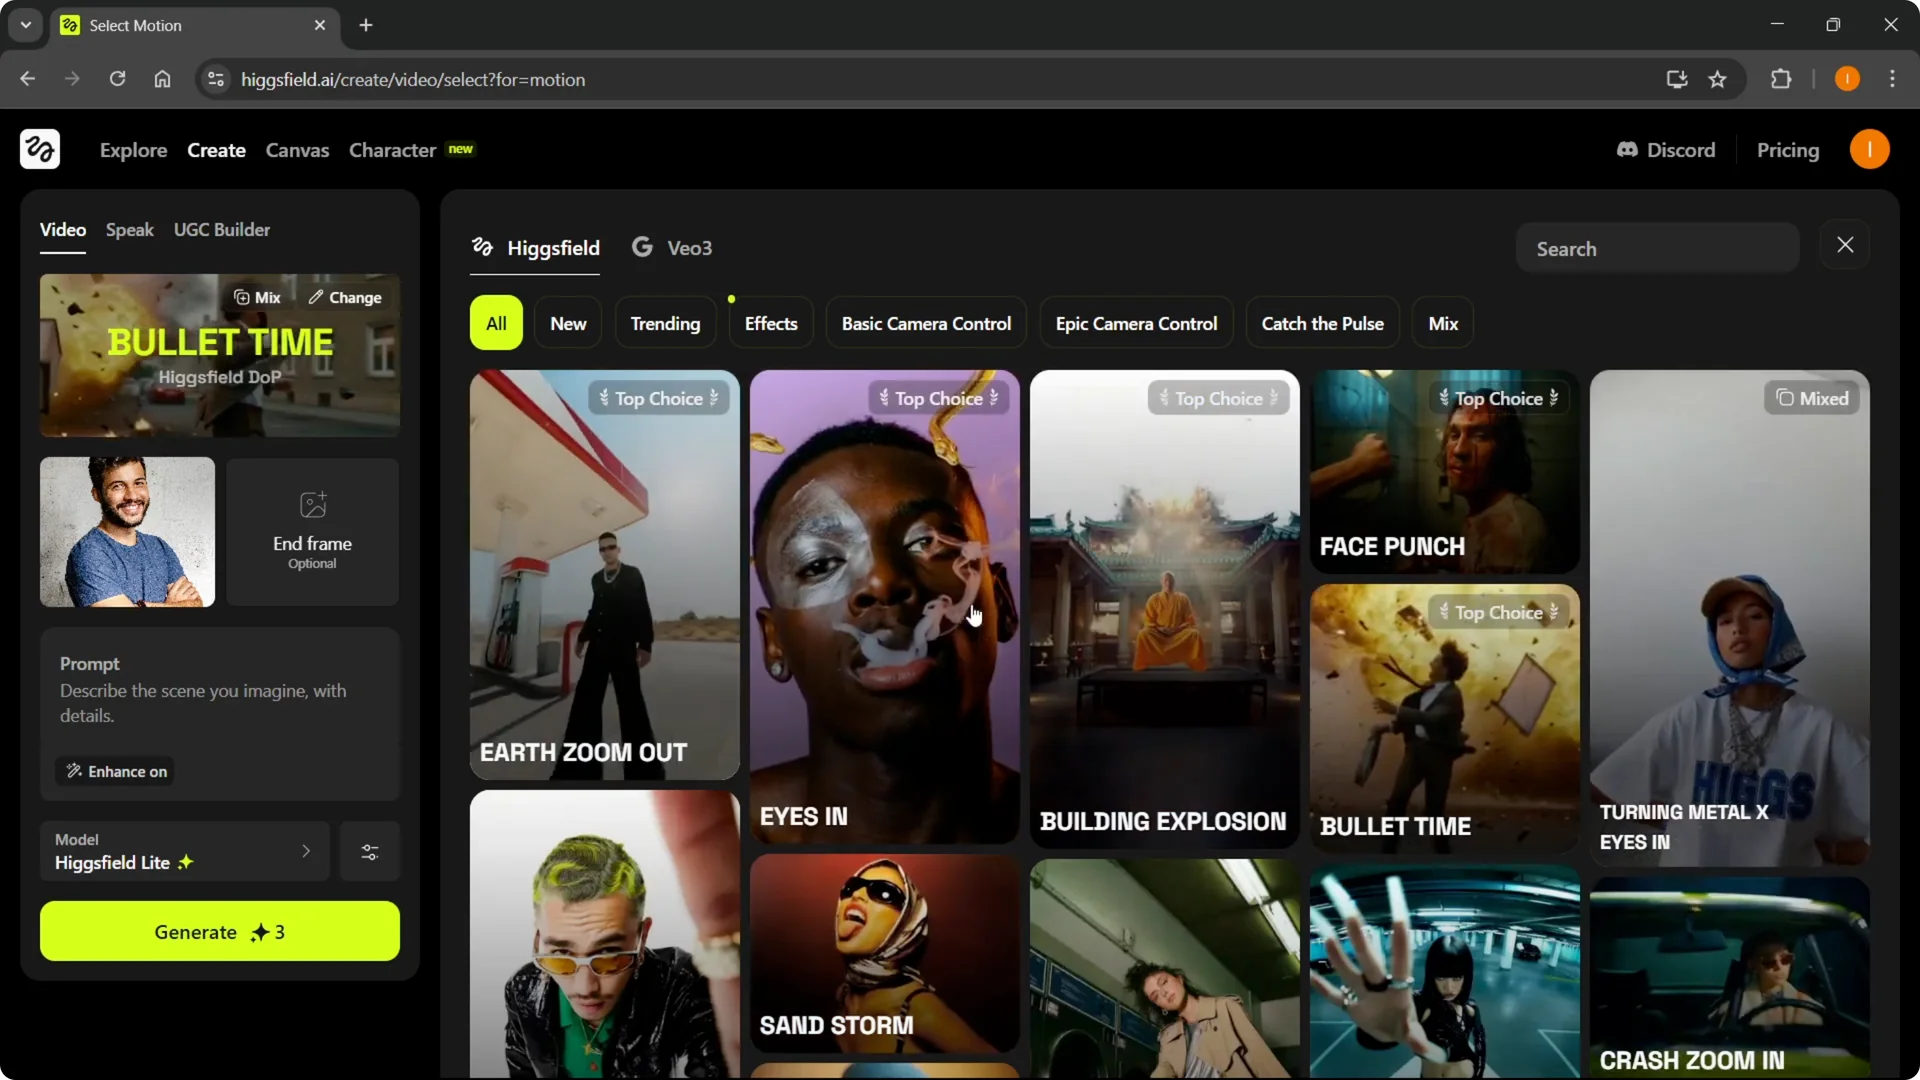
You can add an end frame if you want to. I’m not going to, but if you’re going for more detailed videos, you can do that too.
For more effects inspiration and workflows, see these VFX tips for Higgsfield.
Prompt and Enhance in Higgsfield AI Video Editing
Step 6: Write the prompt. Describe the scene you imagine with details, and make this as detailed as possible.
Leave Enhance on if you want it to be even more detailed. This will add more details to your videos and your creations.
For example, my prompt is a zoom out of a building and into space. You can go into a lot more detail, and I would recommend that, but for this example that’s all I’m going to do.
Models and Settings in Higgsfield AI Video Editing
Step 7: Select the model. If you’re using the free version, Higgsfield Light is the one you’ll have access to.
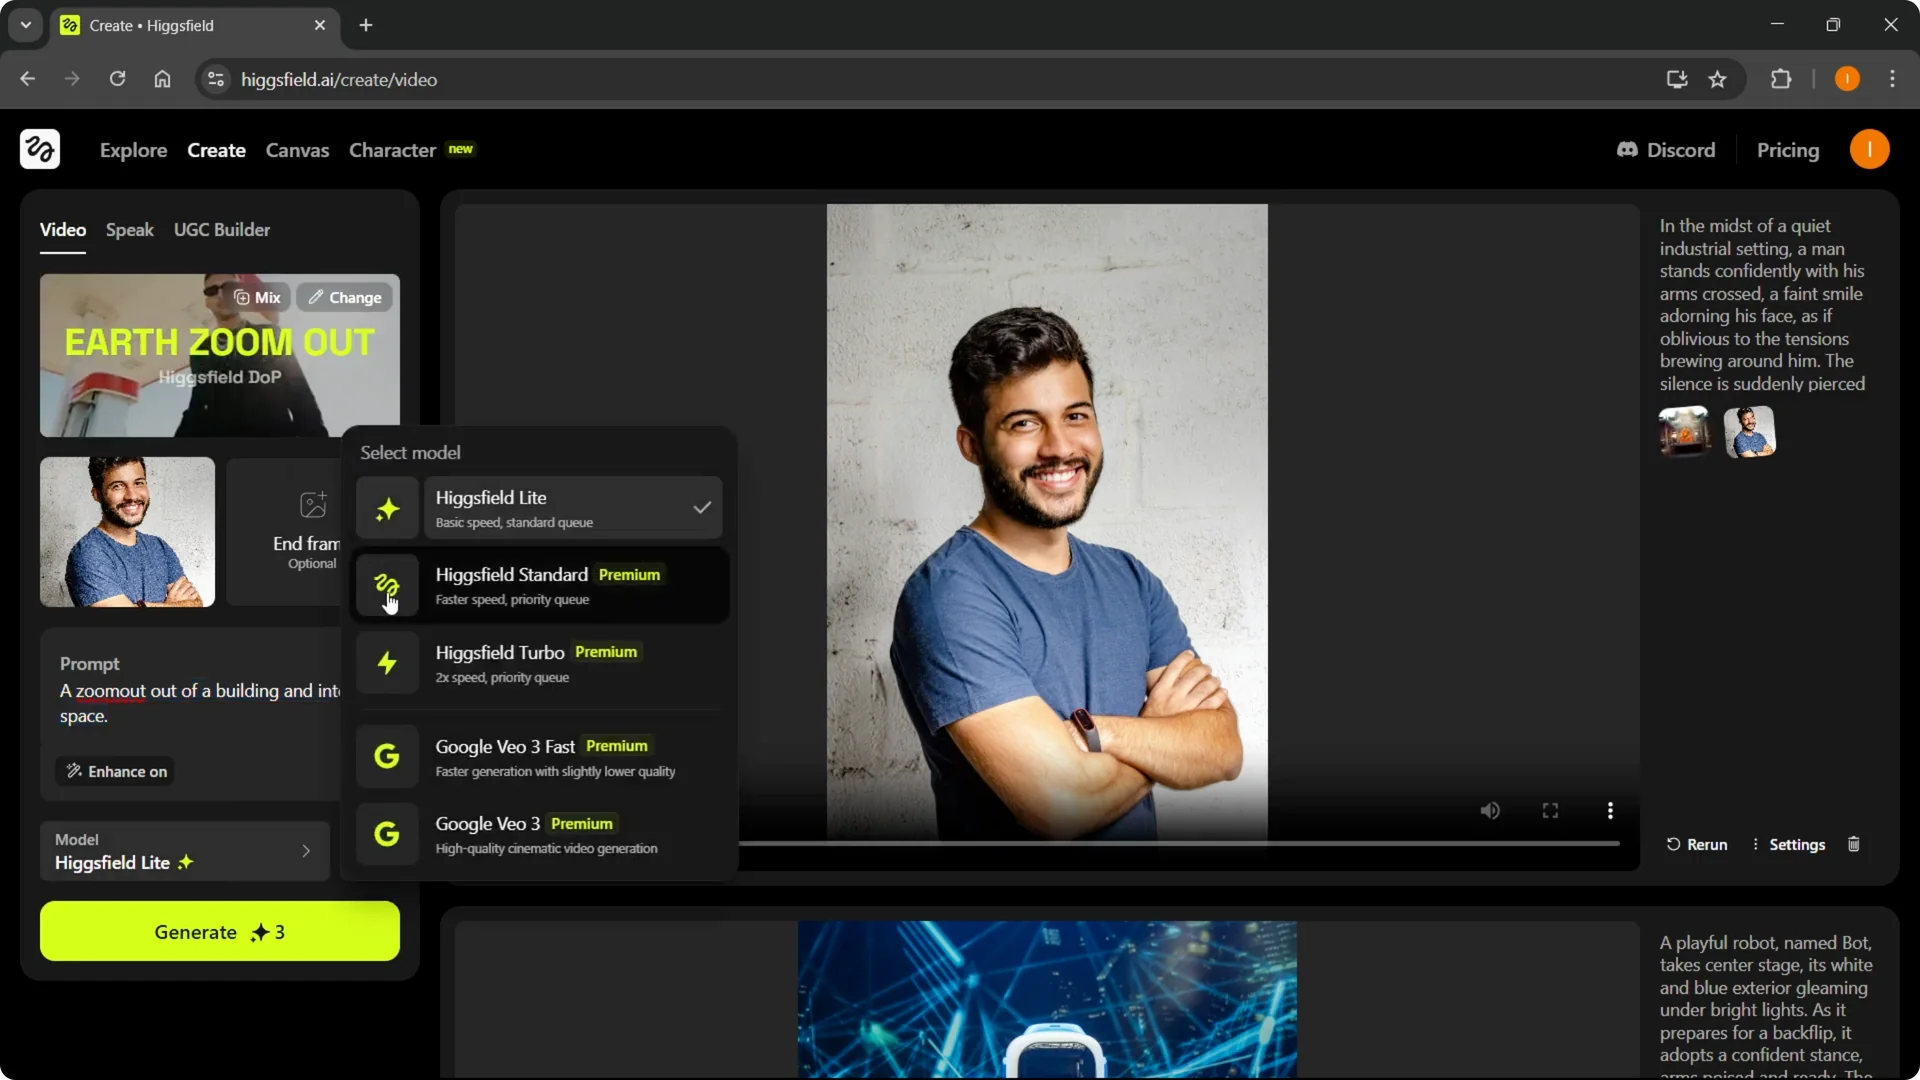
If you’re using premium, you can use any of the other models as well. Pick what fits your project.
Step 8: Open Settings. Change the duration to 3 or 5 seconds. You can put in a random seed if you like.
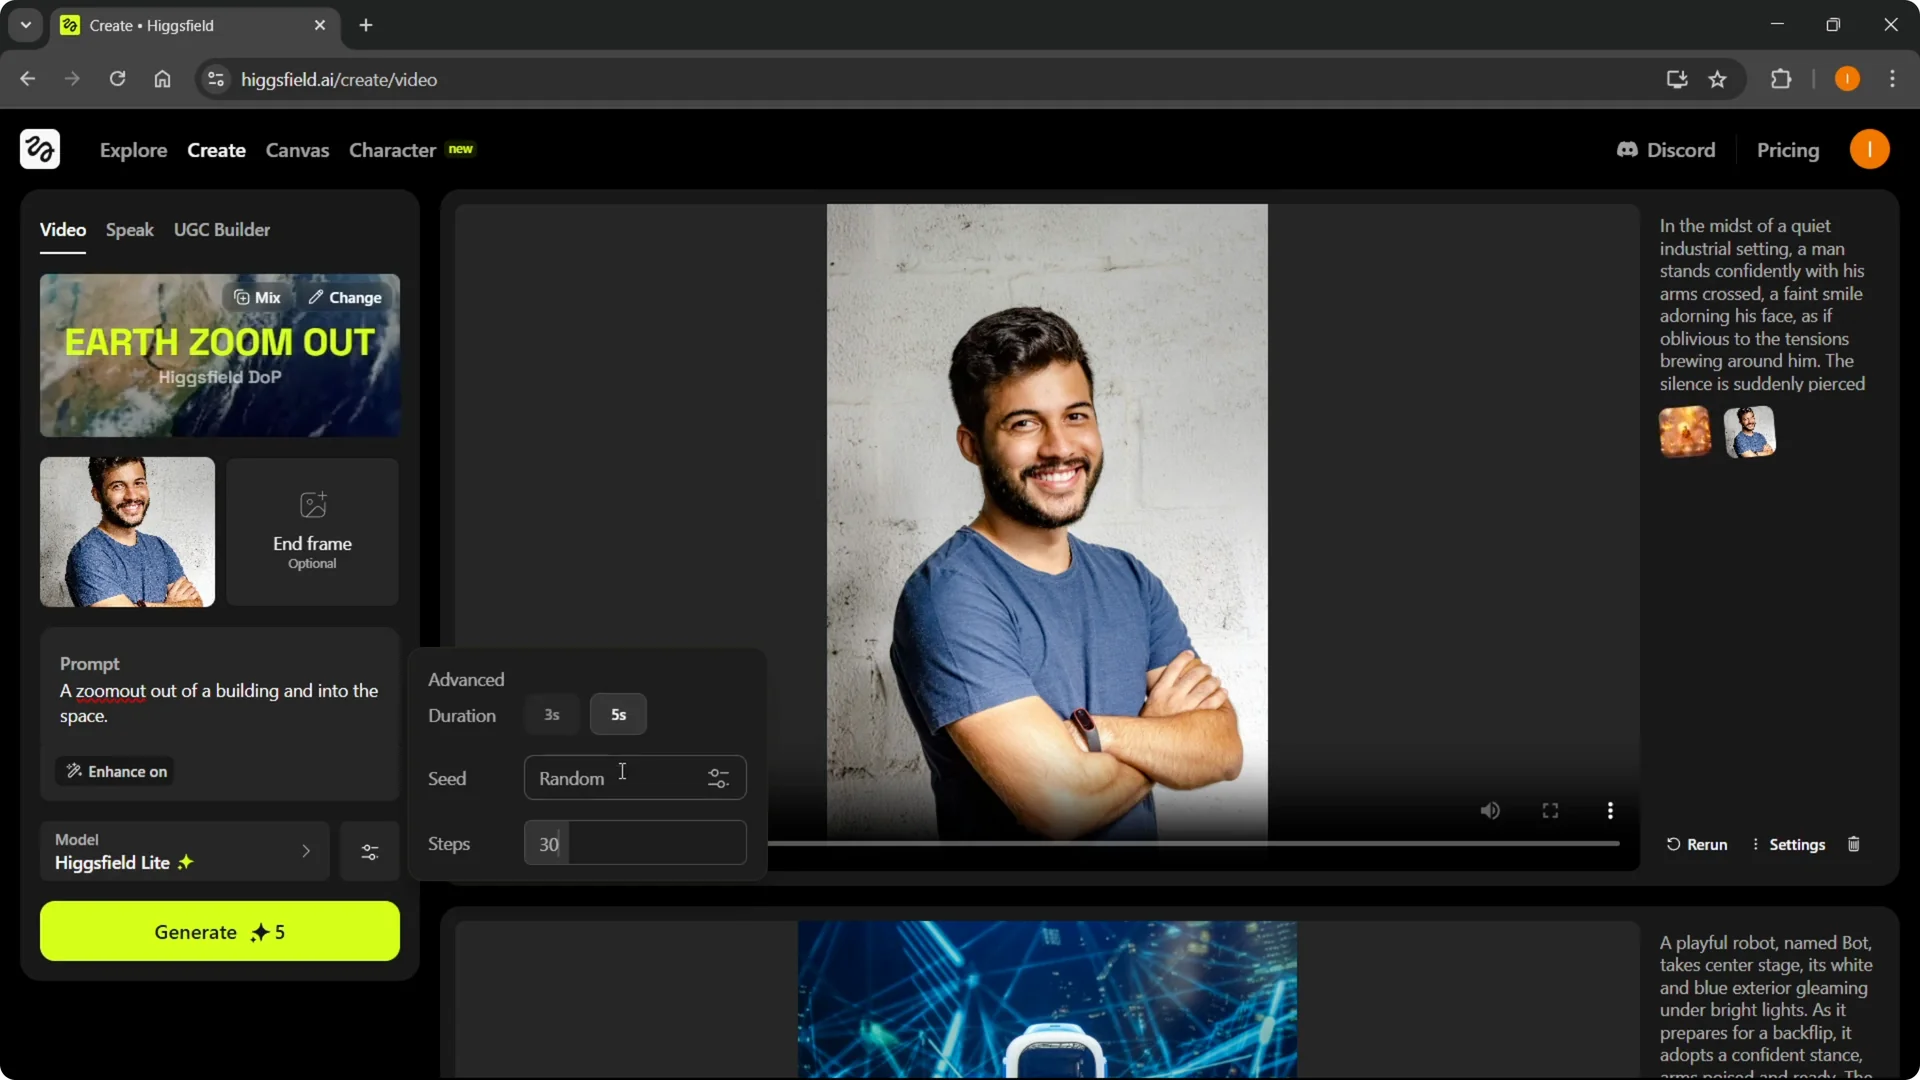
You can also set different steps. More steps improve quality and cost more as well.
If you prefer quick templates and faster setup for short edits, take a look at this Higgsfield Popcorn workflow.
Generate and Review in Higgsfield AI Video Editing
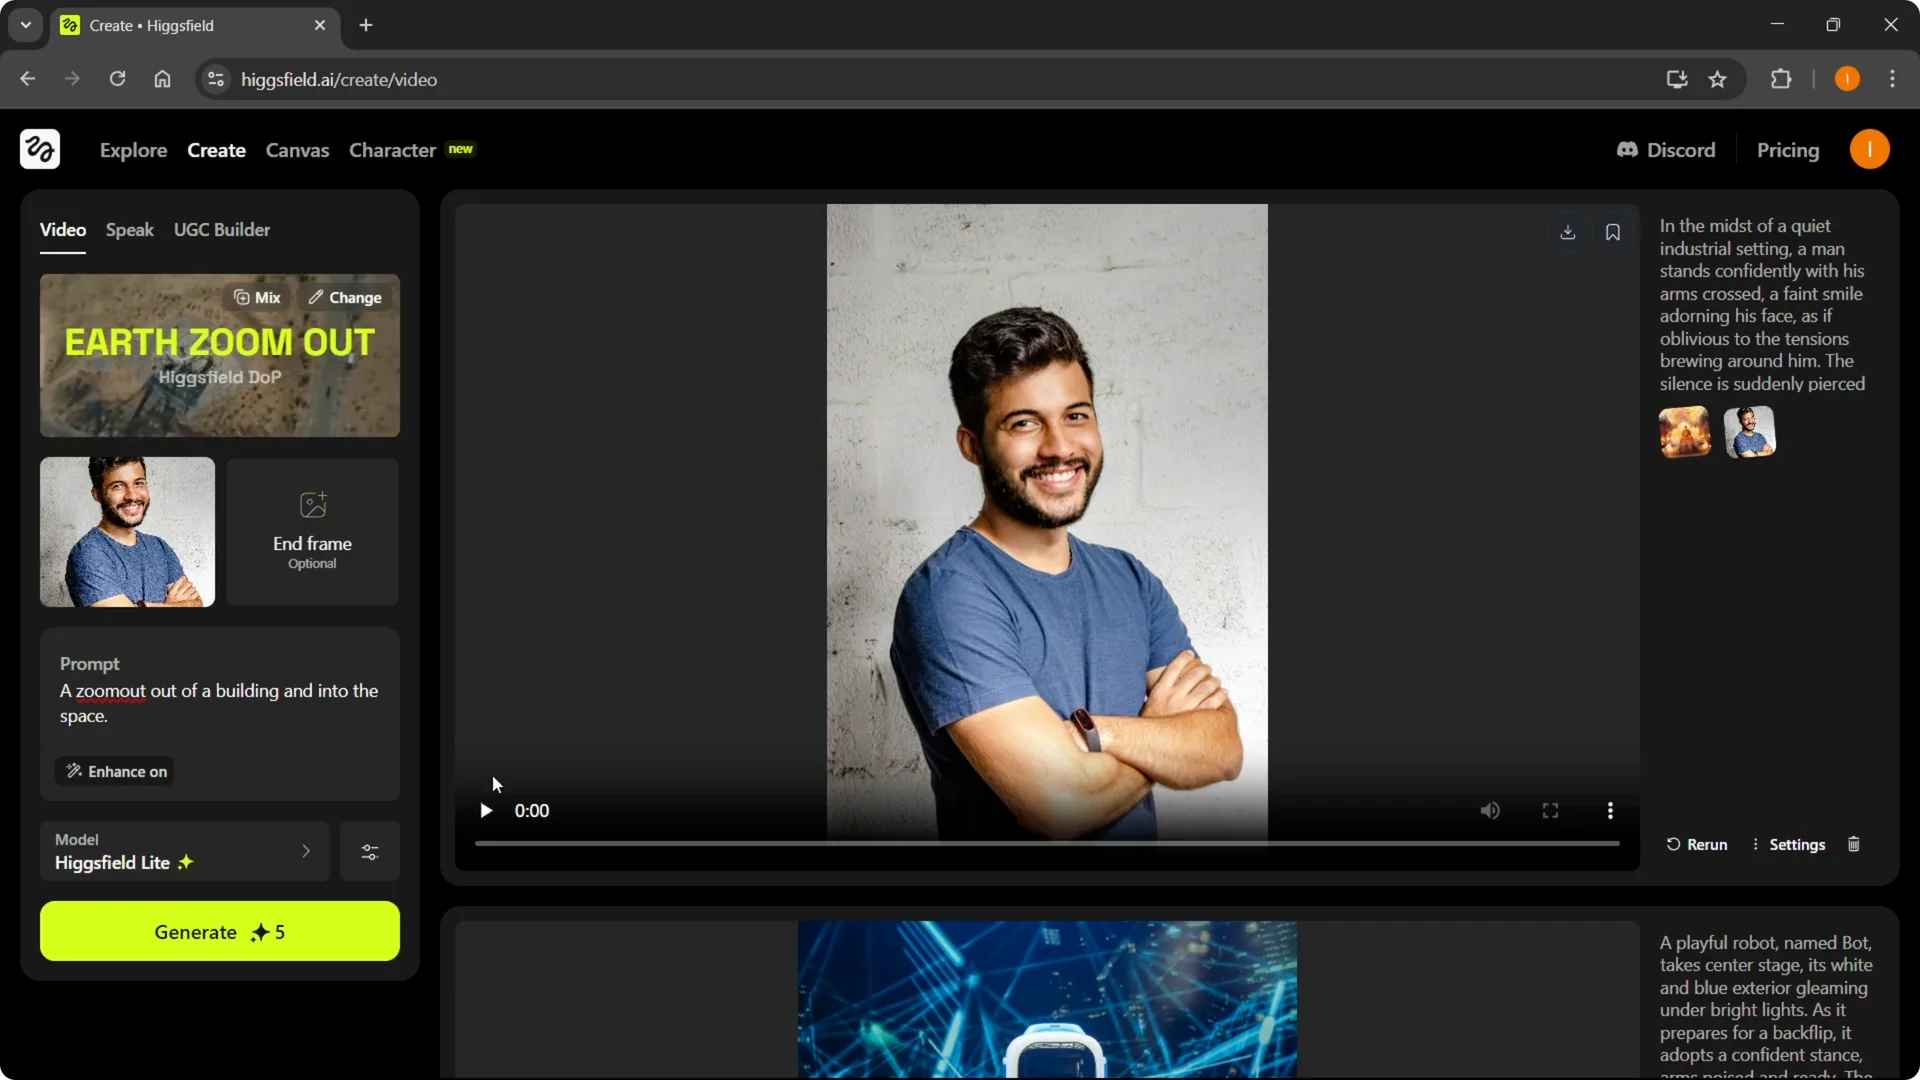
Step 9: Generate. Click Generate and it will create whatever you asked for.
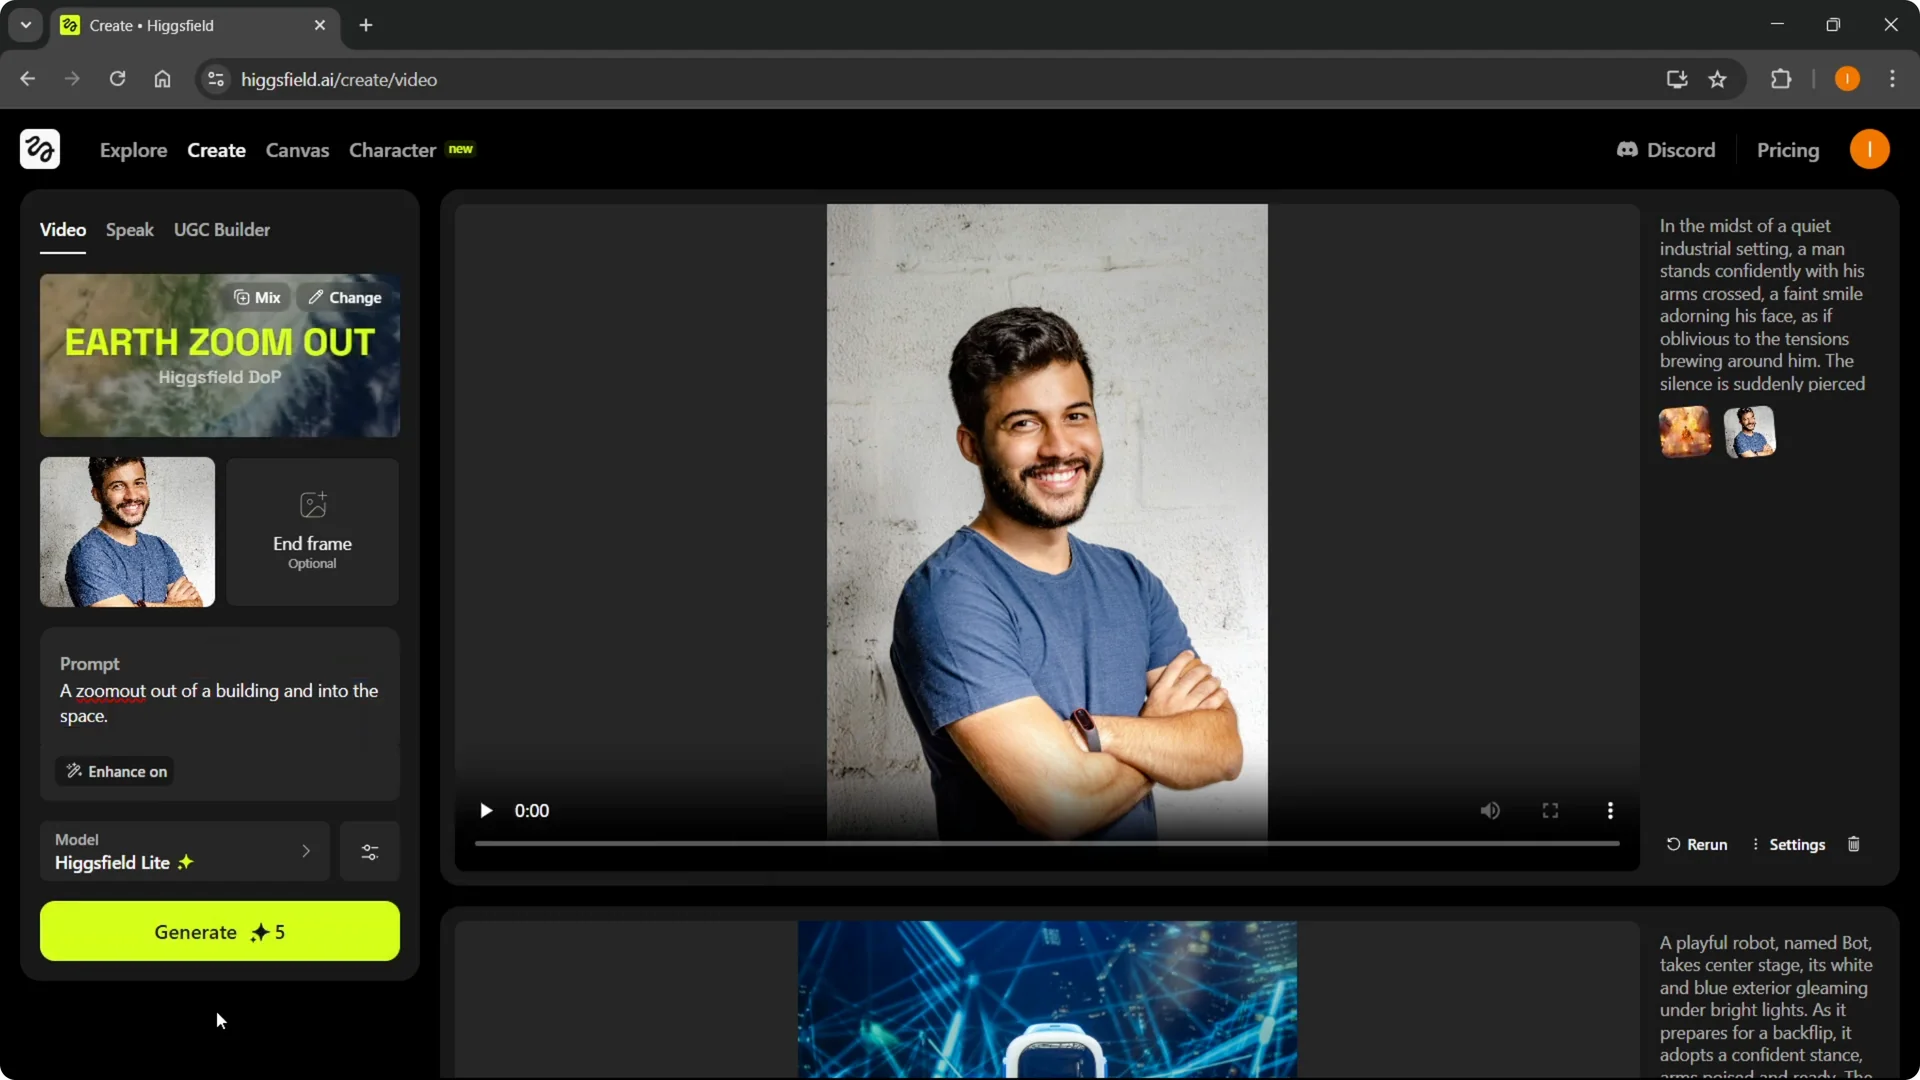
The example turned out quite good. You can make something similar with your images.
Final Thoughts on Higgsfield AI Video Editing
Pick a strong base image, choose the right edit, and write a clear, detailed prompt. Keep Enhance on for richer detail and adjust steps for higher quality if your budget allows.
Once you dial in your model and settings, click Generate and review the result. Tweak prompts, duration, and steps until it looks the way you want.