I’m going to show you how to use Higgsfield Speak. It can make an avatar speak, so you can make videos like this, which is quite nice.
Getting Started – Higgsfield Speak Tutorial
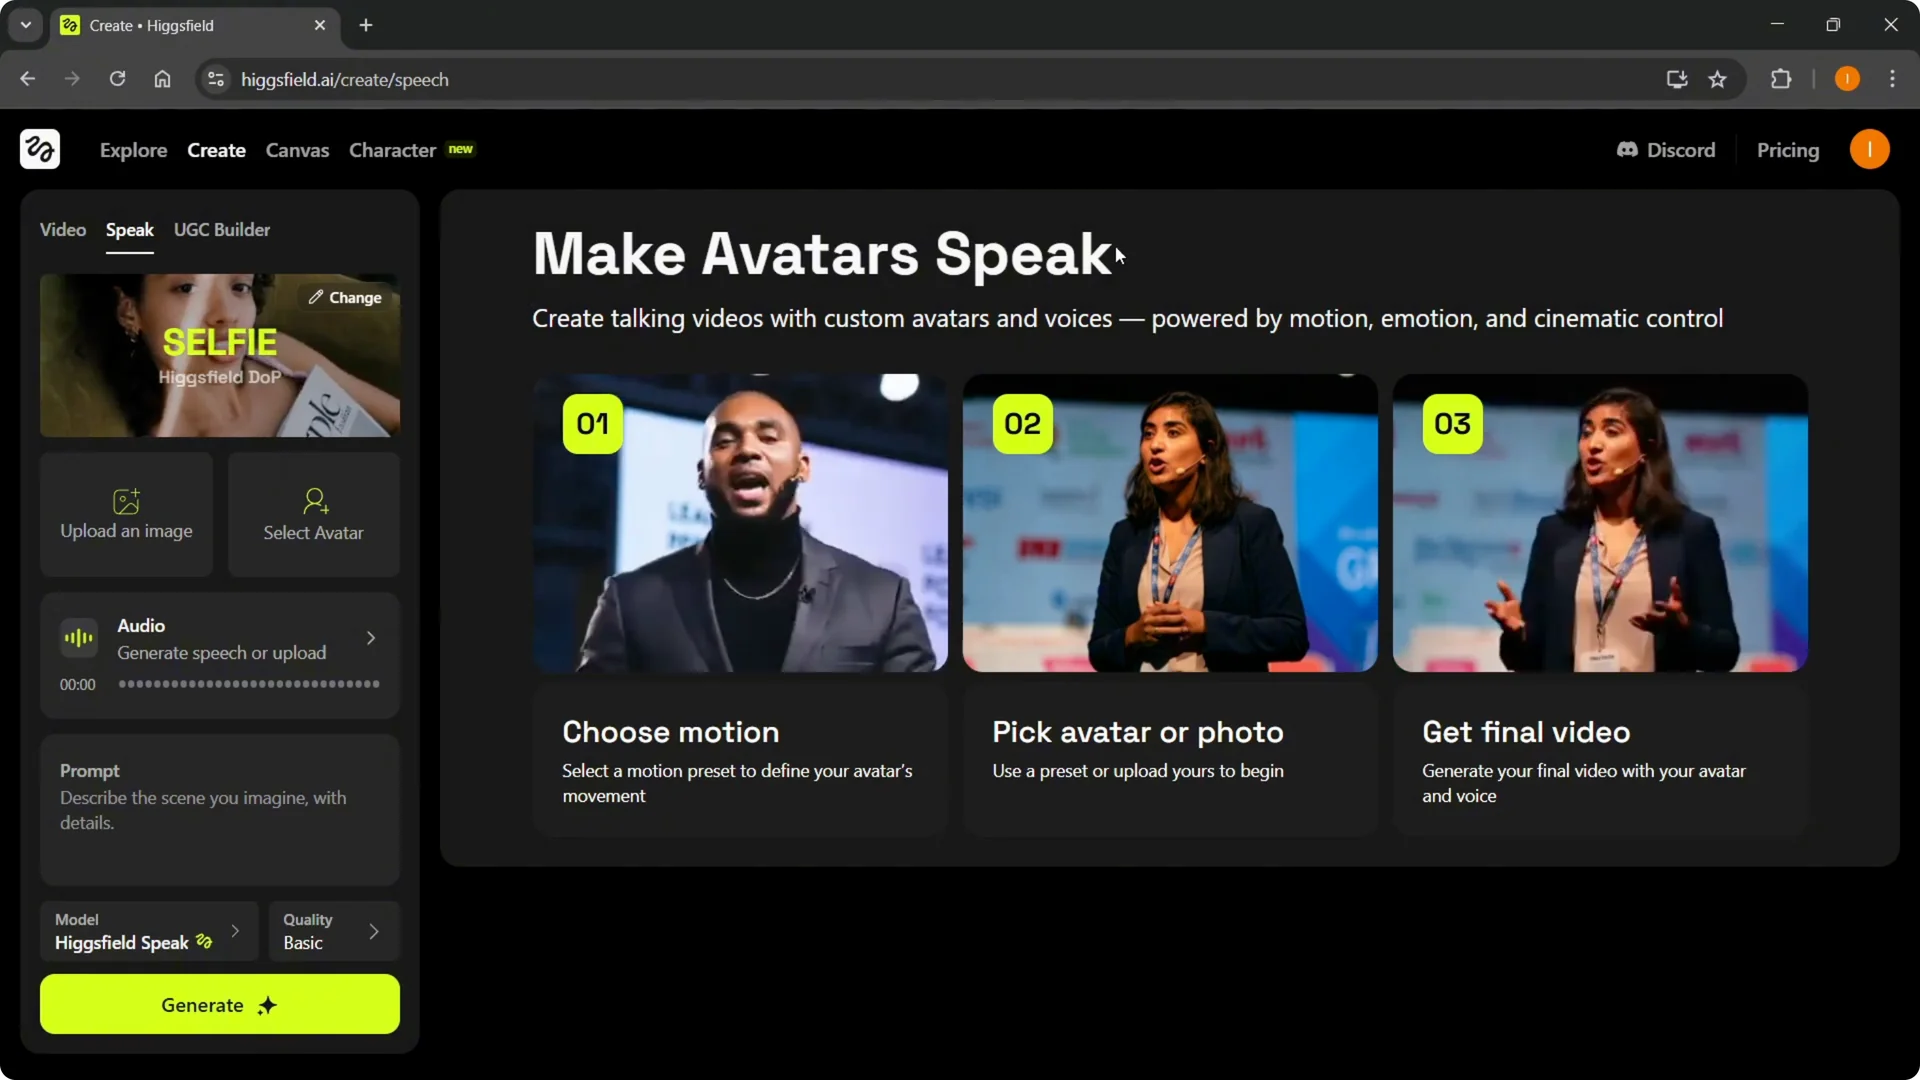
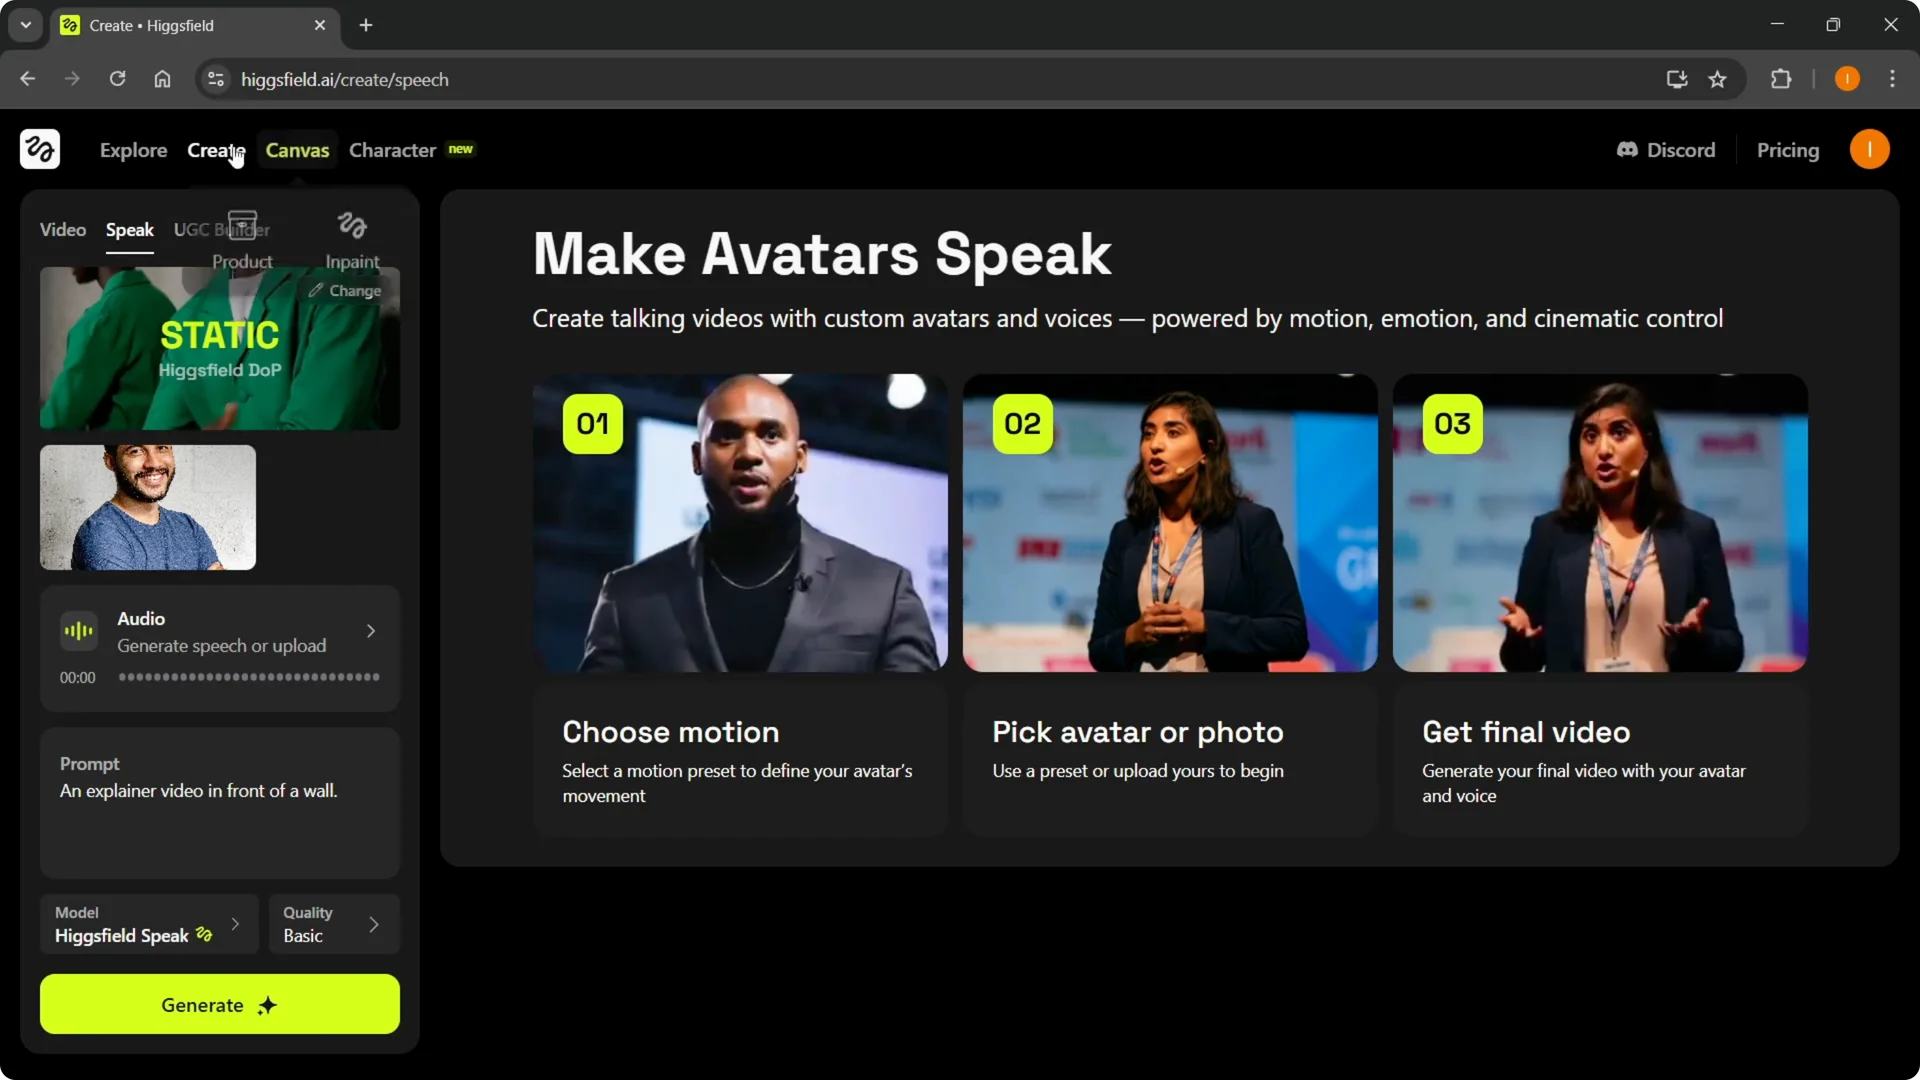
Step 1: Go to higgsfield.ai and sign in to your account, or create one if you don’t have it yet. Once you’re in, hover over Create and click Speak to use the Speak feature.
Step 2: Choose a template. It can be static, selfie, general, selling, etc., so just select the template you are going for.
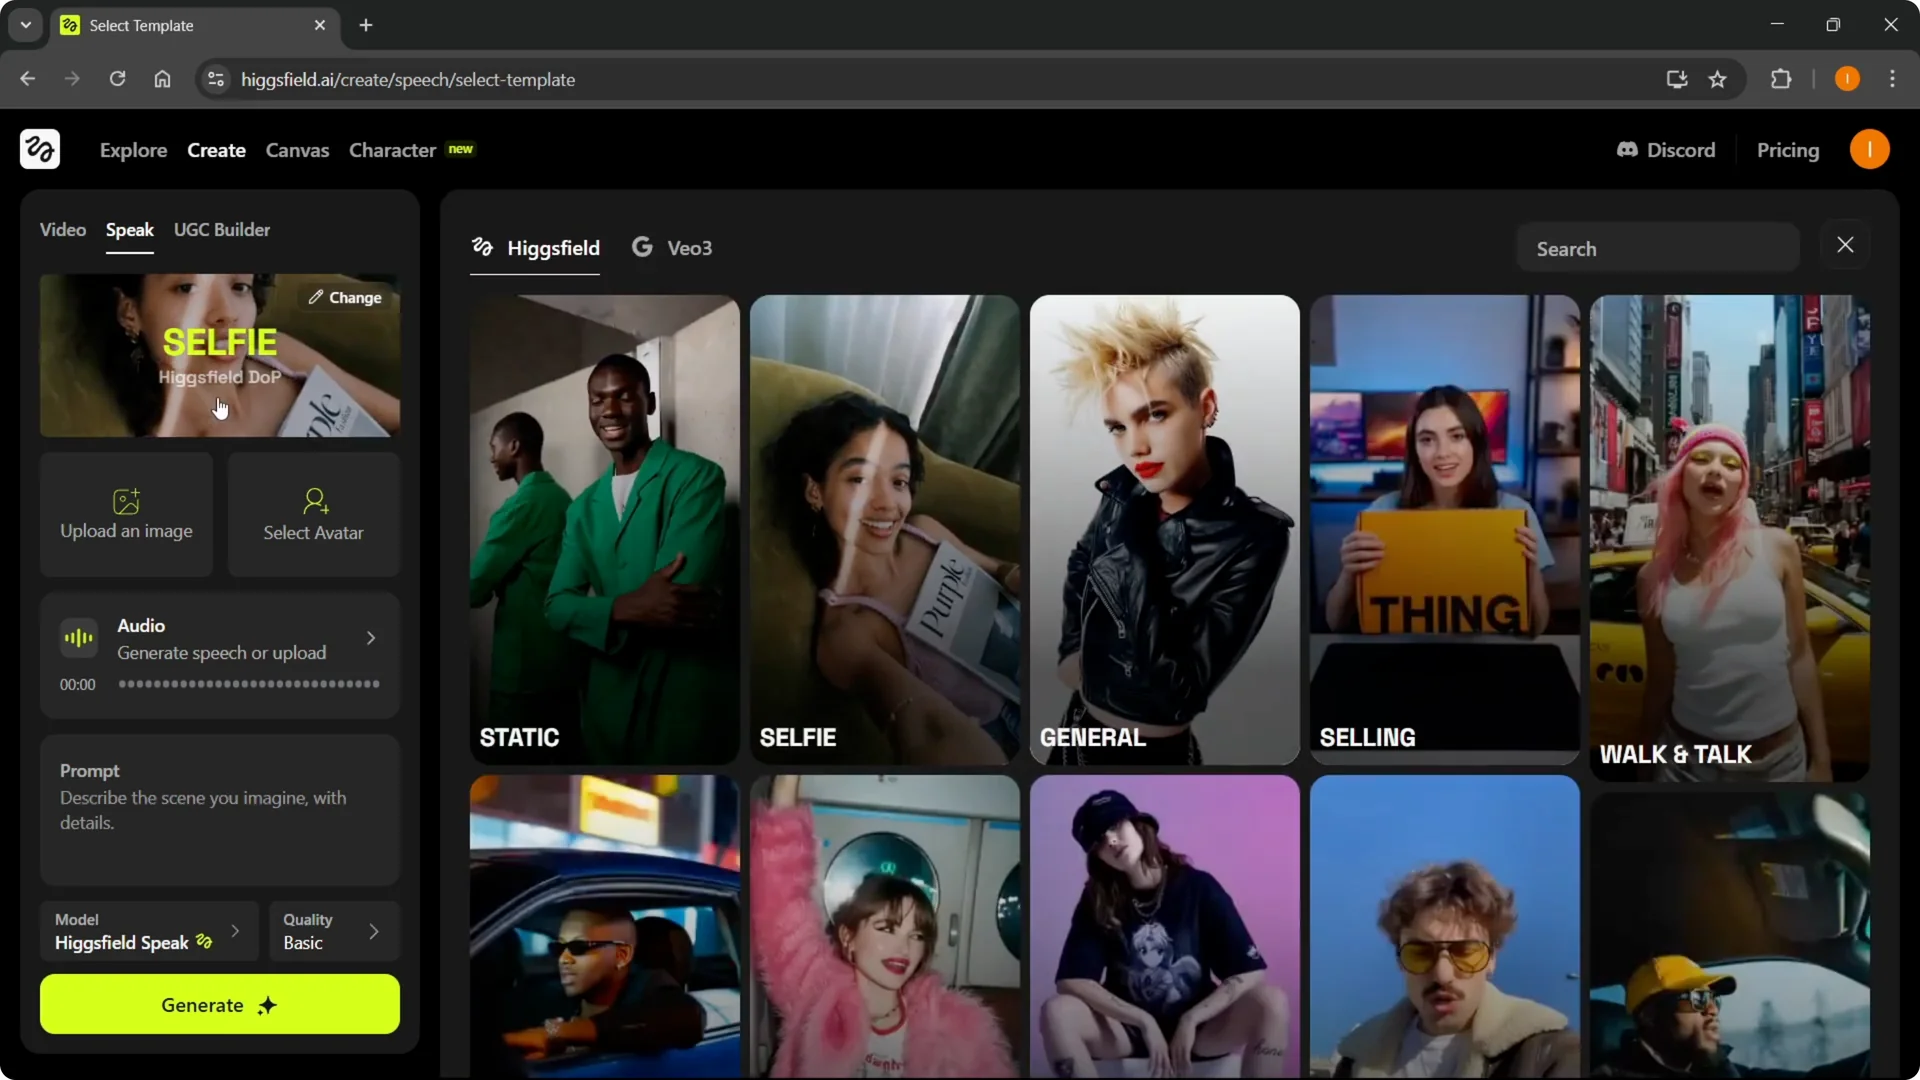
Choose a Template – Higgsfield Speak Tutorial
For this walkthrough, I’m going with static. You can pick any style that matches your scene or message.
If you’re planning to build custom personas before speaking, see creating characters in Higgsfield for a faster setup.
Upload an Image or Select an Avatar – Higgsfield Speak Tutorial
Step 3: Upload an image. Click to upload your image, or select an avatar if you already have one saved.
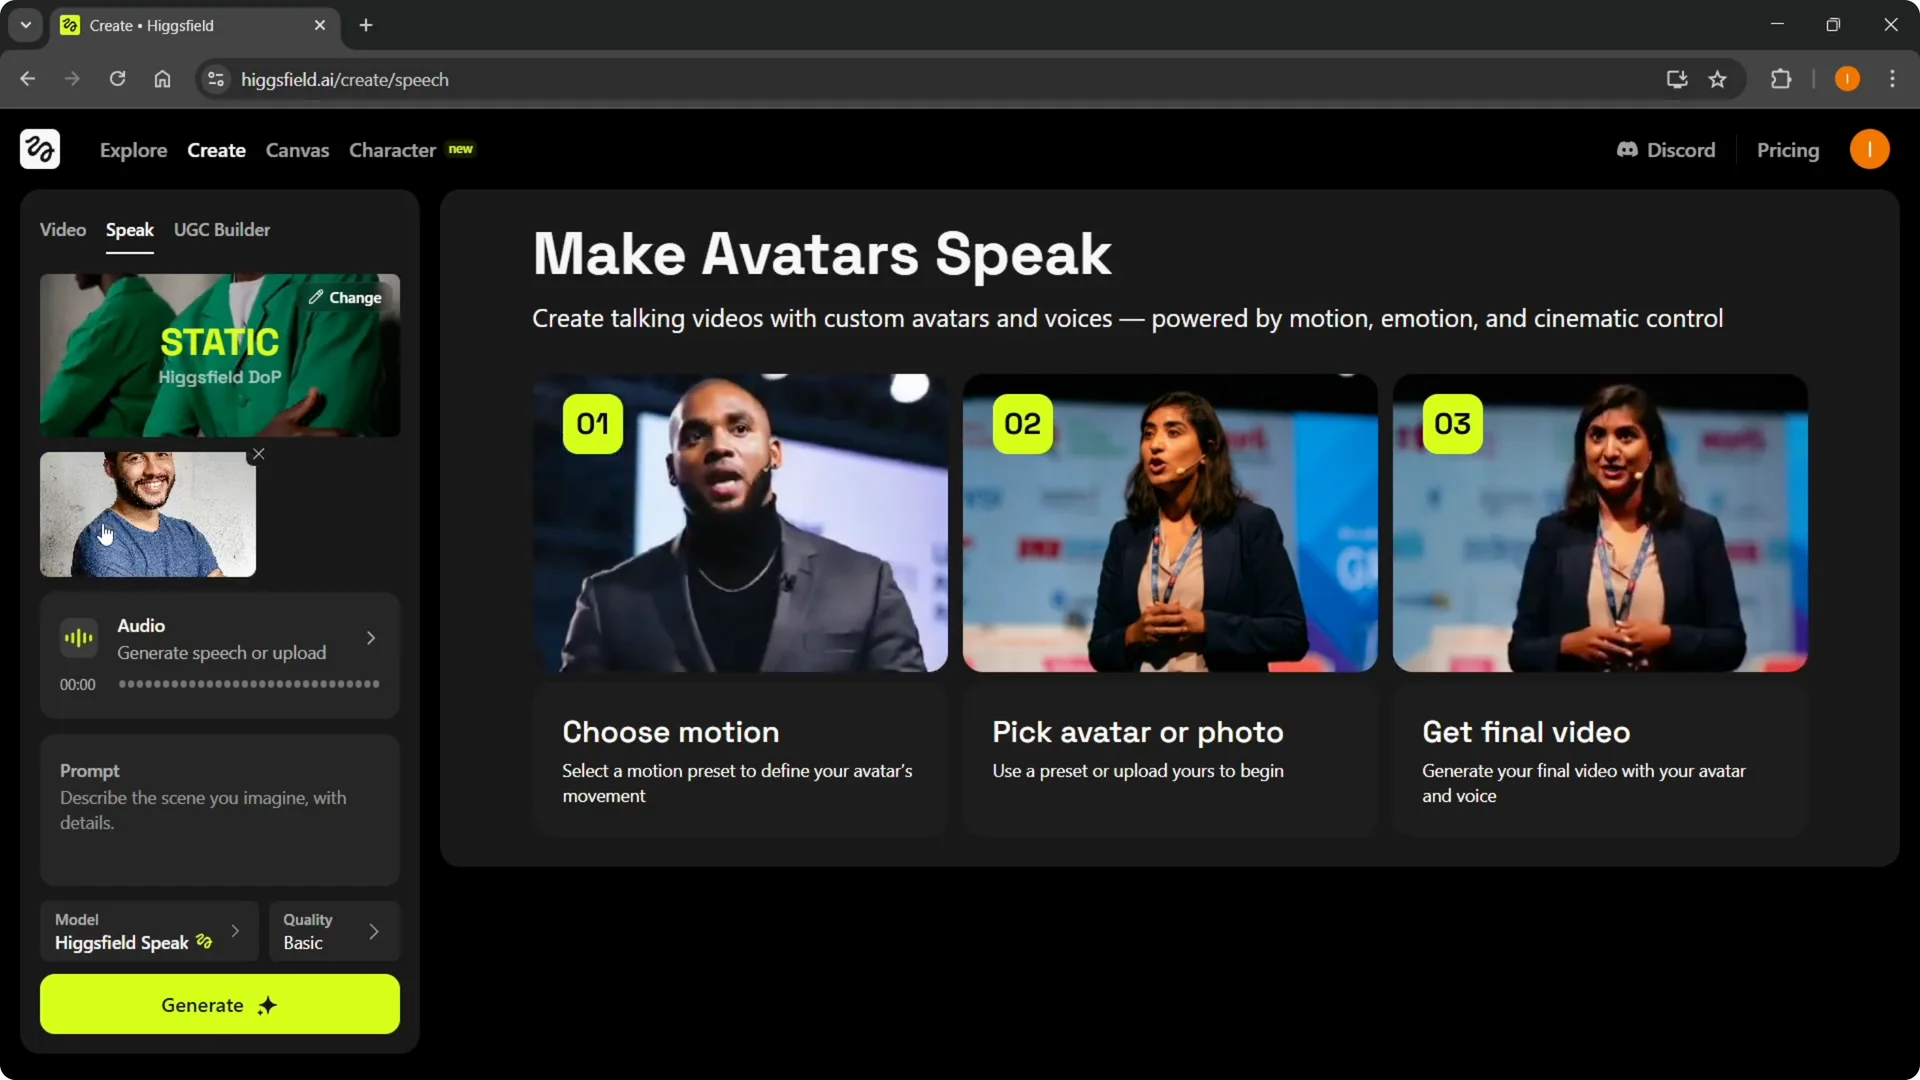
You can select your avatar or just upload an image like I did. Both options work for Speak.
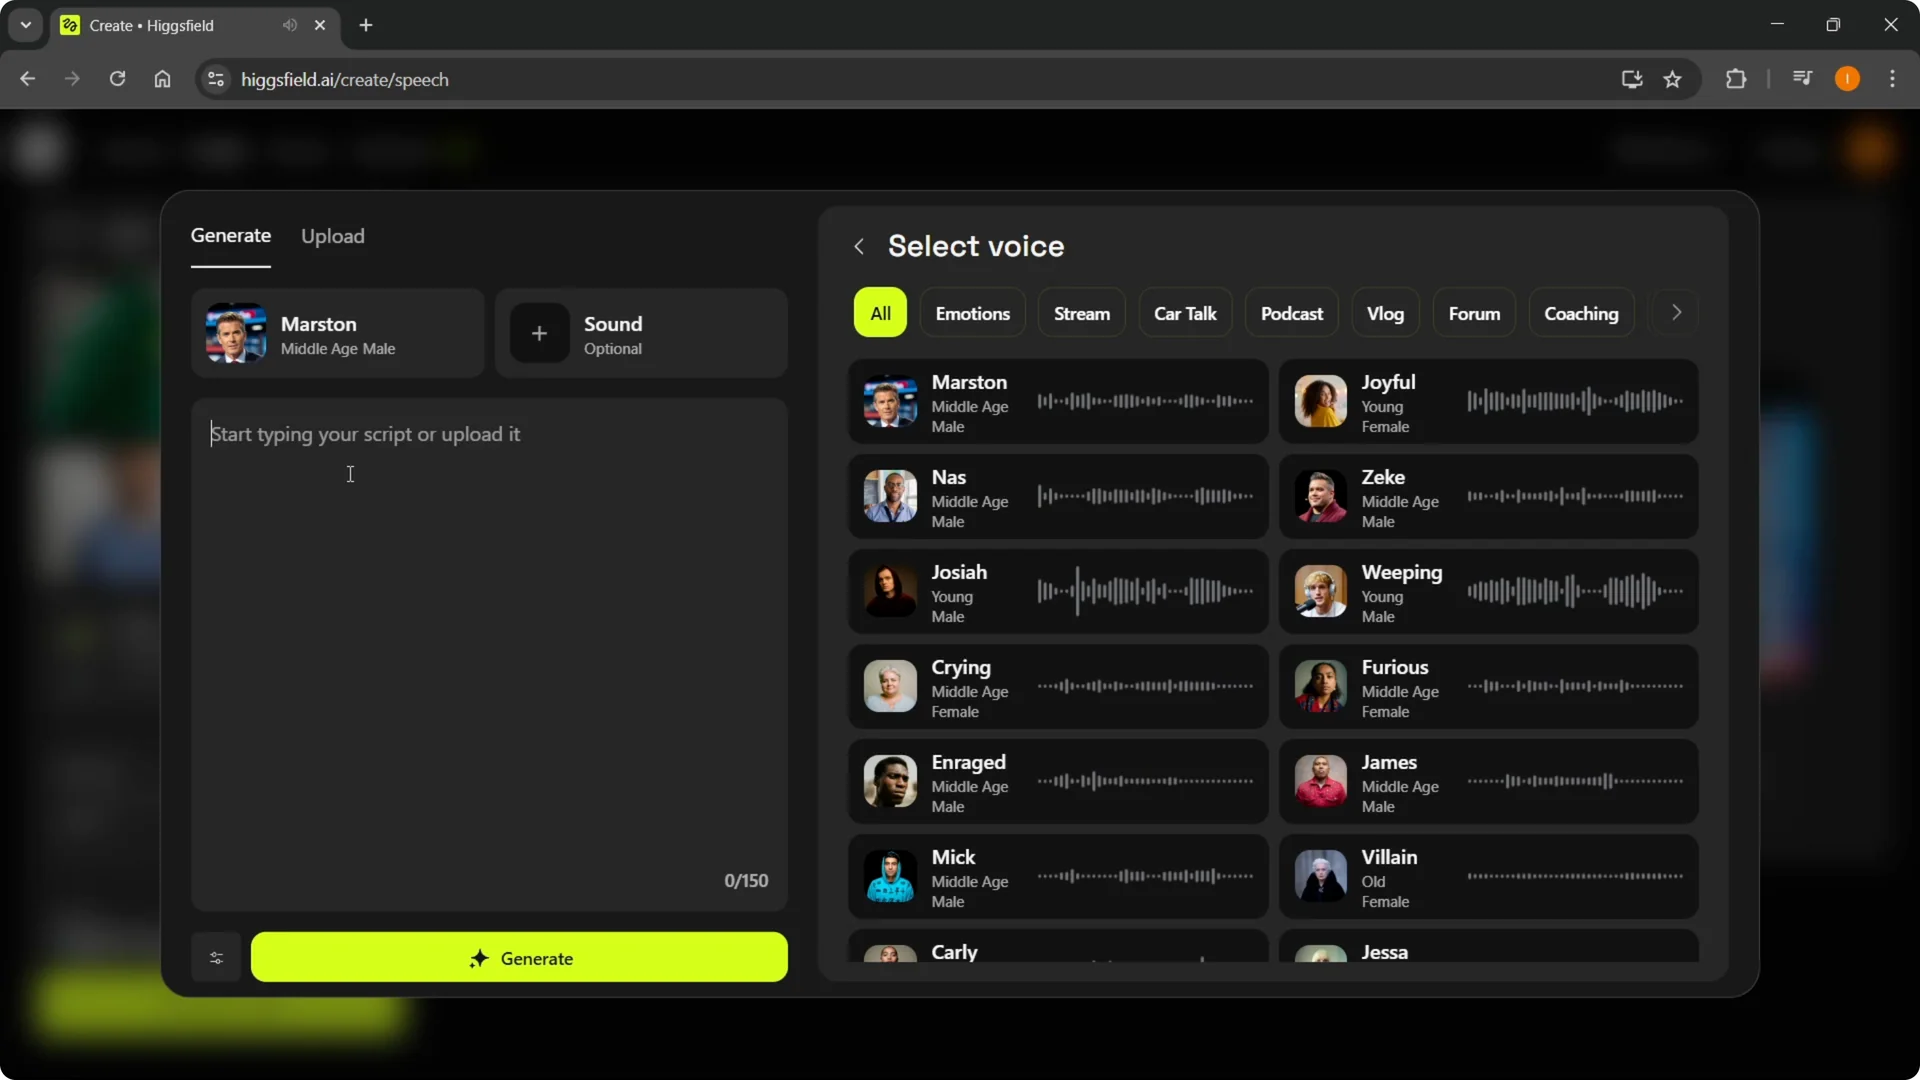
Generate or Upload Speech – Higgsfield Speak Tutorial
Step 4: Add the voice. You can generate speech or upload your own audio.
If you generate it, pick one of the preset voices and type your script. You can type up to 150 characters, and you can preview what the voice sounds like.
Step 5: Adjust voice settings. Set speed, stability, similarity, and style. You can also select the sound environment like traffic, street, hallway, or room.
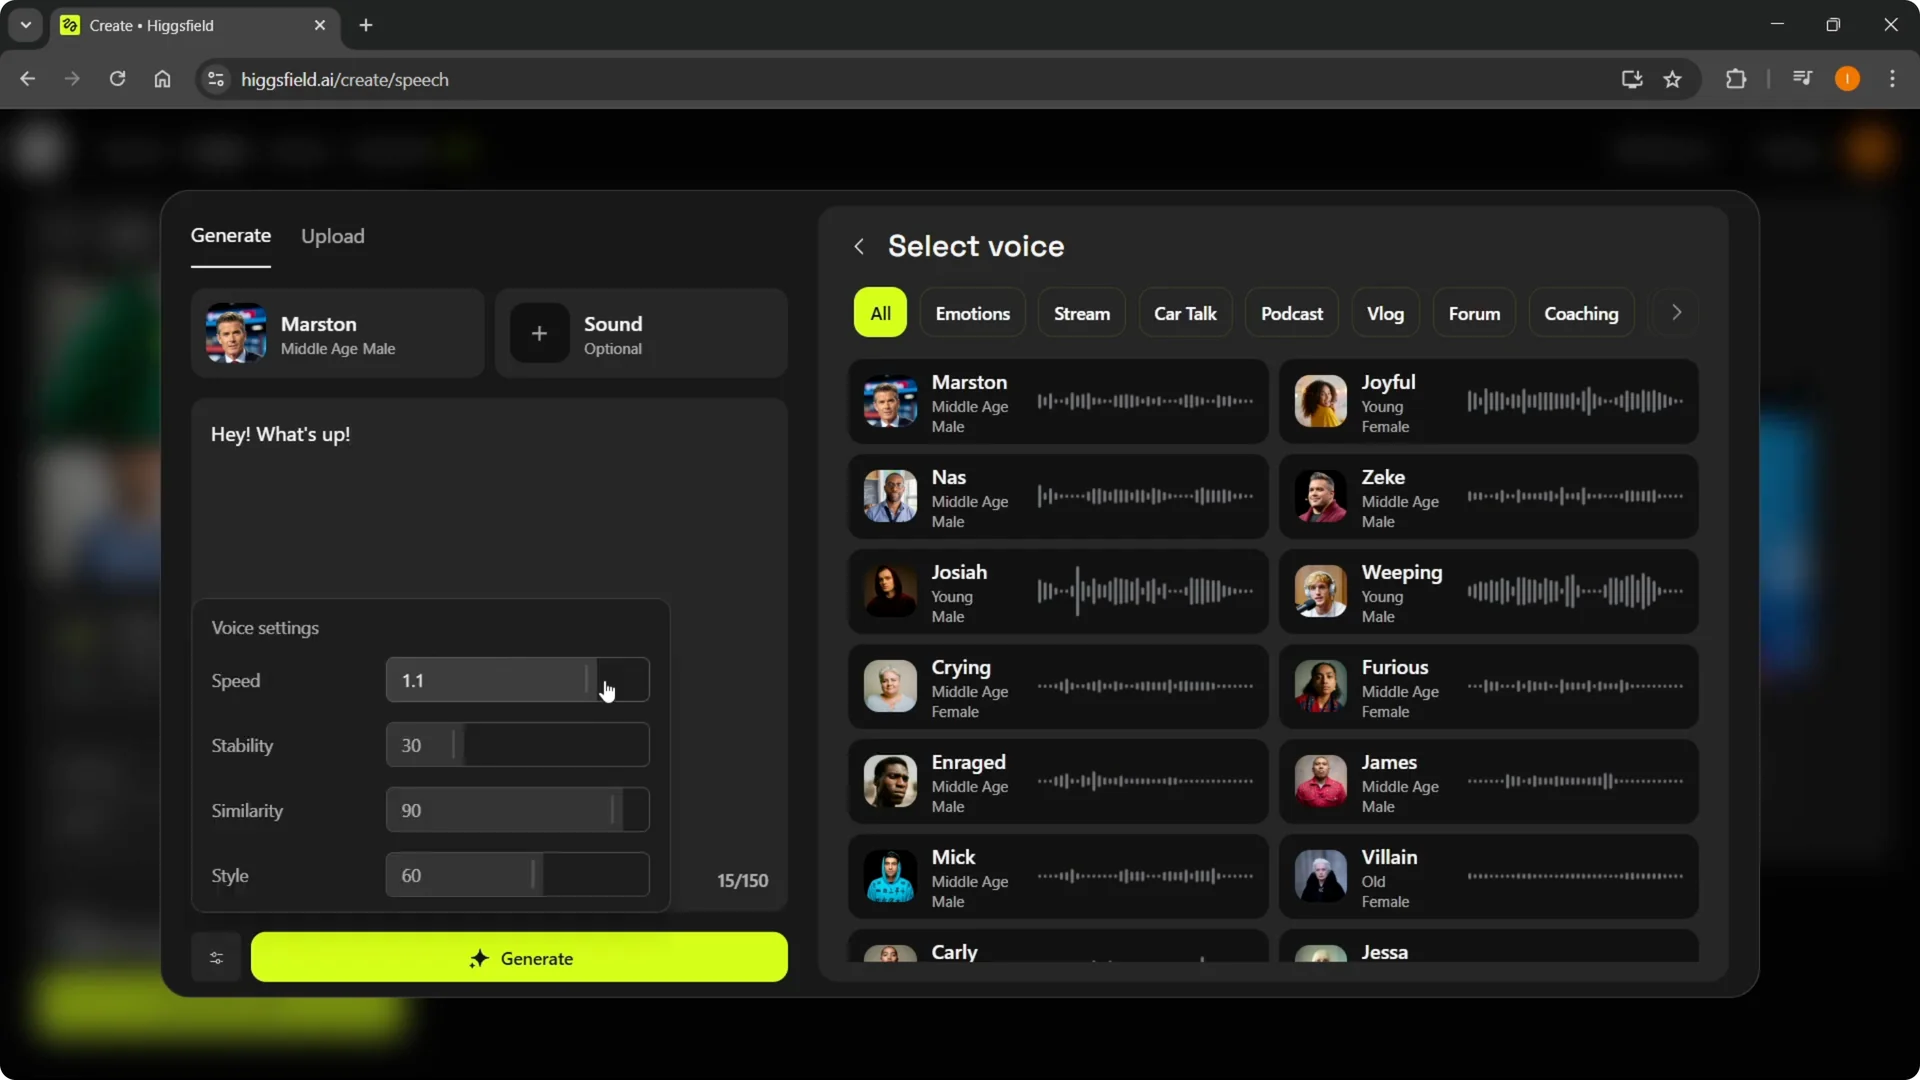
Step 6: Click Generate to produce the audio. For this, you will need one of the premium plans, as this is not available on the free plan.
Scene Prompt, Model, and Quality – Higgsfield Speak Tutorial
Step 7: Add your prompt for the scene. Describe the scene you imagine with details, like an explainer video in front of a wall.
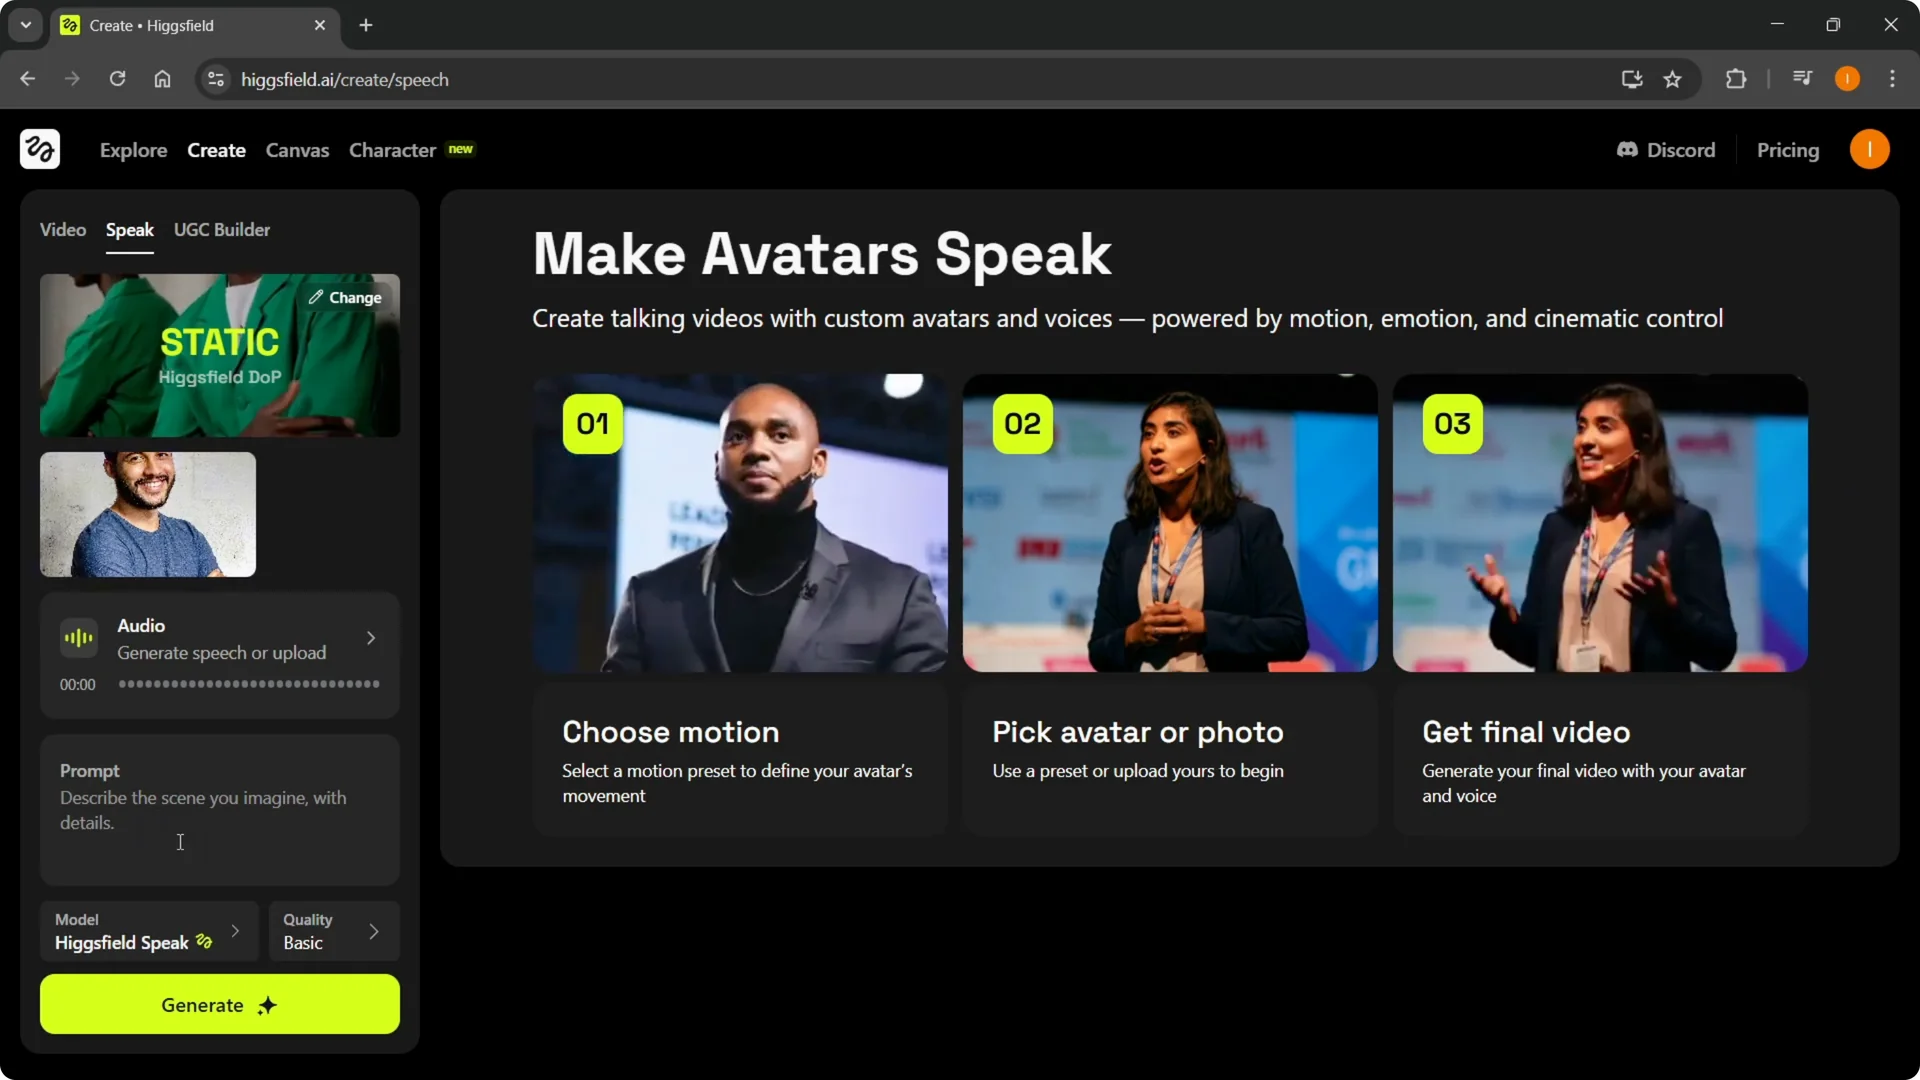
Step 8: Select your model. Higgsfield Speak is the free one, and there are also premium models if you have the premium version.

Step 9: Choose the quality setting. Pick basic, medium, or high, then press Generate.
Read More: Quick Easy Ways Use Higgsfield Popcorn
Generate and Preview – Higgsfield Speak Tutorial
When you generate, your creation will start processing on the right. It will show as in progress, and once it’s done, you will be able to see it.
If you need to clean up or tweak your output after generation, check out editing Higgsfield videos fast for quick fixes.
Final Thoughts – Higgsfield Speak Tutorial
You pick a template, add an image or avatar, create or upload the voice, describe the scene, choose a model and quality, and then generate. The audio generation requires a premium plan, but you can still run the free model once you have your voice ready. That’s pretty much it, and you’ll see your result once processing completes.