I am going to show how to use the color grading feature in Filmora. There are two modes: Basic mode and Advanced mode. Most of the time you are going to use the Basic mode, and it is good enough for most cases.
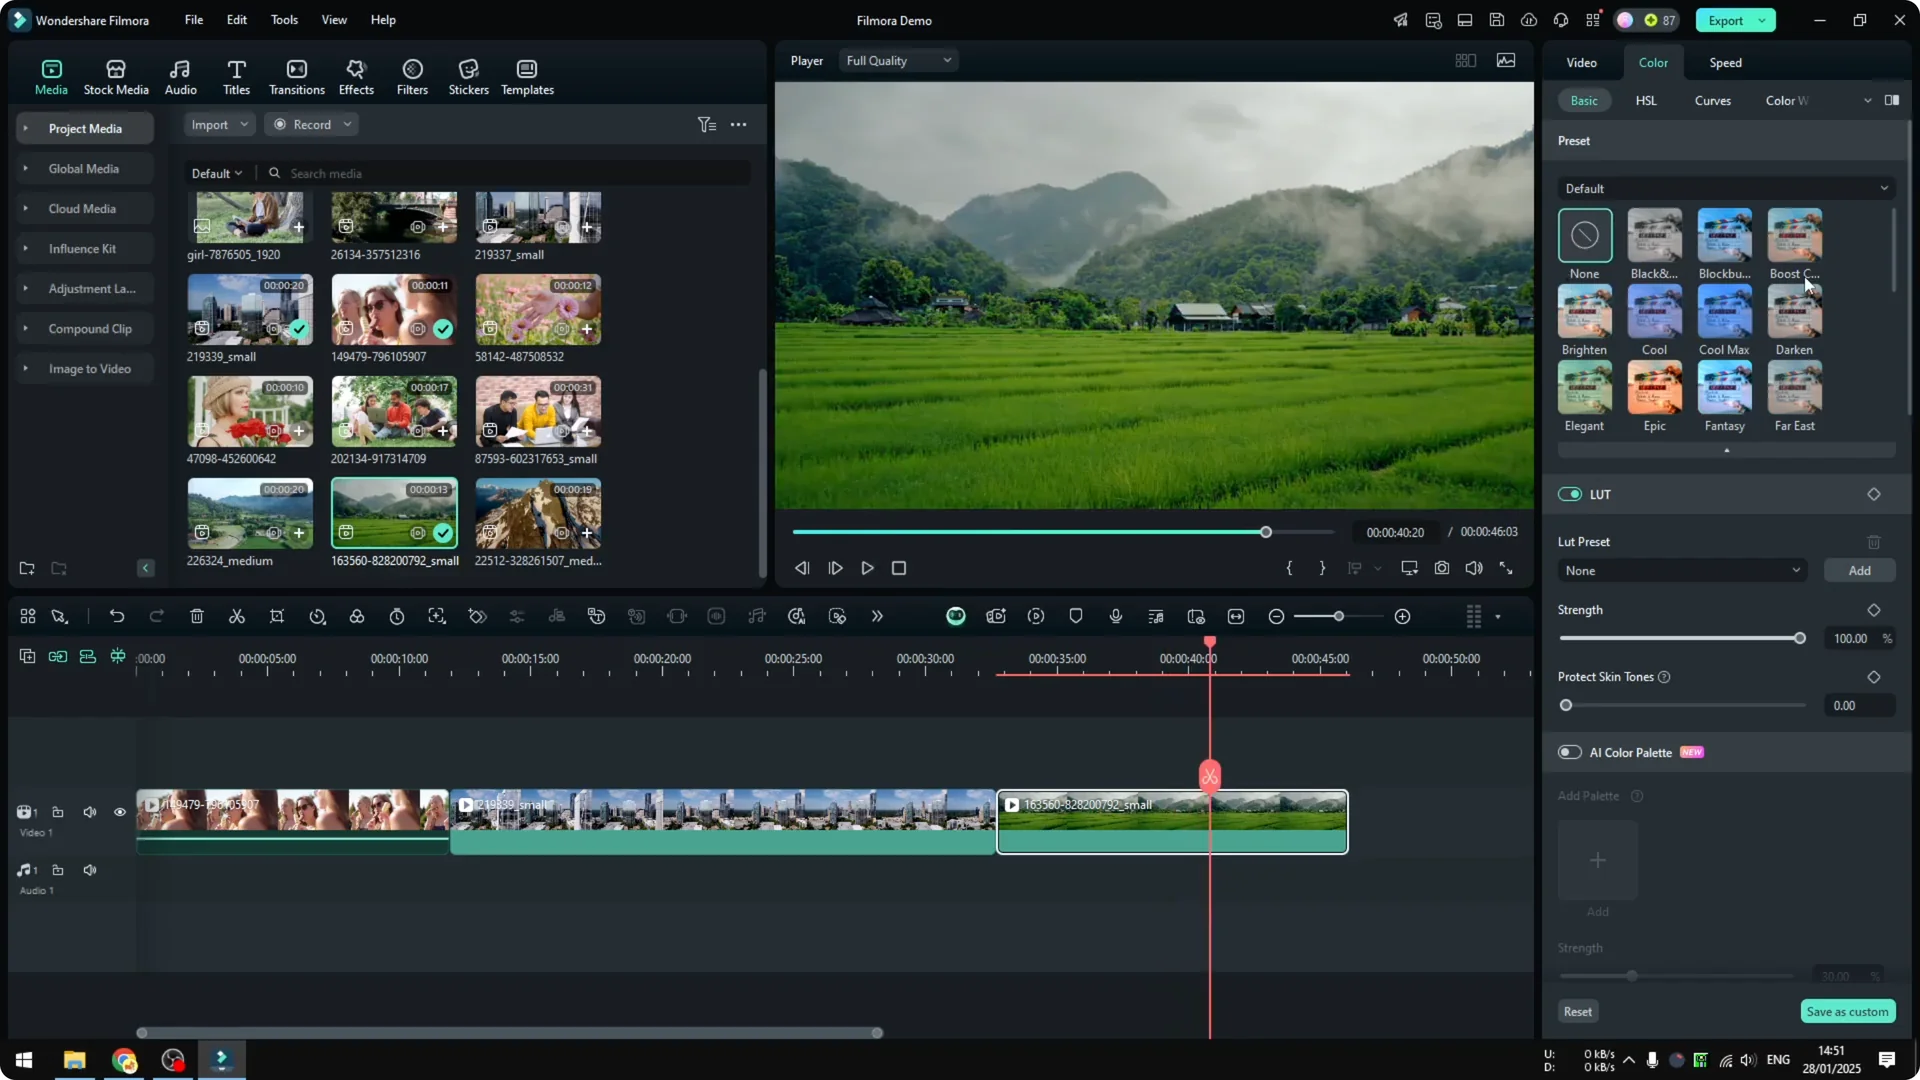
If you are an advanced user, Filmora also offers fine tuning that lets you specify the color or the tone you want. I have three different videos to demonstrate how to use color grading in Filmora. The first clip is a rice field that looks great, but the green is a bit too soft and not very strong.
Filmora Color Grading Basics: Getting Started
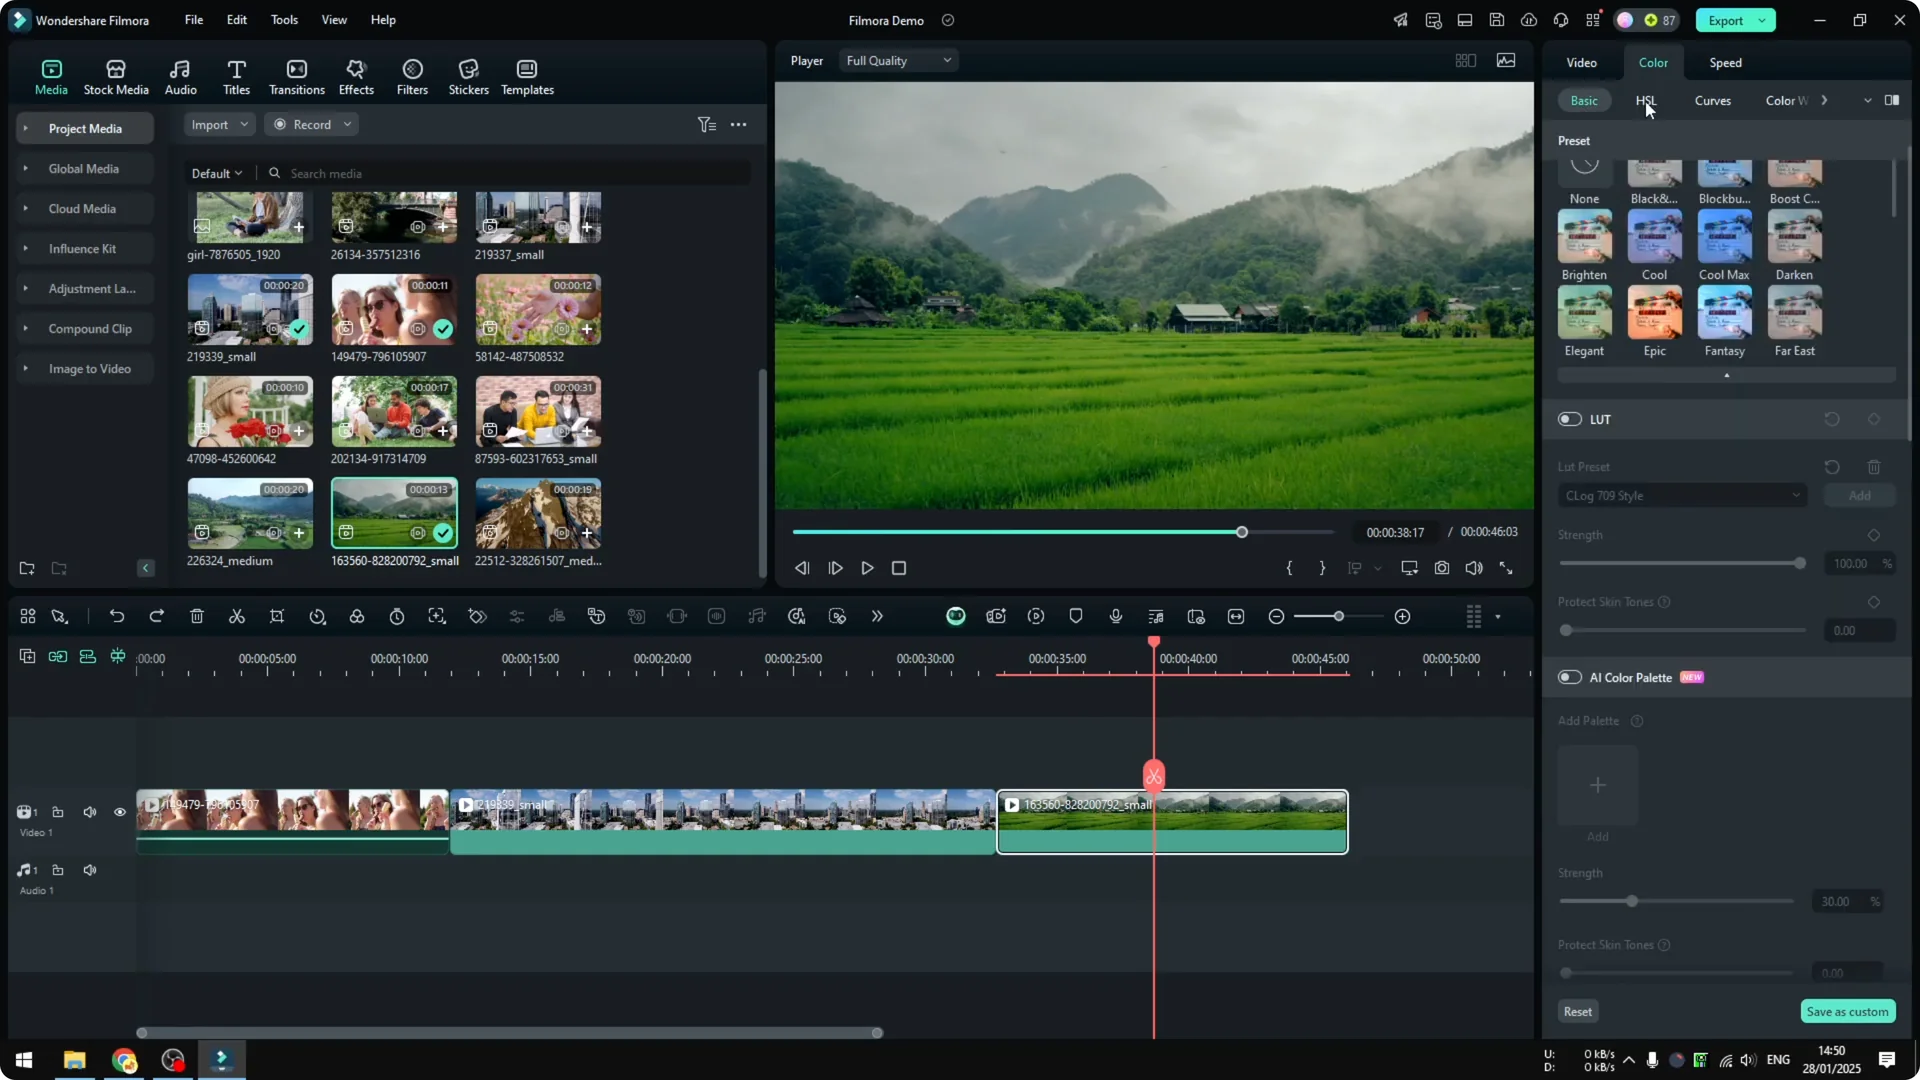
Click on the clip and open the Color section. You will see multiple things to play around with: Basic option, HSL, Curves, and Color Wheels. If you are a beginner like I am, the Basic option is actually really good.
You do not have to touch HSL, Curves, or Color Wheels, though these are on the table for advanced users. I will focus on Basic mode. There are many ways to apply color correction or color grading to a Filmora video.
Filmora Color Grading Basics: Presets
There is Preset. Preset is useful if you do not want to be bothered by a lot of settings down here. If you have a setting that you have saved before, you can use the preset, and yes you can create your own preset.
I try a Fantasy preset to make the green a lot stronger. It is really just one simple click, and we get a much better looking video. That is the benefit of using the preset mode.
If you want to explore more Filmora AI tools for content workflows, see our guide to turning long videos into viral clips. It pairs well with color presets when you are building a consistent style across many edits.
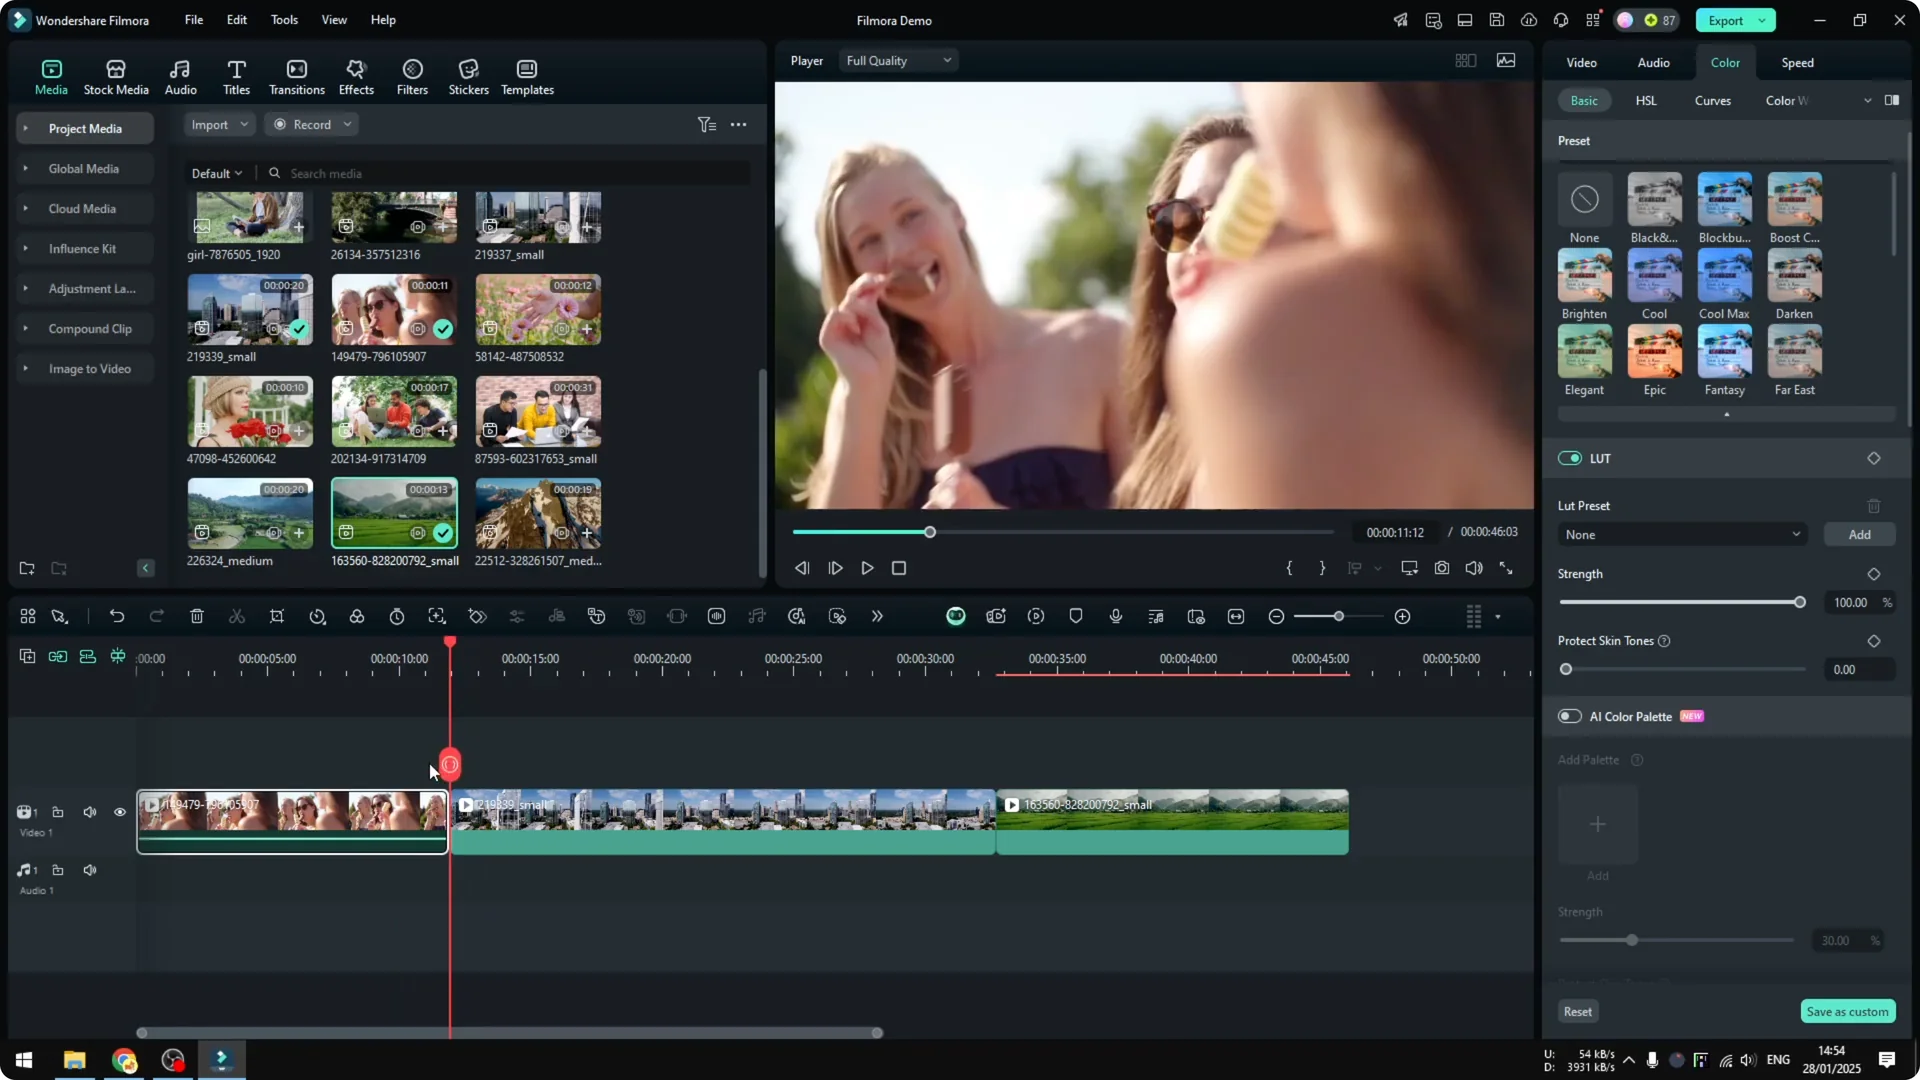
Filmora Color Grading Basics: LUTs and Skin Tones
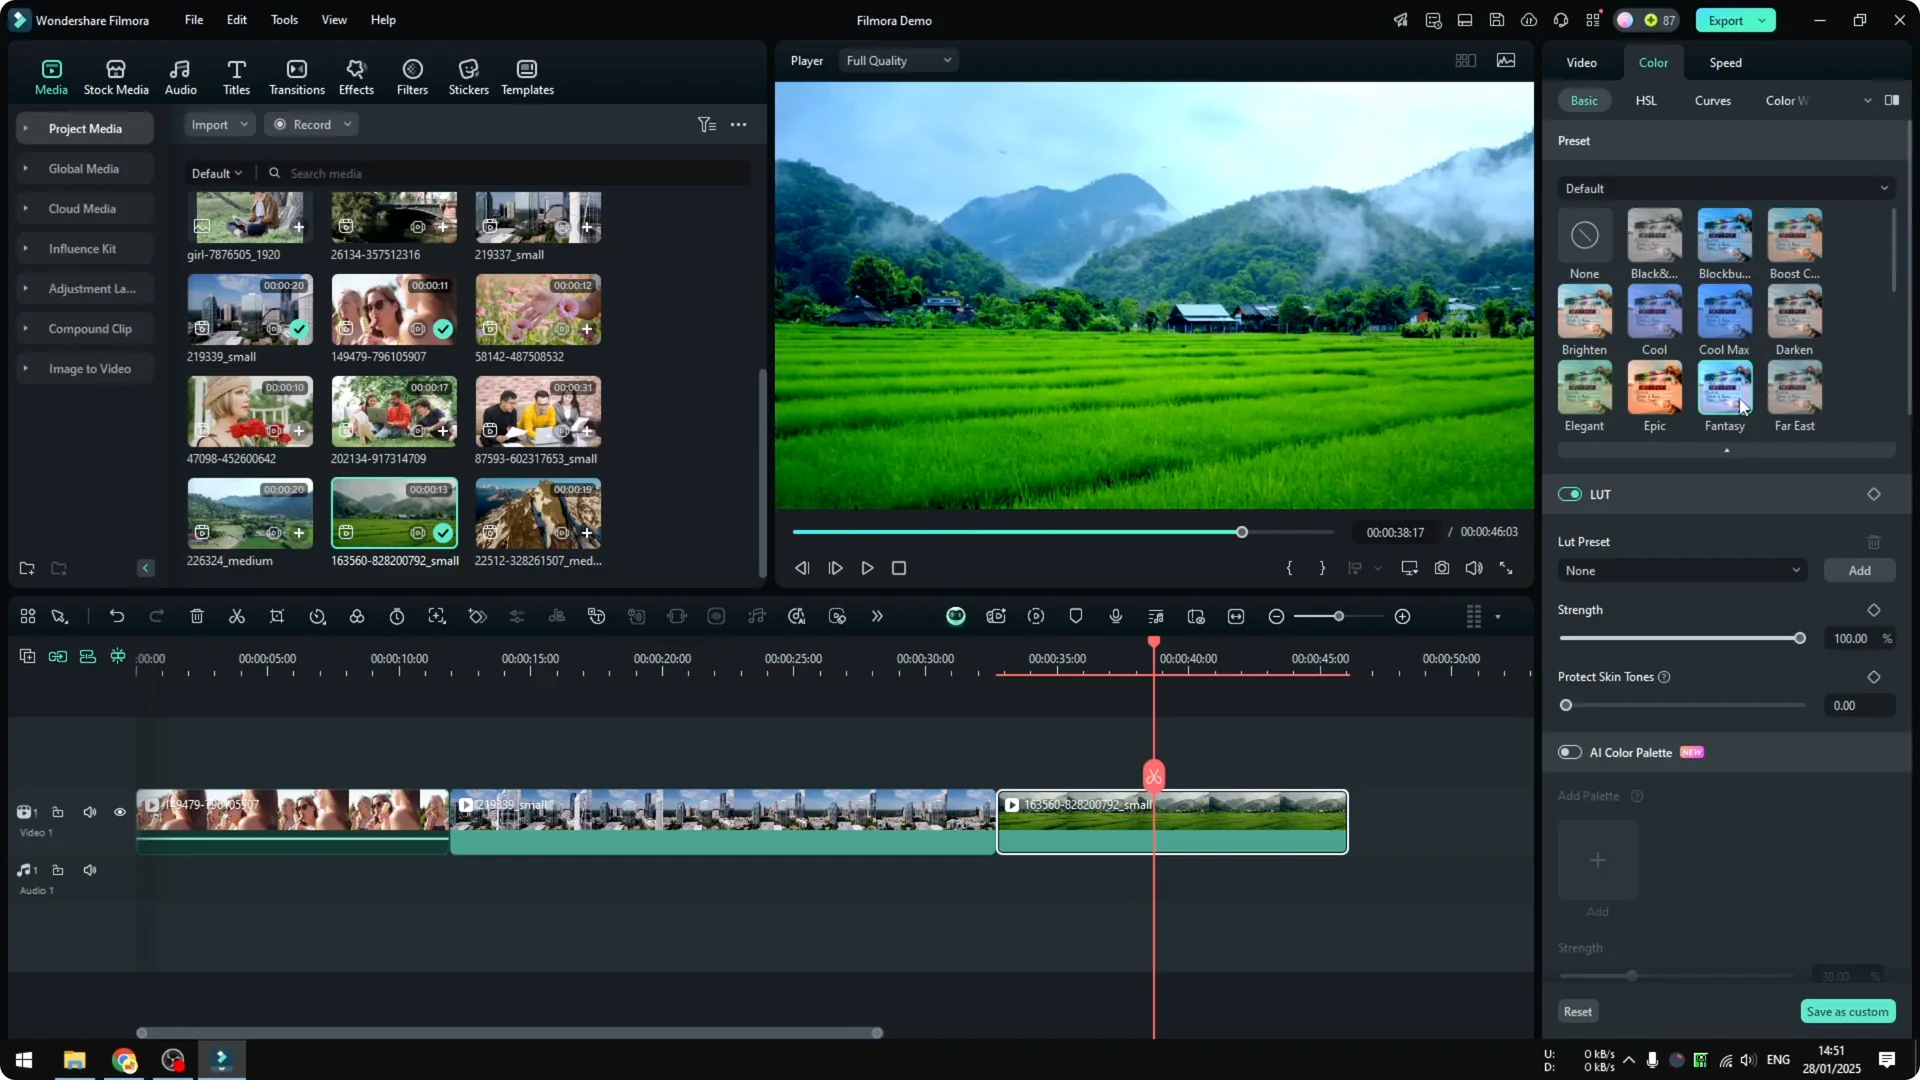
Let us try LUT. I forgot the long version of this name, but it is similar to preset and more professional because it gives you more options and settings to play around with. Filmora includes presets based on movies, and that is very interesting.
My goal is again to make the green a lot stronger. I try something balanced in a Rec. 709 style, and there you go. LUT is very useful, especially if you have a video with people in it.
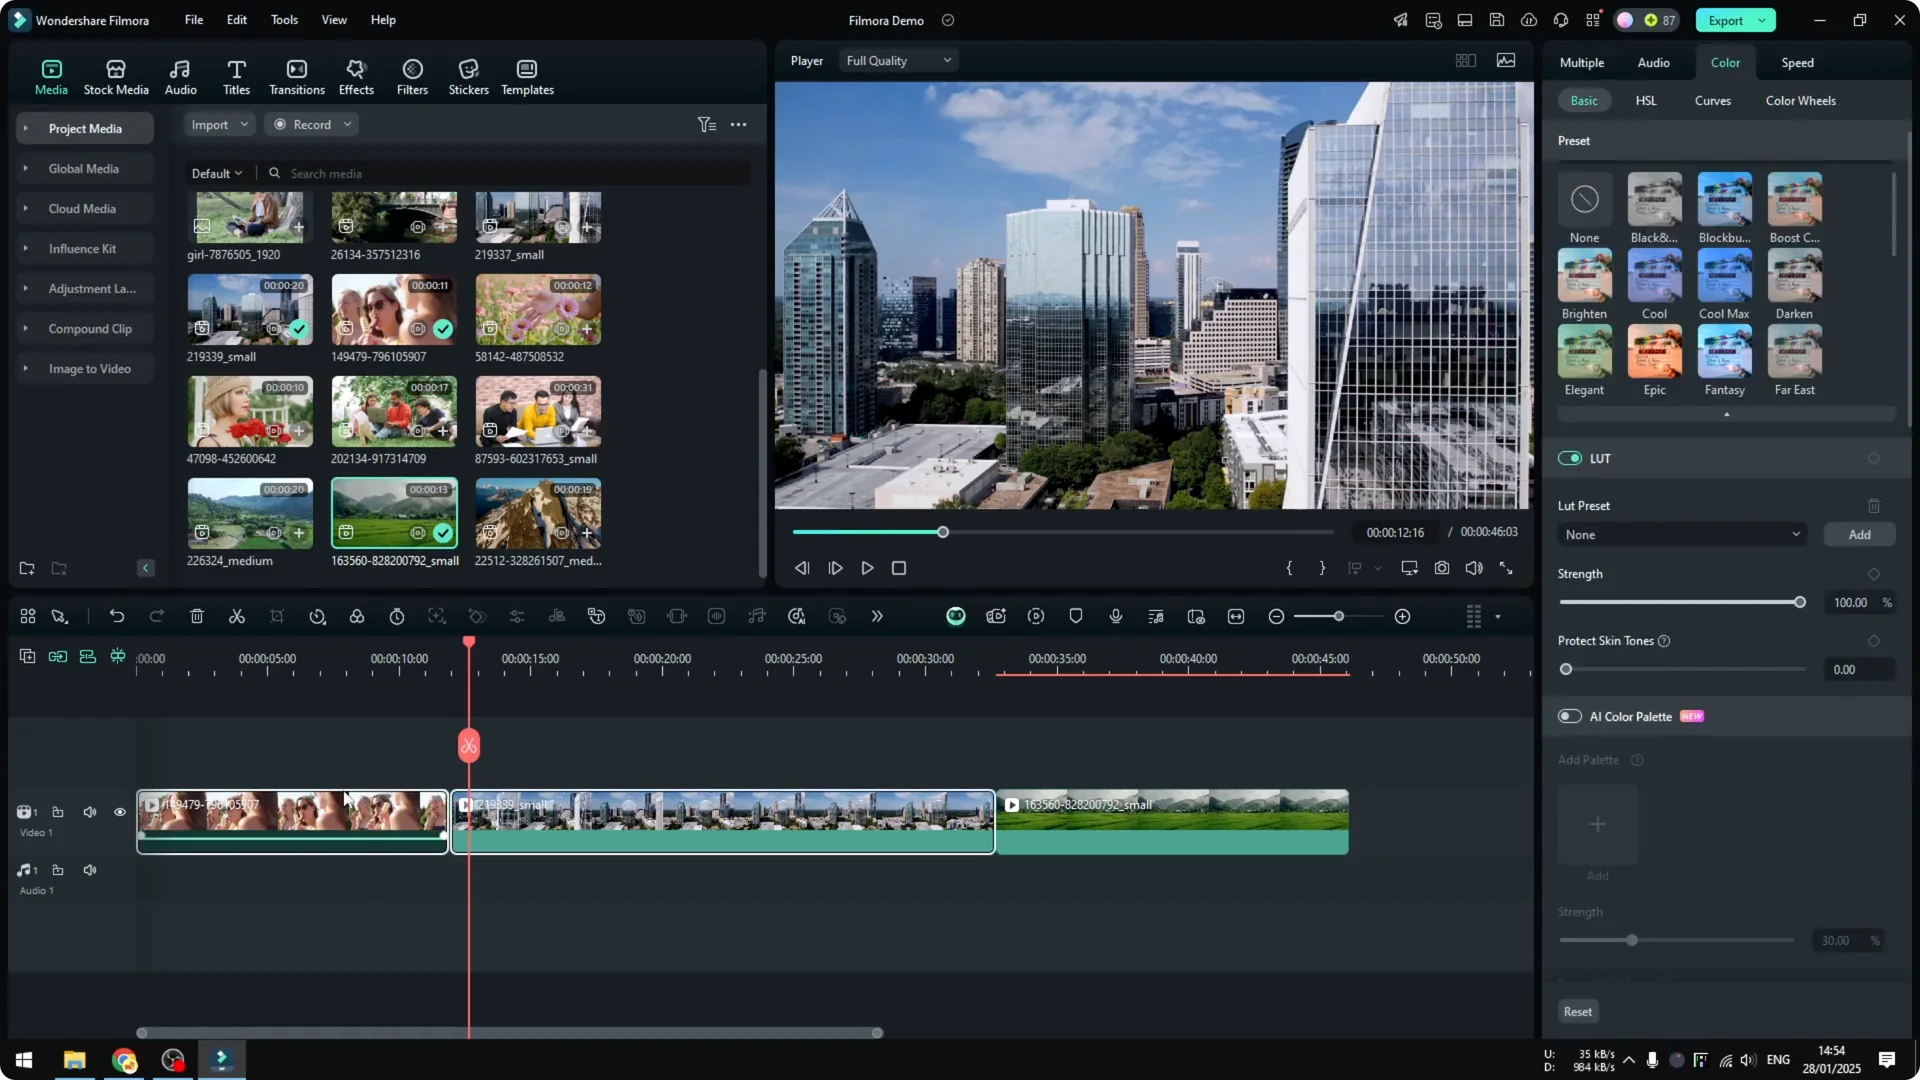
Go back to a clip with multiple people and try a setting that makes the video look very different. One option makes everybody look red, which is not right. The benefit of using LUT mode is Protect Skin Tones, which is really amazing.
If you enable this and set it to 100 percent, the skin color goes back to the original setting, but everything else keeps the LUT setting. You can check the comparison here: before and after, before and after. This is really amazing, especially if you have people in your video.

Filmora Color Grading Basics: Other Controls
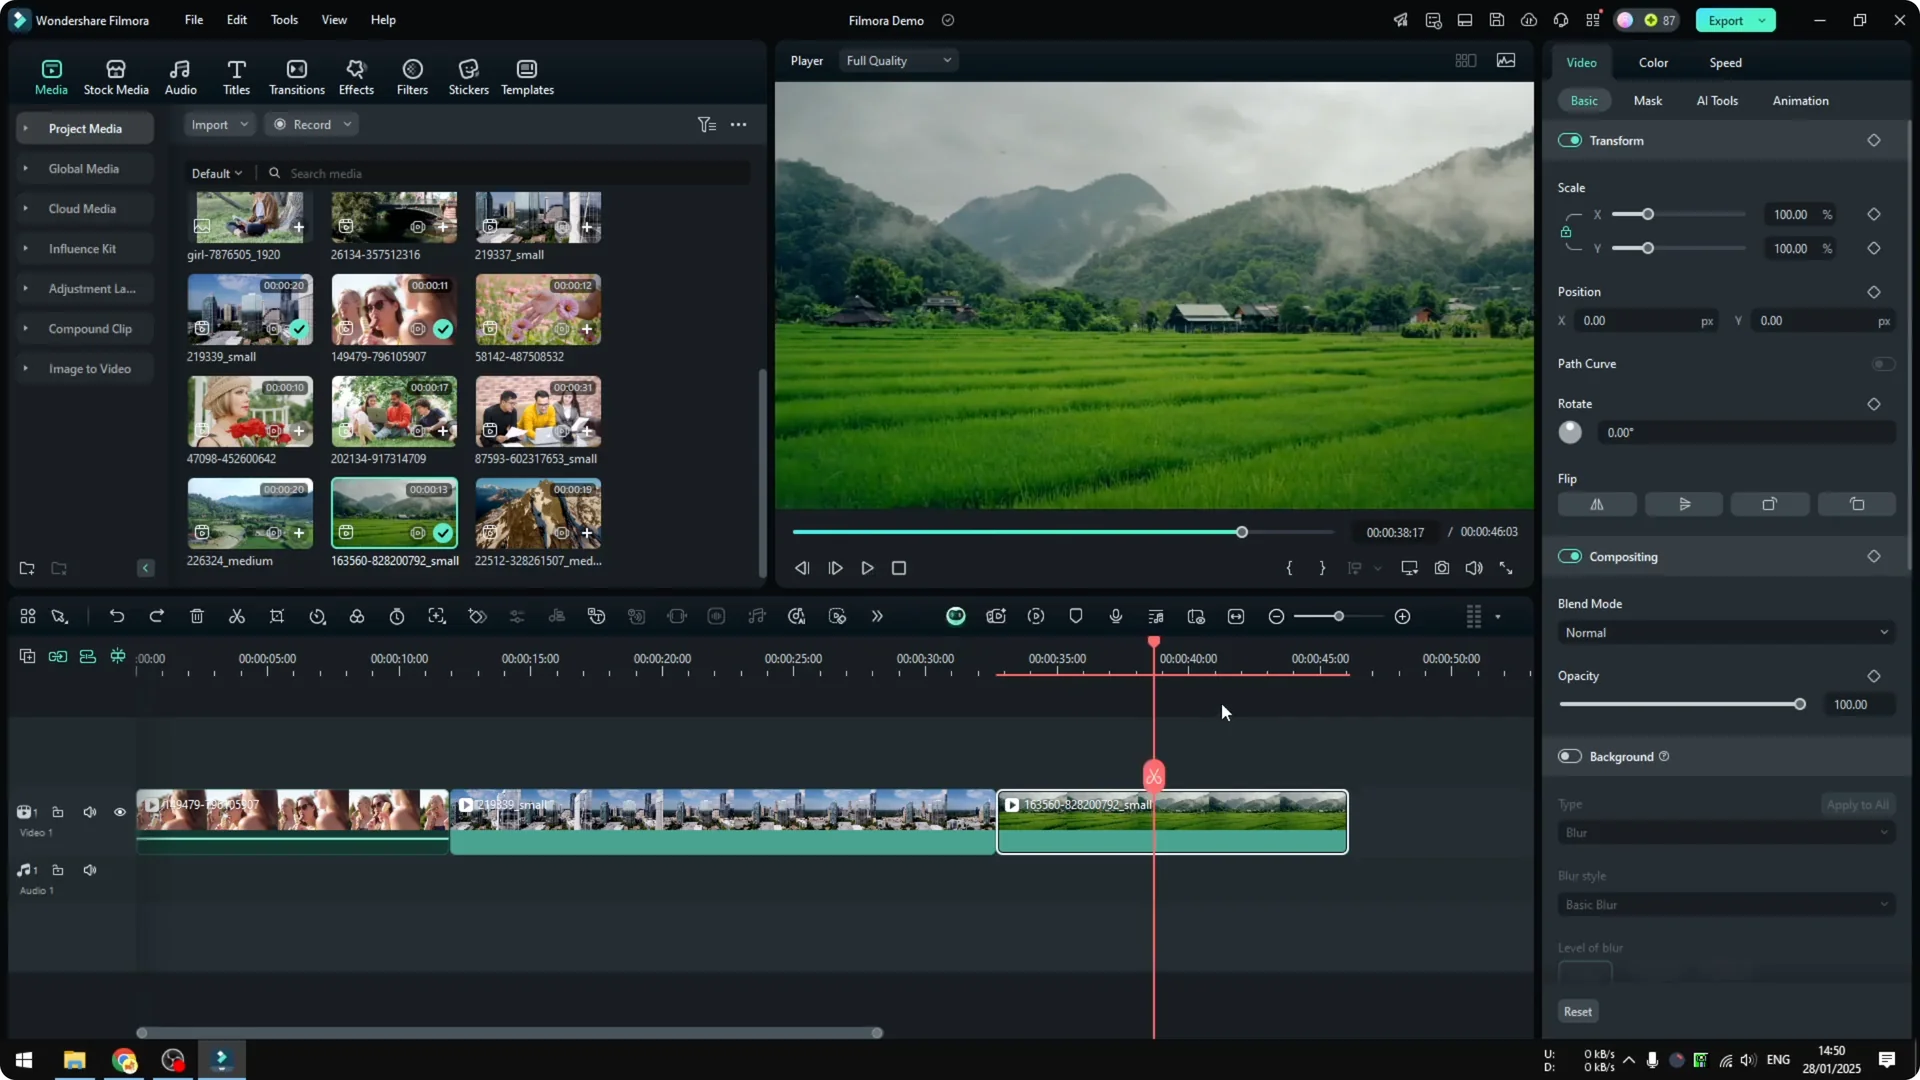
If you go down, you will see multiple other options. Honestly I do not even know how to explain each one, because every single one will affect a different part of the video. There is Color, Light, Adjust, Sharpening, and a vignette effect.
I think it is better to play around with the sliders and see which one affects what part of the video. It is based on your creativity and your video itself, because every video is going to have a different styling. There is no correct or wrong answer here, so I will leave this up to you.
If your edit involves moving subjects, our AI tracking tutorial in Filmora can help you nail the look before you grade.
Filmora Color Grading Basics: Make Clips Consistent
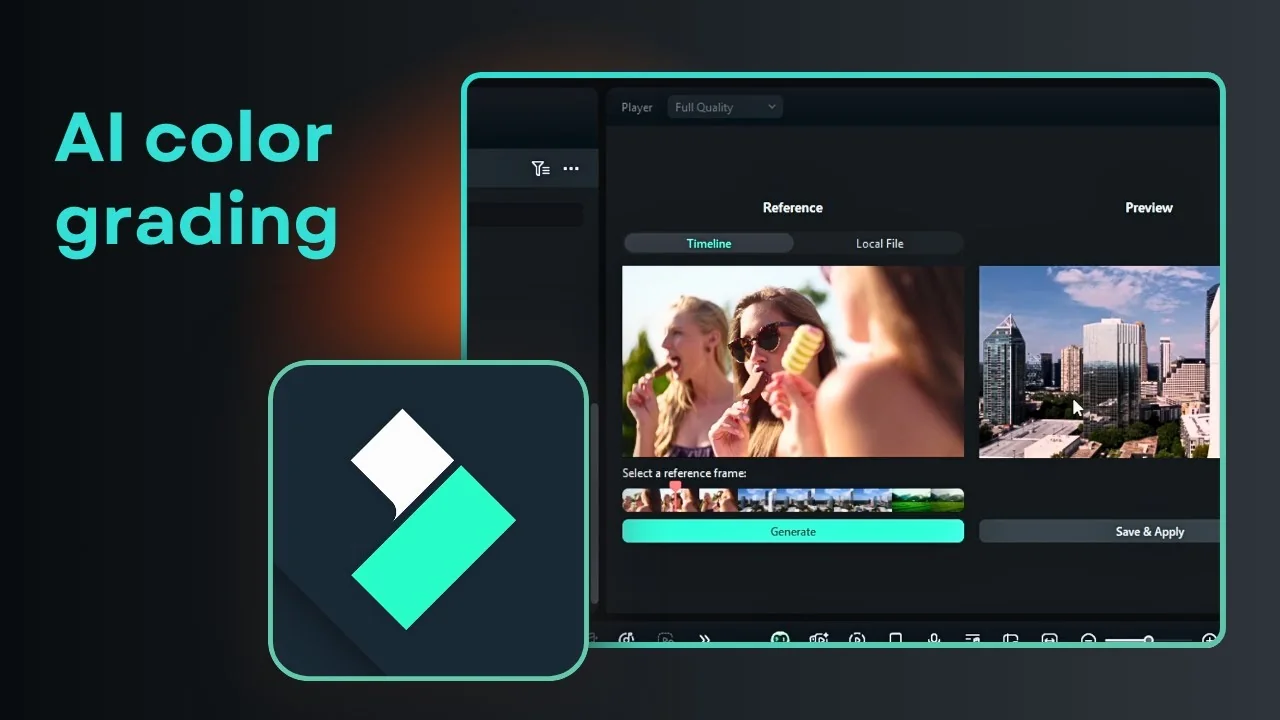
I want to focus on consistency. I reset two clips to default: people eating ice cream and a drone footage of buildings. The tone is very different, one is warm with a lot of orange, and the other is cold and kind of blue.
If that drone shot feels shaky, fix it first with our AI stabilization walkthrough to get a cleaner grade.
They convey different emotions, and I want them to be somewhat consistent. Filmora has a new AI feature that corrects color with the help of AI and can mimic the color of one video to another. This is really amazing.
Filmora Color Grading Basics: AI Color Palette Steps
Filmora Color Grading Basics: Step 1 Select Clips
Select the two clips together first. That is what you need to do. Then open the Color menu.
Filmora Color Grading Basics: Step 2 Open AI Color Palette
Go down to AI Color Palette and open it. You will see a comparison of the two videos. Choose the source clip you want to copy.
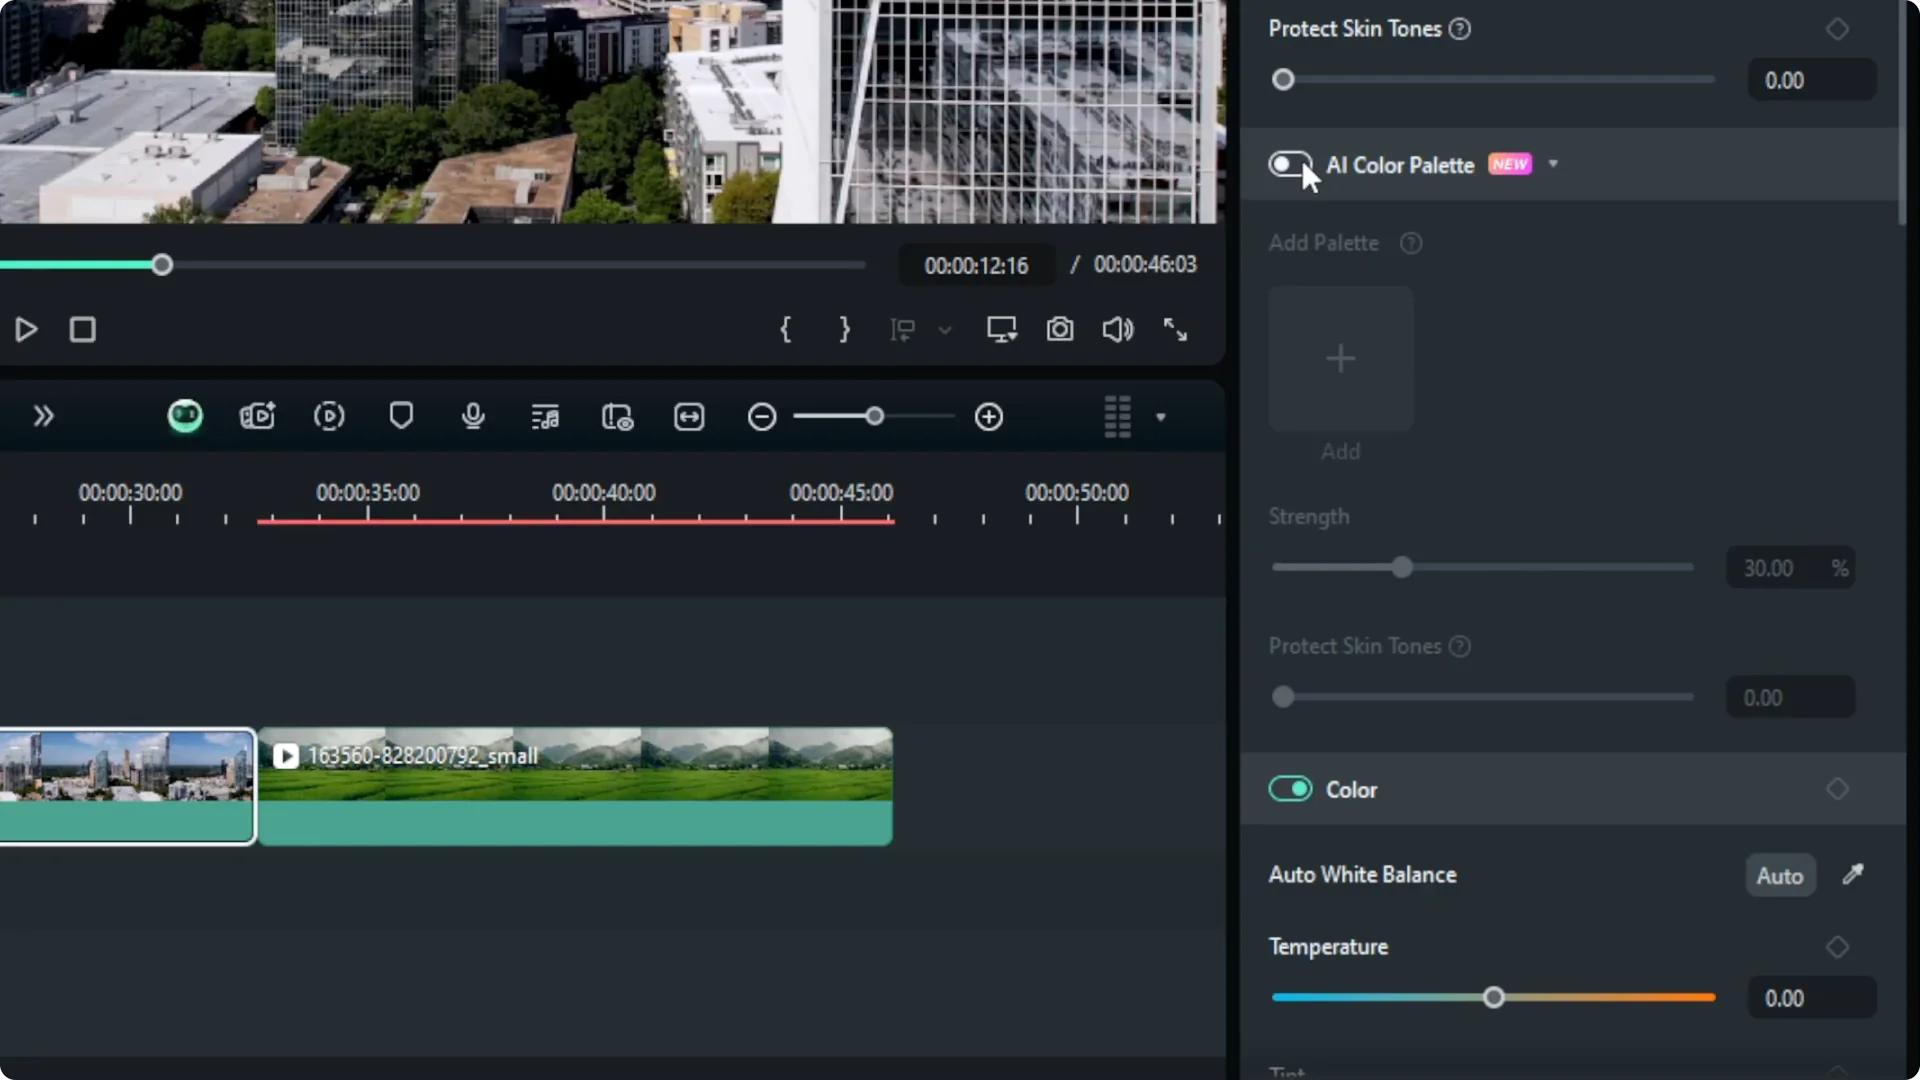
Filmora Color Grading Basics: Step 3 Generate and Apply
Click Generate to apply the styling to the other clip. Wait a moment, and it is done. You can tell the video is a bit warmer than before, and it is definitely different.
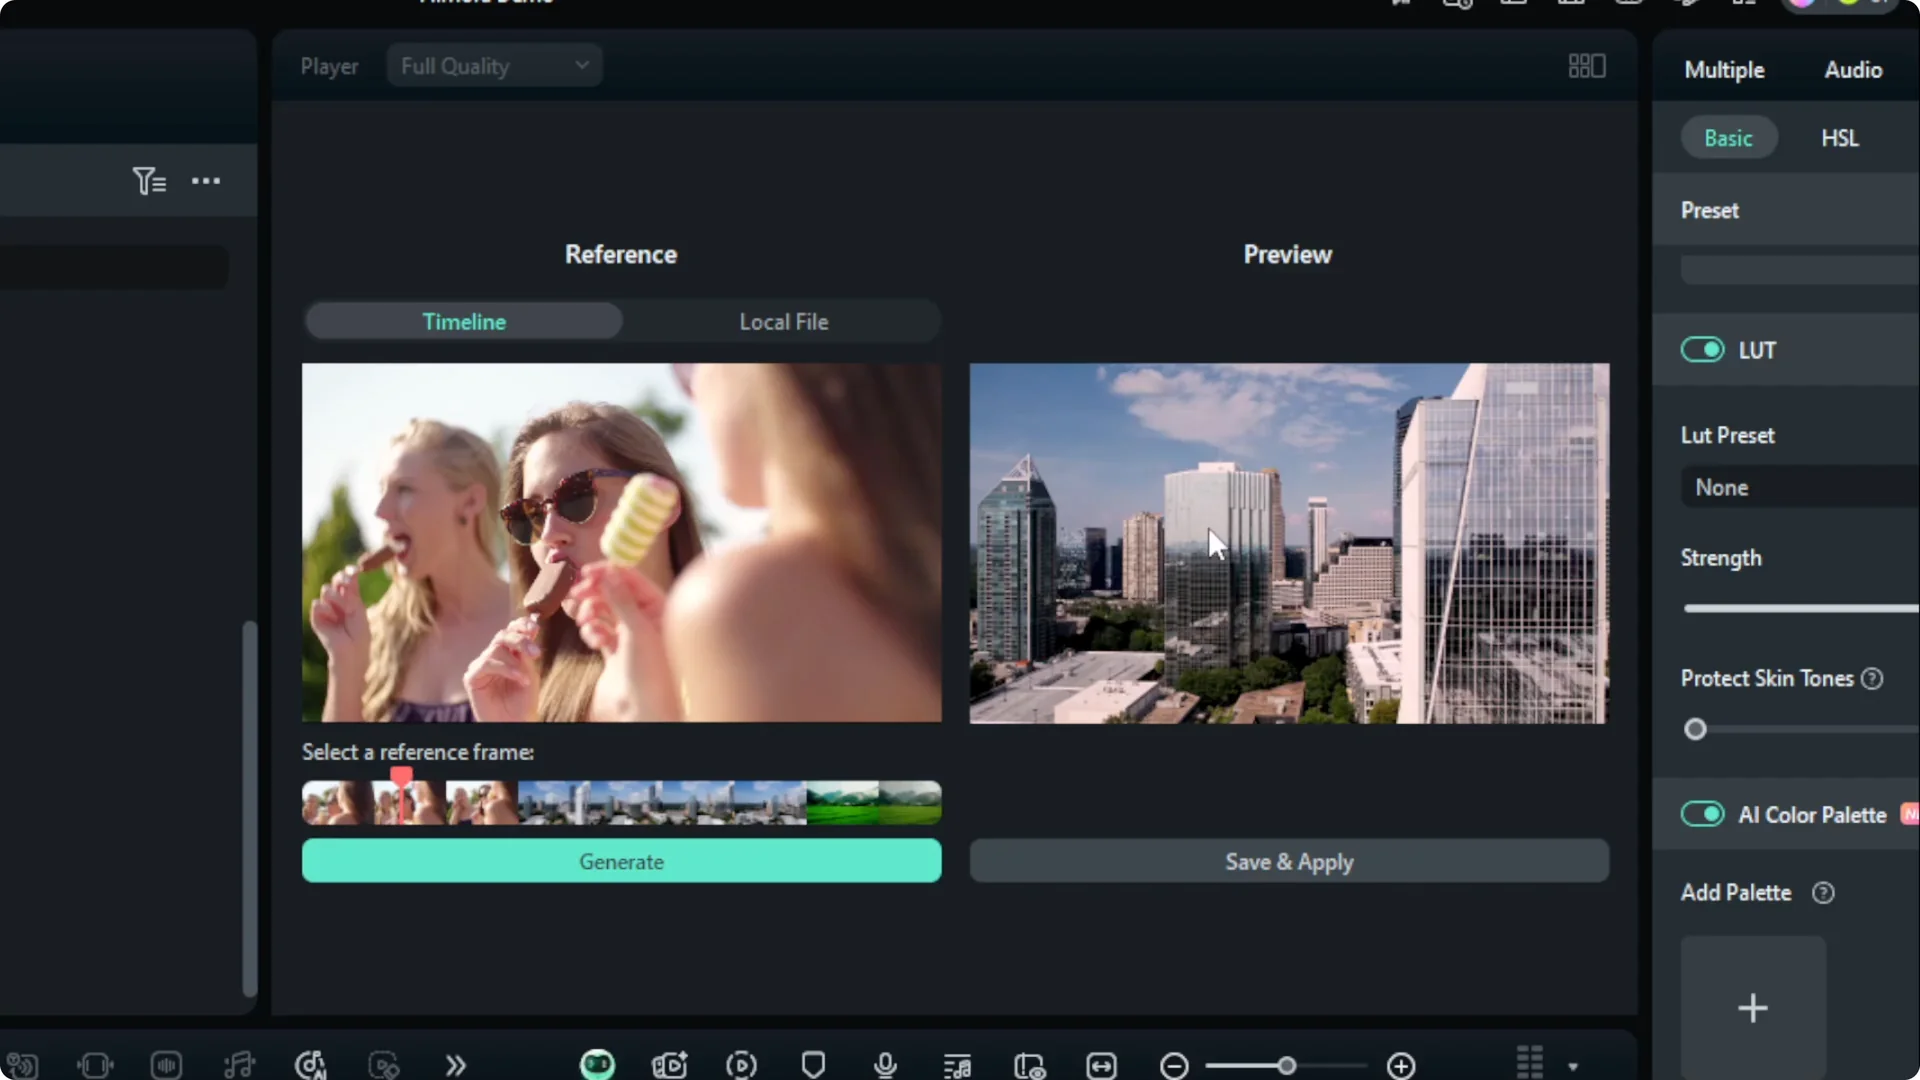
Click Save and Apply. Play it back and see the result. It is a lot more consistent because the color is now warmer.
Filmora Color Grading Basics: Final Thoughts
That is basically the idea of color grading or color correction in Filmora for basic usage. At the very least, you can use AI to make the color more consistent and to convey emotion better in your video. I hope you find this helpful, and I wish you a great day.