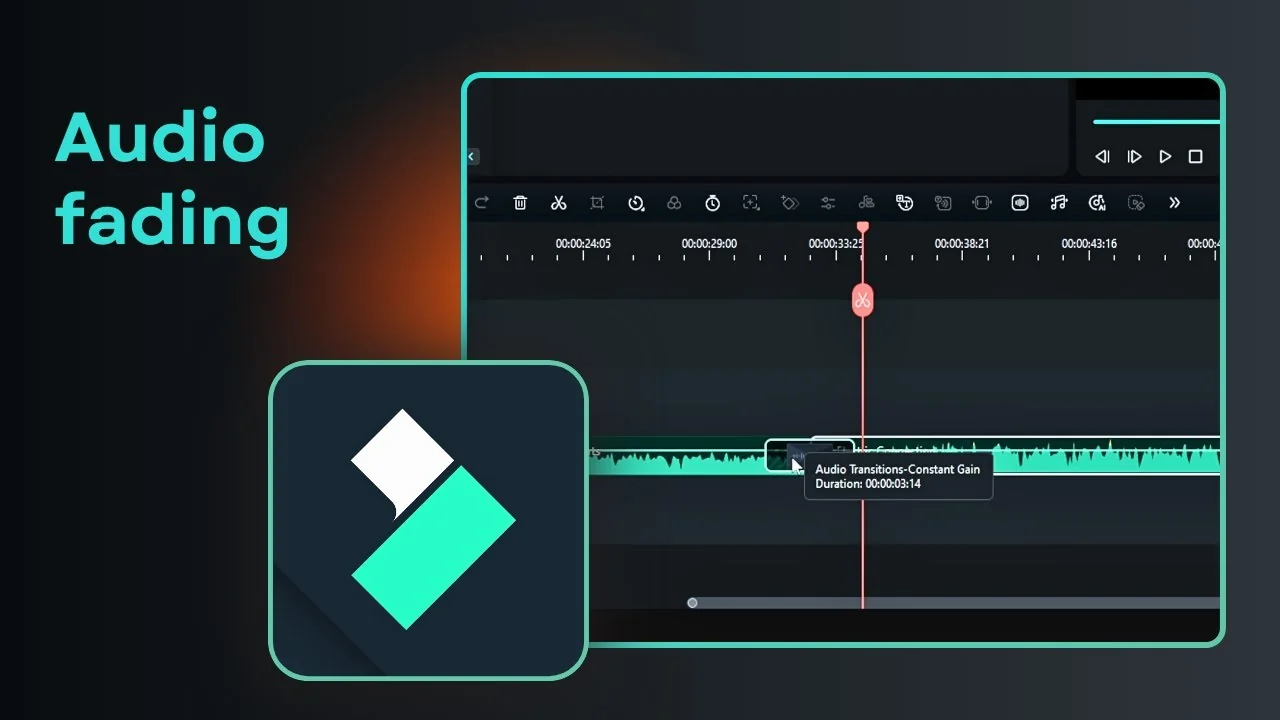
I want to show you how to add an audio transition in Filmora and make the change from one track to another as smooth as possible. The idea of an audio transition is very similar to a visual transition in Filmora. Dissolve is popular and simple on video, and the same principle applies to audio.
If you have multiple audio files in your project, you can blend them instead of making them stop abruptly. That way the first track fades out and the next one fades in without a hard cut. Let me walk you through it.
Filmora Audio Crossfade basics
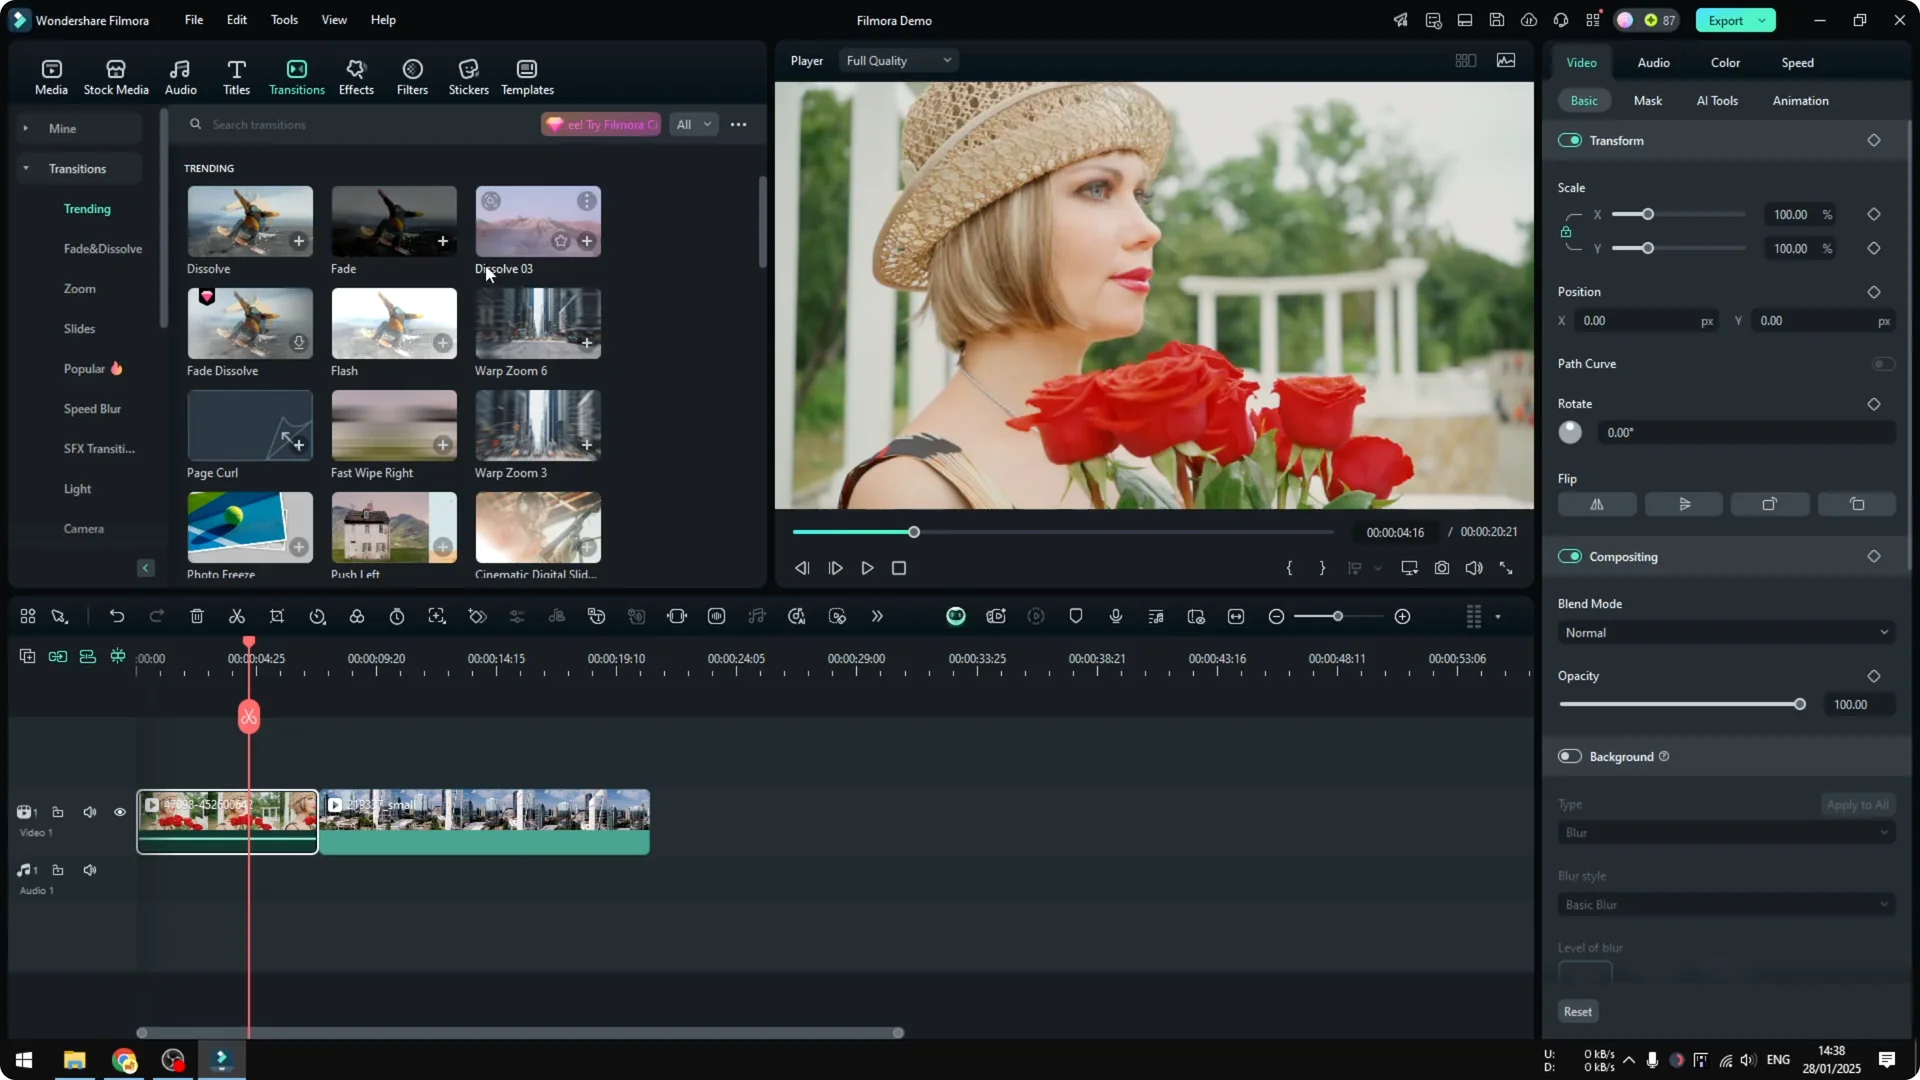
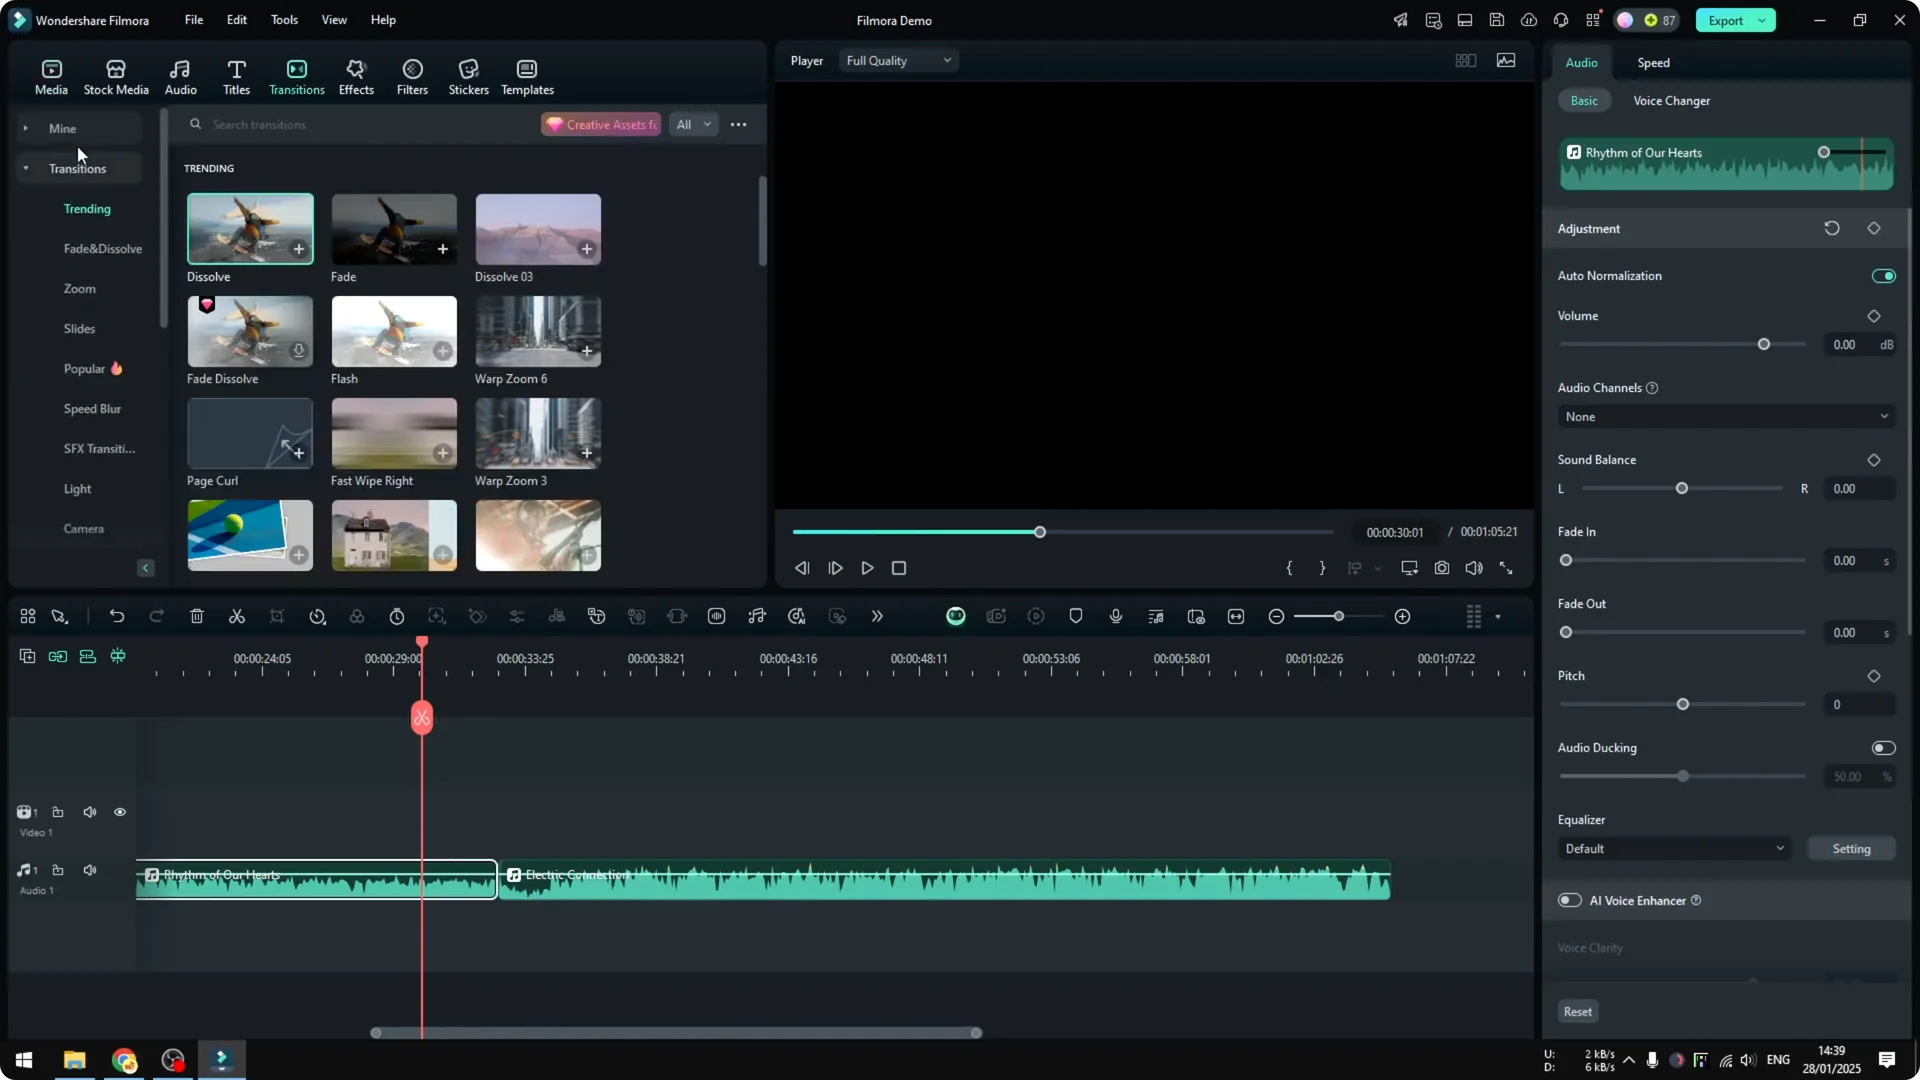
Audio transitions in Filmora live in the same Transitions panel that you use for video. You pick the effect and drop it between two items on the timeline. That single step creates a natural crossfade for your audio.
Prepare your clips for Filmora Audio Crossfade
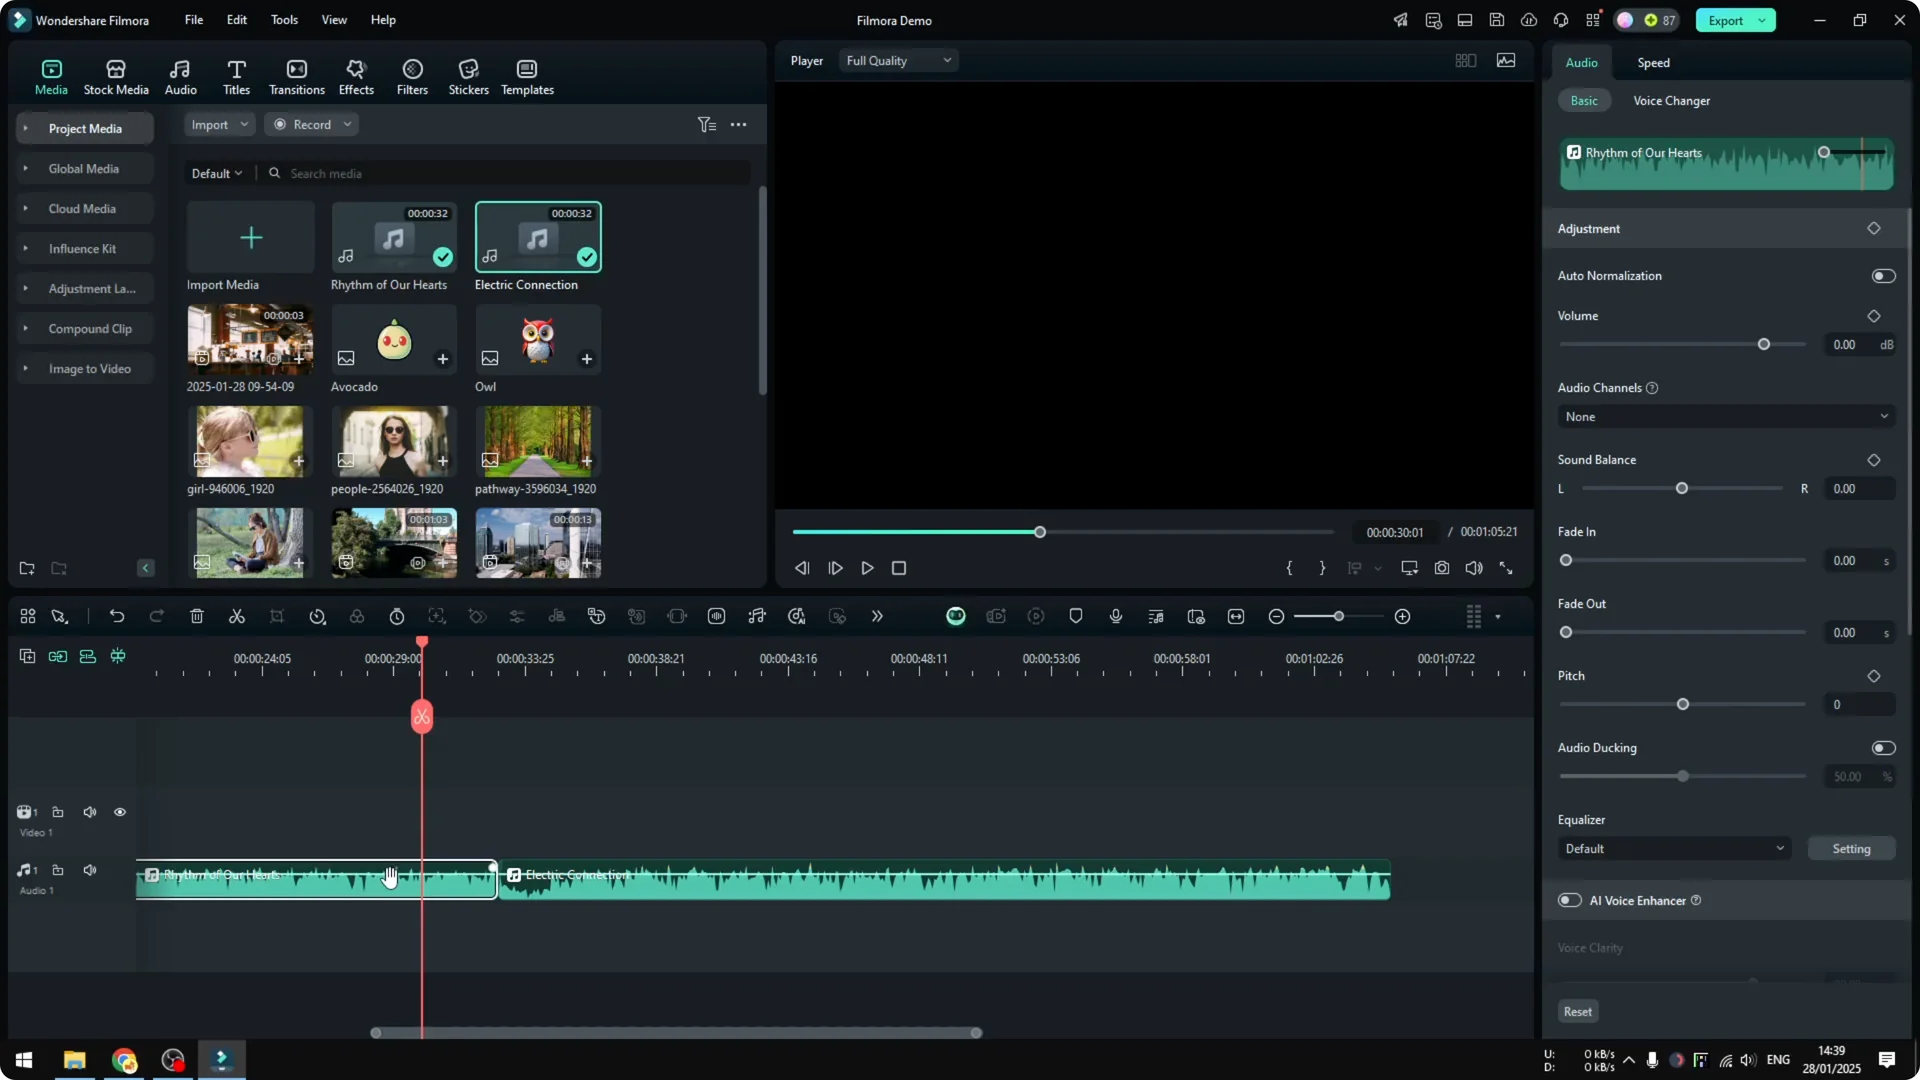
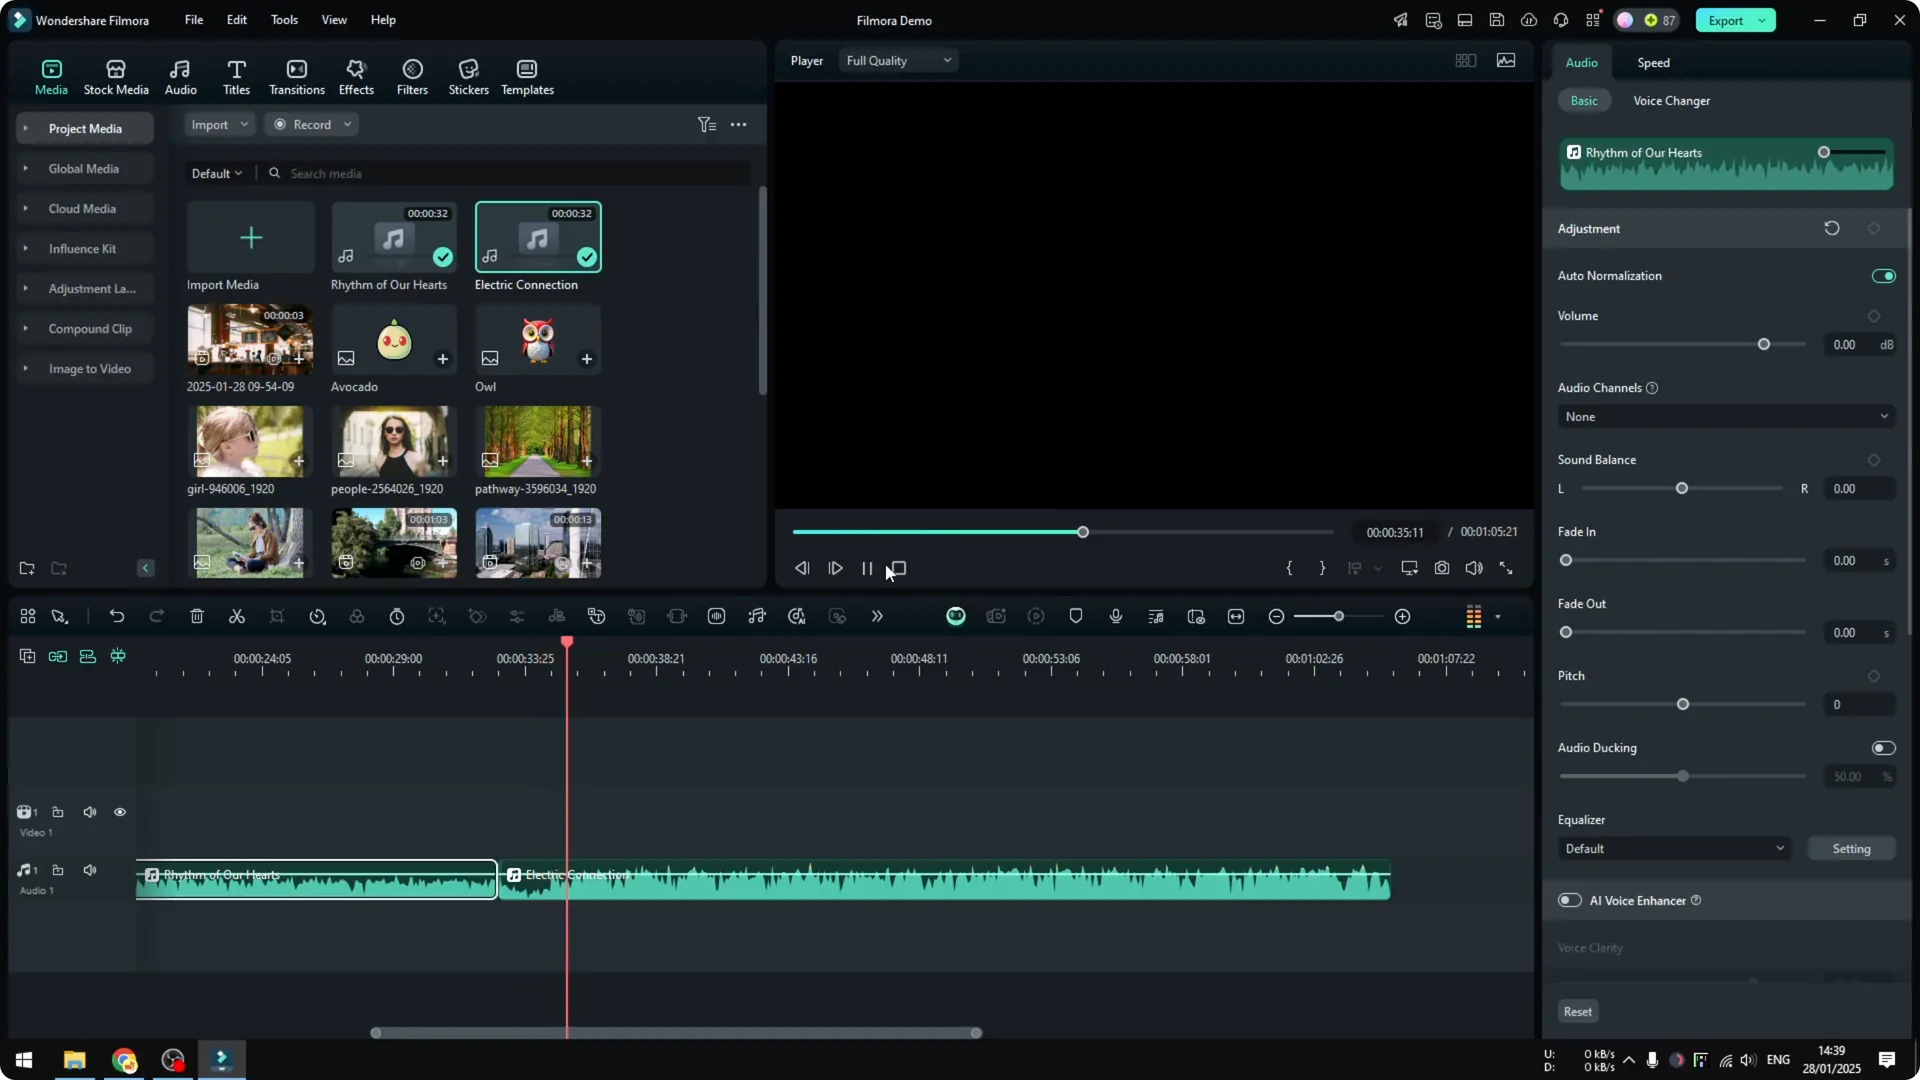
I added two different music tracks to the timeline to demonstrate the transition. My first clip was a bit too loud, so I clicked Auto normalization to quickly balance its volume. This step is optional, but it helps the fade feel more controlled.
Play the cut without any transition and you will hear a hard stop followed by a new start. It does not sound good in a finished edit. The goal is to remove that abrupt jump.
Read More: How To Make Text Effect Respond To Audio In Filmora
Apply Filmora Audio Crossfade
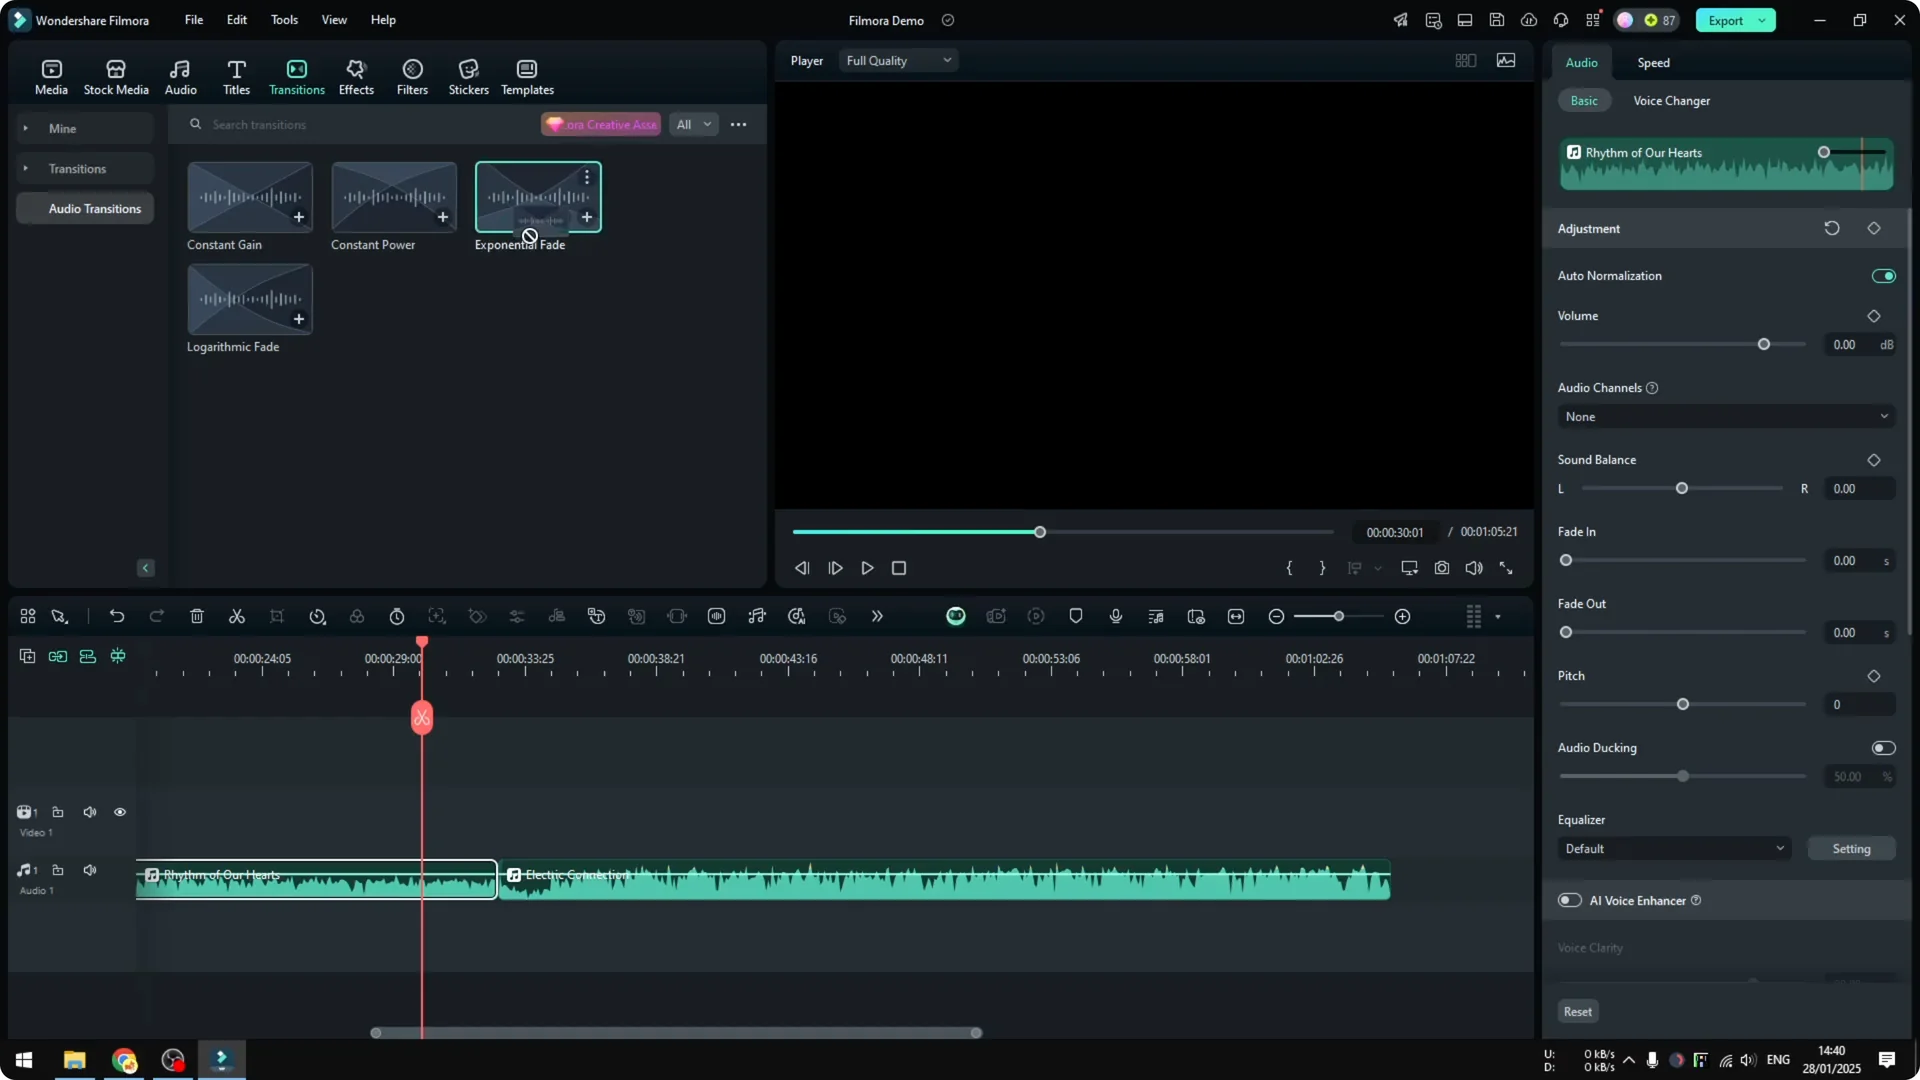
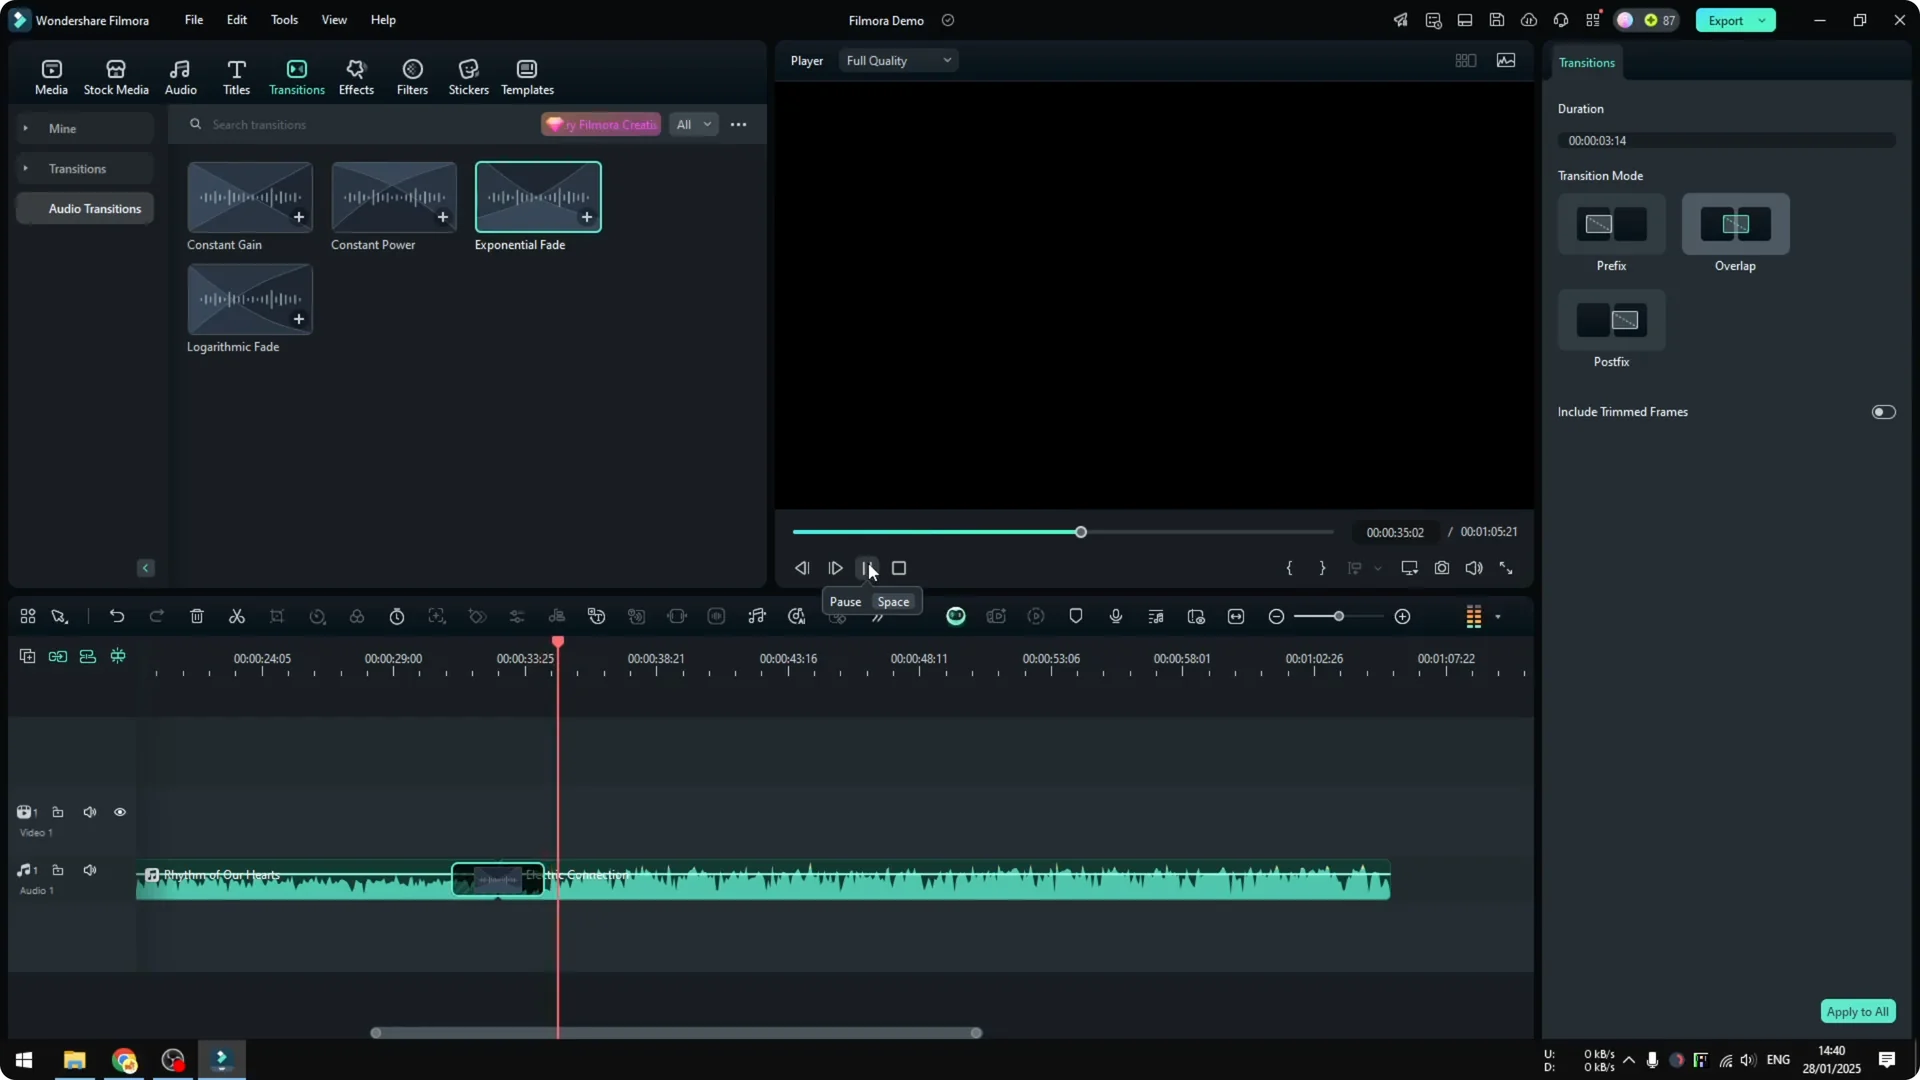
Open Transitions, then go to Audio Transitions. You will see four presets you can apply between two audio clips. The one I prefer is Exponential Fade.
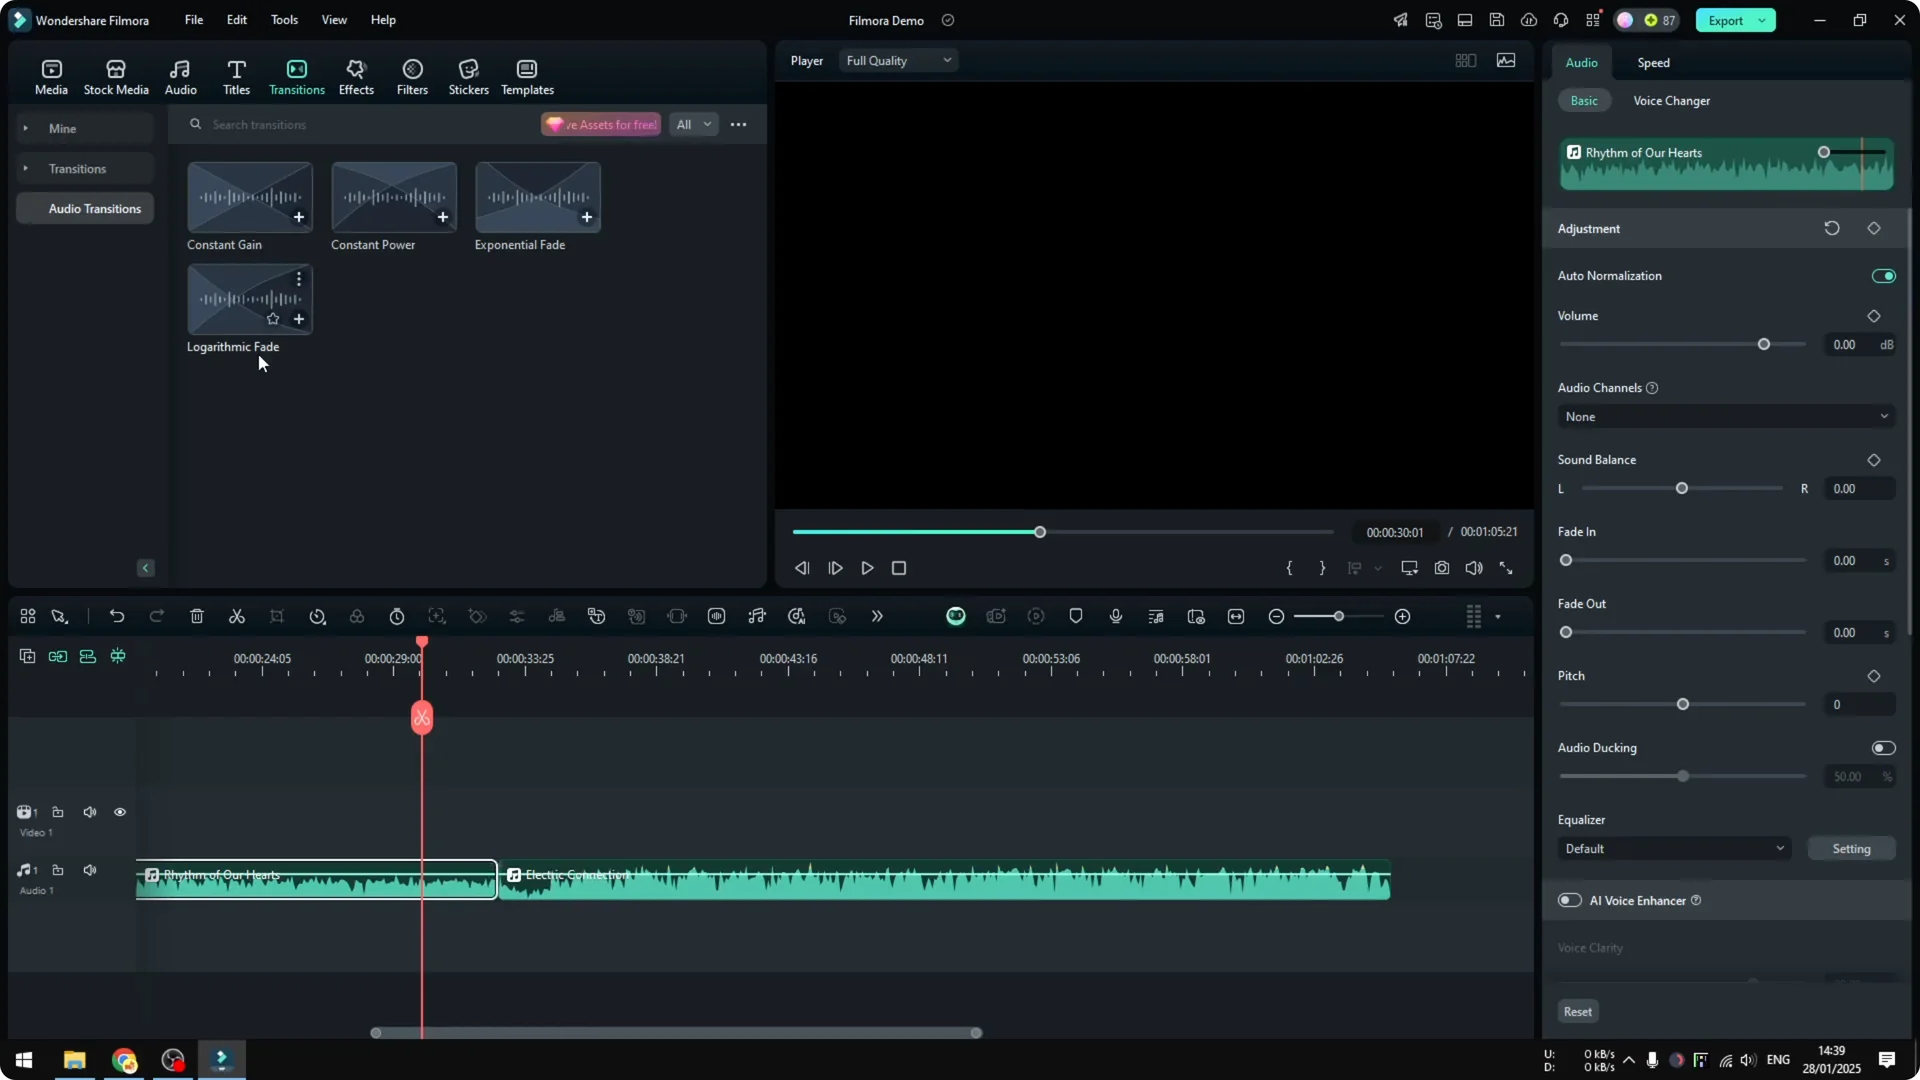
Exponential Fade reduces the volume of the first clip and carries you into the second clip smoothly. Drag and drop the transition right between your two audio files on the timeline. Click play to preview the result.
Read More: How To Add Ai Audio Visualizer In Filmora
Fine tune the Filmora Audio Crossfade
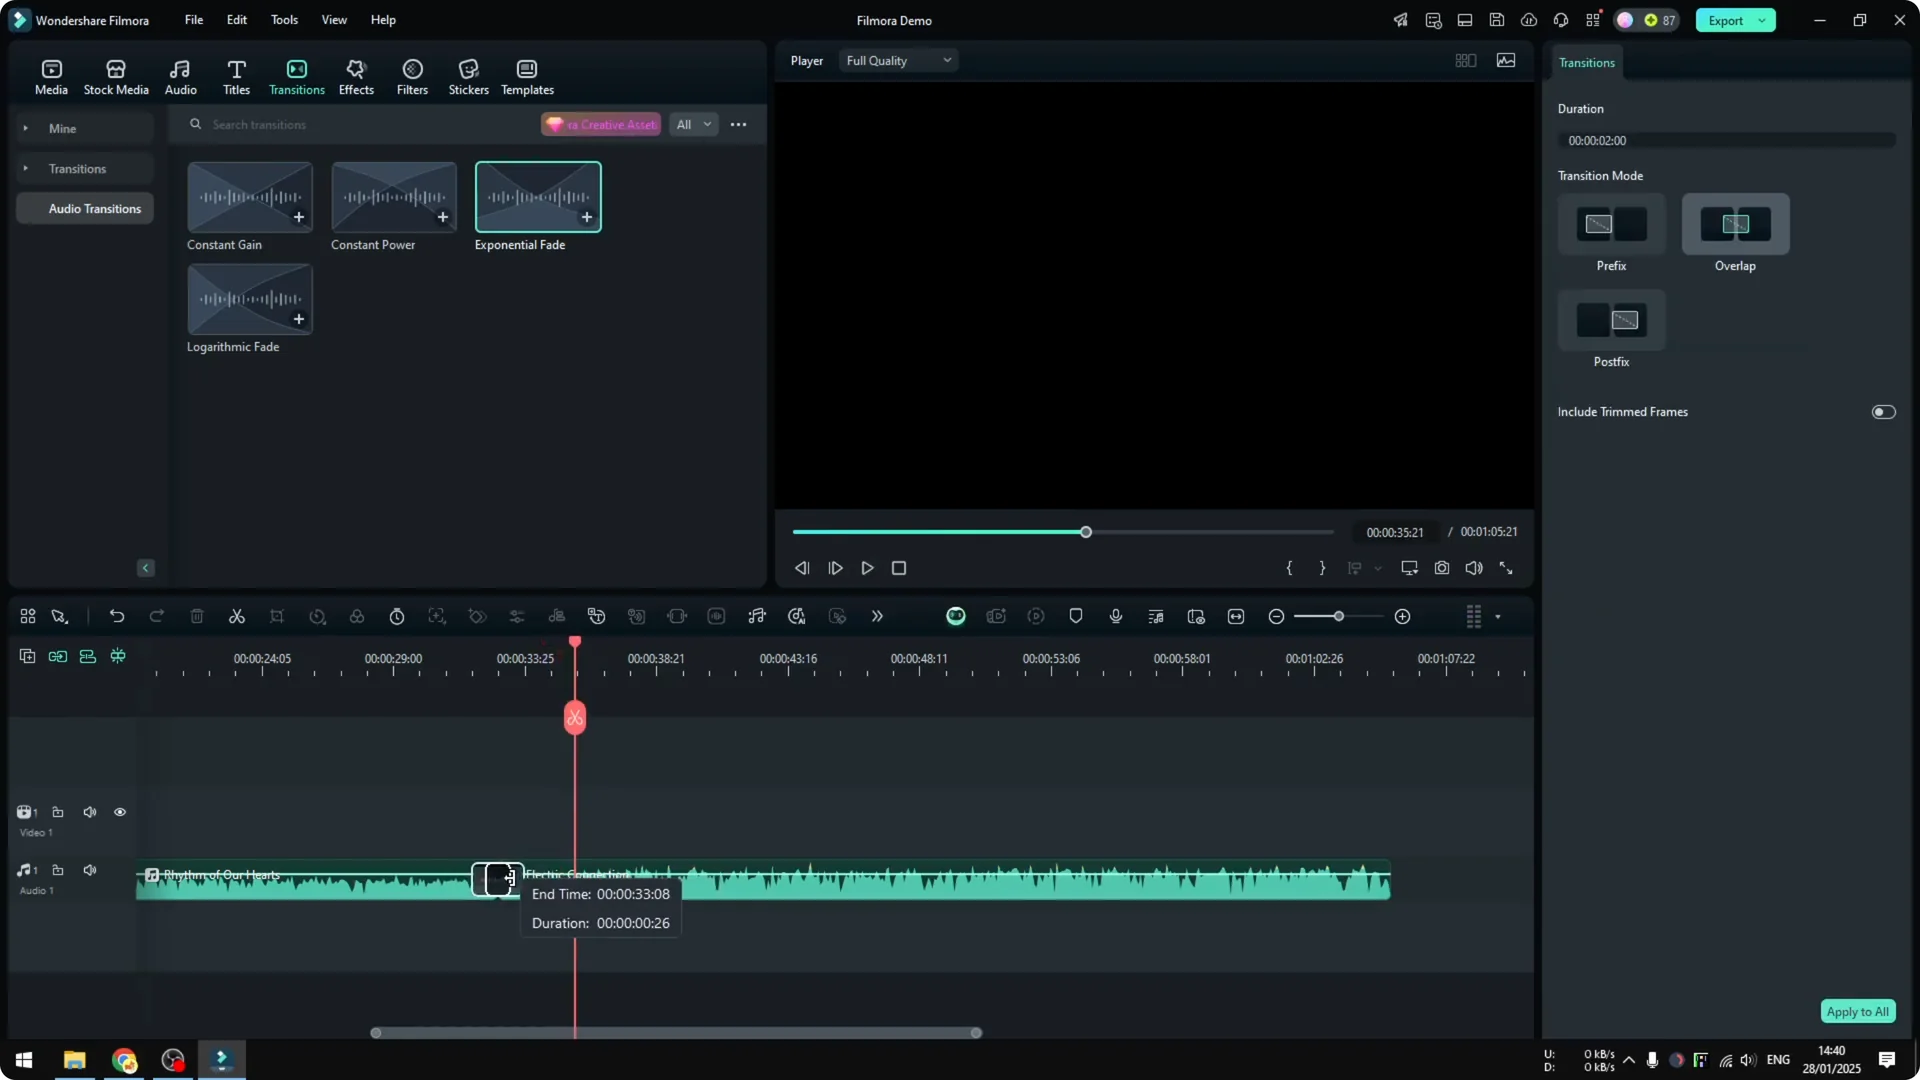
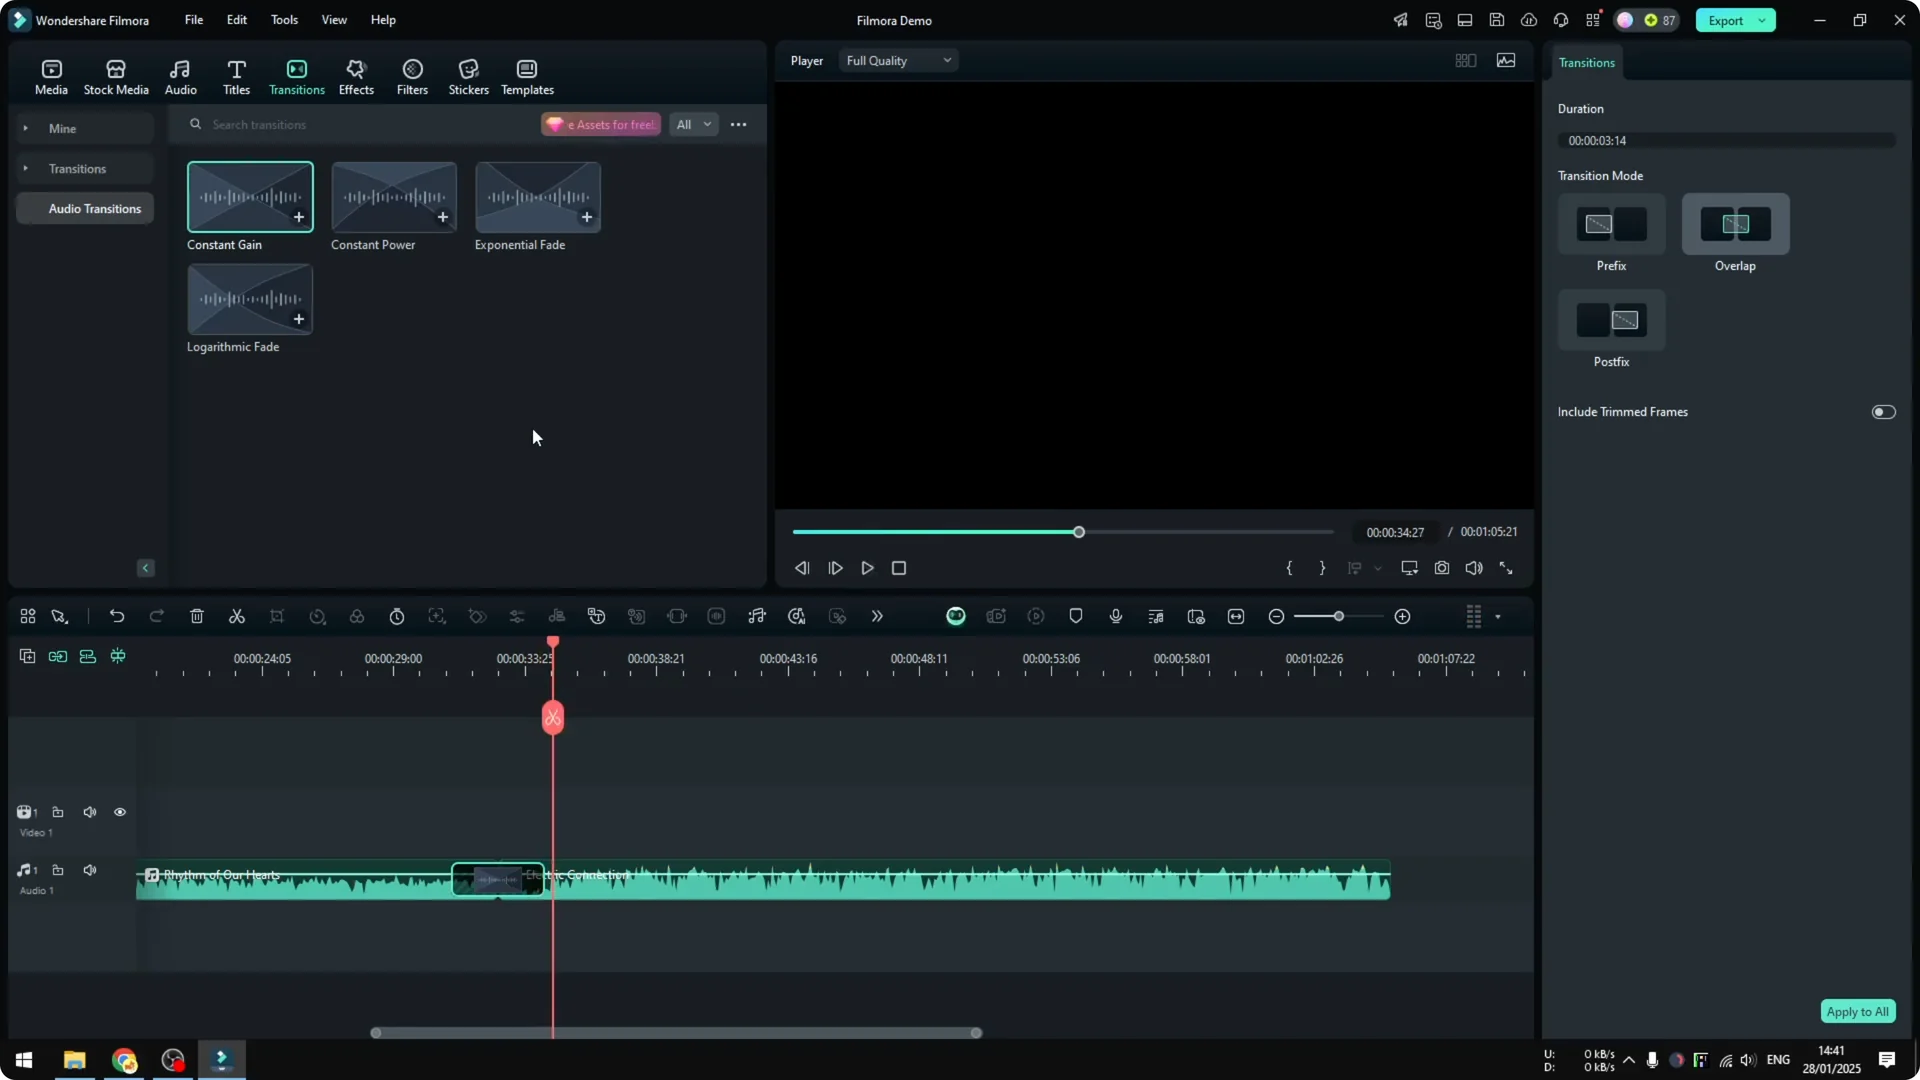
You can make the transition longer or shorter by dragging its edges. Always preview and test to find the length that fits your music. If you want more control, double click the transition to see its settings and try different modes.
If you are not happy with the result, try a different audio transition preset and preview again. Pick the one that fits the rhythm and energy of your tracks. Keep adjusting until the handoff feels natural.
Read More: How To Create Cool Upside Down City Effect In Filmora With Ai
Presets for Filmora Audio Crossfade
There are four audio transition options right now. I expect these to improve over time with more settings for each option. For most edits, Exponential Fade and careful duration tweaks are all you need.
Final thoughts on Filmora Audio Crossfade
Adding an audio transition in Filmora is quick and effective. Drop an audio transition between two clips, test Exponential Fade, then fine tune the length to match your music. Always preview the result and pick the preset that sounds best in your project.