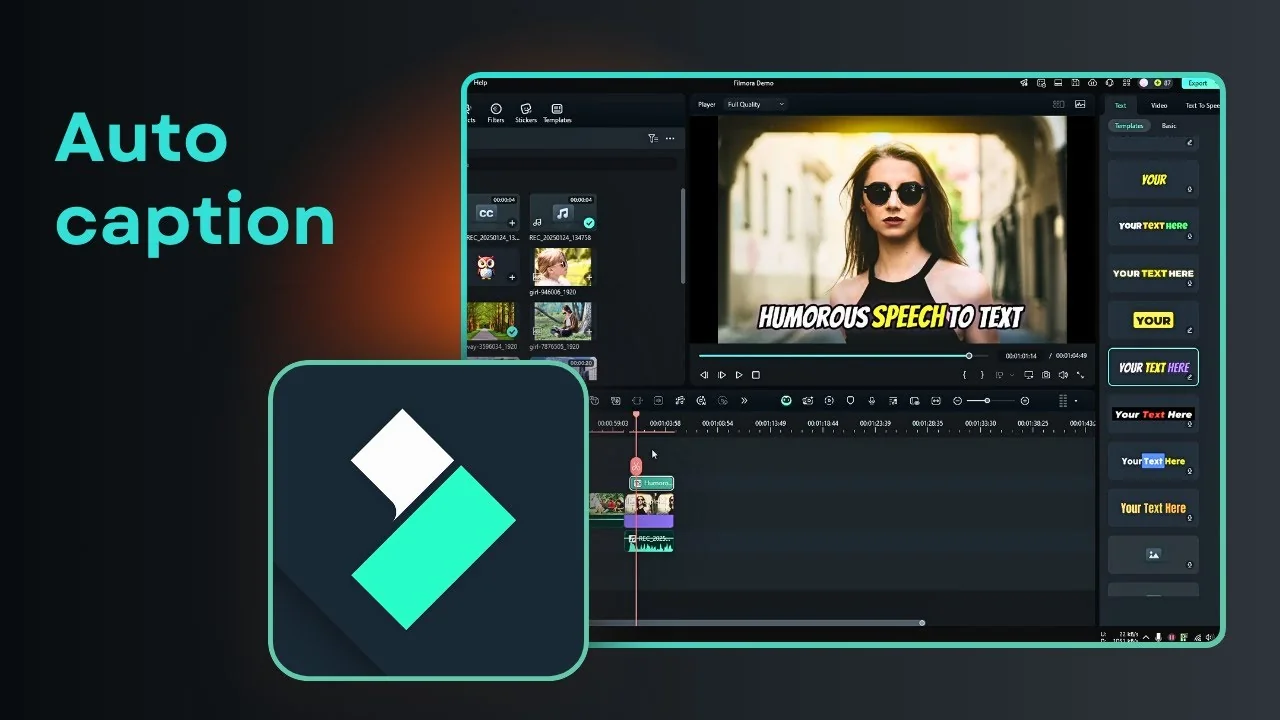
I’m going to show you how you can turn your speech into text using Filmora. Filmora has a speech to text feature that lets you create engaging captions for your video.
Viewers can watch with the volume turned down and still read text that reflects the spoken words.
You can get that effect using Filmora.
Here’s how you can do it step by step.
Filmora Speech-to-Text Tutorial
Set up your clip
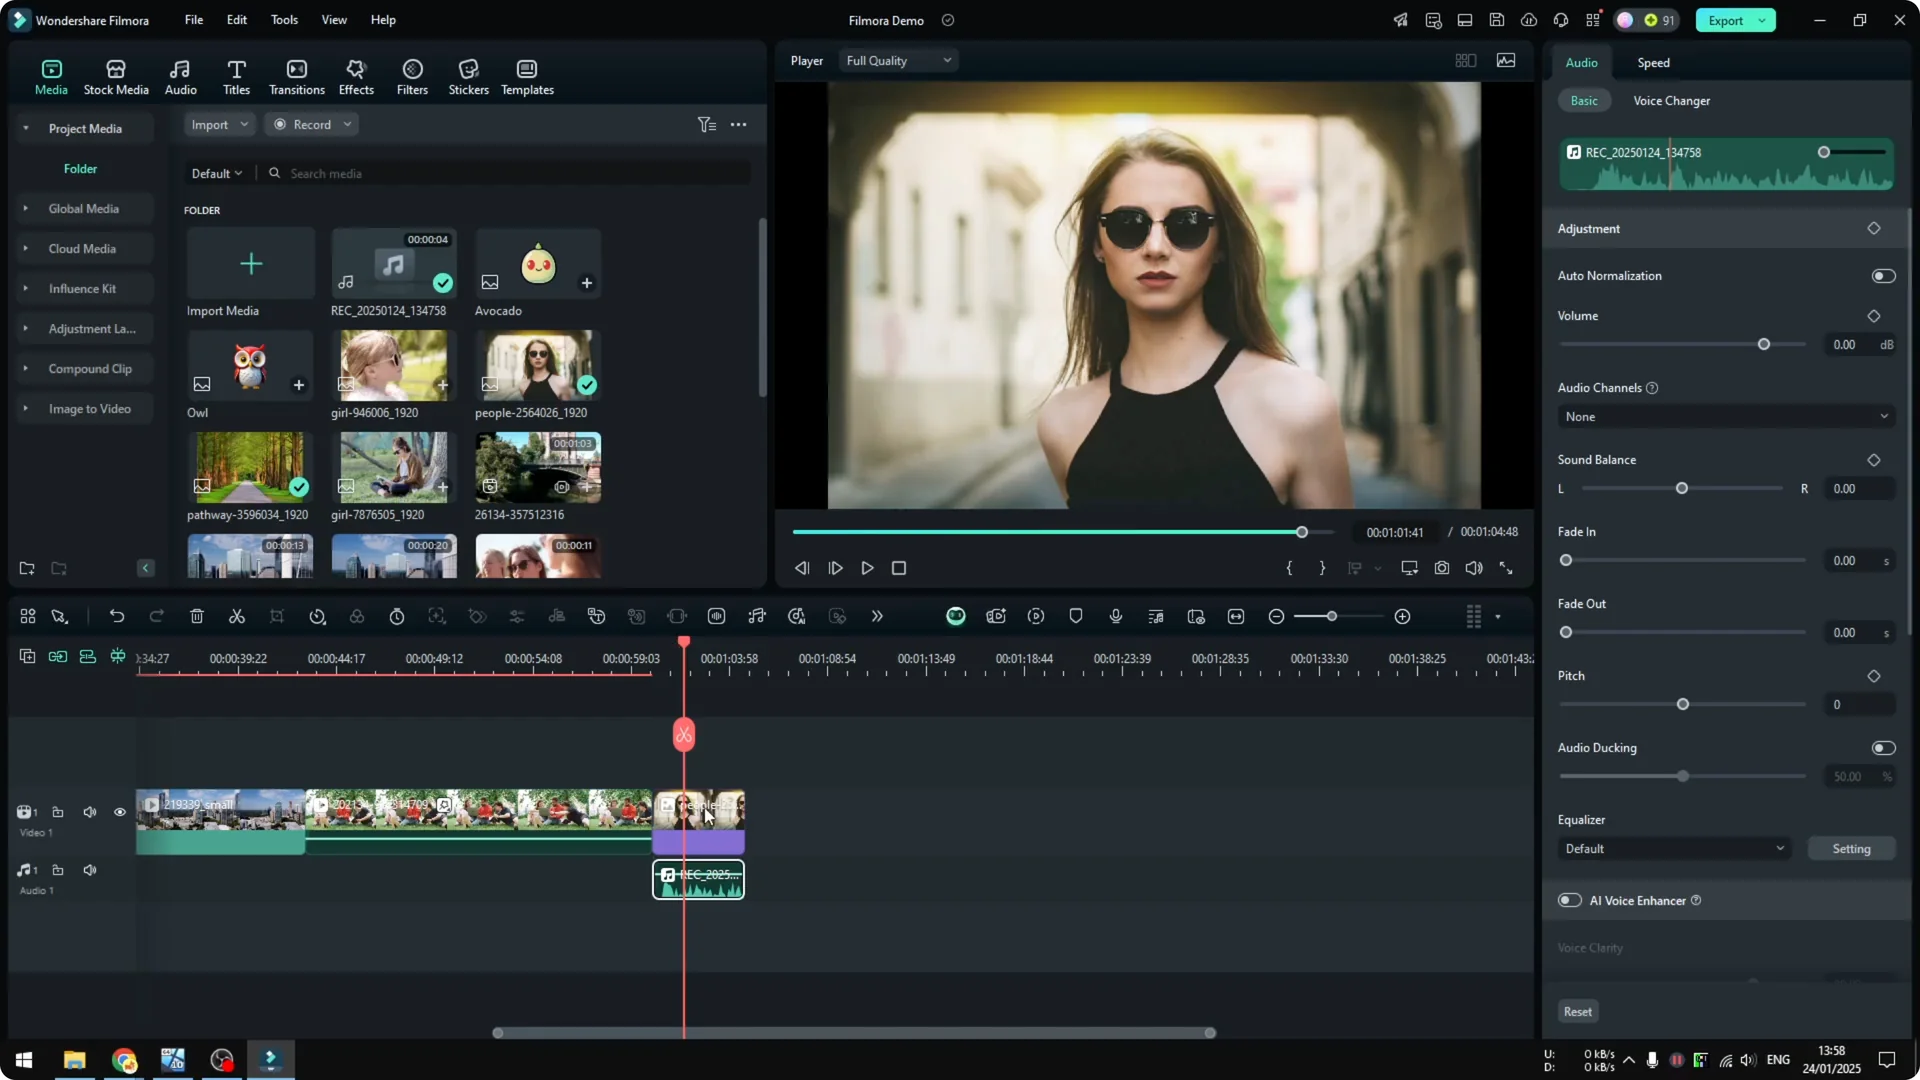
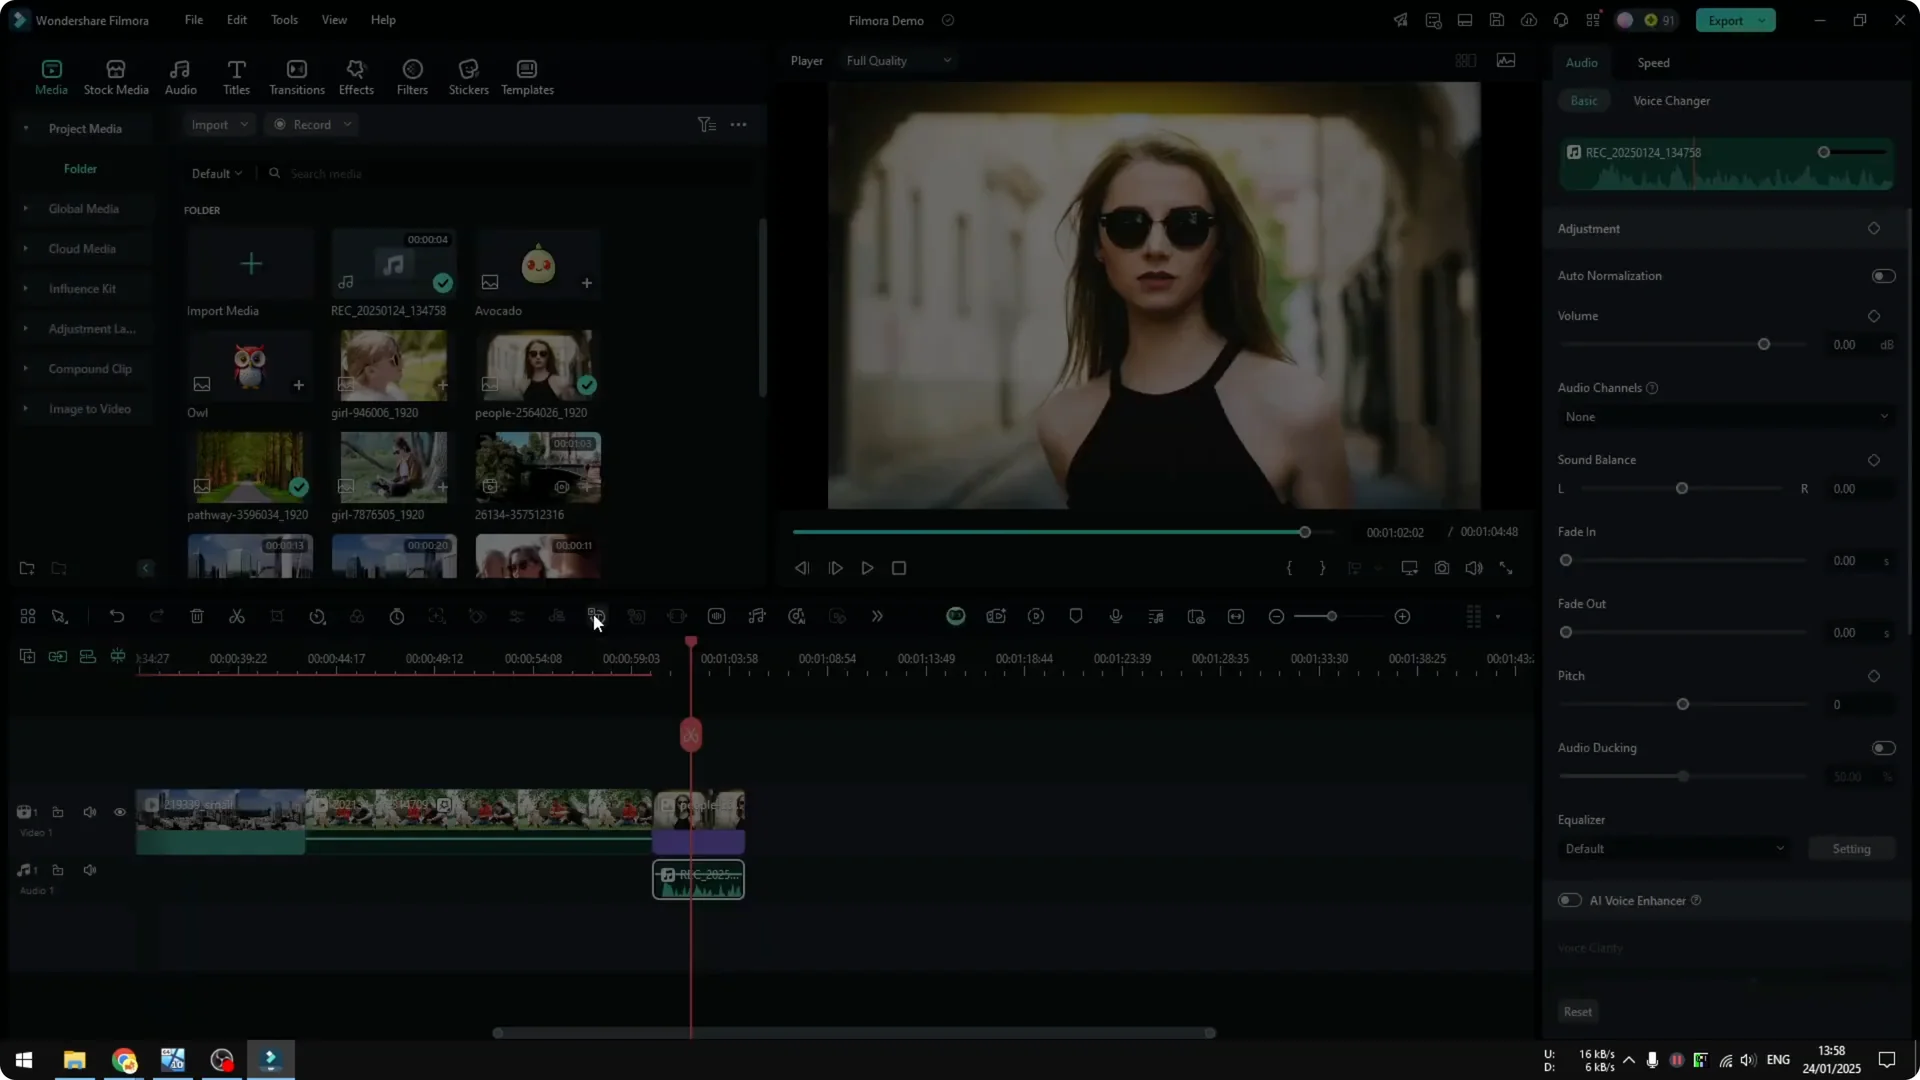
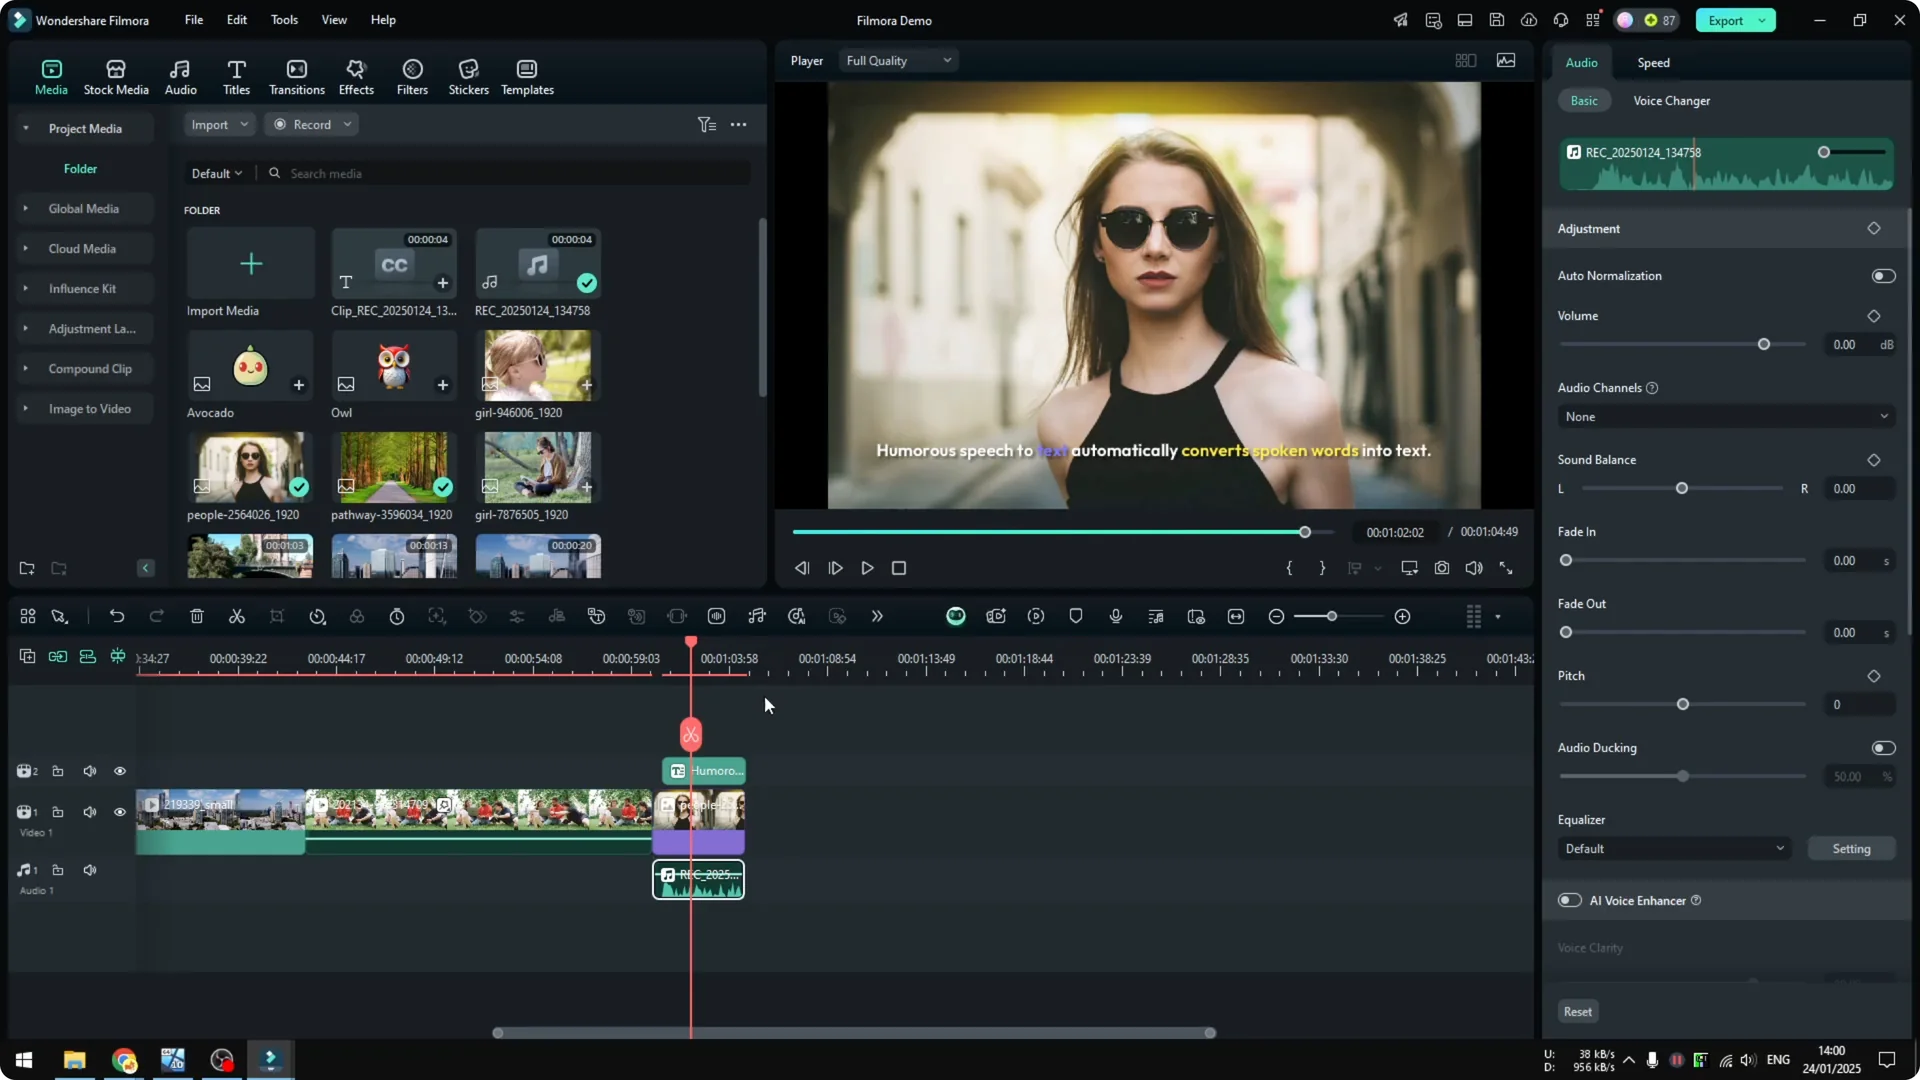
Insert a video or an audio file into the project timeline. I have an audio file I recorded a few minutes ago, and the line is: Filmora speech to text automatically converts spoken words into text.
Right now there is no text on this video, but if I use speech to text there will be text appearing here.
Choose your caption mode
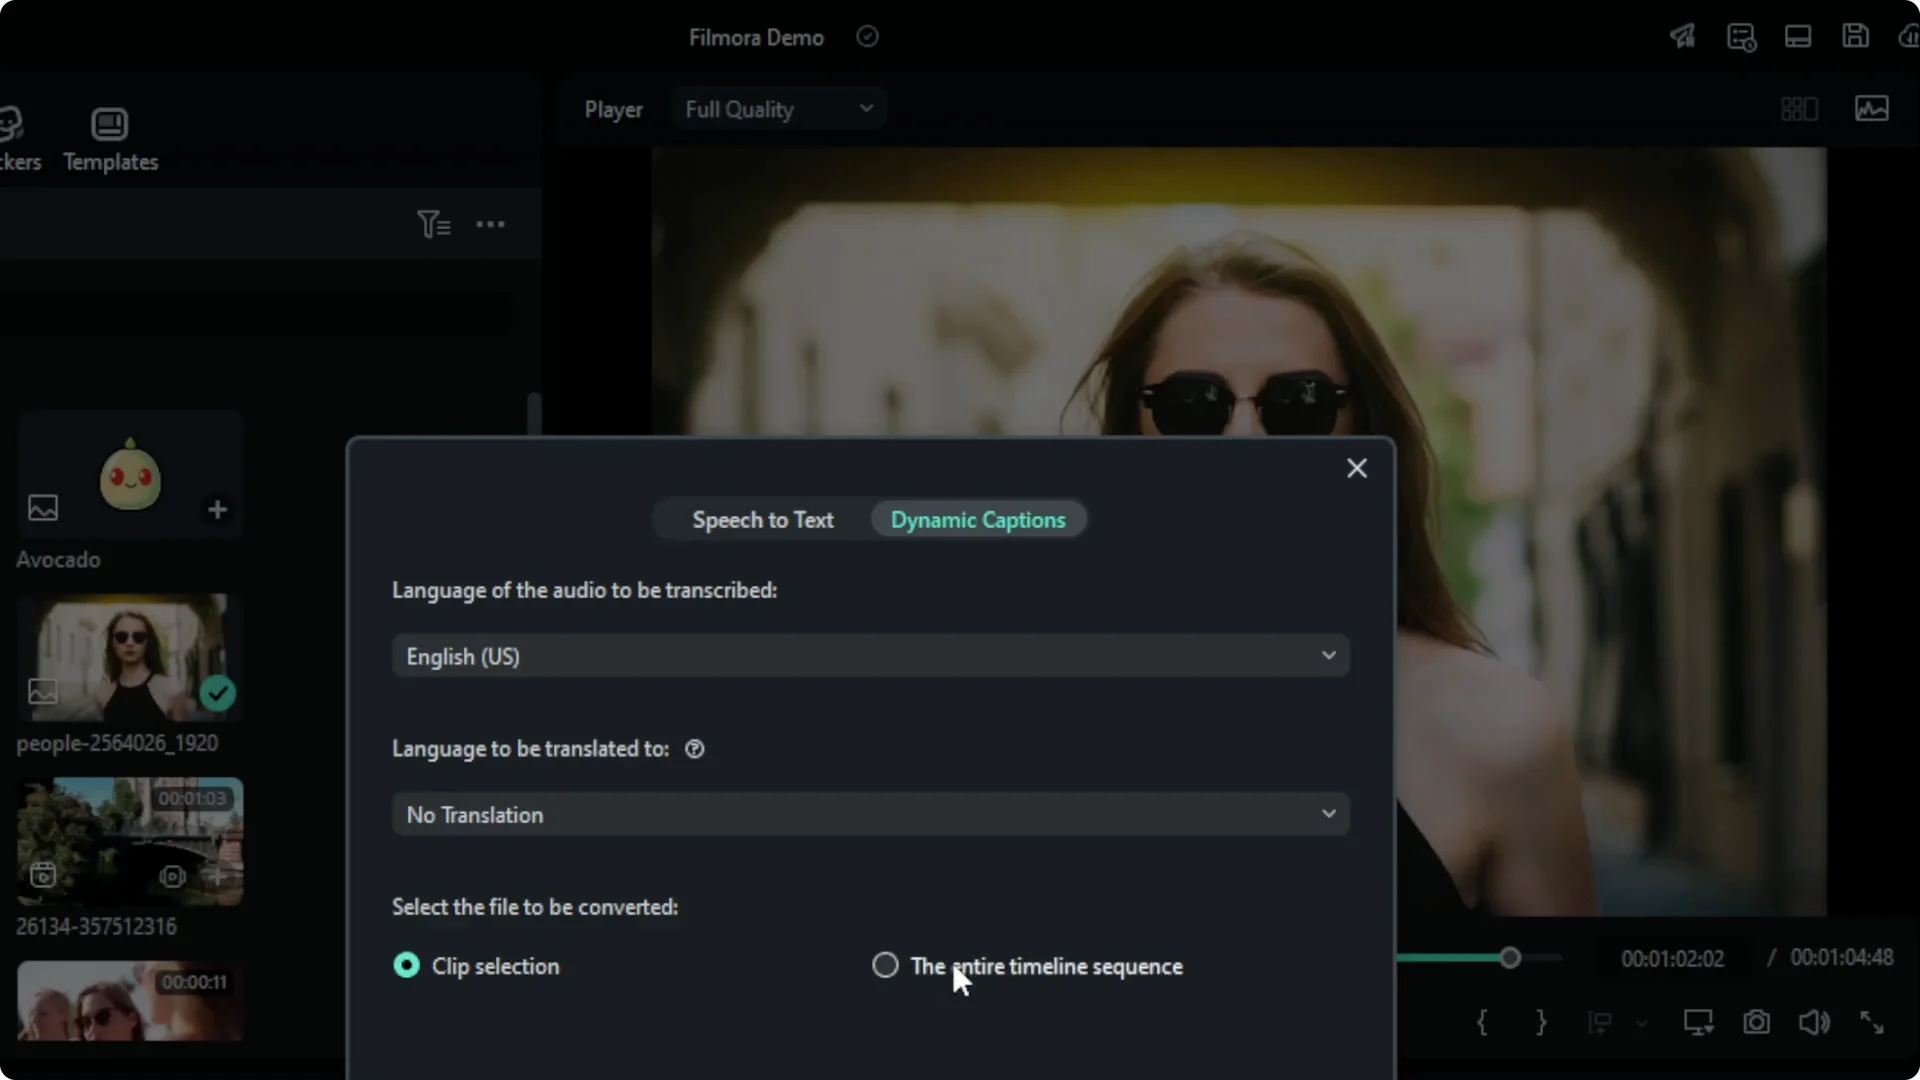
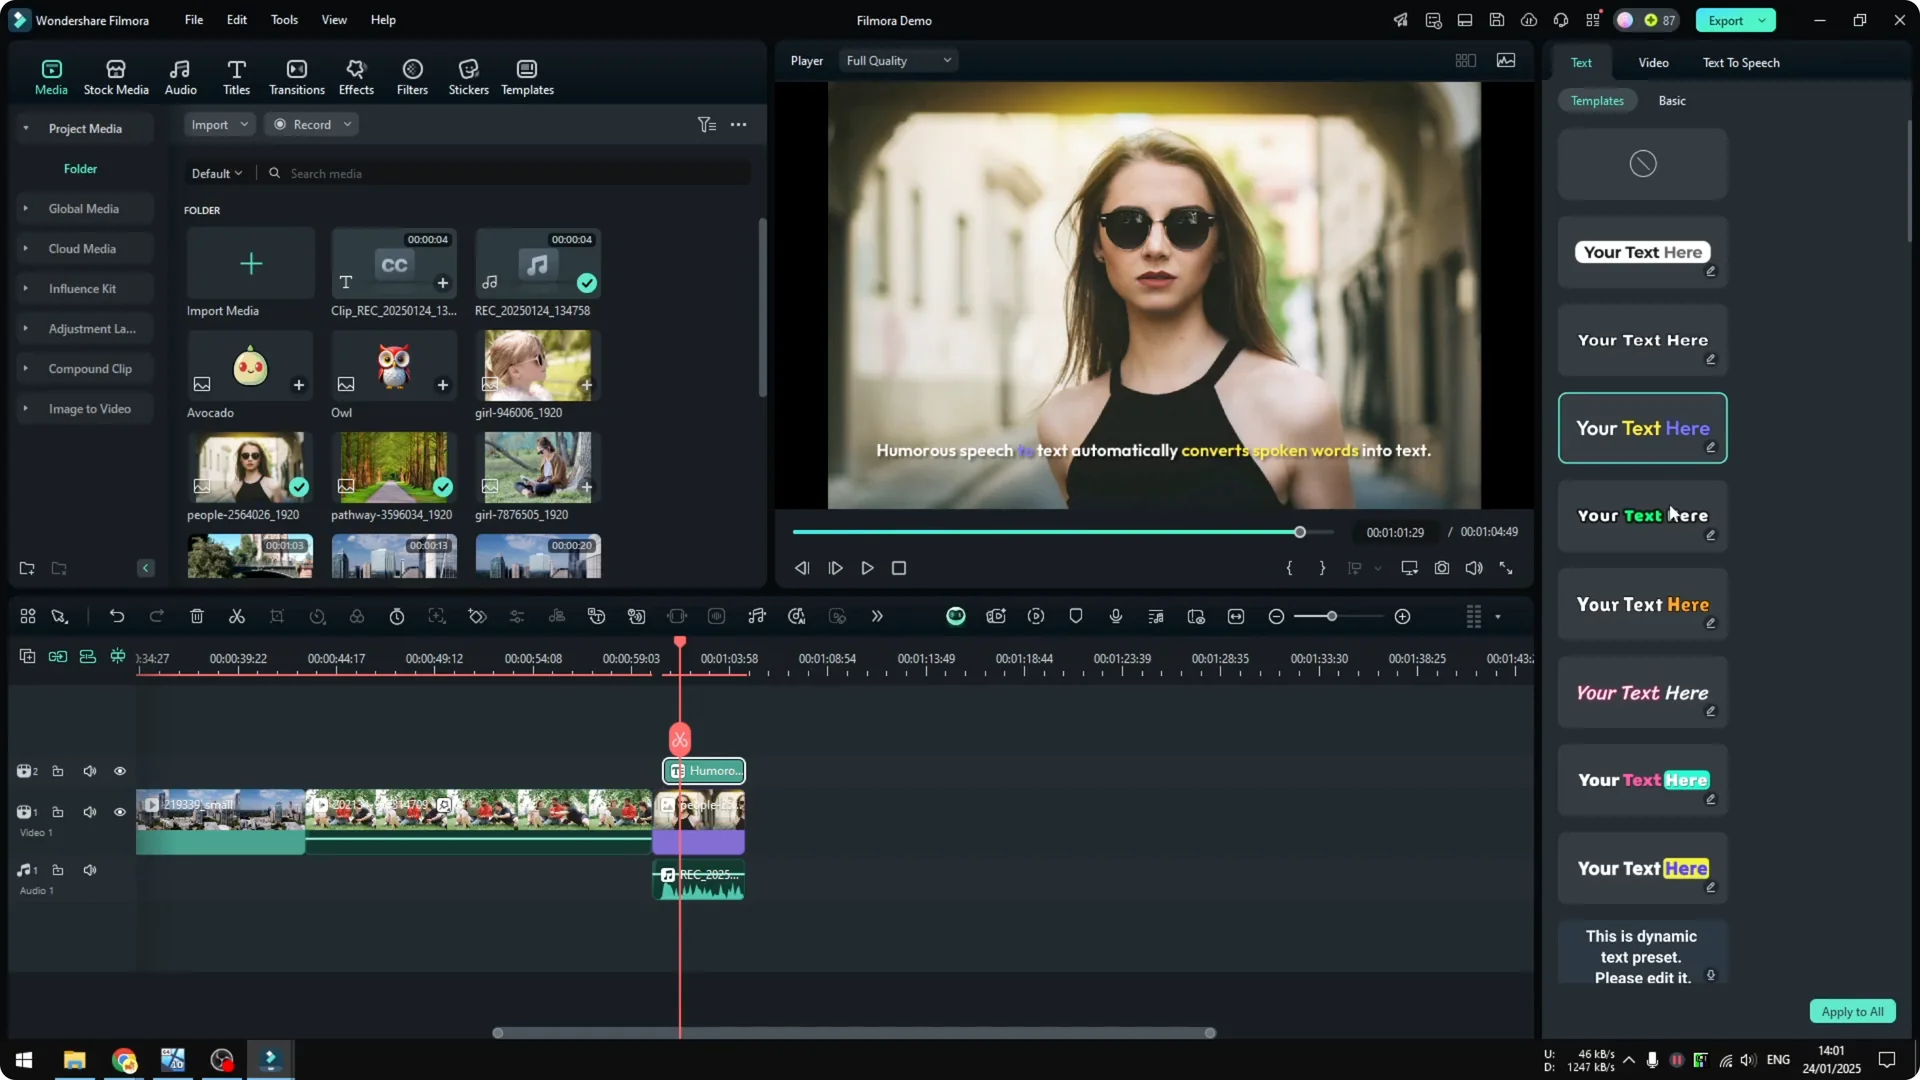
Click the audio or video clip, then click Speech to Text. You will see two options: Speech to Text and Dynamic Captions.
Speech to Text is the classic way to create subtitles, while Dynamic Captions gives you a bigger font, a more dynamic look, and some animation.
If you want to upload a video and mimic the style from some viral TikTok videos, try Dynamic Captions.
If you want a simple caption like subtitles from a movie, select Speech to Text.
I want to upload this to the internet, so Dynamic Captions is better for me.
Read More: How To Use Ai Text To Speech In Filmora Video Editor
Language, scope, and cost
Select the language. I’m using English, and there’s an option to translate, but there’s no need for translation here.
Choose the file scope: clip selection or entire timeline sequence.

Clip selection means only the item you selected earlier. Entire project applies it to everything on your timeline.
This affects how much you pay using AI credits, and longer audio costs more, so I’m selecting clip selection.
Generate captions
When you’re ready, click Generate and wait for the result.
It usually takes anywhere from a few seconds to a few minutes, especially if your video or audio is very long.
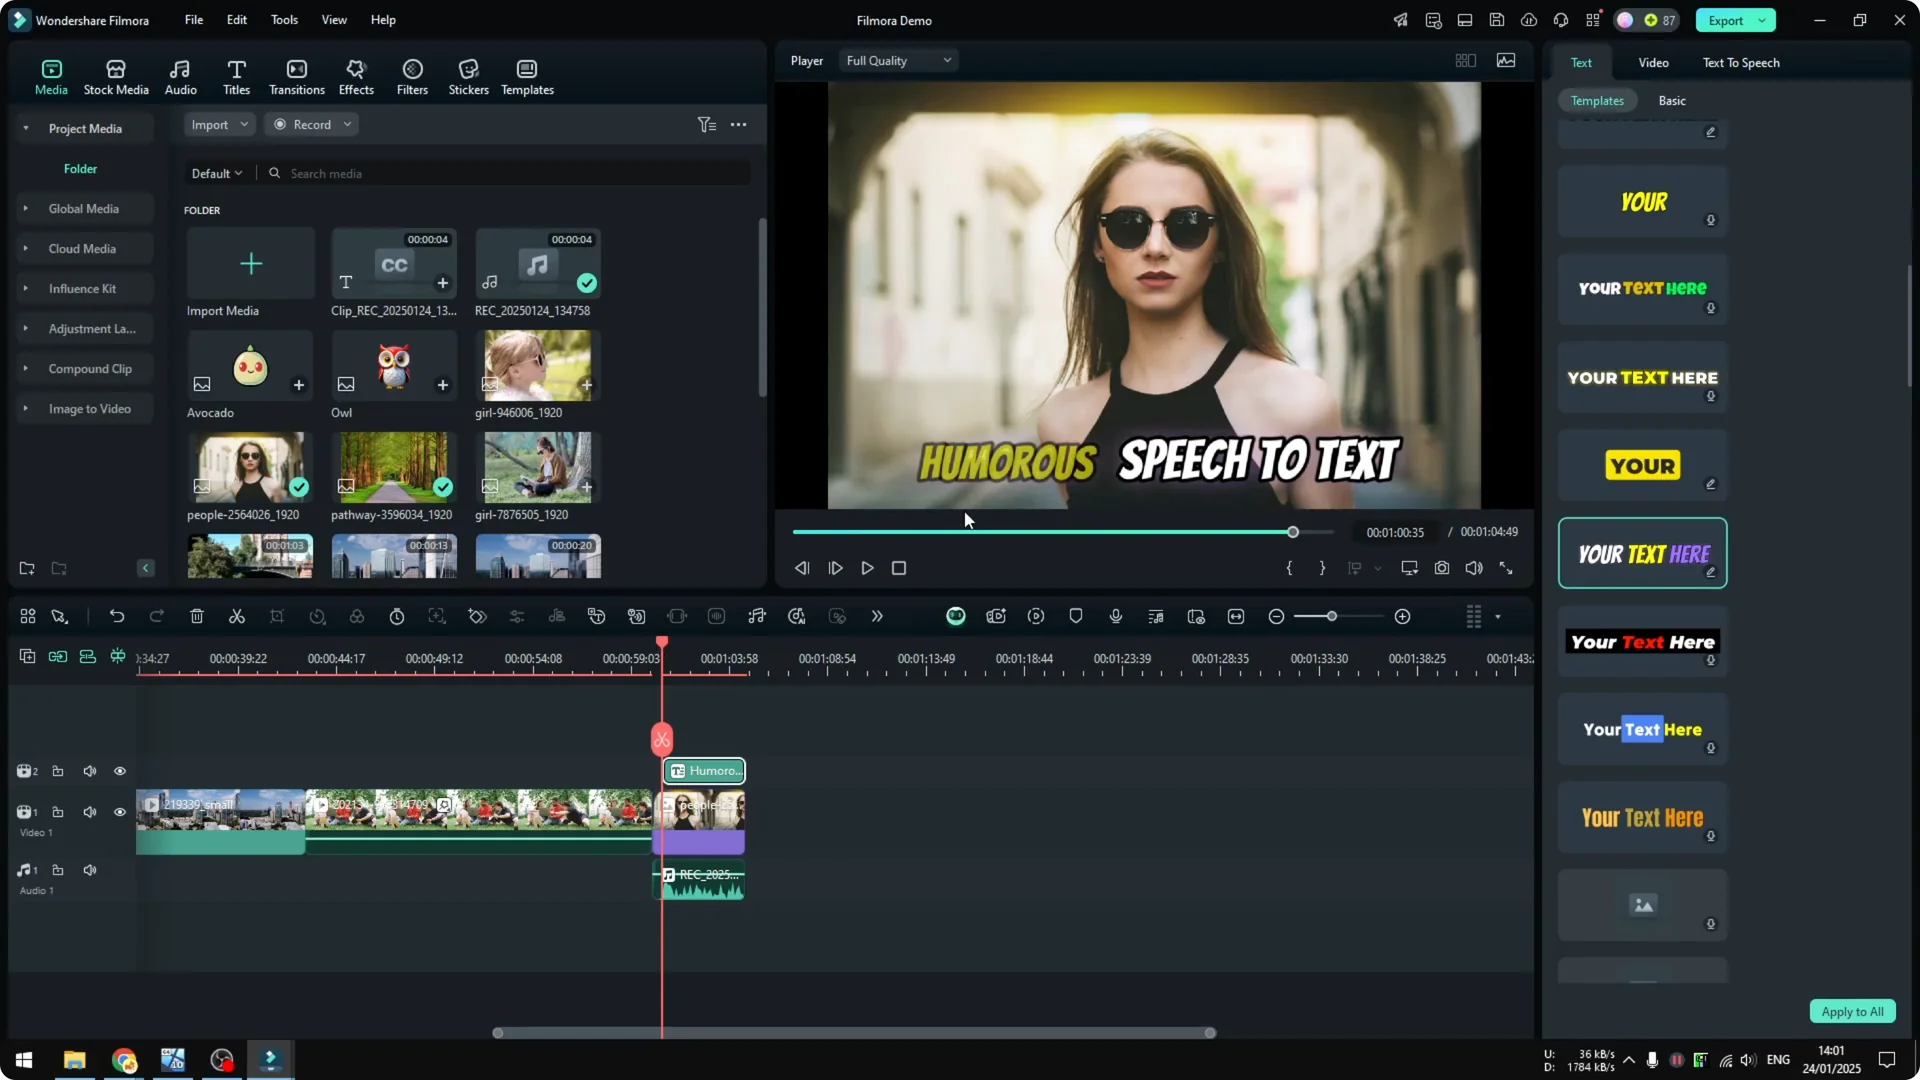
When it’s done, you will see text available on the video, and you can play it back to review.
Style your dynamic captions
I want a different styling. Click the caption file, then in the Text menu you will see many templates to choose from.
I want something that looks more attractive and shows several words at the same time.
Pick the template you like and click Apply to All. Play it back to see the updated look of your captions. You should see a much better looking version of the caption.
Read More: How To Use Ai Masking In Filmora
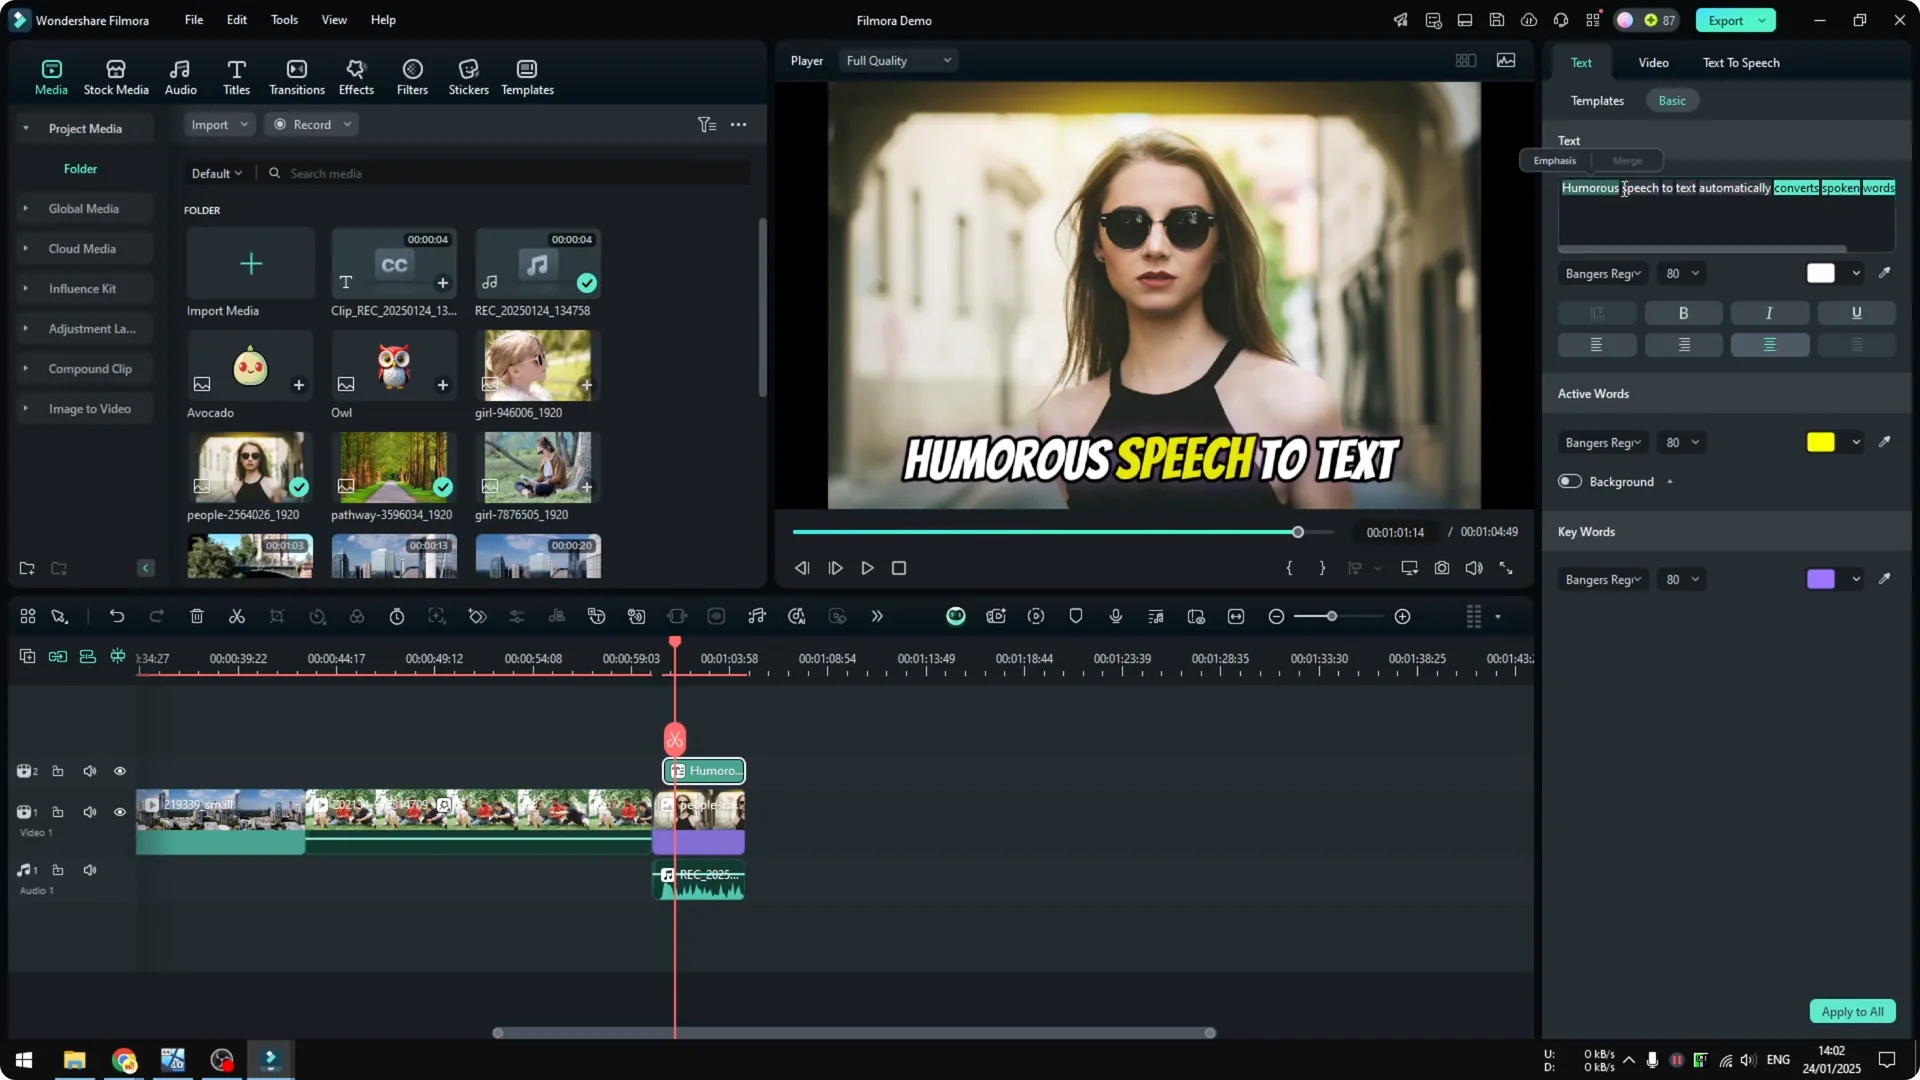
Fix recognition errors
It should be Filmora, not “humorous humor.” This is common if you are not a native speaker, and names or brands are sometimes not in the dictionary, which makes the AI struggle with certain words. That’s why you might want to manually edit the text.
Click the caption, click Text, then go to Basic.
Change the text manually to “Filmora,” then play it back again to confirm it’s correct.
Filmora speech to text automatically converts spoken words into text.
If your audio quality needs a boost to improve recognition, see how to clean it up with the AI voice enhancer in Filmora.
Final Thoughts
That’s how you convert speech to text using Filmora. Pick your mode, set your language and scope, generate, then style and edit as needed. Clean audio and quick manual fixes give you accurate, great looking captions.