I am going to show you how to remove noise from audio in Filmora. If you are recording a video or audio and there is a lot of noise in the background, you want the voice to be as clear as possible. Filmora has multiple ways to make the actual voice audible while pushing the background noise down.
I am using Filmora 14. If you use previous versions, you might open the Edit panel a little differently, but the core settings are the same. There is one feature that is exclusive to Filmora 14 and I think it delivers a better result than the traditional denoise.
I will start with the simple denoise setting in Filmora. I recorded a short test with a lot of noise in the background, and I want to reduce that noise so only my speech is audible. Here is how I do it.
Read More: How To Remove Awkward Silent Using Ai In Filmora
Filmora AI Noise Reduction basics
Click on the segment. It can be an audio clip or a video with embedded audio.

Open the Audio section in the right panel. This is where you can play around with audio settings.
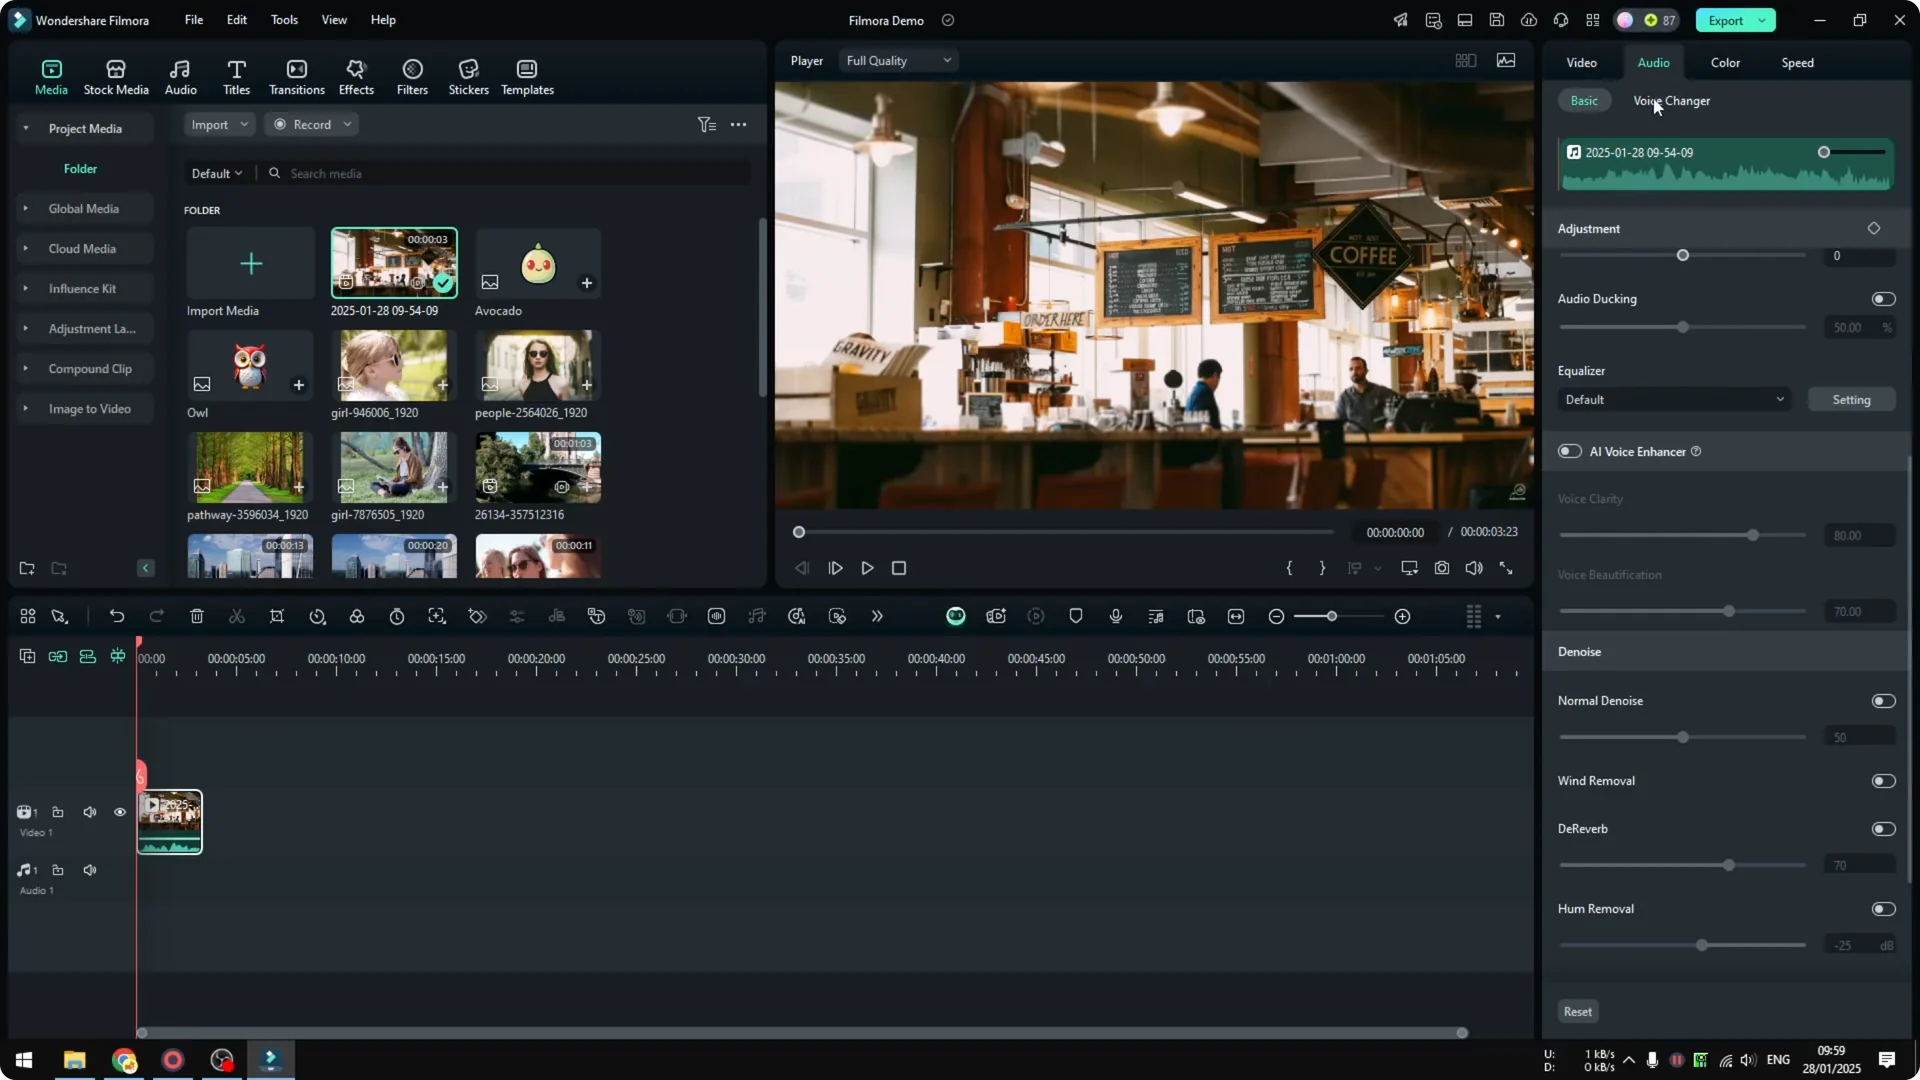
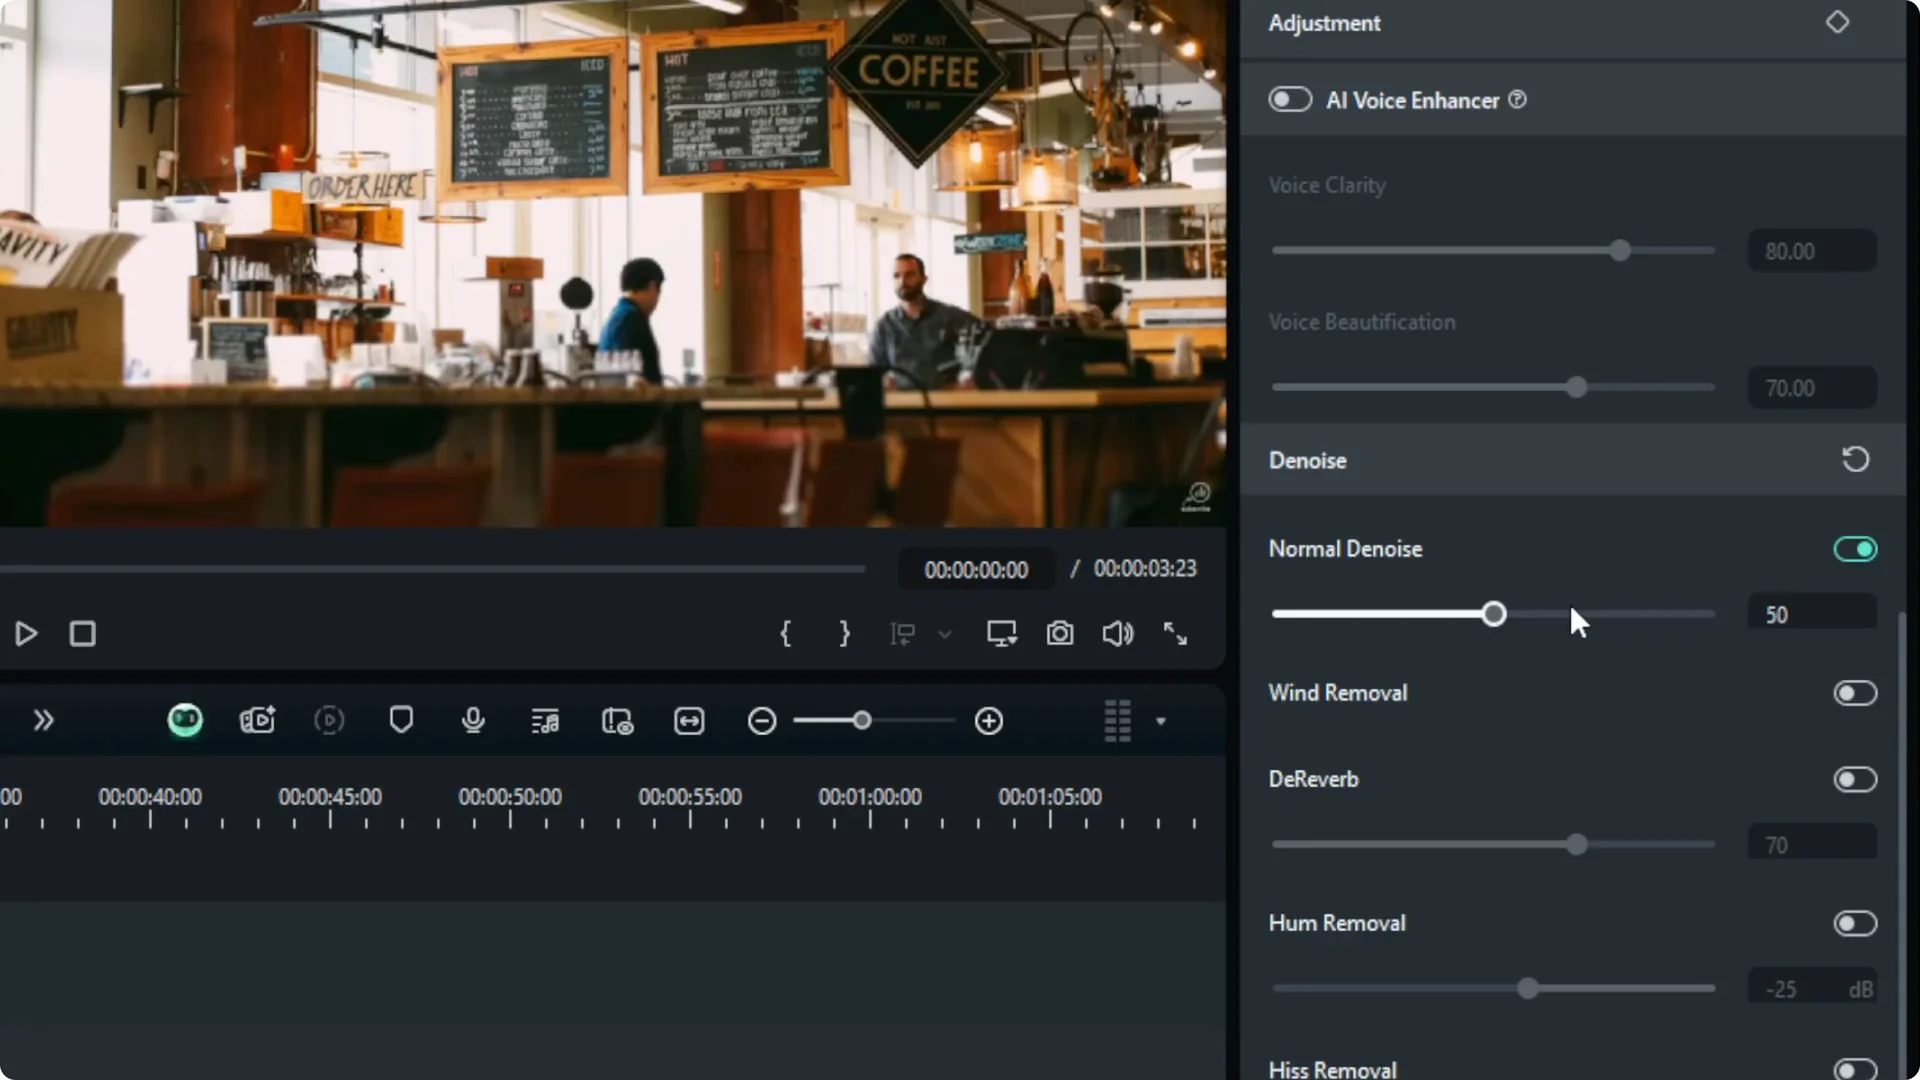
Scroll down to Noise. Enable Noise and you will see the level set to 50 by default.
Adjust levels
You can make the noise setting weaker or stronger. There is no correct number because it depends on the audio, but a moderate value like 30 can be a good start.
After you listen, you can push it to around 50 or 60 if the noise is still obvious. Do not set it too close to 100, because it can start eating the actual voice and make it less audible.

In many cases, setting it to less than 50 works better. It still depends on the audio profile of your file, so test it and listen closely. Always balance noise reduction against voice detail.
Wind and other filters
If you are recording outside and there is wind noise, enable Wind Removal. That one makes a real difference for outdoor clips.
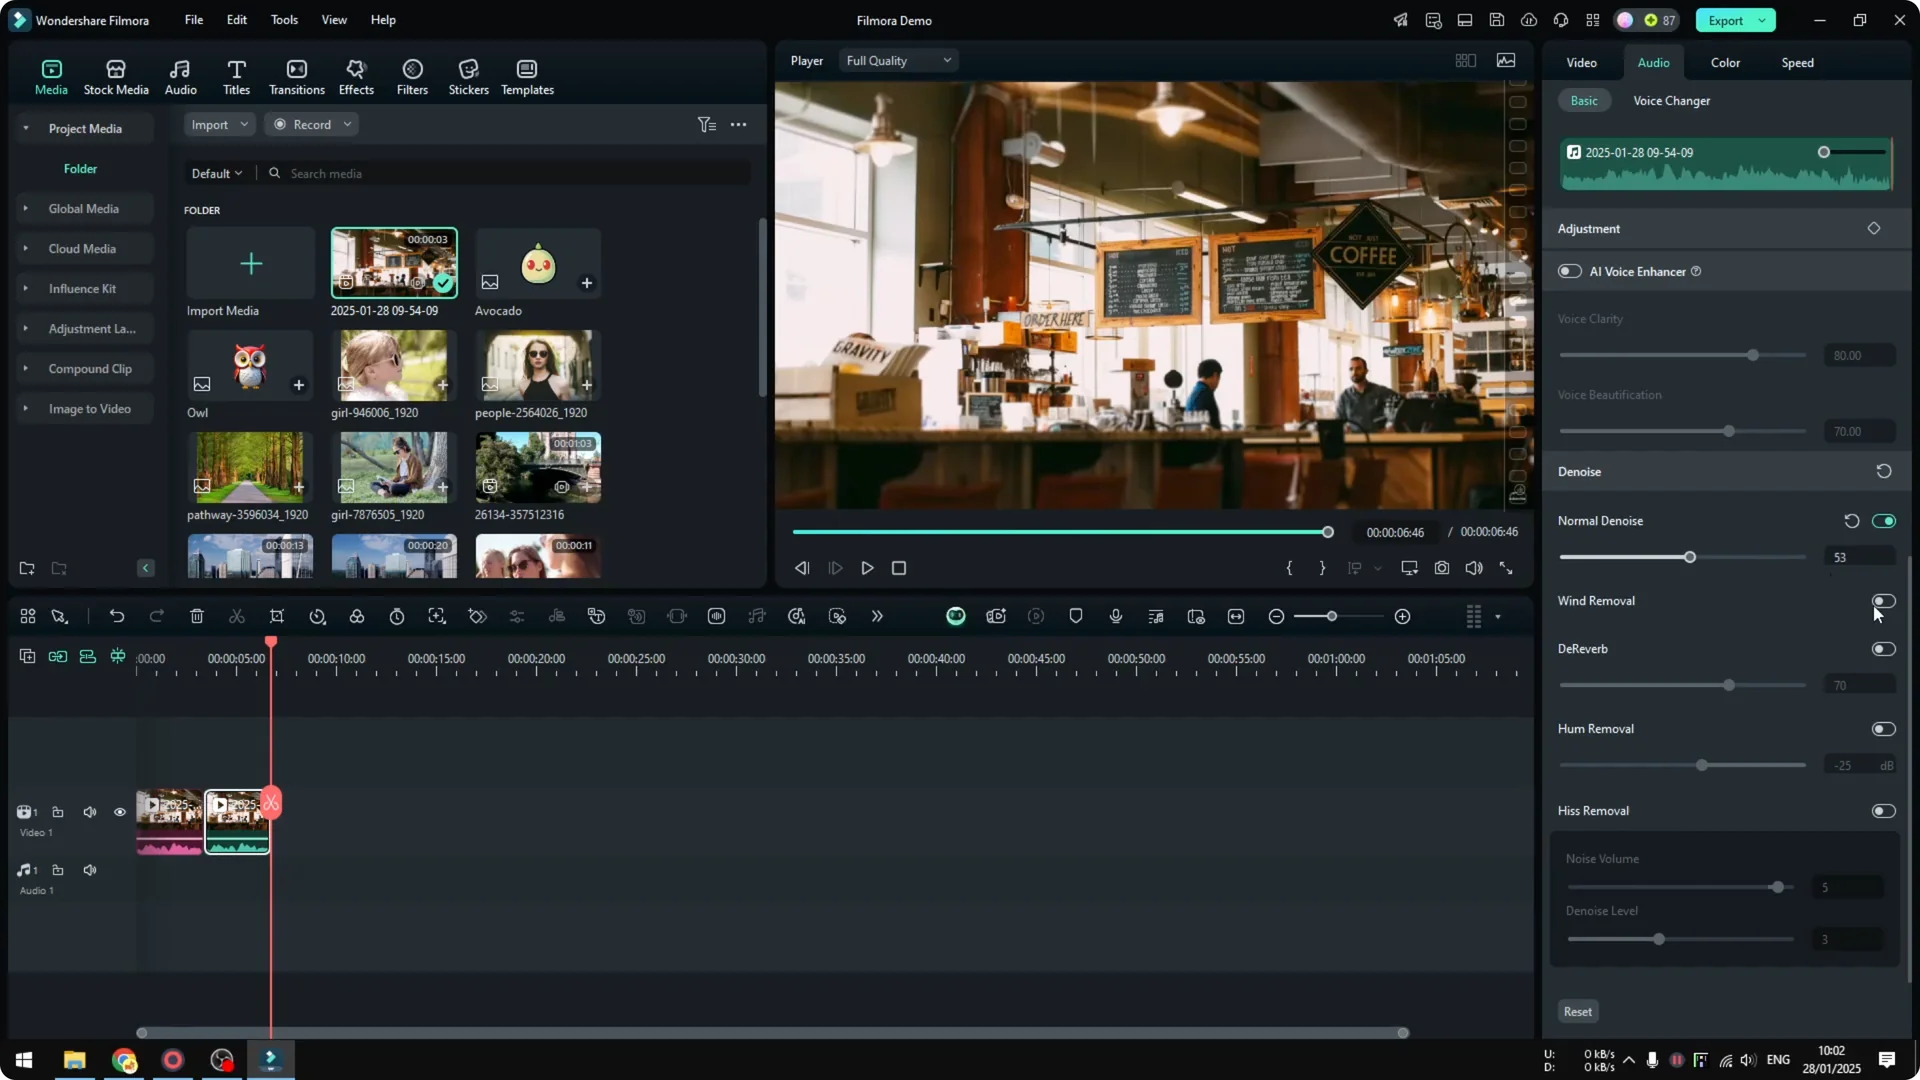
There are many other settings like hum removal and hiss removal. I barely use them, and they are usually for people who understand these numbers and work with very sensitive microphones.
Generally, normal Noise and Wind Removal are enough for most recordings. Keep it simple and focus on protecting the voice first.
Read More: How To Use Ai Portrait Cutout To Remove Background In Filmora
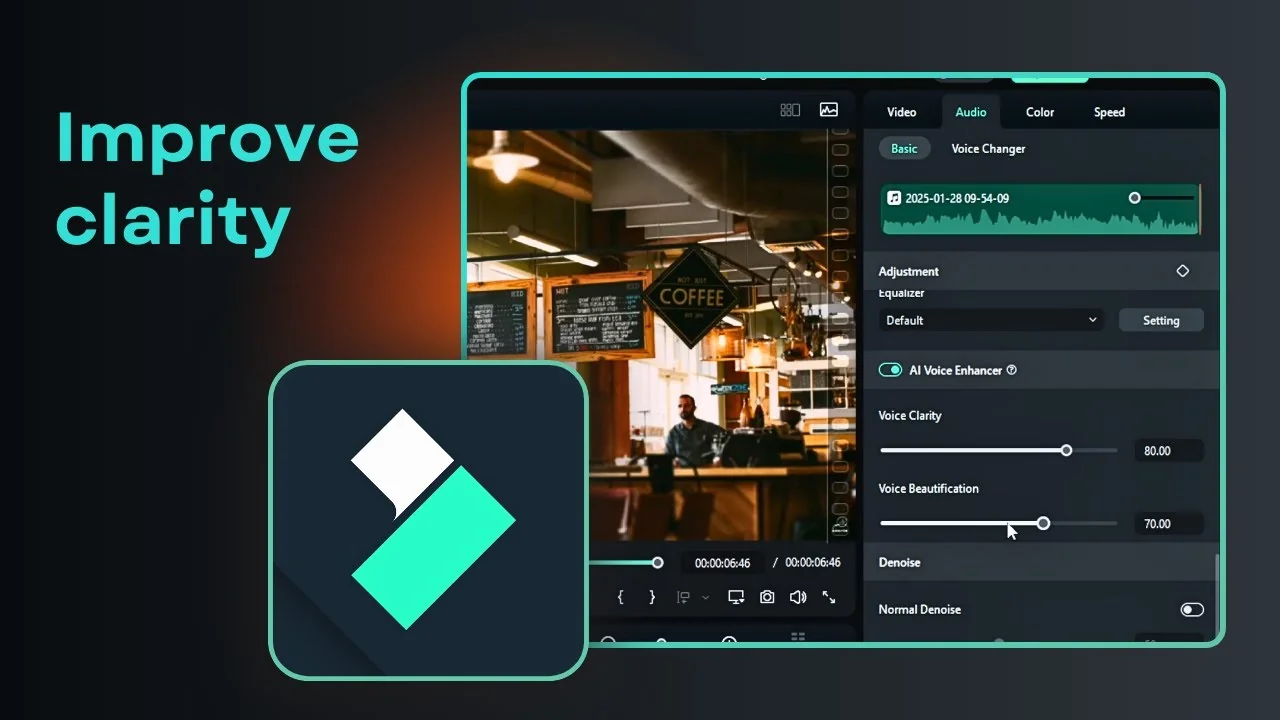
Filmora AI Noise Reduction with Voice Enhancer
The exclusive Filmora 14 feature I recommend is AI Voice Enhancer. I think the result is way better than the regular denoise.
Disable the regular Noise setting first. Use only one noise reduction method at a time to avoid artifacts.
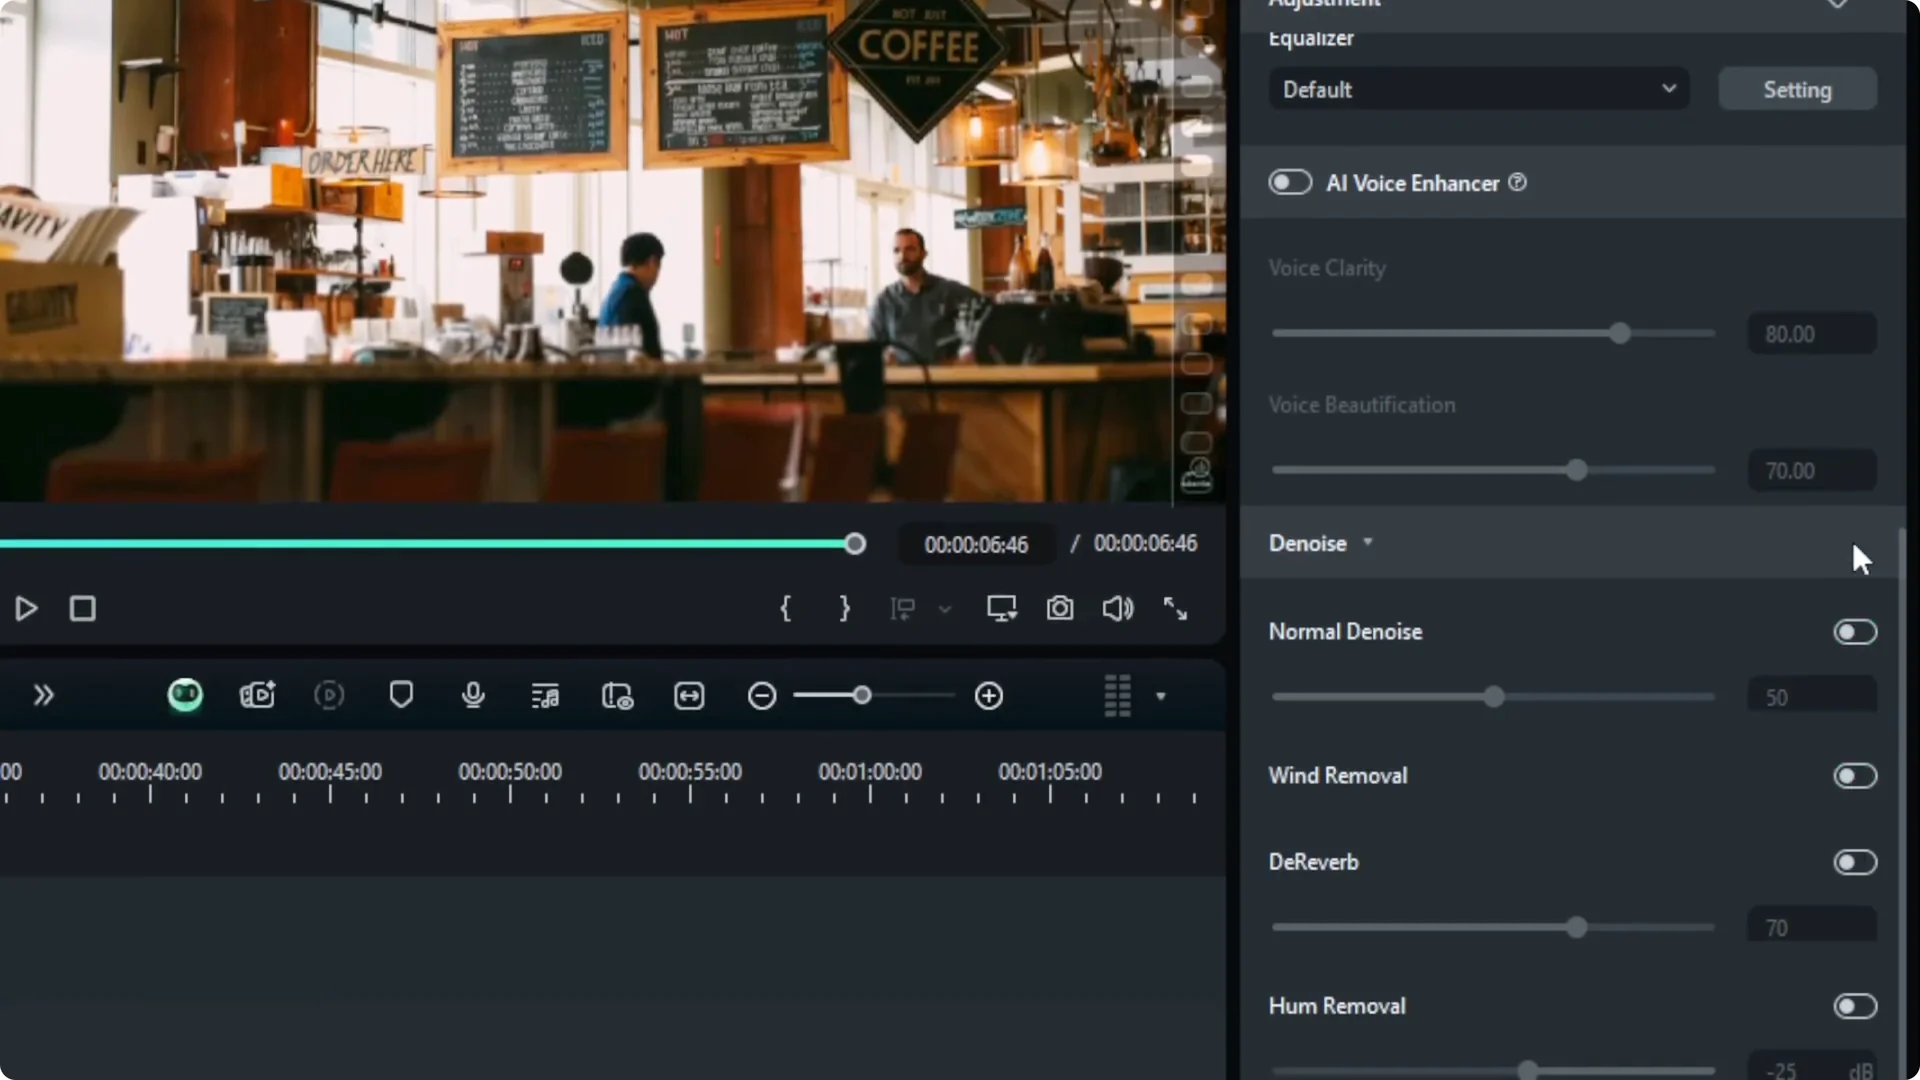
Enable AI Voice Enhancer. There are only two sliders to adjust.
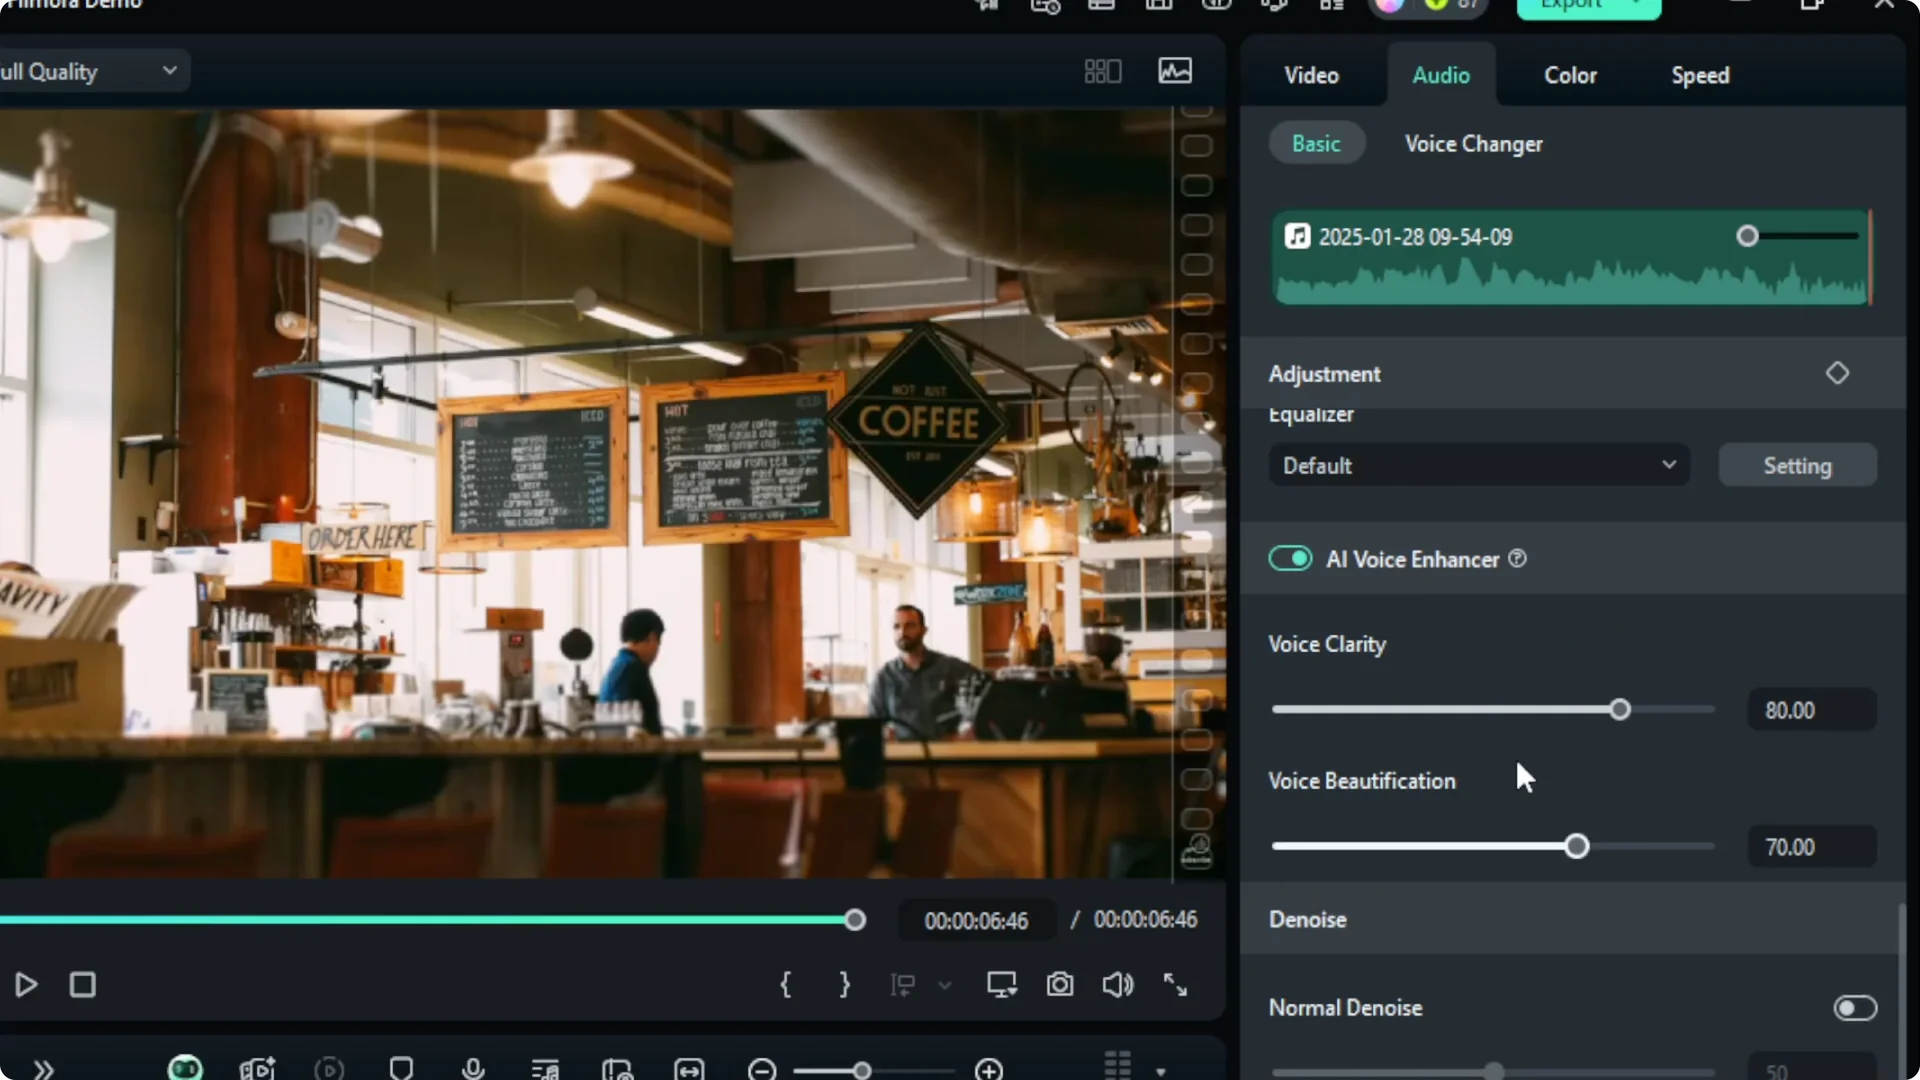
Voice Clarity
Voice Clarity is similar to the denoise. It makes the voice more clear by reducing background noise.
If you feel it is eating too much of the actual voice, reduce it a bit. If you want to push the background noise further down, you can raise it closer to a high value, but I find 70 good enough.
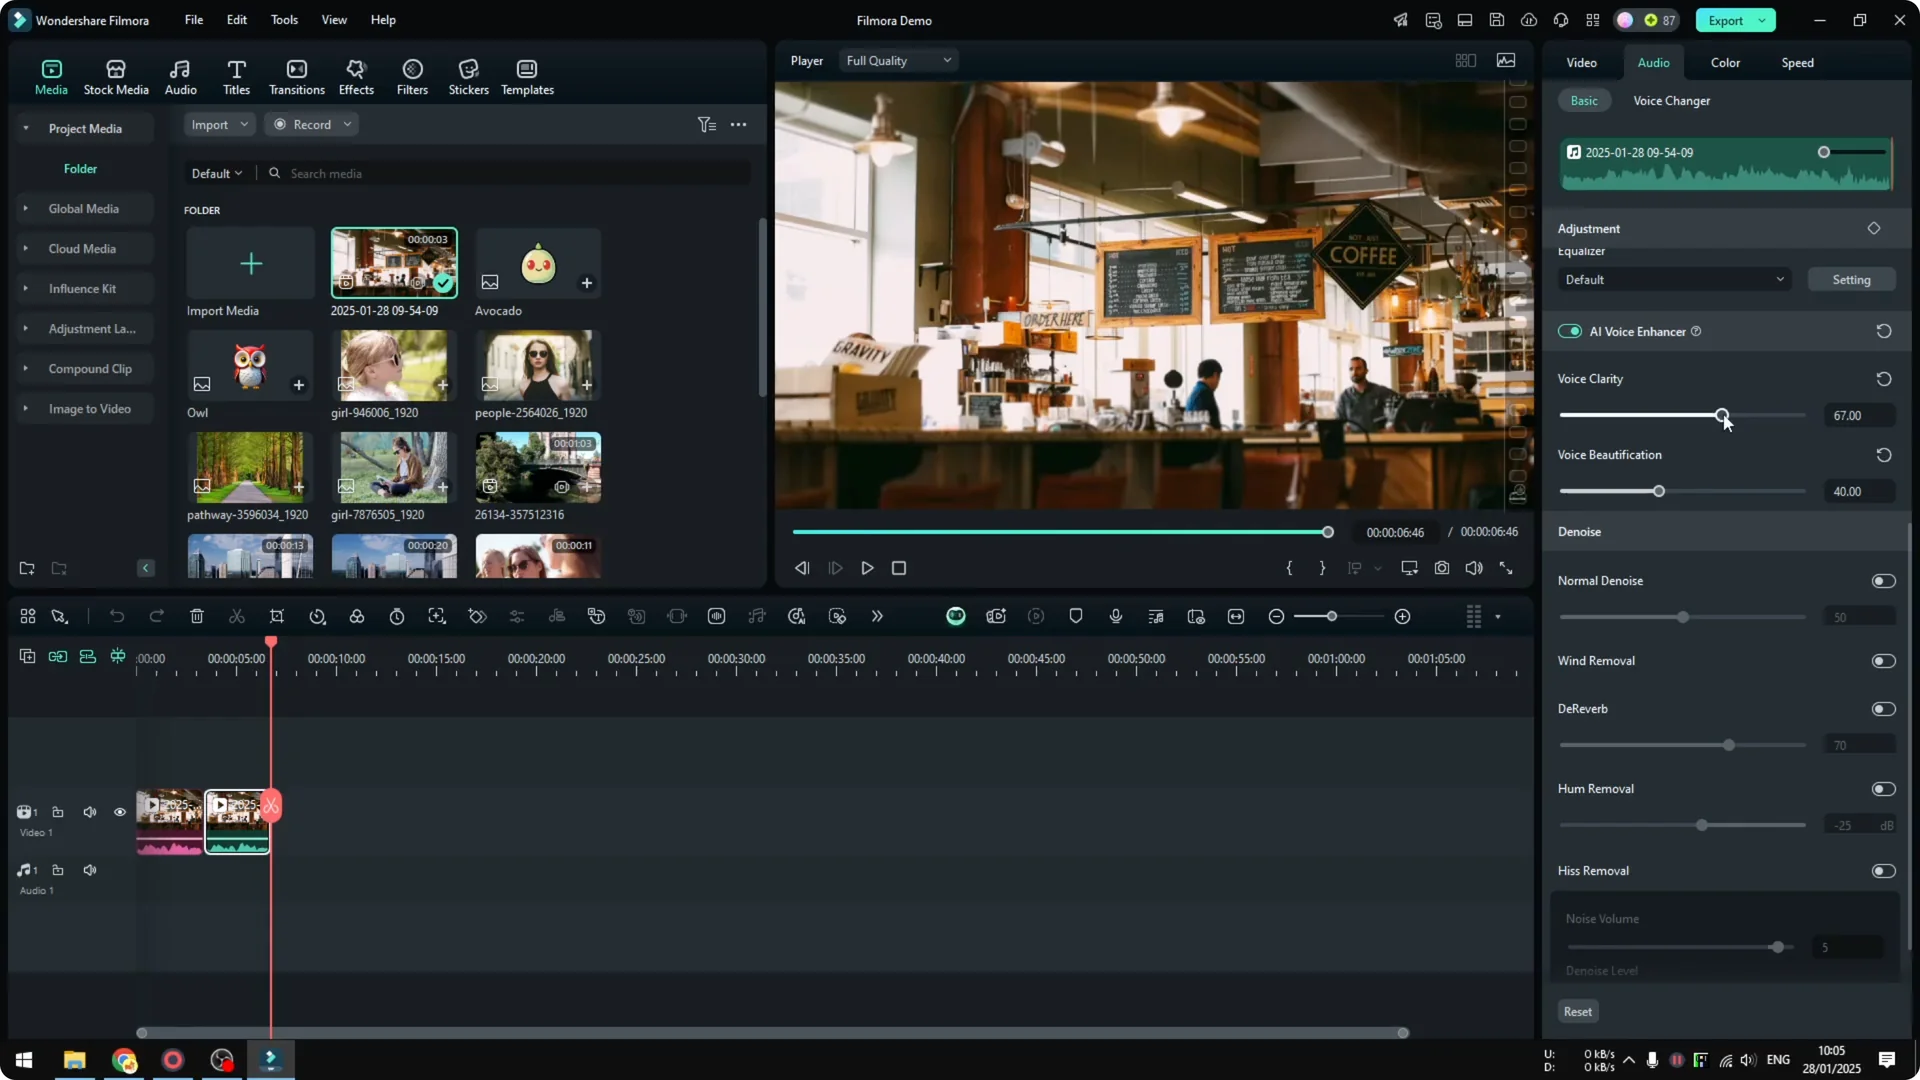
Voice Beautification
Voice Beautification makes your voice sound like it was recorded with high end equipment, even if you used a phone. The tool is impressive and it can give a studio feel.
I usually start with the default, then reduce the beautification a bit so it still sounds like me. Setting it to around 40 kept my voice natural.

I compared the AI Voice Enhancer to the regular denoise. It is safe to say the AI option sounds cleaner and more natural, as long as you tune beautification so it still sounds like your voice.
Read More: How To Remove Moving Watermark Using Filmora Ai
Final thoughts
Filmora gives you two practical paths to cleaner audio. The regular Noise and Wind Removal are quick and effective for many cases.
If you have Filmora 14, the AI Voice Enhancer produces a better result with simple controls. Start with Voice Clarity around a moderate level, lower Beautification until it sounds like you, and always protect the natural tone of the voice.