Filmora has a lot of features. This editor is not only for editing a video, it can also record your computer screen. You do not need to download and install a third party screen recorder to capture your screen.
You can use the built in tool to record your computer screen and keep everything in one place. It is simple to set up and it works well.
Getting Started With Filmora Screen Recording
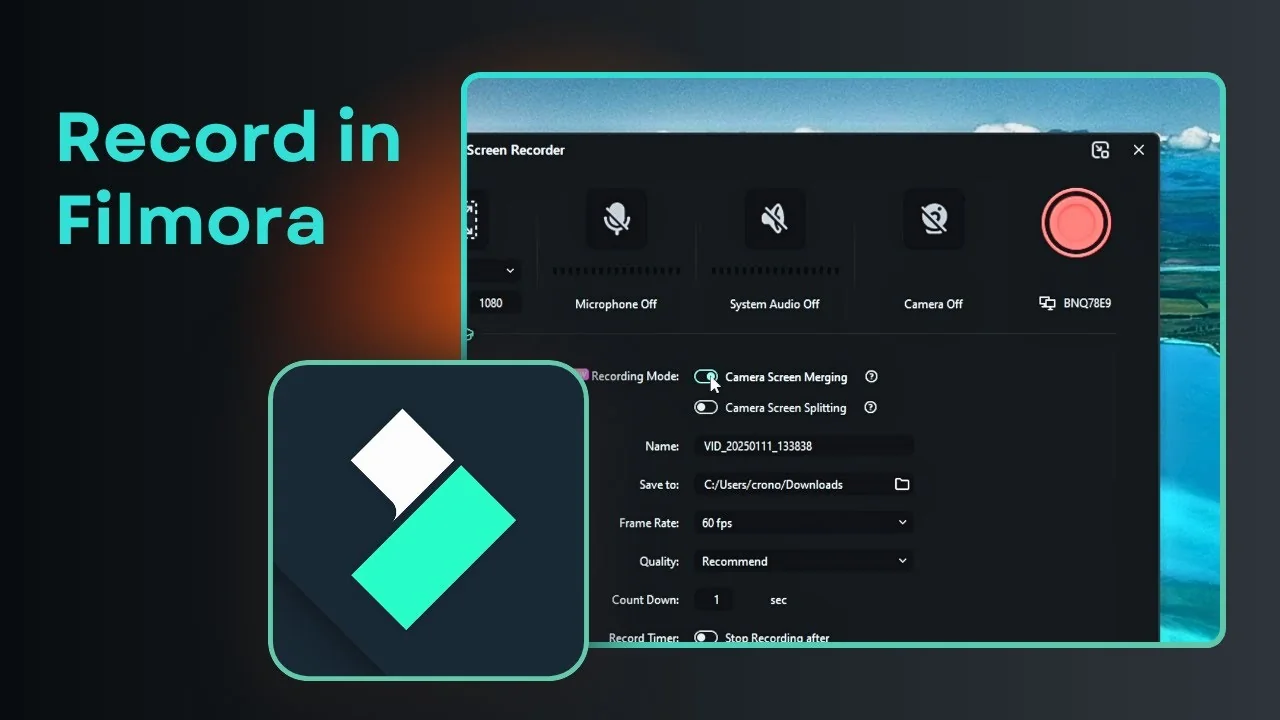
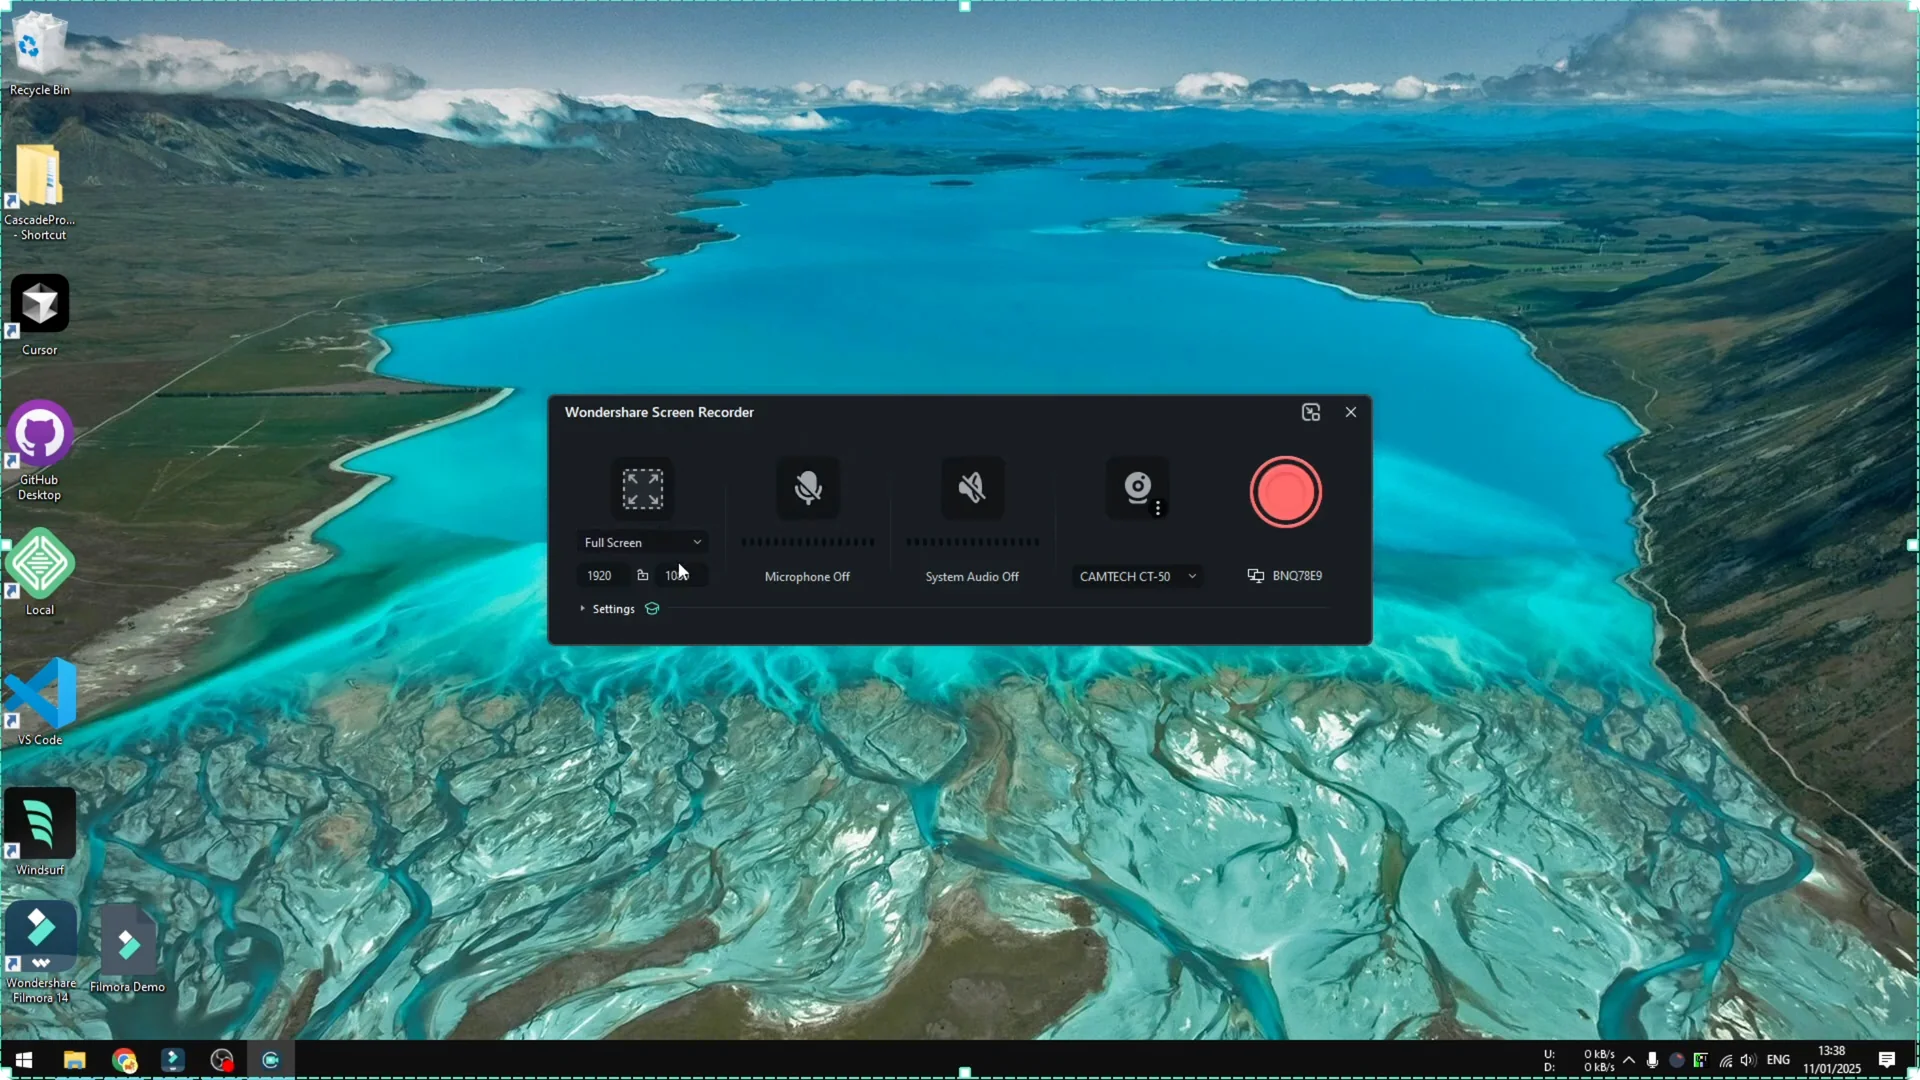
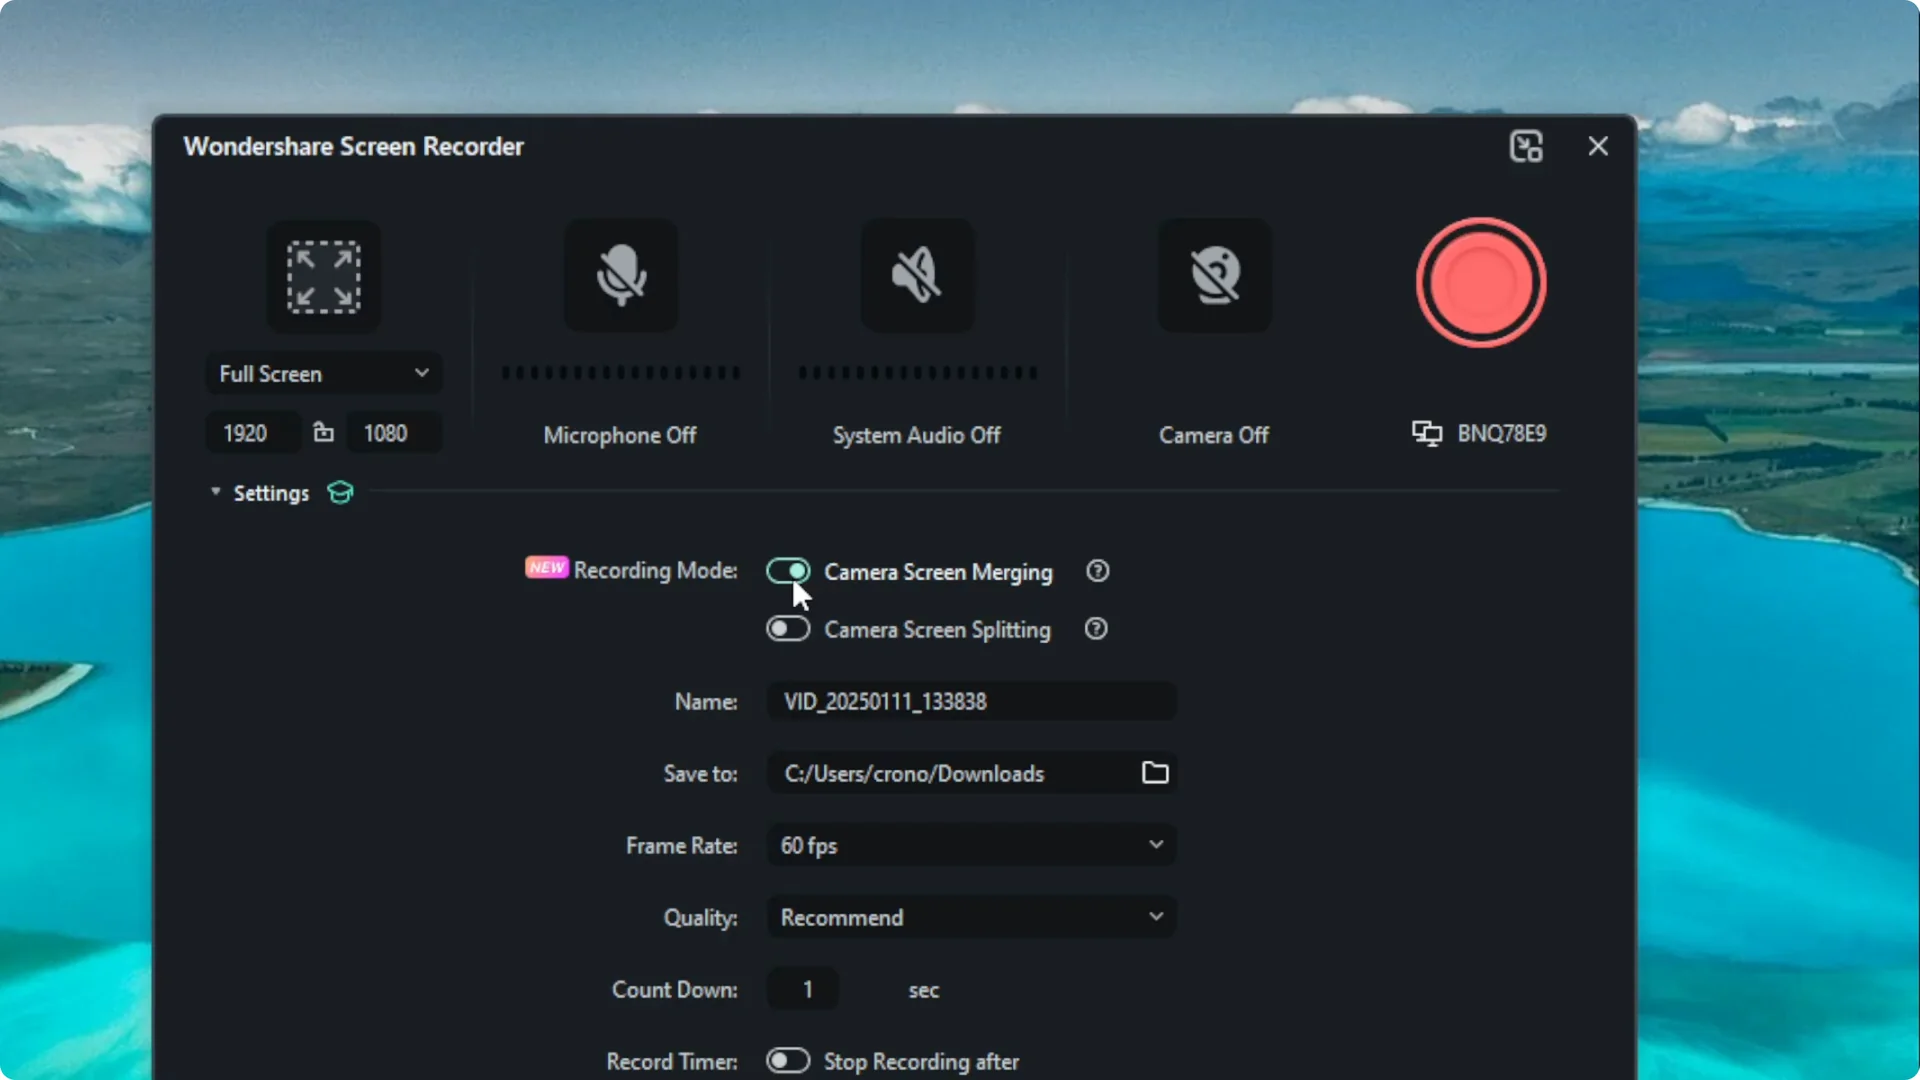
Open the File menu, go to Record Media, and click Record PC Screen. A window opens for the additional tool called Wondershare Screen Recorder. You will see settings you can adjust before you start.
Recording Area and Inputs
You can change the resolution. You can select Custom or choose a Target Window to record a specific program.
You can enable or disable the microphone and select the device you want to use. There is System Audio as well, which is the audio that comes from your computer.
For cleaner voice tracks after you record, see our AI noise removal guide for Filmora.
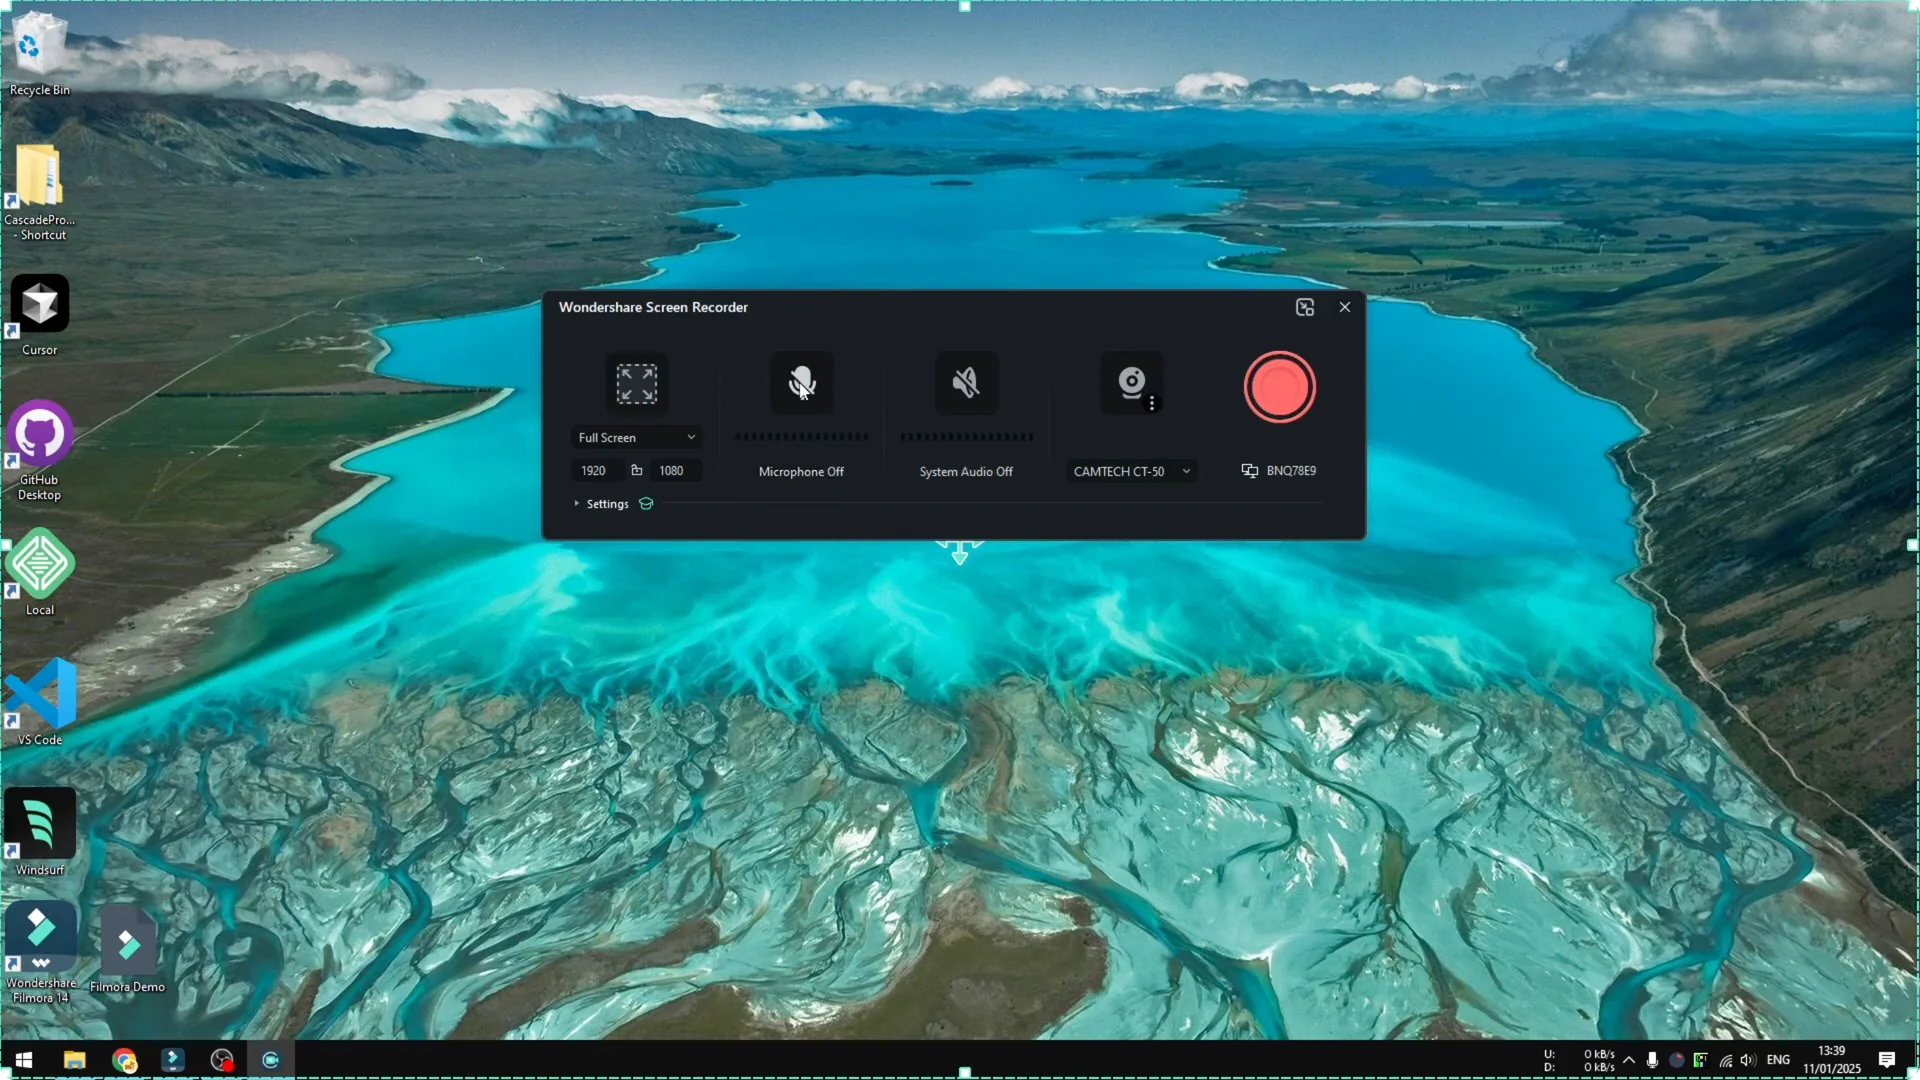
You can enable Webcam if you need it. You can also select the monitor to record if you have multiple displays. If you only have one monitor, you will see only one option.

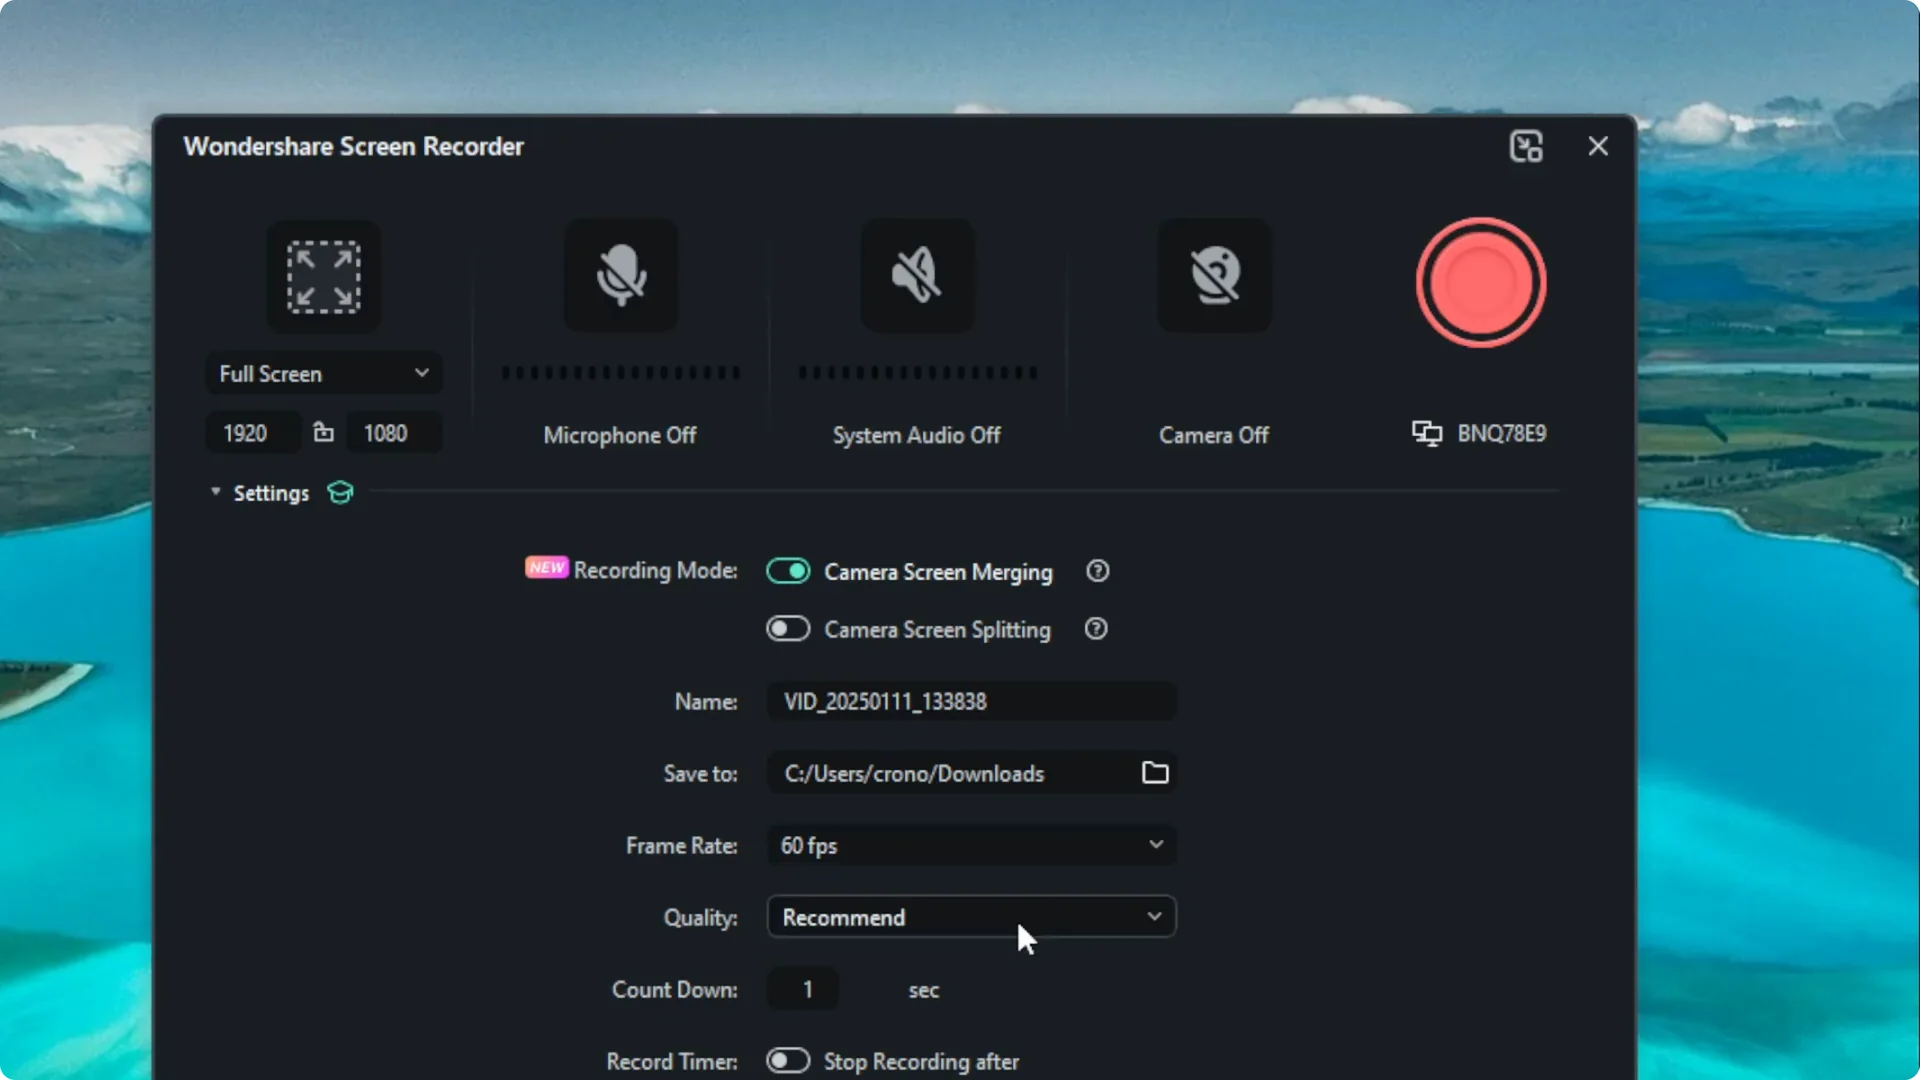
Fine Tune Filmora Screen Recording Settings
Click Settings to fine tune your screen recording.
Recording Mode Options
There are two Recording Mode options. The first records your computer monitor and your webcam and merges them into one video. The second keeps the webcam and screen as separate files.
The choice depends on how you plan to edit later. The first option is easier to manage, but it has some limitations.
File Name, Location, and Basic Quality Controls
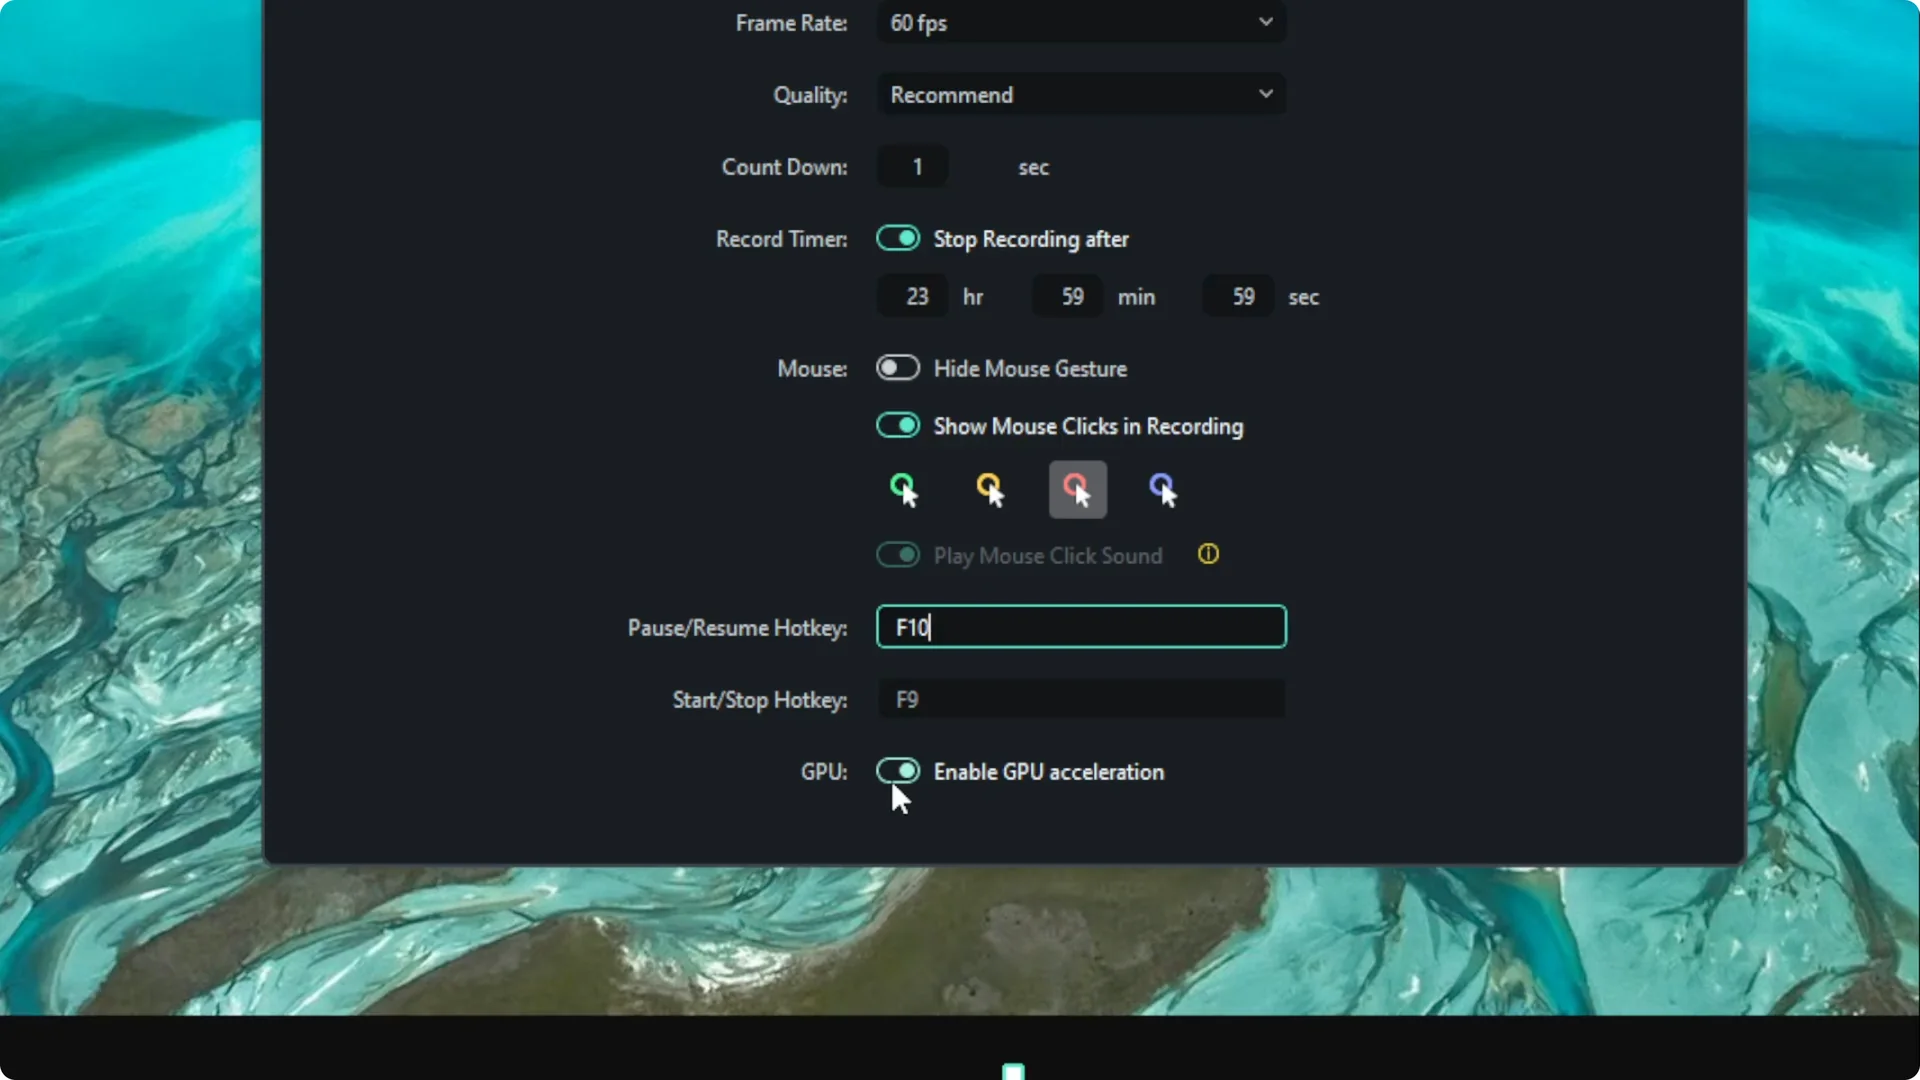
You can set the name of the screen recording in advance and choose the location where it will be stored. You can select the frame rate, the video quality, and the countdown before recording starts. One second for the countdown works well.
You can also set the recording duration if you need a fixed length. The video will stop automatically when it reaches that time.
To further polish your footage, you can improve video quality in Filmora with AI after you record.
Cursor Effects and Hotkeys
There is an option that is especially useful for making a tutorial. Enable the setting that highlights cursor interactions so viewers can see what you click.
You can change the hotkeys to pause or resume the recording. The defaults work fine if you do not want to customize them.
Read More: How To Remove Vocal From Song In Filmora Using Ai
GPU Acceleration
Enable GPU Acceleration if it is available for your system. If you have an Nvidia or an AMD graphics card, this can make the recording smoother and allow higher resolution and higher quality. I highly recommend enabling this option.
Start and Stop Recording in Filmora Screen Recording
Start Recording
When you are done with the settings, click the Record button or use the hotkey. You will see the countdown, and then the screen recording starts. Everything that happens on the selected screen will be captured.
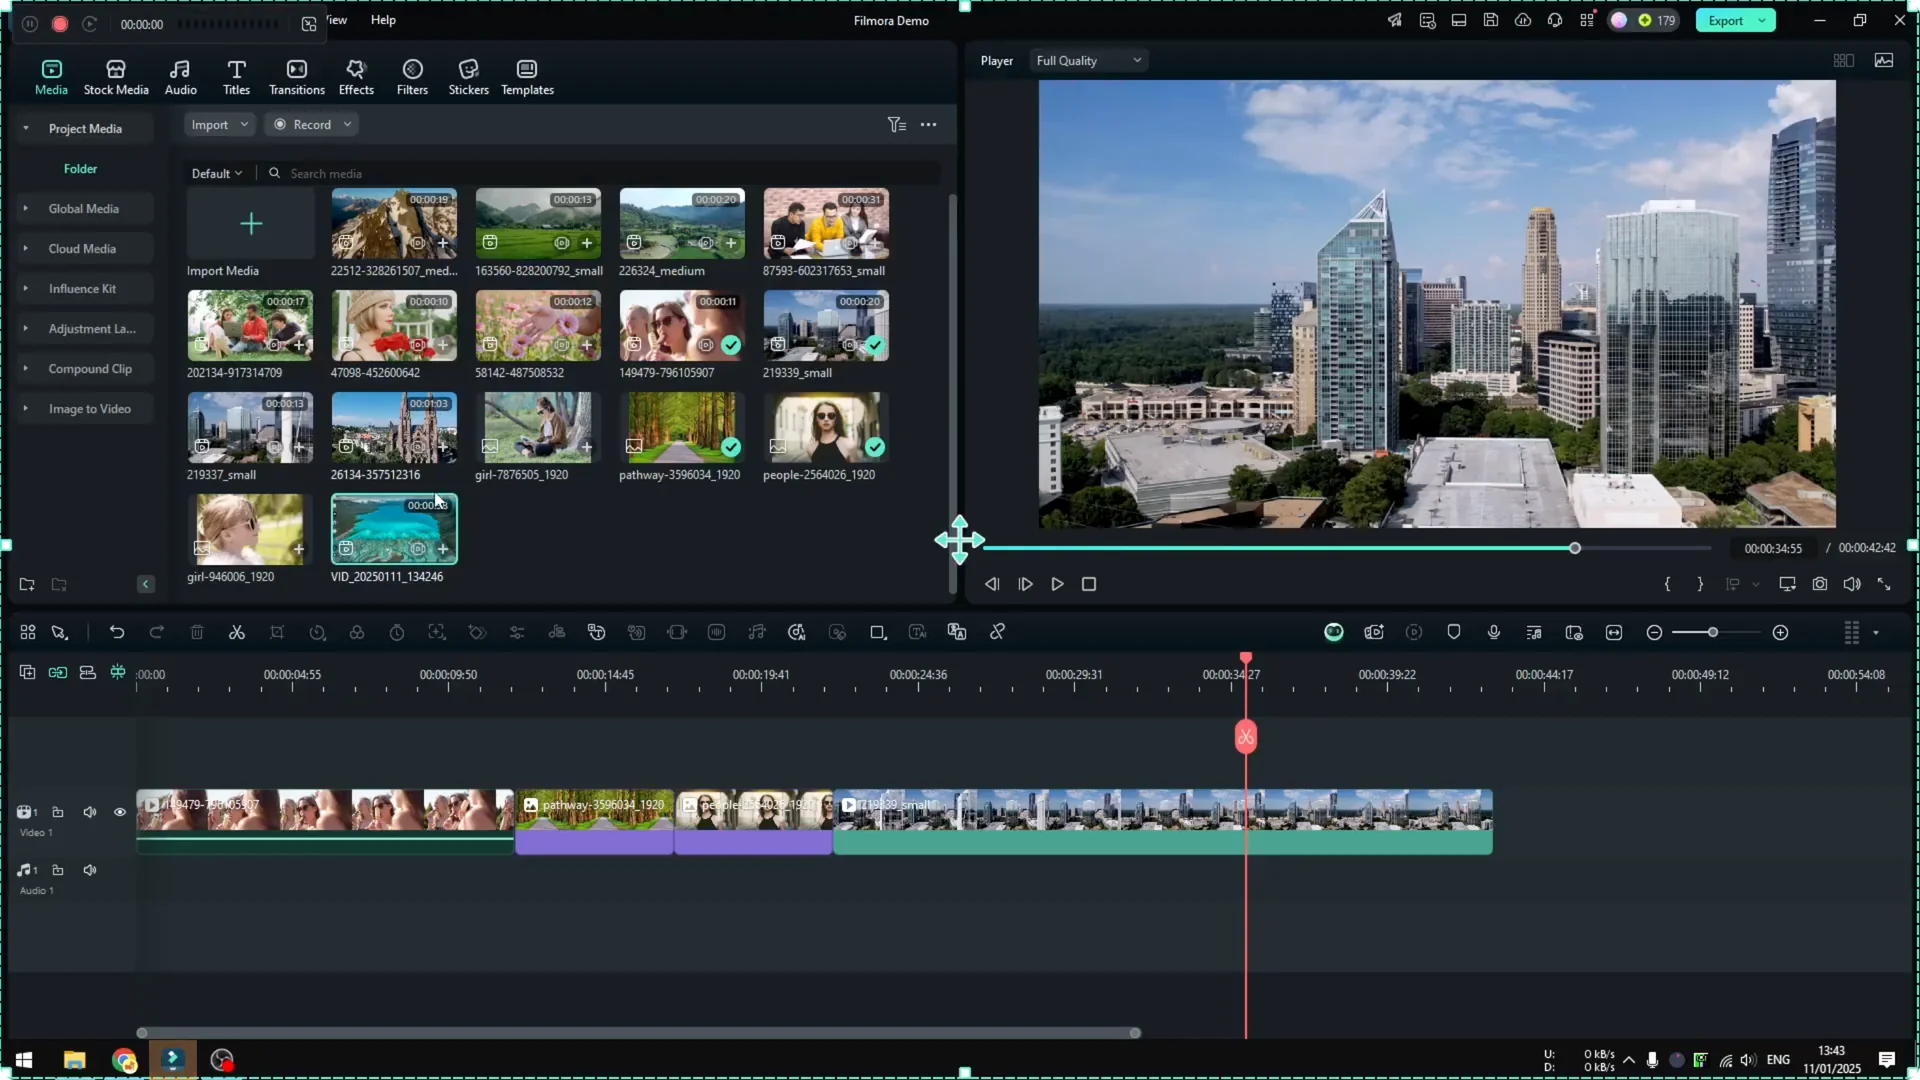
Stop Recording and Manage Clips
You can stop the recording with the hotkey or by using the small control panel. After you stop, a new clip appears in Filmora, ready to work with. It is simple and straightforward.
Final Thoughts
Filmora makes screen recording easy by keeping it inside the editor. The setup is quick, the options cover what most people need, and GPU acceleration helps deliver smooth, high quality results. Use the right mode for your workflow, set your audio and cursor options, and you are ready to record.