I am going to show you how to remove background noise from the audio in a video project in Filmora. If you have a recording in an outdoor environment with other people talking and your voice becomes inaudible, there is a way in Filmora to reduce the background noise. Your voice can become more clear and audible.
I made an example from my own recording and added people talking as if I was in a public area. It is an extreme example, because with a proper microphone the background noise is usually not this audible. I will use Filmora settings and see how much clarity I can get from this audio file.
For an AI focused walkthrough, you can also check this AI guide to removing background noise in Filmora. It complements the steps below with extra context. Both approaches aim to make spoken voice more clear.
Filmora Audio Noise Reduction setup
First separate the audio from the video. This recording is a screen recording, so I right click and choose Detach Audio. This detaches the audio from the video, and you can move or remove the video if you do not need it.
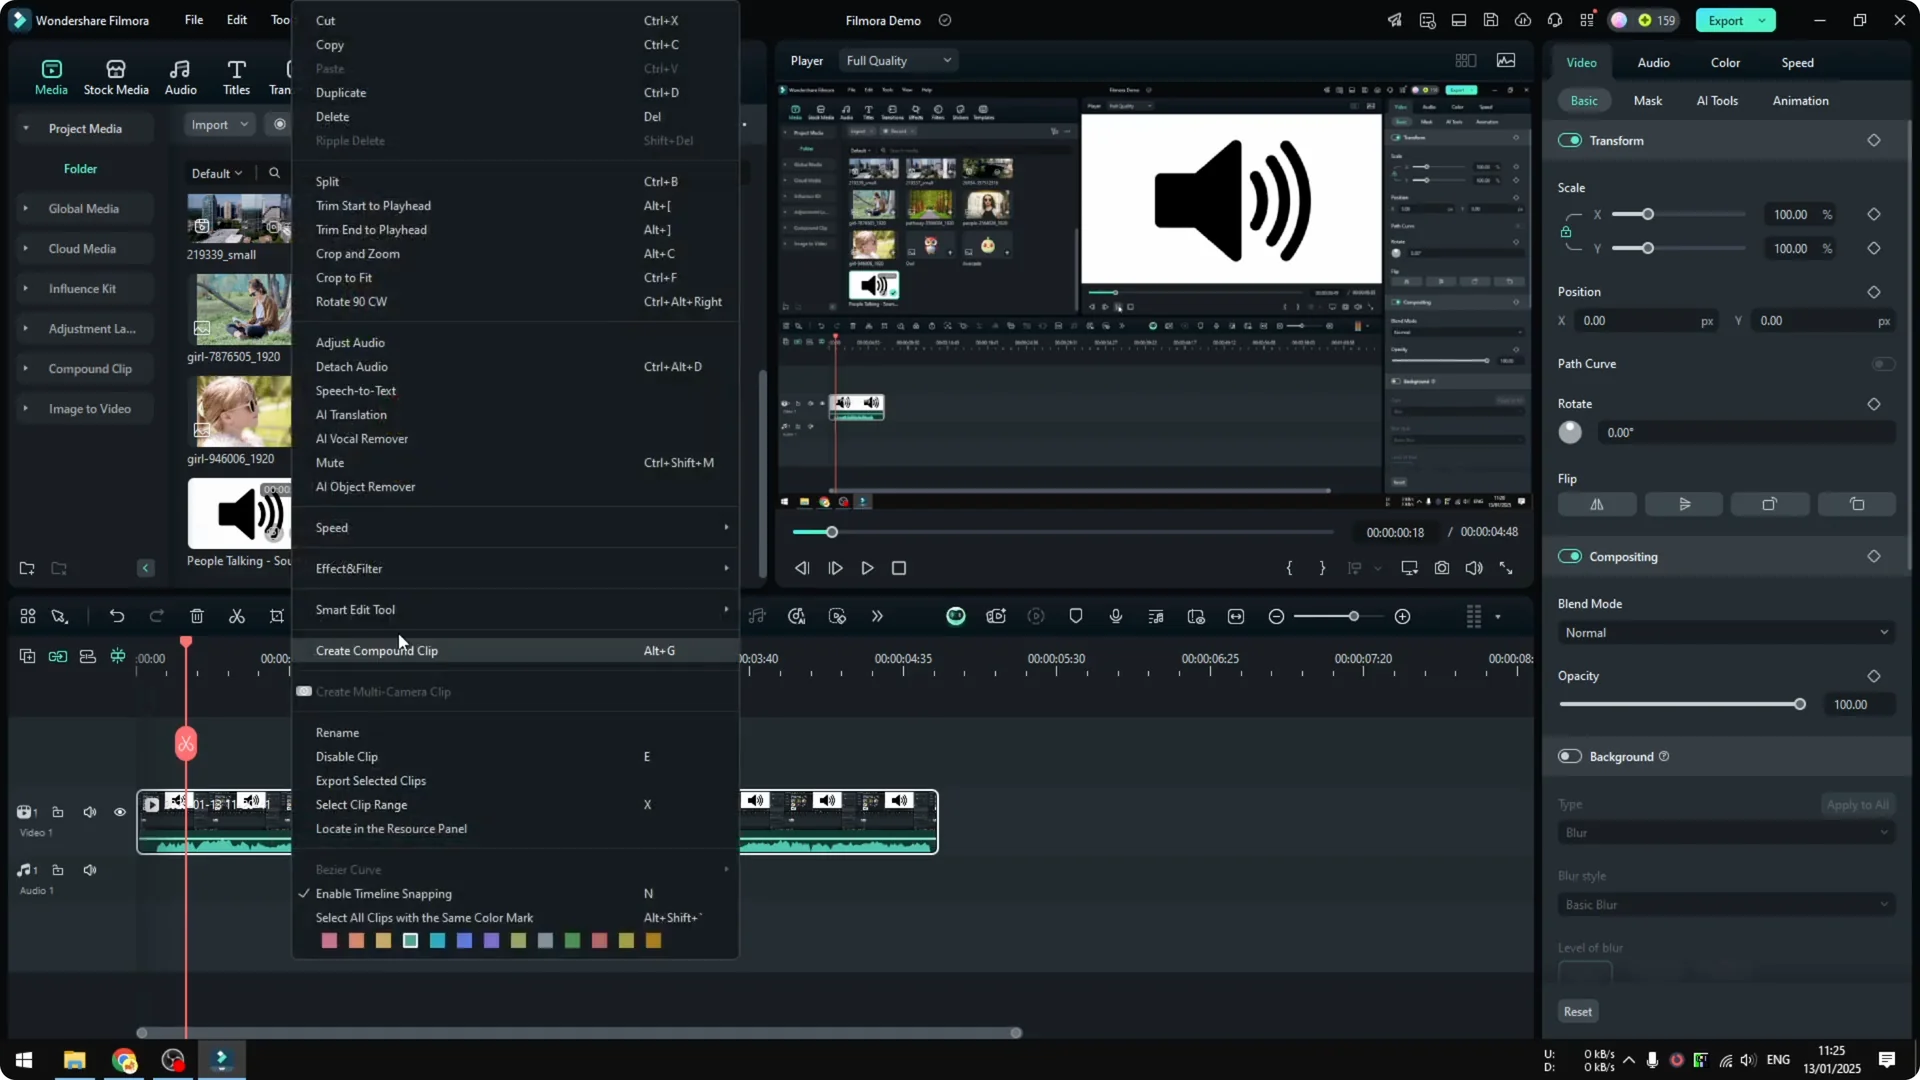
I remove the video clip so I only have the audio file. That keeps the timeline clean while I focus on the sound. The audio clip is the exact same recording without the visuals.
Open the audio panel. If you do not see the audio controls, click the Edit icon to open the inspector and access audio. On Filmora 14 with the new layout, you can access audio controls directly from the inspector icon.
Filmora Audio Noise Reduction controls
There are a bunch of settings in the audio section, and I am not an audio expert. I will show the few settings I usually use to make my audio more clear. These give me a good balance between clarity and natural sound.
Filmora Audio Noise Reduction level
The first option is noise reduction. Enable it, listen, and adjust the strength. I usually never set it above 20 percent.
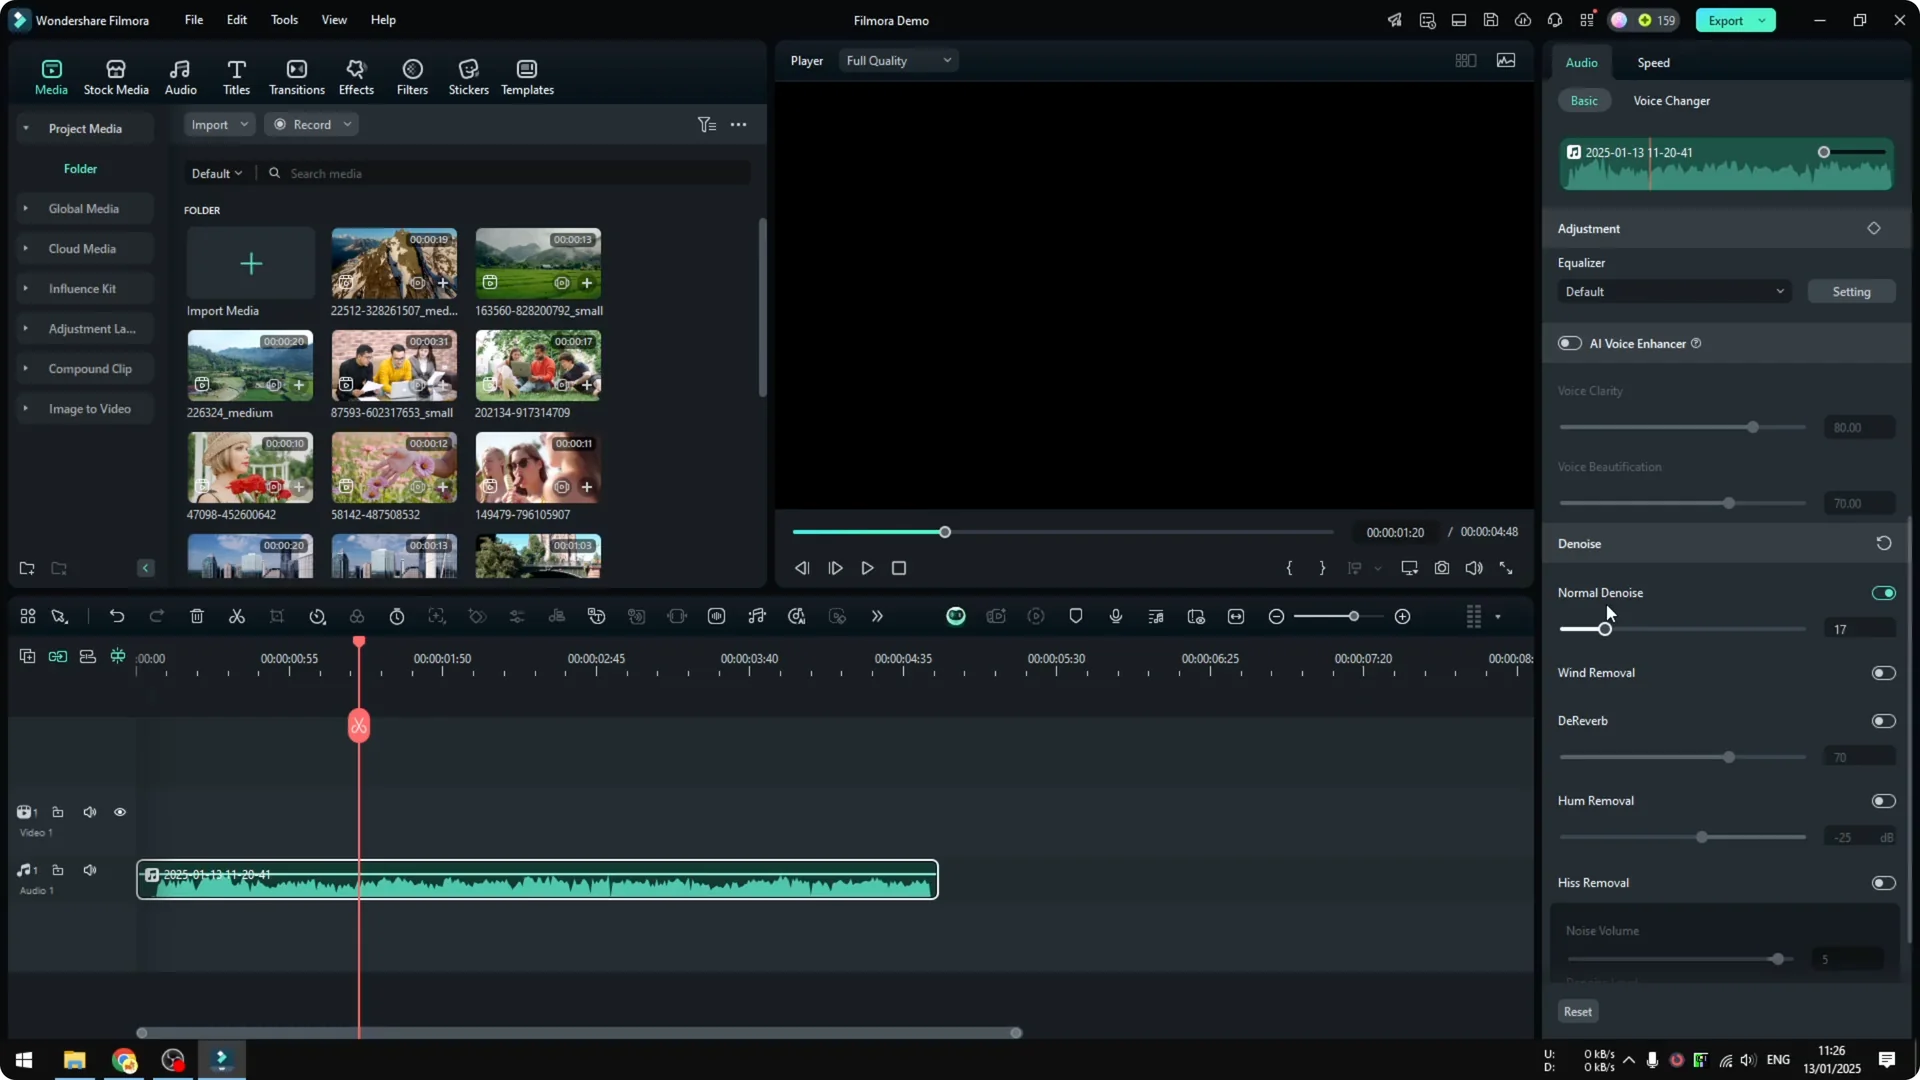
Try 20 percent and check the result. It is a bit better at this level while keeping the voice intact. If you push it to 100 percent, it can make the actual voice inaudible.
Do not set it too high because your voice quality will suffer. Your audio file could be different, so 30 or 40 percent might be okay in some cases. For me 20 percent is usually enough.

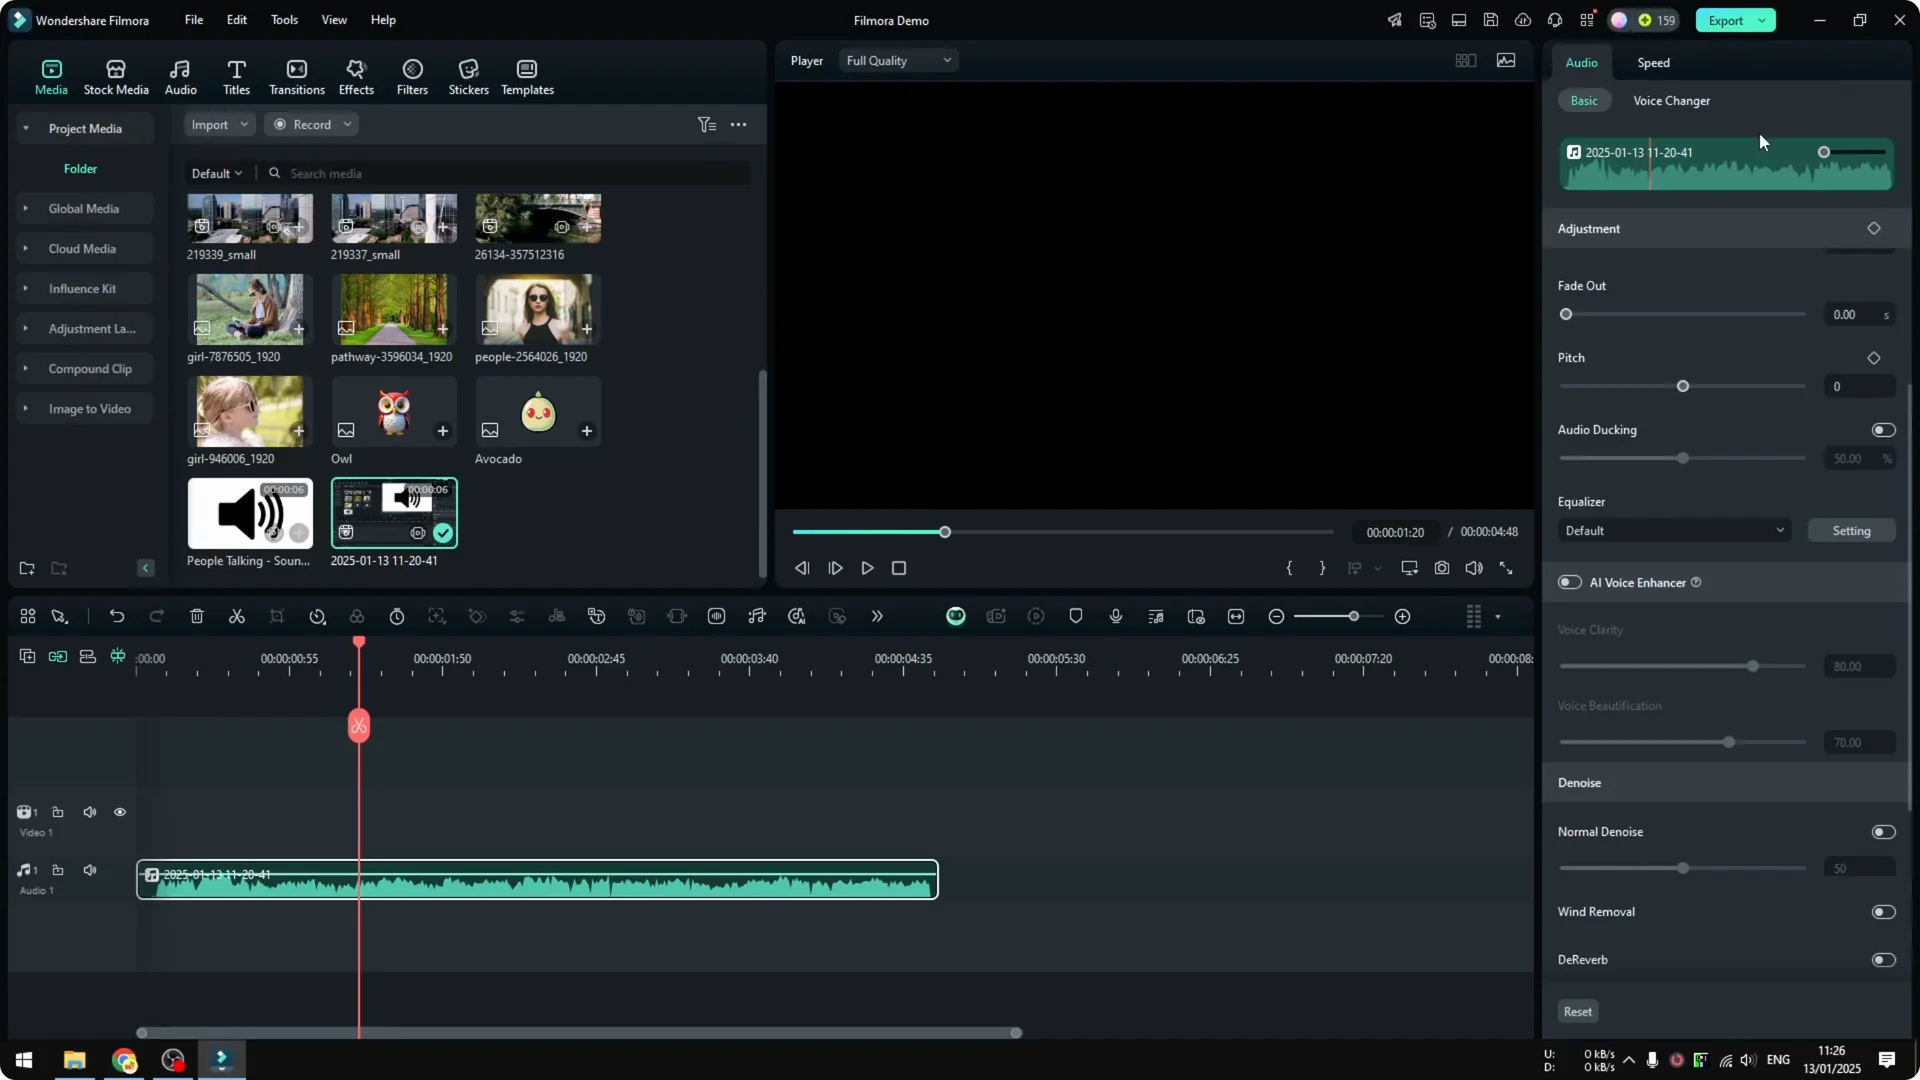
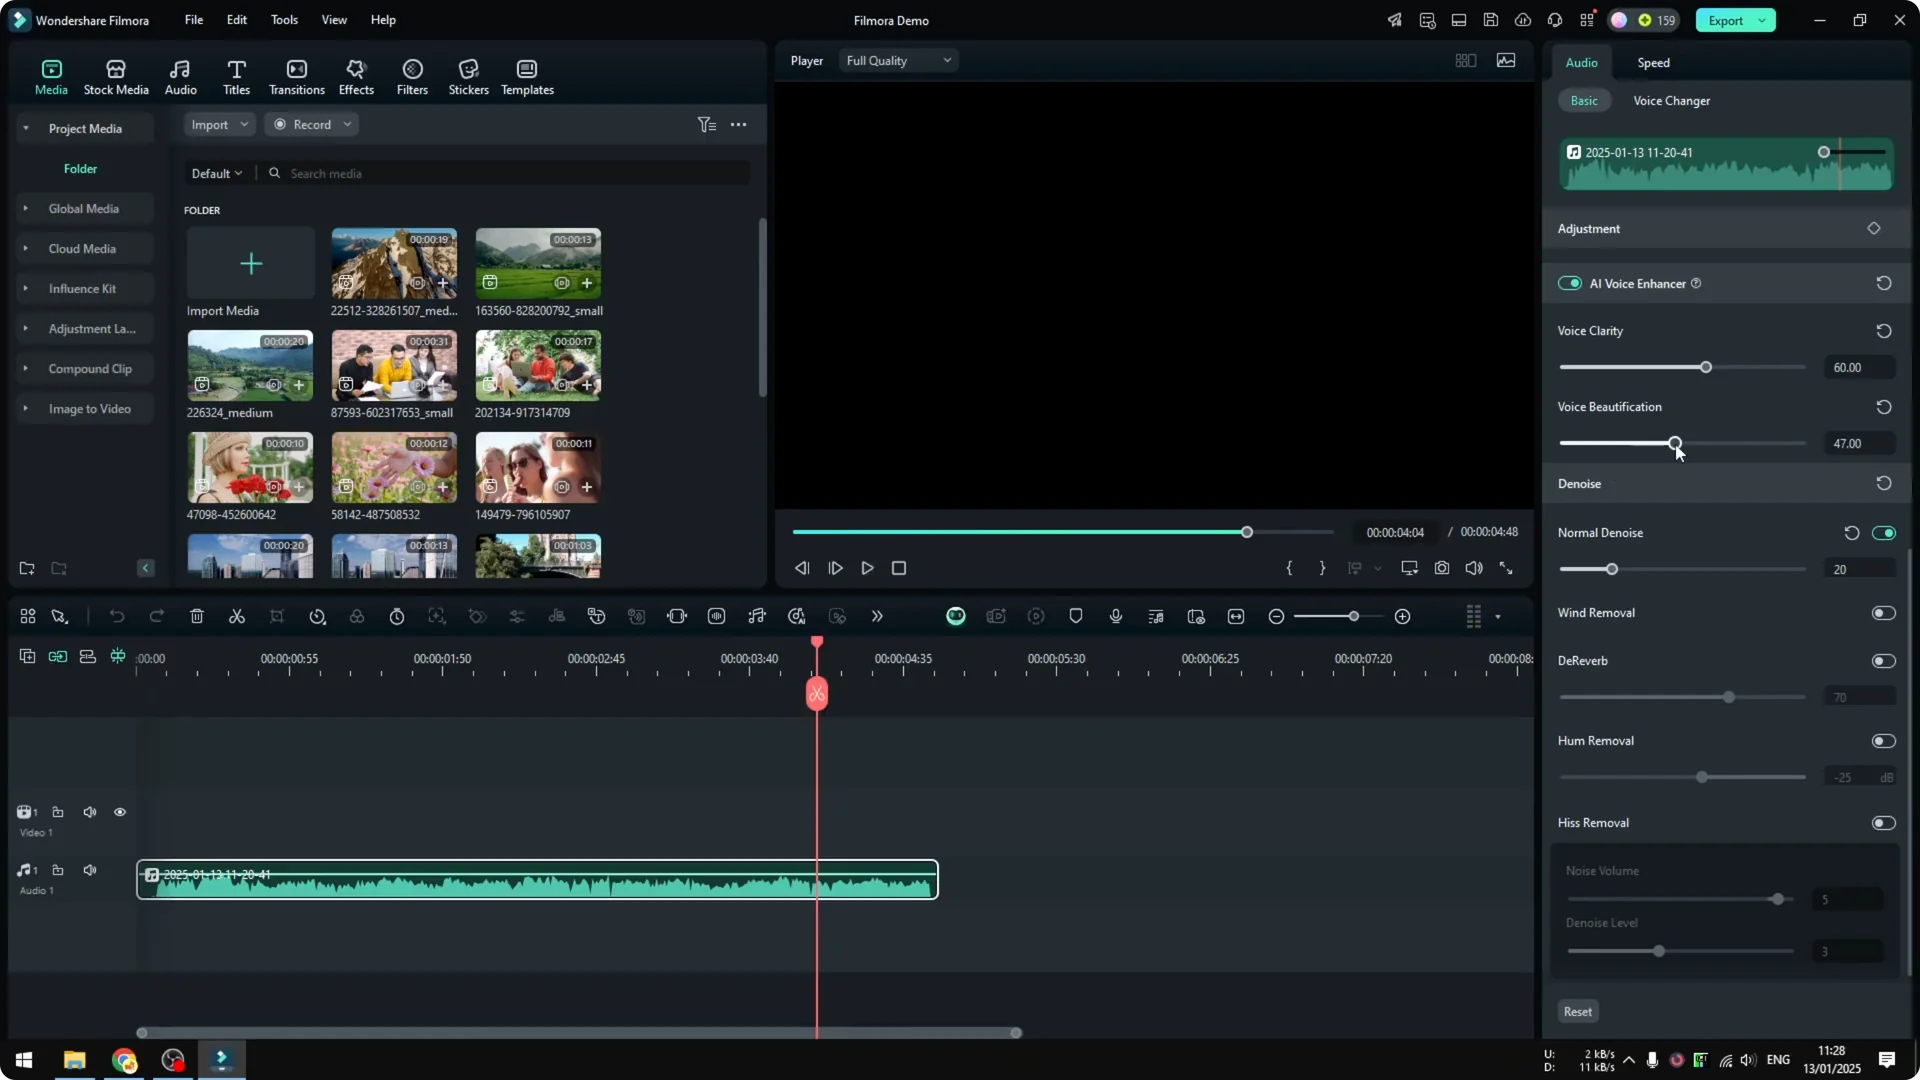
AI voice enhancer in Filmora Audio Noise Reduction
You can use the new AI voice enhancer to make the voice more clear. It can also beautify the audio, and both controls range from 0 to 100 percent. It is easy to understand and quick to test.
Play the audio and tune these sliders until your voice sounds best. I set the enhancer to around 60 and test again. I also increase voice beautification to 50 percent and listen.
If you are working on music edits too, this related tutorial shows how to remove vocals from a song in Filmora. It is helpful when you need an instrumental bed under your voice. You can combine that with the steps here for clearer narration.
Wind removal and other toggles in Filmora Audio Noise Reduction
You can enable wind removal if you recorded in a windy situation. In my case it did very little, so I disable it. It was better without wind removal for this clip.

You can try Reverb, hum removal, and hiss removal. I rarely use these, because they often make the audio less audible. I almost never touch them for spoken voice.
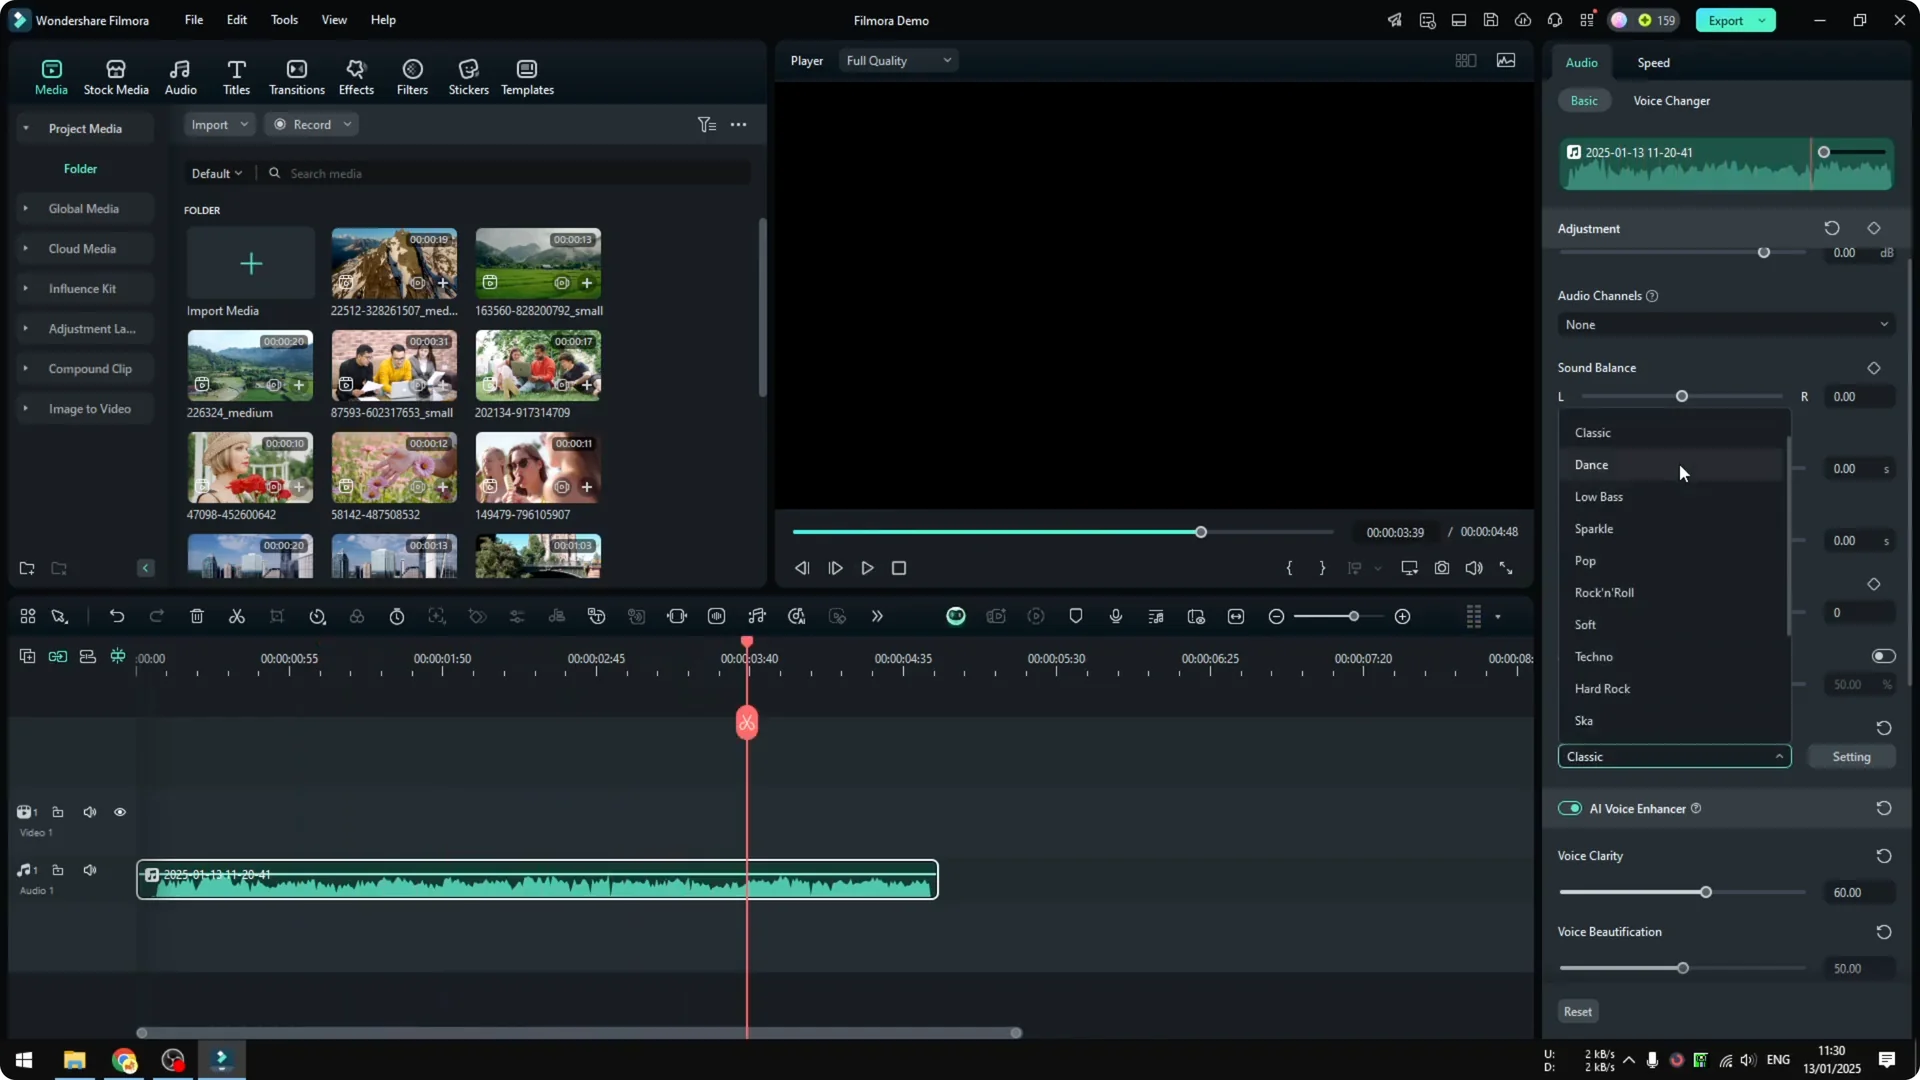
Equalizer and monitoring in Filmora Audio Noise Reduction
You can play around with the equalizer. Sometimes it helps lift presence in a voice, sometimes it does not. I tried Rock and Roll and compared.
It is debatable which setting is better for a noisy recording like this. If you have headphones I highly recommend wearing them while you test. I am not using headphones here and it is harder to judge.
I go with Classic because it often works across many scenarios. For this clip it still might not be the best fit. In this example the equalizer did not improve things much.
Filmora Audio Noise Reduction workflow steps
Step 1: Detach the audio from the video by right clicking the clip and selecting Detach Audio. Delete or move the video if you do not need it. Keep the audio clip on the timeline.
Step 2: Open the audio panel from the Edit icon or the inspector, depending on your Filmora layout. On Filmora 14 you can reach audio controls directly. Confirm you are adjusting the correct clip.
Step 3: Enable noise reduction and set it around 20 percent. Listen and tweak if needed. Avoid very high values to protect voice quality.
Step 4: Enable AI voice enhancer and set it near 60. Add voice beautification around 50 and listen. Tune both until your voice sounds clearer without sounding fake.
Step 5: Test wind removal only if your recording actually has wind noise. If it does not help, turn it off. Keep your signal chain simple.
Step 6: Leave Reverb, hum removal, and hiss removal off unless you have a specific issue that they fix. Less processing often sounds more natural. Test one toggle at a time.
Step 7: Try the equalizer and compare presets like Classic. If it does not help, leave EQ off. Make decisions with headphones if possible.
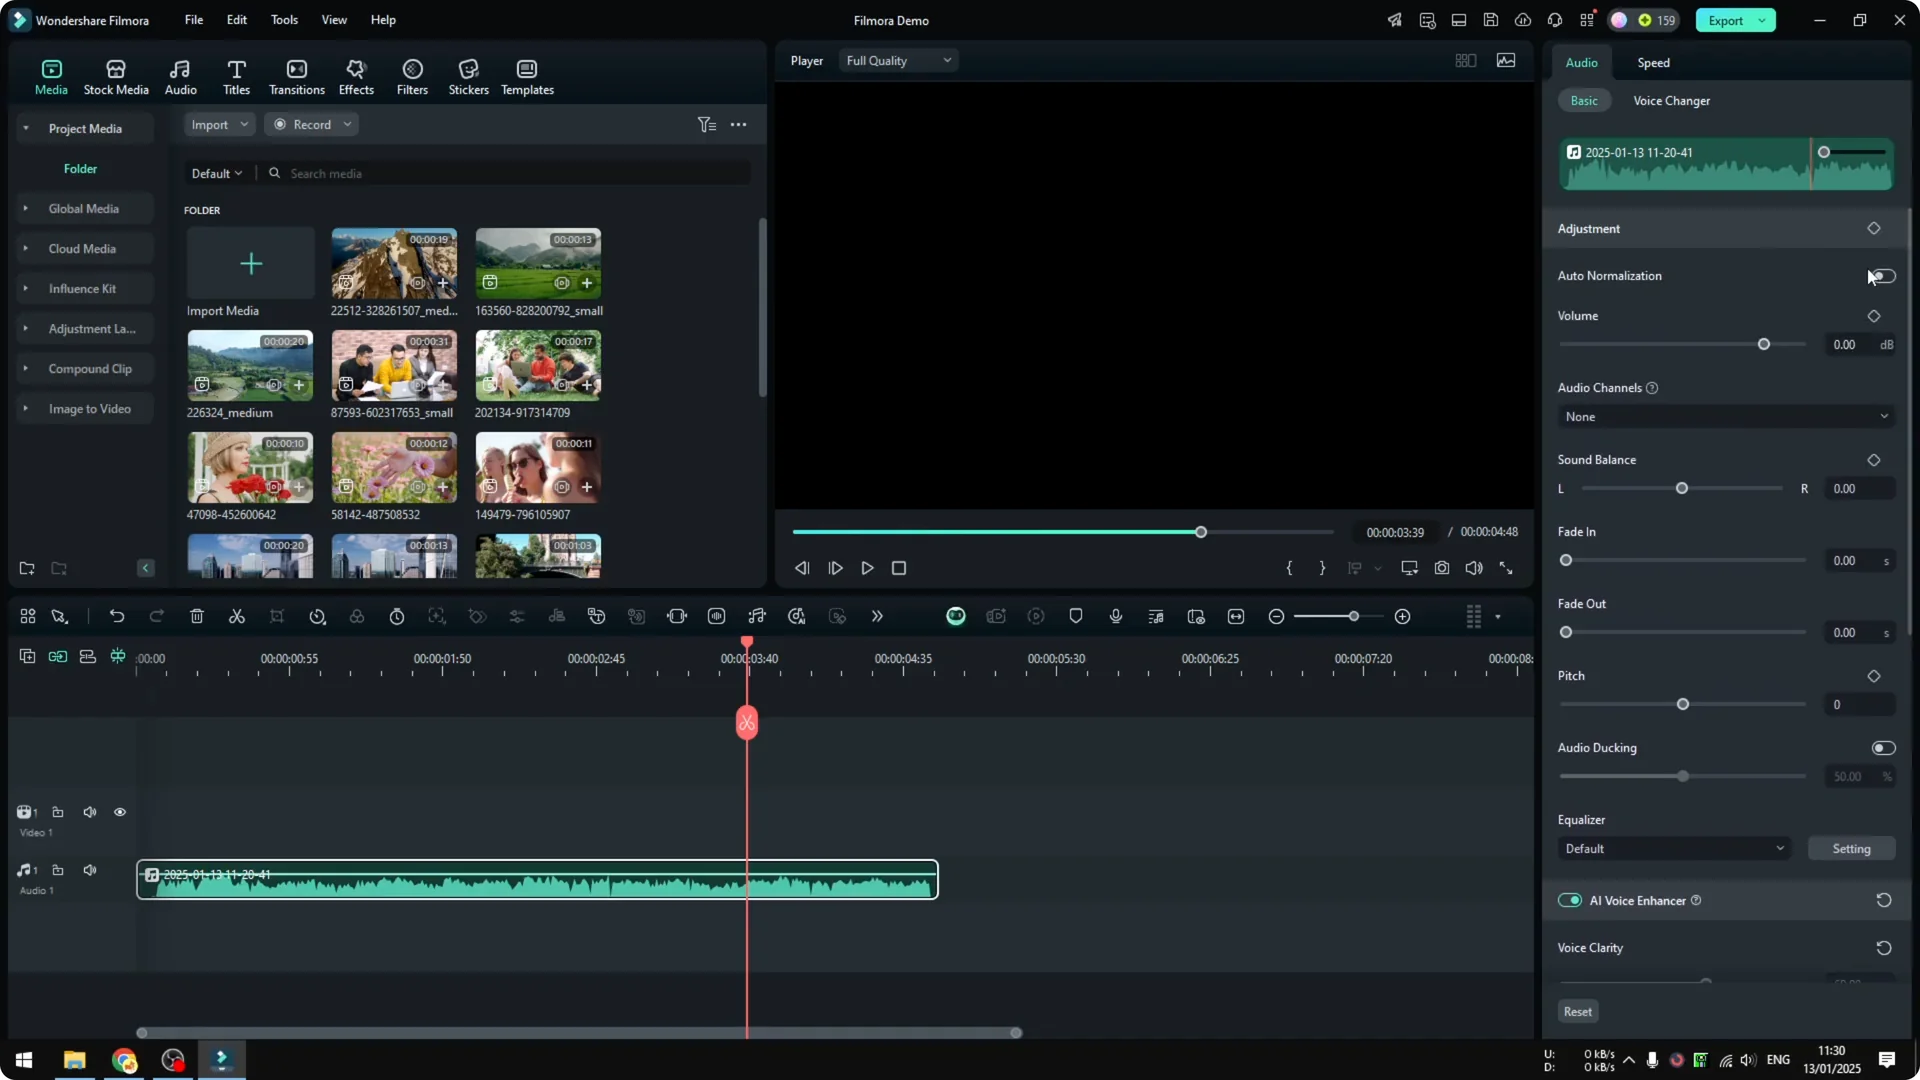
Step 8: Adjust volume if needed. You can enable auto normalization, but remember it raises both voice and background noise, so use it with care.
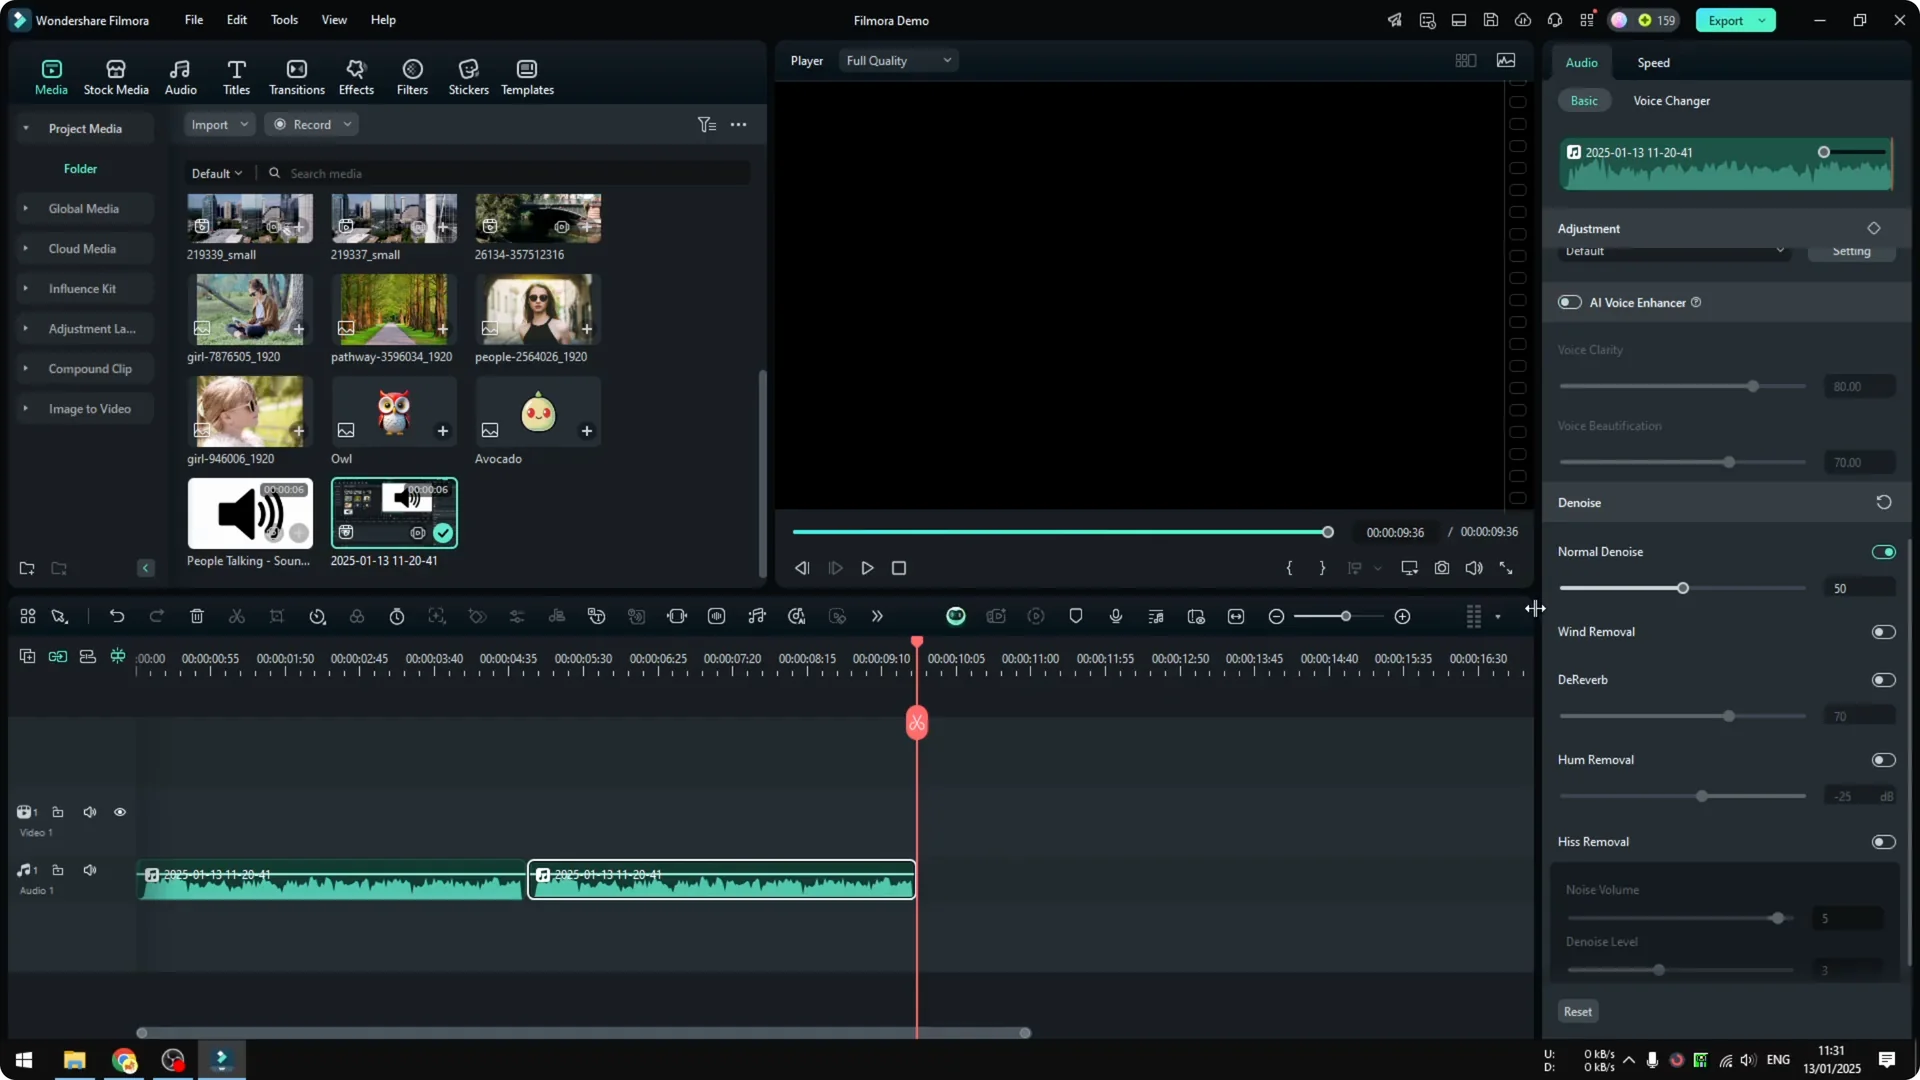
Step 9: Compare before and after. Duplicate the clip, reset all settings on the copy, and change its color to red to tell them apart. Play the original against the processed version and judge the improvement.
For visual cleanup on the same project, you can remove a subject background with the AI portrait cutout. See this tutorial on using AI Portrait Cutout in Filmora. It pairs well with clean audio for a more focused edit.
Final thoughts on Filmora Audio Noise Reduction
This was an extreme example, and it still came out better than the original. It is certainly not perfect, but it is definitely better. In many real recordings the results will be even more noticeable.
My go to chain is light noise reduction plus the AI voice enhancer, with EQ only if it clearly helps. Keep monitoring as you tweak and avoid pushing settings too far. With a few careful adjustments, you can make dialogue more clear and audible in Filmora.