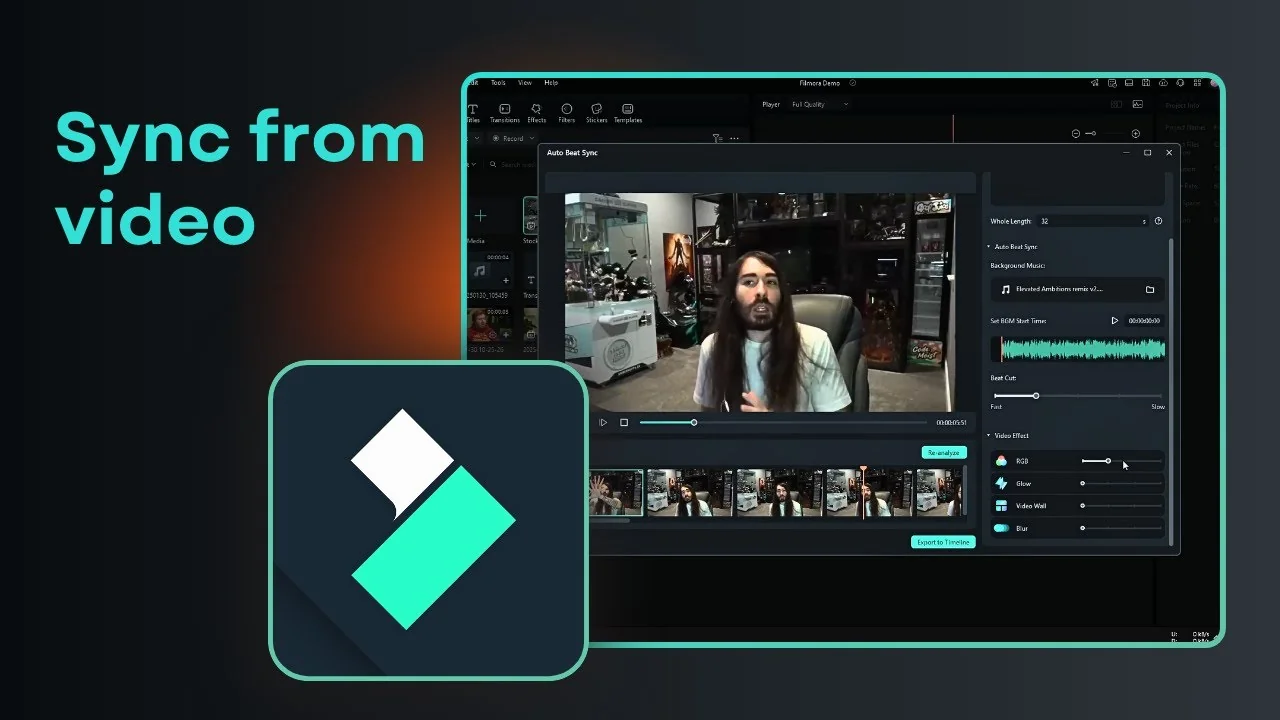
I am going to show you how to use Filmora Auto Beat Sync. In a nutshell, this feature captures the beat from an audio file, especially music, and uses the rhythm to cut a video so it changes precisely when the beat happens. It is easier to see than explain, so here is the exact process I follow. For a broader walkthrough, see this Auto Beat Sync in Filmora AI guide.
I have a video and I want to apply background music. The music has clear beats and it is not very fast, so you can see the difference after applying Auto Beat Sync. That makes the cut points more obvious.
What Filmora Auto Beat Sync does
This tool reads your audio track and detects beats. It then creates cuts in your video at those beat points. Every time the beat happens, the clip changes.
Set up Filmora Auto Beat Sync
Prepare your media
Choose a video you want to cut to the rhythm. Add a music track with beats you want to target. A moderate tempo makes the result easier to evaluate.
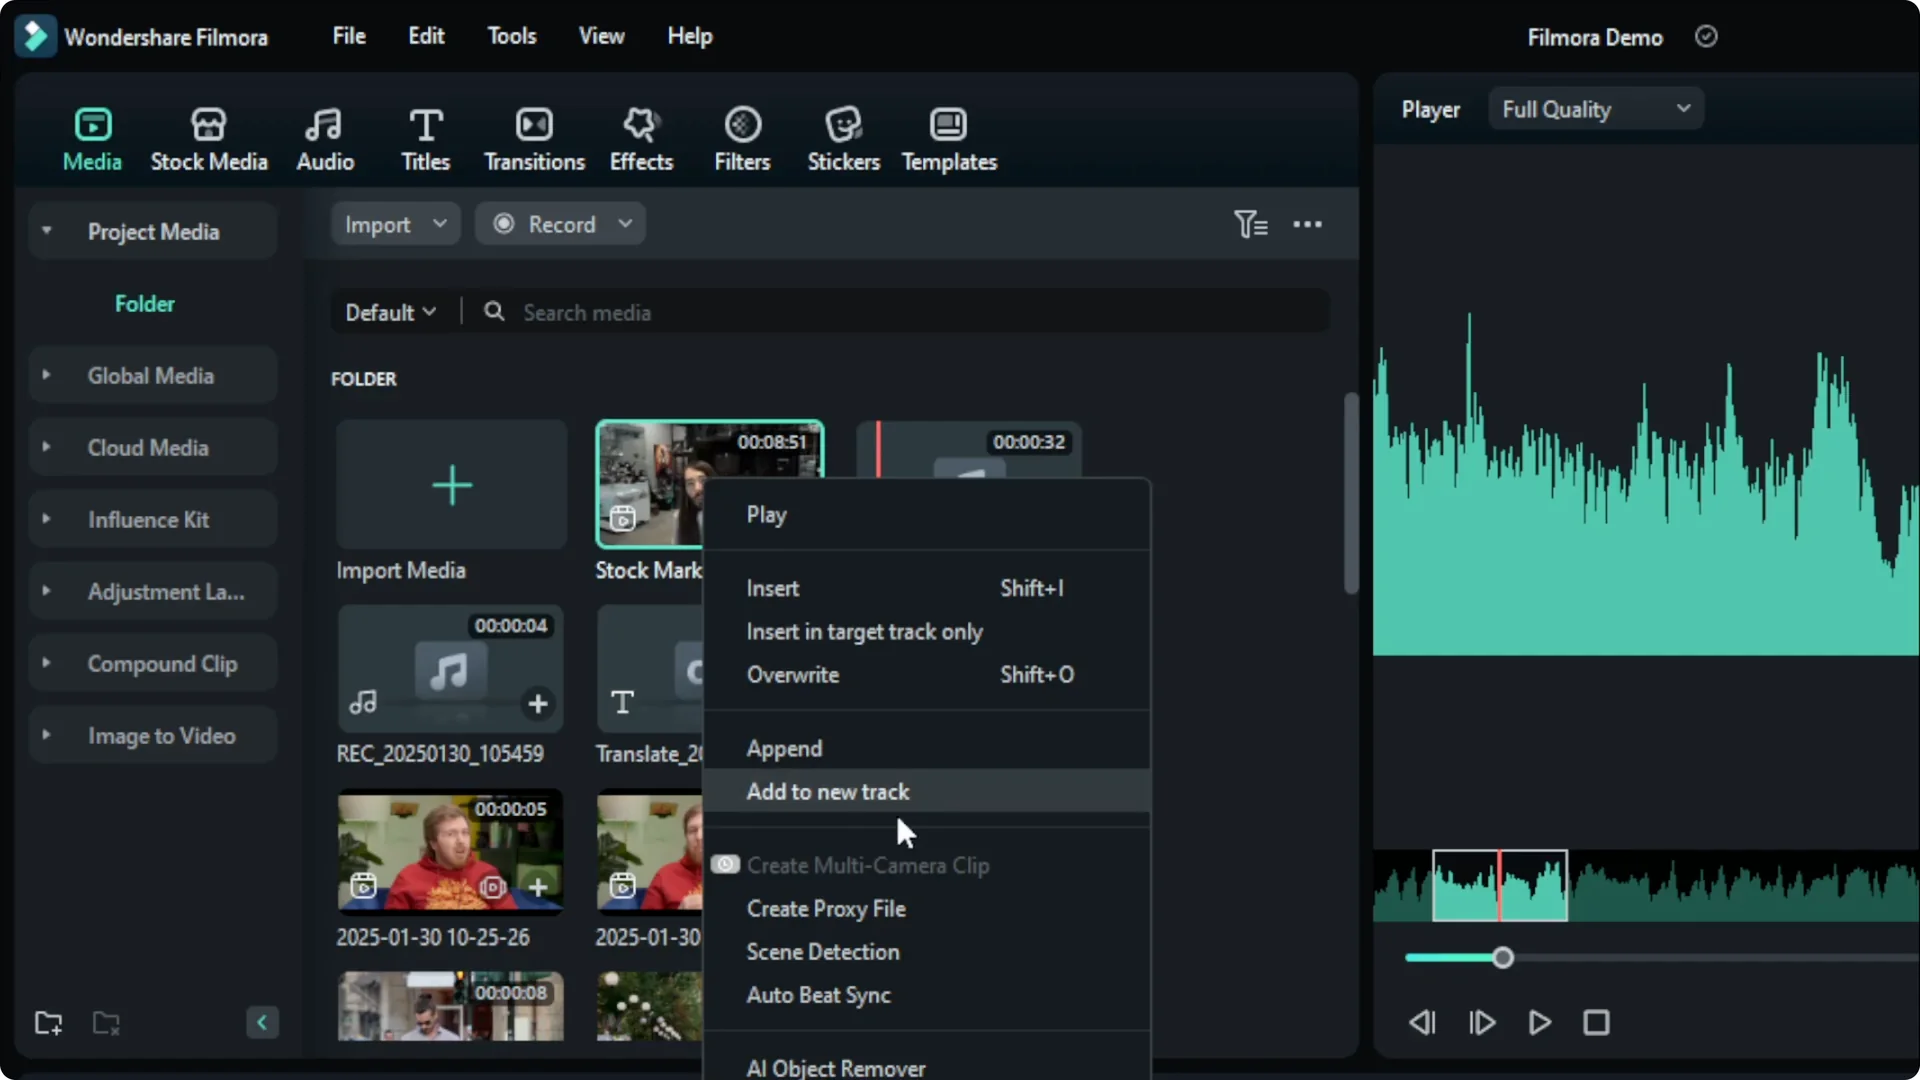
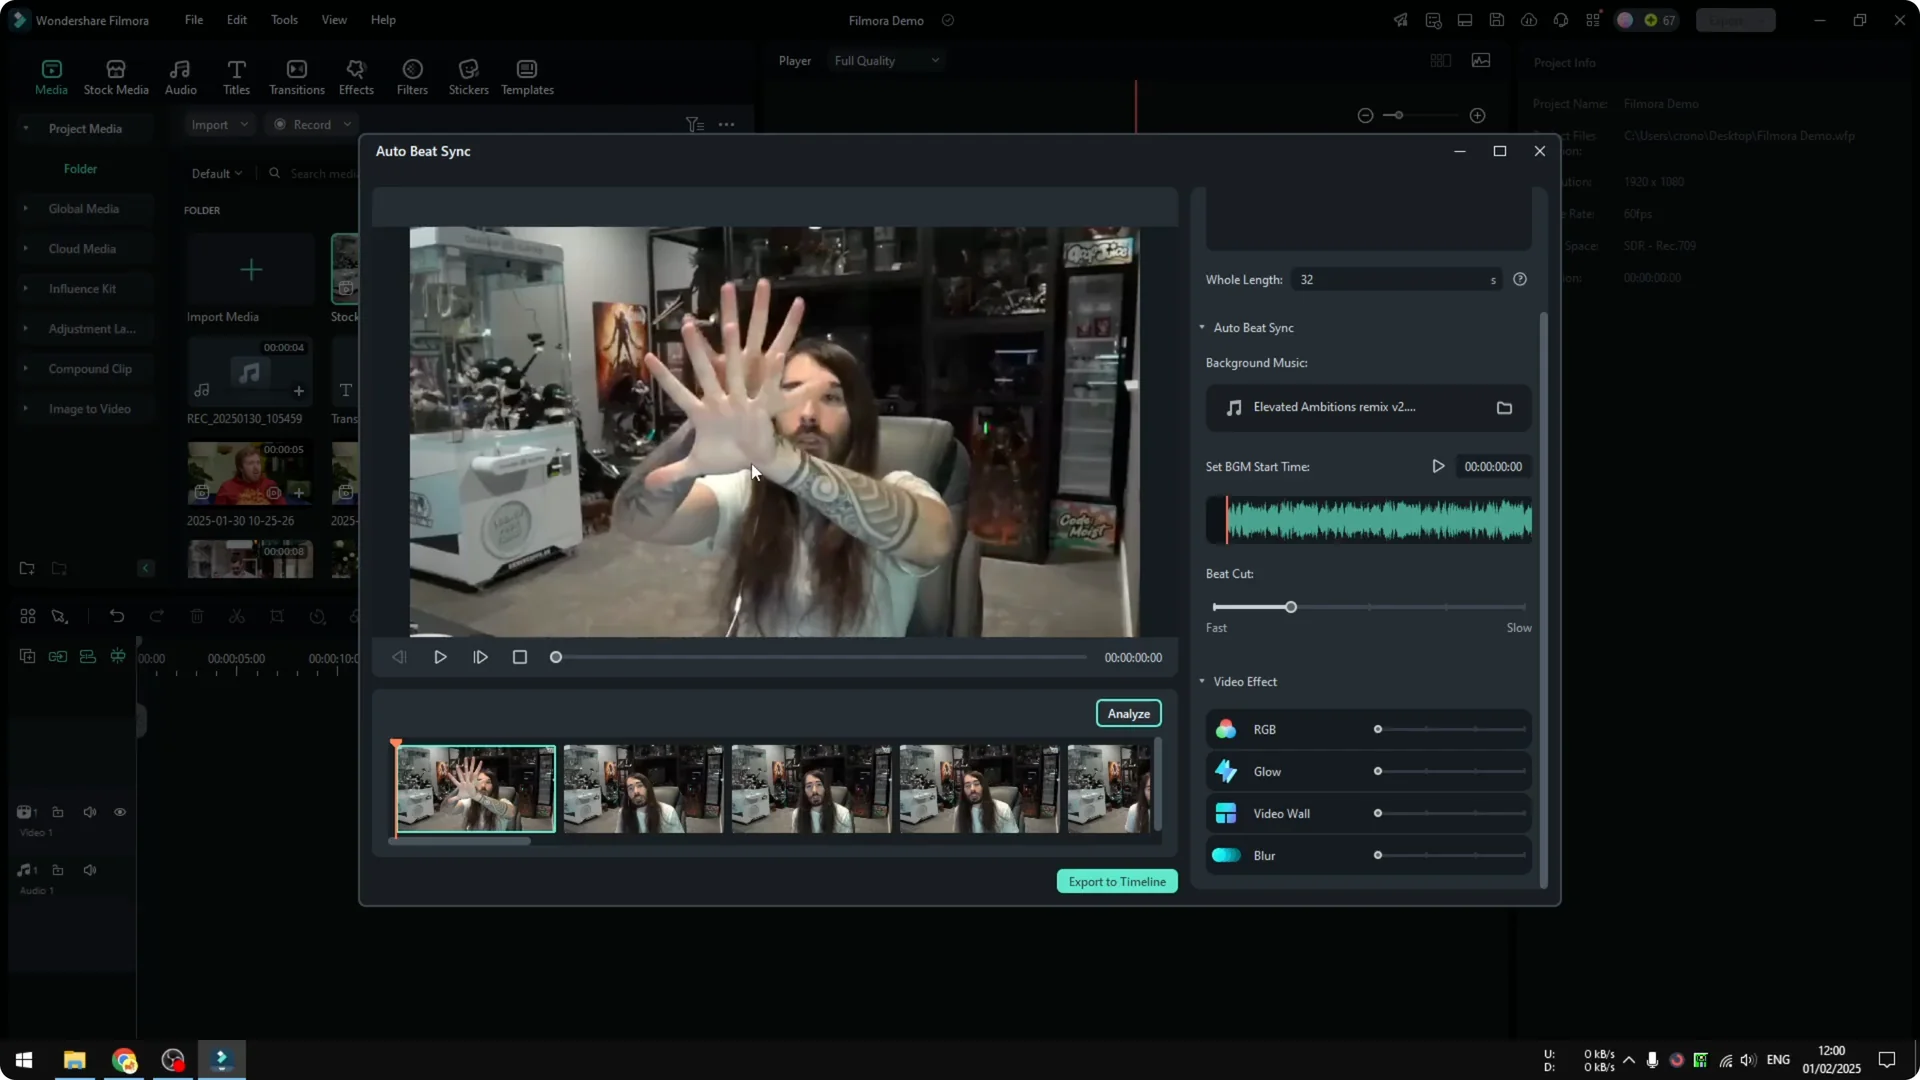
Open the tool
Right click on the video you want to sync. Click Auto Beat Sync to open the tool. You will see the video and a Length field that controls the total output duration.
Set a practical duration to start. I like to try something moderate like 20 seconds. Short tests help you hear and see the changes quickly.
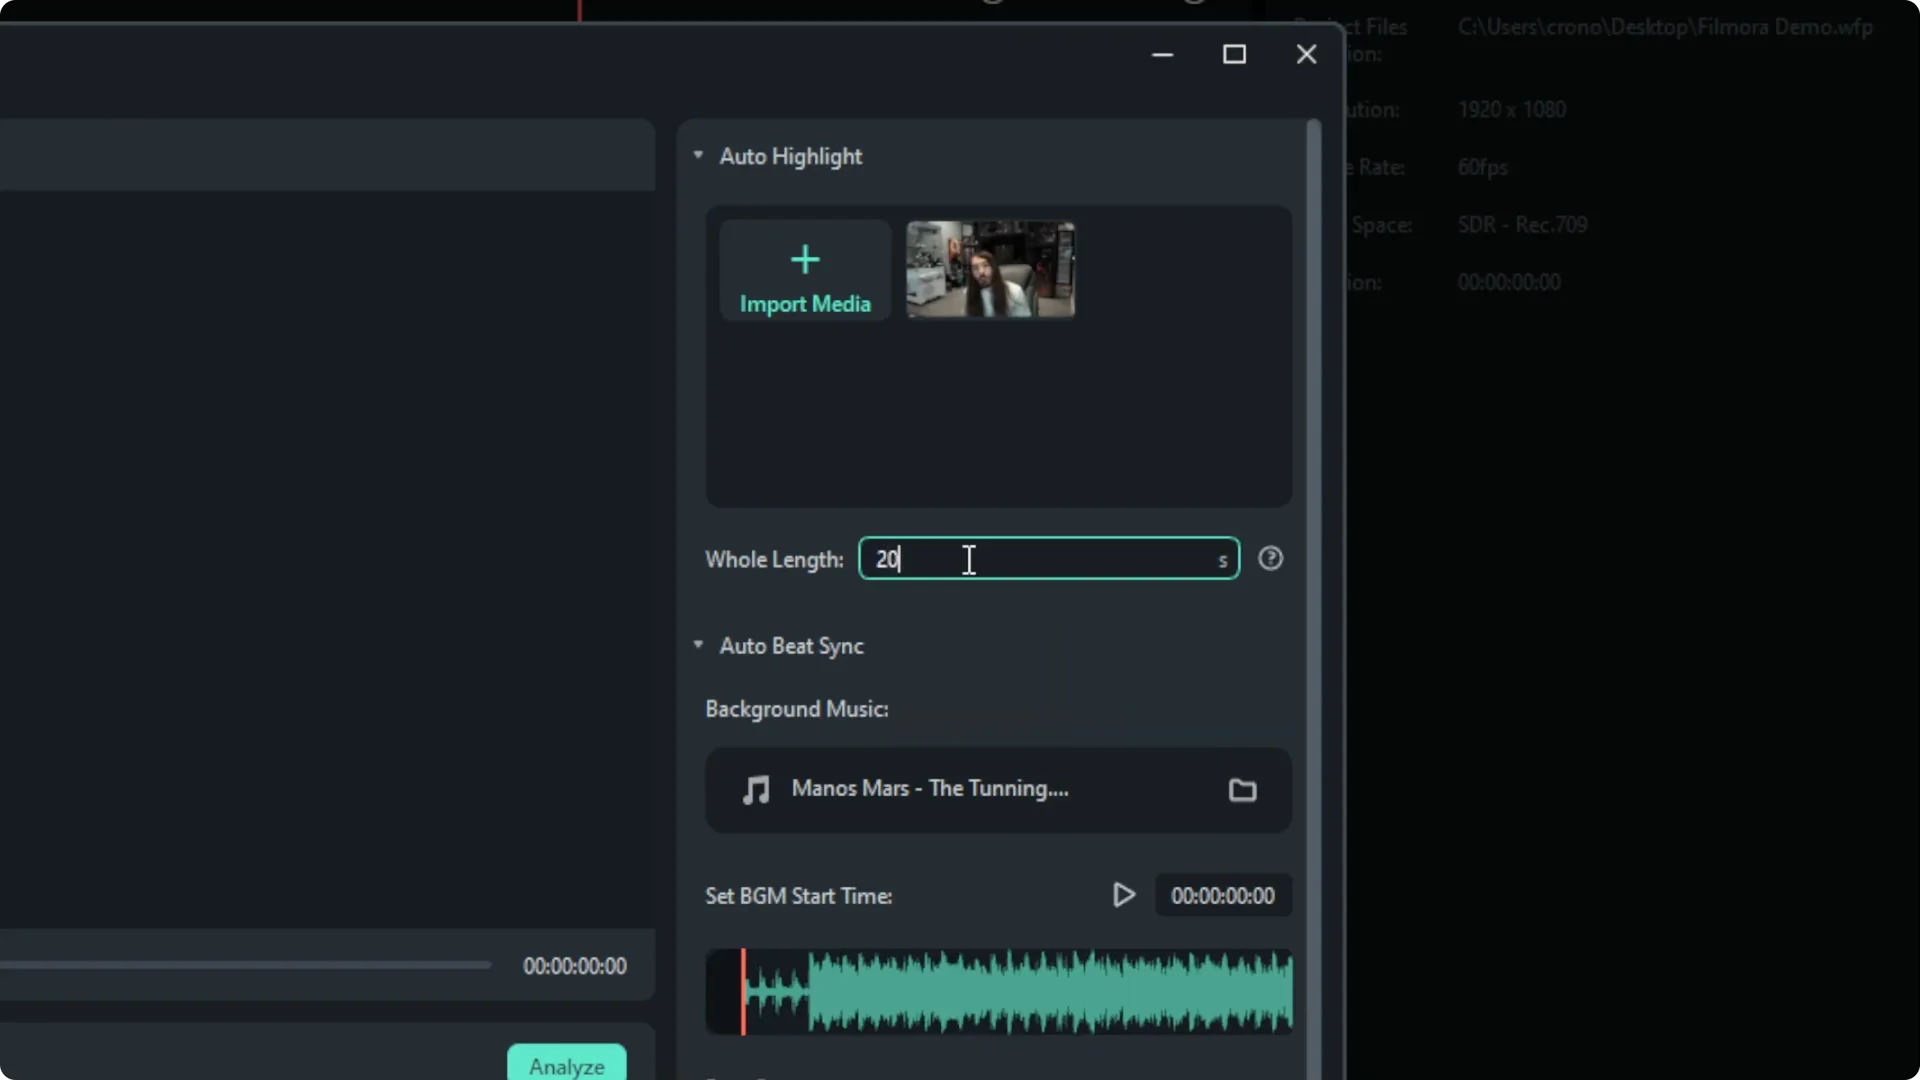
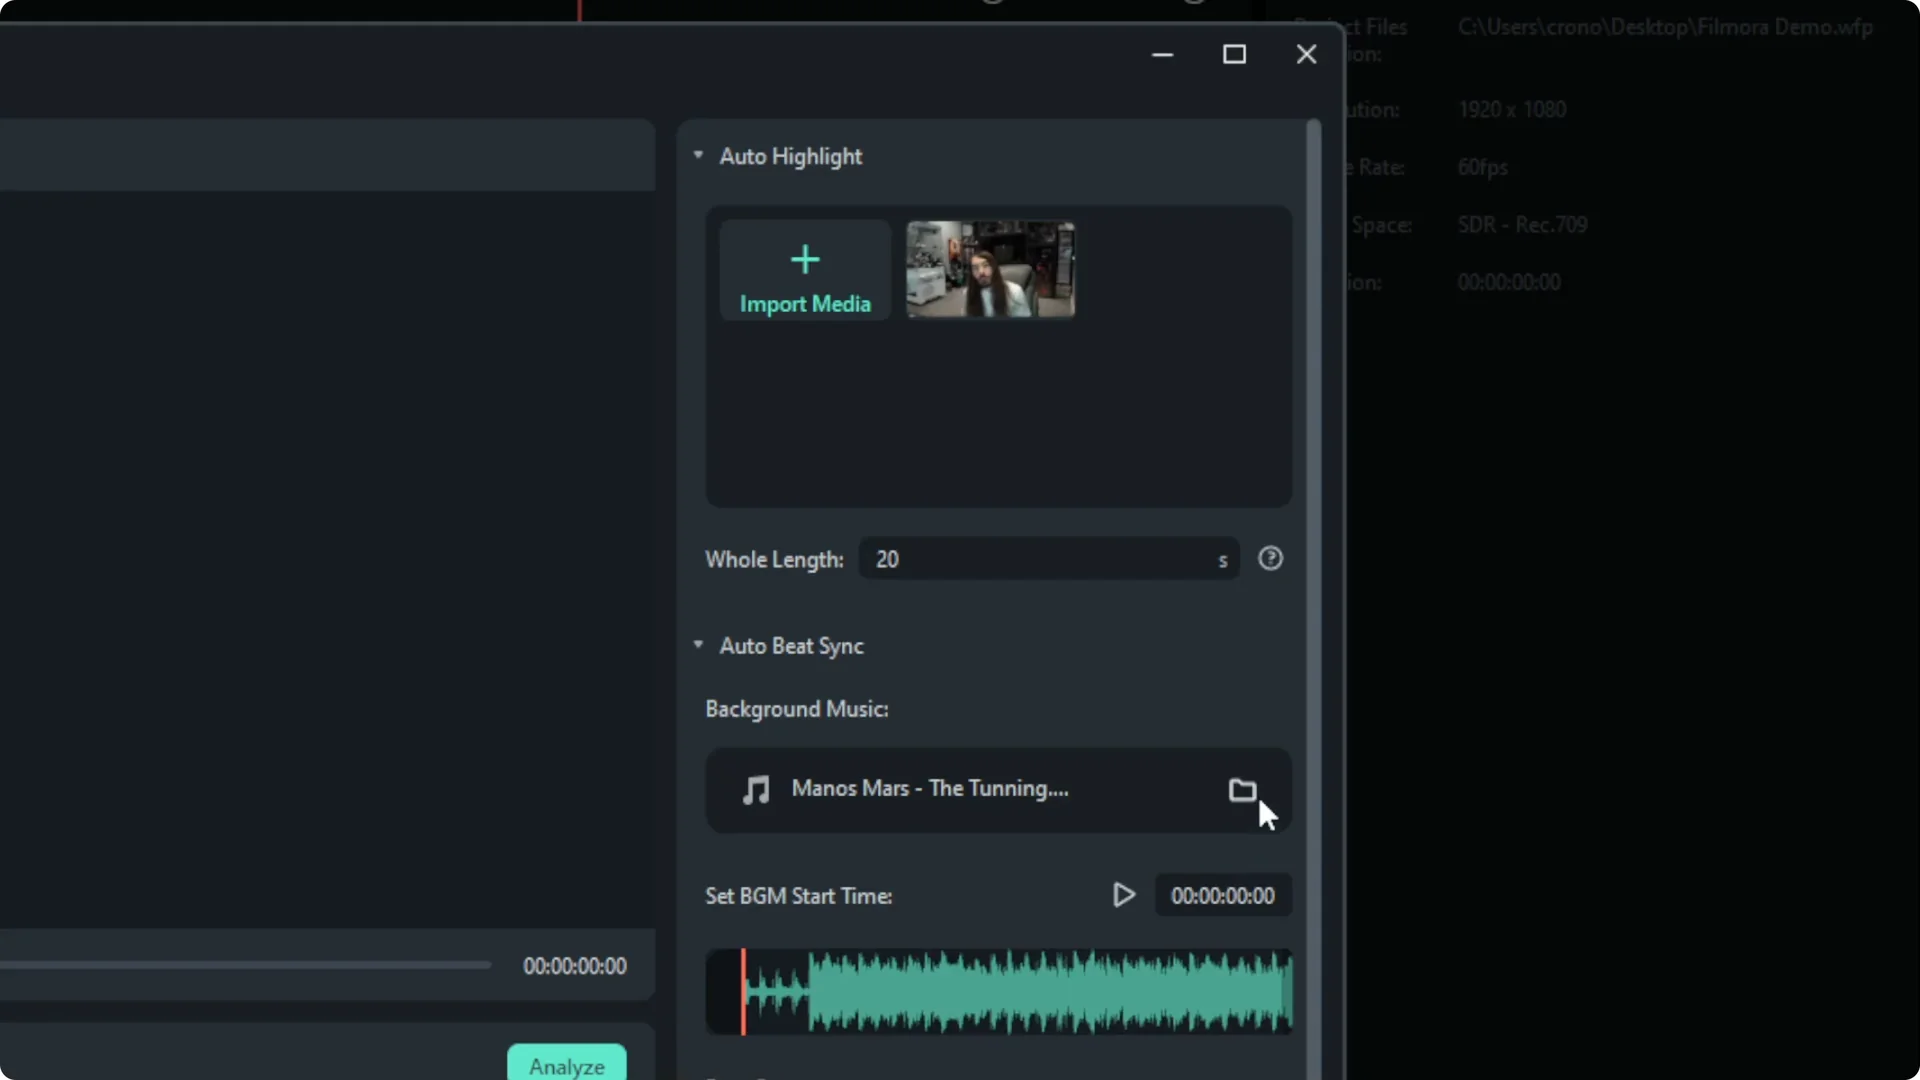
Choose the audio source
Select the audio file that should drive the beat detection. Pick the same music you previewed earlier so you can compare before and after. If your audio needs cleanup first, you can enhance clarity with the AI voice enhancer in Filmora.
You will see a Beat setting. I select Fast for a snappier cut pattern. You can adjust this later if you want a looser feel.
Skip effects for the first pass
There is a Video Effect option in the Auto Beat Sync window. I prefer not to enable effects on the first pass. Sync first, then add visual style for a clearer result.
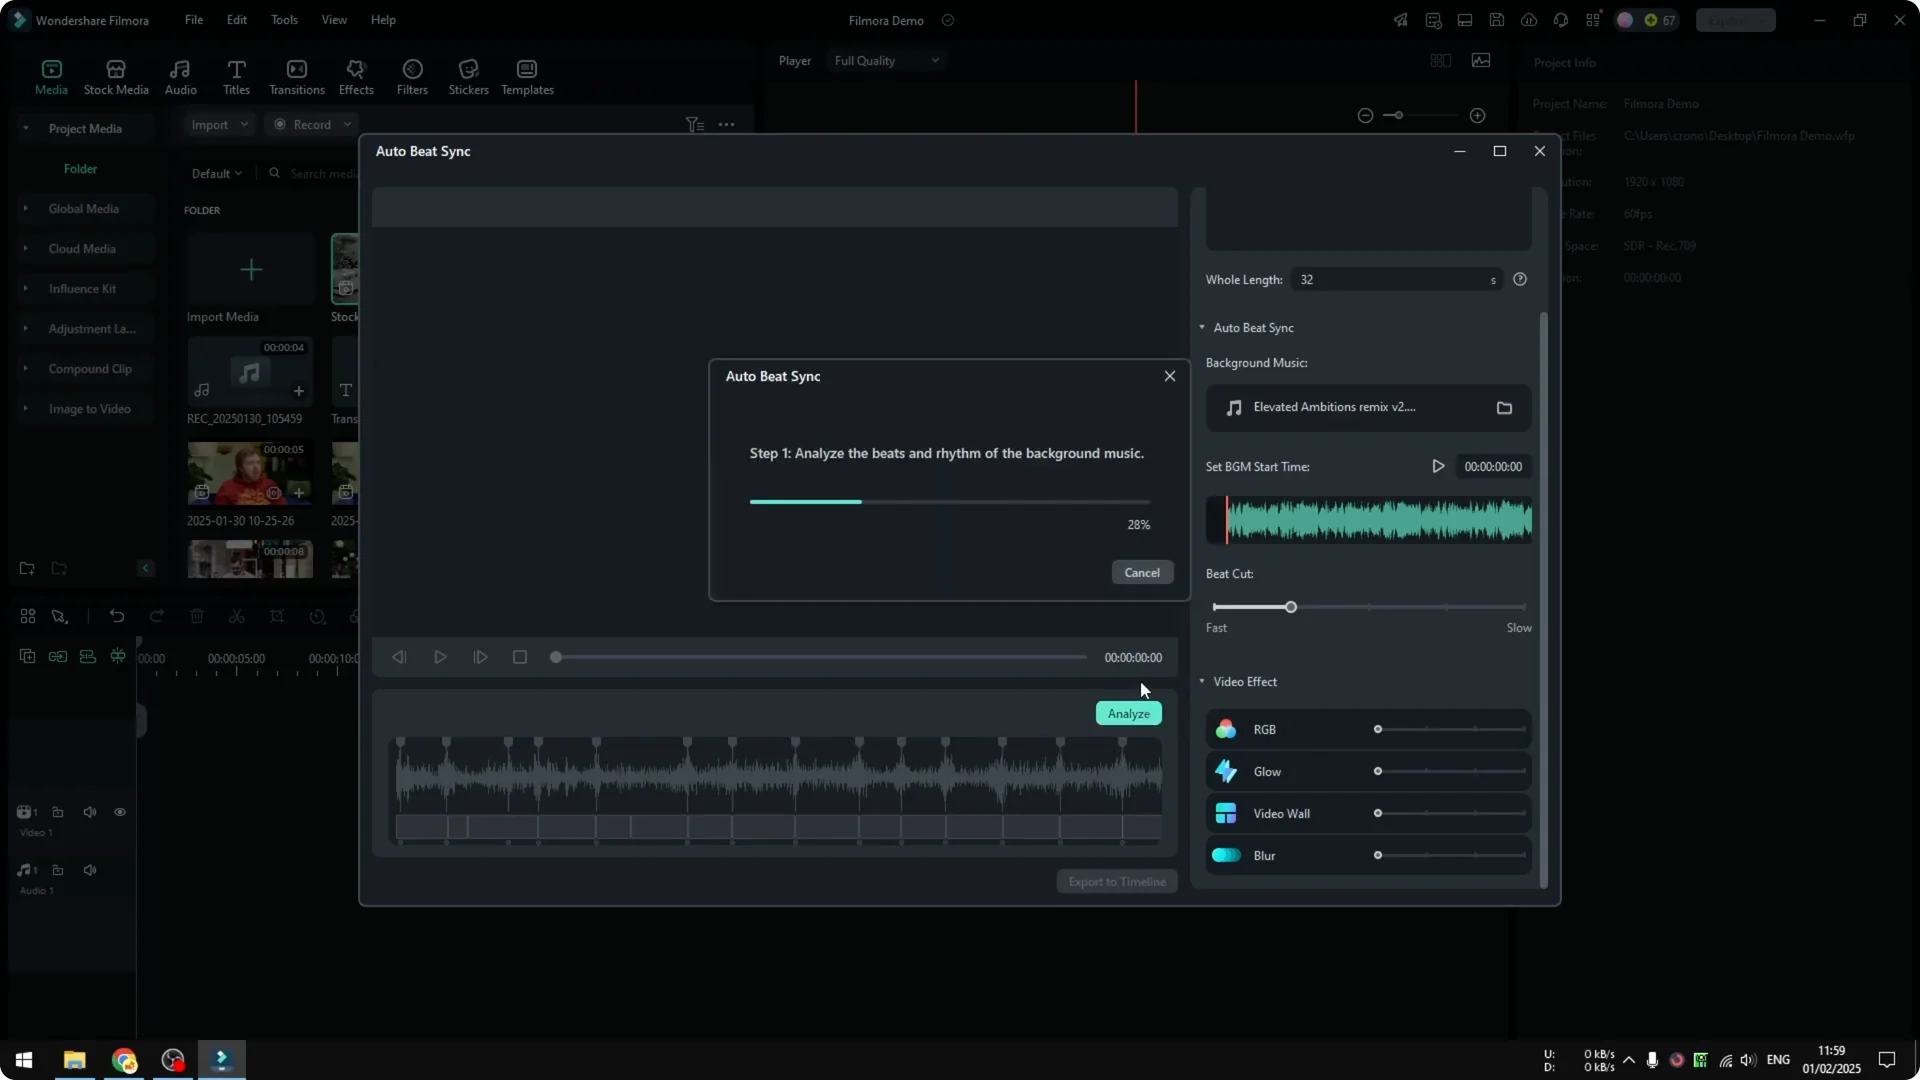
Analyze the beats
Click Analyze and wait for it to finish. The process is usually quick, even on longer clips, if you are on decent hardware. You should not have to wait long.
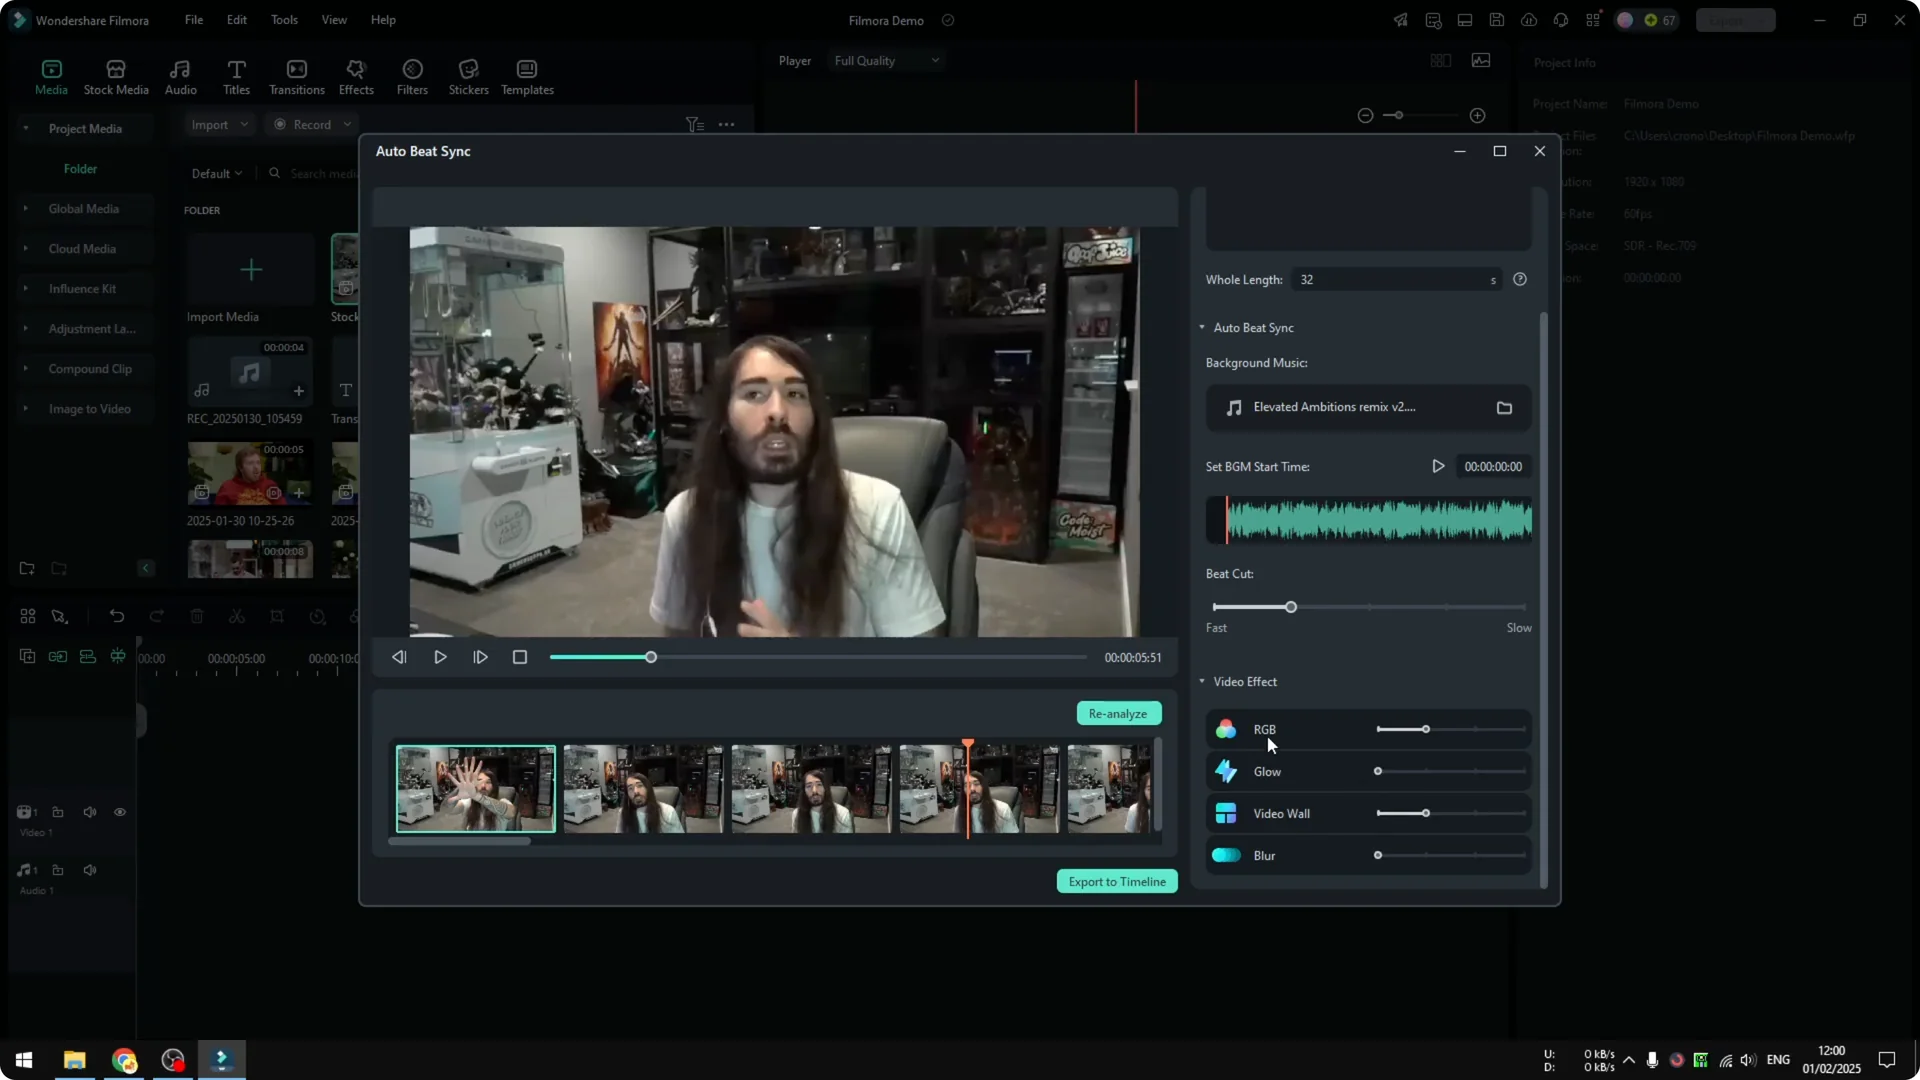
Preview the result
Play the output inside the tool. Every time there is a beat, the clip changes. That is the core idea of Auto Beat Sync.
Add video effects after Filmora Auto Beat Sync
I like to add just one or two effects for clarity. Try the RGB effect and adjust Frequency to control how often the effect appears. It behaves almost like a transition in terms of timing.

You can stack another Video Effect if needed. When you are done, click Reanalyze so the effects are applied over the beat-synced structure. If you plan compositing or keying on top of this, see how Green Screen AI in Filmora fits into the workflow.
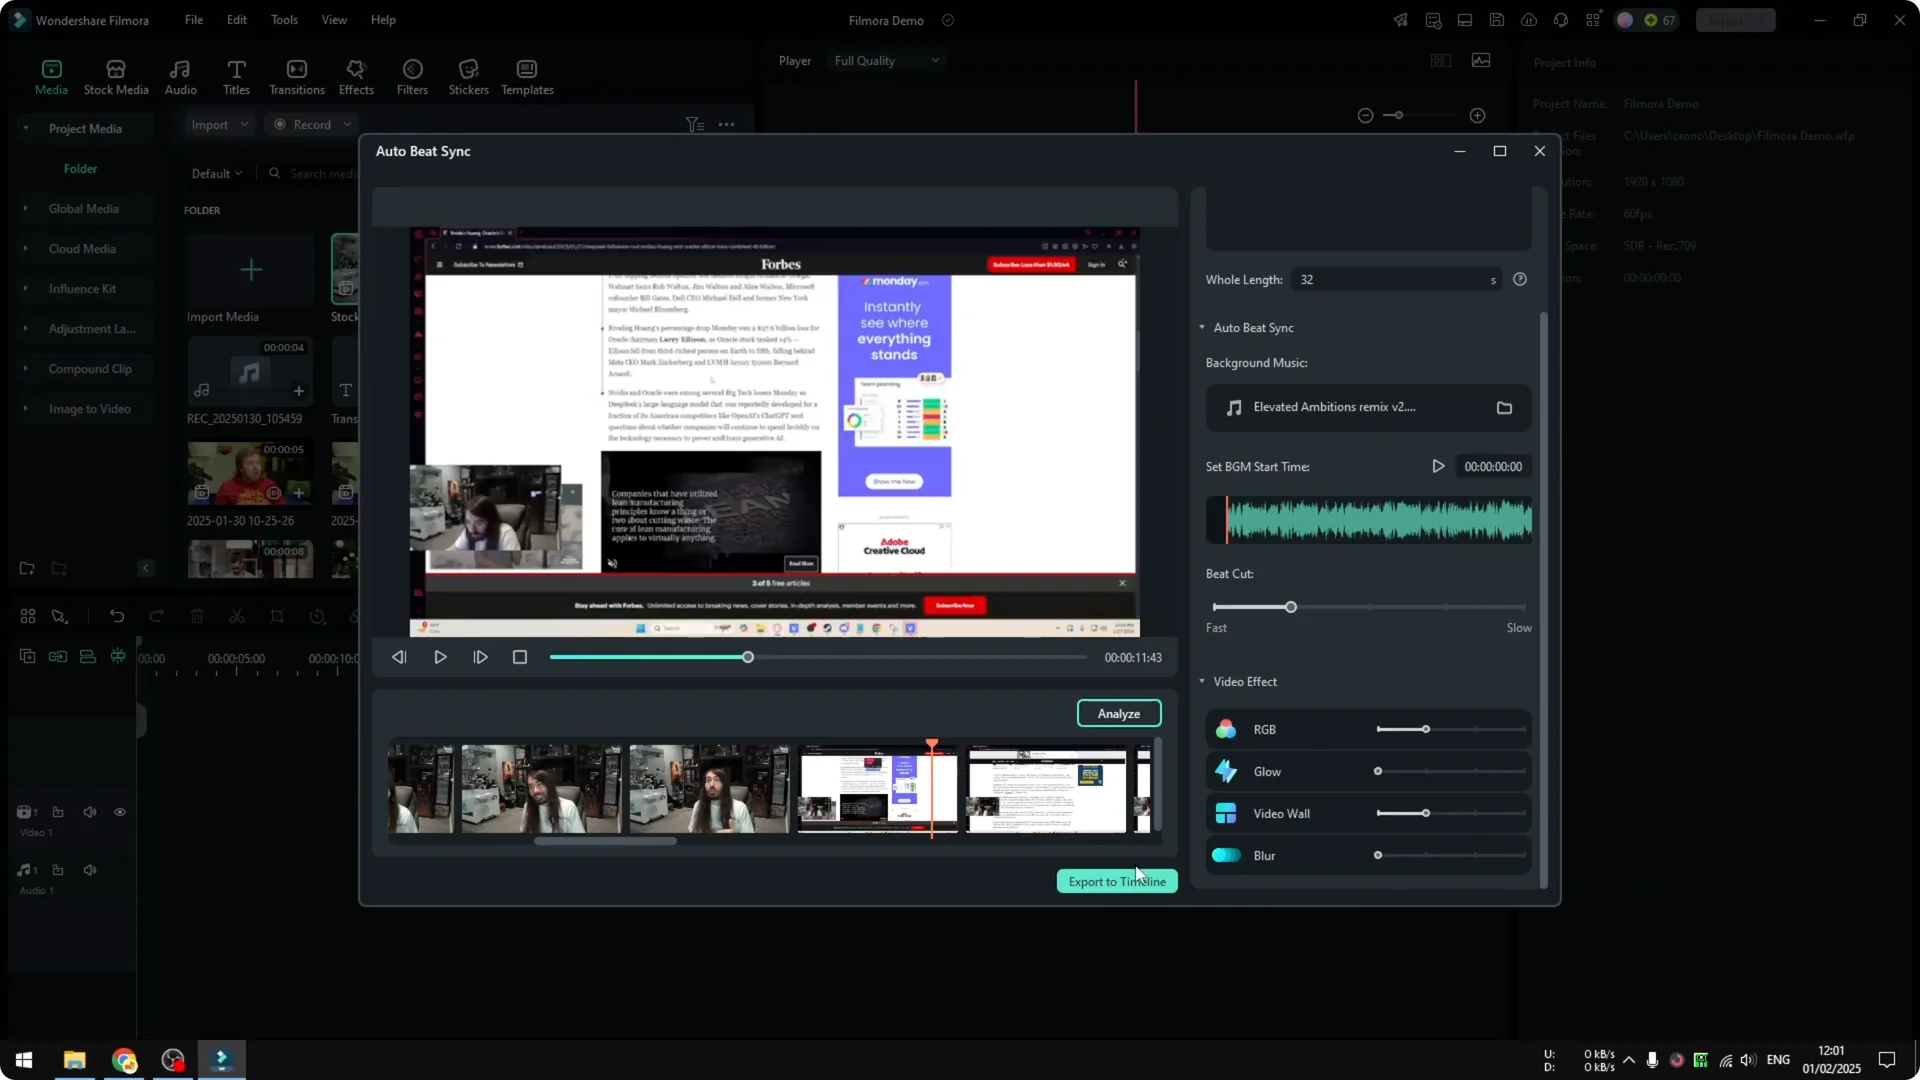
Export and continue editing
Click Export to timeline to send the synced version back to your timeline. The new sequence will be available for further edits. You can refine timing, adjust effects, and polish the final cut from there.
Final thoughts
Filmora Auto Beat Sync detects beats from your chosen audio and cuts your video to match those moments. Analyze first, preview the rhythm, then add light effects and reanalyze for polish. For extra tips on settings and timing choices, check this practical step by step Auto Beat Sync guide.