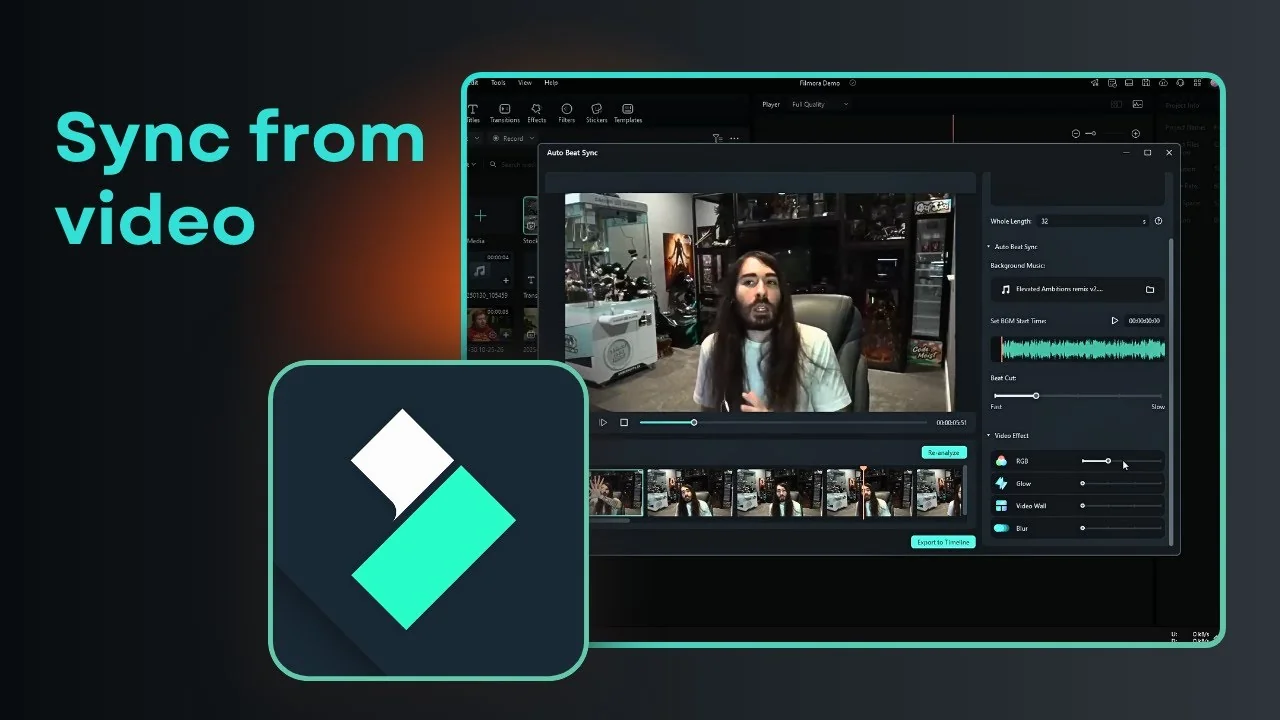
I’m going to show you how you can use Auto Beat Sync in Filmora. In a nutshell, this feature captures the beat from an audio file, especially music, and applies that rhythm to your cuts. Your video will cut precisely when the beat happens.
It can be difficult to explain without a demonstration, but the workflow is straightforward. Add your video, pick a music track, and let Filmora detect the beats. After that, your clips change right on each beat.
Filmora Auto Beat Sync overview
This tool detects beat points from your chosen audio and aligns clip changes to those moments. It works best with music that has a clear rhythm. You will notice the difference right away once the analysis is applied.
I like to keep it simple at first and avoid extra effects until I see the core timing. That way the rhythm is clear and the cuts are easy to judge. You can always add effects later.
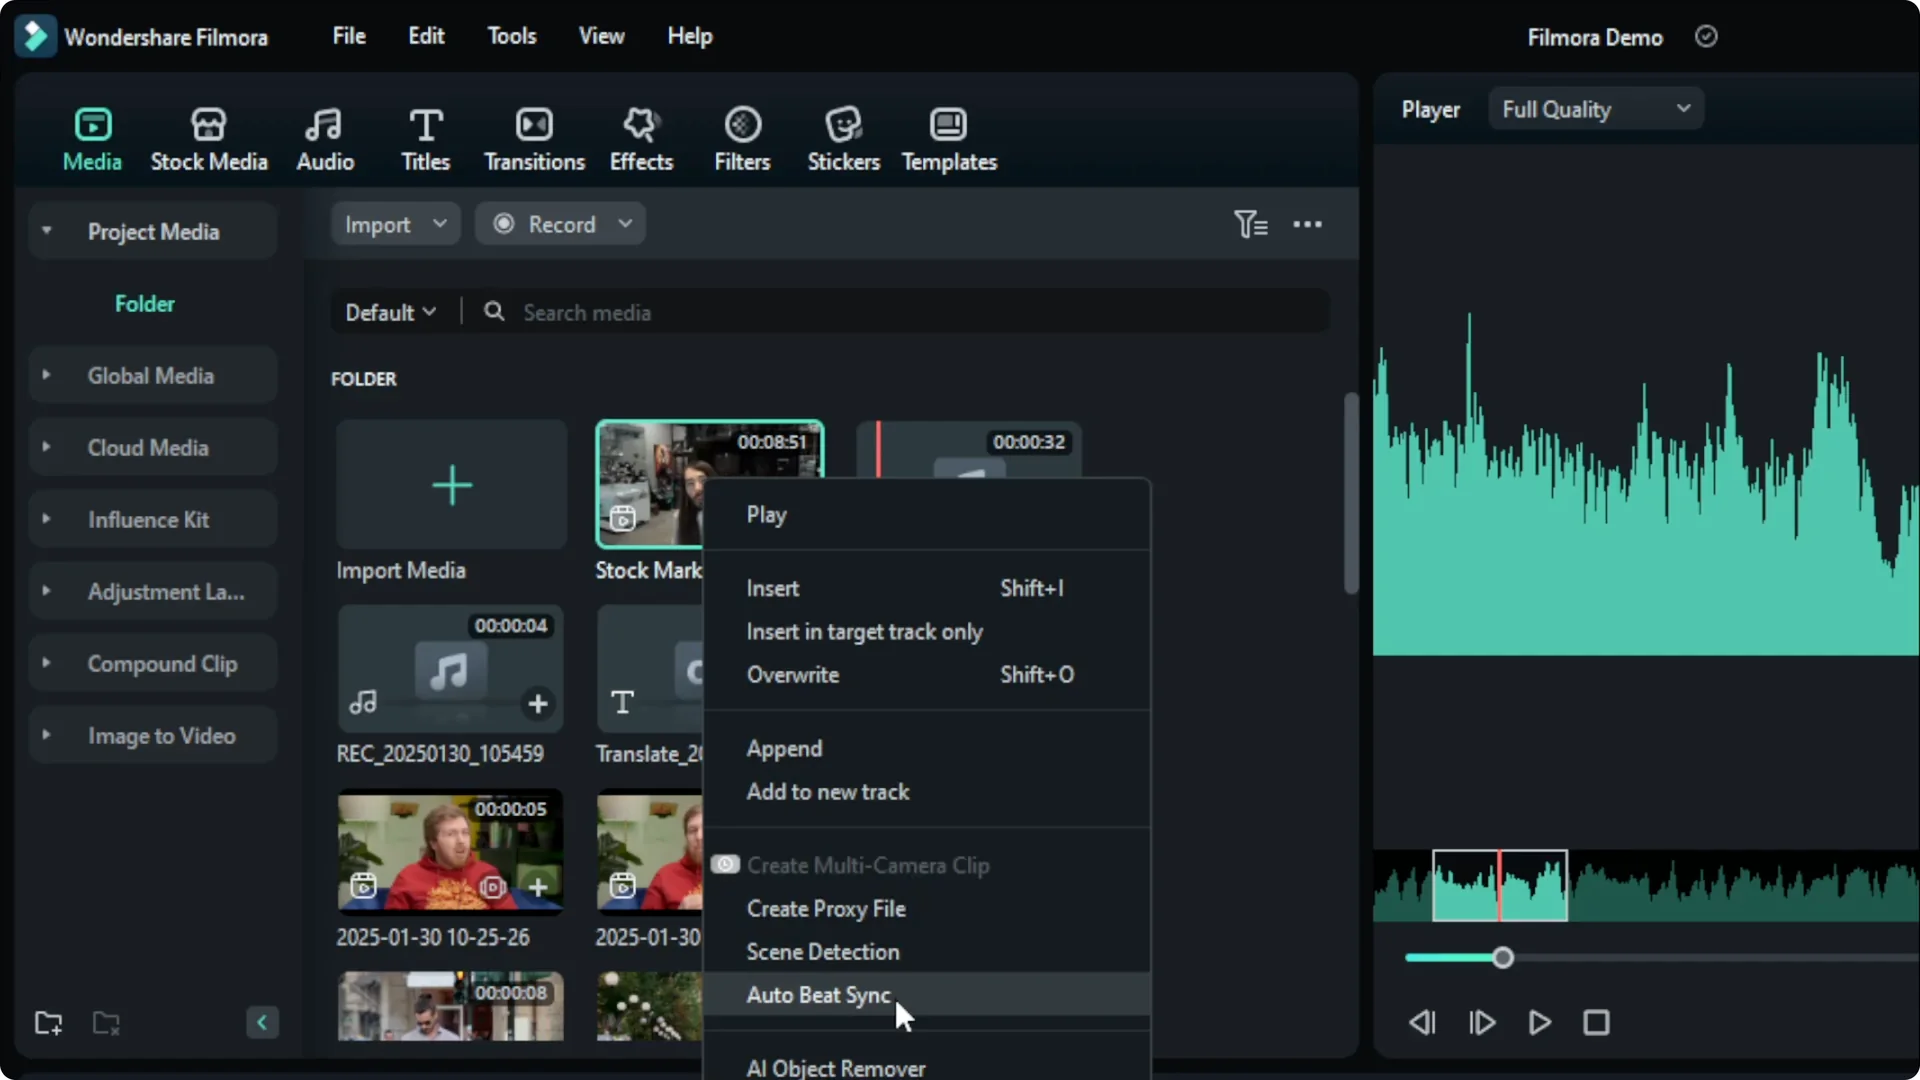
Filmora Auto Beat Sync setup
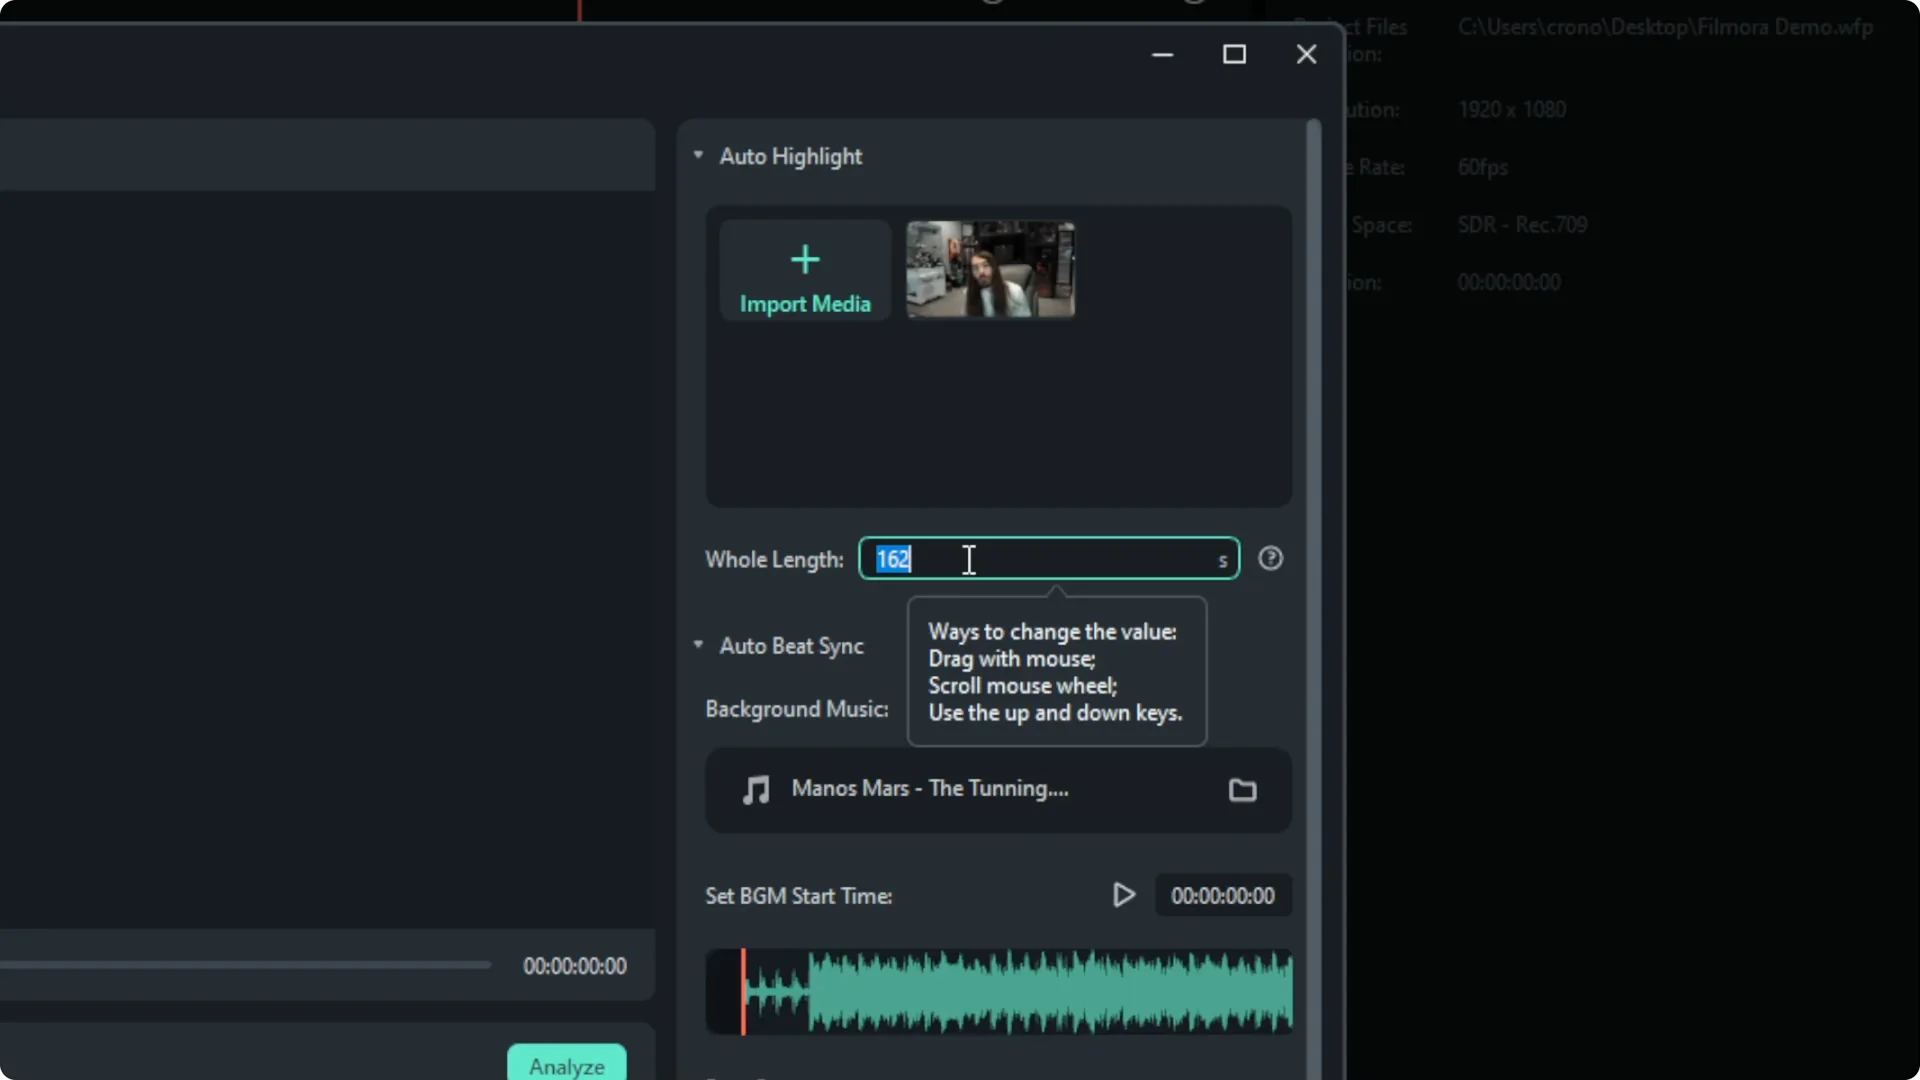
Filmora Auto Beat Sync length and source audio
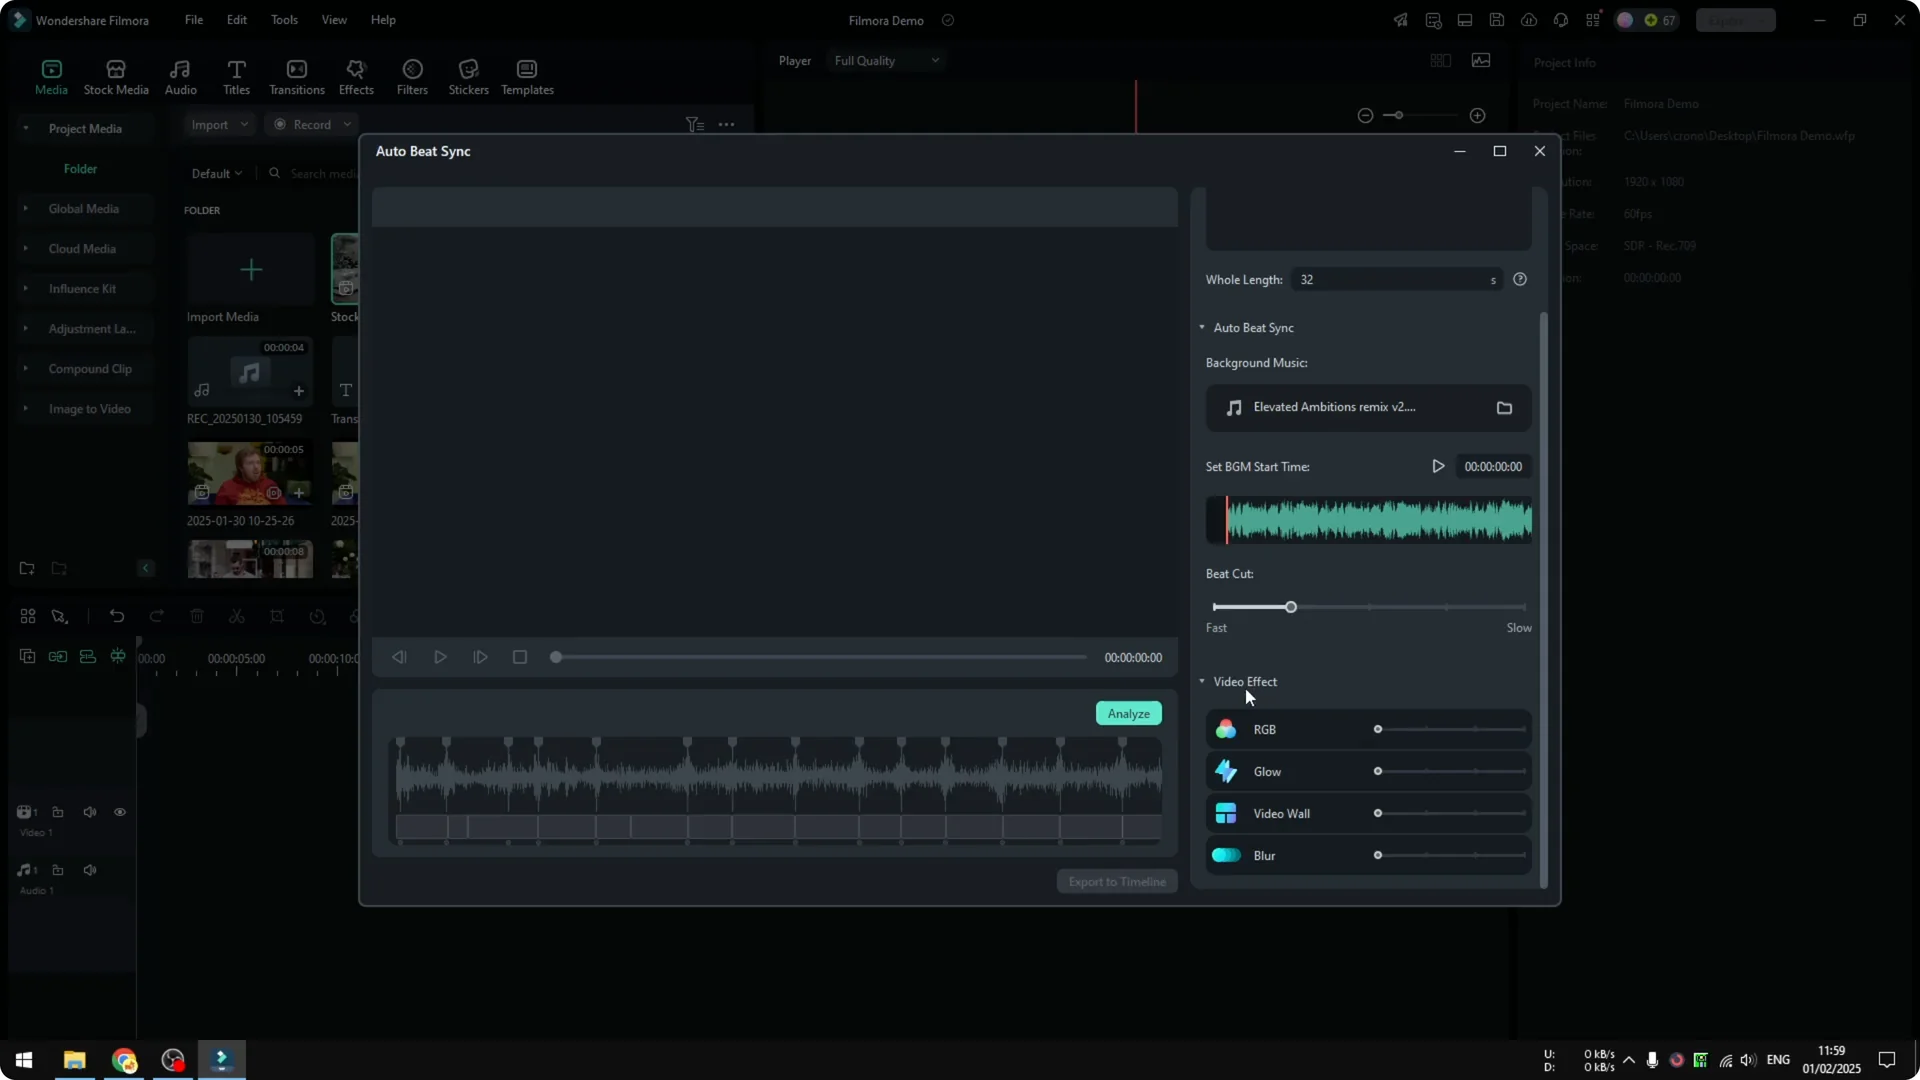
Right click the video and choose Auto Beat Sync. The tool opens and shows your video along with the Length, which is the total output duration.
I pick something moderate like 20 seconds for a test. Select the audio you want to use as the beat source. There is a beat option and I select Fast.
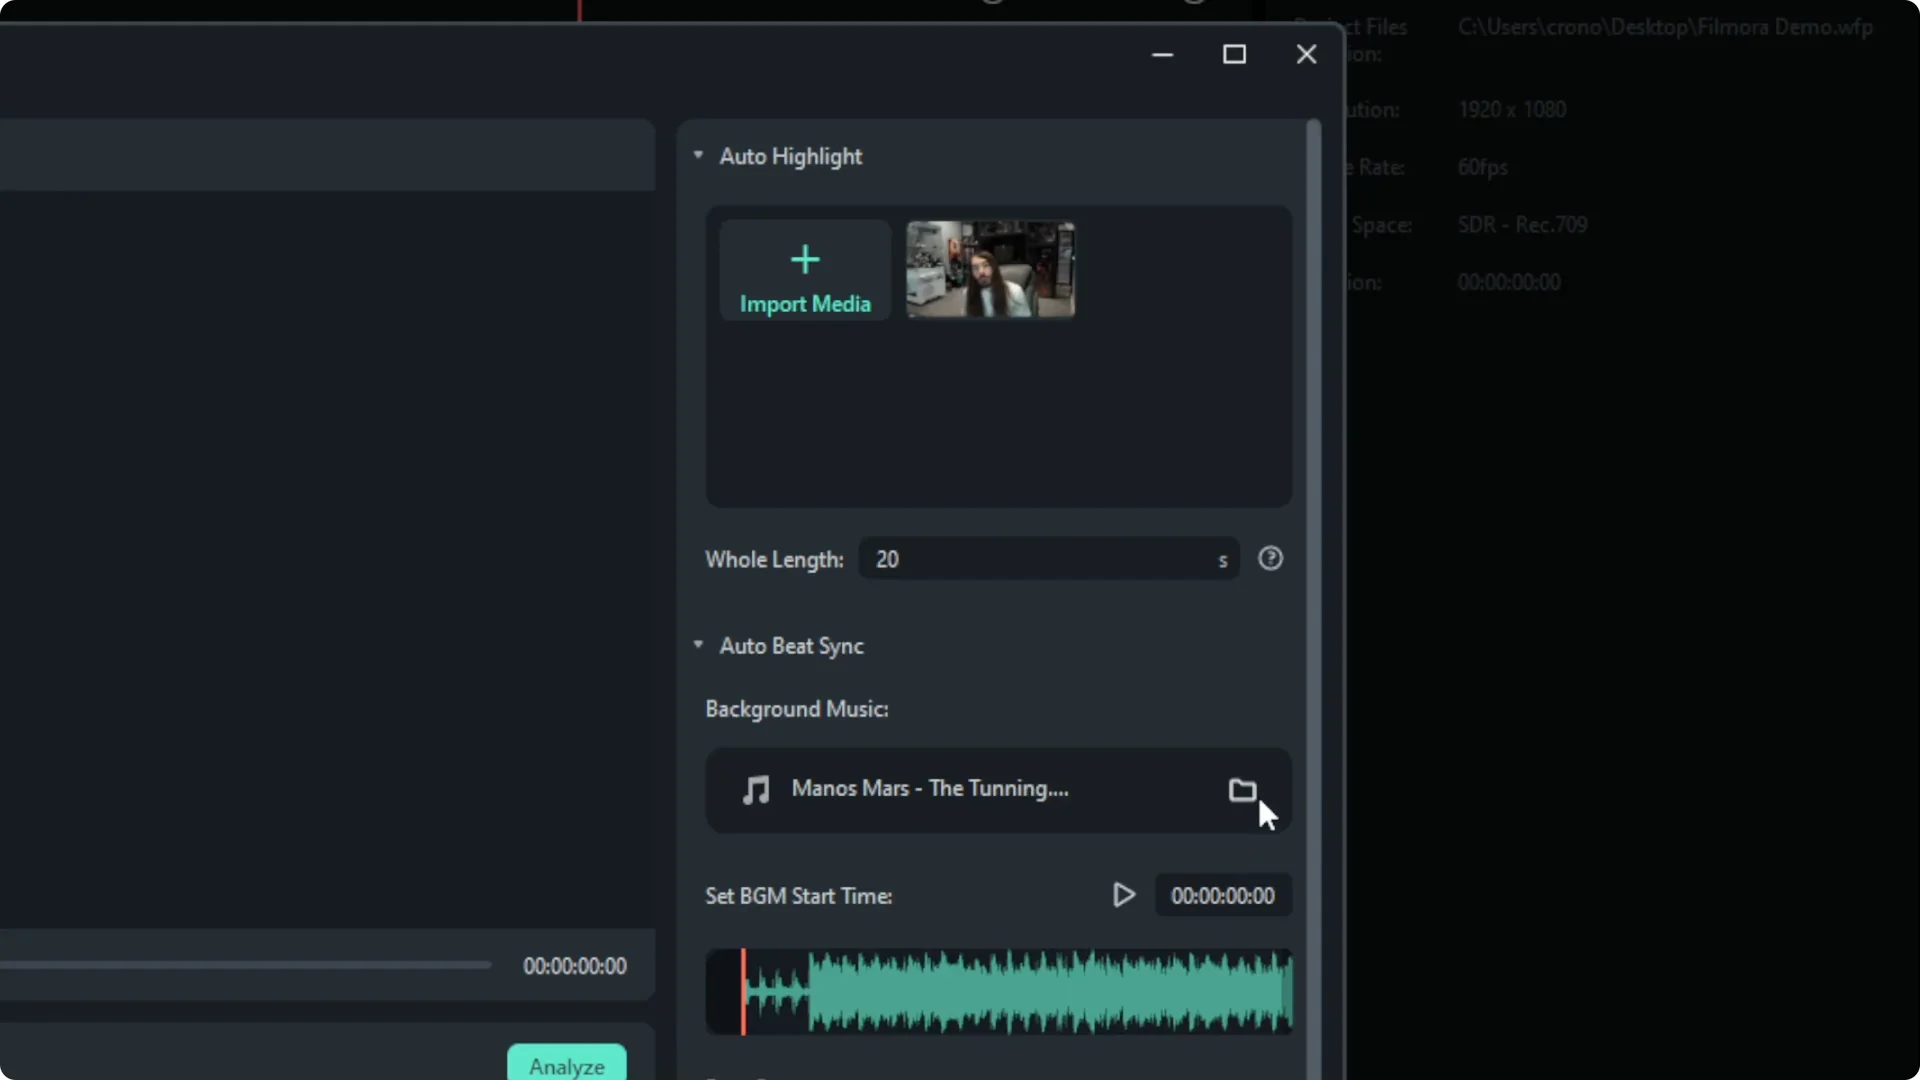
You will also see a Video Effect option inside this tool. I prefer to skip it at first and focus on Auto Beat Sync alone. Effects are easier to judge after you have the cuts.
Filmora Auto Beat Sync analyze and preview
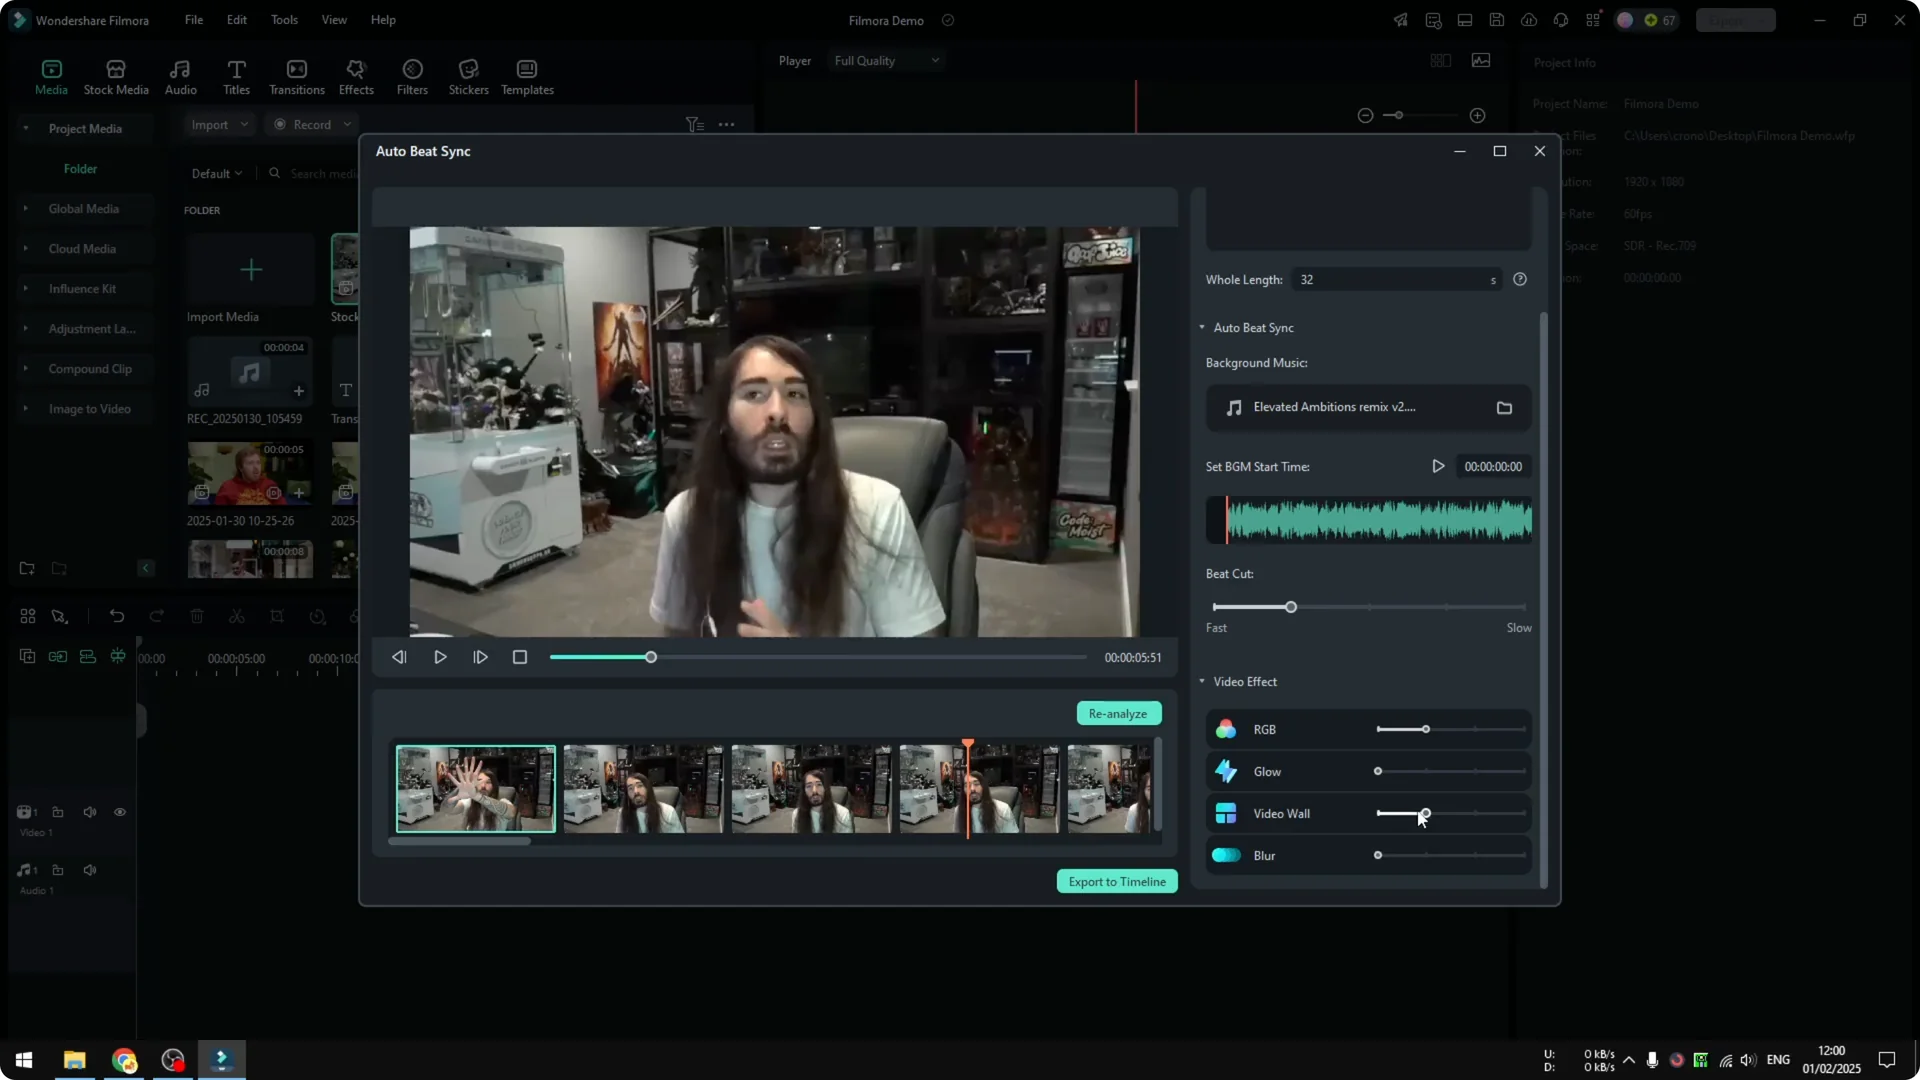
Click Analyze and wait for it to finish. The process is usually quick, even for longer videos on decent hardware. Every time the beat happens, the clip changes.

If your footage is shaky, fix that before syncing so the rhythm lands on stable shots. You can stabilize shaky video with AI right inside Filmora.
Effects after Filmora Auto Beat Sync
Filmora Auto Beat Sync with subtle effects
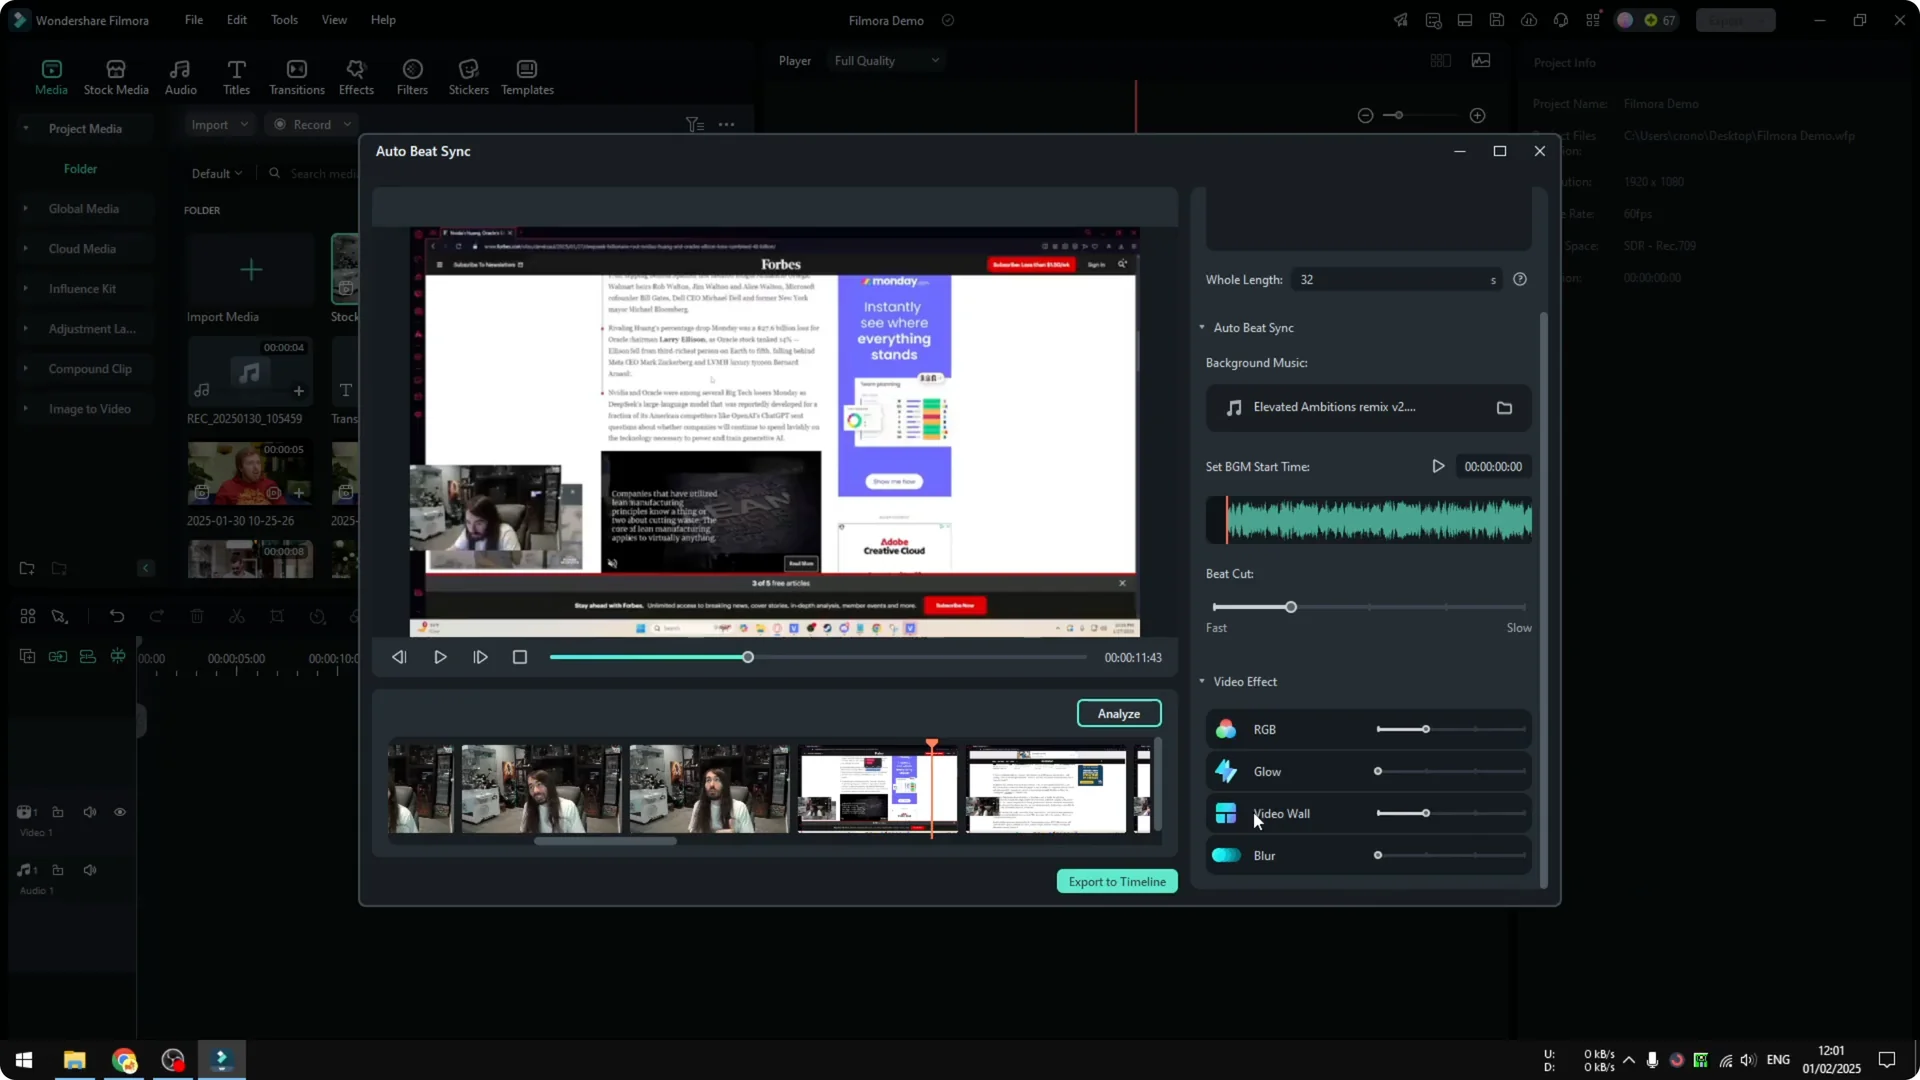
Lastly, I want to touch on video effects. I do not recommend applying all of them at once. It is better to use one or two.
I try RGB and adjust its frequency, which controls how often the effect appears. It feels almost like a transition in terms of timing. Keep it simple so the beat remains the focus.

If you need to remove a subject’s background for a cleaner look, try the AI portrait cutout feature and combine it with your beat synced cuts.
Filmora Auto Beat Sync reanalyze with effects
When you are done adding effects, click Reanalyze. The effects will apply over the beat synced edit. Play it back and adjust the frequency or remove extras if they distract from the rhythm.
Export from Filmora Auto Beat Sync
Click Export to timeline. The beat synced version will appear in your timeline for further editing. Add narration or polish as needed.
If you want to generate a voiceover quickly, try adding narration with AI text to speech in Filmora.
Final thoughts on Filmora Auto Beat Sync
Auto Beat Sync lets you map music rhythm to your edits with precise cut points. Set a clear duration, pick the right beat speed, and start without extra effects. Add subtle effects later, reanalyze, and export to the timeline for finishing touches.