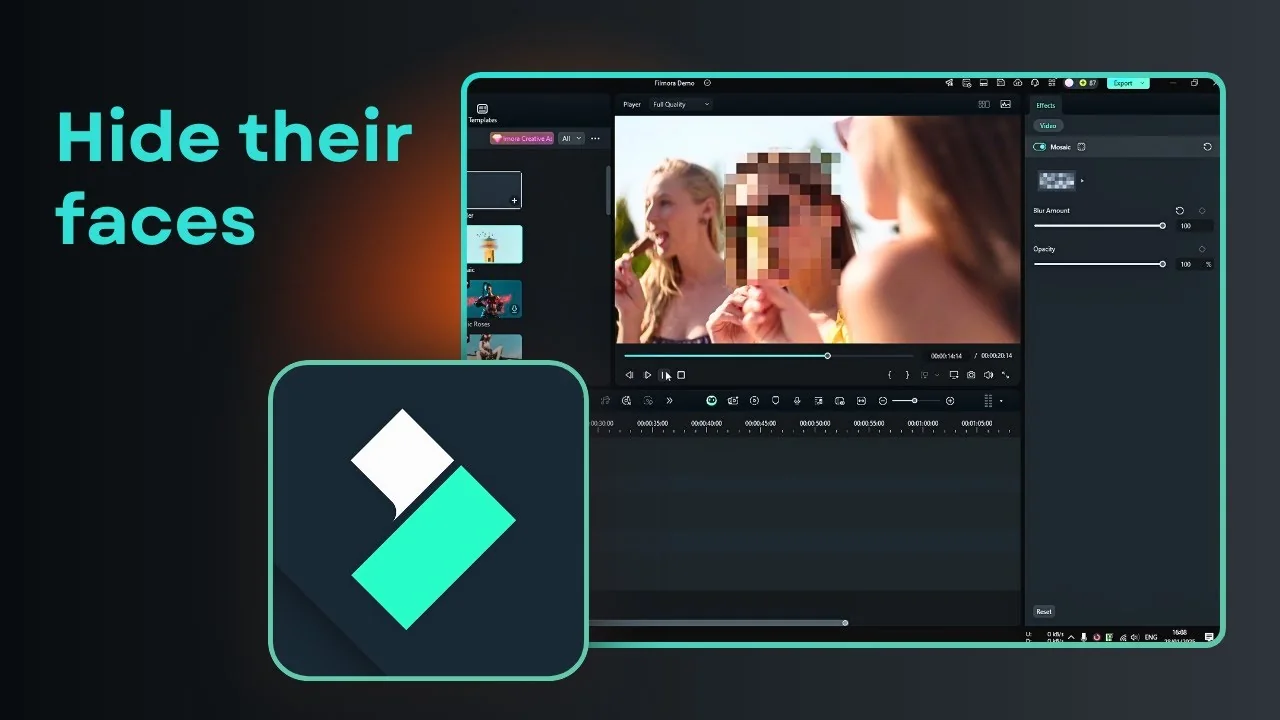
I am going to show you how you can easily blur or censor a face in your Filmora project. There are two methods to cover: the traditional approach and the new AI method. I will also show a quick option that detects multiple faces automatically.
Getting started with Filmora Face Blurring
If your subject is not moving and stays in the same place, censoring is much easier. This simple setup is perfect for the basic effect.
Traditional method for Filmora Face Blurring
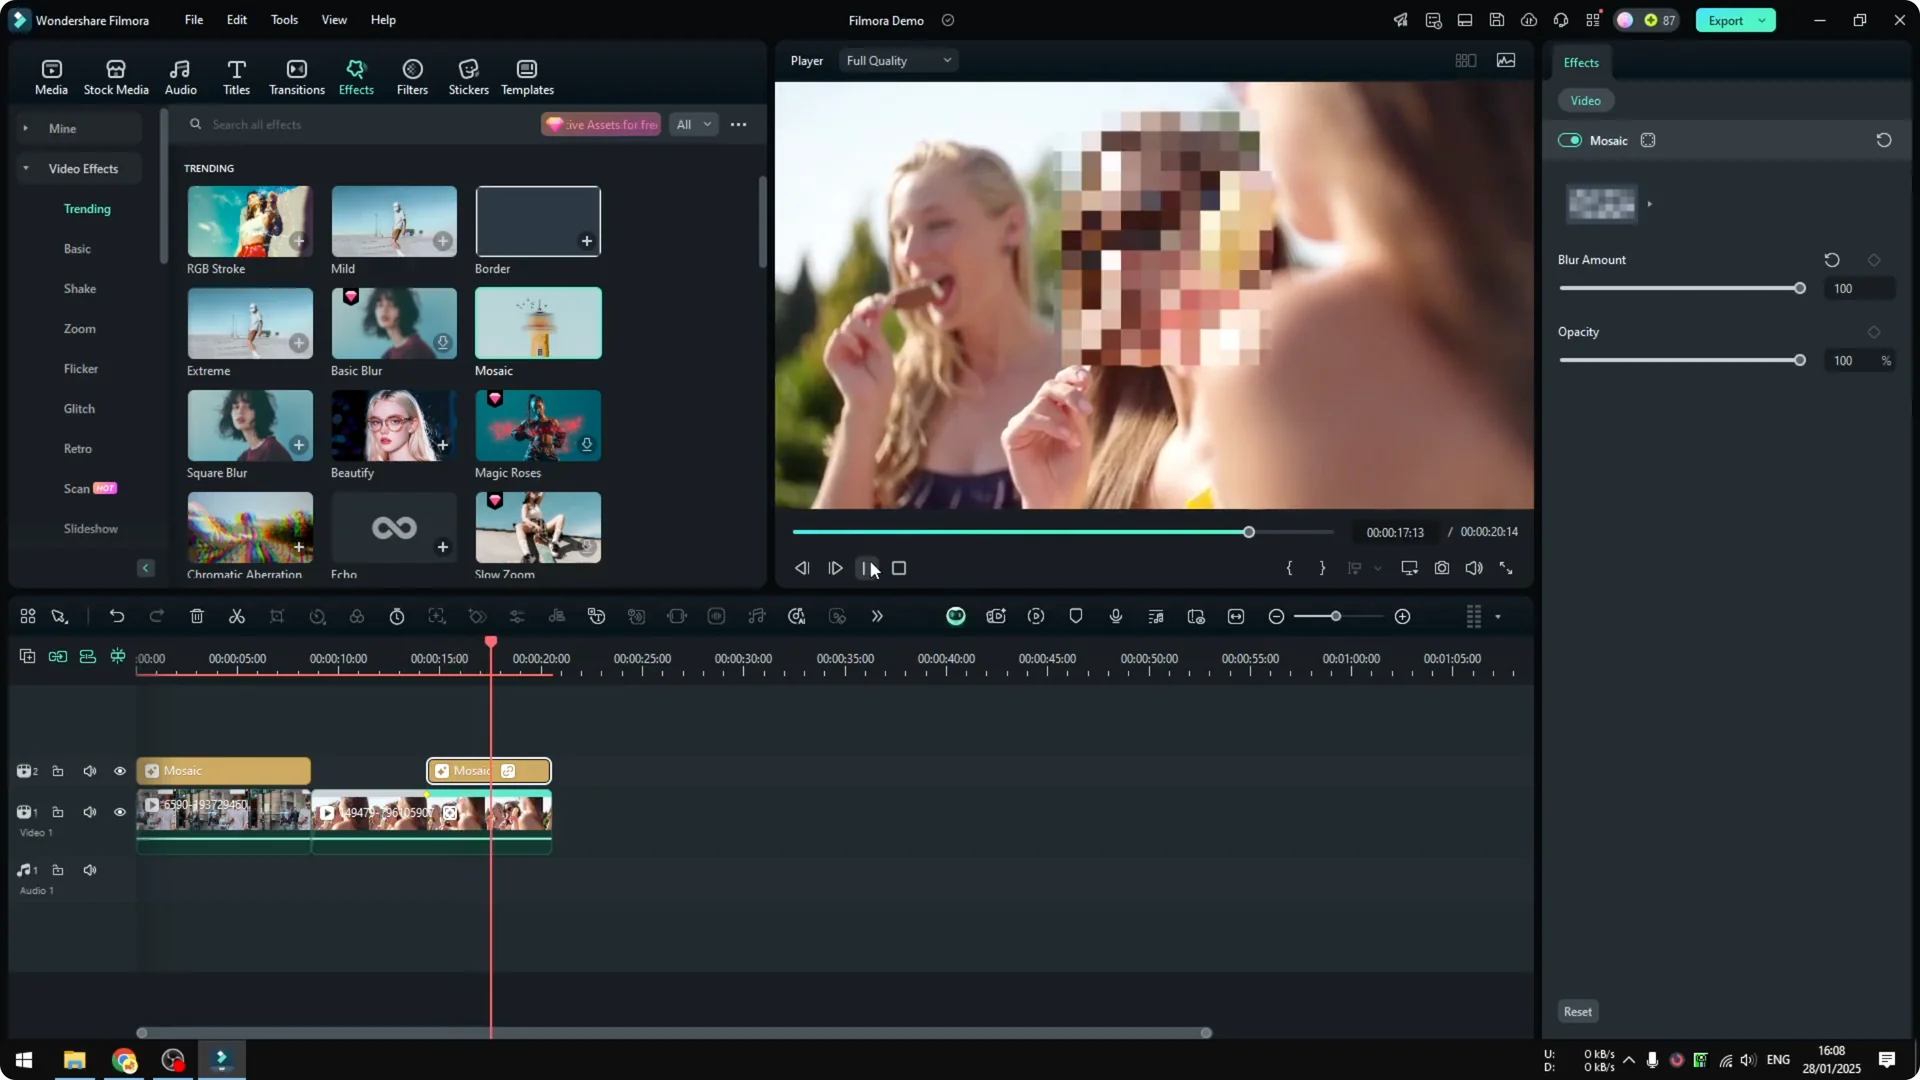
Visit the Effects menu and search for Mosaic. Drag the Mosaic effect onto the clip you want to censor.

A square blue effect appears on the preview. Position it over the face and resize it to fit perfectly.
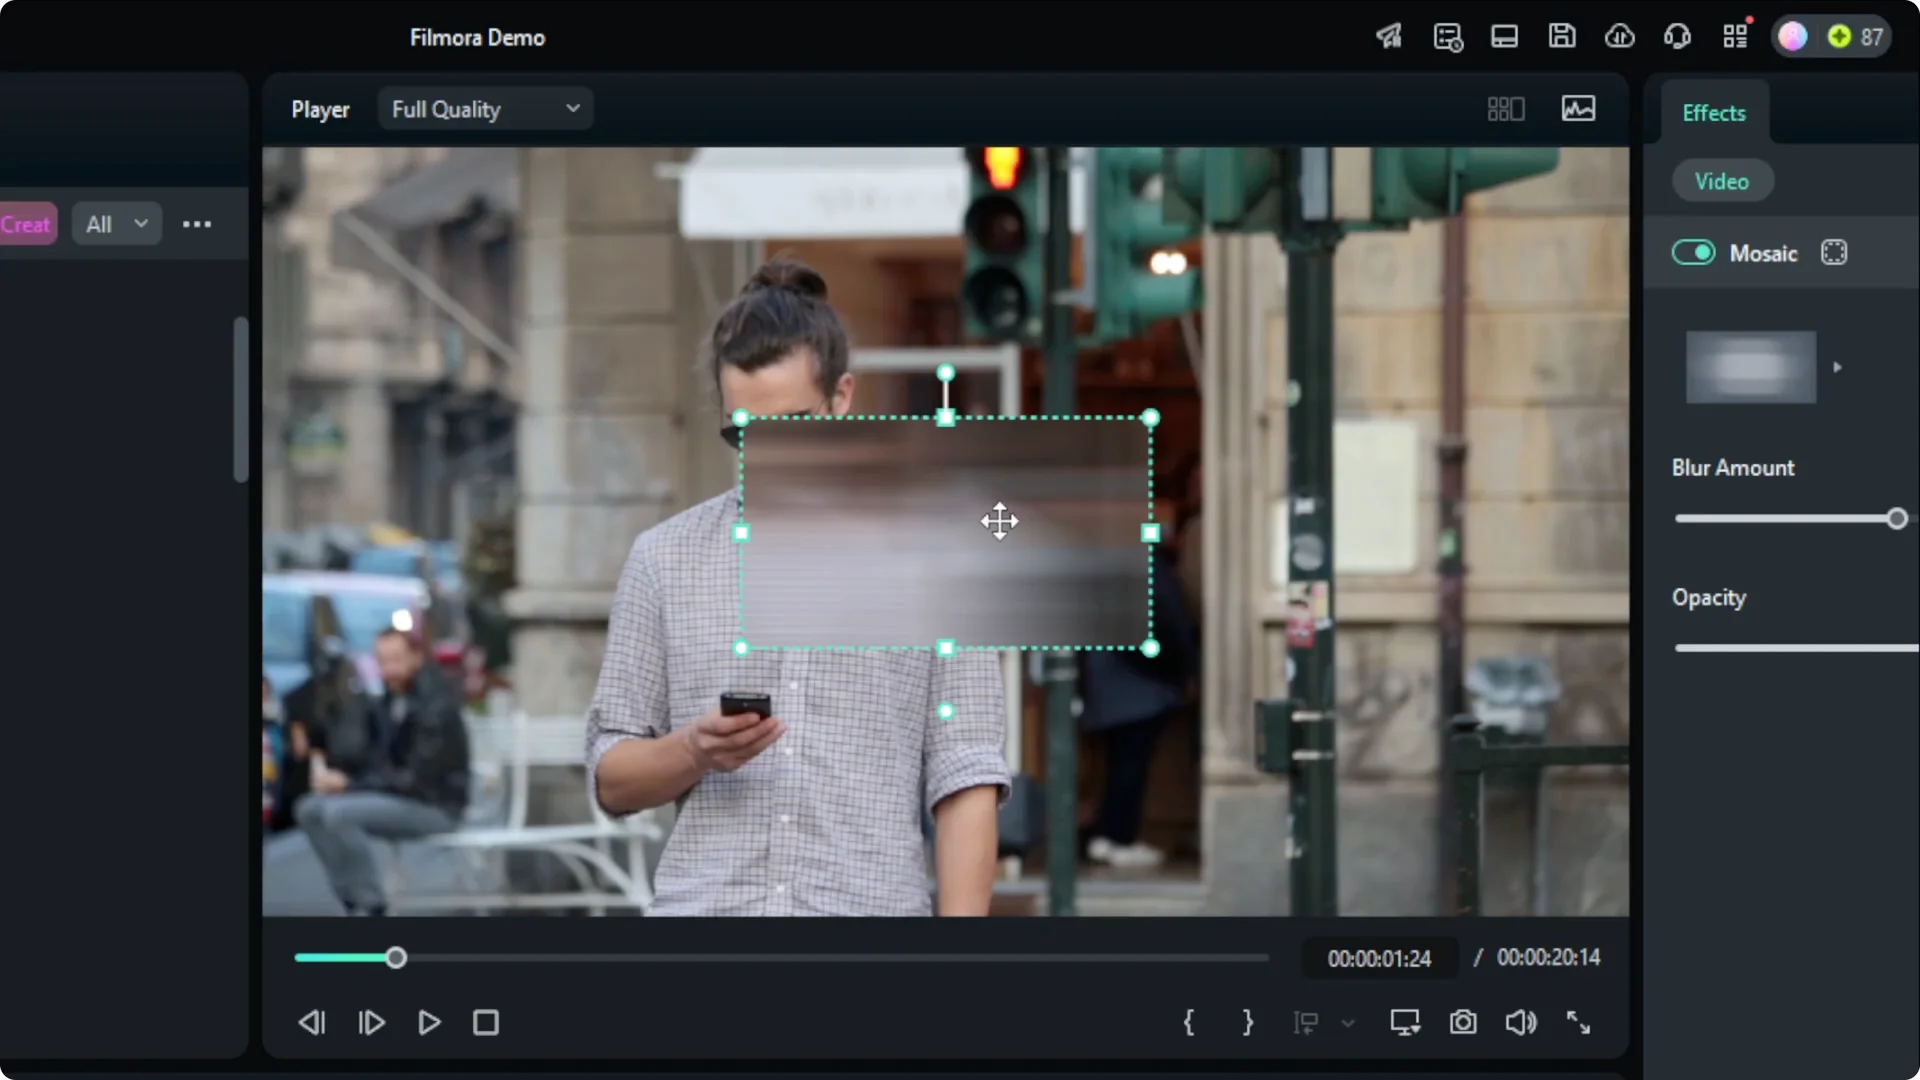
In the Effect controls, try different styles and increase the strength if needed. Preview the result to confirm the look.
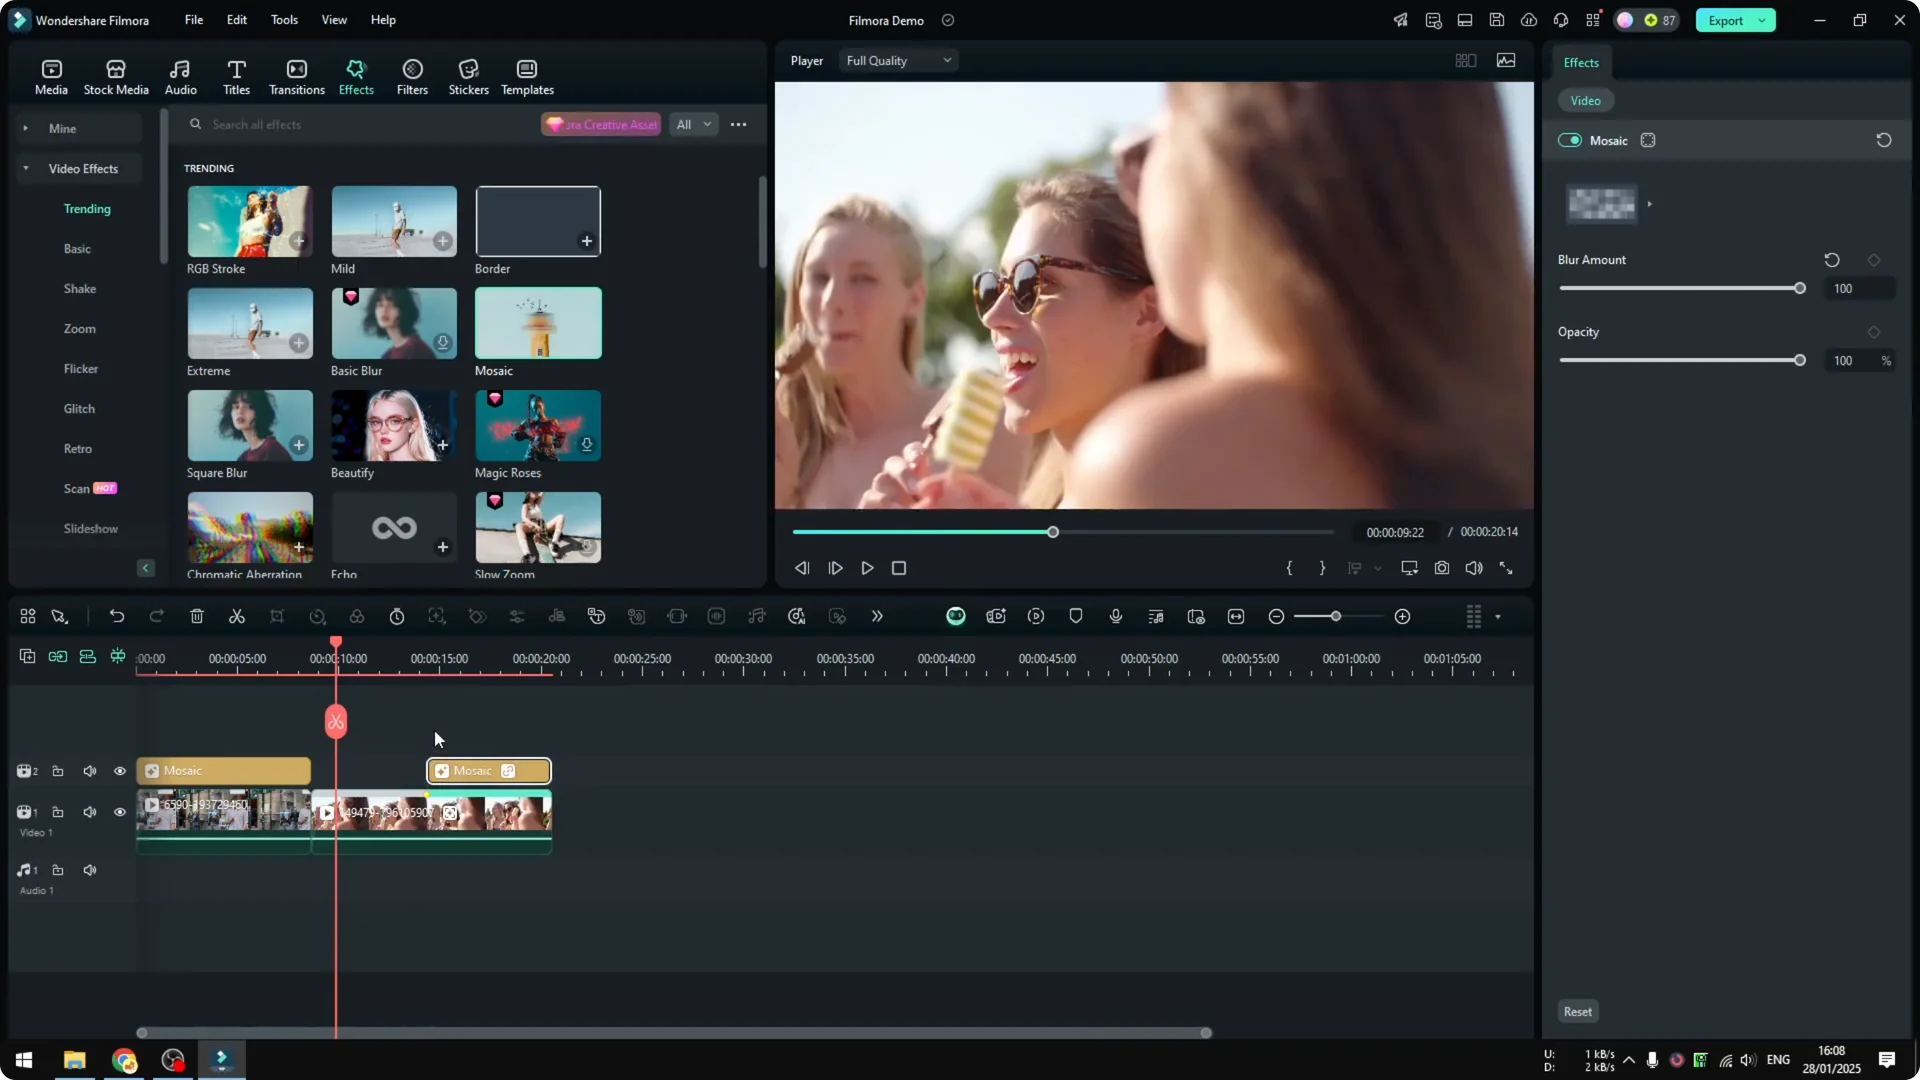
To cover a longer portion of the clip, extend the effect on the timeline so it spans the entire section where the person appears. This method is simple when the person is not moving.
For a polished finish after censoring, you can apply AI color work. Check our AI color grading tips to match the effect with the rest of your footage.
Filmora Face Blurring for moving subjects
Dynamic footage with a moving face needs tracking. AI motion tracking keeps the blur locked on the subject as they move.
Motion tracking with AI in Filmora Face Blurring
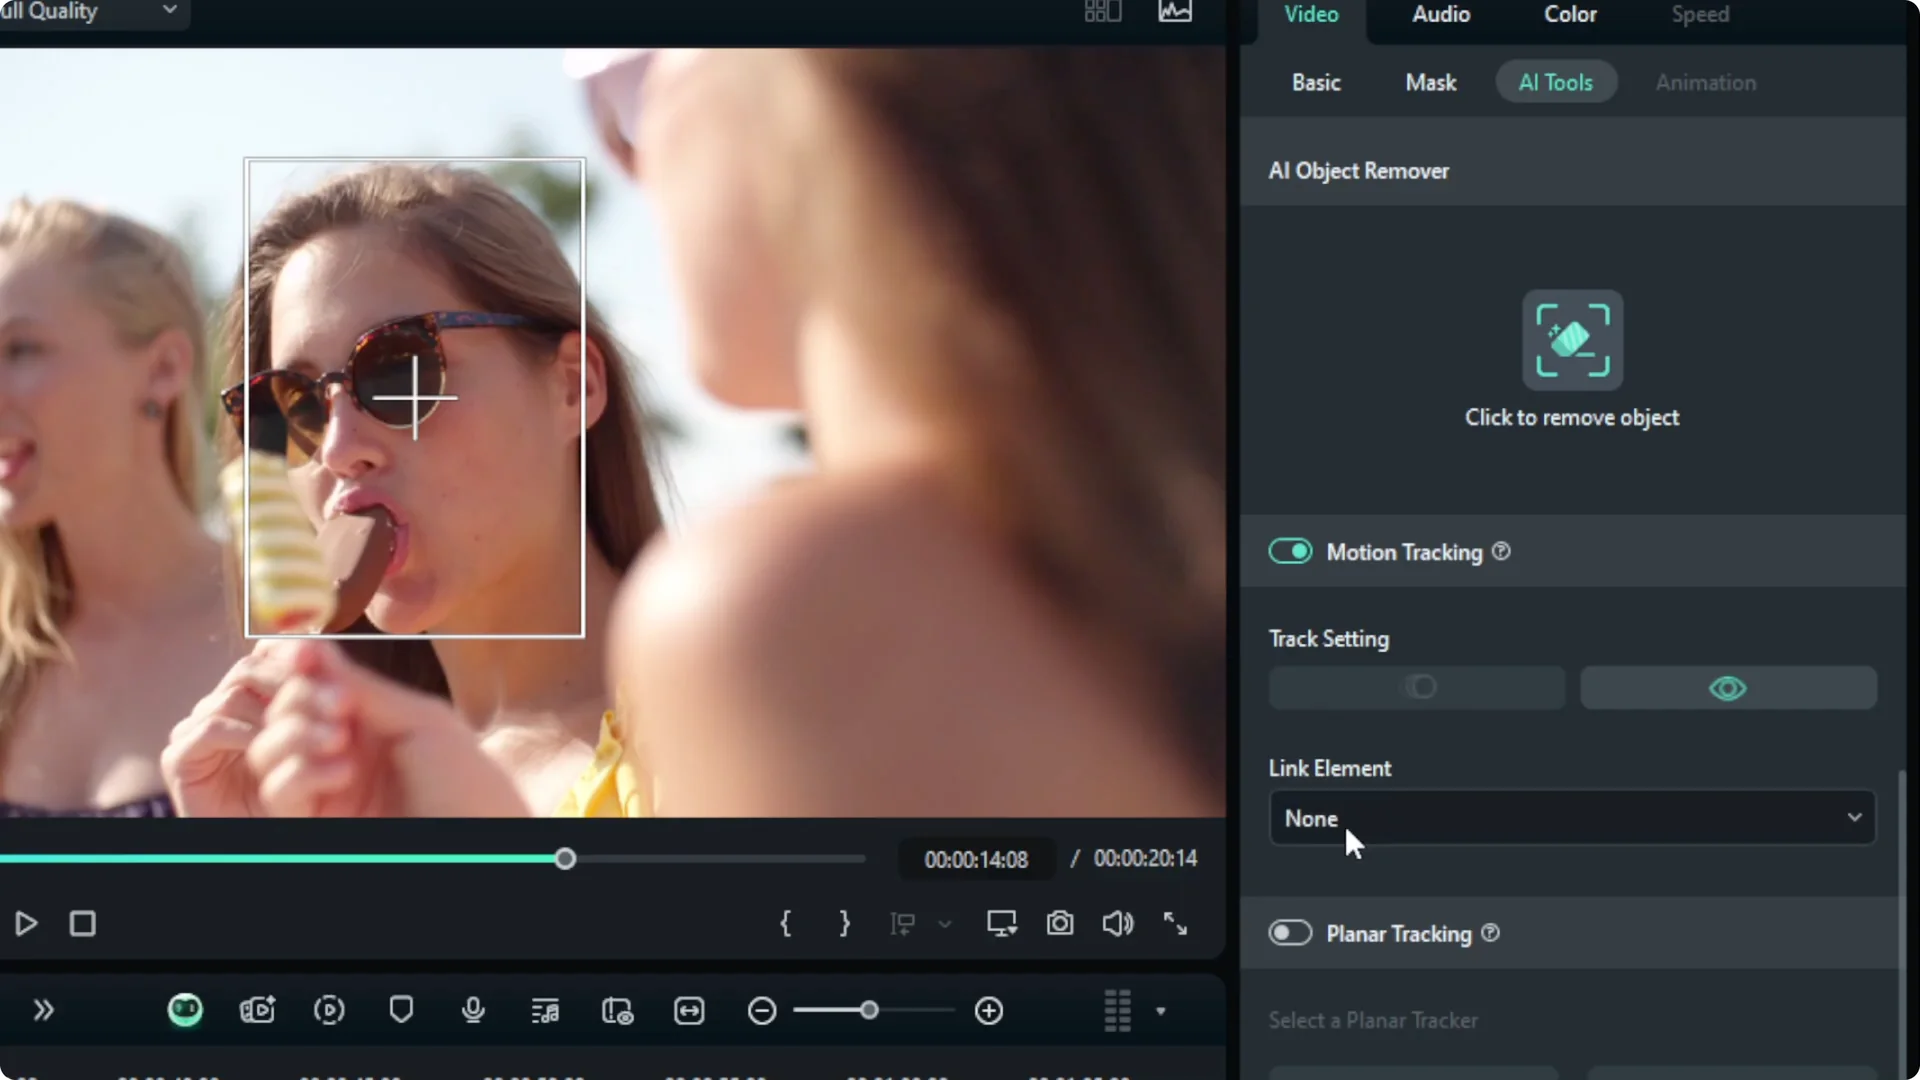
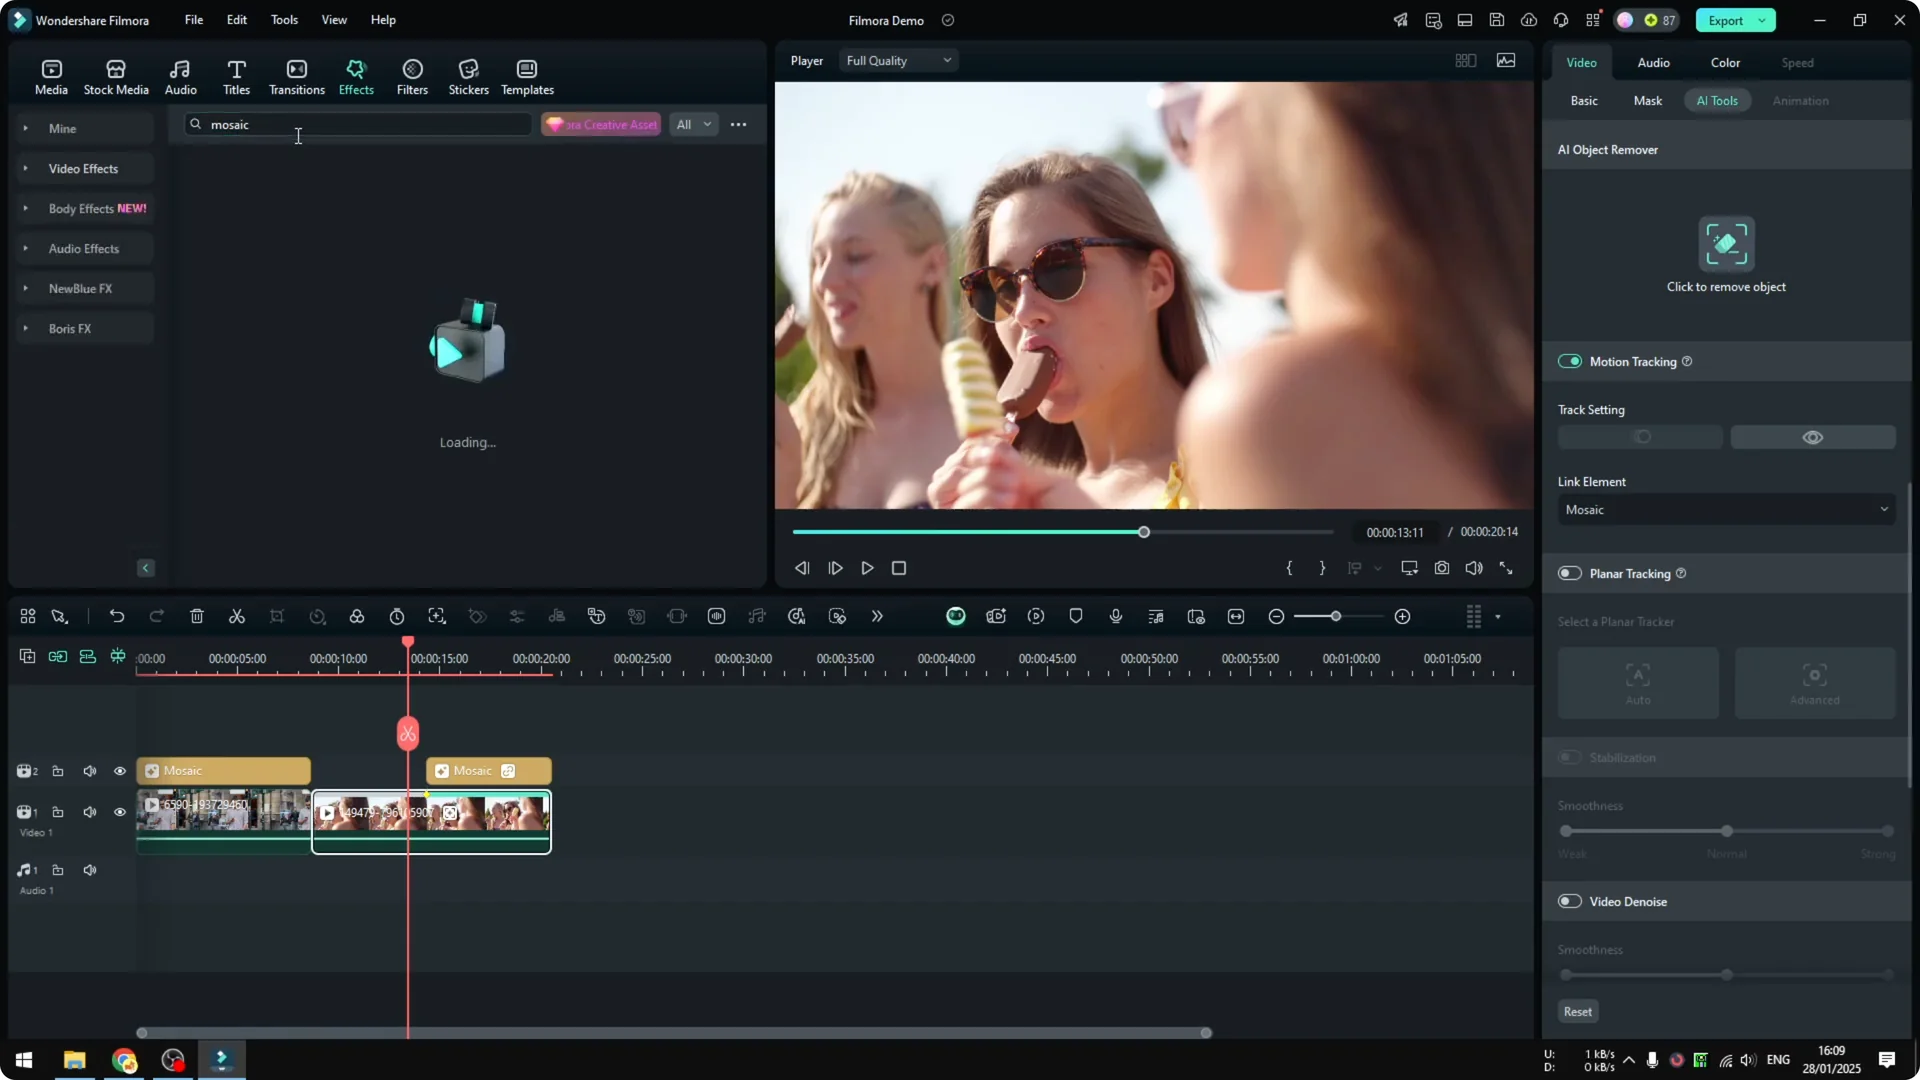
Select your clip, open AI Tools, and choose Motion Tracking. A rectangle appears on the preview.
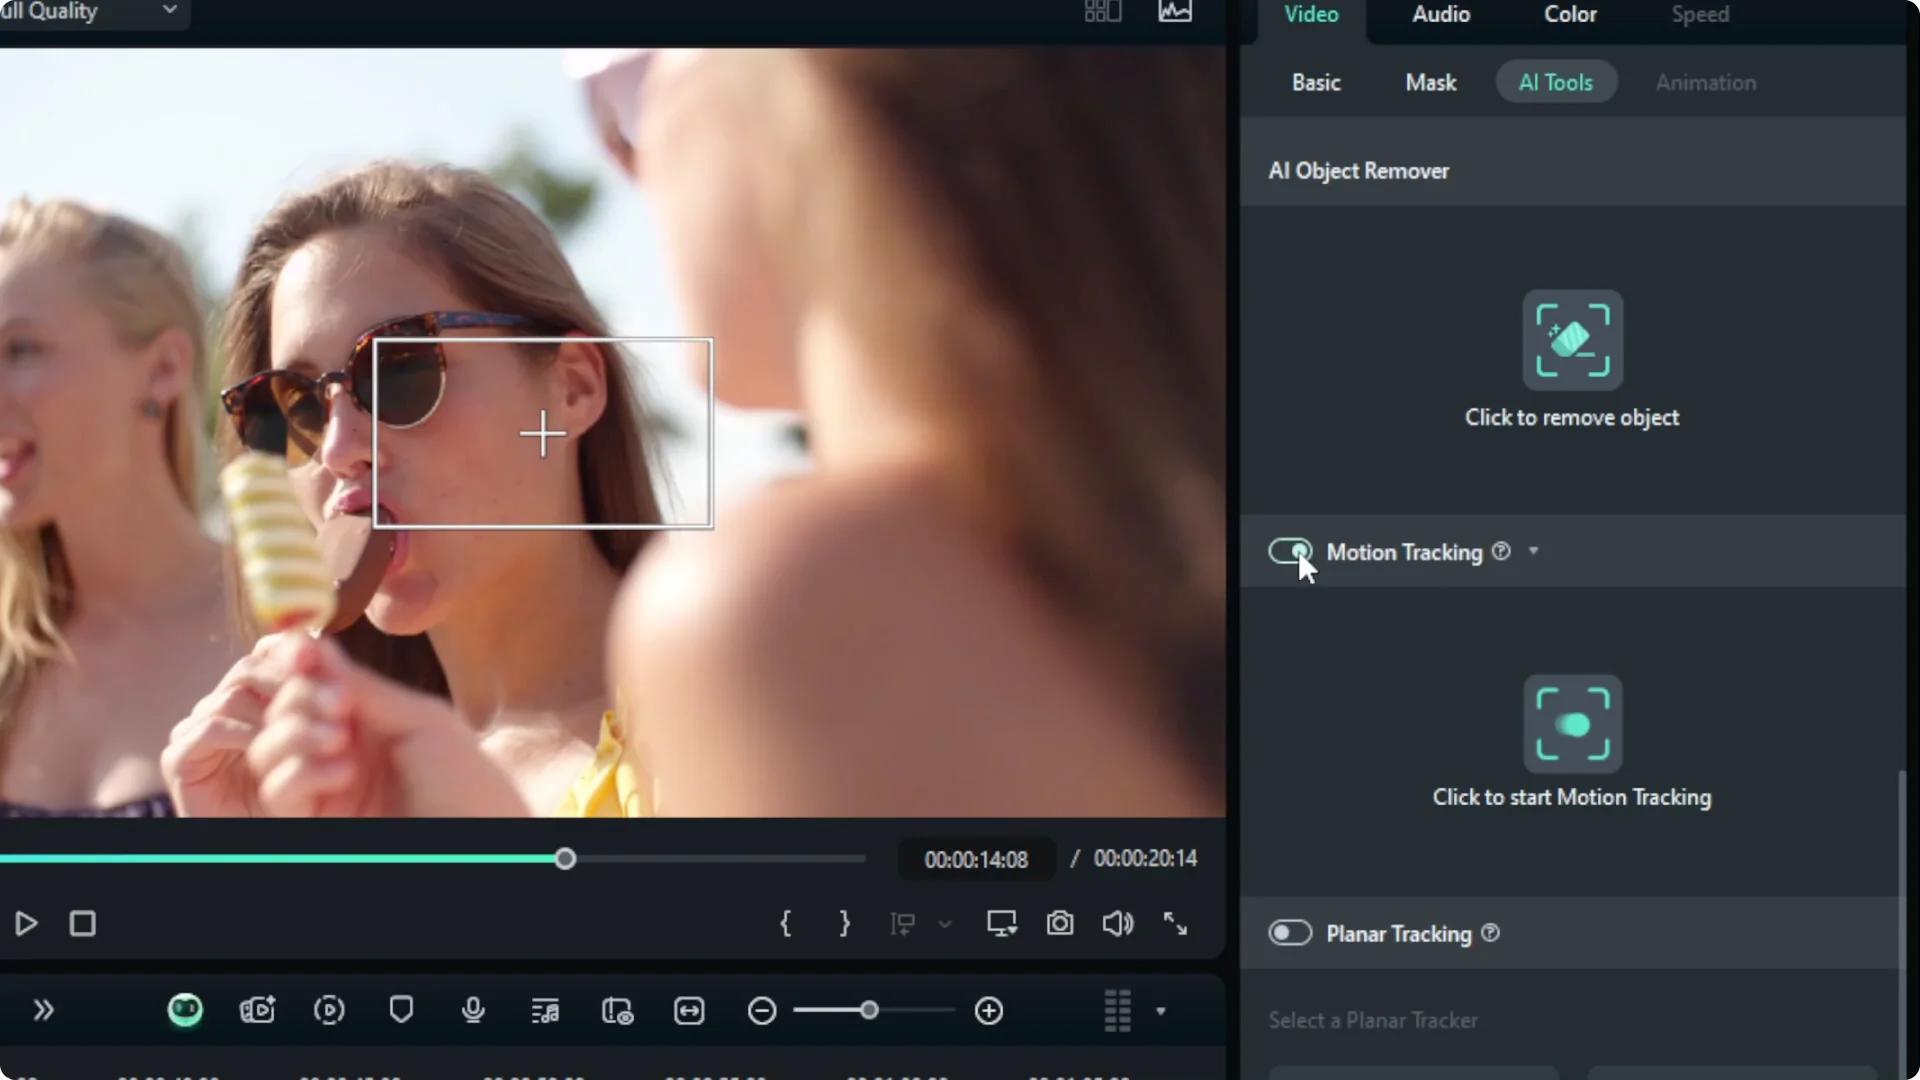
Drag the rectangle to cover the face you want to censor. Click to start Motion Tracking and wait for it to finish.
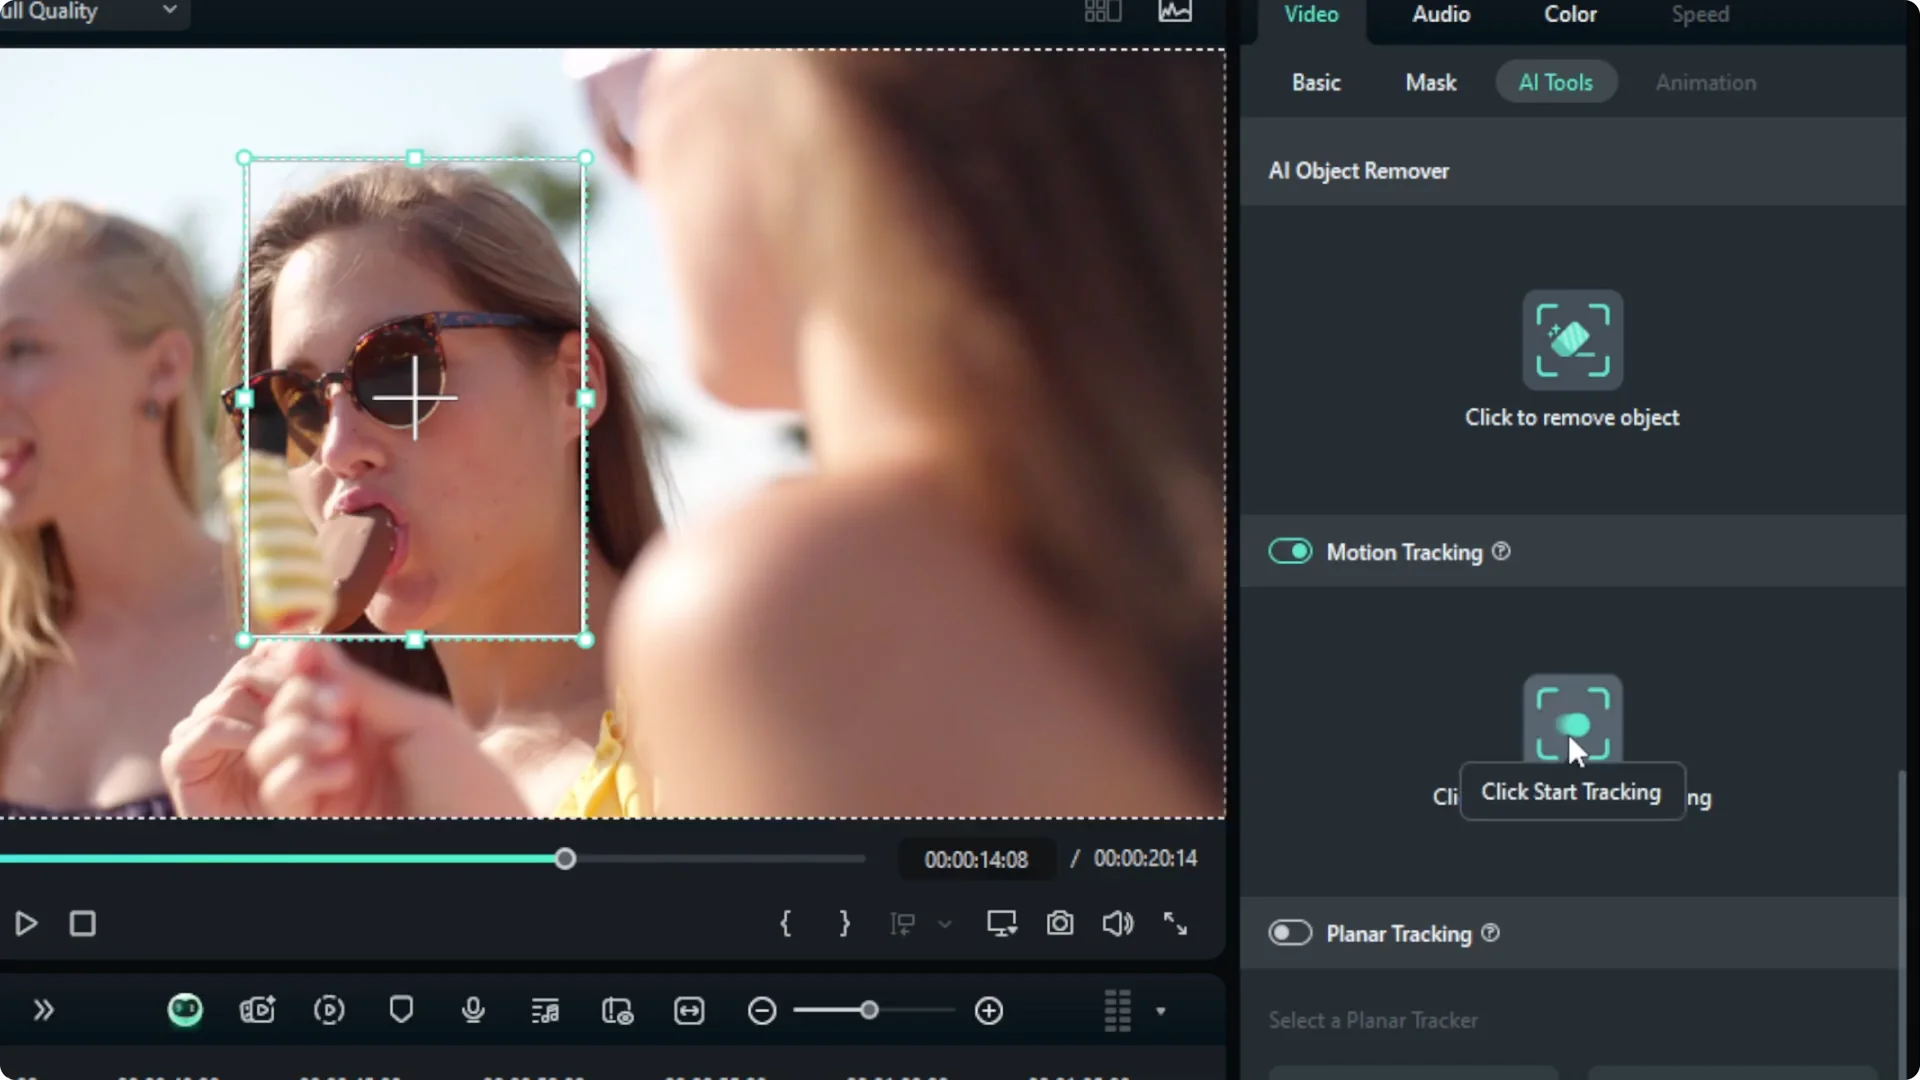
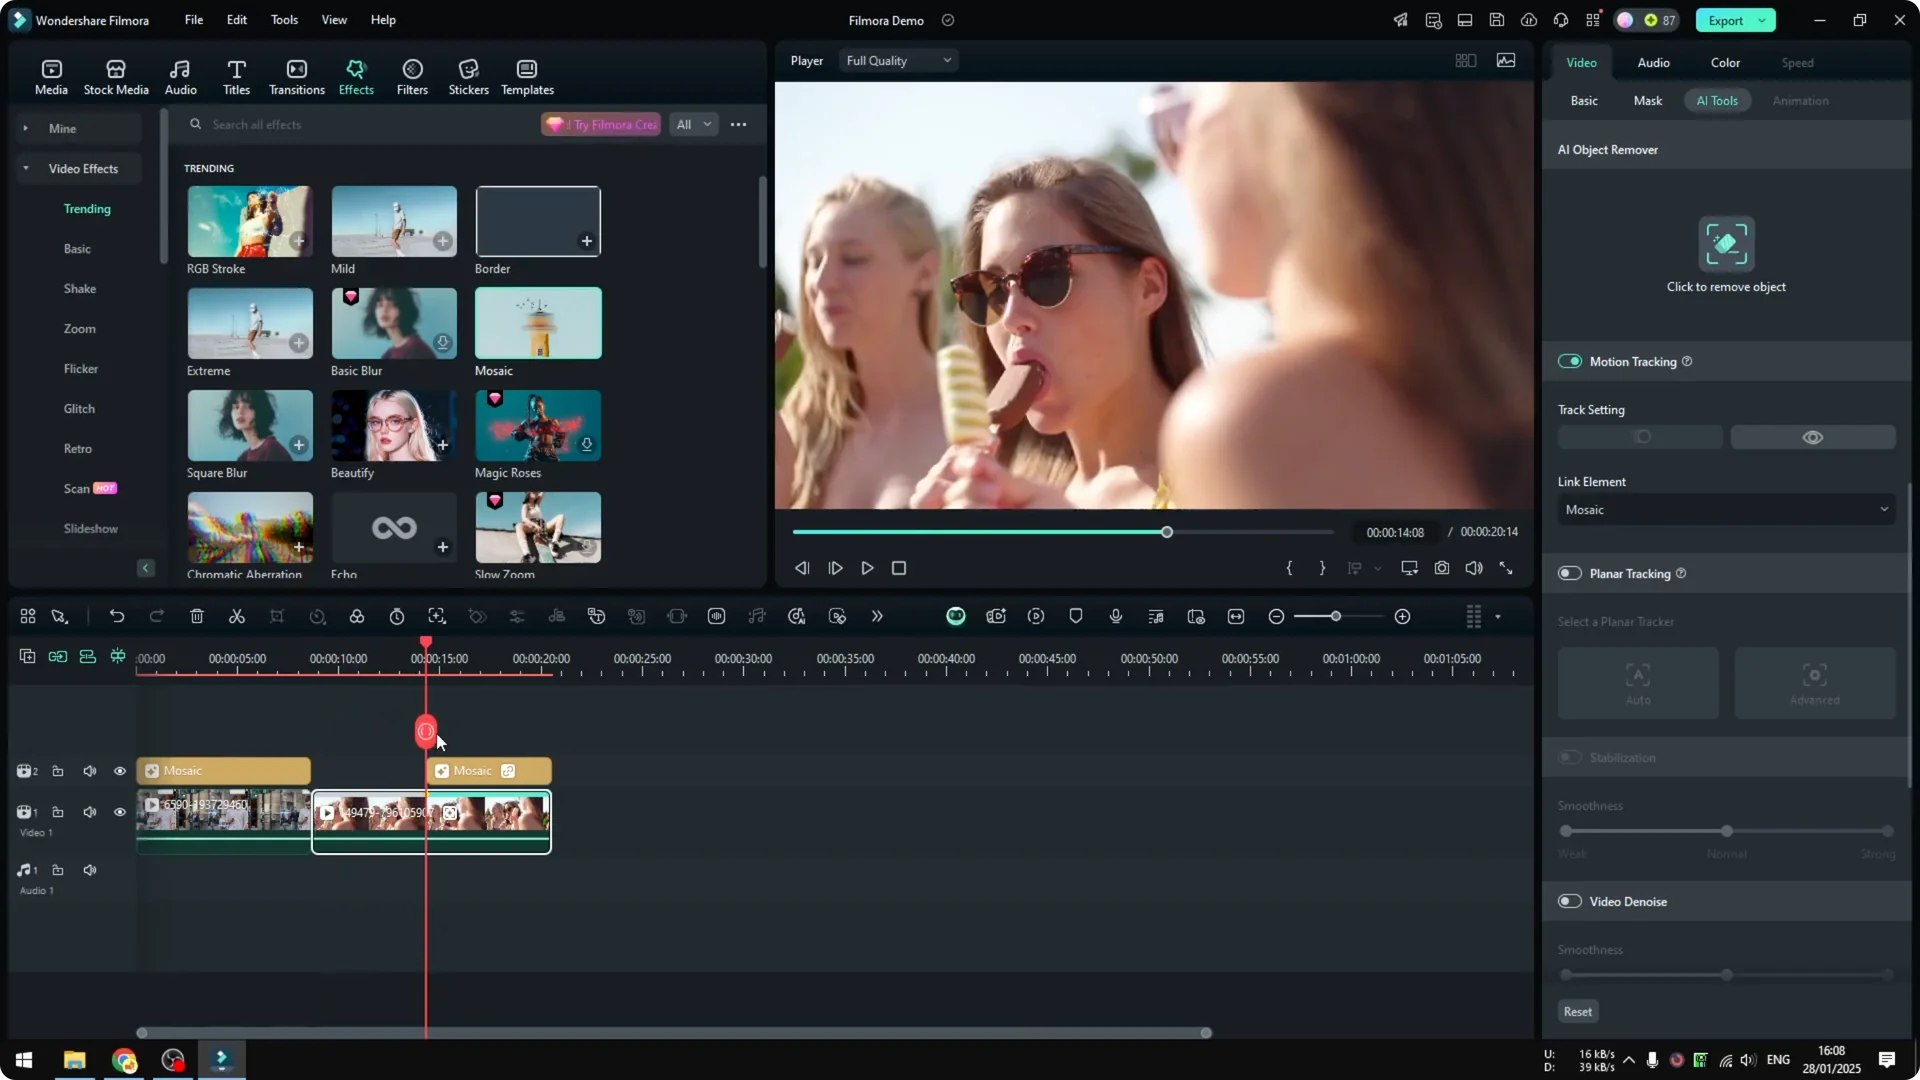
When tracking completes, use the Link Element option and add a Mosaic. Resize the mosaic to match the face and adjust the mode and strength as you like.
Play the clip to confirm that the effect follows the movement. It should move with the subject instead of staying in one spot.
Important playhead note for Filmora Face Blurring
The playhead position is very important when you start motion tracking. Place the playhead at the beginning of the section you want to censor before you track.
If you extend the effect beyond the tracked range, it will not work because there is no tracking data in that part of the clip. Start the tracking where the censoring needs to begin for full coverage.
To speed up overall editing while you work on blurs, you can also remove awkward silence automatically using Filmora’s AI tools.
Auto face detection option for Filmora Face Blurring
There is another option that does not use AI tracking. It is quick when you need to cover multiple people.
Go to the Effects menu and search for Mosaic. Choose Face Off and apply it to the clip.
Face Off is free and detects every face on the video. It follows faces as they move and can censor multiple people at once.
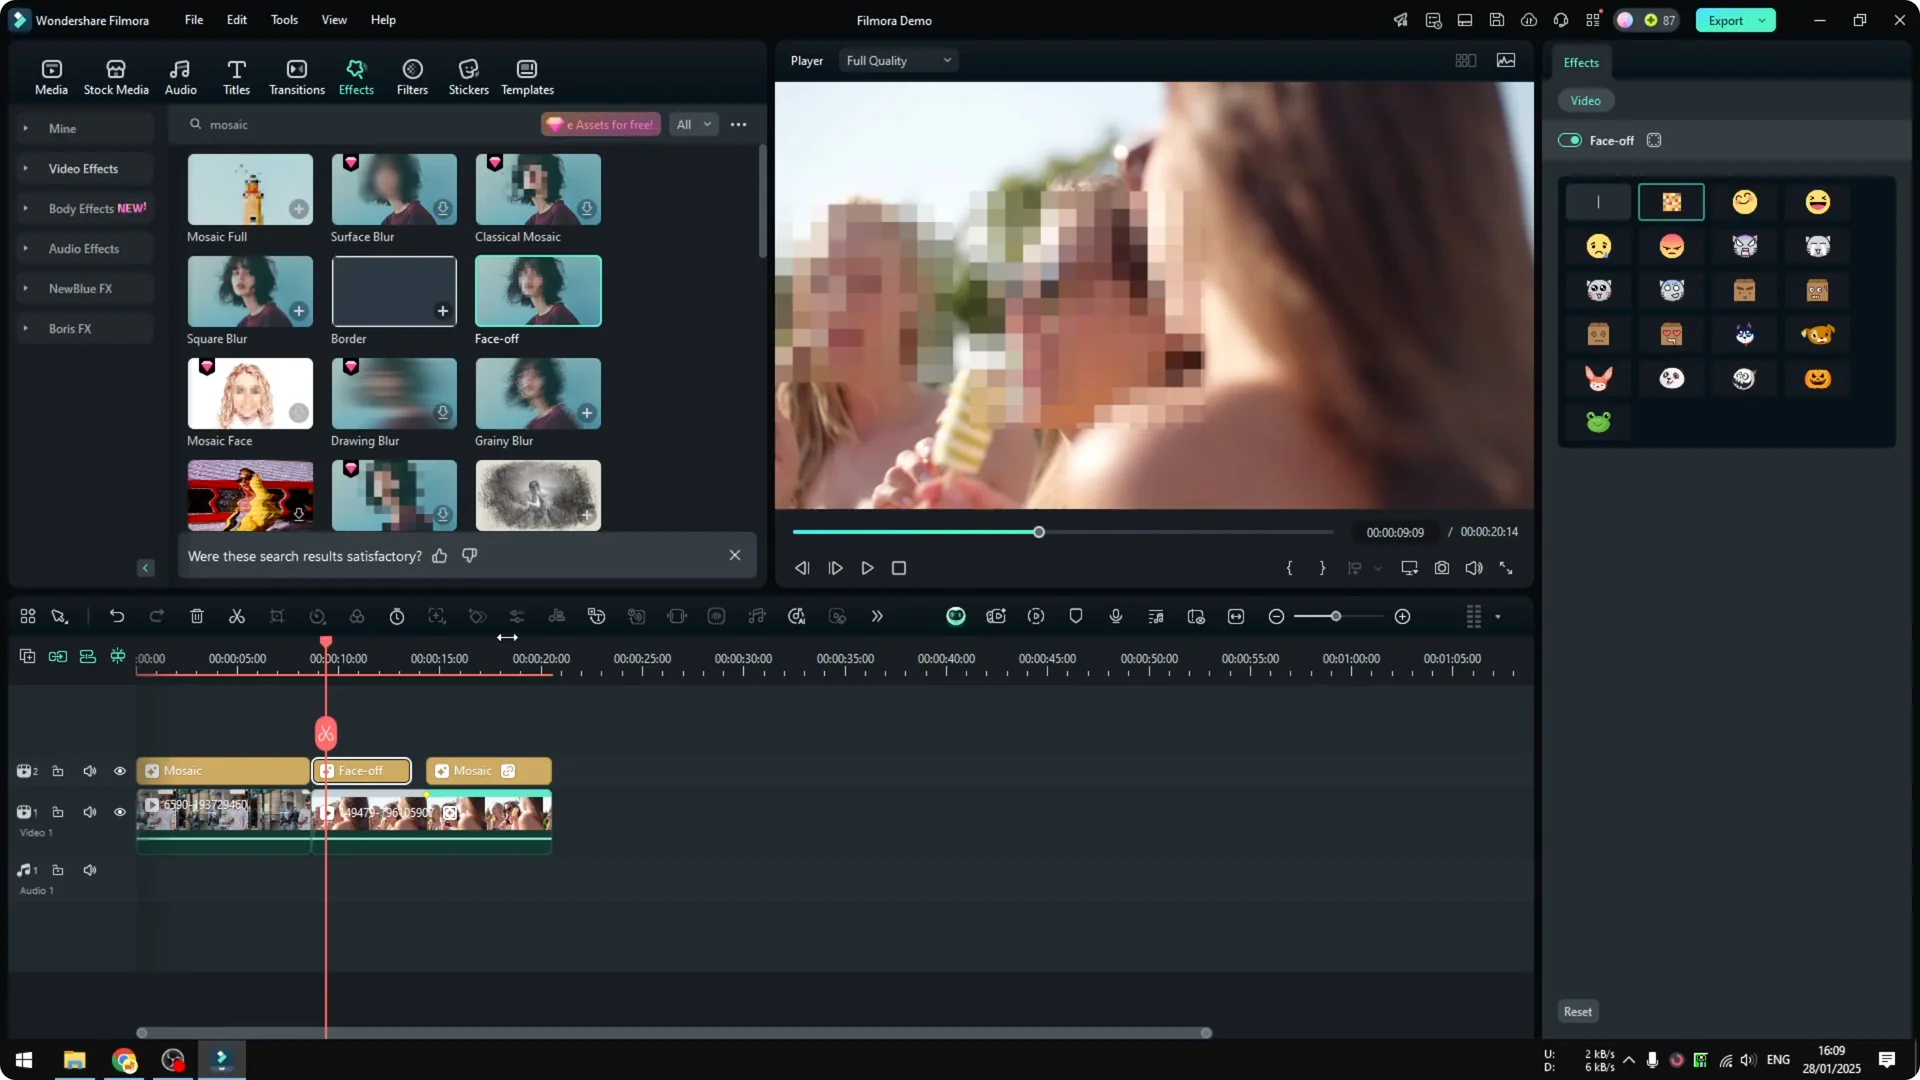
It is not as pretty as the AI motion tracking method, but it is good enough in most cases. Try it when you want a fast multi face solution.
Final Thoughts
Use Mosaic for static faces, AI Motion Tracking for moving subjects, and Face Off when you want quick coverage for multiple faces. Place the playhead at the correct starting point before tracking to avoid gaps in coverage. Adjust style and strength to match the look you want.
For a cleaner mix on projects that include blurring, improve the audio before export. See how to improve audio quality with AI inside Filmora.