I am going to show you how to use the AI Voice Enhancer in Filmora. This AI feature is only available in Filmora 14 and above, so upgrade if you are still on version 12 or 13. It is for enhancing your voice, making it better and more audible, and it is very helpful if you are recording with a basic microphone or your phone and you want it to sound like a nice studio recording with good quality equipment.
I will record my voice and show a before and after using the AI Voice Enhancer. You will hear how it improves clarity and reduces noise. The steps are simple and quick.
Why Filmora AI Voice Enhancer helps
It can make your voice sound clearer and more present. It is especially useful when the original take is a bit thin or flat. It also helps when the recording space is not ideal.
It becomes particularly more prominent if you have a recording with a lot of background noise that almost makes your actual voice inaudible. Cleaning up that noise brings focus back to your words. That is where this tool shines.
Record a sample for Filmora AI Voice Enhancer
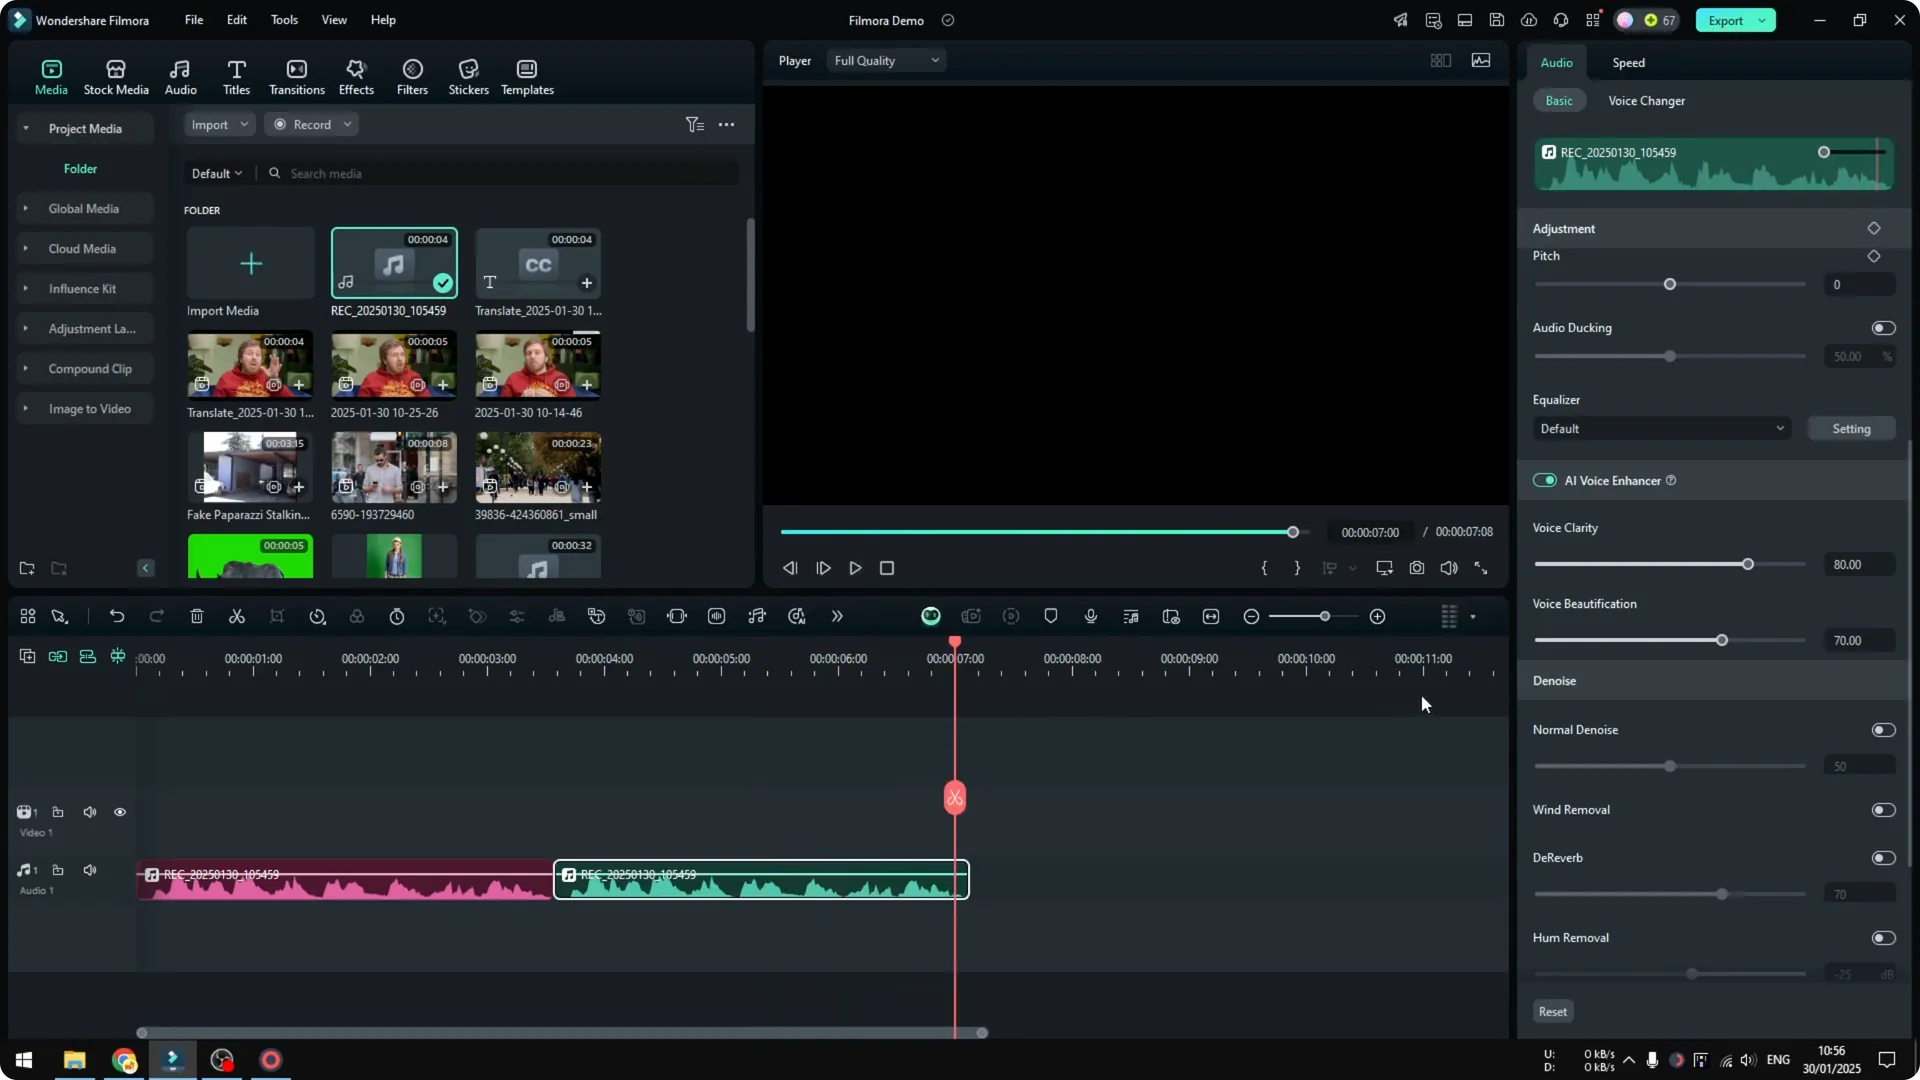
Step 1: Click File and record your own voice. This gives you a clean starting point. Keep the take short so you can compare faster.
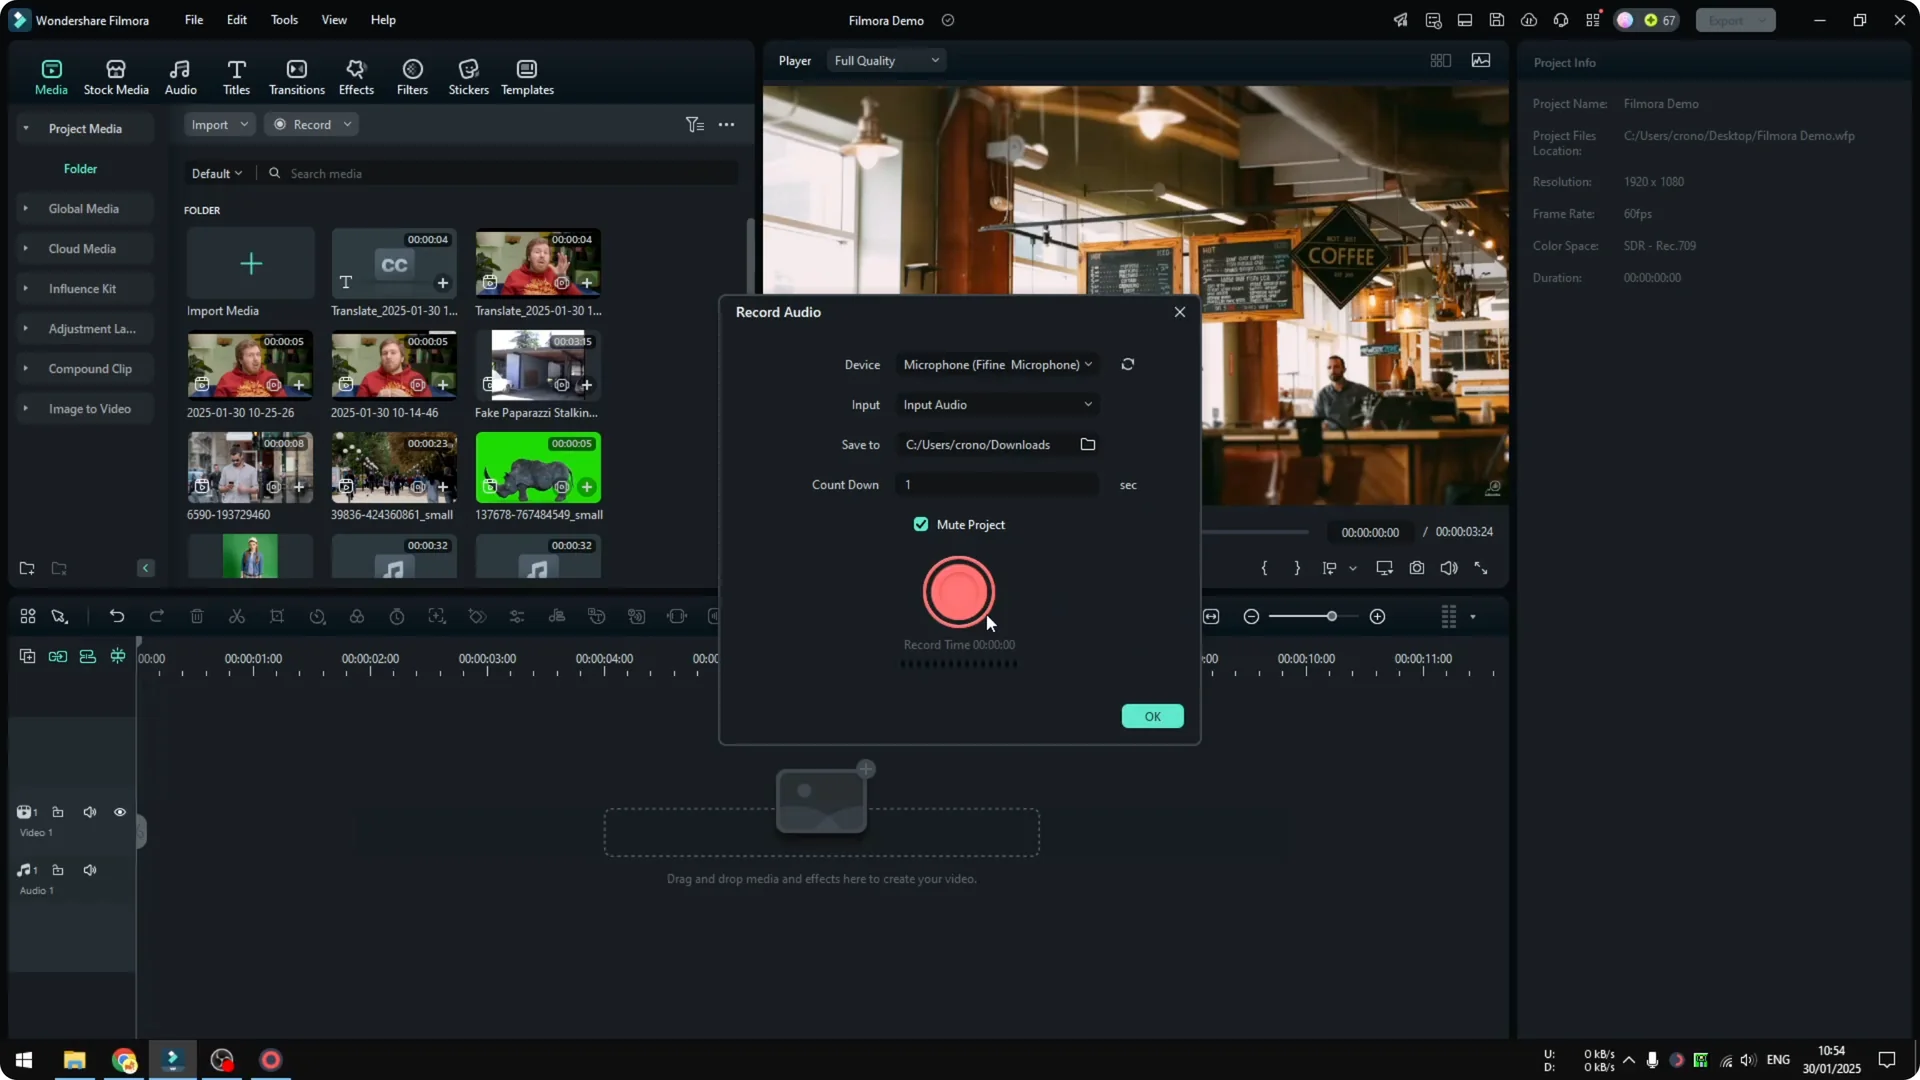
Step 2: Play the original audio so you can compare it later. This is your baseline. Listen for clarity and loudness.
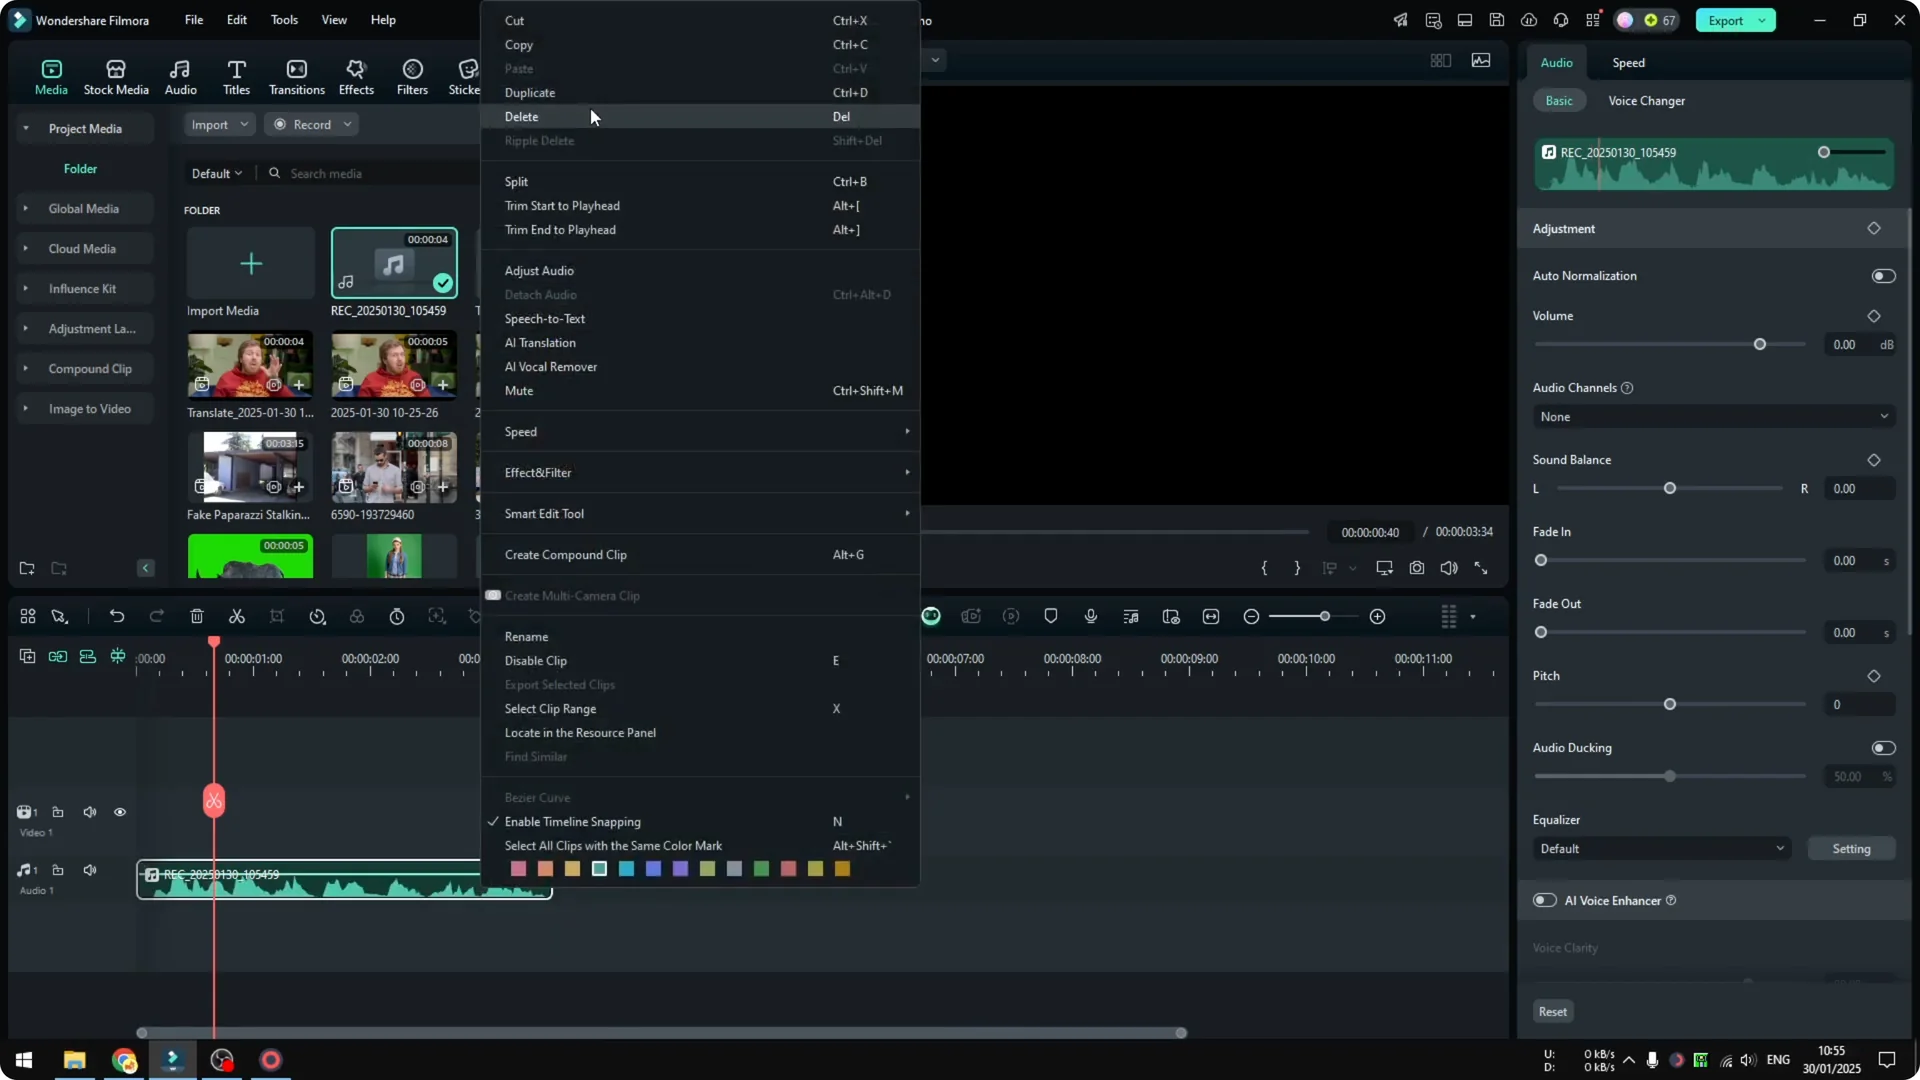
Step 3: Duplicate the clip to create a before and after comparison. Keep one as the original and one for enhancement. This makes changes easy to judge.
If you need a deeper walkthrough on capturing voice in the app, see how to record your voice in Filmora and enhance it with AI.
Apply Filmora AI Voice Enhancer
Step 1: Click the audio clip you want to enhance. You must be on Filmora 14 to see this feature. Older versions will not show it.

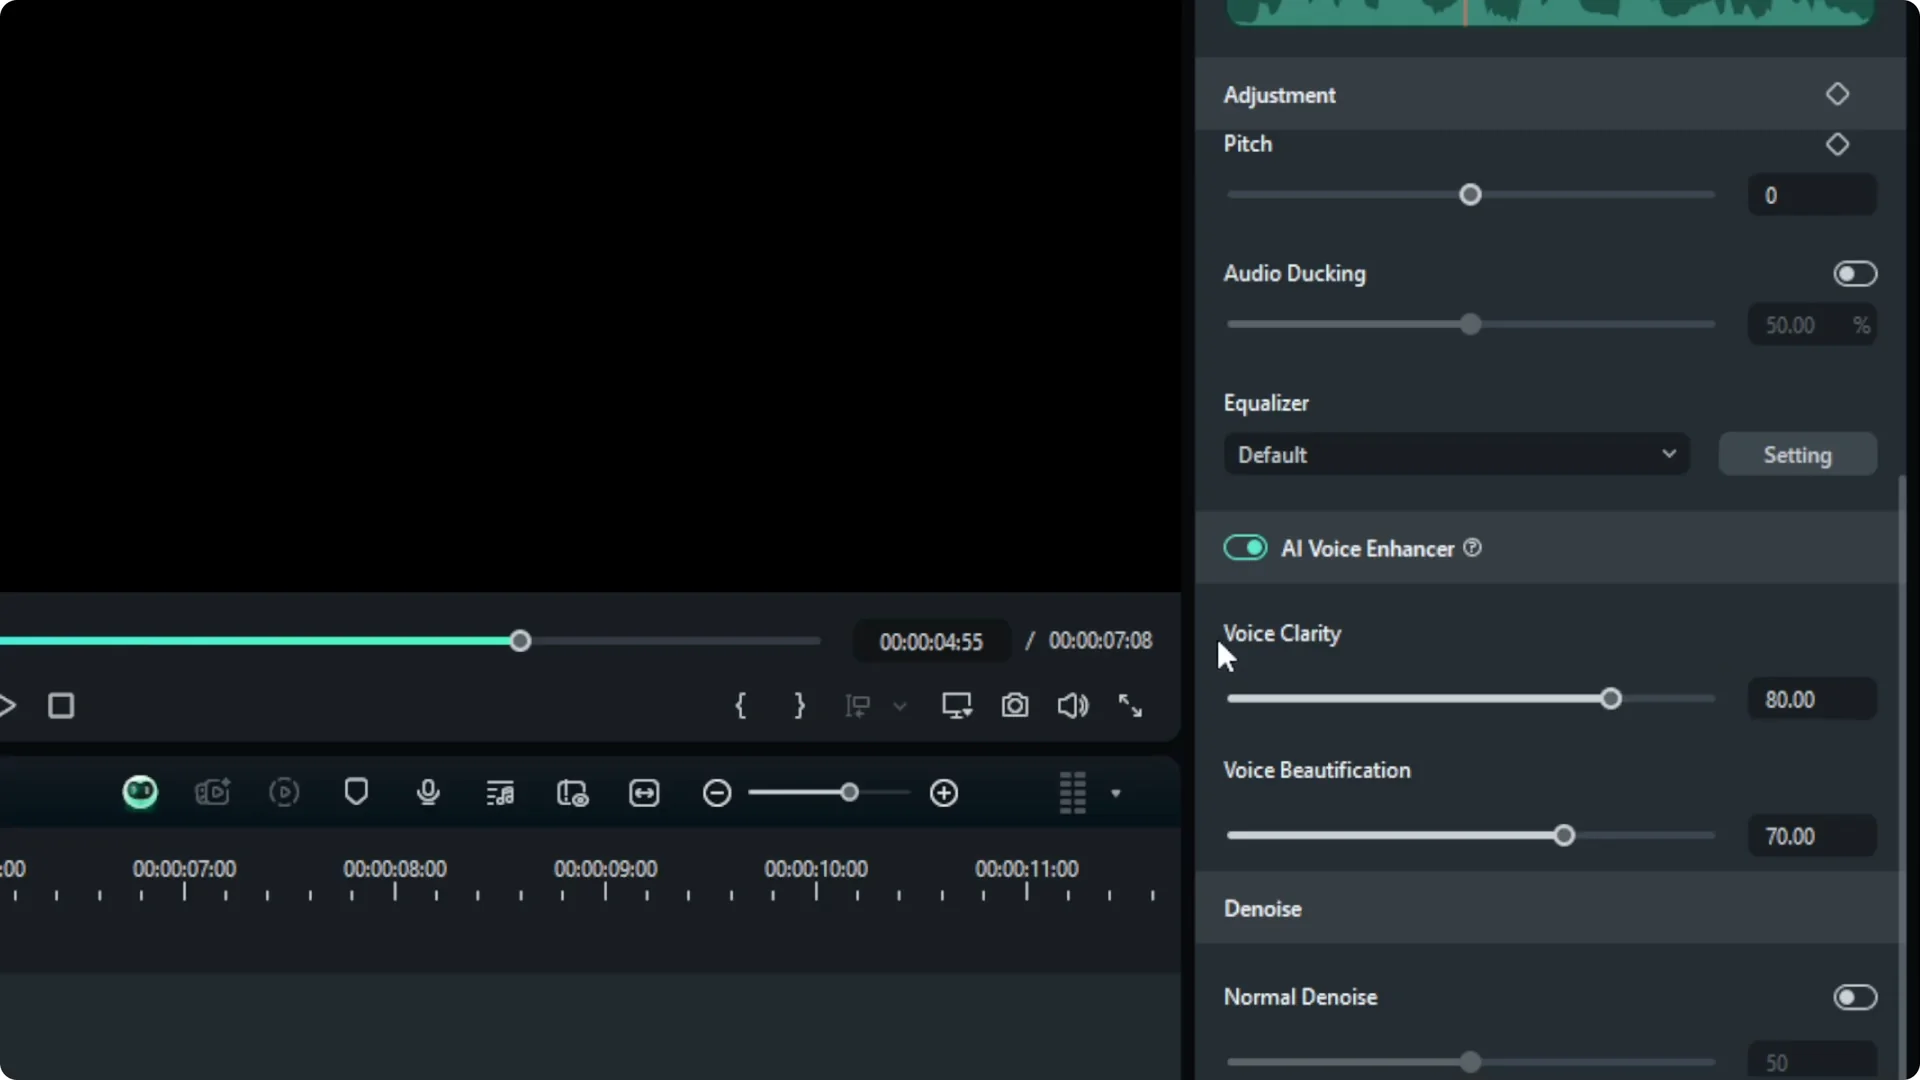
Step 2: Go to Audio, then scroll down and click AI Voice Enhancer. The panel shows two options. You can switch them on and set their strength.
Default settings in Filmora AI Voice Enhancer
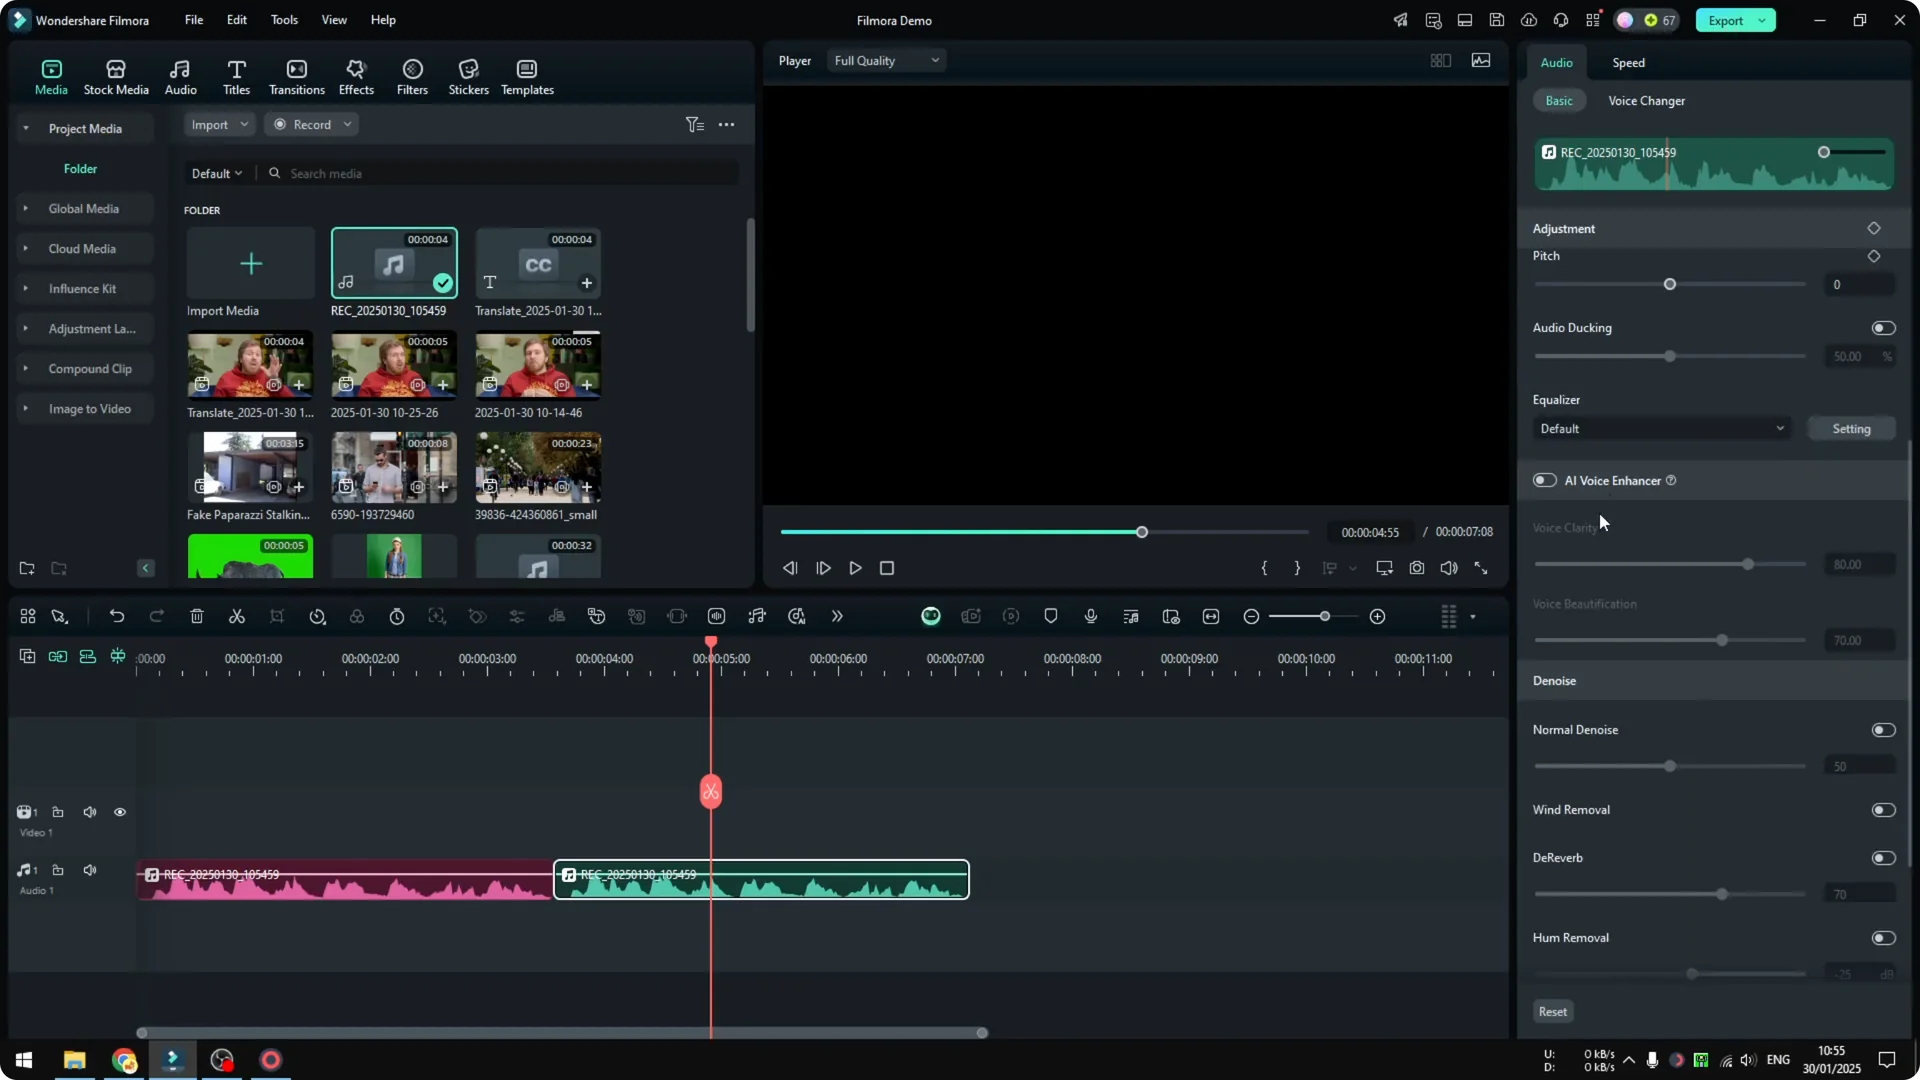
By default you get Voice Clarity and Voice Beautification. You can adjust the numbers later, but the default setting is good enough most of the time. Start with that.
Play it back and listen. It is a bit louder and the clarity is a bit better. Listening to my voice, it is slightly better and more focused.
Compare before and after
Keep both clips on the timeline so you can switch between them. The contrast makes it easy to hear what changed. That quick A or B test speeds up your decisions.
If you want to experiment further with AI audio tools in the app, you can also clone your voice in Filmora AI.
Filmora AI Voice Enhancer for noisy recordings
I have another recording with a lot of background noise. I duplicate it to compare before and after again. Then I go to Audio and open AI Voice Enhancer with the default setting.
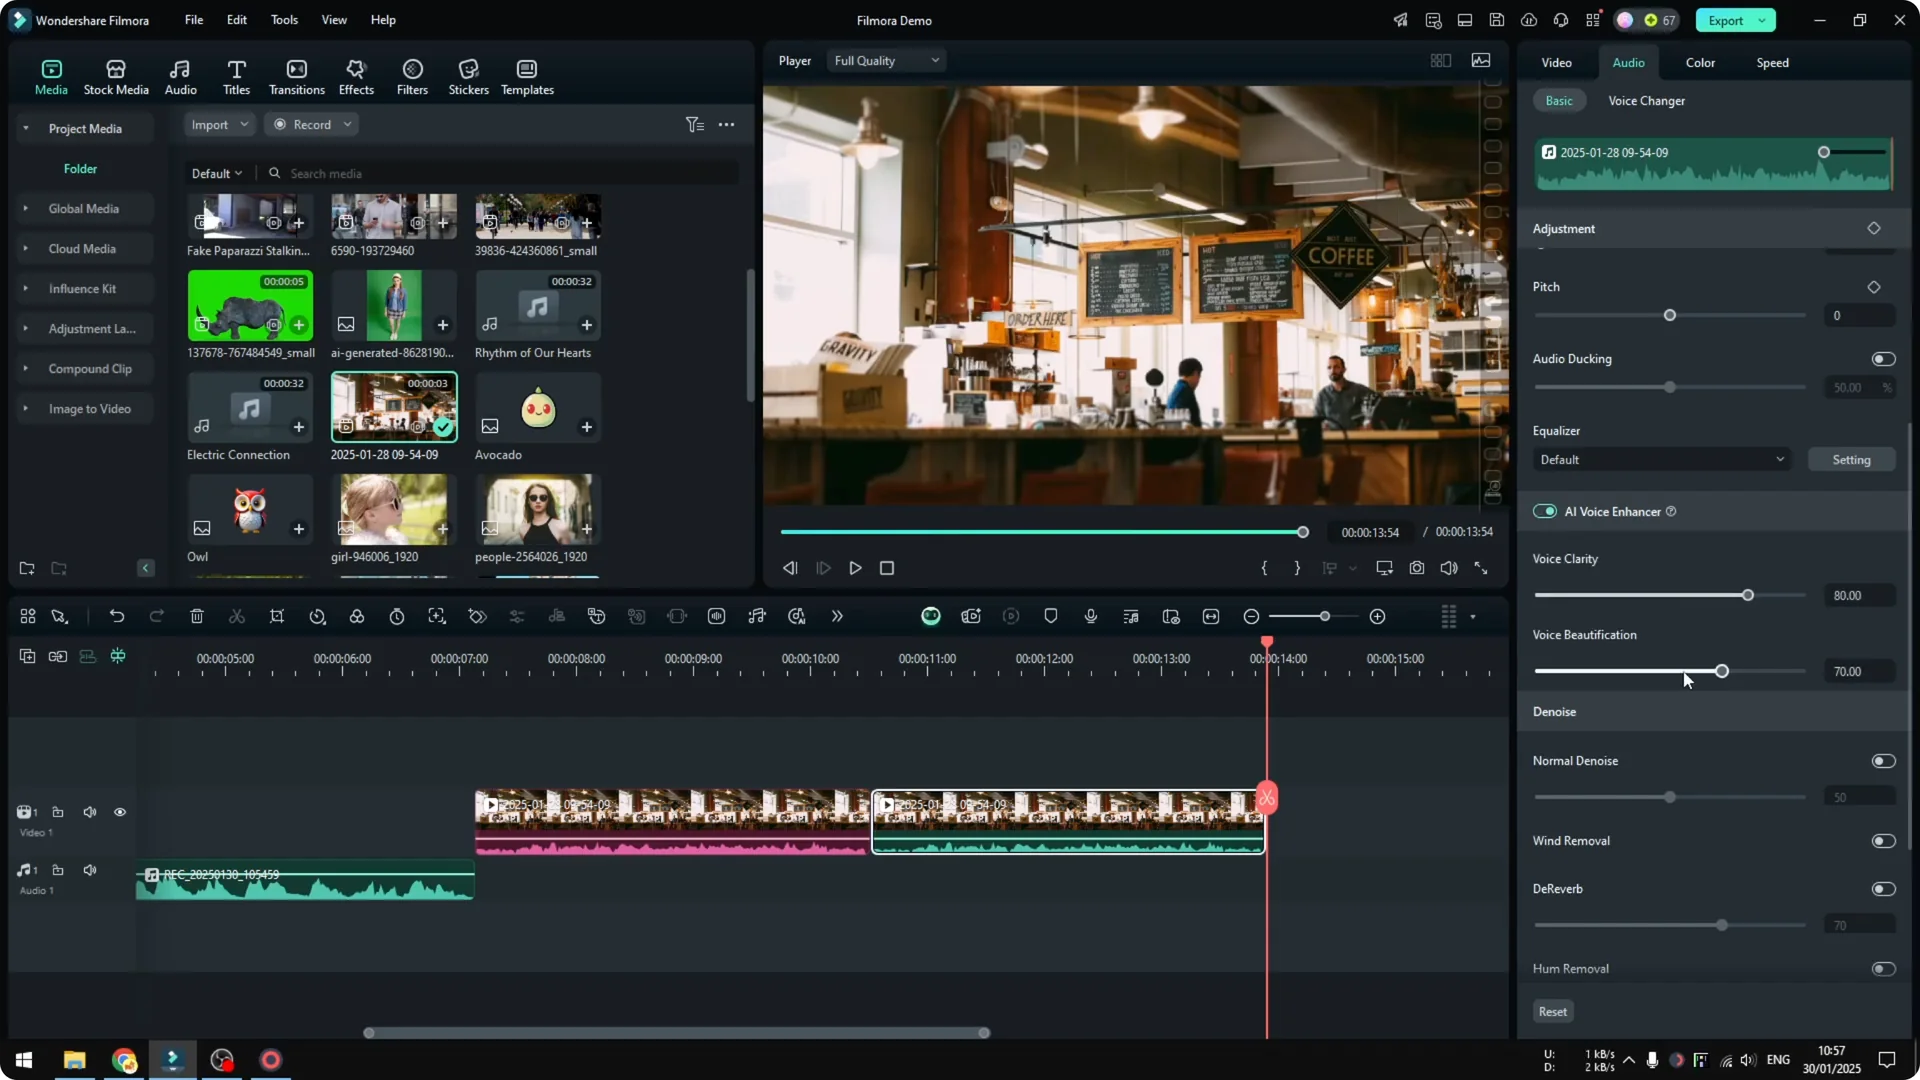
This is me talking with a lot of noise in the background. After applying the enhancer, there is almost no background noise at all. That is really cool.

It not only makes your voice sound better, but also isolates the background noise that is really bad for your actual voice. This is where the tool helps the most. It can recover a take that would otherwise be hard to hear.
Tweak the strength for your audio
You can play around with the numbers and see which settings are the best for your particular audio. Increase clarity if the voice feels muffled. Add beautification if you want a smoother tone.

If you are also cleaning up your visuals, try using AI Portrait Cutout to remove a background in Filmora. It pairs well with clean audio. Together they make your edit feel more polished.
Final Thoughts
Use Filmora 14 or above to access AI Voice Enhancer. Start with the default Voice Clarity and Voice Beautification settings, compare before and after, and adjust only as needed. It makes a clear difference on regular takes and an even bigger one on noisy recordings.