
I am going to show you how to generate an AI image using Filmora. Make sure you are on the latest version. As far as I remember, this feature is available on Filmora 13, 14, and newer, so you need at least Filmora 13.
If your edit also needs audio cleanup, you can remove unwanted hum with Filmora’s AI tools. Check this quick guide on removing background noise.
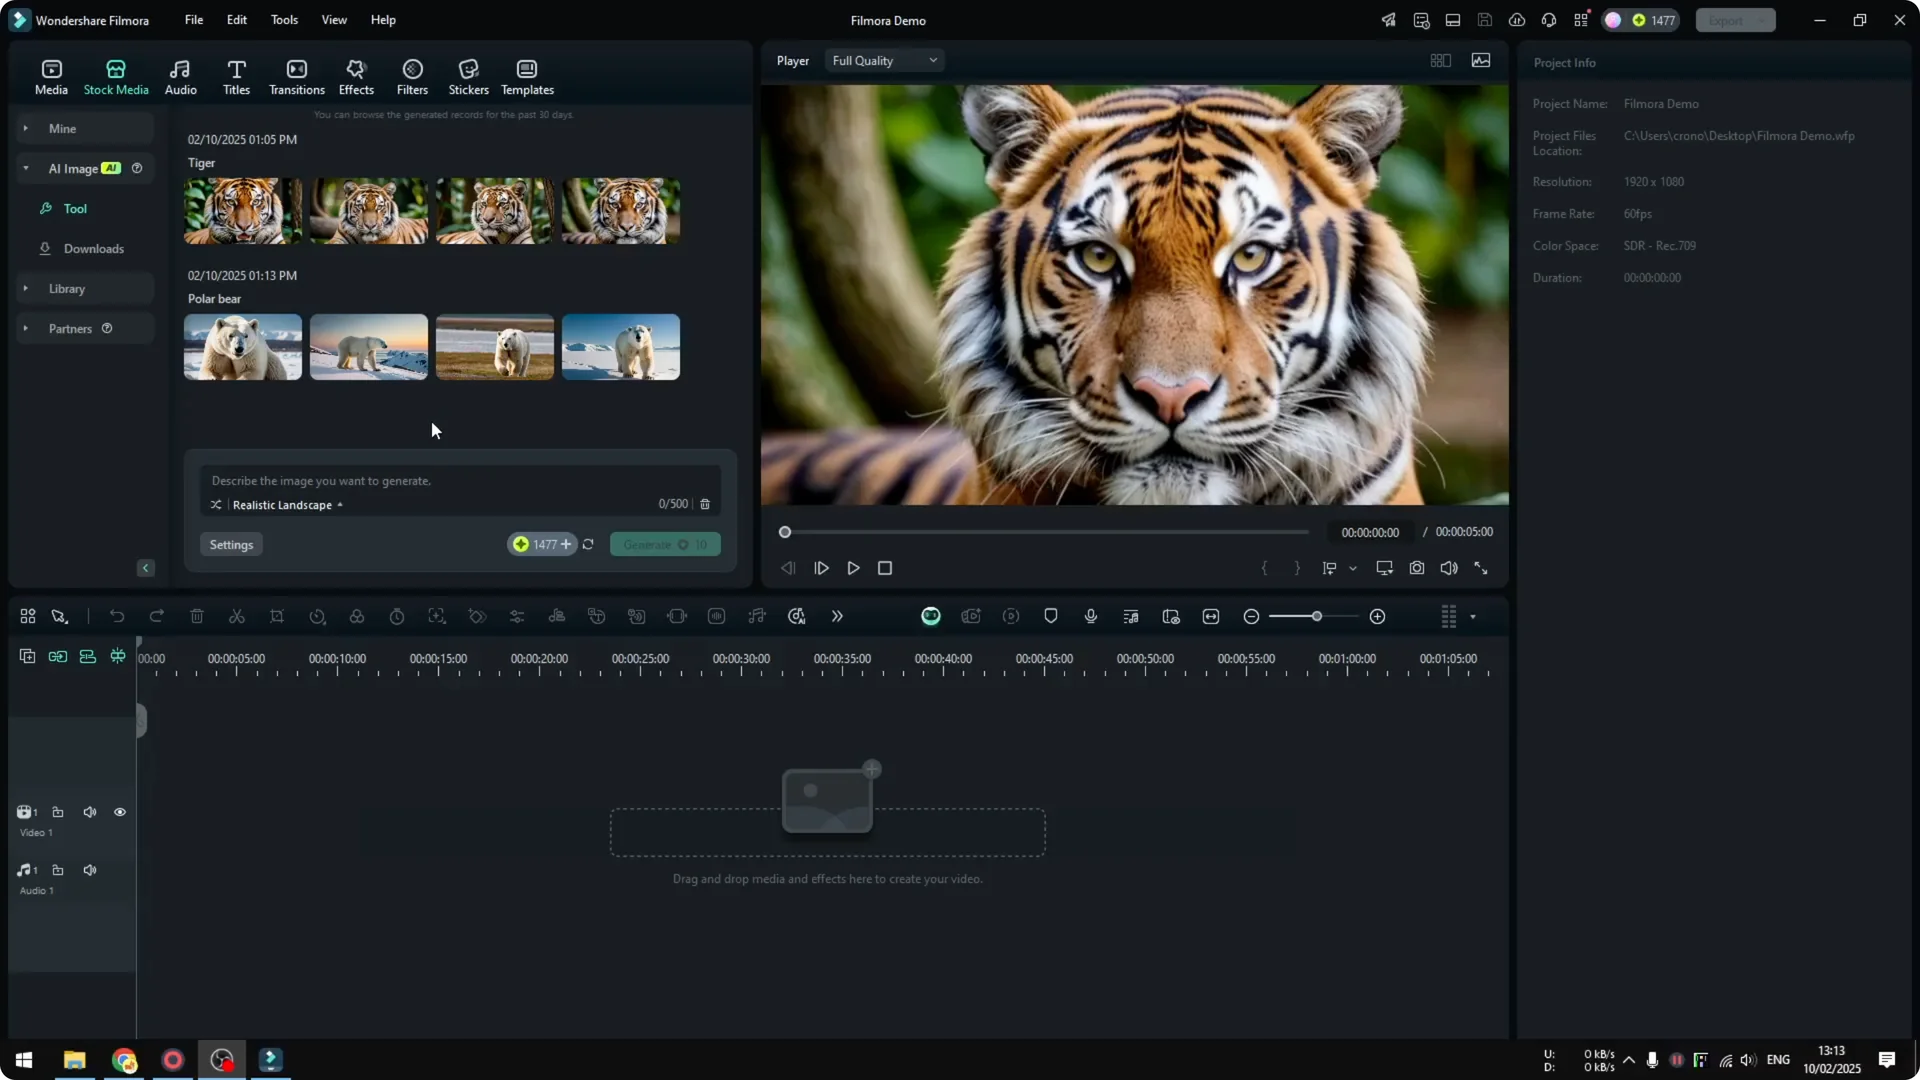
Filmora AI Image Generation access
Go to Stock Media at the top left. Click AI Image.
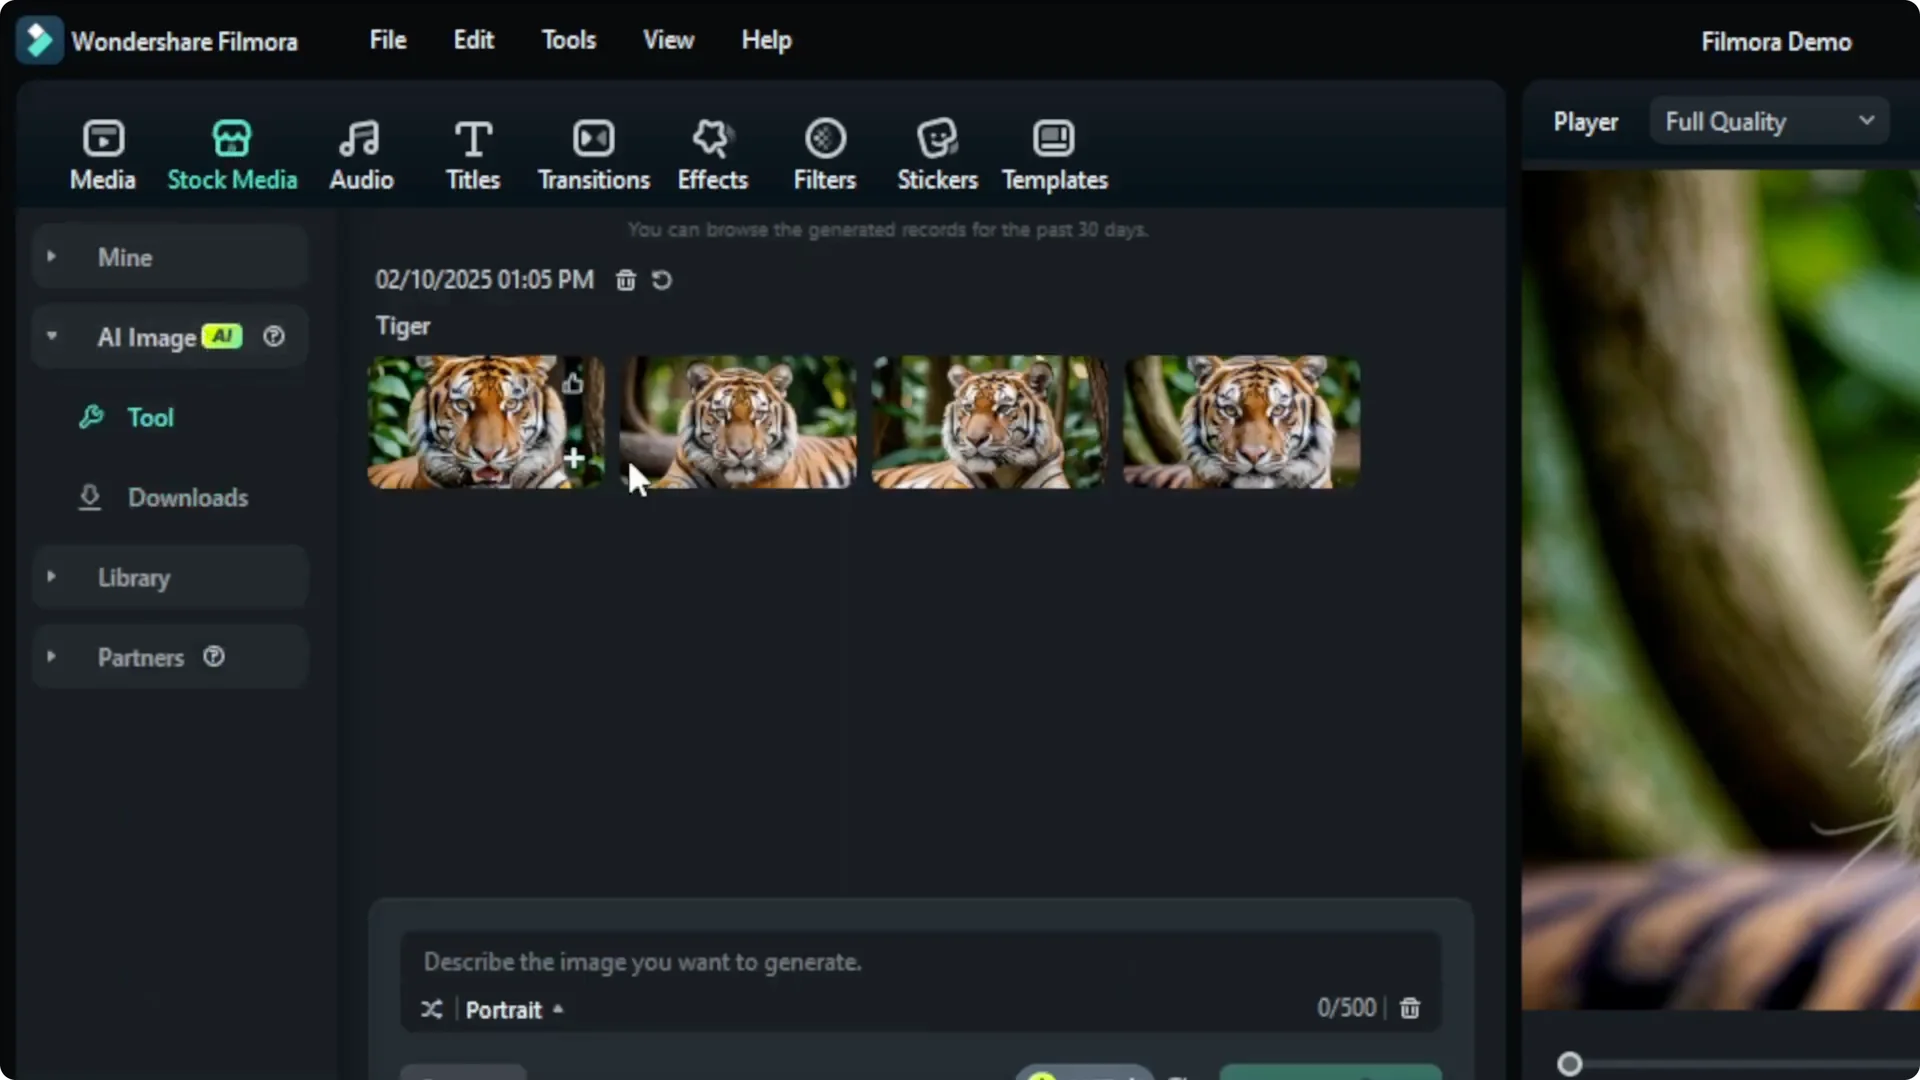
You will see a list of images you already created with AI. To create new images, describe what you want to generate.

Filmora AI Image Generation prompting
For example, I will create images of a polar bear. I want a picture of a polar bear in the Arctic.

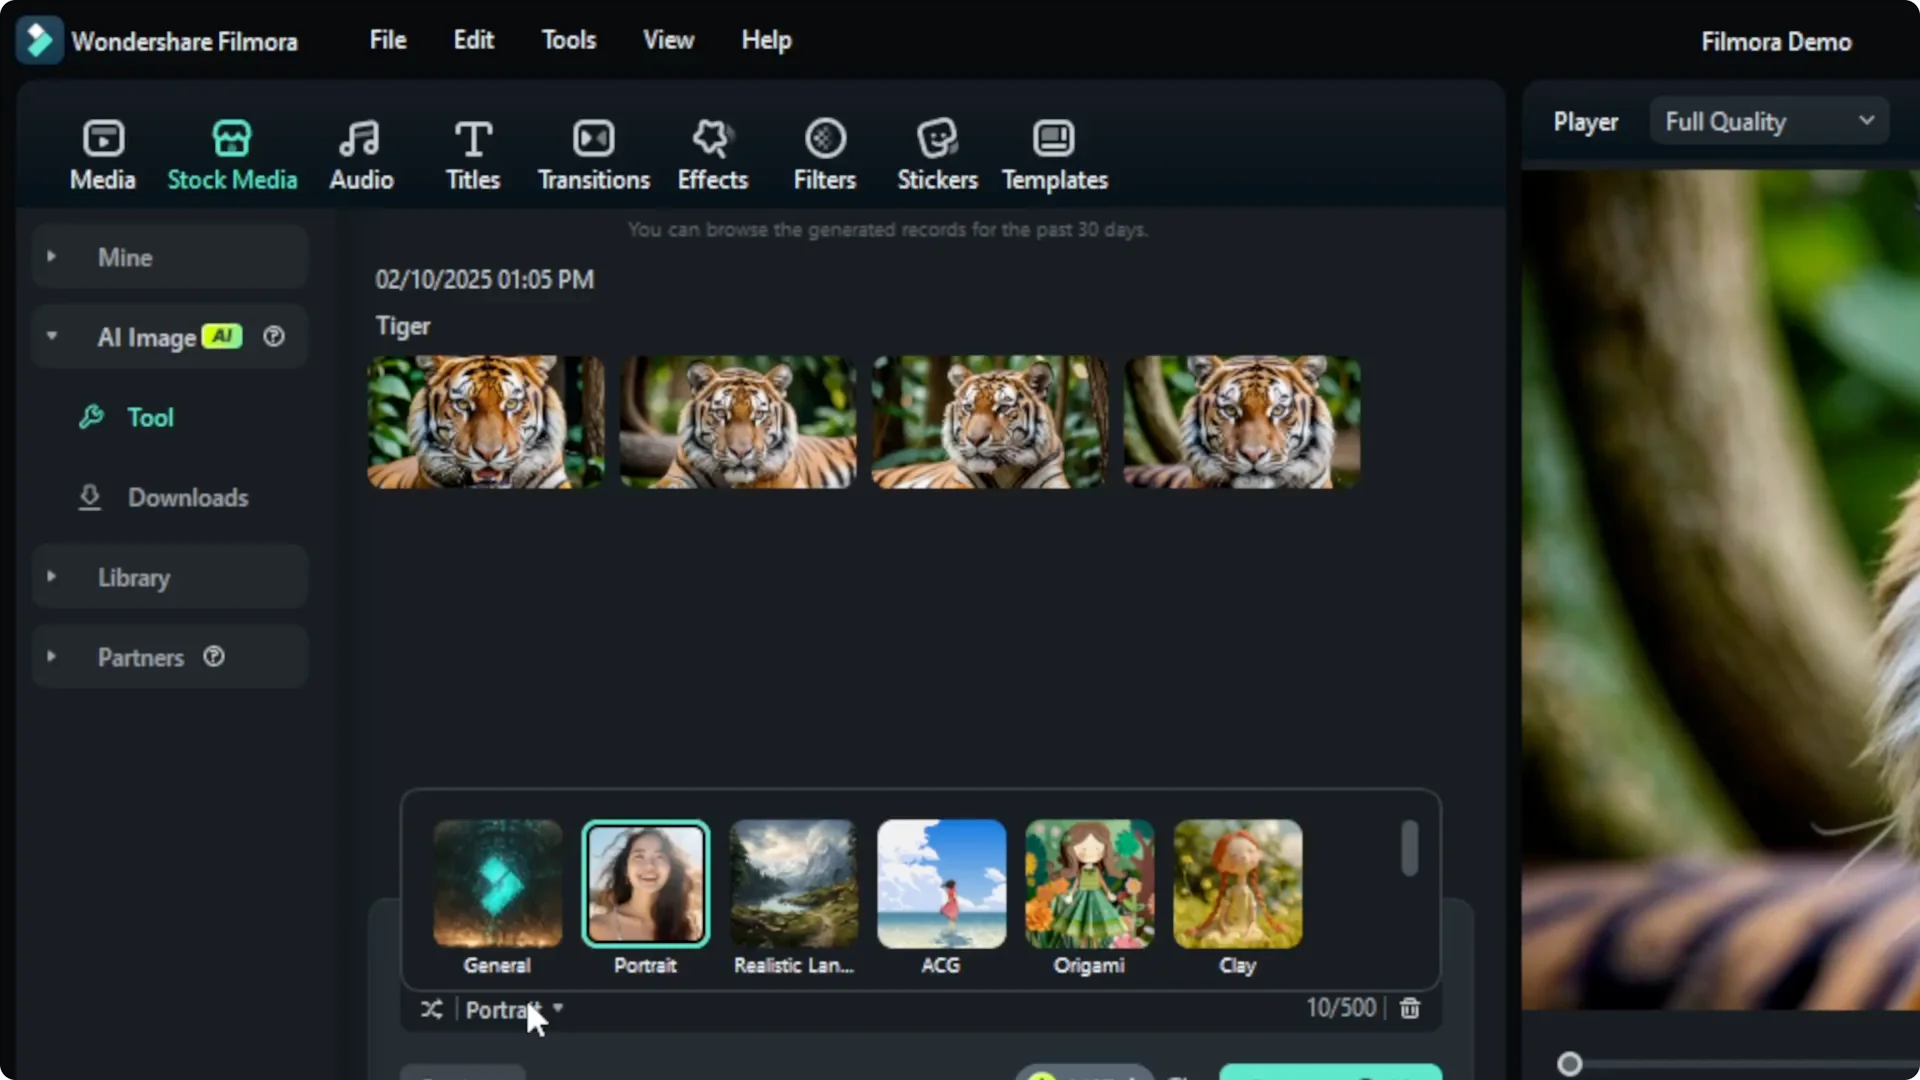
At the bottom, choose the style of the picture. There are many styles to try, and I will use realistic.
Filmora AI Image Generation settings
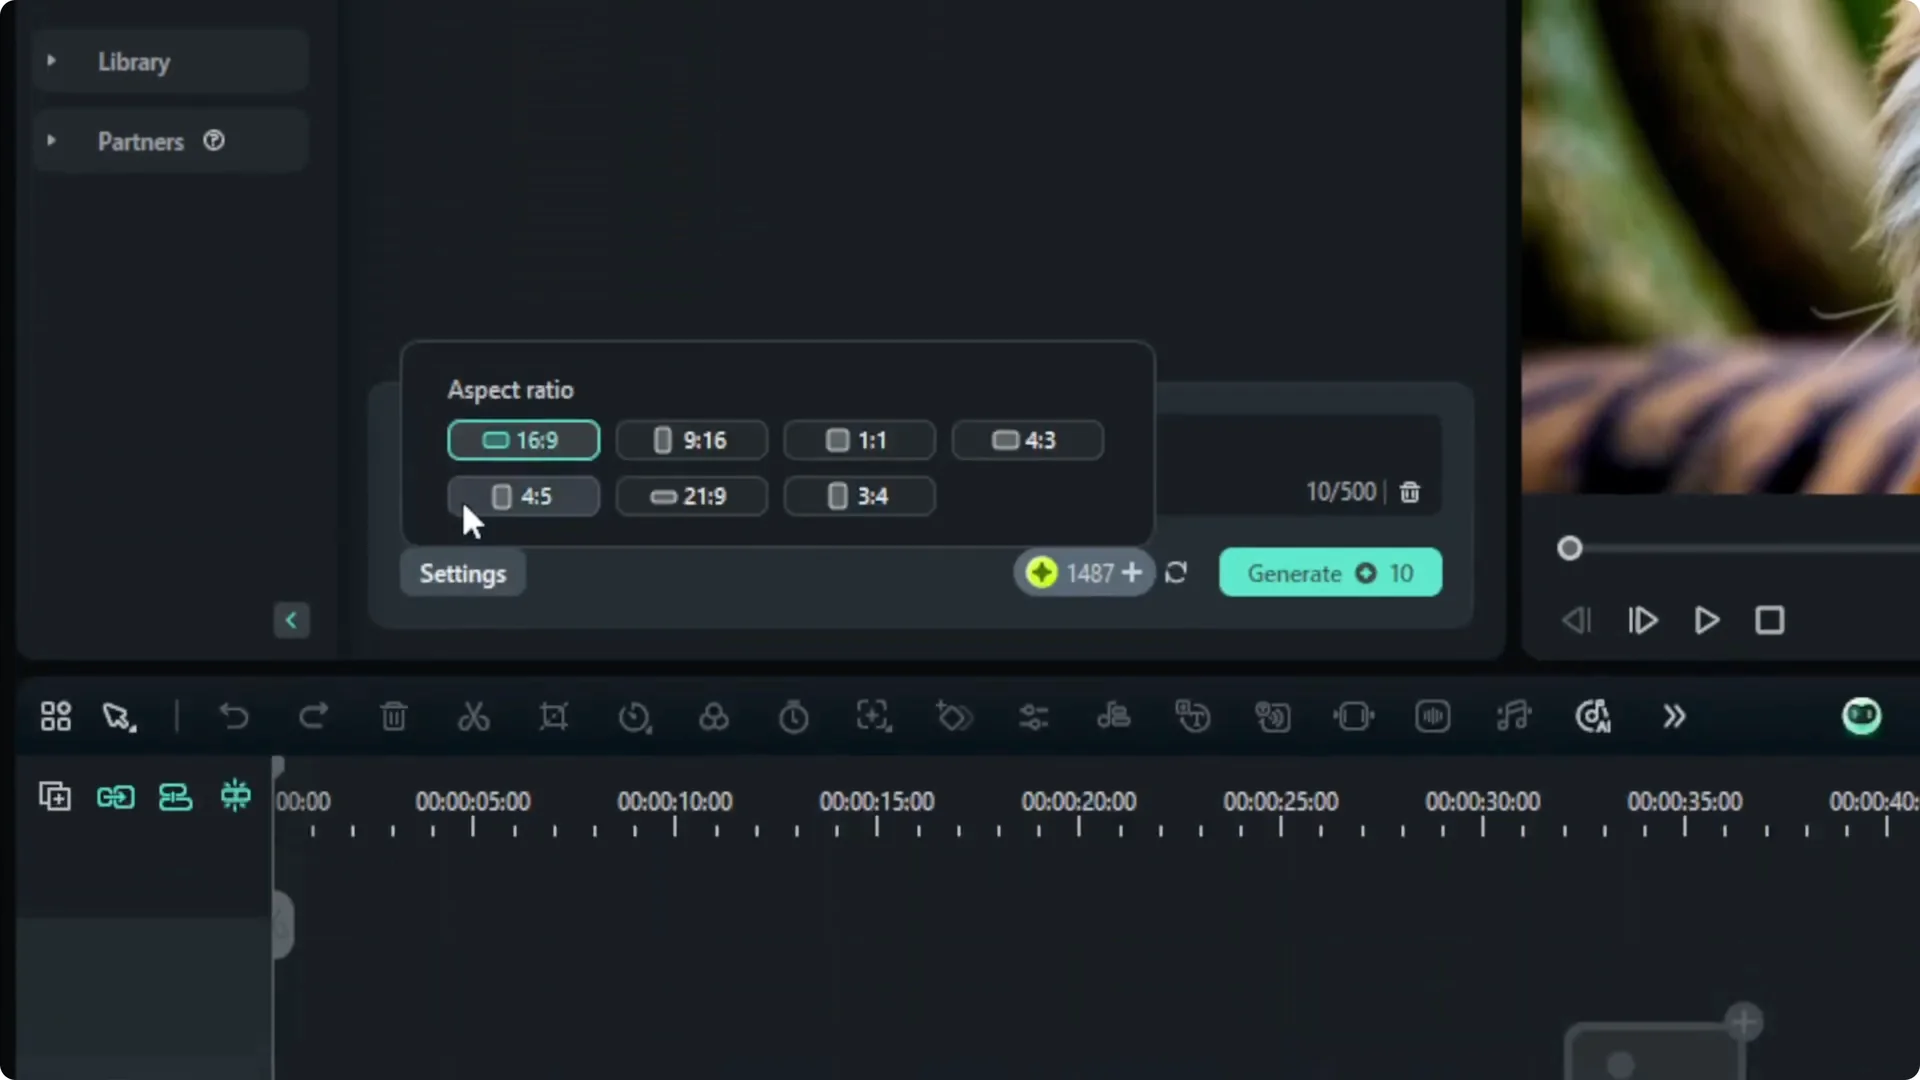
Open Settings to change the aspect ratio. Aspect ratio options include 16:9, 9:16, 3:4, and 1:1. Pick the one that fits your Filmora project.
If you plan to improve the visuals after generating, see this guide on improving video quality with Filmora AI. It pairs well with the stills you create here.
Filmora AI Image Generation create images
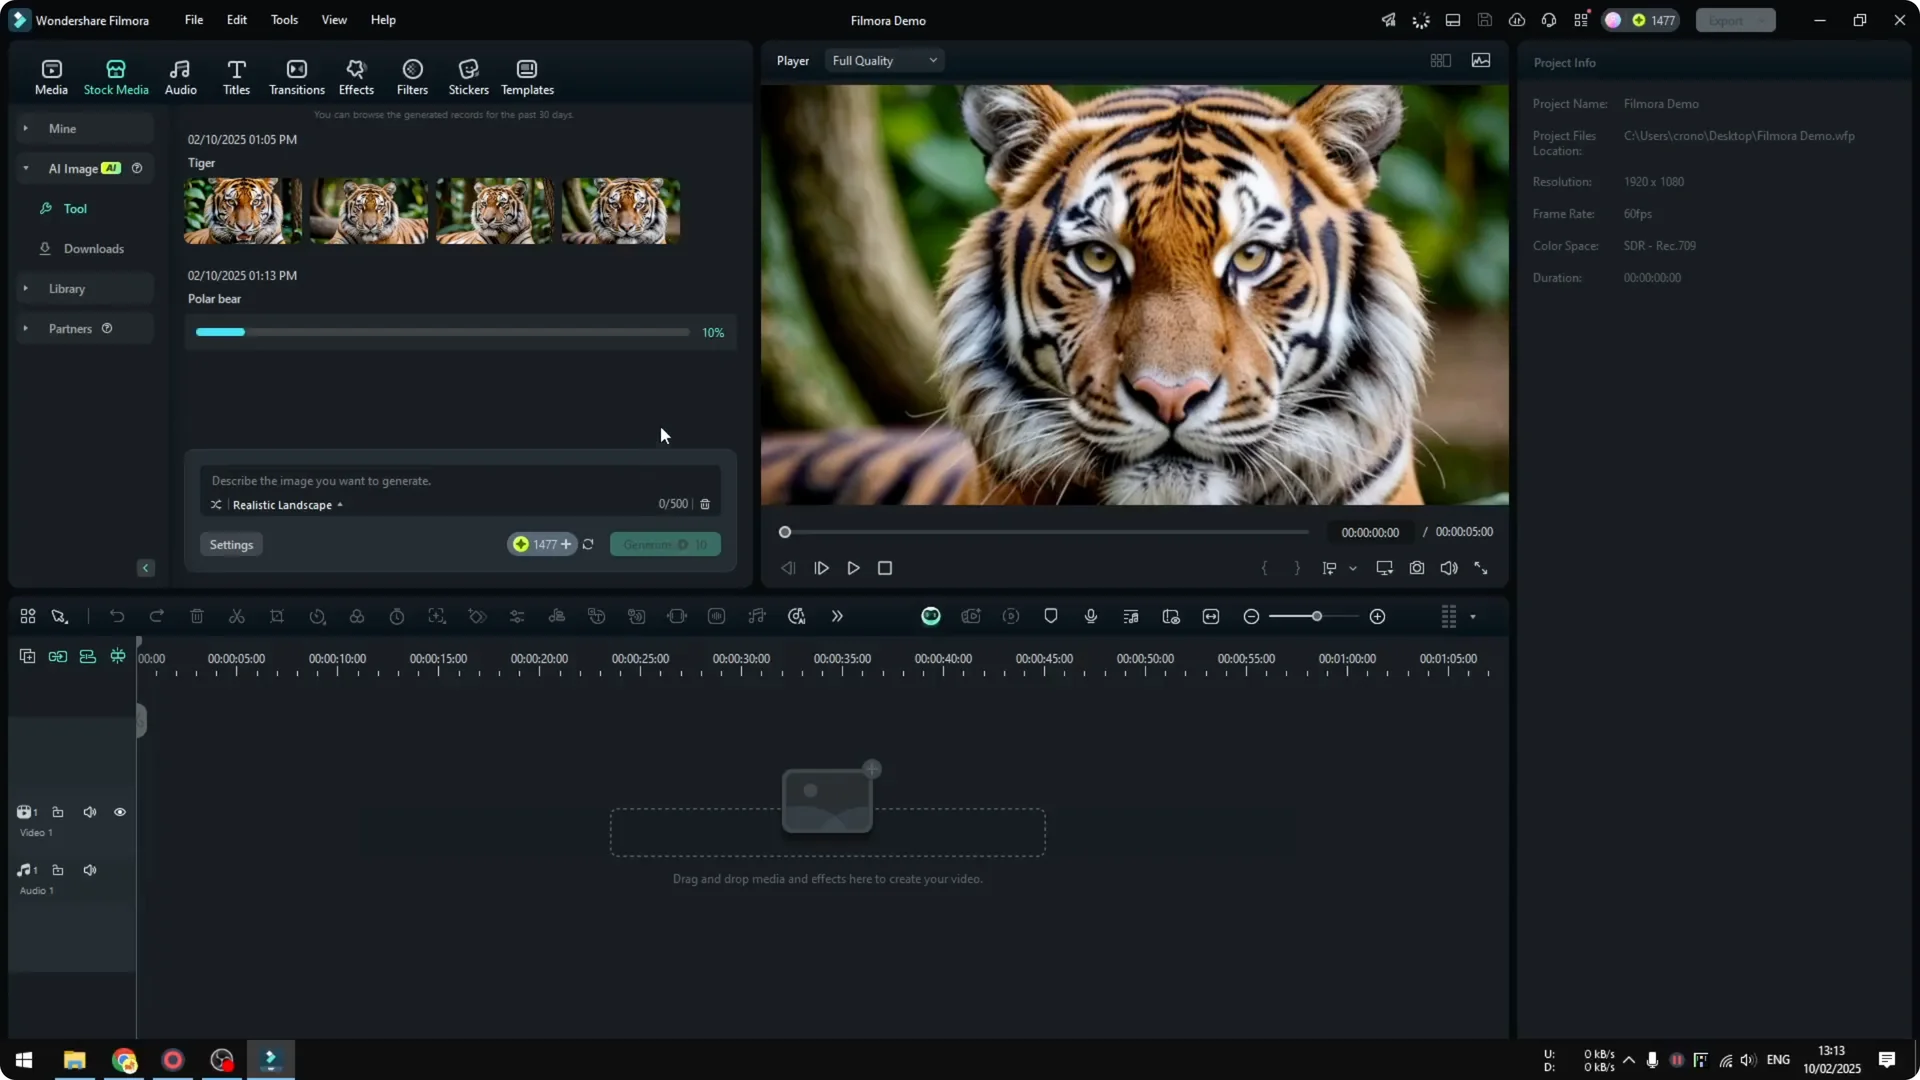
Click Generate and let the AI work. This usually takes less than a minute, around 20 seconds in my experience.
Filmora AI Image Generation review results
When it finishes, you will get four new pictures. You can preview each one by clicking the image.
The result is decent. It is not very sharp, but it is clearly a polar bear.
You can download the pictures. The next time you open Filmora, these pictures will still be available under Stock Media then AI Image.

Final thoughts on Filmora AI Image Generation
That is how you can generate an image using Filmora. Describe what you want, pick a style and aspect ratio, generate, then review and save the results.
If you also need to separate singing from music inside Filmora, see how to remove vocals from a song with AI. This workflow complements image creation when you are building full edits.