
I am going to show you how you can add a split screen to your film project. You can display two, three, five, or even ten videos at the same time in one scene. Here is how you can do it.
Filmora Split Screen Tutorial
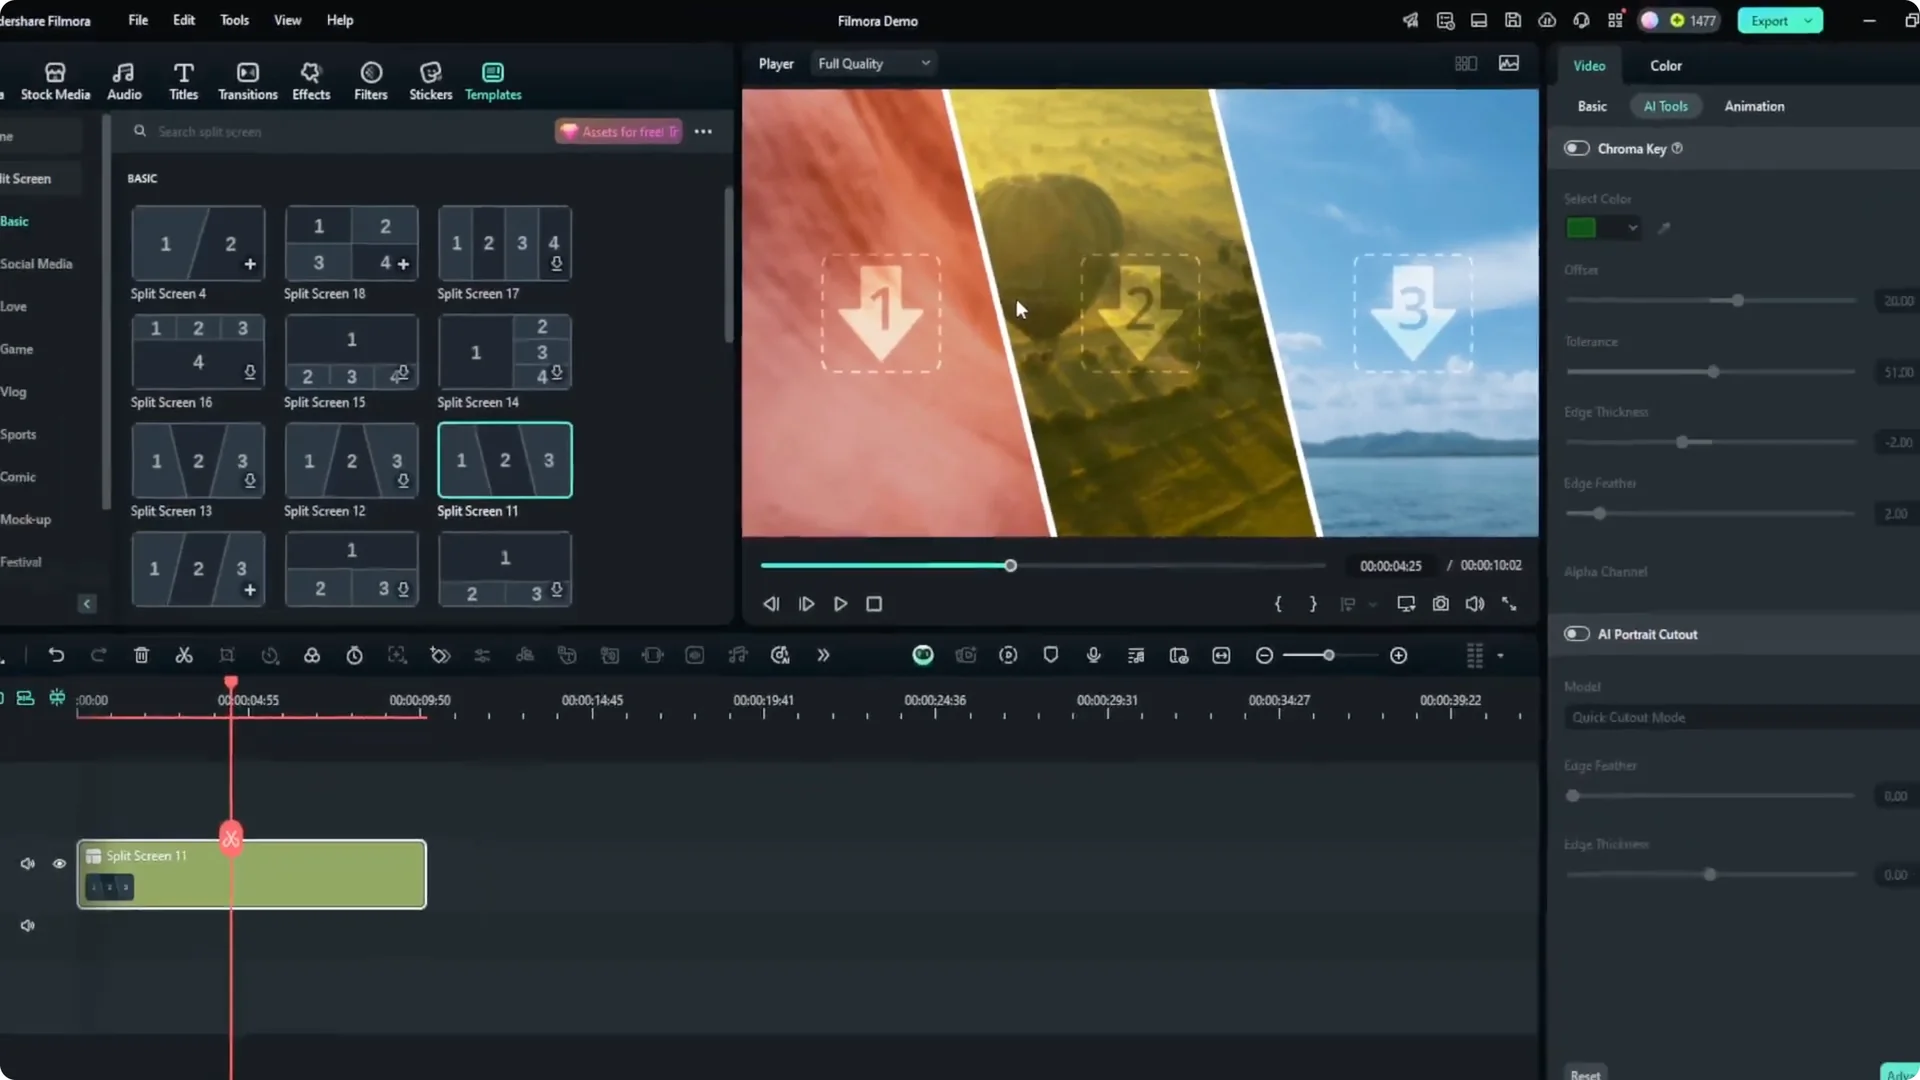
Choose a template
Navigate to the menu called Templates. Visit Split Screen, and in the subcategory you will see many styles you can look at. Explore which style you want to apply to your video.
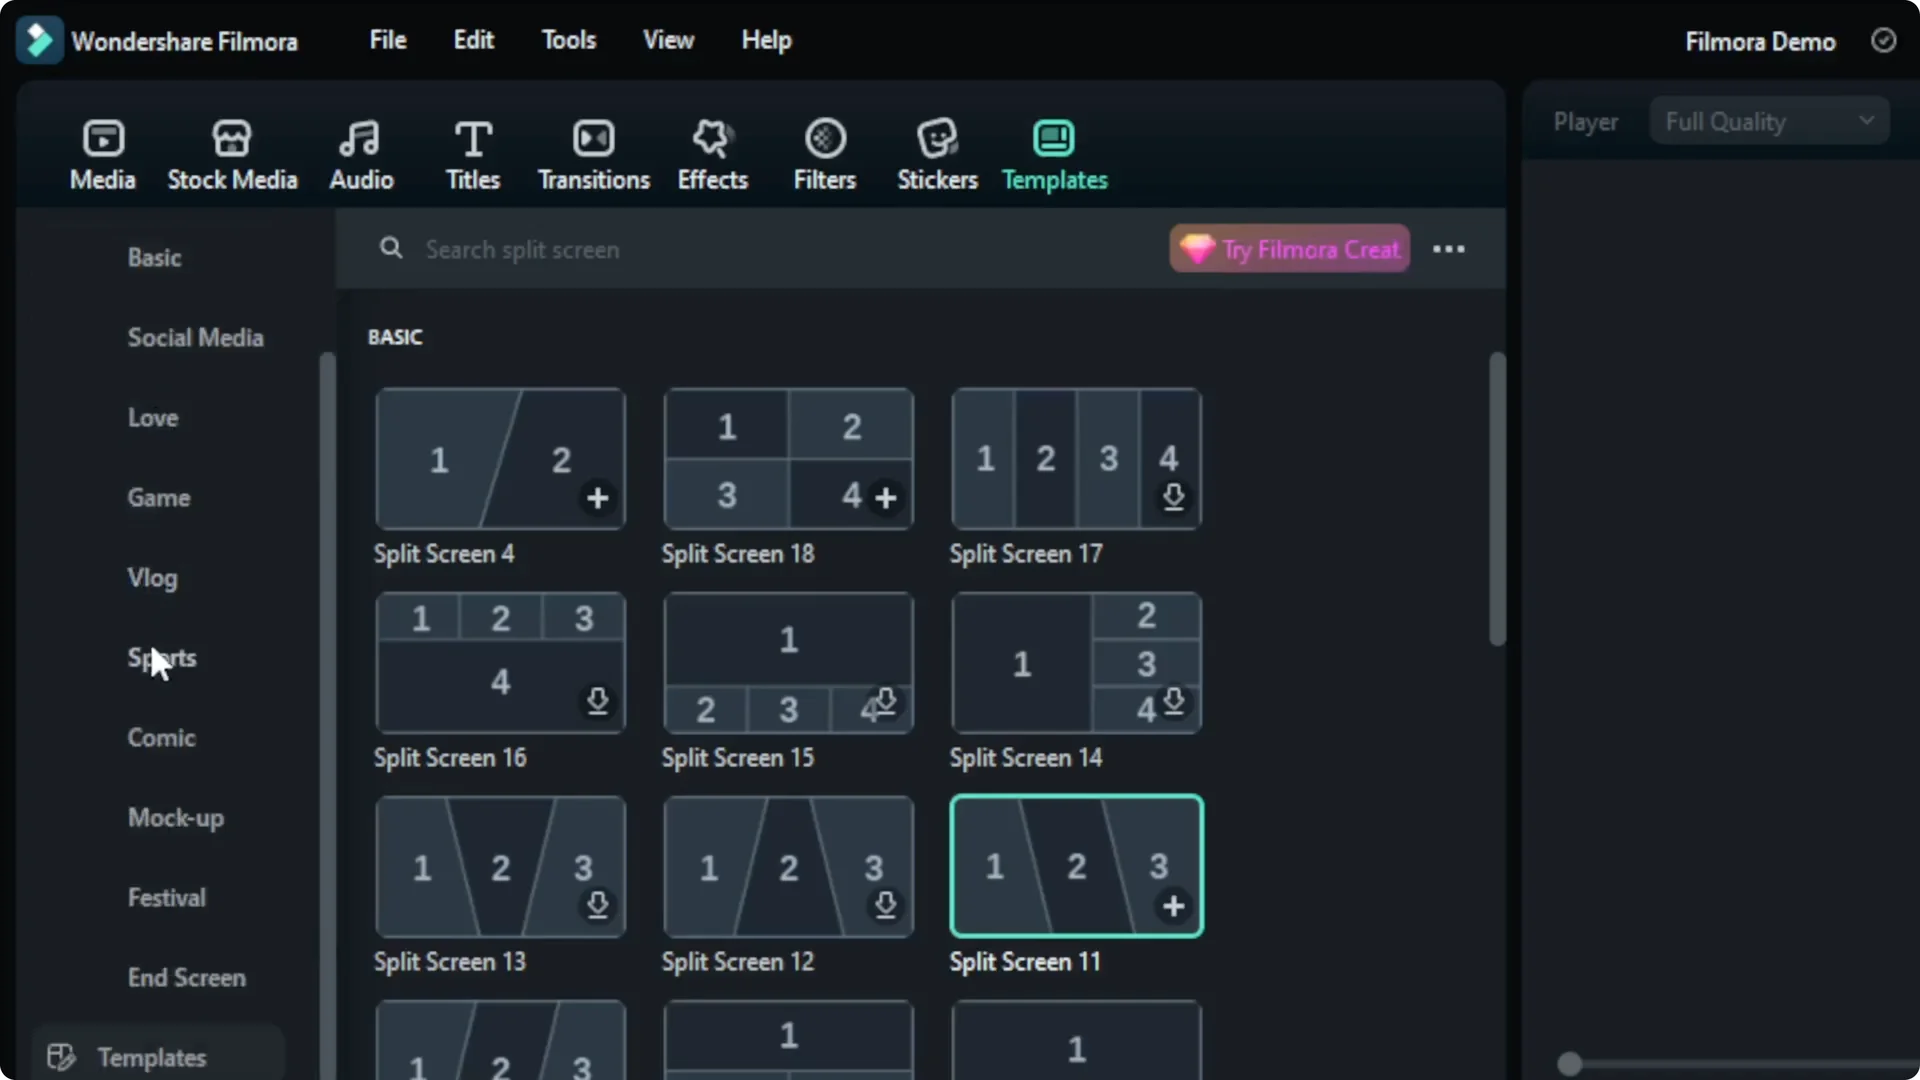
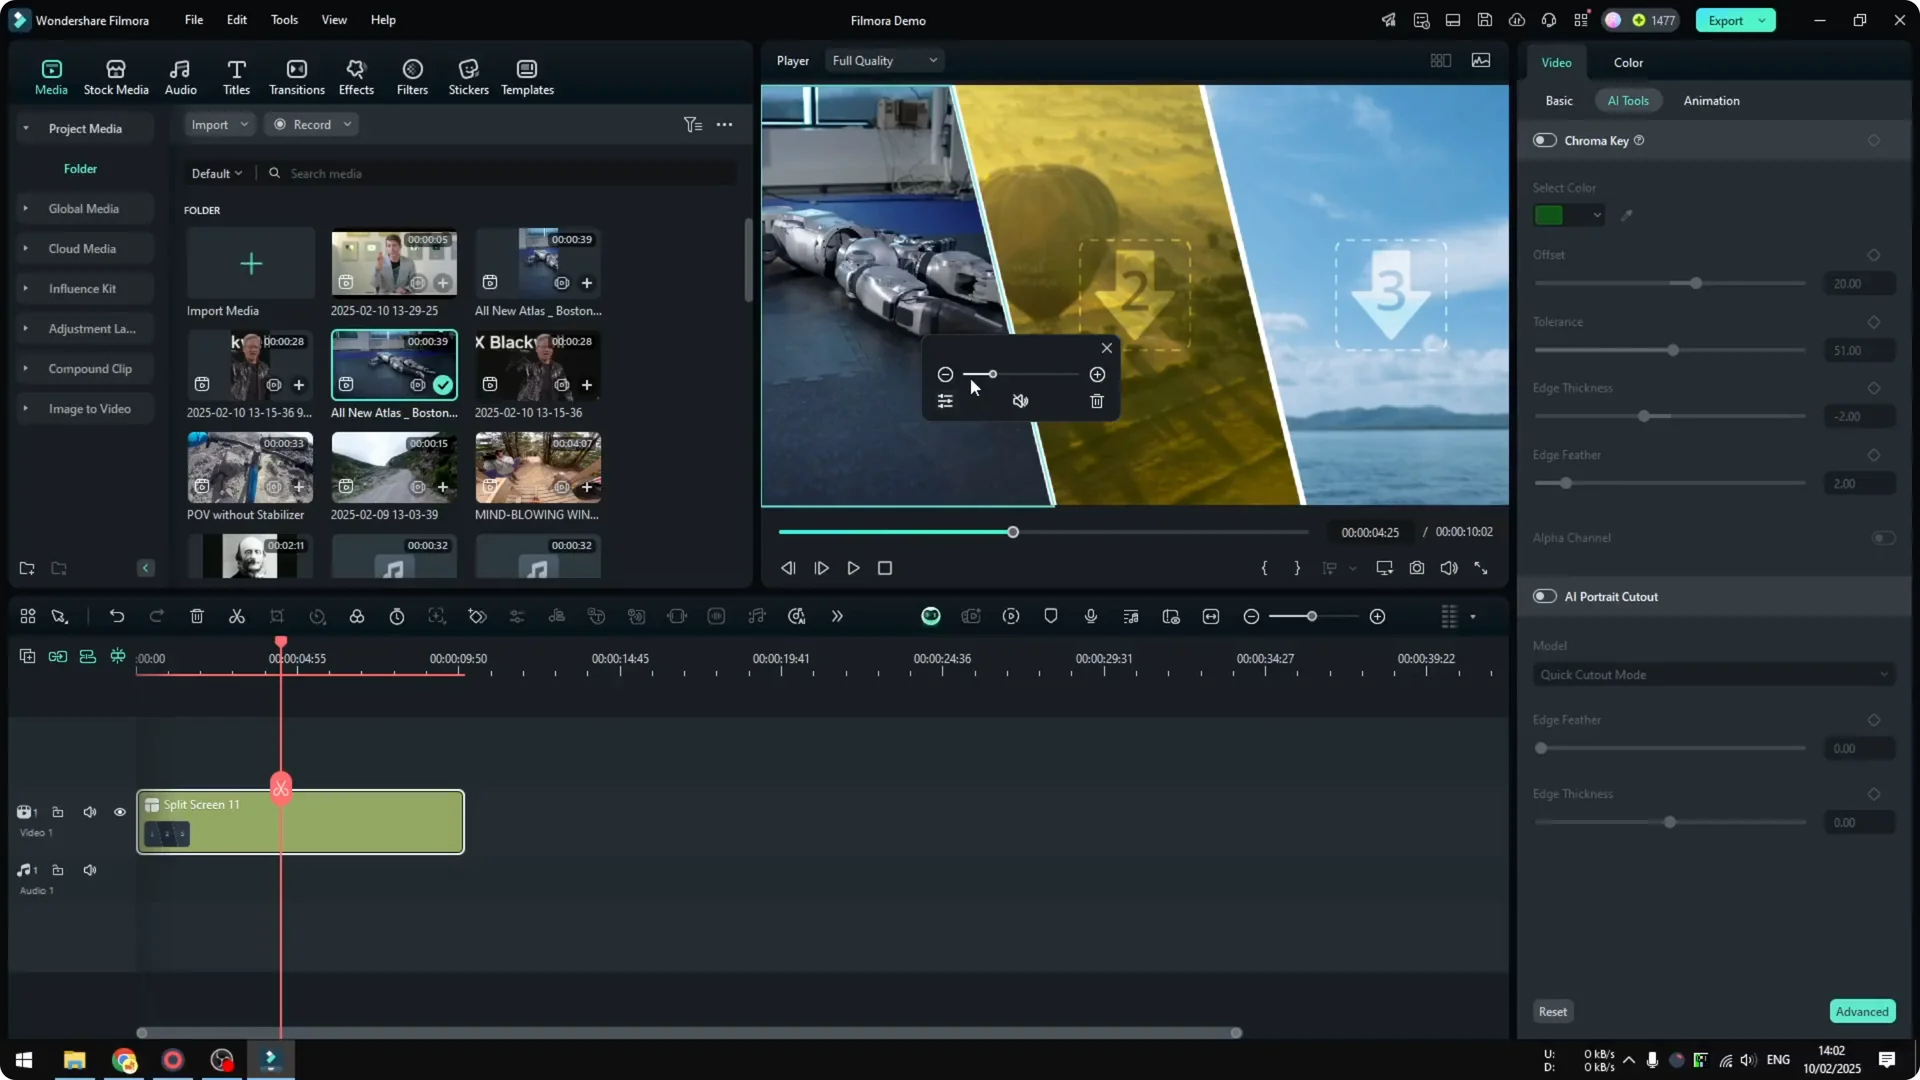
For this tutorial I want to try something simple. I am going to try a split screen with three different scenes. Click and drag the split screen into the timeline, and adjust the duration.
Read More: Glitch transition in Filmora
Add your clips
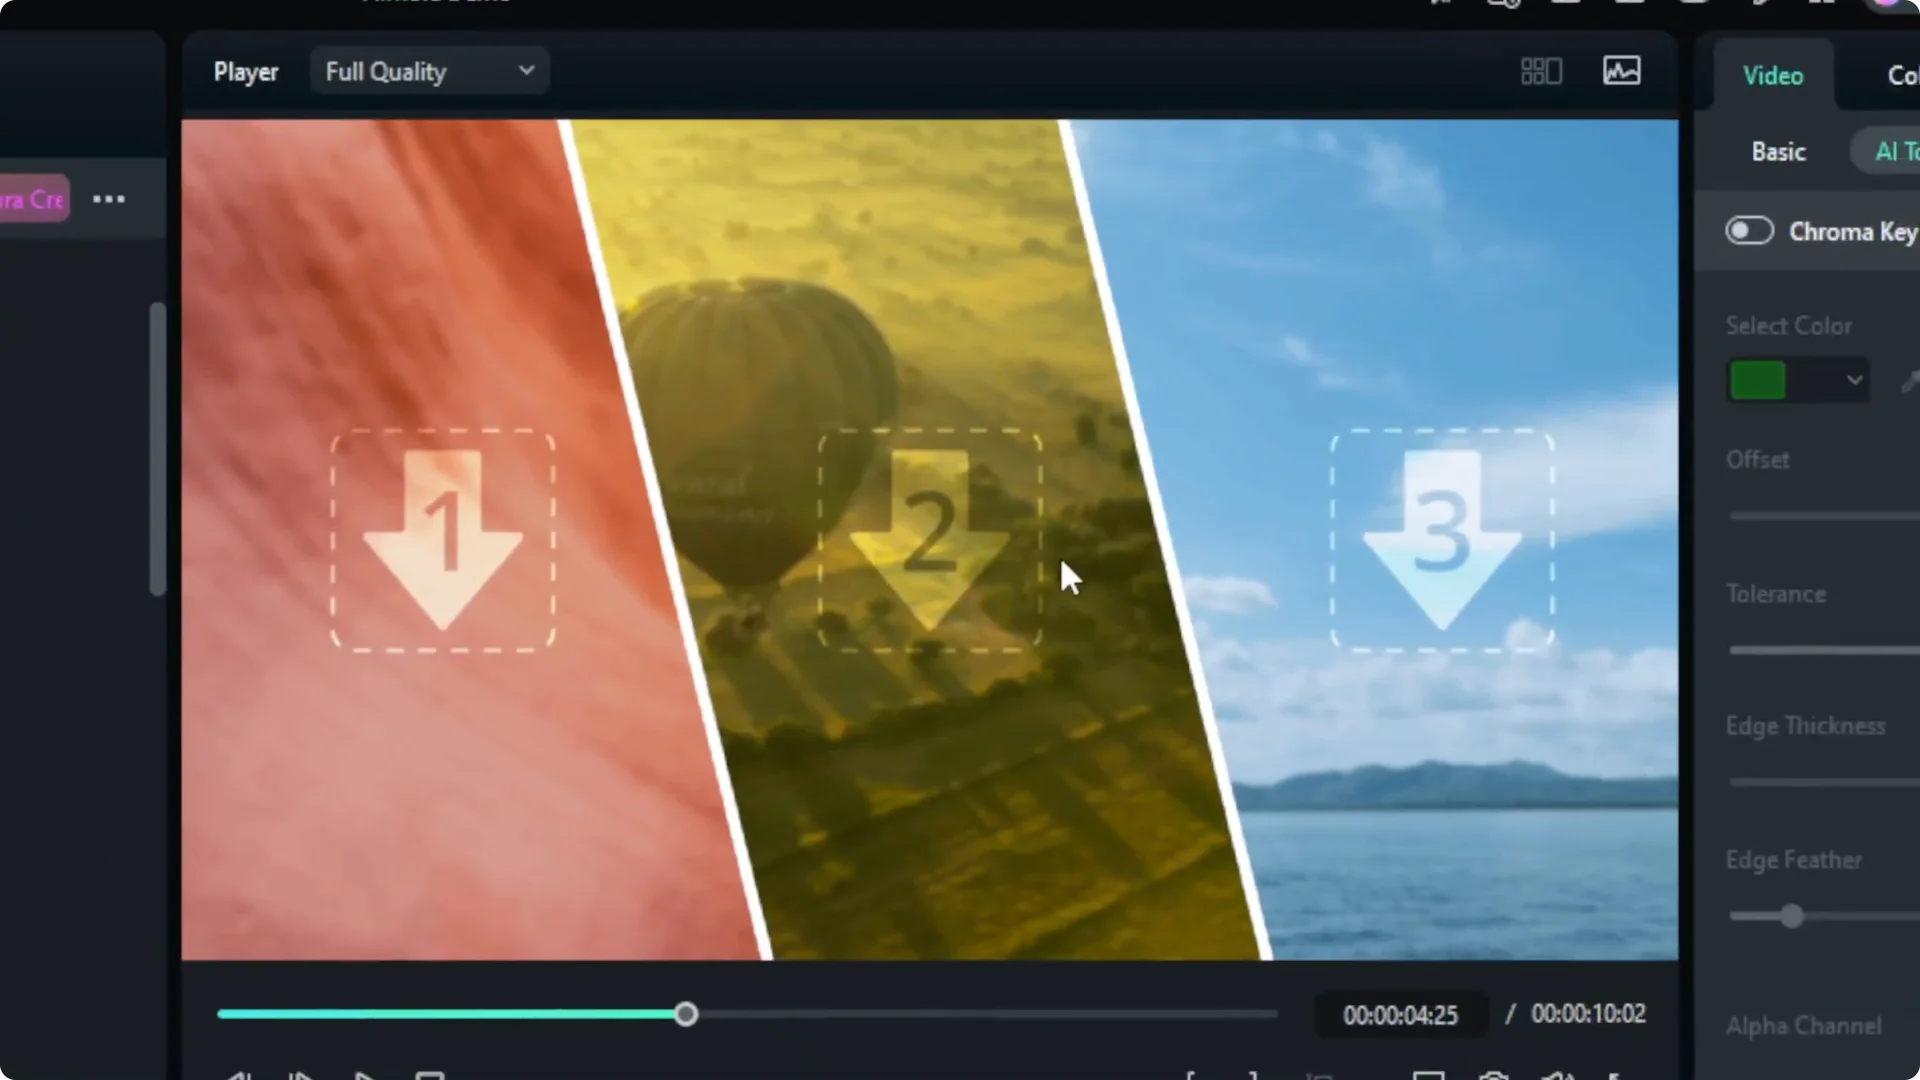
Click Media because I have some videos prepared for this tutorial. Add a video by clicking and dragging it into one of the split areas. You can specify which area of the video should be visible.
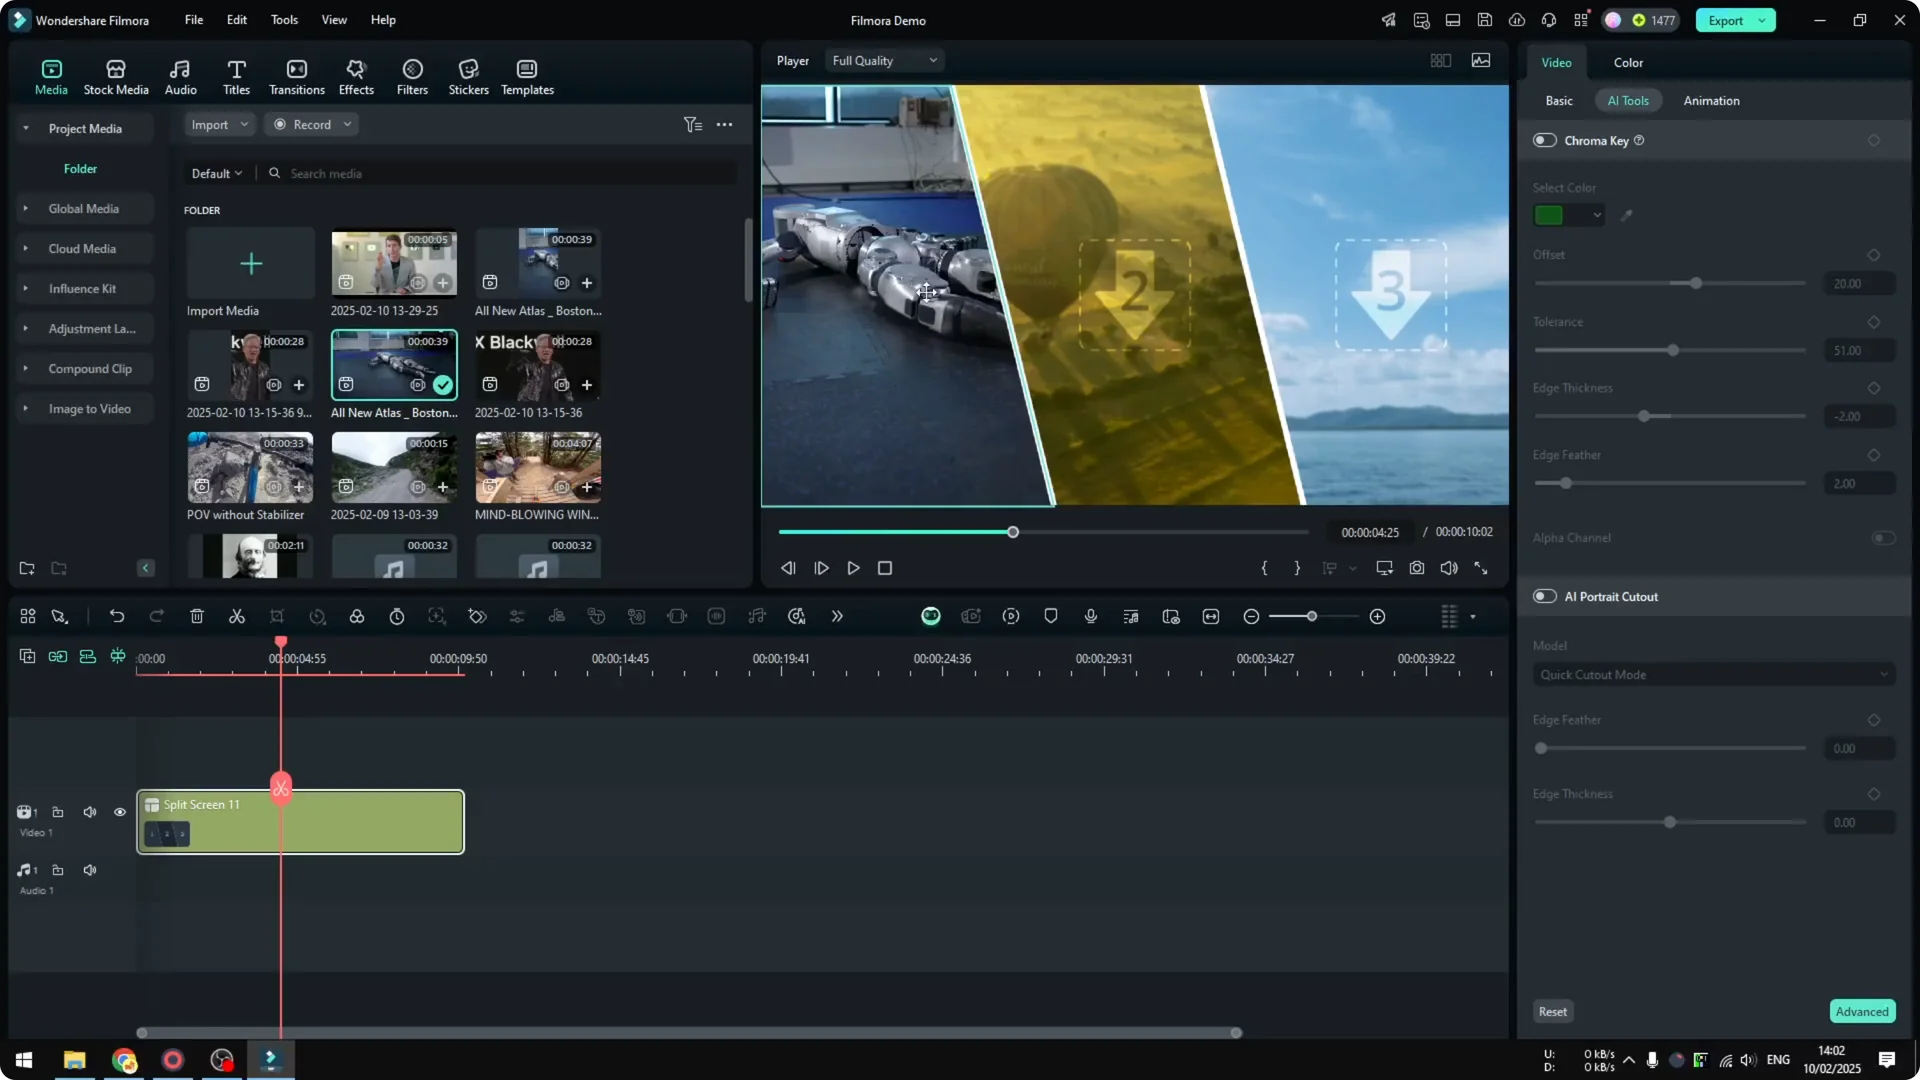
You can change the volume, and you can also mute it. You can zoom in or zoom out. There are many other settings you can customize, but that is out of scope for this tutorial.
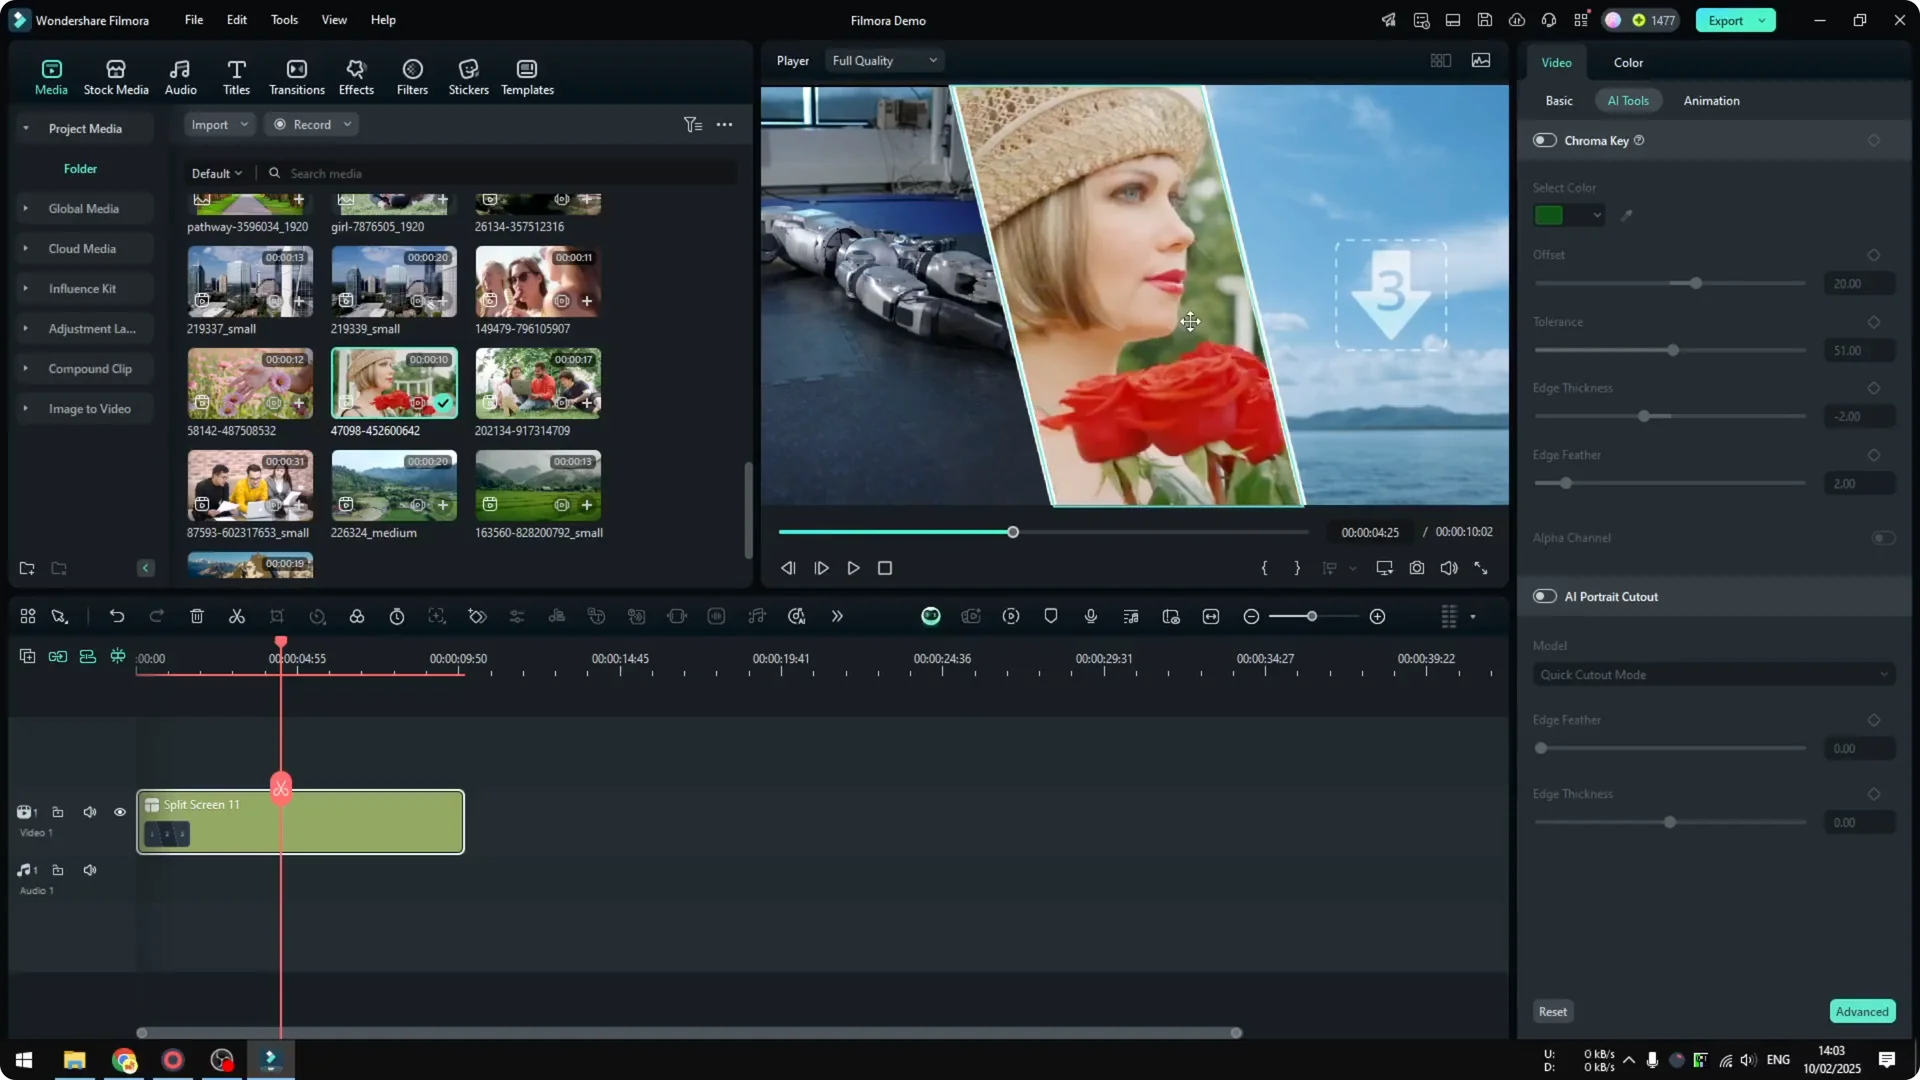
Add two more videos. Move one so her face is visible. Add the last video and zoom in a little bit.
Read More: Add text animations in Filmora
Preview and fine tune
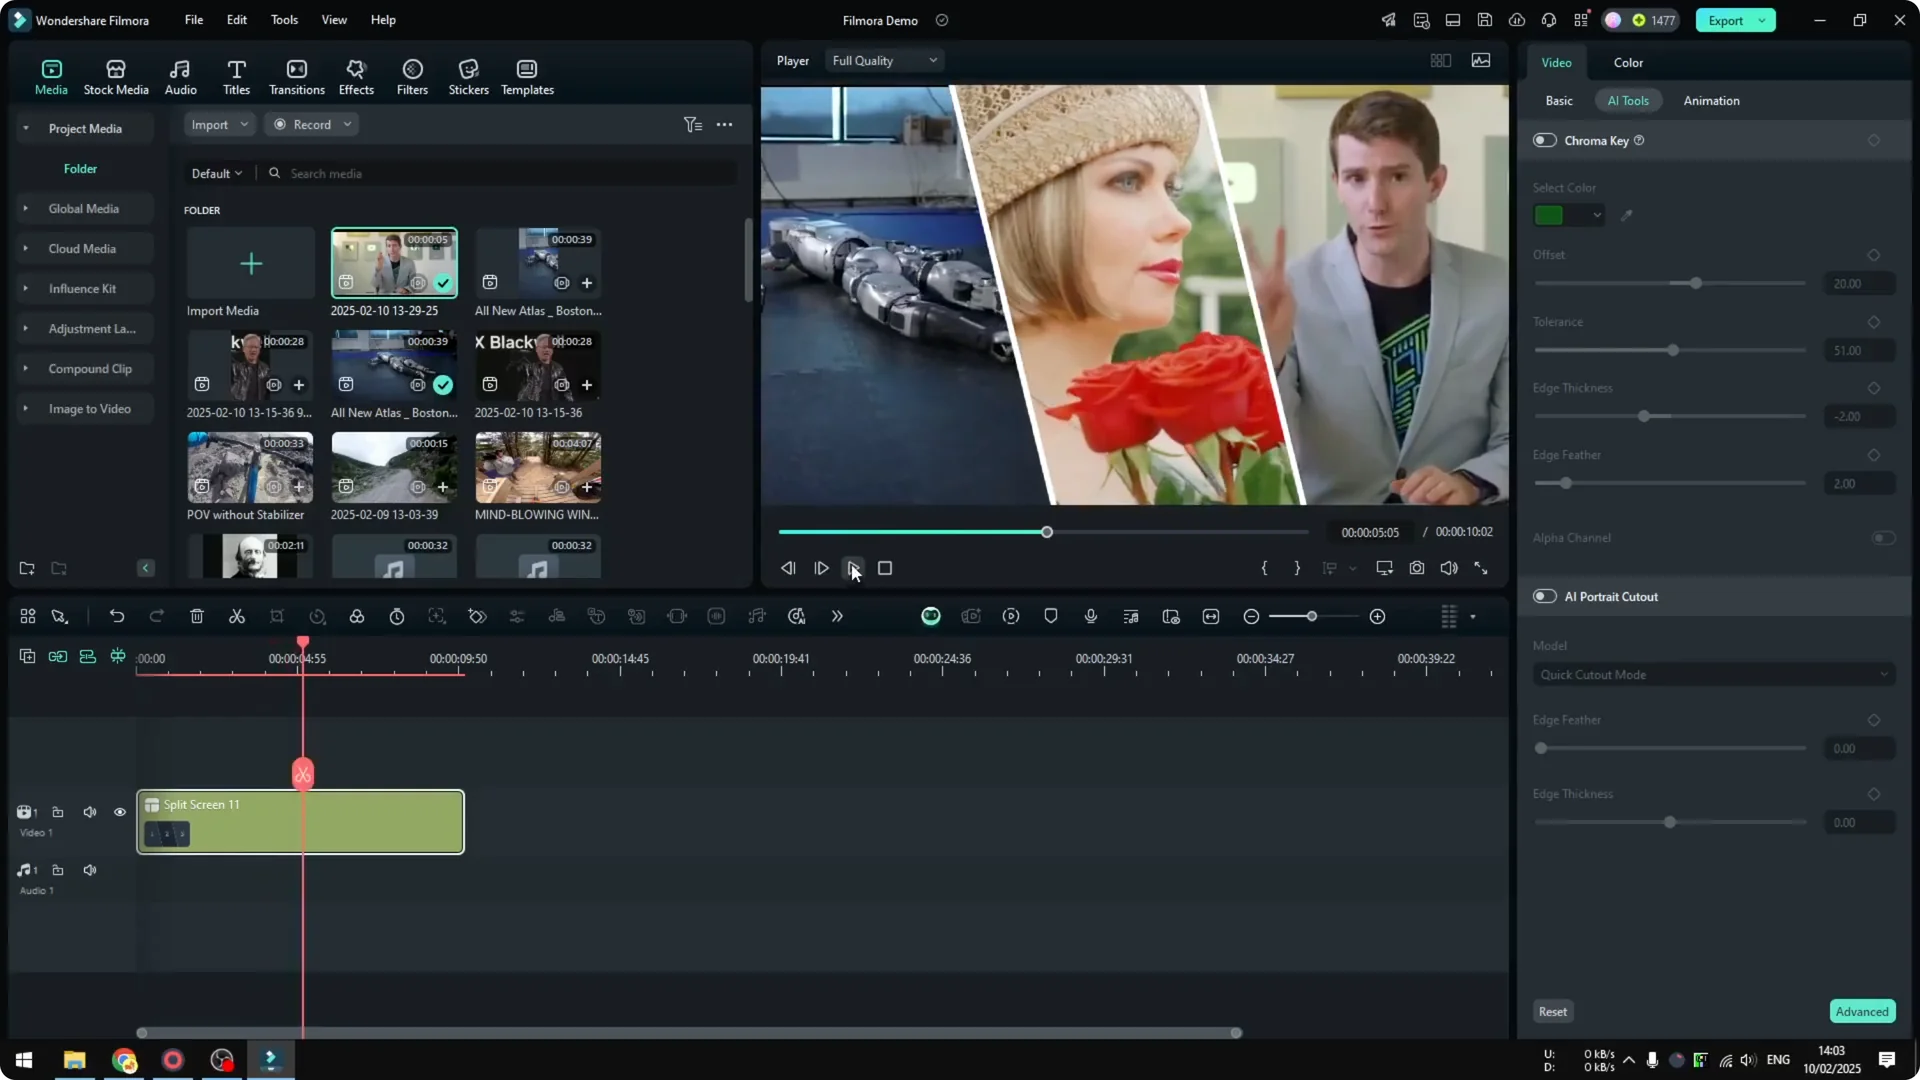
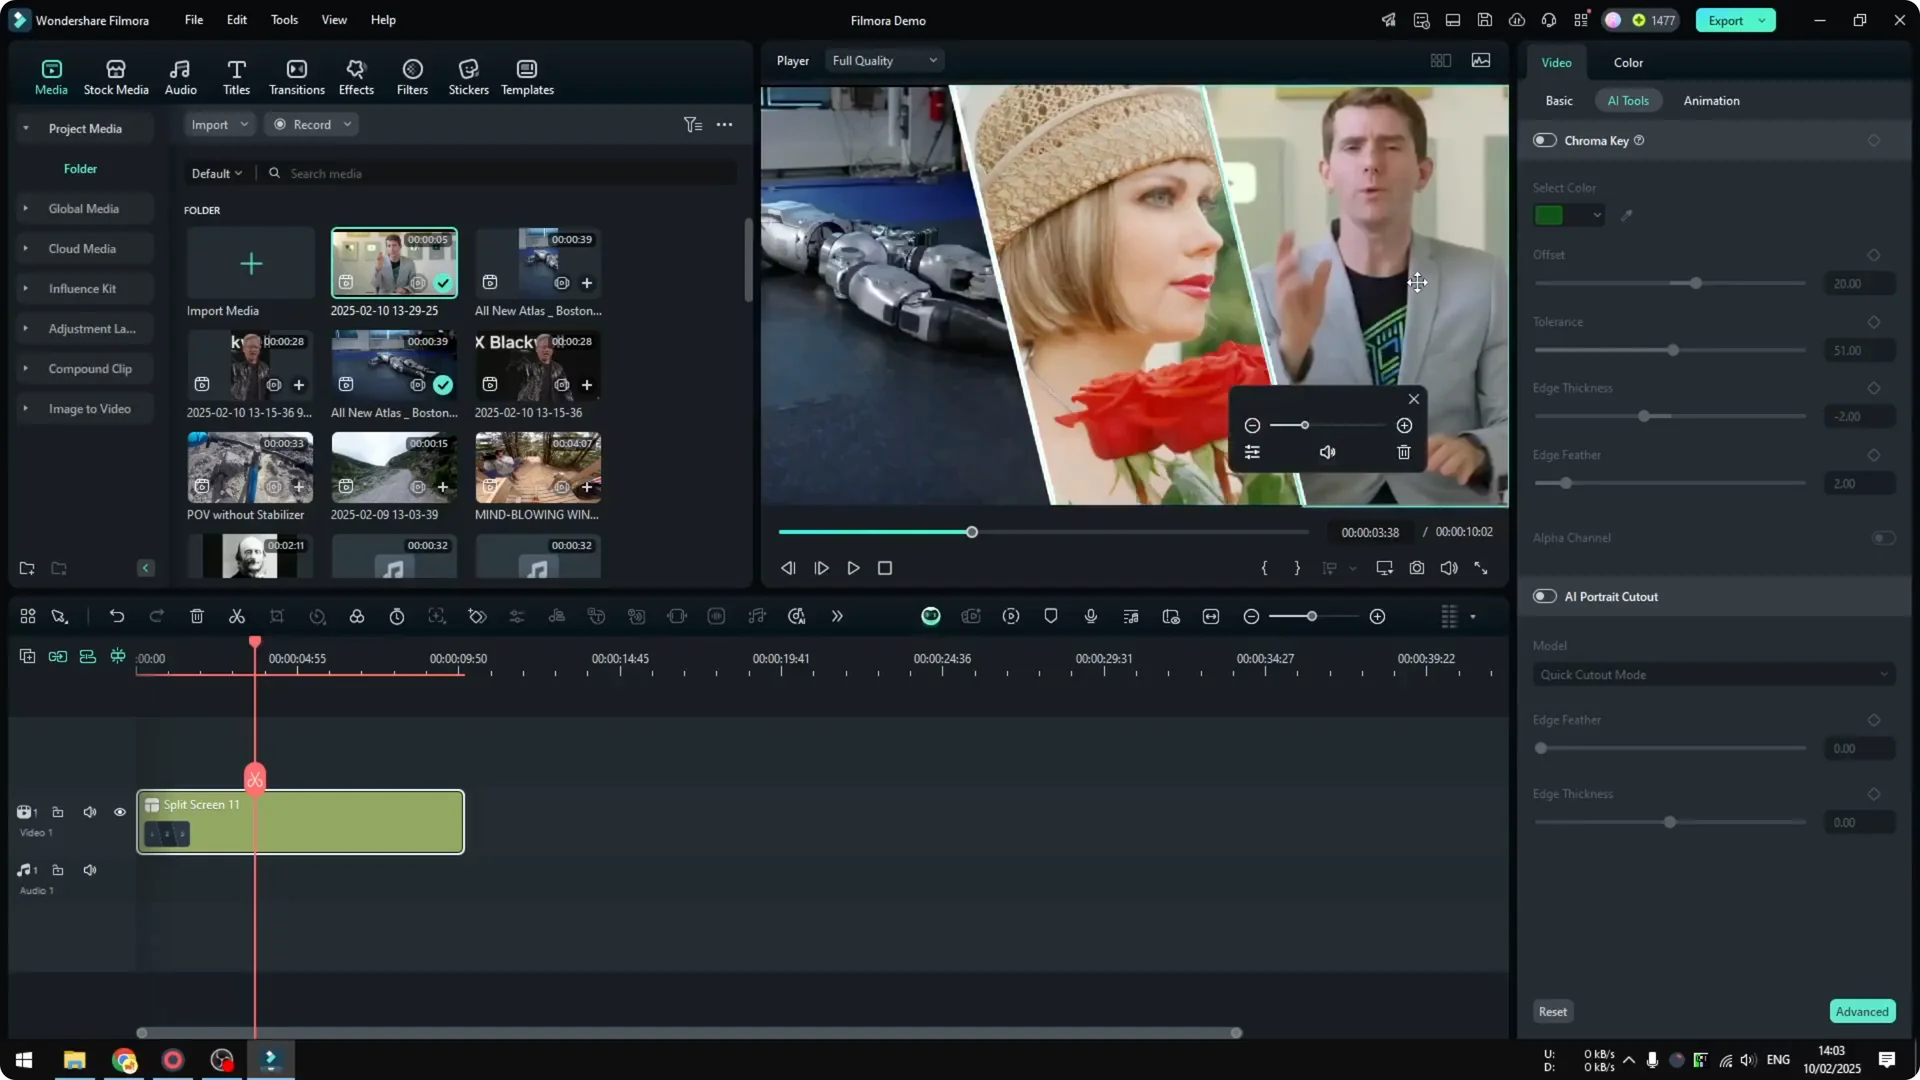
Play the whole thing to see the result. I should have muted everything, so mute all the audio, and play it again. Now there are three videos running at the same time, and they look wonderful.
Try other layouts
Go back to Templates any time. See which profile or split screen layout you might want to implement in your video project. That is basically it.

Read More: AI guide to improve video quality in Filmora
Final Thoughts
Adding a split screen in Filmora is fast. Pick a style, drag it to the timeline, drop in your clips, set the visible areas, and mute or adjust audio as needed. Play it back, and switch layouts until it fits your project.