Green screen makes it easy to isolate or remove the background in a photo or video and replace it with something else. I have a 3D video of a Reno just standing there, and I have a street background with people walking. I want to put this Reno in the street, which is out of place, but that is the idea of green screen to put something where it does not belong.

Getting started with Filmora Chroma Keying
Place and prepare the clip
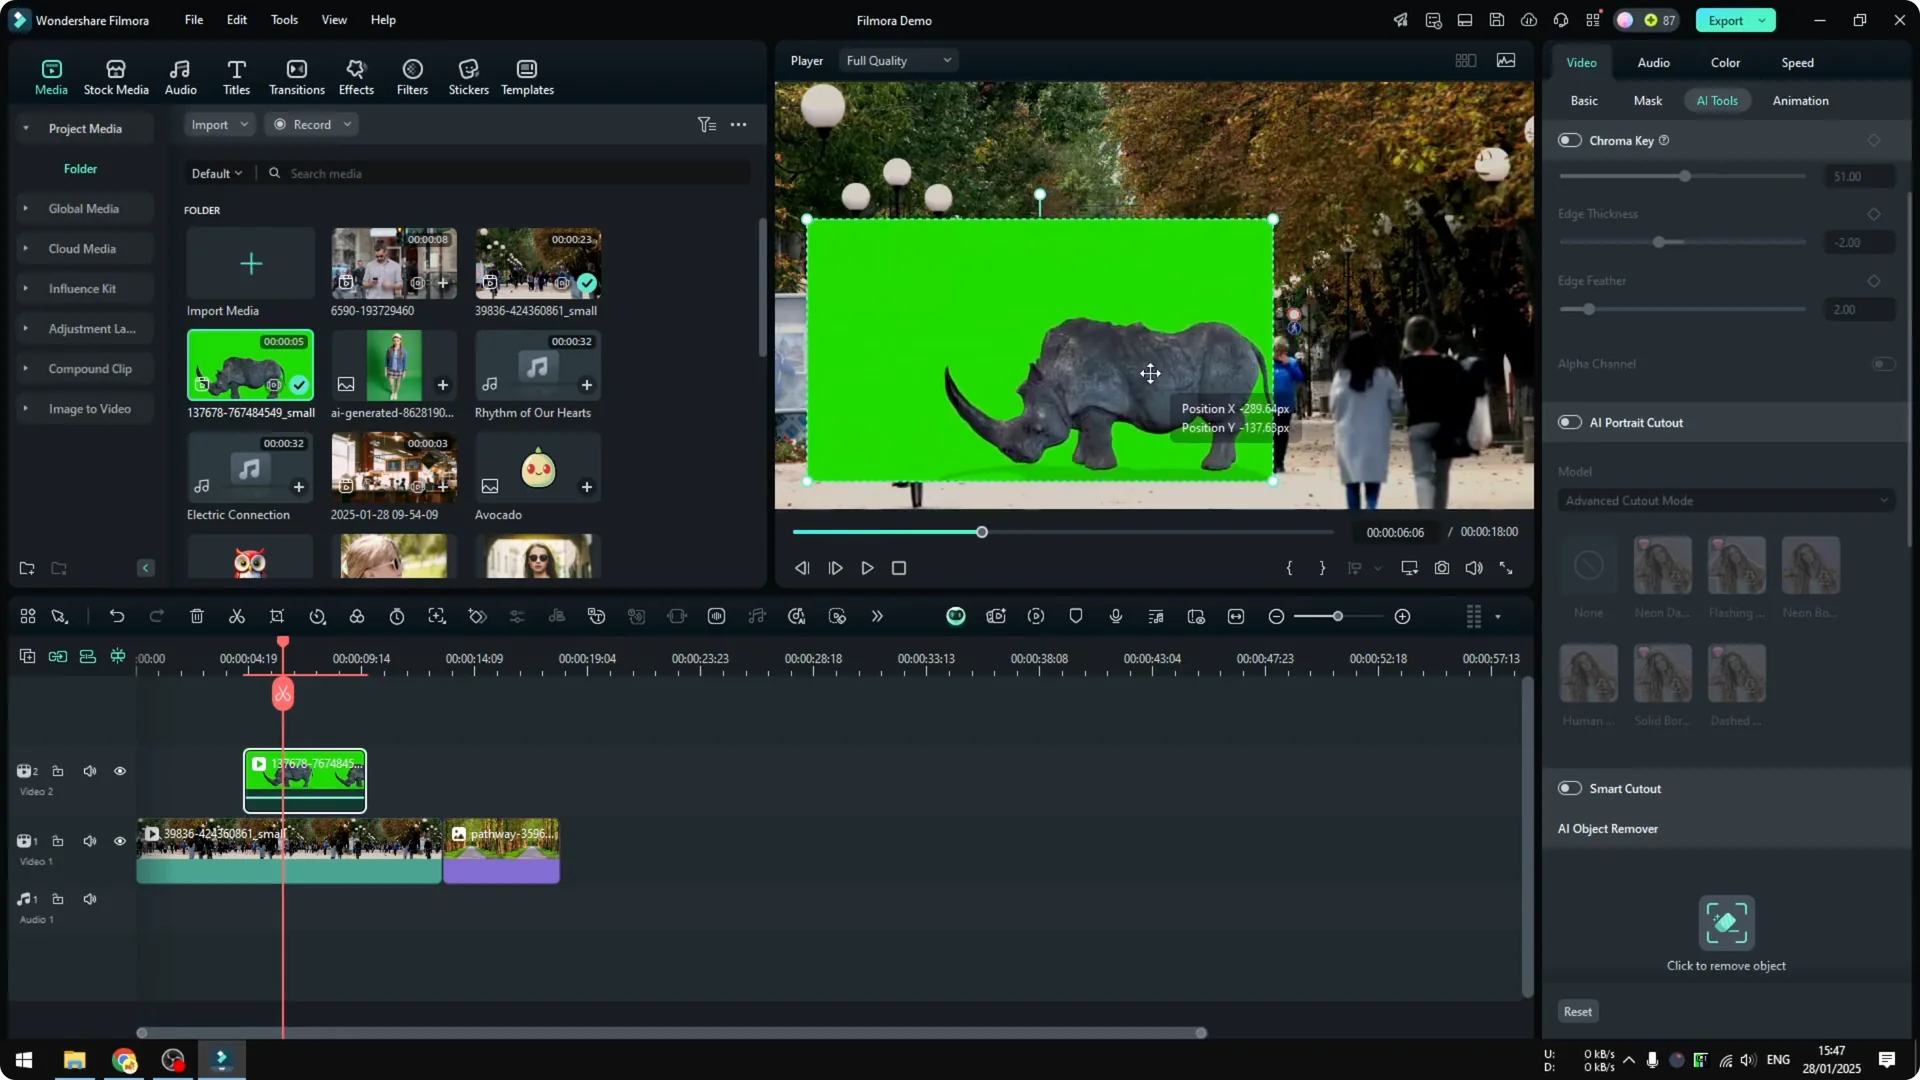
Click on the green screen video in the timeline. Resize the video or change the position as you like. I put the Reno roughly in the middle.
Enable Filmora Chroma Keying
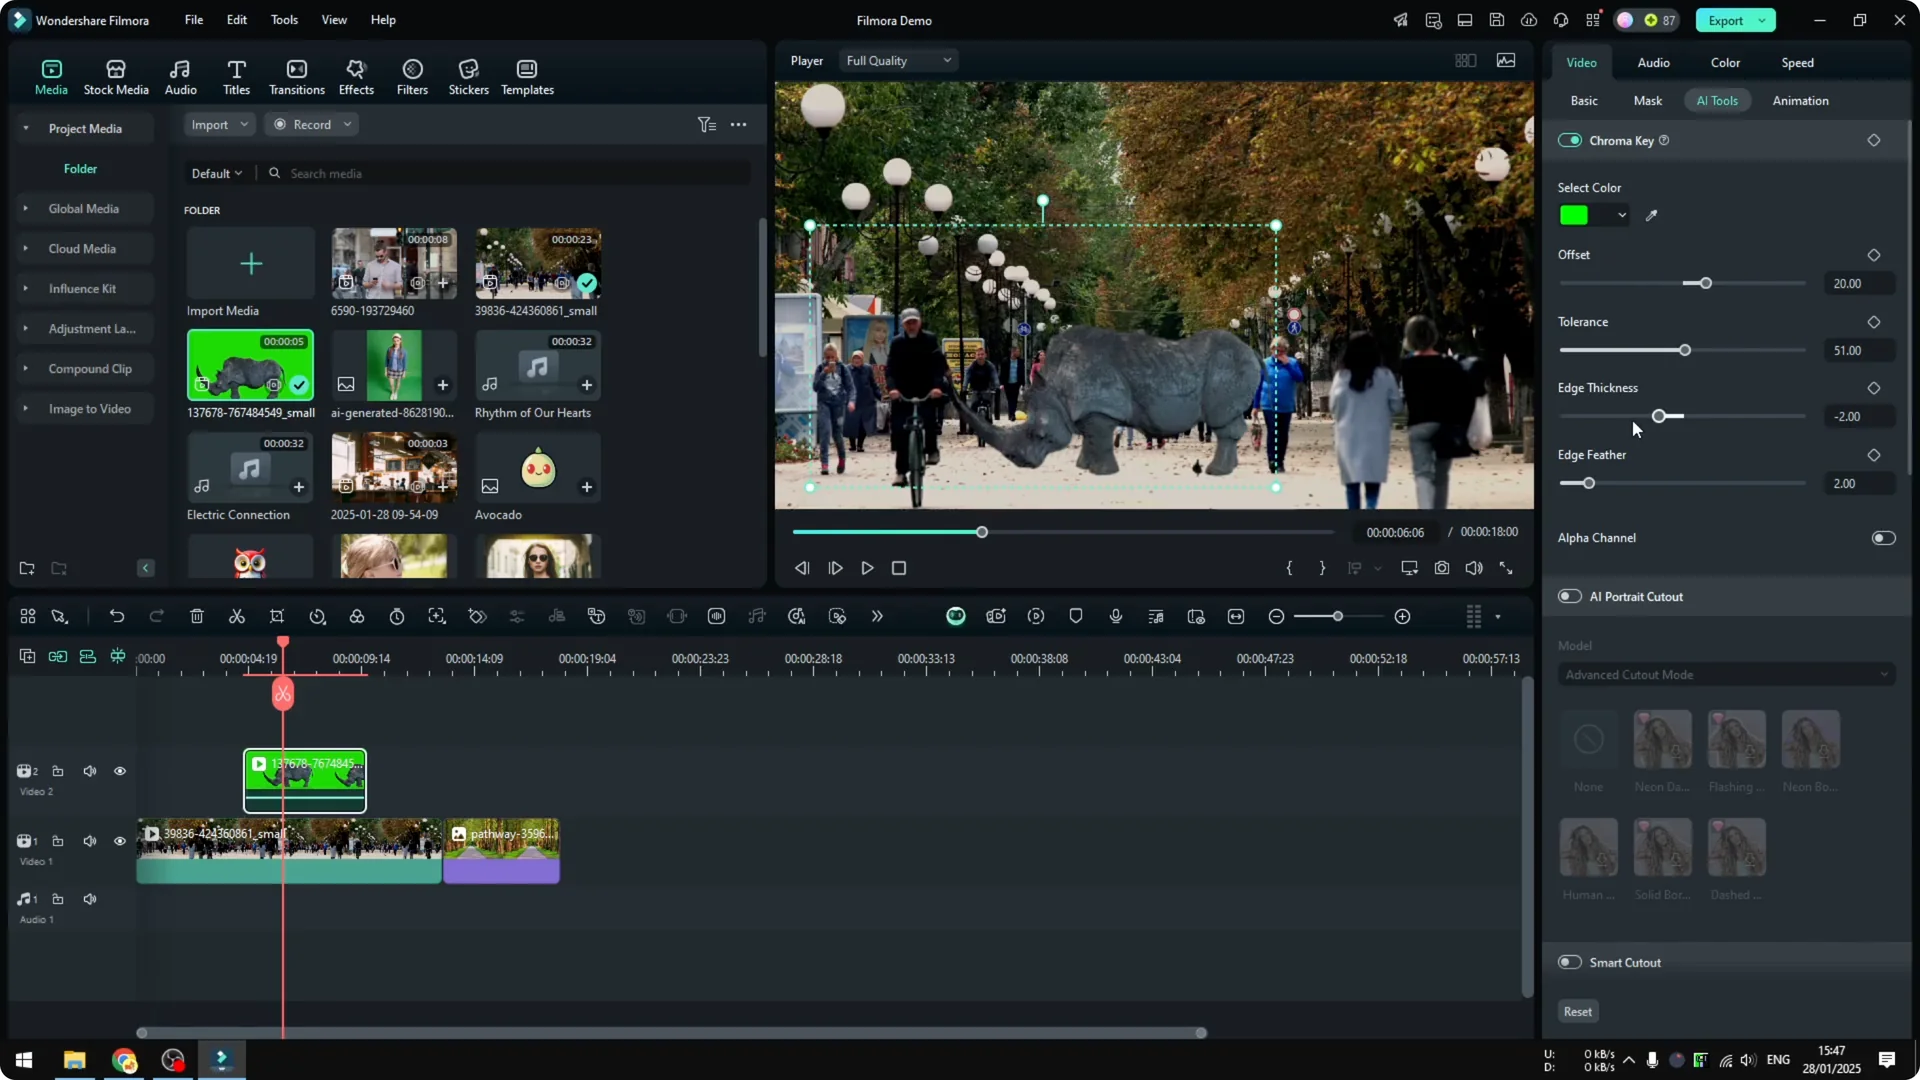
Go to Video, open AI Tools, and enable Chroma Key. Filmora will automatically detect the green part of the video and remove it. You will see your subject cut out and placed over the new background.

Fine tune Filmora Chroma Keying
You can play around with Offset, Tolerance, Edge Thickness, and Edge Feather. Honestly these are not settings I am very familiar with, but they are there if you understand how to use them. I think the default setting is good enough.
For detailed edge control across tricky subjects, see how AI masking can help you refine composites in Filmora. Learn more here: AI masking in Filmora.
Filmora Chroma Keying with uneven greens
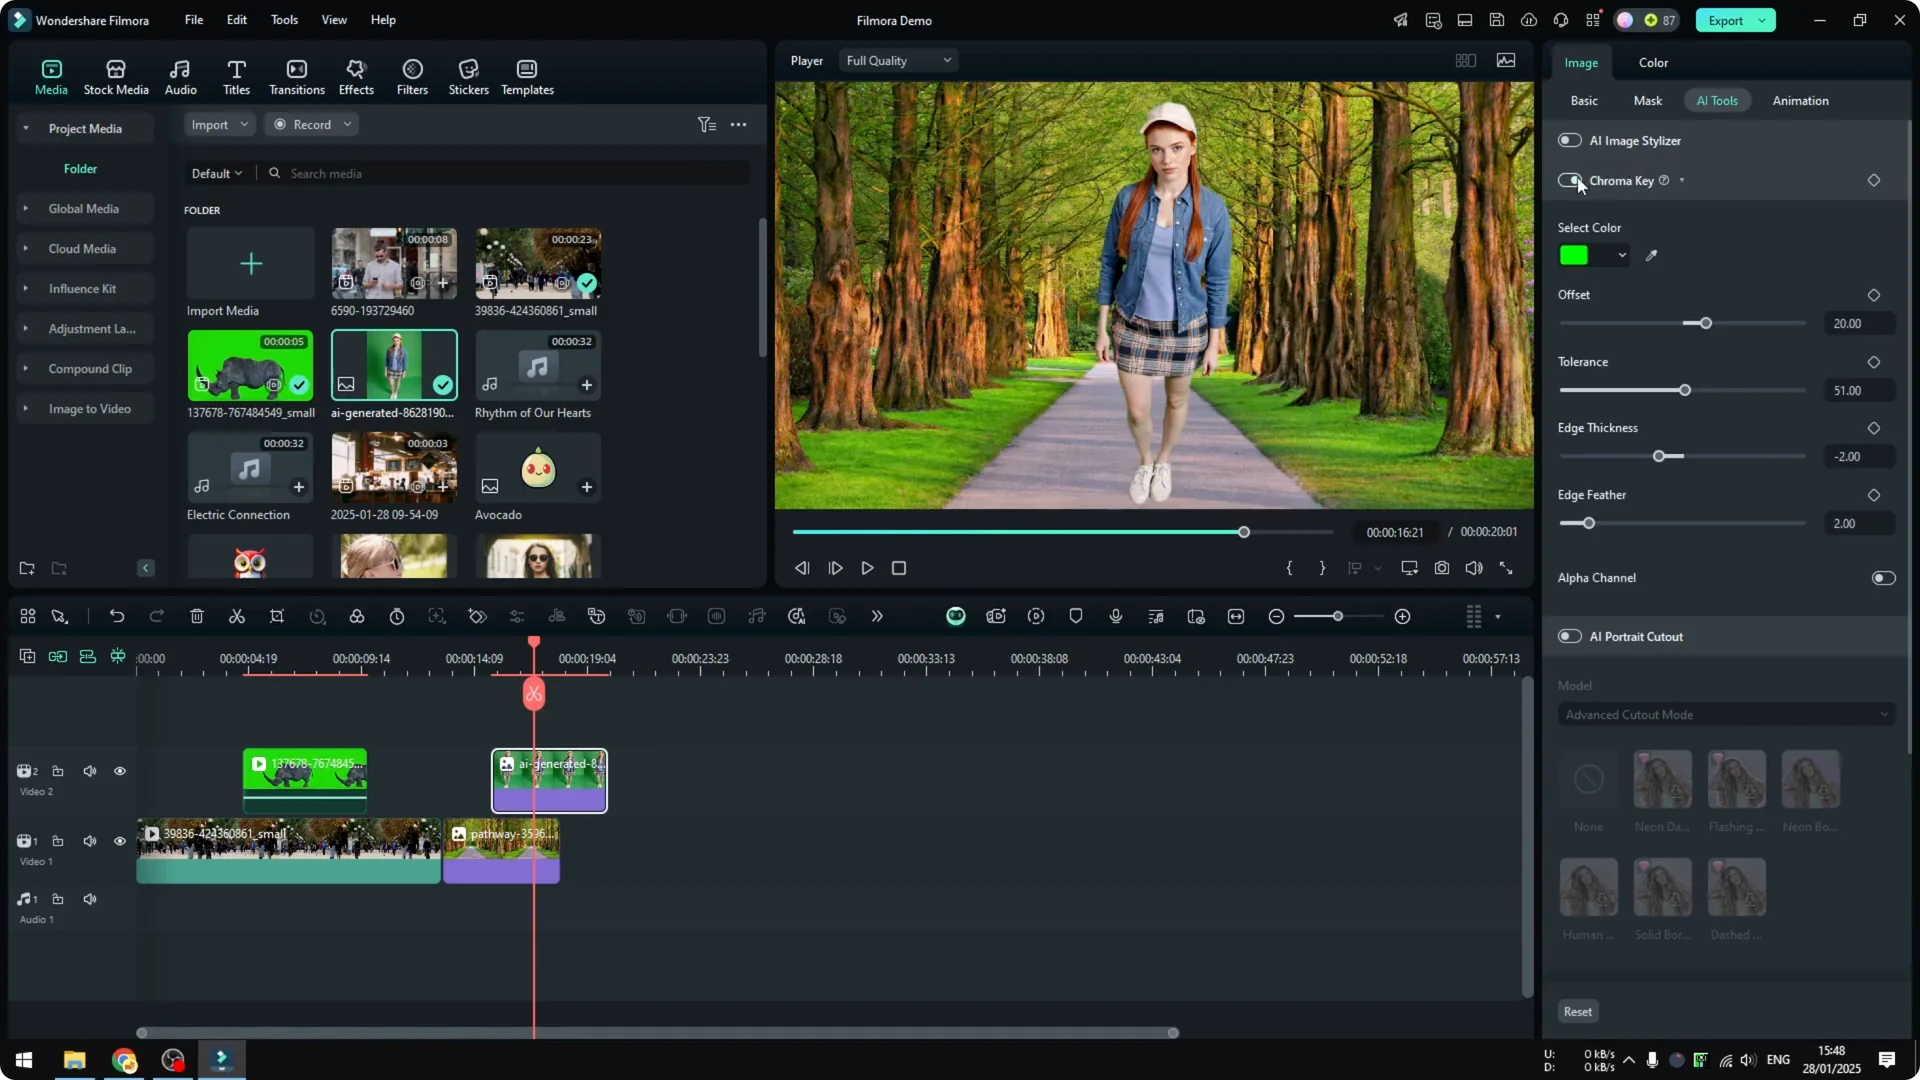
I tried again with a different photo. The previous green screen was very smooth and basically all green, but this one has areas where the green is darker in some parts. Can it handle that

Fortunately, Filmora can handle various strength of the green color. Go to Image Tools, enable Chroma Key again, and it understands the different greens and applies the setting instantly. You can adjust the numbers, but using the default setting is good enough.
Remove a background without green screen
AI Portrait Cutout in Filmora 14
I also tried the new AI tool in Filmora 14 called AI Portrait Cutout. This is useful if you have a video that was recorded without a green screen and there is a person in the shot whose background you want to change. I started with a video where a person is standing and the background is just a regular scene.
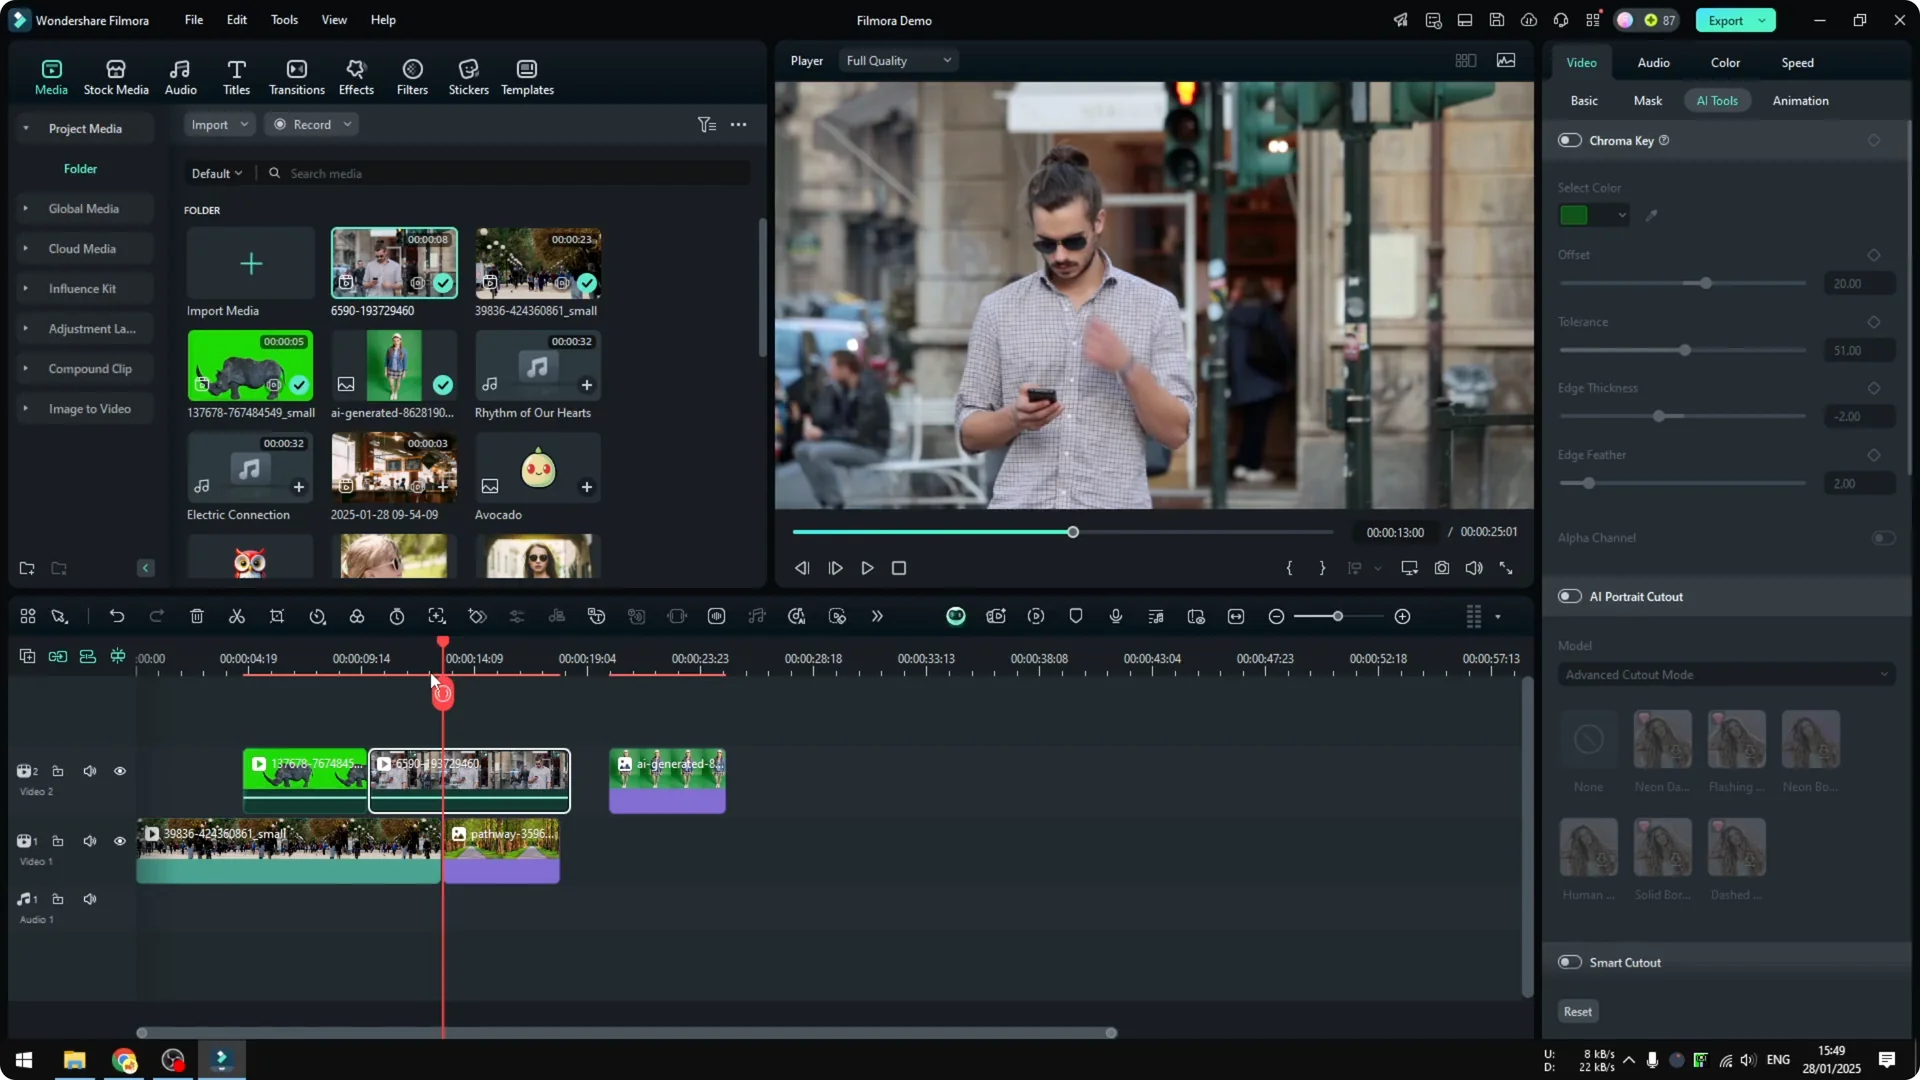
Enable AI Portrait Cutout
Click on the video, go to Video, open AI Tools, and enable AI Portrait Cutout. Once you enable it, it takes some time for the AI to process everything. It runs locally on your computer, so it depends on the strength of your computer.
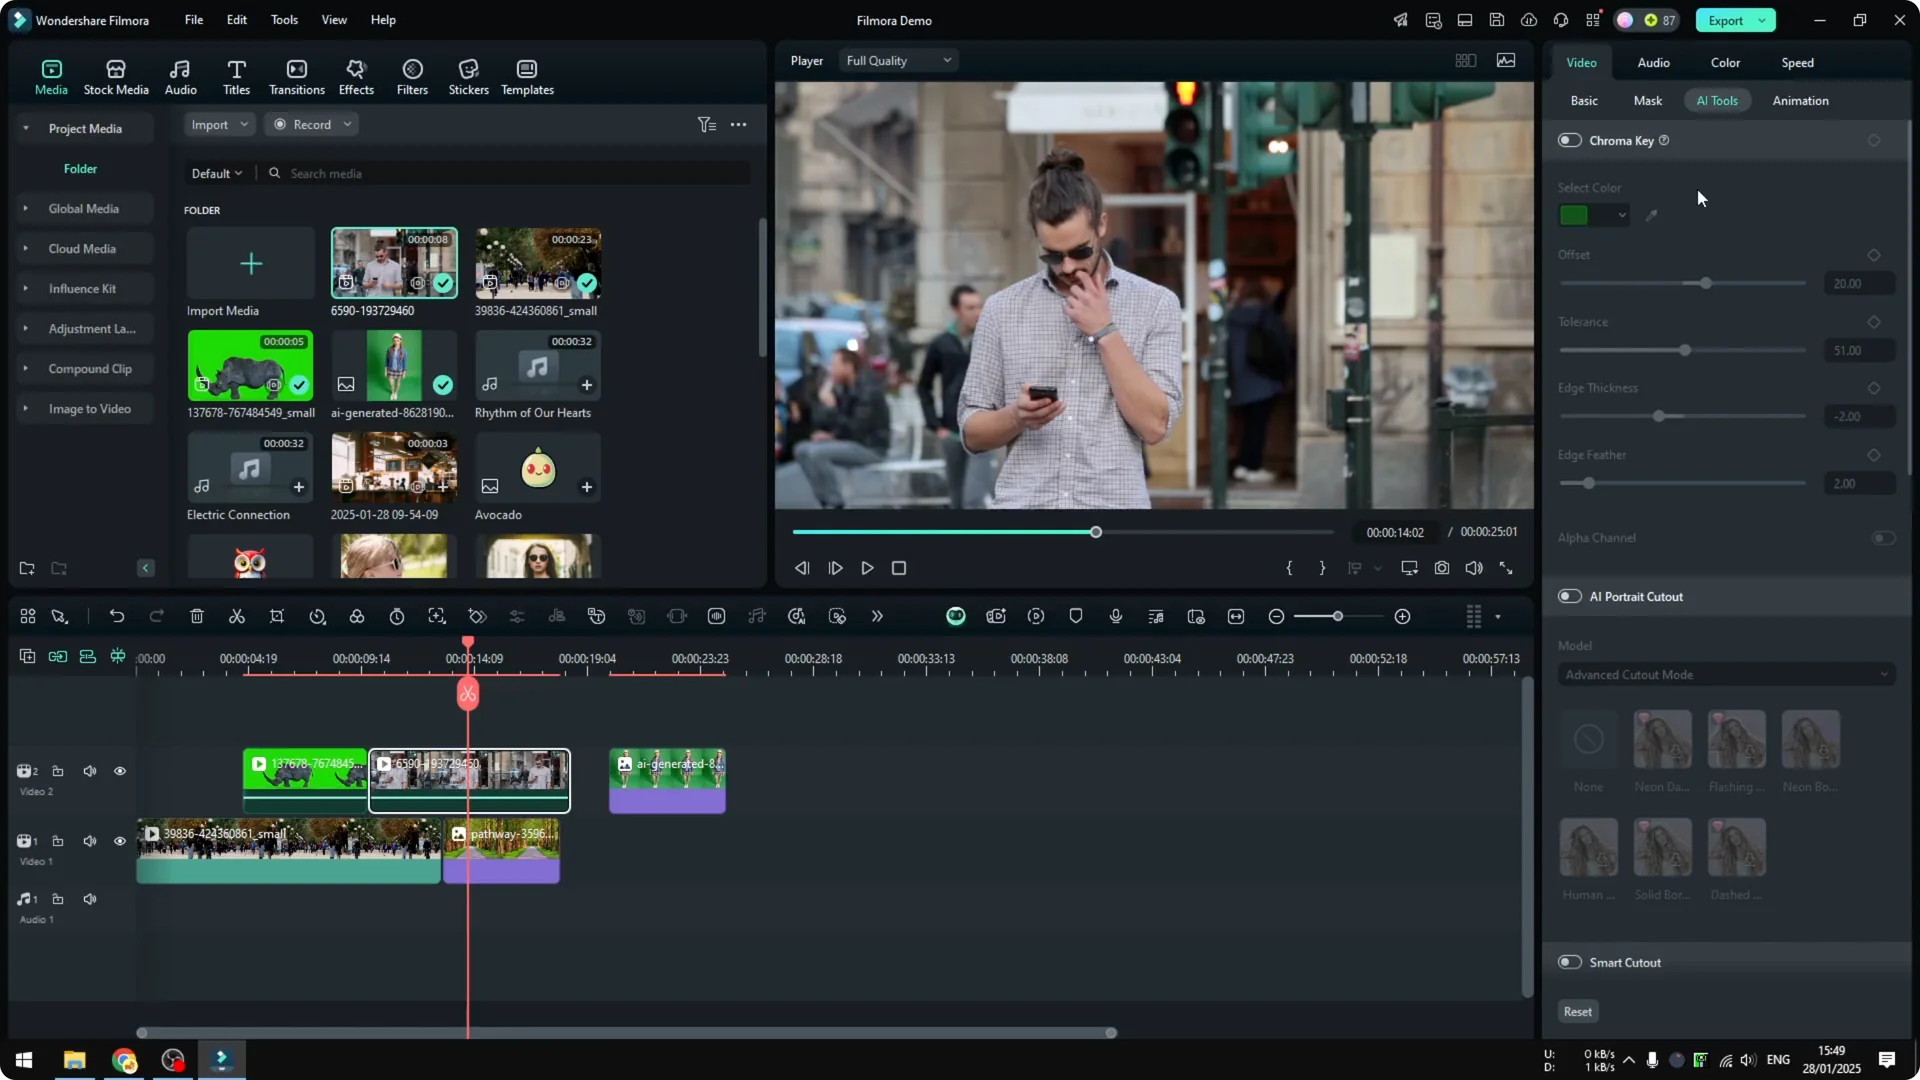
Processing and results
After processing, you get a clean person cutout over your new background. I played it back and I think it is good enough. There is some flickering at the edge of the body, but given that it is free and running locally, that is quite impressive.

If your project includes dialogue or voiceover, you can also clean up your audio with Filmora’s AI voice enhancer for clearer results. See the guide here: AI voice enhancer in Filmora.
Final thoughts
That is basically how you can use green screen in Filmora with Chroma Key, and how AI Portrait Cutout helps when you do not have a green screen. Default settings worked well for both smooth and uneven greens, and the AI feature did a solid job on a regular background with a person. If you need help writing your project script inside Filmora, check this quick guide to the built in tool: AI copywriting in Filmora.