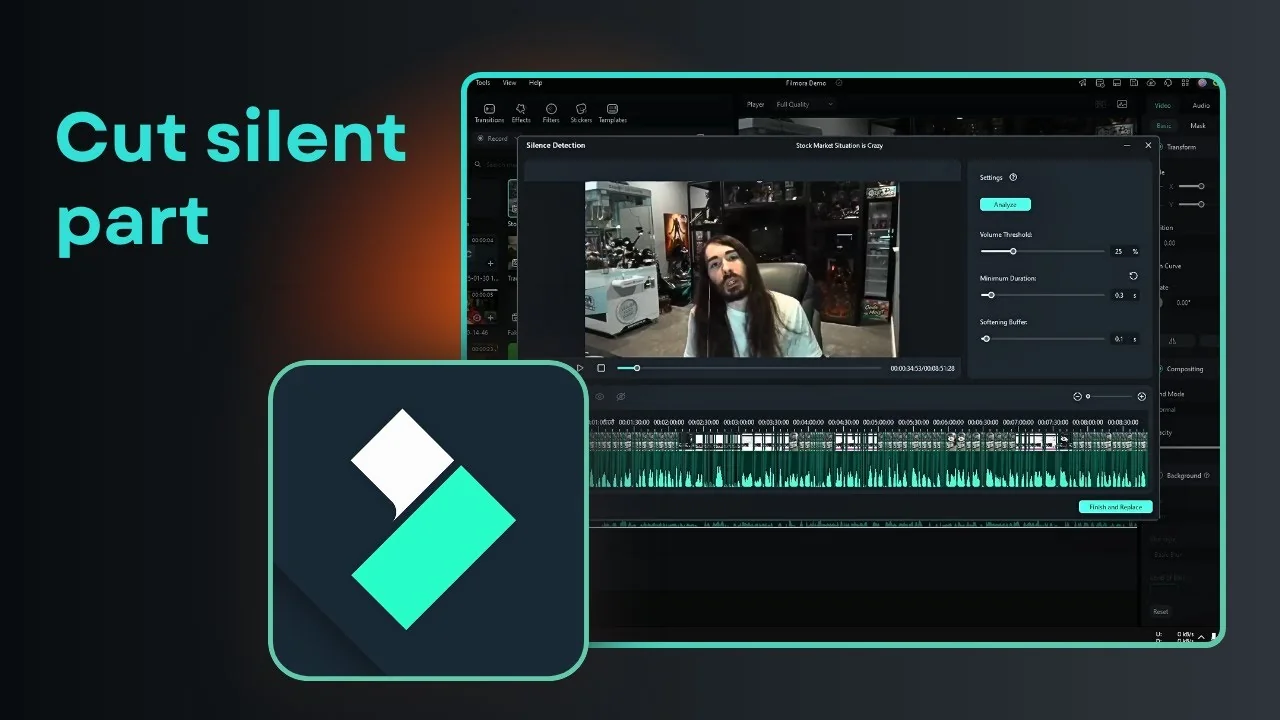
This is how you can use the Silence Detection feature in Filmora. The goal of this tool is to remove any awkward silences in the video so the video is more compact. If you have a long video and there are a lot of awkward silences in a dialogue, you can remove that by using this AI tool.
Even videos from very fluent speakers can still have silent parts that you can remove easily with this feature. I use a simple workflow to get clean results fast. For more detail on this approach, see removing awkward silences with AI in Filmora.
Filmora Silence Detection overview
Silence Detection automatically finds and removes quiet gaps. The tool applies cuts where speech pauses meet the settings you choose. This makes long videos tighter and easier to watch.
I focus on getting quick, accurate cuts without touching every pause by hand. The feature does the heavy lifting once you set the criteria. You keep control over where the edits land.
Set up Filmora Silence Detection
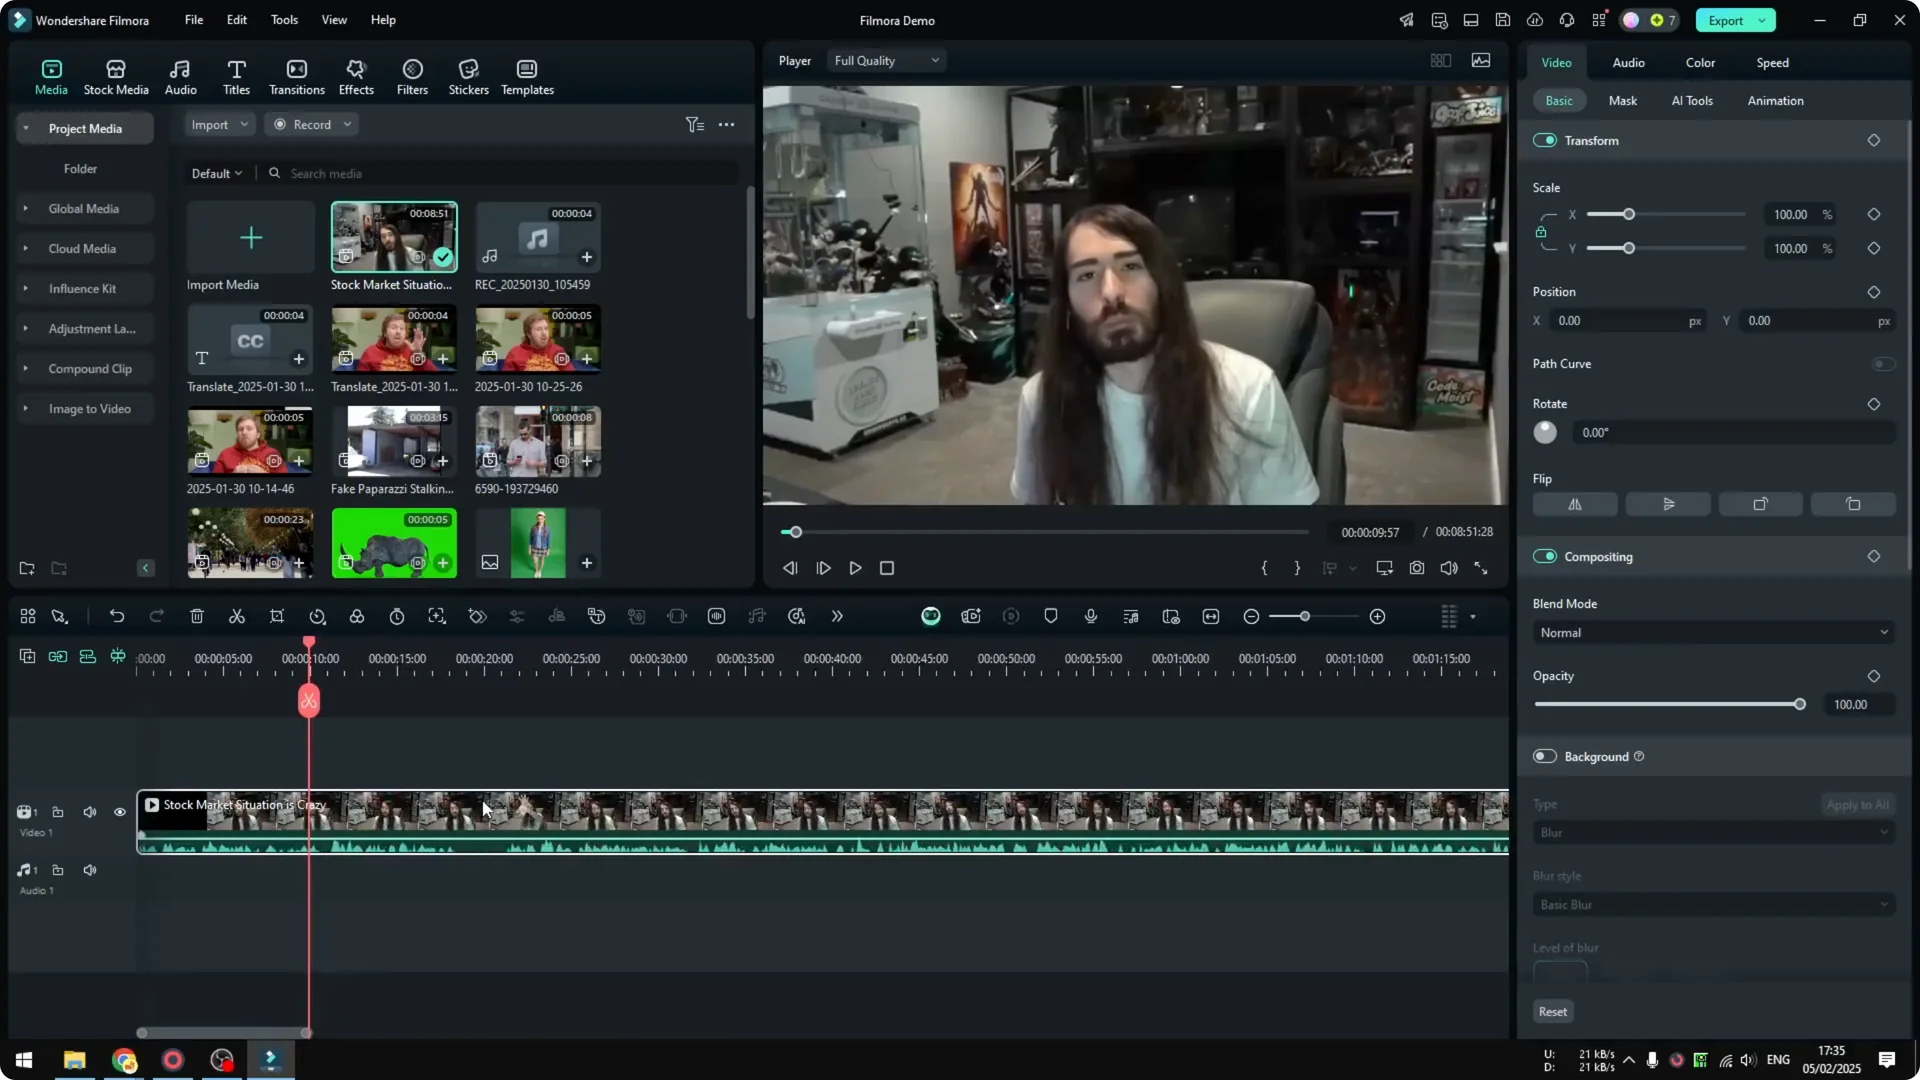
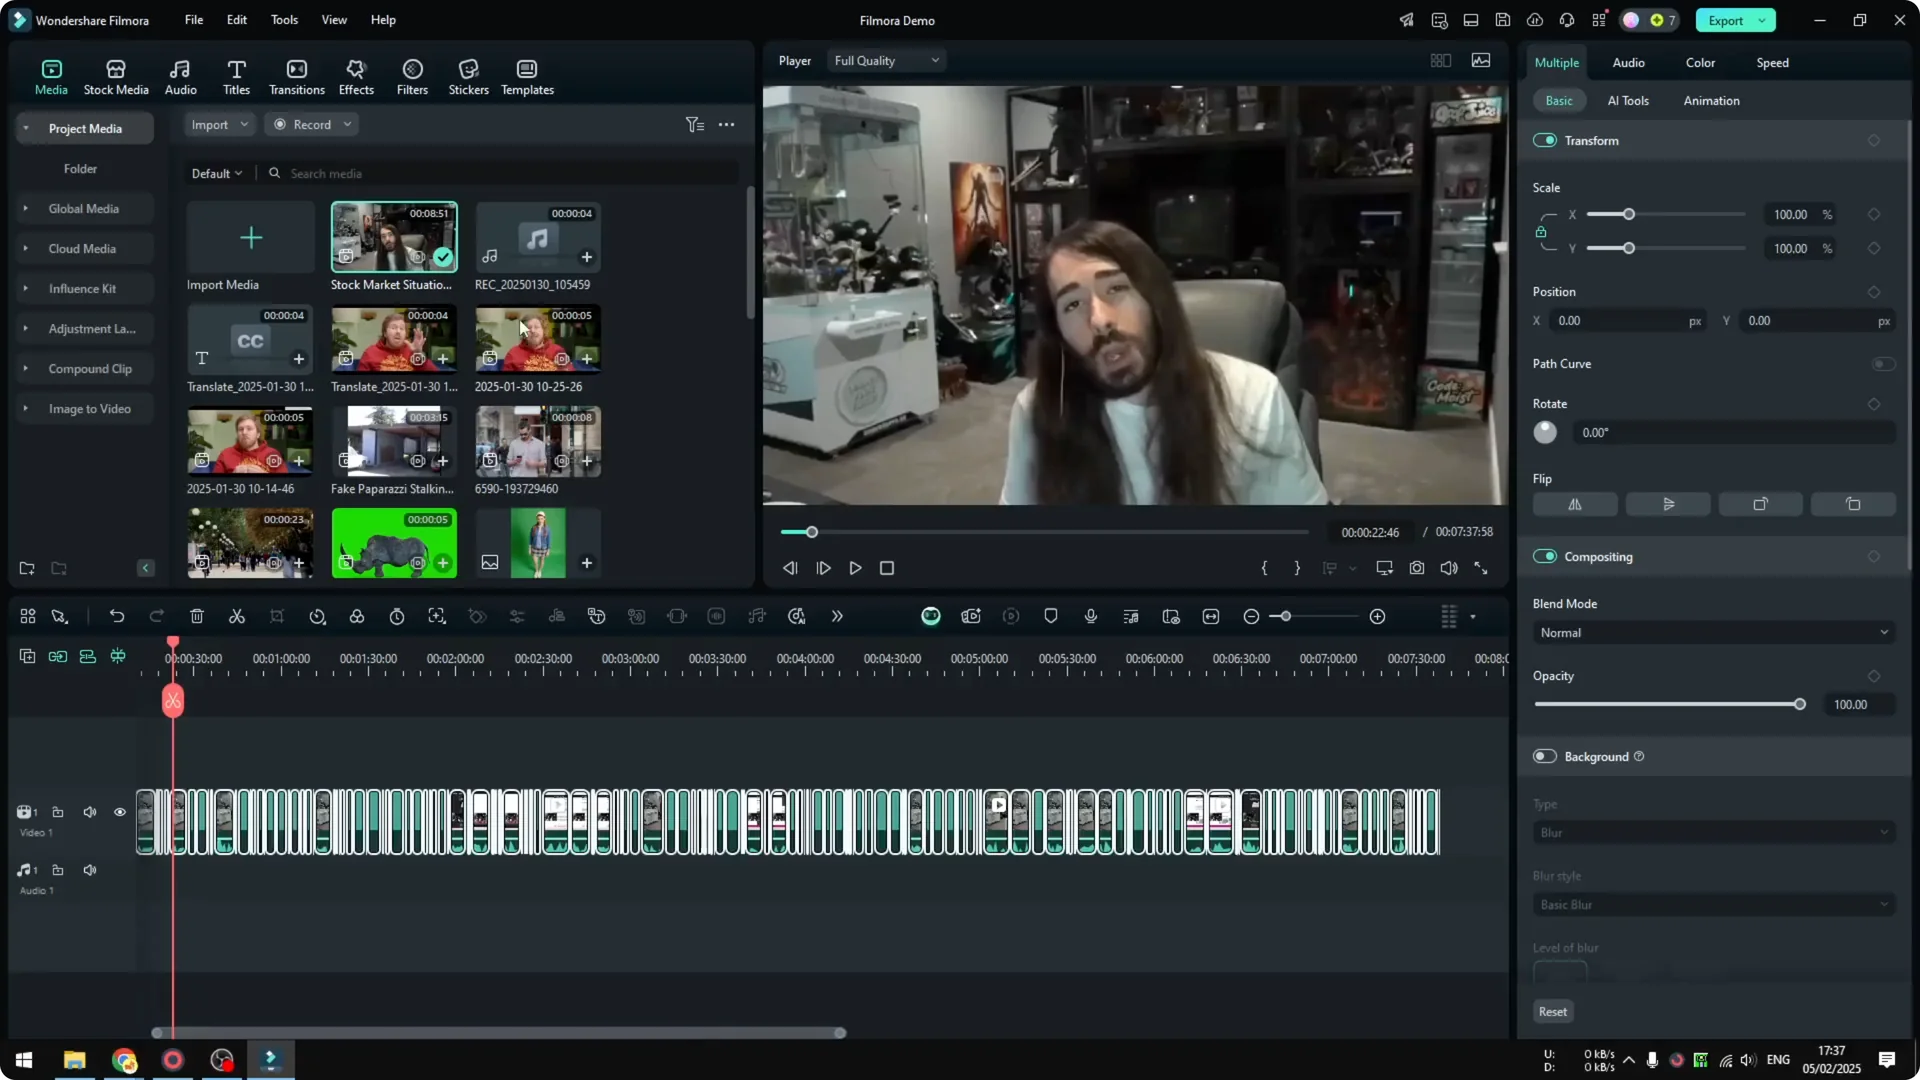
Open Filmora Silence Detection

Select the clip that you want to edit. Click Silence Detection. The control panel will open with options for detection and softening.
Adjust Filmora Silence Detection settings
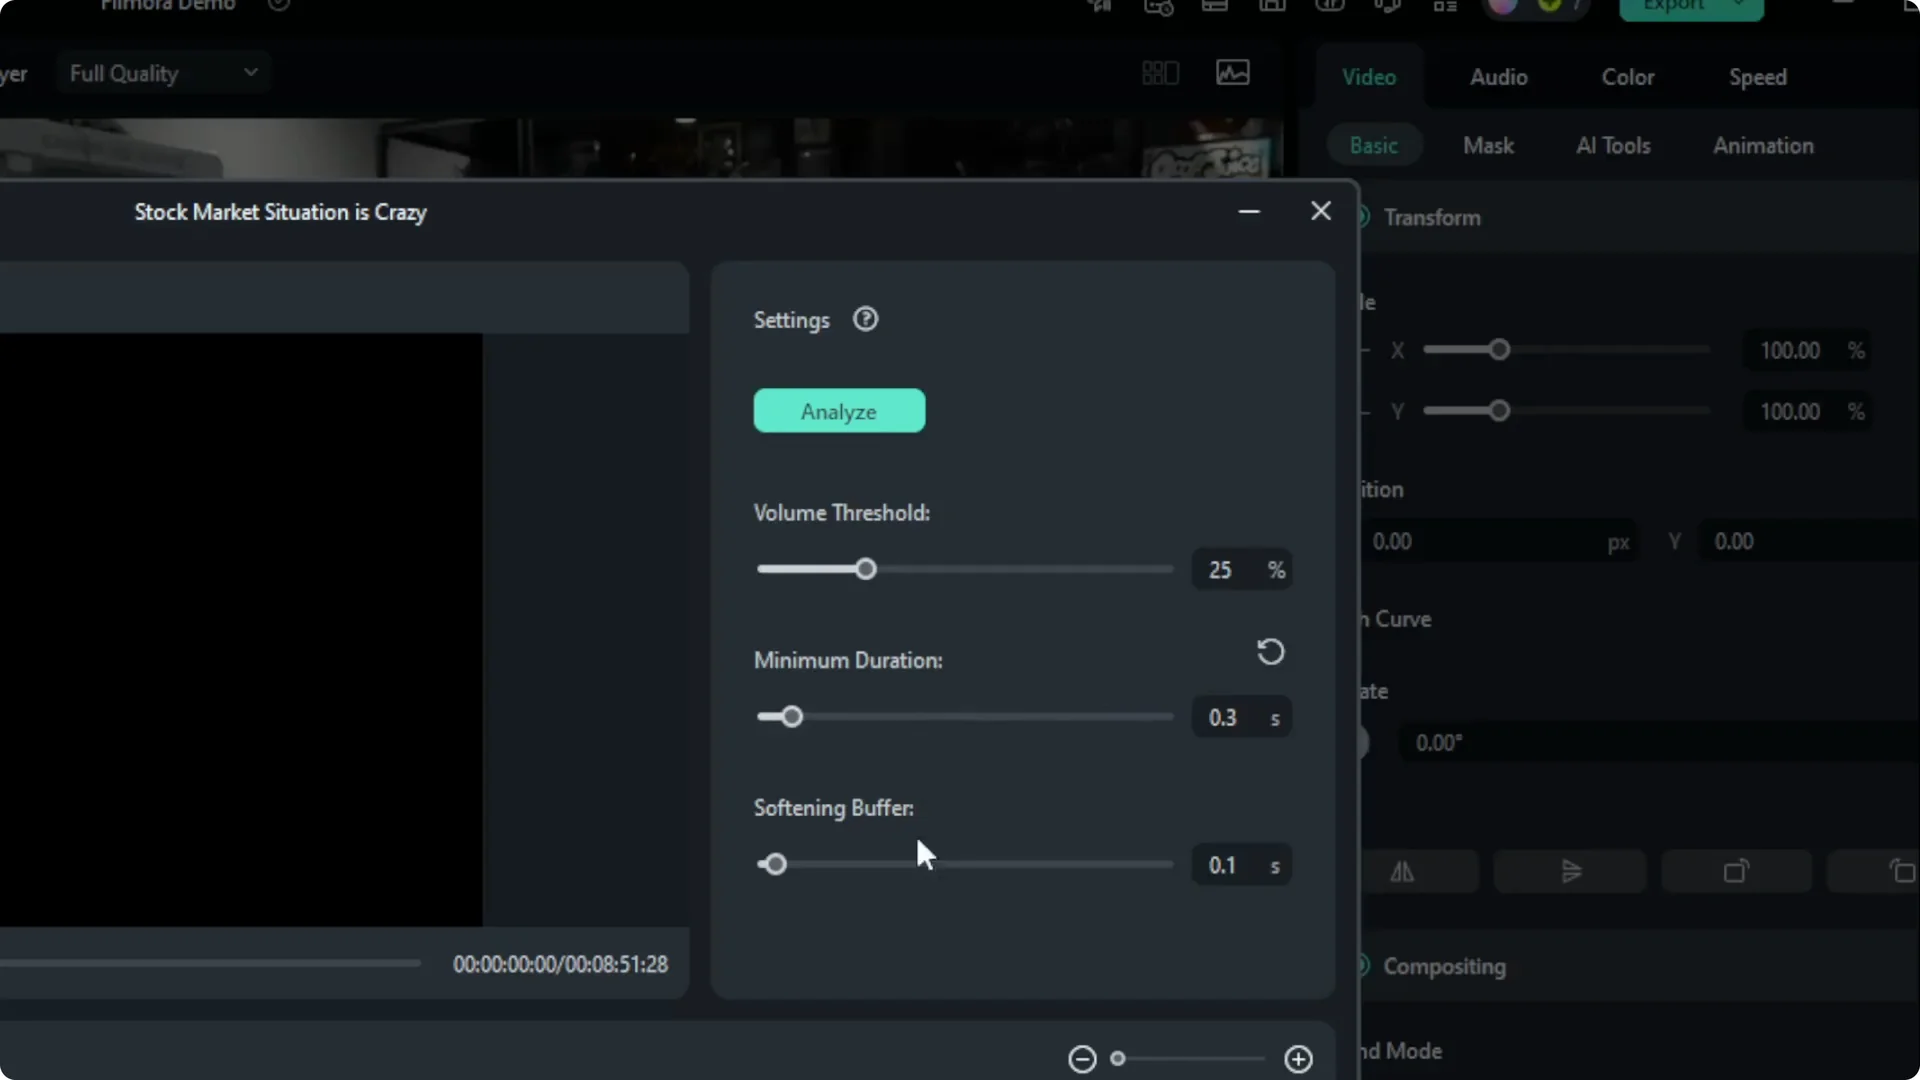
I usually leave the default settings because they work best for me. You can play around with the duration threshold, volume, and softening if you need a different result. Small tweaks can change how aggressively it trims your pauses.
If your recording also has hums or room noise, pair this workflow with removing background noise in Filmora before detection. Cleaning the noise floor can make silence detection more consistent. It also helps reduce false positives.
Analyze with Filmora Silence Detection
Click Analyze and wait for the scan to finish. This process can take time depending on the length of the video. Longer timelines need more time, which is normal.

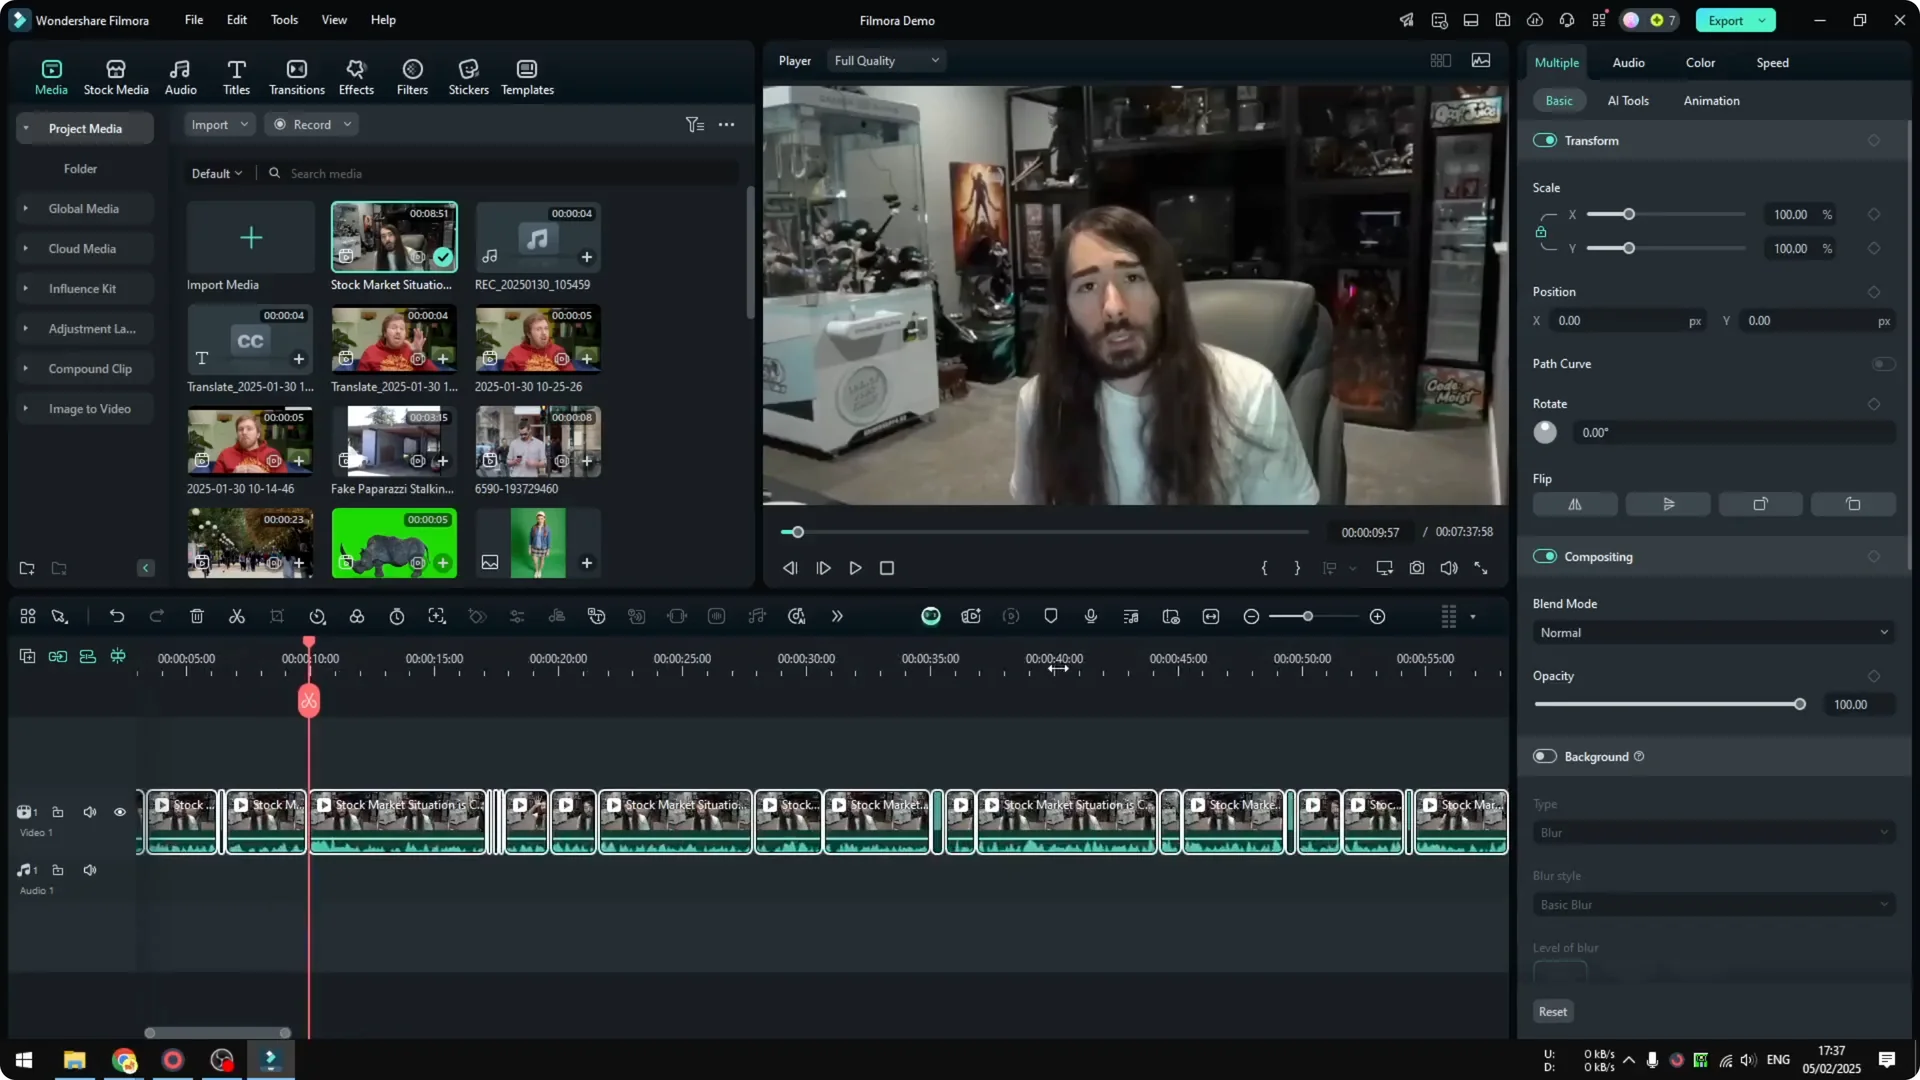
Once the analysis ends, Filmora shows the proposed cuts on the timeline. Look closely at where the tool plans to remove silence. You can still make manual changes later if needed.
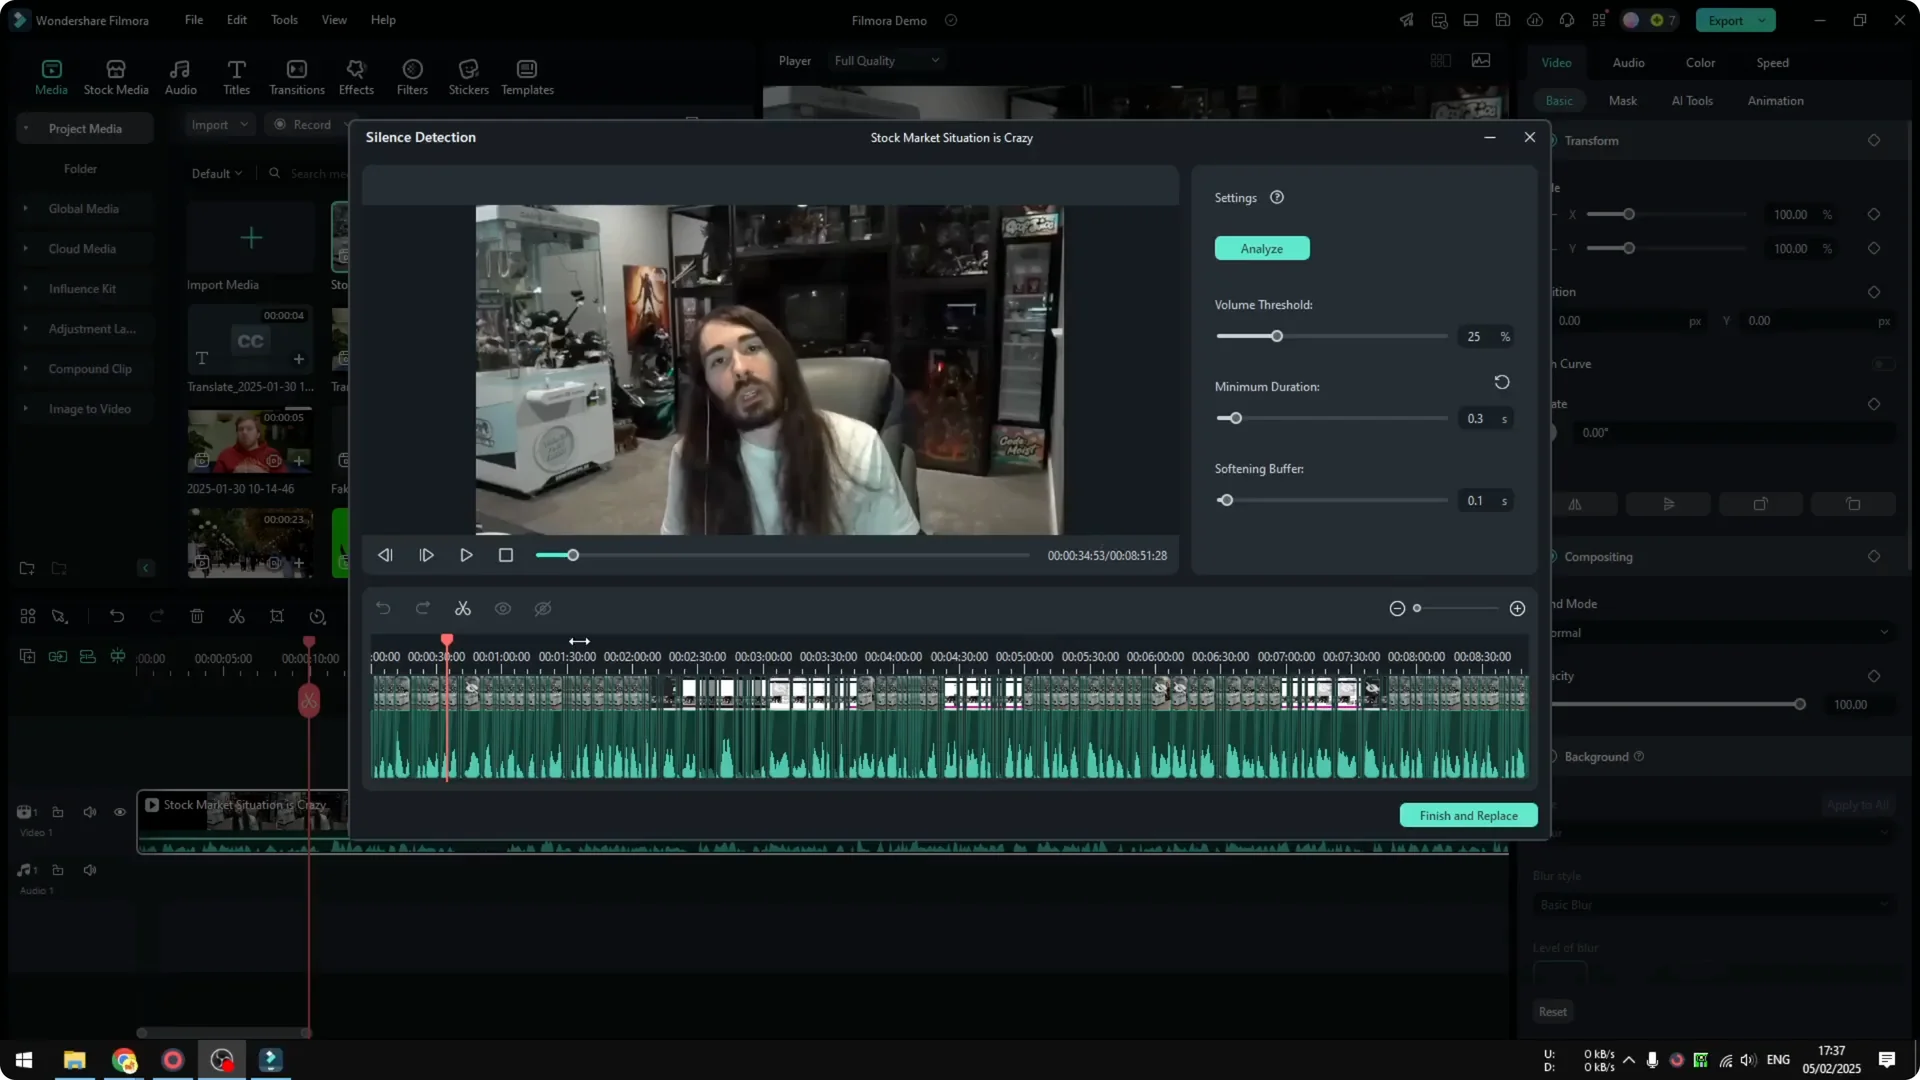
Review and apply with Filmora Silence Detection
These markers are basically all the cuts that are going to be applied to the video. If you are happy with the result, click Finish and Replace. The edits are applied and your clip updates instantly.

If a few pauses feel too tight, you can undo and adjust the settings. Try raising the duration threshold or increasing softening for more natural pacing. Analyze again until the flow feels right.
Results from Filmora Silence Detection
In my test, the final duration came to less than 8 minutes. The original video was 8 minutes and 51 seconds. That is a substantial reduction in total length.
You get a compact cut with lots of small trims that remove dead air. Dialogue sounds more direct without losing the natural rhythm. If you also need to work on music tracks in your edit, see how to handle vocals by removing vocals from a song in Filmora.
Final thoughts on Filmora Silence Detection
Silence Detection is a fast way to clean up awkward pauses and tighten pacing. Select your clip, open the tool, confirm or tweak the settings, then click Analyze and apply. You get a shorter, sharper video with minimal effort.